Home>Production & Technology>Stereo>Why Doesn’t My Stereo Turn On

Stereo
Why Doesn’t My Stereo Turn On
Modified: January 22, 2024
Discover the reasons why your stereo isn't turning on and learn how to troubleshoot the issue. Get expert tips and solutions for Stereo problems.
(Many of the links in this article redirect to a specific reviewed product. Your purchase of these products through affiliate links helps to generate commission for AudioLover.com, at no extra cost. Learn more)
Table of Contents
Introduction
Having a stereo system that doesn’t turn on can be frustrating. You may have been eagerly looking forward to enjoying your favorite music or immersing yourself in a movie, only to be met with silence when you try to power on your stereo. But don’t worry, there are several potential reasons why your stereo isn’t turning on, and many of them can be easily resolved with a bit of troubleshooting.
In this article, we will explore some common causes for a stereo system failing to turn on, as well as provide steps you can take to diagnose and fix the issue. Whether you have a traditional stereo receiver, a compact all-in-one system, or a modern AV receiver, these troubleshooting steps can be applied to help you get your stereo up and running again.
Before we dive into the specific troubleshooting steps, it’s important to note that safety should always be a priority. Make sure to unplug your stereo system from the power source before attempting any repairs or inspections. Additionally, if you are unsure or uncomfortable working with electrical components, it is always best to seek the assistance of a professional.
Now, let’s explore the potential causes and solutions for a stereo system that won’t turn on.
Check the Power Source
When your stereo fails to turn on, the first thing you should check is the power source. It may seem obvious, but sometimes the simplest solution is overlooked. Here are a few steps to follow to ensure your stereo is getting power:
- Verify that the power outlet is working by plugging in another device, such as a lamp or phone charger. If the outlet is not providing power, try plugging your stereo into a different outlet.
- If your stereo is plugged into a power strip or surge protector, check to see if it is turned on and providing power to the stereo. Try plugging the stereo directly into the wall outlet to rule out any issues with the power strip.
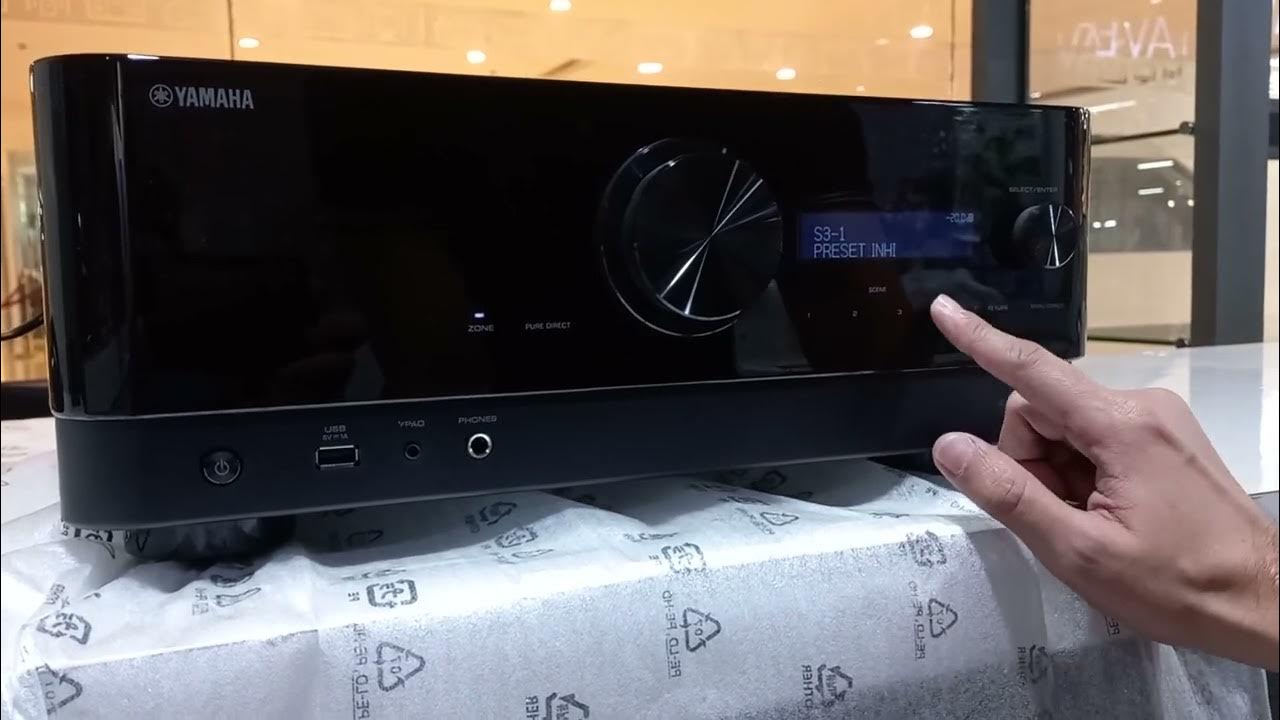
- Ensure that any power switches or buttons on the stereo are in the “on” position. Some systems may have a power button located on the front panel or a remote control. Press the power button to make sure it is engaged.
If you have checked the power source and ensured that it is working properly, but your stereo still won’t turn on, there may be other issues to investigate. Let’s move on to the next troubleshooting step.
Inspect the Power Cord
One of the most common causes of a stereo not turning on is a faulty power cord. Over time, power cords can become damaged, frayed, or loose, preventing a proper connection to the power source. Here are some steps to inspect your power cord:
- Check the power cord for any visible signs of damage, such as cuts, fraying, or exposed wires. If you notice any damage, it is important to replace the power cord to ensure safe operation.
- Make sure the power cord is securely plugged into both the stereo and the power outlet. Sometimes the connection can become loose, resulting in a loss of power. Give the cord a firm push to ensure it is snugly inserted.
- If you have access to another power cord, try using it to see if the issue is with the original cord. This can help determine if the power cord is the culprit for the stereo not turning on.
Remember to exercise caution when dealing with electrical components. If you are uncomfortable performing these inspections yourself, seek assistance from a professional.
Once you have inspected the power cord and ensured that it is in good condition and properly connected, move on to the next troubleshooting step to further diagnose the issue.
Test the Outlet
When your stereo is not turning on, it’s essential to determine whether the issue lies with the power outlet itself. Here are some steps to test the outlet:
- Plug another electronic device into the same outlet to check if it is receiving power. This could be a lamp, a phone charger, or any other device that you know is functioning correctly.
- If the device you plugged in is working, then the outlet is likely functioning properly. In this case, the issue may be with your stereo rather than the power supply.
- However, if the device you plugged in is also not receiving power, the outlet may be faulty. Try plugging your stereo into a different outlet that you know is working correctly.
- If none of the outlets in your home seem to be providing power, it’s possible there may be an issue with the electrical circuit. In this case, you may need to consult an electrician to resolve the problem.
By testing the outlet, you can determine if the lack of power is specific to your stereo or if it is a broader electrical issue. If the outlet tests positive for power, move on to the next troubleshooting step.
Check the Power Button
The power button on your stereo is responsible for initiating the power-up sequence. If the power button is malfunctioning or stuck, it can prevent the stereo from turning on. Here are a few steps to check the power button:
- Inspect the power button for any visible damage or obstructions. Sometimes dirt, dust, or debris can accumulate around the button, making it difficult to depress or causing it to stick.
- Gently press the power button multiple times to ensure that it moves freely. If it feels sticky or doesn’t respond when pressed, the button may need to be cleaned or replaced. Consult the user manual or manufacturer’s website for specific instructions on cleaning or replacing the power button.
- If your stereo has a remote control, try using it to power on the system. Sometimes the power button on the unit itself may be faulty, but the remote control can still activate the system. If the stereo turns on with the remote control, the power button on the unit may need further investigation.
It’s important to handle the power button with care and avoid applying excessive force when pressing it. If the power button appears to be the issue, consider contacting the manufacturer or a professional technician for assistance and possible repairs.
If the power button is not causing the problem, let’s move on to the next troubleshooting step to continue diagnosing the issue.
Examine the Fuse
If your stereo is still not turning on, it’s worth checking the fuse. The fuse protects the internal components of the stereo from power surges or shorts. If the fuse is blown, it can prevent the system from powering up. Here’s how to examine the fuse:
- Locate the fuse on the back of the stereo or inside the power cord plug. Check the owner’s manual or manufacturer’s website for the specific location of the fuse.
- Inspect the fuse visually to see if the filament inside is intact. If the filament is broken or blackened, it is likely that the fuse is blown.
- Replace the fuse with a new one of the same rating. Fuse ratings can vary, so be sure to use the correct one to avoid damaging the stereo.
- If you don’t have a spare fuse, take the blown fuse to a local electronics store to find a suitable replacement.
- After replacing the fuse, plug the stereo back in and try turning it on. If the fuse continues to blow, there may be an underlying issue with the electrical circuit or internal components of the stereo that requires professional attention.
Remember to always use caution when working with electrical components. If you are unsure or uncomfortable handling fuses, consult a professional or contact the manufacturer for assistance.
If examining the fuse didn’t solve the problem, let’s move on to the next troubleshooting step.
Look for Tripped Circuit Breakers
If your stereo is still not turning on, it’s worth checking the circuit breakers in your home. A tripped circuit breaker can cut off power to specific outlets or circuits, including the one connected to your stereo. Here’s how to look for tripped circuit breakers:
- Locate your home’s electrical panel or circuit breaker box. It is usually found in basements, utility rooms, or garages.
- Open the panel to access the circuit breakers. You may need to remove a cover or panel door using a screwdriver.
- Scan the circuit breakers to see if any are in the “off” or “trip” position. Look specifically for the breaker that corresponds to the outlet your stereo is plugged into.
- If you find a tripped breaker, flip it completely to the “off” position and then back to the “on” position. This should reset the breaker.
- Return to your stereo and attempt to turn it on. If the breaker was the cause, the stereo should now receive power.
If resetting the circuit breaker doesn’t solve the issue, or if you notice that the breaker continually trips, there may be an underlying electrical problem. In such cases, it is recommended to consult a professional electrician for further investigation and repairs.
If the circuit breakers were not the cause of the problem, let’s move on to the next troubleshooting step.
Verify the Speaker Connections
When troubleshooting a stereo system that won’t turn on, it’s important to ensure that the speaker connections are properly made. Incorrect or loose connections can prevent the system from powering on. Here’s how to verify the speaker connections:
- Check the back of your stereo receiver or amplifier to locate the speaker connections. They are typically labeled as “Speaker Outputs” or “Speaker Terminals.”
- Inspect each speaker wire to ensure it is securely connected to the corresponding terminal on the stereo. The wires should be inserted fully and tightly into the terminals.
- Verify that the positive (+) and negative (-) terminals on both the stereo and speakers are matched correctly. Positive terminals are usually marked with a “+” sign or a red color, while negative terminals are marked with a “-” sign or a black color.
- If your stereo uses banana plugs or spade connectors, make sure they are inserted properly into the corresponding terminals. Ensure that there are no loose connections or exposed wires.
- For wireless speaker systems, check the power supply or battery levels of the speakers. If the batteries are depleted or the power supply is disconnected, the speakers may not be able to receive power from the stereo.
After verifying the speaker connections, attempt to turn on your stereo again. If the issue persists, move on to the next troubleshooting step.
Check for Overheating
Overheating can be a common issue that can cause a stereo to fail to turn on or abruptly shut down. When a stereo component overheats, it activates a built-in safety feature that prevents further damage. Here’s how to check for overheating:
- Feel the top, sides, and back of your stereo components. If they feel excessively hot to the touch, it may be a sign of overheating.
- Make sure that your stereo has sufficient ventilation. Check if there are any obstructions around the vents or air intake areas. Move any objects blocking the airflow.
- Ensure that your stereo components are not stacked directly on top of each other. This can potentially trap heat and contribute to overheating.
- If you have a receiver or amplifier with a cooling fan, make sure it is working properly. If the fan is making unusual noises or doesn’t seem to be spinning, it may need to be replaced.
- If your stereo shuts off after running for an extended period, it could be due to overheating. In this case, consider giving it a break to cool down before attempting to power it on again.
Overheating can be a serious issue and should not be ignored. If you consistently experience overheating problems, it may be necessary to consult a professional technician to investigate further and address the underlying cause.
Let’s move on to the next troubleshooting step if overheating doesn’t seem to be the issue.
Troubleshoot the Remote Control
If your stereo system has a remote control, it’s worth troubleshooting the remote to ensure it’s not the cause of the issue. Here are some steps to troubleshoot your remote control:
- Check the batteries: Ensure that the batteries in the remote control are not depleted. Replace them with fresh batteries if necessary. Make sure the batteries are inserted correctly, matching the positive (+) and negative (-) signs.
- Test the remote control: Aim the remote control directly at the stereo and press different buttons to see if any of them work. Look for a visible infrared signal from the remote when pressing the buttons.
- Remove any obstacles: Make sure there are no objects obstructing the path between the remote control and the stereo. Objects like glass, furniture, or other electronics can interfere with the signal transmission.
- Clean the remote control: If the remote control buttons are unresponsive or sticky, remove any dirt, dust, or debris by gently wiping it with a soft, lint-free cloth or using compressed air. Avoid using harsh chemicals or liquids that could damage the remote.
- Reset the remote control: Some remotes may have a reset button or a procedure outlined in the user manual to reset the settings. Follow the instructions to perform a reset and then try using the remote again.
If troubleshooting the remote control doesn’t resolve the issue and your stereo still won’t turn on, it’s time to consider seeking assistance from a professional technician or contacting the manufacturer for further support.
With the troubleshooting steps completed, let’s conclude our troubleshooting guide.
Conclusion
A stereo system that doesn’t turn on can be frustrating, but with proper troubleshooting, many common issues can be resolved. By following the steps outlined in this guide, you can diagnose potential causes and take the necessary steps to get your stereo up and running again.
Throughout the troubleshooting process, it is important to prioritize safety. Always unplug your stereo from the power source before performing any inspections or repairs. If you are unsure about working with electrical components, it is wise to seek the assistance of a professional.
We covered several key troubleshooting steps for a stereo system that won’t turn on, including checking the power source, inspecting the power cord, testing the outlet, examining the power button, inspecting the fuse, looking for tripped circuit breakers, verifying the speaker connections, checking for overheating, and troubleshooting the remote control.
If none of the troubleshooting steps provided a solution and your stereo is still not turning on, it may be necessary to contact the manufacturer’s customer support or consult a professional technician for further assistance and repairs.
Remember, troubleshooting a stereo system requires patience and attention to detail. By systematically going through the steps and ruling out potential causes, you’ll have a higher chance of identifying and resolving the issue.
We hope this guide has been helpful in troubleshooting and resolving the issue with your stereo system. Now, you can enjoy your favorite music and immerse yourself in the world of sound once again.

