Home>Production & Technology>Stereo>How To Fix Car Stereo
Stereo
How To Fix Car Stereo
Modified: January 22, 2024
Learn how to fix your car stereo with these simple steps. Get expert advice on troubleshooting common stereo issues and enjoy your favorite tunes on the road again.
(Many of the links in this article redirect to a specific reviewed product. Your purchase of these products through affiliate links helps to generate commission for AudioLover.com, at no extra cost. Learn more)
Table of Contents
Introduction
Having a car stereo that is not working properly can be a frustrating experience. Whether you’re unable to hear any sound, experiencing static or distortion, or facing issues with the display, a faulty car stereo can make your daily commute or road trip less enjoyable. But don’t worry, in this article, we will provide you with a step-by-step guide on how to fix a car stereo and get it back to working condition.
Before we dive into the troubleshooting process, it’s important to note that car stereo systems can vary in complexity and design. Some older models may have simpler controls, while newer models might come with advanced features and technology. However, the basic principles behind troubleshooting and fixing a car stereo remain the same, regardless of the make or model of your vehicle.
It’s also worth mentioning that attempting to fix a car stereo requires a certain level of technical proficiency and understanding. If you don’t feel comfortable or confident in handling the troubleshooting process on your own, it’s always advisable to seek the help of a professional car audio technician.
With that said, let’s get started with the troubleshooting process and find out what might be causing the issues with your car stereo system.
Step 1: Troubleshooting
When your car stereo is not functioning properly, the first step is to troubleshoot the issue. This involves identifying the specific problem or symptoms you are experiencing. Here are a few common problems you might encounter and their potential causes:
- No sound: If you’re not hearing any sound from your car stereo, check the volume settings first. Ensure that the volume is turned up and not muted. If the volume is fine, the issue could be with the speakers, wiring, or the audio source.
- Static or distortion: If you’re experiencing static or distortion in the audio, it could be due to a loose connection, damaged wires, or interference from other electronic devices. Additionally, poor reception can also cause static in radio stations.
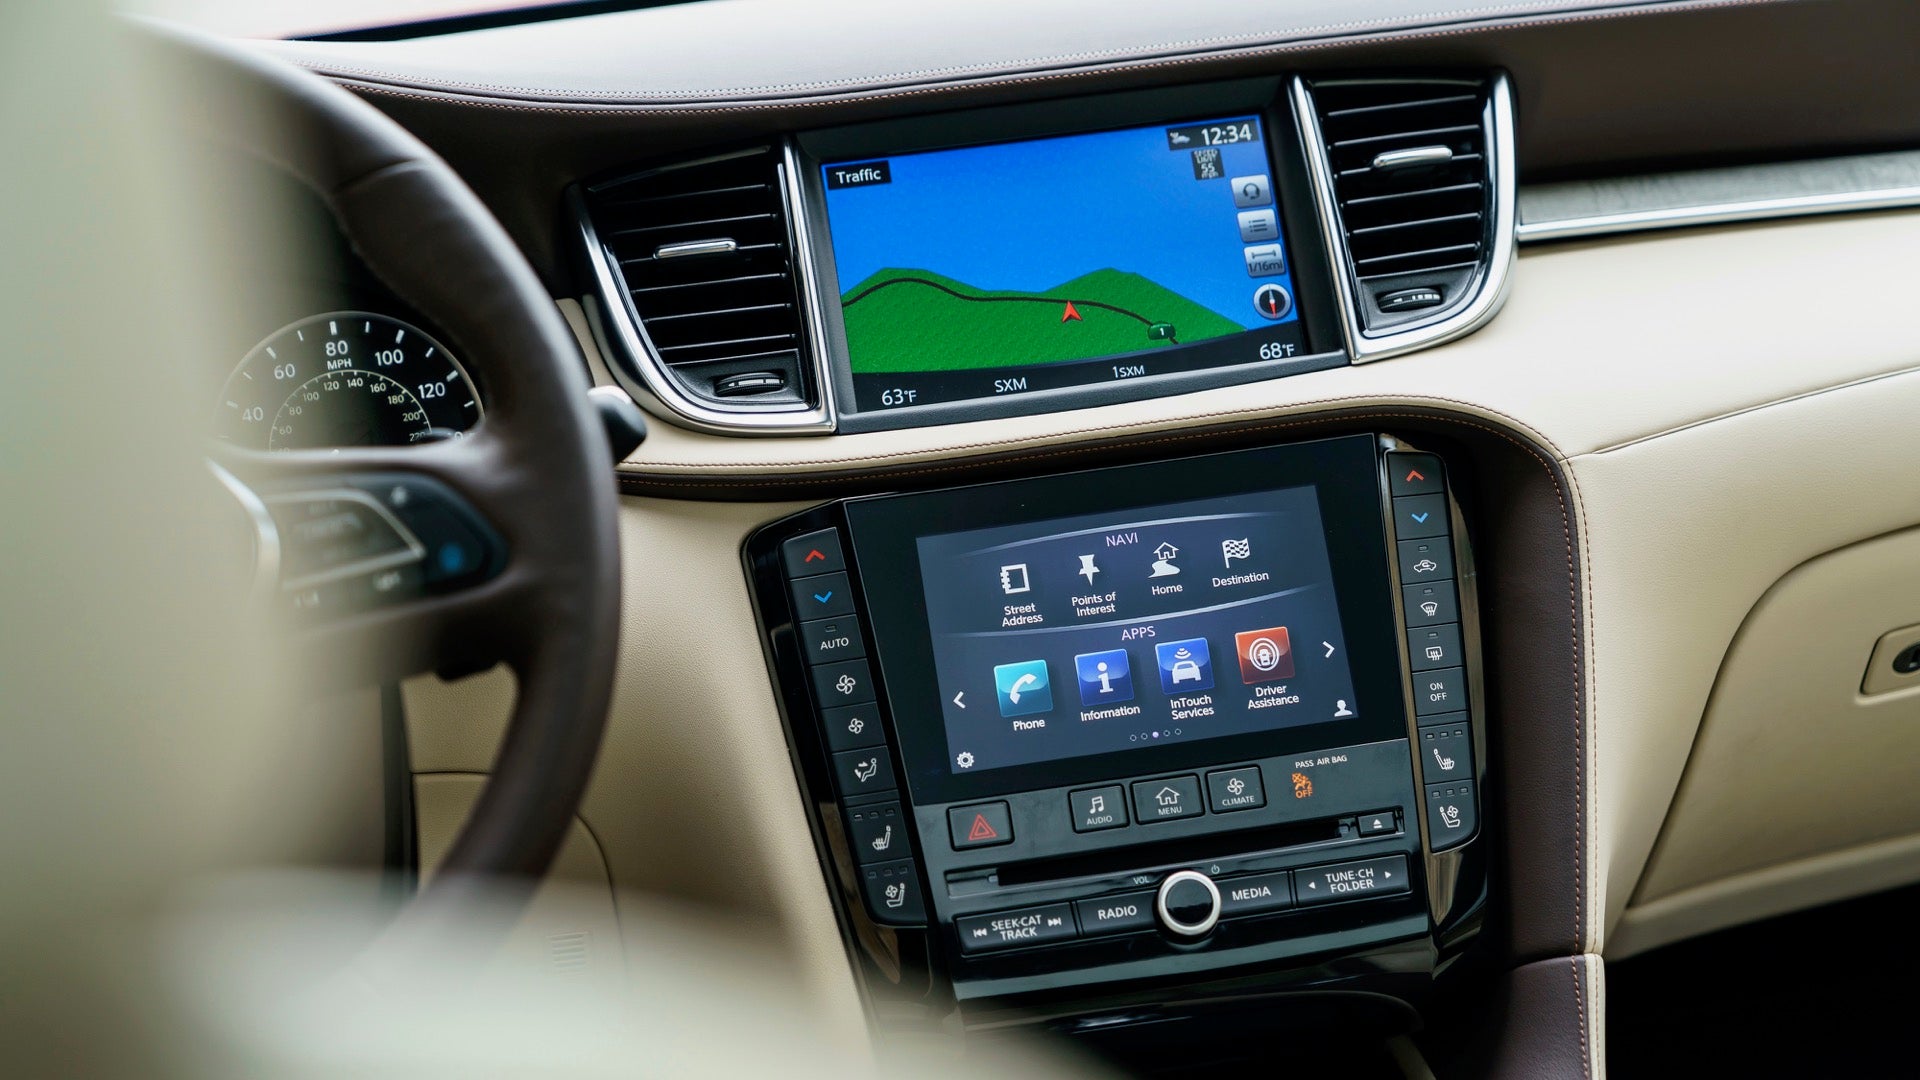
- No display: If the display is not functioning or showing any information, check the power connection and ensure that the stereo is receiving power. Also, check the brightness settings and ensure they are set correctly.
Once you have identified the specific problem, you can move on to the next steps to fix your car stereo system. It’s essential to address the root cause of the problem to ensure a proper solution.
However, before moving on to the subsequent steps, it’s worth mentioning that many car stereo systems come with built-in diagnostic functionalities. These diagnostics can help identify and display error codes that indicate specific issues. Consult your car stereo’s user manual to see if diagnostic features are available and how to access them.
In the next step, we will guide you through checking the connections of your car stereo system to ensure they are functioning properly.
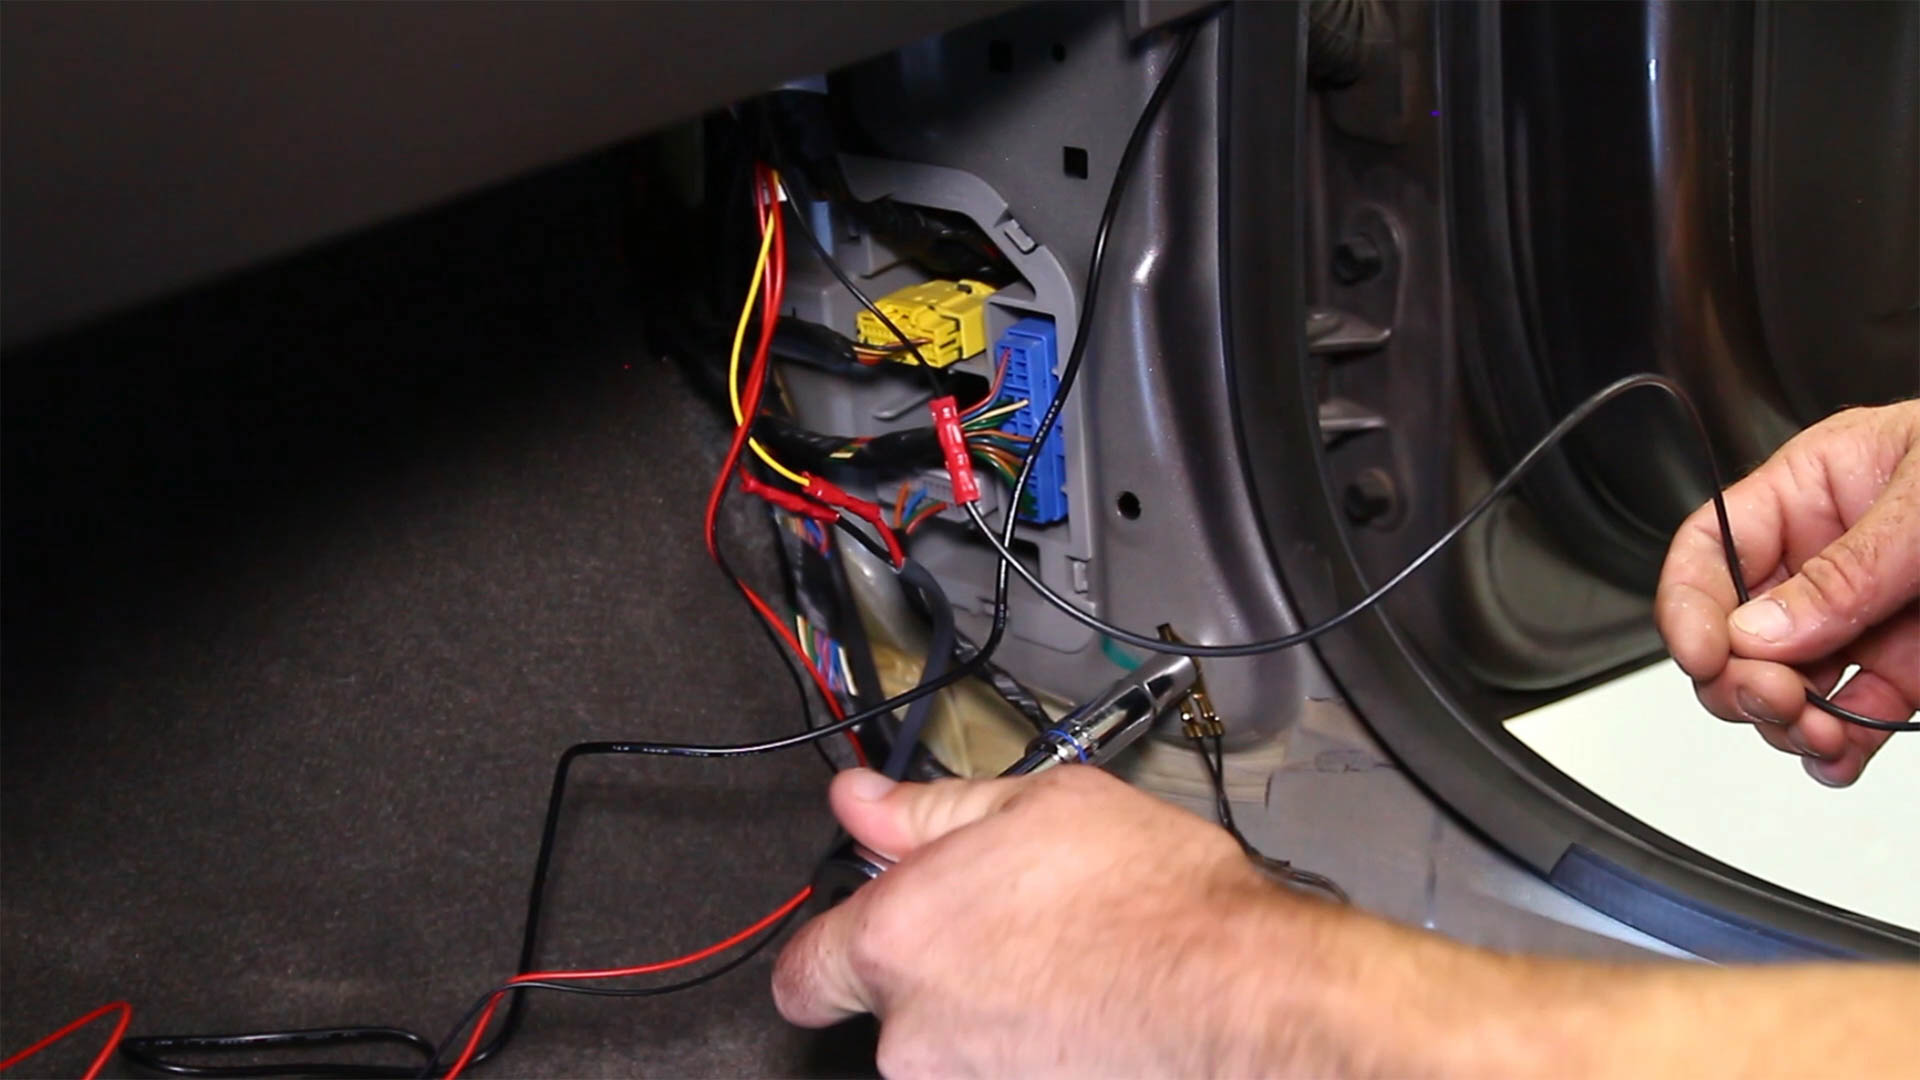
Step 2: Checking the Connections
When your car stereo is experiencing issues, it’s essential to check the connections to ensure they are secure and properly connected. Loose or damaged connections can result in a variety of problems, including loss of sound, distorted audio, or a non-functioning display.
Here are the key connections you should inspect:
- Power connection: Start by checking the power connection of your car stereo. Ensure that the power cable is securely connected to the stereo unit and the vehicle’s power source. If the power cable is loose or damaged, it may cause intermittent power loss or prevent the stereo from turning on at all.
- Speaker connections: Examine the speaker connections to verify that they are properly plugged into the stereo unit. Loose or disconnected speaker wires can result in no sound or poor audio quality.
- Antenna connection: If you are experiencing issues with the radio reception, check the antenna connection. Make sure the antenna cable is securely attached to the stereo unit. In some cases, the antenna may be damaged or require replacement.
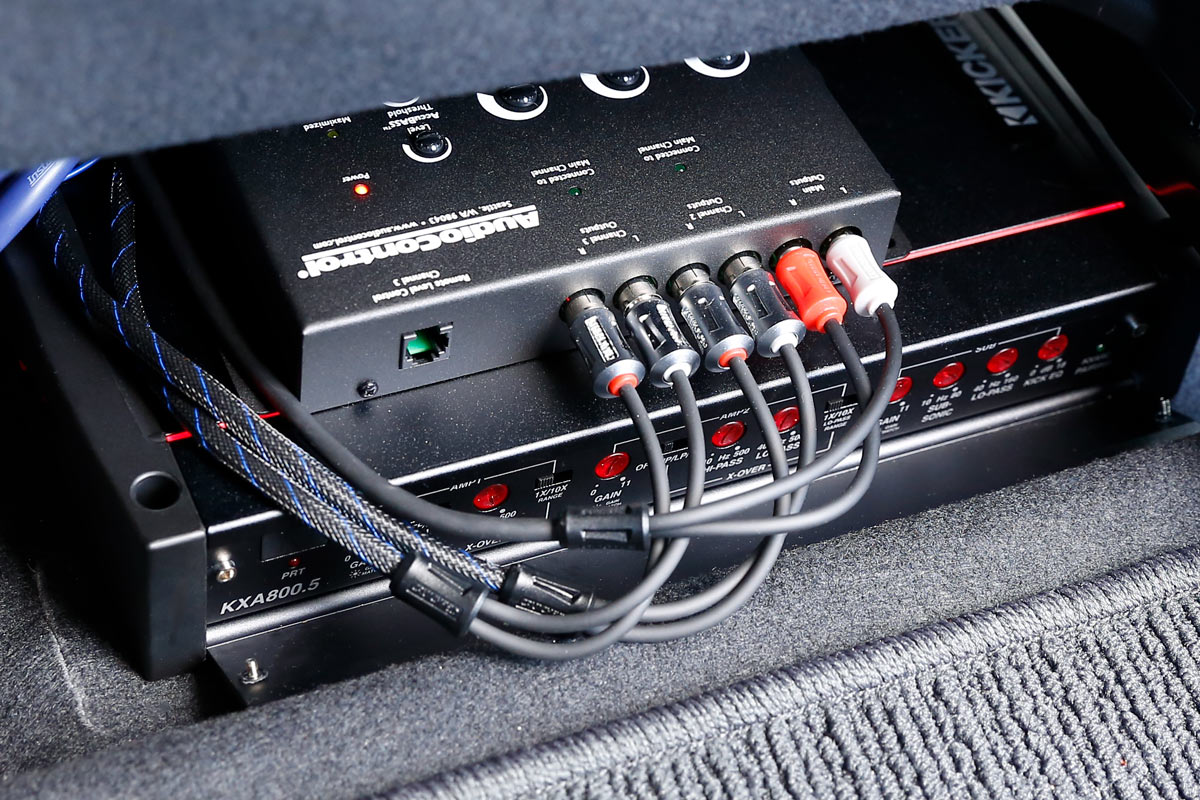
- Additional connections: Depending on your car stereo and the accessories connected to it, such as amplifiers or Bluetooth adapters, check all additional connections to ensure they are secure and functioning correctly.
It’s important to inspect each connection point and look for any signs of damage or corrosion. Clean the connectors if necessary and reattach them firmly. If you discover any damaged cables or connectors, they may need to be replaced to restore proper functionality.
Once you have checked and reestablished the proper connections, proceed to the next step to learn how to reset the car stereo system.
Step 3: Resetting the Stereo System
If you’re still facing issues with your car stereo after checking the connections, resetting the system can often resolve various software and configuration problems. Resetting the stereo will restore it to its default settings and can help eliminate any glitches or errors that may be causing the issues.
Here are the general steps to follow when resetting your car stereo system:
- Locate the reset button: Look for a small reset button on the front panel of the car stereo unit. The location of the reset button can vary depending on the make and model of your stereo, so consult the user manual if needed.
- Press and hold the reset button: Using a small pointed object like a paperclip or a pen, press and hold the reset button for a few seconds. This action will initiate the reset process.
- Release the reset button: After holding the reset button for the designated time, release it. Your car stereo will now begin the reset process, and it may take a few moments to complete.
- Reconfigure the settings: Once the reset process is finished, you will need to reconfigure any personalized settings, such as the radio presets or audio preferences.
Keep in mind that resetting the stereo system will erase any saved settings or preferences you had previously set. However, it can often resolve issues related to software glitches or incorrect configurations.
If the reset process does not fix the problem, move on to the next step to check the fuse of your car stereo system.
Step 4: Checking the Fuse
If your car stereo is still not functioning properly, it’s crucial to check the fuse that powers the stereo system. A blown fuse can prevent the stereo from receiving power, causing it to malfunction or not turn on at all.
Here’s how you can check the fuse:
- Locate the fuse box: The fuse box is usually located under the dashboard or in the engine compartment. Consult your vehicle’s manual to find the exact location of the fuse box.
- Identify the stereo fuse: Look for the fuse that is associated with the car stereo system. It is typically labeled as “Audio,” “Radio,” or may have a specific number assigned to it.
- Inspect the fuse: Remove the fuse from its socket and visually inspect it. Check if the metal wire inside the fuse is intact or if it appears broken or burnt. If the fuse is damaged, it needs to be replaced.
- Replace the fuse: If the fuse is blown or damaged, replace it with a new fuse of the same amperage rating. Make sure to use the correct size and type of fuse to avoid any electrical issues.
- Test the stereo: After replacing the fuse, reconnect the fuse box cover and test the car stereo to see if it is functioning properly now. If the fuse was indeed the cause of the problem, your stereo should now be working.
If checking and replacing the fuse does not resolve the issue, it may be necessary to explore other possible causes or seek professional assistance.
The next step will guide you through checking the antenna of your car stereo system to ensure proper reception.
Step 5: Checking the Antenna
If you’re experiencing poor radio reception or no reception at all, the issue could lie with the antenna of your car stereo system. A faulty or damaged antenna can lead to weak or no signal, resulting in distorted or no audio from the radio.
Here’s how to check the antenna:
- Inspect the antenna: Start by visually inspecting the antenna on the exterior of your vehicle. Look for any physical damage, such as bent or broken parts, loose connections, or signs of corrosion. If you notice any issues, that may be the cause of the problem.
- Check the antenna cable: Follow the antenna cable from the exterior antenna to where it connects to the stereo unit. Ensure that the cable is securely plugged in and not damaged. If necessary, disconnect and reconnect the cable to ensure a proper connection.
- Replace the antenna: If you suspect that the antenna is faulty and the above steps don’t resolve the issue, you may need to replace the antenna. Consult your car manufacturer or a professional car audio technician for guidance on finding a compatible antenna replacement.
- Test the radio reception: After checking and potentially replacing the antenna, test the radio reception to see if it has improved. Tune in to different radio stations to ensure clear and uninterrupted reception. If the reception is now satisfactory, the antenna was likely the cause of the problem.
It’s important to note that some vehicles may have integrated or amplified antennas that require specific troubleshooting methods. If you have an amplified antenna, consult your vehicle’s manual or seek professional assistance to diagnose and resolve any issues with it.
If the antenna check does not resolve the problem, proceed to the next step to learn about cleaning your car stereo system.
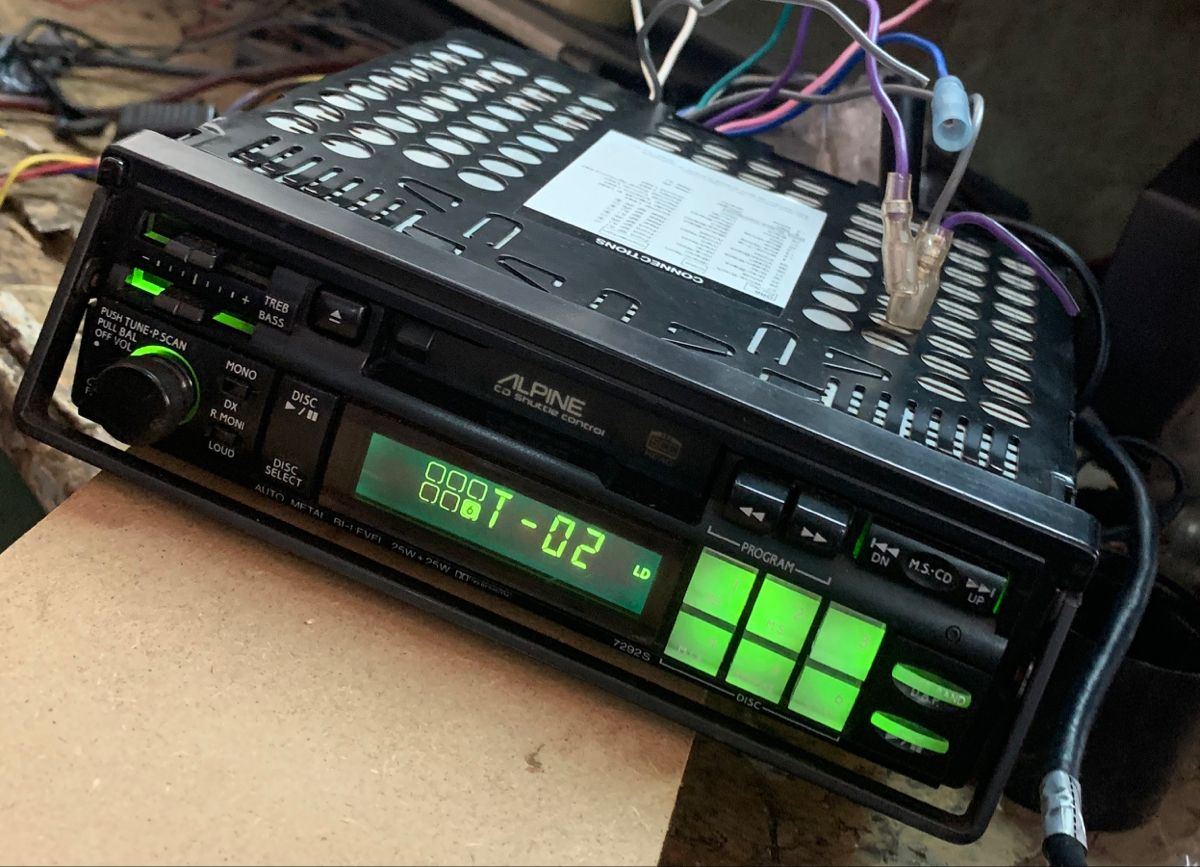
Step 6: Cleaning the Stereo System
Over time, dust, dirt, and debris can accumulate on the various components of your car stereo system, leading to reduced performance or functionality issues. Cleaning the stereo system can help remove any buildup and improve its overall operation.
Follow these steps to clean your car stereo:
- Disconnect the power: Before you begin cleaning, ensure that the car’s ignition is turned off and the stereo system is disconnected from the power source. This step is important to prevent any electrical damage or injury.
- Use a soft cloth: Gently wipe the exterior of the stereo unit and any control buttons using a soft, lint-free cloth. This process will remove any surface dirt or dust.
- Remove the faceplate: If your car stereo has a detachable faceplate, carefully remove it according to the manufacturer’s instructions. Clean the faceplate separately using the same soft cloth.
- Clean the connectors: Inspect the connectors on the stereo unit and the faceplate for any signs of dirt or corrosion. Use a cotton swab dipped in rubbing alcohol to clean the connectors, ensuring a secure and uninterrupted connection.
- Air blow the interior: Using compressed air or a can of compressed air duster, blow air into the gaps and crevices of the stereo unit. This will help remove any loose debris or dust that may have accumulated inside.
- Reassemble and test: Once you have thoroughly cleaned all the components, carefully reassemble the faceplate (if applicable) and reconnect the stereo to the power source. Test the system to see if the cleaning process has resolved any issues you were facing.
Regularly cleaning your car stereo system can help maintain its performance and prevent any potential problems caused by dirt or debris buildup. However, if cleaning the system does not solve the issues, proceed to the next step to explore firmware updates or reinstallation.
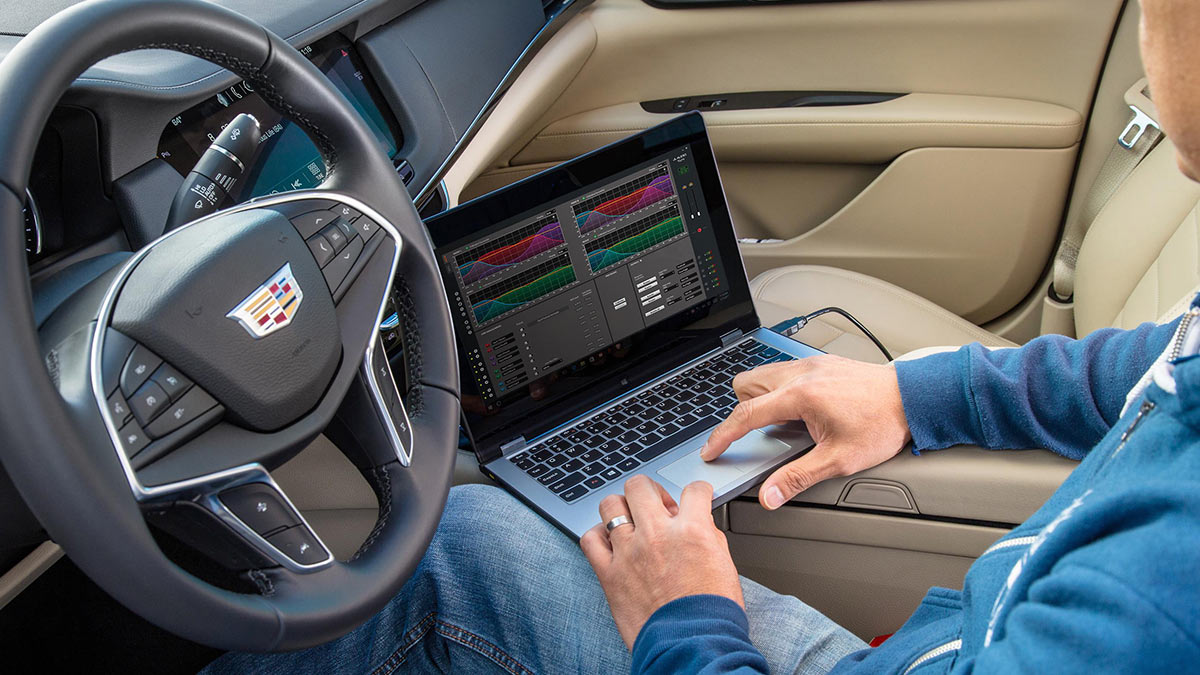
Step 7: Update or Reinstall the Firmware
If you’ve gone through the previous steps and your car stereo is still not functioning properly, it may be necessary to update or reinstall the firmware. Firmware is the software that controls the operation of the car stereo, and outdated or corrupted firmware can cause various issues.
Here’s how to update or reinstall the firmware:
- Check for firmware updates: Visit the manufacturer’s website or consult the user manual to see if there are any available firmware updates for your specific car stereo model. Download the latest firmware version onto a USB drive, following the provided instructions.
- Connect the USB drive: Insert the USB drive with the firmware update file into the appropriate USB port on the car stereo unit. Some car stereo systems may have specific USB ports designated for firmware updates, so refer to the user manual for guidance.
- Initiate the update process: In the car stereo’s settings menu, navigate to the firmware update section. Follow the on-screen instructions to initiate the firmware update process. Be patient and ensure that the car battery is sufficiently charged to avoid any interruptions during the update.
- Reinstall the firmware: If there are no firmware updates available or if updating the firmware doesn’t resolve the issue, consider reinstalling the firmware. Consult the car stereo’s user manual or contact the manufacturer for guidance on how to reinstall the firmware.
- Test the car stereo: After updating or reinstalling the firmware, test your car stereo to see if the issues have been resolved. Check for any improvements in sound quality, display functionality, or any other specific problems you were experiencing.
Updating or reinstalling the firmware can often address software-related problems and improve the overall performance of your car stereo. However, it’s crucial to follow the manufacturer’s instructions carefully and ensure that you have the correct firmware update for your specific model.
If updating or reinstalling the firmware doesn’t resolve the issues, it may be time to seek professional help, as there could be a more complex issue with the car stereo system.
Step 8: Seeking Professional Help
If you have followed all the previous steps and your car stereo is still not working properly, it may be time to seek professional assistance. Car audio technicians have the expertise and tools necessary to diagnose and repair complex issues that you may not be able to handle on your own.
Here are a few reasons why you might need professional help:
- Advanced diagnostics: Professional technicians have access to specialized diagnostic equipment and software that can help identify specific problems with your car stereo system. They can pinpoint issues that may not be immediately evident or require in-depth knowledge to detect.
- Component replacement: If certain components of your car stereo need to be replaced, professionals are well-versed in sourcing and installing the appropriate parts. They can ensure that the replacements are compatible and properly integrated into your vehicle’s audio system.
- Warranty considerations: If your car stereo is still under warranty, attempting to fix the issue yourself may void the warranty. Professional technicians can perform the necessary repairs or replacements while ensuring your warranty remains valid.
- Time and expertise: Not everyone has the time, technical knowledge, or tools required to troubleshoot and repair complex car stereo issues. Seeking professional help can save you valuable time and ensure that the problem is addressed efficiently and accurately.
Reach out to authorized car audio service centers or certified technicians in your area. They have the expertise and experience to diagnose, repair, or provide alternative options for your car stereo system.
Remember to provide them with detailed information about the issues you’re experiencing, any steps you’ve already taken, and any relevant history or context related to the problem. This will help them in their diagnostic process.
Seeking professional help ensures that your car stereo is repaired by experts who understand the intricacies of audio systems, giving you the best chance of resolving the issue and enjoying high-quality sound in your vehicle once again.
After following these steps, you should have a better understanding of how to fix your car stereo and get it back to working condition. Whether you were able to resolve the issue on your own or needed professional assistance, you can now enjoy your favorite music and radio stations while on the road.
Conclusion
Having a car stereo that is not functioning properly can be frustrating. However, with the right troubleshooting steps, you can often pinpoint and resolve the issues you are experiencing. By following the steps outlined in this guide, you can troubleshoot common problems, such as a lack of sound, static or distortion, non-functioning displays, or poor radio reception.
Start by troubleshooting the specific problem you are facing, checking the connections, resetting the stereo system, and inspecting the fuse. If necessary, move on to checking the antenna, cleaning the stereo system, updating or reinstalling the firmware, and seeking professional assistance if needed.
Each step is designed to help you identify and address different aspects of your car stereo system that may be causing the issues. Remember to consult your vehicle’s user manual and follow any specific instructions provided by the manufacturer.
While it’s important to attempt these troubleshooting steps on your own, it’s also crucial to know your limitations. If you’re not comfortable or confident in handling the technical aspects or if the issues persist, seeking professional help from qualified car audio technicians is always a good option.
By taking the time to troubleshoot and fix your car stereo system, you can restore its functionality and enjoy a seamless audio experience while on the road. Whether it’s listening to music, podcasts, or staying connected with the latest news and weather updates, a properly working car stereo can enhance your driving experience.
Remember to keep your car stereo system clean, regularly update the firmware, and check for any technical updates or improvements provided by the manufacturer. This will help ensure your car stereo system continues to perform optimally for years to come.
With the knowledge gained from this guide, you can confidently tackle any issues that arise with your car stereo system and get back to enjoying your favorite tunes while on the go.