Home>Production & Technology>Surround Sound>Why Is 7.1 Surround Sound Not Working
Surround Sound
Why Is 7.1 Surround Sound Not Working
Modified: January 22, 2024
Are you having trouble with your 7.1 surround sound system? Discover why surround sound may not be working and find solutions to fix the issue.
(Many of the links in this article redirect to a specific reviewed product. Your purchase of these products through affiliate links helps to generate commission for AudioLover.com, at no extra cost. Learn more)
Table of Contents
- Introduction
- Understanding 7.1 Surround Sound
- Potential Reasons for 7.1 Surround Sound Not Working
- Checking Audio Settings
- Updating Audio Drivers
- Testing the Speaker Connections
- Troubleshooting Hardware Issues
- Adjusting Sound Settings in Media Players
- Updating Firmware on Audio Devices
- Configuring Sound Output in Operating System
- Closing Thoughts
Introduction
Welcome to the world of surround sound, where audio comes alive and immerses you in a multi-dimensional experience like no other. 7.1 surround sound is a cutting-edge audio technology that creates a more realistic and captivating audio environment. However, despite its advanced capabilities, there may be instances where your 7.1 surround sound system is not working as expected.
Before diving into troubleshooting, it’s important to understand what 7.1 surround sound entails. This audio format expands upon the traditional stereo setup by adding extra speakers to create a more encompassing soundstage. With 7 main speakers and a subwoofer, the system is capable of delivering precise sound positioning and a rich audio experience.
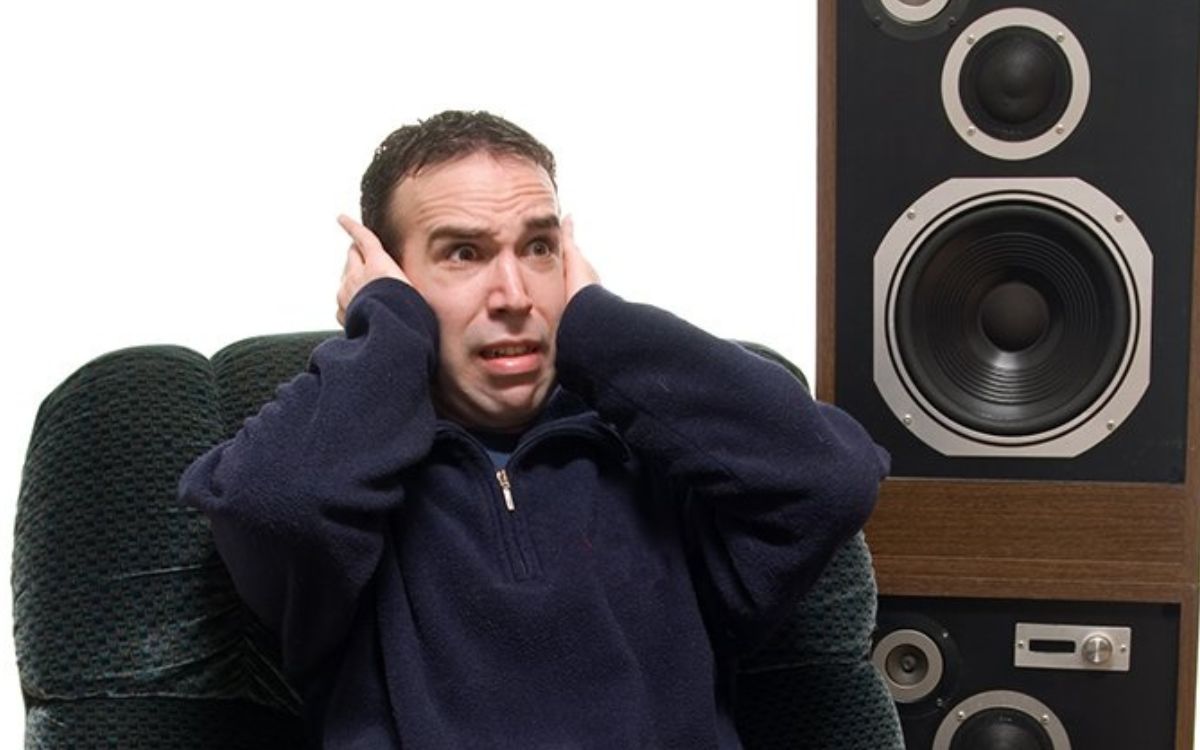
When your 7.1 surround sound system is not functioning correctly, it can be frustrating and hinder your overall audio enjoyment. There can be various reasons for this issue, ranging from incorrect audio settings to hardware malfunctions. In this article, we will explore some common factors that may cause 7.1 surround sound to not work and provide practical solutions to help you troubleshoot and resolve the problem.
Before we dive into the troubleshooting process, it’s important to note that every audio system is unique, and the specific steps may vary depending on your hardware and software configuration. However, the techniques outlined in this article should serve as a good starting point for resolving common 7.1 surround sound issues.
Understanding 7.1 Surround Sound
Before delving into troubleshooting, it’s crucial to understand the fundamentals of 7.1 surround sound. This audio technology adds an extra depth and dimension to your listening experience, making you feel like you’re in the middle of the action.
The “7” in 7.1 surround sound refers to the seven main speakers used in the setup, while the “1” represents the addition of a subwoofer. Together, they create an immersive audio environment that mimics real-life soundscapes.
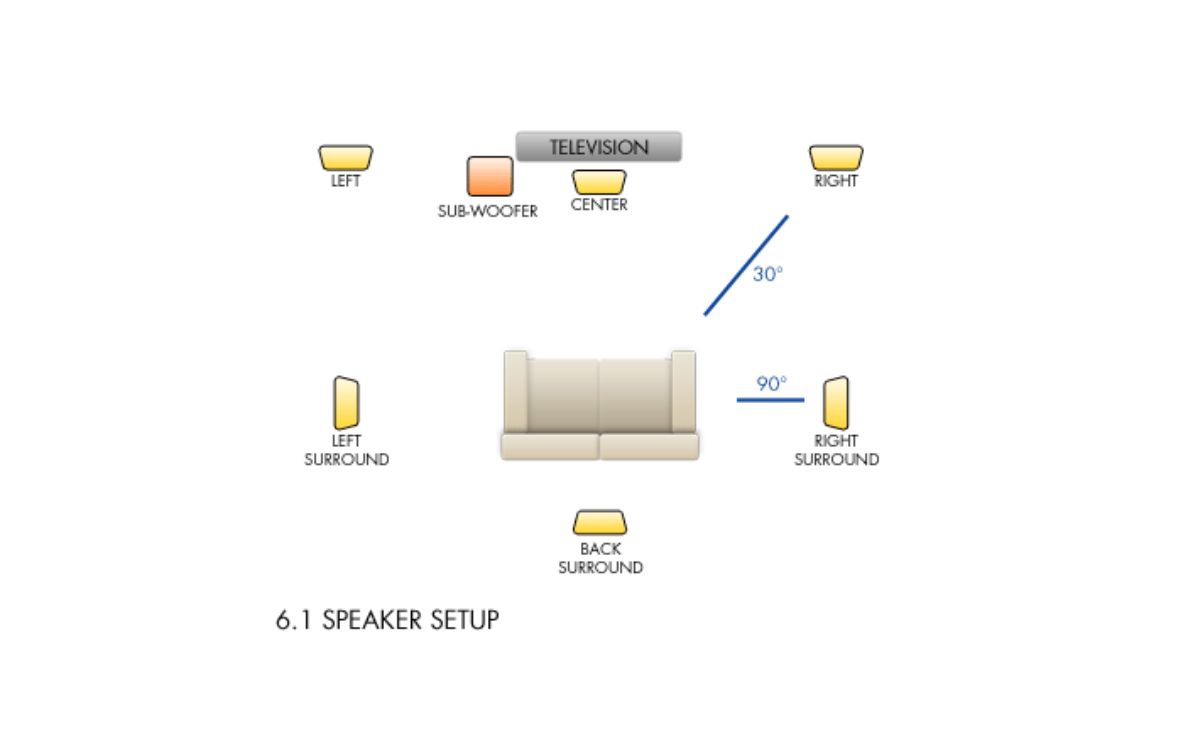
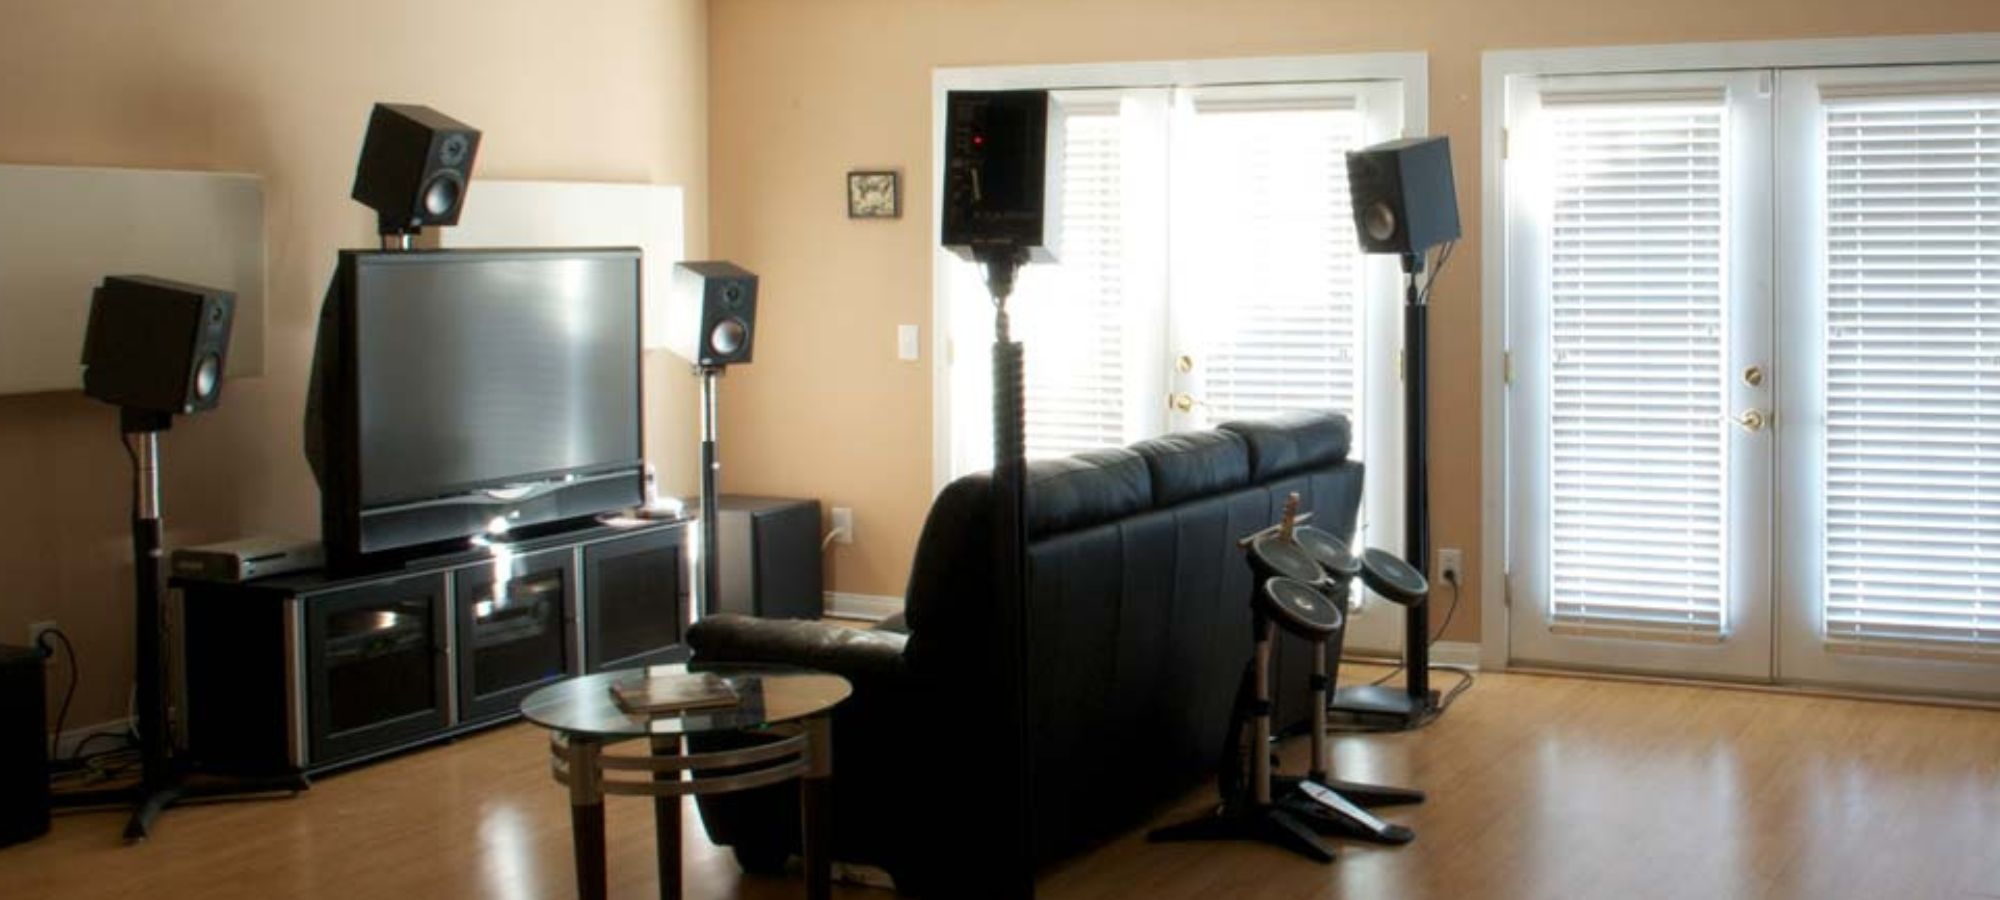
Let’s break down the components of a 7.1 surround sound system:
- Front Left and Right Speakers: These are the main speakers responsible for reproducing most of the audio, including dialogue and music. They are typically placed on either side of the screen or listening area.
- Center Speaker: The center speaker is positioned directly above or below the screen and is dedicated to producing dialogue. It ensures clear and accurate vocal reproduction, enhancing the overall clarity of the sound.
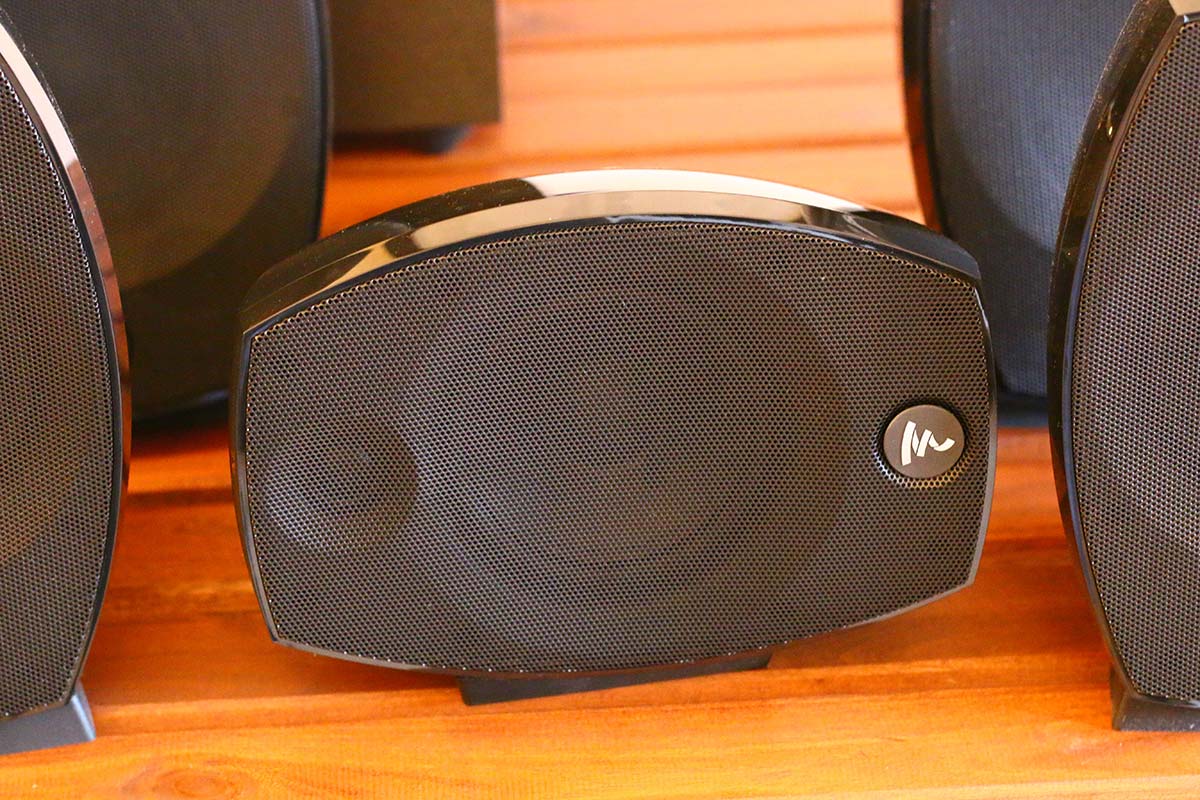
- Surround Speakers (Side Left and Right): These speakers are positioned on the sides of the listening area and are responsible for creating ambient and background sounds, adding depth and realism to the audio experience.
- Surround Back Speakers (Rear Left and Right): These rear speakers provide additional depth and dimension to the sound by creating a sense of space and envelopment. They are not always present in a 7.1 setup but are common in more advanced systems.
- Subwoofer: The subwoofer handles the low-frequency sounds and adds impact and intensity to explosions, deep bass, and other rumbles. It delivers the rumbling sensation you feel during action-packed movie scenes or bass-heavy music.
With this arrangement of speakers and a powerful subwoofer, a 7.1 surround sound system creates a truly immersive audio experience, making you feel like you’re part of the movie or concert.
When troubleshooting issues with 7.1 surround sound, it’s important to consider the specific connections and settings of each speaker, as any deviation from the standard setup could potentially affect the overall performance of the system.
Potential Reasons for 7.1 Surround Sound Not Working
If your 7.1 surround sound system is not functioning properly, there could be several reasons behind the issue. Understanding these potential causes will help you diagnose and resolve the problem more effectively. Here are some common reasons why your 7.1 surround sound might not be working:
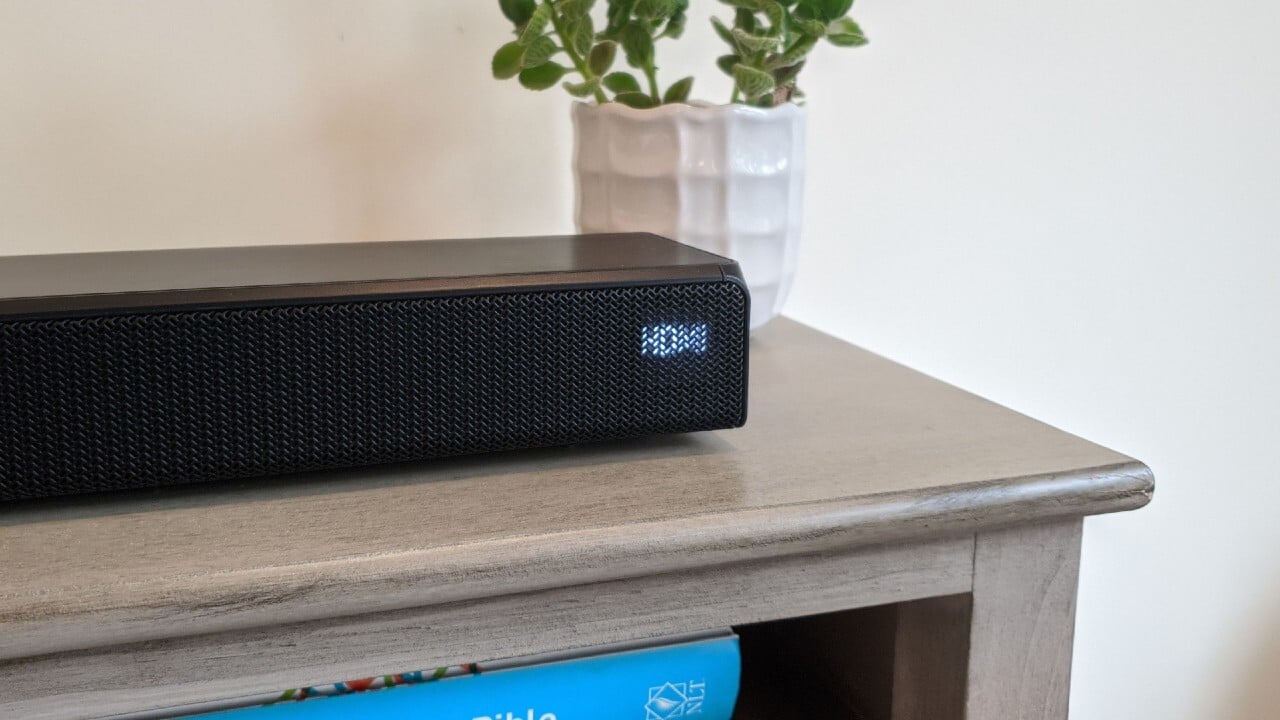
- Incorrect Audio Settings: One of the most common reasons for surround sound issues is incorrect audio settings on your media player, operating system, or receiver/amplifier. Ensure that the appropriate audio output mode is selected and that all speakers are properly configured.
- Outdated Audio Drivers: If you’re experiencing audio problems, outdated or incompatible audio drivers could be the culprit. It’s essential to keep your audio drivers up to date to ensure compatibility with your operating system and hardware.
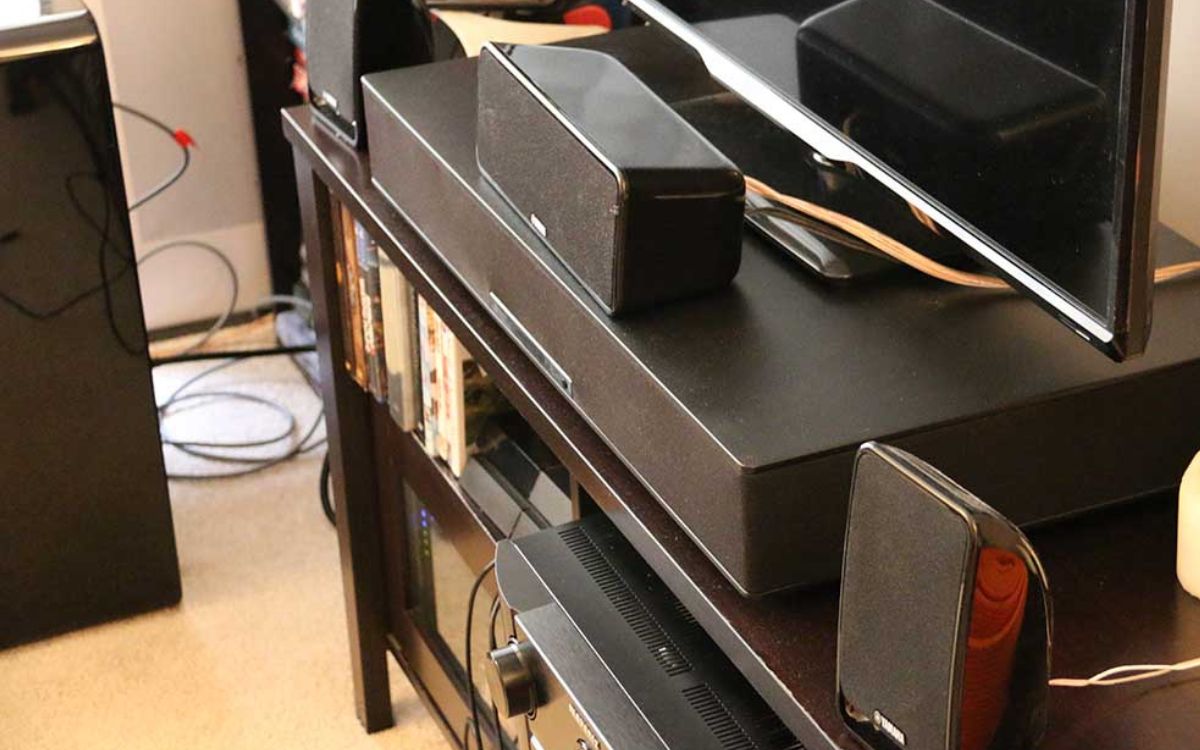
- Loose or Disconnected Speaker Connections: Check the connections between your speakers and the receiver/amplifier. A loose or disconnected wire can interrupt the audio signal, resulting in no sound or distorted sound. Ensure that all cables are securely connected to their respective ports.
- Faulty Speaker Wires or Connectors: Damaged or faulty speaker wires and connectors can cause issues with the audio signal transmission. Inspect the speaker wires for any signs of damage and replace them if necessary. Additionally, ensure that the connectors are clean and making a solid connection.
- Hardware Malfunctions: Sometimes, hardware malfunctions can affect the functioning of your surround sound system. This can include problems with the receiver, amplifier, speakers, or even the audio source. Performing a thorough check of all hardware components can help identify any faulty equipment.
- Sound Settings in Media Players: Certain media players have specific sound settings that may need adjustment for optimal surround sound performance. Check the settings within the media player you are using to ensure they are configured correctly for your 7.1 surround sound system.
- Outdated Firmware: If you’re using a receiver or amplifier for your surround sound system, outdated firmware can cause compatibility issues and impact the performance of your audio setup. Check for firmware updates from the manufacturer and install them as necessary.
- Incorrect Sound Output Configuration: Ensure that your operating system is properly configured to output sound in the 7.1 surround sound format. Check the sound settings in your operating system’s control panel and make any necessary adjustments.
By considering these potential reasons for your 7.1 surround sound system not working, you can narrow down the source of the problem and take appropriate steps to resolve it. In the following sections, we will explore specific troubleshooting techniques to address each of these potential issues.
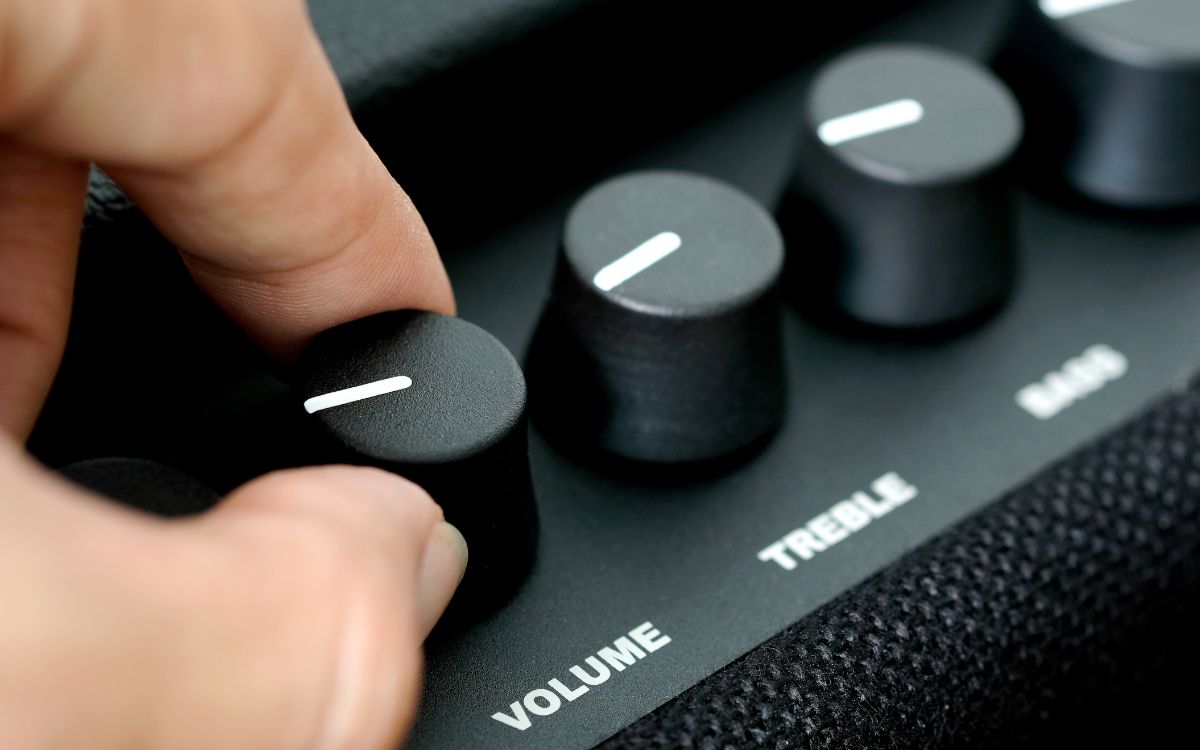
Checking Audio Settings
One of the first steps in troubleshooting your 7.1 surround sound system is to check the audio settings on your devices. Incorrect audio settings can prevent your system from delivering the desired surround sound experience. Here’s how you can verify and adjust the audio settings:
- Media Player Settings: Open the media player you are using, whether it’s a video streaming platform or a local media player. Look for audio settings or options related to sound output. Ensure that the audio output mode is set to surround sound or 7.1 channel, depending on your specific setup.
- Operating System Settings: Access the sound settings in your operating system. On Windows, you can usually find this in the Control Panel or the Settings menu. On macOS, it can be found in System Preferences. Select the audio output device and configure it to output sound in the 7.1 channel or surround sound format.
- Receiver or Amplifier Settings: If you’re using a receiver or an amplifier as part of your audio setup, check the audio settings on the device itself. Make sure it is set to the appropriate audio output mode, such as 7.1, and that the speakers are configured correctly.
- Audio Format Compatibility: Confirm that your media player and operating system support the audio format you are trying to play. Some media players or operating systems may not support certain surround sound formats, so it’s essential to check for compatibility.
Once you have reviewed and adjusted the audio settings, test your 7.1 surround sound system with different media content to ensure that the desired surround sound effect is achieved. If the issue persists, proceed to the next troubleshooting step to investigate further.
Updating Audio Drivers
Outdated or incompatible audio drivers can often be a cause of 7.1 surround sound issues. Keeping your audio drivers up to date is crucial for ensuring proper compatibility and optimal performance. Here’s how you can update your audio drivers:
- Windows: On Windows, you can update your audio drivers through Device Manager. Press the Windows key + X and select “Device Manager.” Expand the “Sound, video, and game controllers” category. Right-click on your audio device and choose “Update driver.” Select “Search automatically for updated driver software” and follow the on-screen instructions to install any available updates.
- macOS: On macOS, audio driver updates are usually included in system updates. To check for updates, go to the Apple menu, select “System Preferences,” and click on “Software Update.” If any audio driver updates are available, they will be listed for installation.
- Manufacturer’s Website: Another method to update your audio drivers is by visiting the website of your audio device’s manufacturer. Look for the support or downloads section of the website, search for your specific audio device model, and download the latest drivers available. Follow the installation instructions provided by the manufacturer.
- Third-Party Driver Updater Tools: If manually updating drivers seems overwhelming, you can utilize third-party driver updater tools. These software programs scan your system for outdated drivers and automatically update them. Research and select a reputable driver updater tool, download and install it, and follow the on-screen instructions to update your audio drivers.
After updating your audio drivers, restart your system and test your 7.1 surround sound system to see if the issue has been resolved. If not, continue troubleshooting to explore other potential causes.
Testing the Speaker Connections
One of the most common reasons for 7.1 surround sound not working is loose or disconnected speaker connections. It’s important to ensure that all the speakers in your setup are properly connected to the receiver or amplifier. Here’s how you can test and verify the speaker connections:
- Physical Inspection: Begin by physically inspecting the connections between each speaker and the receiver or amplifier. Check for any loose or unplugged cables. Ensure that each speaker is securely connected to its corresponding audio output on the receiver or amplifier.
- Speaker Labels: If your speakers have labels indicating the channel (front left, front right, center, surround left, surround right, etc.), double-check that each speaker is connected to the correct channel on the receiver or amplifier. Incorrect speaker connections can lead to sound imbalance or the absence of certain audio channels.
- Swap and Test: To further verify the speaker connections, you can try swapping the connections of two speakers. For example, switch the connections of the front left and front right speakers. If the sound shifts to the opposite side, it indicates that the issue lies with the speaker connections or the speaker itself.
- Speaker Test Tone: Most modern receivers or amplifiers have a built-in speaker test tone feature. Access this feature through the receiver’s settings menu or remote control. The test tone produces a sound that should play through each speaker one by one. This allows you to ensure that all speakers are correctly connected and functioning.
- Cable Check: Examine the speaker cables for any damage or fraying. If you notice any issues, it’s advisable to replace the cables. Additionally, ensure that the cables are of the appropriate gauge and length for the distance between the speakers and the receiver or amplifier.
By thoroughly inspecting and testing the speaker connections, you can identify any issues that may be causing your 7.1 surround sound system to not work properly. Make sure all connections are secure and that each speaker is correctly connected to its designated audio output. If the problem persists, move on to the next troubleshooting step.
Troubleshooting Hardware Issues
When your 7.1 surround sound system is not functioning correctly, it’s important to consider the possibility of hardware issues. Hardware malfunctions can disrupt the audio signal and prevent your system from delivering the desired surround sound experience. Here are some steps to troubleshoot potential hardware issues:
- Receiver/Amplifier Check: Ensure that your receiver or amplifier is functioning properly. Check the power supply, indicator lights, and any relevant display or settings menus. If there are any issues with your receiver or amplifier, consult the manufacturer’s manual or contact their customer support for further assistance.
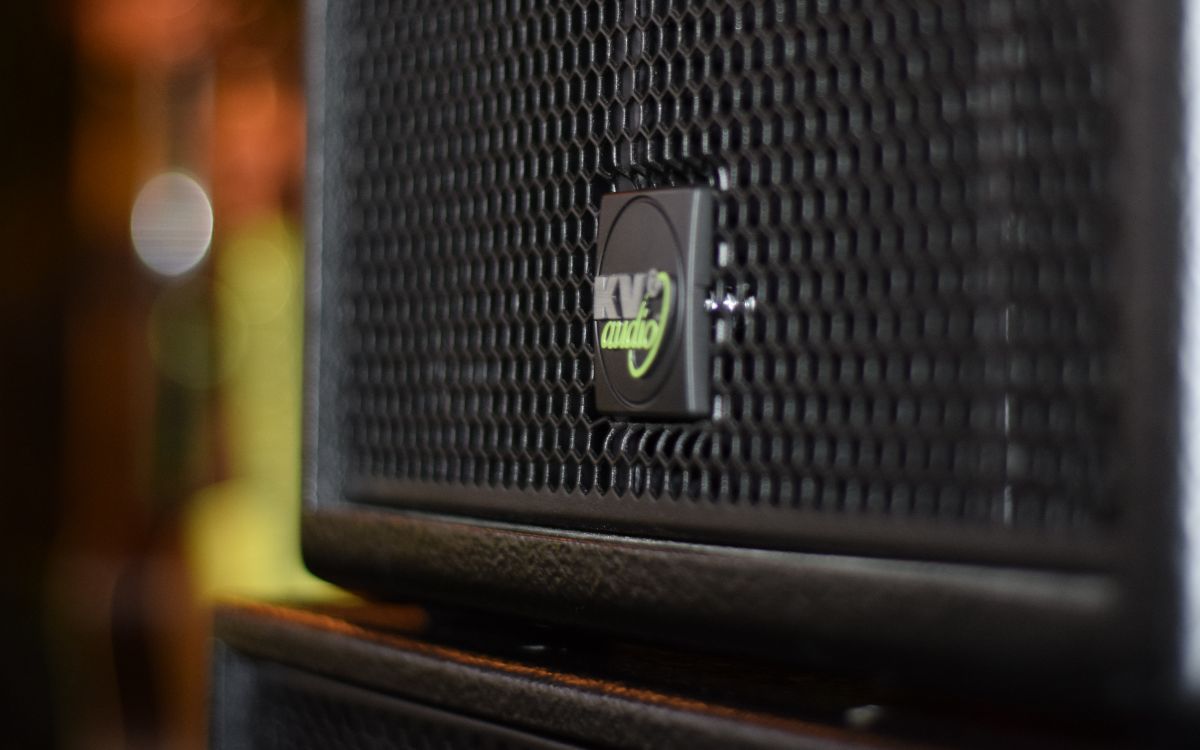
- Speaker Inspection: Thoroughly inspect each speaker in your setup. Look for any visible damage such as torn speaker cones, cracked cabinets, or loose components. If you notice any issues, it may indicate a faulty speaker that needs to be repaired or replaced.
- Subwoofer Performance: Pay close attention to your subwoofer’s performance. If it’s not producing any sound or the bass output is weak, there may be a problem with the subwoofer itself or its connection to the system. Check the subwoofer’s power supply, volume control, and connection cables.
- Audio Source Test: Verify if audio is playing correctly from different sources such as Blu-ray discs, DVDs, streaming services, and other media. This will help determine if the issue lies with the surround sound system or with a specific audio source. If the problem is only present with certain sources, it may indicate an issue with the source itself.
- System Power Cycle: Sometimes, simply power cycling your entire system can resolve hardware-related issues. Turn off all devices, including the receiver or amplifier, speakers, and the audio source. Unplug them from the power source and wait for a few minutes. Then, reconnect and power them back on in the correct sequence (i.e., the receiver or amplifier first, followed by the speakers and audio source).
If you have identified a hardware issue that needs further assistance, it’s recommended to reach out to the manufacturer’s customer support or consult with a professional audio technician. They can provide guidance based on the specific hardware components of your 7.1 surround sound system.
By troubleshooting hardware issues, you can tackle potential problems that may be affecting the performance of your surround sound system. If the hardware is not the cause of the issue, move on to the next troubleshooting step to explore other potential solutions.
Adjusting Sound Settings in Media Players
If your 7.1 surround sound system is not working as expected, it’s worth checking the sound settings within your media player. Different media players have various audio settings that can impact the output of surround sound. Here’s how you can adjust the sound settings in media players:
- Media Player Options: Open your media player and access the settings or options menu. Look for audio-related settings, such as “Audio,” “Sound,” or “Playback.” The location and labels of these settings may vary depending on the media player.
- Audio Output Selection: Ensure that the media player is set to output audio in the surround sound format (e.g., 7.1 or Dolby Digital). Look for options like “Stereo,” “Surround Sound,” or “Multi-Channel Audio.” Select the appropriate audio output mode for your system.
- Audio Device Selection: Verify that the correct audio device is selected within the media player’s settings. Sometimes, media players default to a different audio device, such as the internal speakers of your computer, instead of your surround sound system. Choose the relevant audio output device.
- Audio Codec Settings: Some media players allow you to adjust specific audio codec settings. Depending on your media player, you may have options like “Dolby Digital,” “DTS,” or “PCM.” Ensure that the correct audio codec is selected to match the capabilities of your surround sound system.
- Audio Effects or Enhancements: Some media players offer audio effects or enhancements that can interfere with the surround sound experience. Disable any features like “Virtual Surround,” “Equalizer,” or “Sound Enchantment” modes, as they may alter the audio output and prevent the true surround sound effect.
After adjusting the sound settings in your media player, test different media content to verify that the surround sound is working correctly. If the issue persists, proceed to the next troubleshooting step to explore further potential solutions.
Updating Firmware on Audio Devices
Outdated firmware on your audio devices can sometimes lead to compatibility issues and affect the performance of your 7.1 surround sound system. Updating the firmware can resolve such issues and ensure optimal functionality. Here’s how you can update the firmware on your audio devices:
- Check Manufacturer’s Website: Visit the website of your audio device’s manufacturer and navigate to the support or downloads section. Look for firmware updates specific to your device model. Download the latest firmware version available, following the provided instructions.
- Follow Firmware Update Instructions: Review the documentation or readme file included with the firmware update. It will provide step-by-step instructions on how to install the firmware update. Follow these instructions carefully to avoid any potential issues.
- Connect Audio Device to Computer: In some cases, the firmware update may require connecting your audio device to a computer. Follow the manufacturer’s instructions on how to connect your device via USB or other methods specified.
- Execute Firmware Update: Once you have connected your audio device to a computer, launch the firmware update utility. This utility may be a standalone program or embedded within a firmware update package. Follow the on-screen prompts to initiate and complete the firmware update process.
- Monitor Update Progress: During the firmware update, ensure that the process completes without interruptions. Avoid disconnecting the audio device or powering it off until the update is finished. Monitor the progress indicators provided by the firmware update utility.
- Restart and Test: After the firmware update is successfully installed, restart your audio device. Test your 7.1 surround sound system with various media content to confirm that the firmware update has resolved any compatibility issues and improved the performance.
Updating the firmware on your audio devices ensures that you have the latest software enhancements and bug fixes. It’s important to stay current with firmware updates to maintain optimal performance and compatibility with your 7.1 surround sound system.
If the firmware update does not resolve the issue, proceed to the next troubleshooting step to explore additional solutions.
Configuring Sound Output in Operating System
Configuring the sound output settings in your operating system is crucial to ensuring your 7.1 surround sound system is set up and functioning correctly. Here’s how you can configure the sound output in your operating system:
- Windows:
- Right-click on the speaker icon in the system tray and select “Open Sound settings” or navigate to Sound settings through the Control Panel or Settings menu.
- In the Sound settings window, under the “Output” section, select your audio output device, which should be your surround sound system. If it’s not listed, ensure that it is properly connected and recognized by your computer.
- Click on the “Device properties” link and ensure that the “Spatial sound” dropdown is set to “Windows Sonic for Headphones” or “Dolby Atmos for Headphones” for the best virtual surround sound experience.
- Click on “Change device advanced settings” and configure the speaker setup to “7.1 Surround” if available. You can also click on “Test” to verify the audio output from each speaker.
- macOS:
- Go to the Apple menu and select “System Preferences.”
- Click on “Sound” and go to the “Output” tab.
- Select your surround sound system from the list of available audio output devices. Ensure that it is properly connected.
- If necessary, click on “Configure Speakers” to configure the speaker setup to “7.1 Surround” if available. You can also click on “Test” to verify the audio output from each speaker.
Configuring the sound output in your operating system ensures that audio is correctly routed to your 7.1 surround sound system. It also allows you to fine-tune the speaker setup and ensure that the correct audio channels are assigned to each speaker.
Once you have configured the sound output settings in your operating system, test your 7.1 surround sound system with various media content to confirm that the sound is properly distributed among the speakers. If the issue persists, continue troubleshooting to explore additional solutions.
Closing Thoughts
7.1 surround sound technology is designed to deliver an immersive audio experience, enveloping you in a multi-dimensional soundstage. However, there may be times when your 7.1 surround sound system encounters issues that prevent it from working as expected. By understanding the various potential reasons and troubleshooting techniques, you can overcome these obstacles and restore the optimal performance of your system.
Throughout this article, we have explored different aspects of troubleshooting, from checking audio settings to updating drivers, testing speaker connections, addressing hardware issues, adjusting media player settings, updating firmware, and configuring sound output in your operating system. By following these steps, you have a solid foundation to diagnose and resolve common issues that may arise with your 7.1 surround sound system.
Remember, every audio system is unique, and the troubleshooting process may vary depending on your specific hardware and software configuration. Patience and persistence are key as you navigate the various troubleshooting steps. If you need further assistance, consulting the manufacturer’s support or seeking professional audio assistance can provide valuable guidance.
By ensuring that your 7.1 surround sound system is functioning optimally, you can fully immerse yourself in your favorite movies, games, and music, experiencing audio in a way that brings narratives to life, intensifies gaming action, and elevates musical performances.