Home>Production & Technology>Surround Sound>How To Turn On Surround Sound Steel Series Arctic 7

Surround Sound
How To Turn On Surround Sound Steel Series Arctic 7
Modified: January 22, 2024
Learn how to activate the immersive Surround Sound feature on your Steel Series Arctic 7 headset and elevate your gaming experience to the next level.
(Many of the links in this article redirect to a specific reviewed product. Your purchase of these products through affiliate links helps to generate commission for AudioLover.com, at no extra cost. Learn more)
Table of Contents
Introduction
Welcome to the world of surround sound! If you’re looking to level up your audio experience and immerse yourself in a rich and dynamic soundstage, then you’ve come to the right place. In this article, we will explore the fascinating world of surround sound and provide you with step-by-step instructions on how to turn on surround sound on your Steel Series Arctic 7 headset.
Surround sound has revolutionized the way we experience audio. Gone are the days of flat, mono sound that lacks depth and dimension. With surround sound, sounds come to life all around you, creating a truly immersive listening experience. Whether you’re gaming, watching a movie, or listening to your favorite music, surround sound allows you to hear every detail with precision and accuracy.
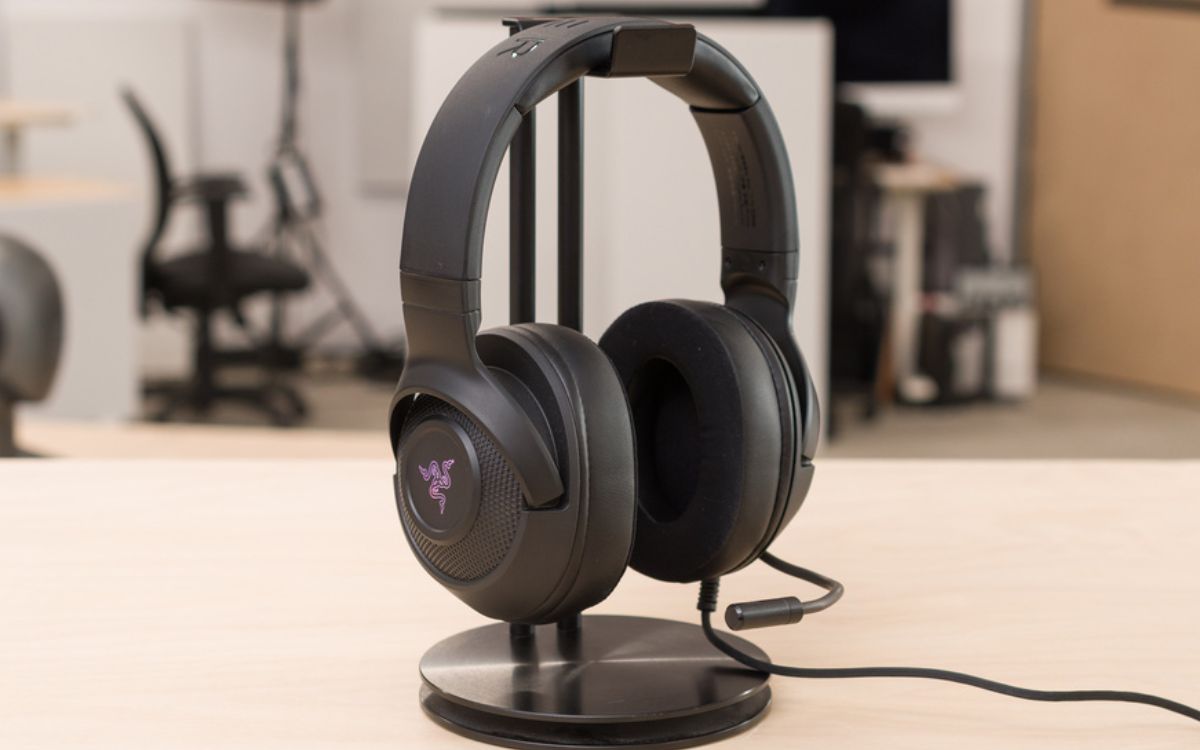
The Steel Series Arctic 7 headset is a popular choice among gamers and audio enthusiasts, thanks to its exceptional sound quality and comfort. With its Bluetooth connectivity and impressive battery life, it’s the perfect companion for extended gaming sessions or enjoying your favorite media on the go.
Now that we have a basic understanding of surround sound and the Steel Series Arctic 7 headset, let’s dive into the nitty-gritty of how to enable surround sound on your headset. Whether you’re a seasoned audio pro or a novice looking to enhance your audio experience, we have got you covered. So, put on your headset, and let’s get started!
Understanding Surround Sound
Before we delve into the process of enabling surround sound on your Steel Series Arctic 7 headset, let’s take a moment to understand what surround sound is and how it works.
Surround sound is a technology that creates a multi-dimensional audio experience by using multiple audio channels. It is designed to mimic the way sound is heard in the real world, where sounds come from all directions. This creates a sense of depth, spatiality, and realism that enhances the overall audio experience.
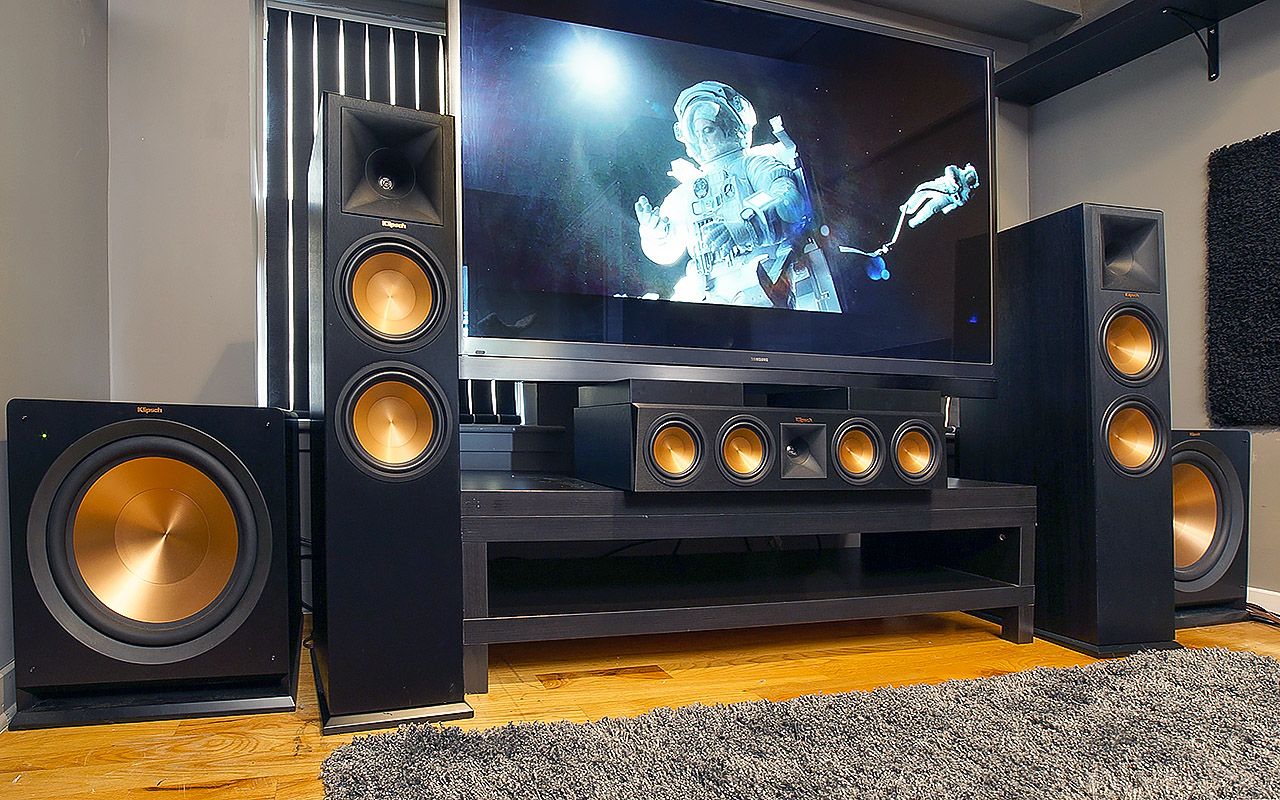
The most common surround sound configurations include 5.1 and 7.1 setups. In a 5.1 setup, there are five speakers and a subwoofer, while a 7.1 setup includes seven speakers and a subwoofer. Each speaker is positioned strategically to deliver audio from different angles, making the sound appear to come from specific directions.
These speakers are typically arranged in a circular or semi-circular layout around the listener, with the center speaker placed in front. This setup, along with the use of audio processing techniques, allows for sound to be panned smoothly across the speakers, creating a seamless and immersive audio experience.
In addition to the physical speaker setup, surround sound also relies on audio codecs to encode and decode audio signals. Common surround sound formats include Dolby Digital and DTS, which are widely used in movies, television shows, and gaming.
Now that you have a basic understanding of what surround sound is and how it functions, let’s move on to the next section, where we will guide you through the process of setting up your Steel Series Arctic 7 headset to enable surround sound.
Setting Up the Steel Series Arctic 7 Headset
Before we can enable surround sound on your Steel Series Arctic 7 headset, we need to ensure that the headset is properly set up and connected to your device. Follow these simple steps to get started:
- Unbox your Steel Series Arctic 7 headset and locate the USB receiver. Plug the USB receiver into an available USB port on your computer or gaming console.
- Charge your headset using the included USB cable. Ensure that it is fully charged before proceeding.
- Turn on your headset by pressing and holding the power button until you see the LED light indicator turn on.
- To connect your headset to the USB receiver, press and hold the pairing button on the USB receiver until the LED light starts flashing.
- On your headset, press and hold the power button and the chat mix button simultaneously until the LED light on the headset starts flashing.
- Once the LED light on both the USB receiver and the headset are solid, it means they are successfully paired. You are now ready to enable surround sound!
By following these steps, you have successfully set up your Steel Series Arctic 7 headset and ensured that it is properly connected to your device. Now, let’s proceed to the next section, where we will walk you through the process of enabling surround sound on your headset.
Enabling Surround Sound
Now that your Steel Series Arctic 7 headset is set up and connected, it’s time to enable surround sound and unleash the full potential of your audio experience. Follow these steps to enable surround sound:
- On your computer or gaming console, navigate to the audio settings. This can usually be found in the system settings or audio preferences.
- Select the Steel Series Arctic 7 headset as your default audio device.
- Open the Steel Series Engine software on your computer. If you don’t have it installed, you can download it from the official Steel Series website.
- In the Steel Series Engine software, you will find various options and settings for your headset. Look for the surround sound option or settings.
- Enable the surround sound feature by toggling the switch or selecting the appropriate option.
- Depending on the software and customization options available, you may be able to adjust the surround sound settings to your preference. Experiment with different settings to find the perfect balance of immersion and clarity.
- Once you have enabled and adjusted the surround sound settings, save the changes and exit the software.
Congratulations! You have successfully enabled surround sound on your Steel Series Arctic 7 headset. Put on your headset, play some audio or start gaming, and enjoy the enhanced audio experience with a rich and immersive soundstage.
Keep in mind that the exact steps and options may vary depending on your operating system, device, and software version. However, the general process should be similar, and you can refer to the user manual or support resources for more specific instructions.
Now that you know how to enable surround sound on your Steel Series Arctic 7 headset, let’s move on to the next section, where we will explore how you can adjust the surround sound settings to optimize your audio experience.
Adjusting Surround Sound Settings
After enabling surround sound on your Steel Series Arctic 7 headset, you may want to fine-tune the settings to suit your preferences and optimize your audio experience. Here are some tips for adjusting the surround sound settings:
- Start by experimenting with different equalizer presets. Most surround sound software provides predefined equalizer settings tailored for various audio genres such as music, movies, and gaming. Try different presets to find the one that enhances the specific type of audio you’re listening to.
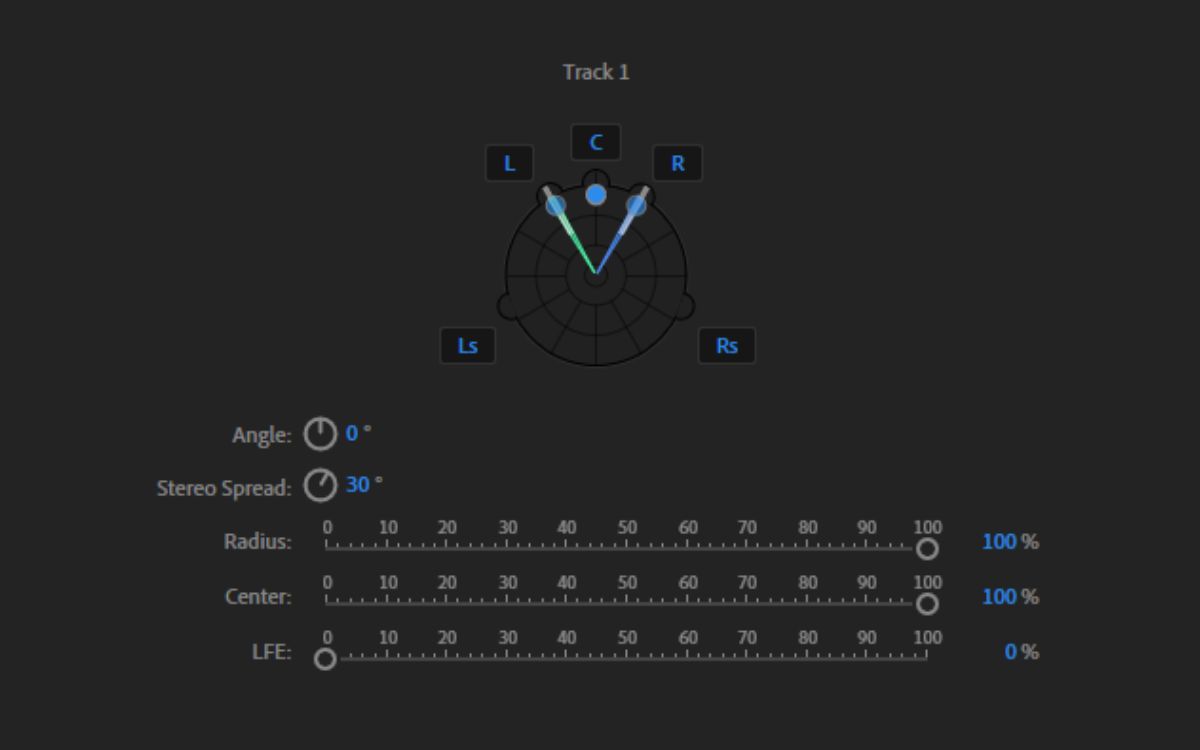
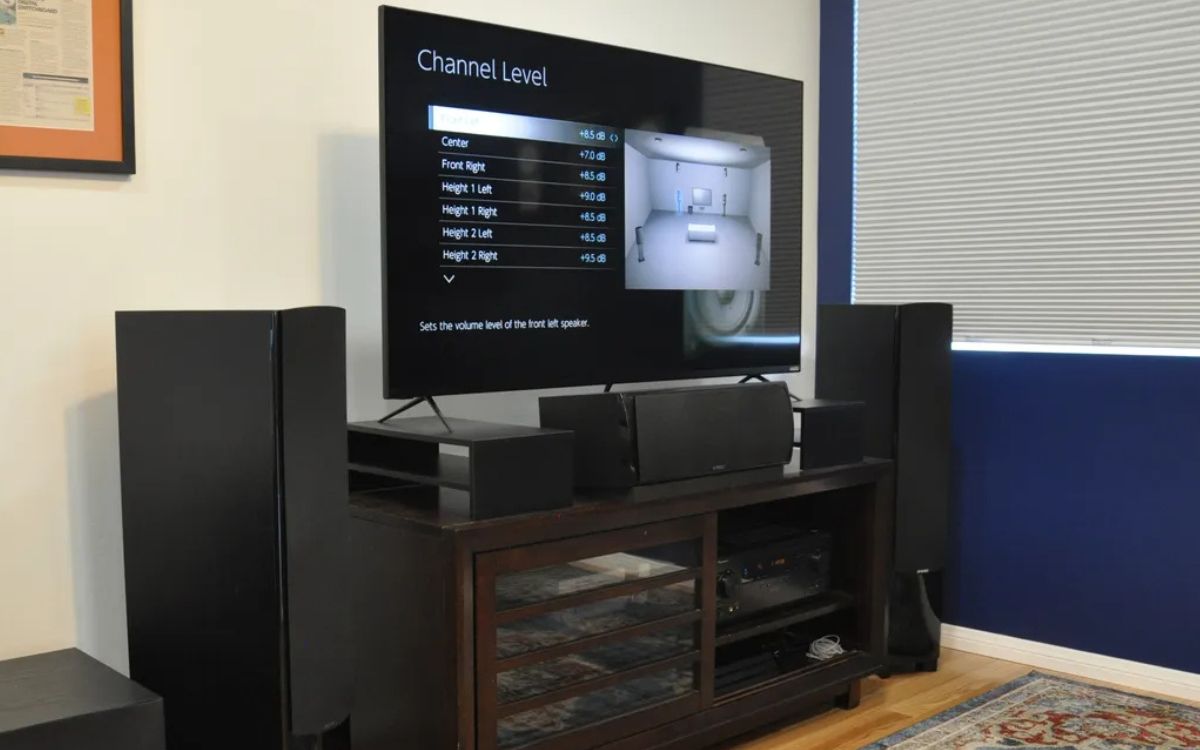
- Adjust the individual speaker levels. Some surround sound software allows you to adjust the volume and positioning of individual speakers. This can be particularly useful if you have a specific preference for sound directionality or if you want to compensate for any imbalances in your audio setup.
- Consider the room acoustics. The sound produced by your surround sound system can be influenced by the size and layout of the room. Experiment with the placement of your speakers to achieve the best surround sound effect. You may also need to adjust the distance and angle between the speakers and your listening position to optimize the audio experience.
- Take breaks and listen critically. It’s essential to periodically take breaks and listen critically to the audio coming through your surround sound system. Pay attention to any potential distortions, imbalances, or inconsistencies. By actively listening, you can make further adjustments and ensure that your surround sound settings provide the best possible audio experience.
Remember, the ideal surround sound settings can vary depending on personal preference, the content you’re consuming, and the capabilities of your audio hardware. Don’t be afraid to experiment and iterate until you find the settings that bring you the most immersive and enjoyable audio experience.
Now that you have learned how to adjust the surround sound settings on your Steel Series Arctic 7 headset, let’s move on to the next section, where we will discuss some common troubleshooting tips for surround sound issues.
Troubleshooting Surround Sound Issues
While surround sound can greatly enhance your audio experience, it’s not uncommon to encounter some issues along the way. Here are some common troubleshooting tips to help you resolve any surround sound issues you may encounter with your Steel Series Arctic 7 headset:
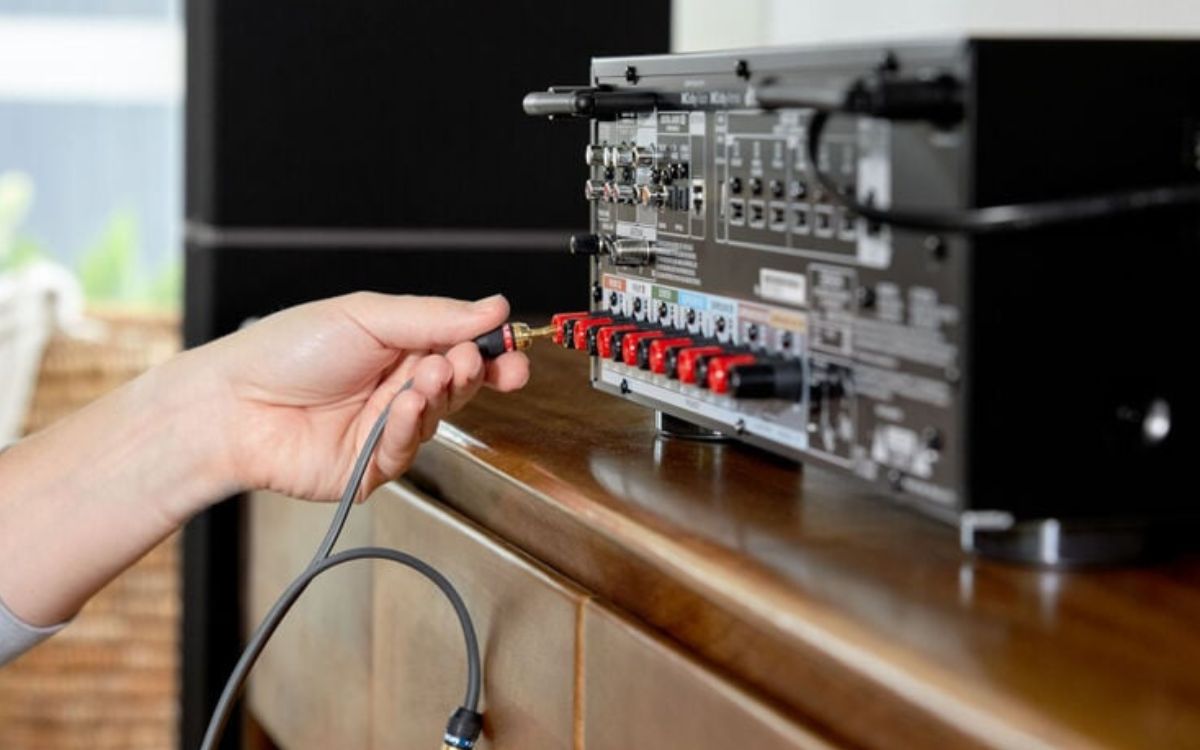
- Check your connections: Ensure that all cables are securely connected to the appropriate ports. Double-check the USB receiver connection and make sure it’s plugged into a functioning USB port.
- Verify your audio settings: Confirm that your audio settings are properly configured to enable surround sound. Check the audio settings on your computer or gaming console and ensure that the Steel Series Arctic 7 headset is selected as the default audio device.
- Update your drivers and software: Check for driver and software updates for your Steel Series Arctic 7 headset. Outdated drivers or software can cause compatibility issues. Visit the official Steel Series website to download and install the latest updates.
- Adjust the positioning of speakers: If you’re using external speakers as part of your surround sound setup, ensure that they are positioned correctly. Improper speaker placement can lead to a distorted or unbalanced audio experience.
- Test on different devices: Try connecting your Steel Series Arctic 7 headset to a different device to see if the issue persists. This can help identify if the problem lies with the headset itself or the device you initially tried to connect it to.
- Reset your headset: If you’re experiencing persistent issues, try performing a factory reset on your Steel Series Arctic 7 headset. Refer to the user manual or the official Steel Series website for instructions on how to reset your headset to its default settings.
If you have followed these troubleshooting tips and are still experiencing issues with your surround sound, it may be helpful to reach out to the Steel Series customer support team for further assistance. They can provide specific guidance based on your headset model and any underlying technical issues.
With these troubleshooting tips in your arsenal, you’re better equipped to address any surround sound issues that may arise. Now, let’s move on to the final section, where we will conclude our article on turning on surround sound with the Steel Series Arctic 7 headset.
Conclusion
Congratulations! You have successfully learned how to turn on surround sound on your Steel Series Arctic 7 headset. By enabling surround sound, you can now enjoy an immersive and captivating audio experience while gaming, watching movies, or listening to your favorite music.
Throughout this article, we explored the concept of surround sound and its ability to create a multi-dimensional audio experience. We also provided step-by-step instructions on how to set up and connect your Steel Series Arctic 7 headset, as well as enable surround sound through the Steel Series Engine software.
We discussed the importance of adjusting the surround sound settings to suit your preferences and optimize your audio experience. From equalizer presets to speaker level adjustments, these settings can enhance the immersion and overall quality of the sound you hear.
In addition, we offered troubleshooting tips for common surround sound issues, such as checking connections, verifying audio settings, and updating drivers and software. By following these tips, you can overcome any hurdles that may arise and ensure a seamless surround sound experience.
Remember, surround sound is not just a feature; it’s a gateway to a whole new level of audio immersion. With your Steel Series Arctic 7 headset, you have the power to transform your gaming, movie, and music experiences. So, put on your headset, embrace the richness of surround sound, and let yourself be fully immersed in a world of captivating audio.
Thank you for joining us on this audio adventure. We hope this article has been insightful and helpful in enabling surround sound on your Steel Series Arctic 7 headset. Now go forth, explore, and enjoy the wonders of surround sound!