Home>Production & Technology>Treble>How To Adjust Bass And Treble In Win 7
Treble
How To Adjust Bass And Treble In Win 7
Modified: January 22, 2024
Adjust the treble settings on your Windows 7 computer with these simple steps. Enhance your audio experience and customize sound frequencies easily.
(Many of the links in this article redirect to a specific reviewed product. Your purchase of these products through affiliate links helps to generate commission for AudioLover.com, at no extra cost. Learn more)
Table of Contents
Introduction
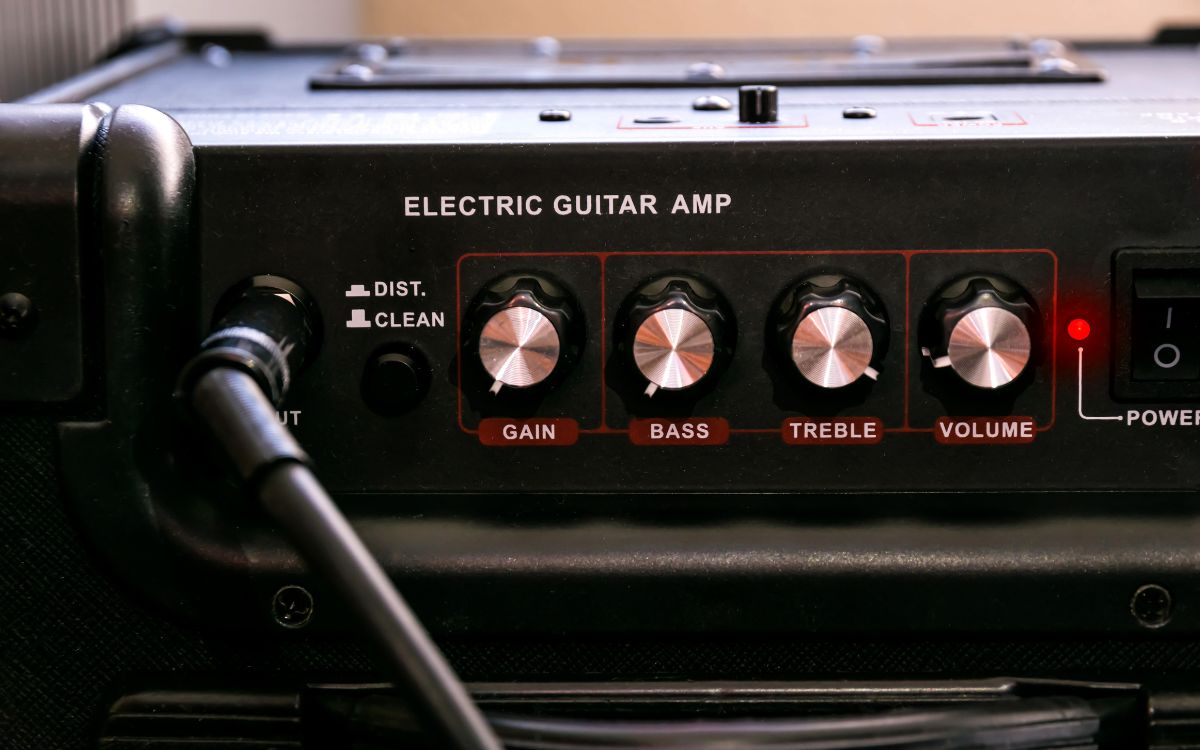
Adjusting the bass and treble levels of your audio can greatly enhance your listening experience, allowing you to customize the sound to your personal preferences. Whether you’re a music lover, a gamer, or someone who frequently watches movies or videos on your Windows 7 computer, knowing how to adjust the bass and treble can make a significant difference in the quality of your audio.
Windows 7 provides easy access to the sound settings, giving you the ability to fine-tune the bass and treble levels of your audio output. By following a few simple steps, you can explore the full potential of your sound system and enjoy a richer and more immersive sound experience.
In this guide, we will walk you through the steps to adjust the bass and treble in Windows 7. Whether you’re using built-in speakers, external speakers, or headphones, these steps will help you optimize the audio settings to suit your preferences and improve the overall audio quality.
So let’s dive in and learn how to take control of the bass and treble levels on your Windows 7 computer.
Step 1: Accessing the Sound Settings
The first step in adjusting the bass and treble levels in Windows 7 is to access the sound settings. Here’s how you can do it:
- Click on the Start button located at the bottom left corner of your desktop screen.
- From the Start menu, select the Control Panel option. This will open the Control Panel window.
- In the Control Panel window, look for the Hardware and Sound option and click on it.
- Next, click on the Sound option. This will open the Sound settings window.
Once you have successfully accessed the Sound settings, you are now ready to proceed to the next step.
Note: In some cases, depending on your system configuration, you may need administrative privileges to access the Sound settings. If prompted, enter the administrator password or provide confirmation to continue.
Step 2: Selecting the Playback Device
After accessing the Sound settings, the next step is to select the correct playback device. Follow these instructions:
- In the Sound settings window, navigate to the “Playback” tab.
- You will see a list of playback devices. These devices include speakers, headphones, and any other audio output devices that are currently connected to your computer.
- Select the playback device that you want to adjust the bass and treble for. Simply click on the device to highlight it.
- Once you have selected the desired playback device, click on the “Properties” button located at the bottom-right corner of the window. This will open the Properties dialog box for the selected device.
It is important to choose the correct playback device since the bass and treble settings are specific to each device. By selecting the appropriate device, you can ensure that the changes you make will be applied accurately to the desired audio output.
Now that you have selected the playback device, you are ready to move on to the next step and adjust the bass and treble levels.
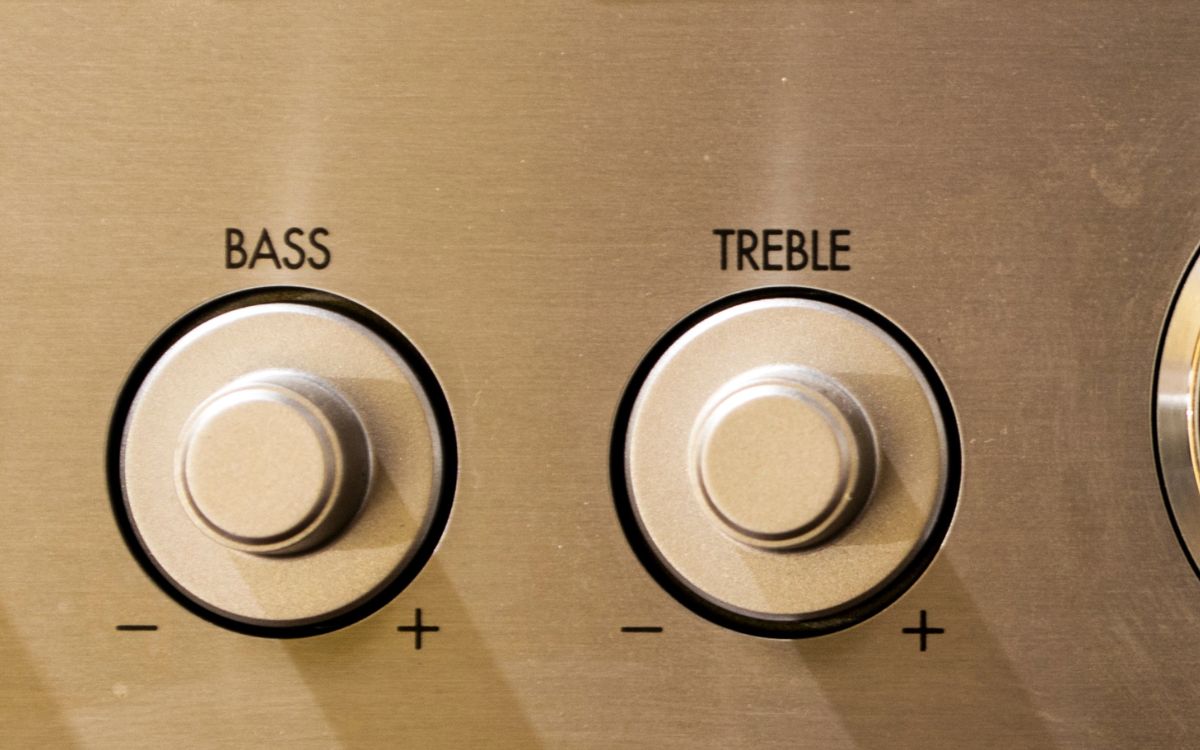
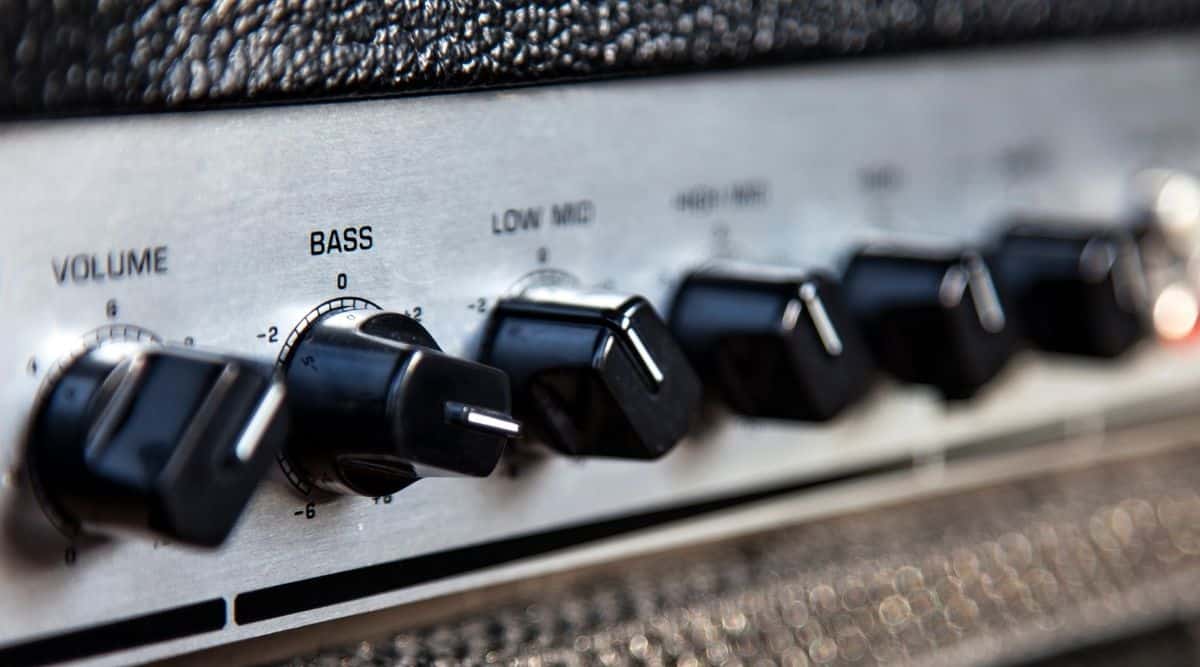
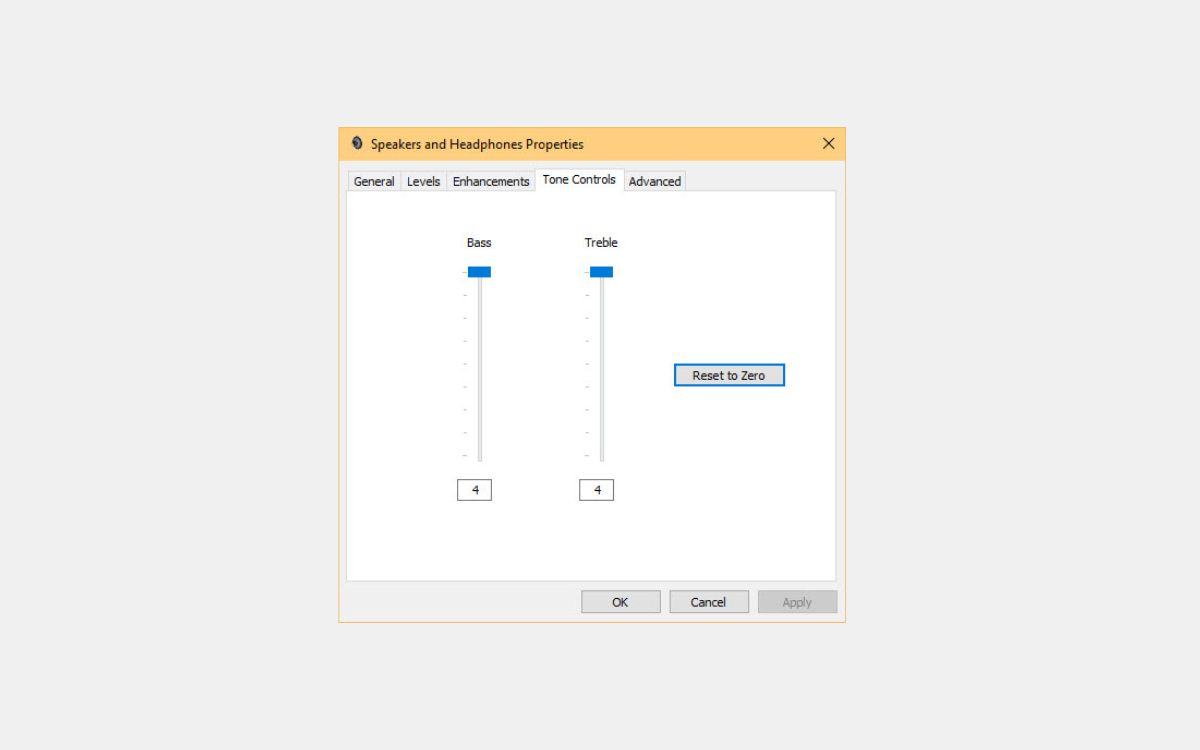
Step 3: Adjusting the Bass and Treble Levels
Now that you have selected the playback device, it’s time to adjust the bass and treble levels to your liking. Follow these steps:
- In the Properties dialog box for the selected playback device, navigate to the “Enhancements” tab.
- Under the Enhancements tab, you will find a list of audio enhancements that can be applied to the selected device. Scroll down and look for the “Bass Boost” and “Treble Boost” options. Check the box next to each enhancement to enable it.
- Once you have enabled the Bass Boost and Treble Boost options, you will see a slider for each enhancement. Adjust the sliders to increase or decrease the bass and treble levels according to your preference.
As you adjust the sliders, you can listen to the changes in real-time by playing a sample audio or video file. This will help you fine-tune the bass and treble levels to achieve the desired sound quality.
Additionally, some playback devices may offer additional options or equalizer settings that allow further customization of the bass and treble. Explore these settings if available to further enhance your audio experience.
Once you are satisfied with the adjustments, click on the “OK” button to apply the changes and close the Properties dialog box.
Congratulations! You have successfully adjusted the bass and treble levels for your selected playback device.
Step 4: Testing and Fine-tuning the Audio
After adjusting the bass and treble levels, it’s important to test and fine-tune the audio to ensure optimal sound quality. Here’s how you can do it:
- Play a sample audio or video file that has a variety of sound elements, such as music with different instruments or a movie with dialogues and action sequences.
- Listen carefully to the audio and pay attention to the balance between the bass and treble. Does the bass sound too overpowering? Are the treble frequencies clear and crisp?
- If you need further adjustments, repeat the previous steps to access the Sound settings and make the necessary changes to the bass and treble levels.
- Continue adjusting and testing until you find the perfect balance and sound quality that suits your preferences.
It’s important to note that every audio setup and personal preference is unique. Experiment with different bass and treble levels to find the sweet spot that enhances your listening experience.
Remember, bass and treble adjustments are subjective, and what sounds good to one person may not be ideal for another. Trust your ears and make adjustments based on your personal taste.
Once you are satisfied with the audio settings, you can enjoy your favorite music, movies, or games with an optimized bass and treble experience.
By following these steps, you can easily adjust the bass and treble levels in Windows 7, allowing you to tailor the audio output to your liking.
Conclusion
Adjusting the bass and treble levels on your Windows 7 computer can significantly enhance your audio experience. By following the simple steps outlined in this guide, you can customize the sound output to suit your personal preferences.
We began by accessing the Sound settings through the Control Panel, ensuring that you have administrative privileges if required. Then, we selected the appropriate playback device to make precise adjustments to the bass and treble levels.
Next, we adjusted the bass and treble levels by enabling the Bass Boost and Treble Boost enhancements and using the sliders to fine-tune the sound. It’s crucial to test the changes by playing sample audio or video files and make further adjustments if necessary to achieve the desired sound quality.
Remember that everyone’s audio preferences may differ. It’s essential to trust your ears and experiment with different settings to find the optimal balance between the bass and treble frequencies.
With this knowledge, you can now take control of the bass and treble levels on your Windows 7 computer, elevating your audio experience to new heights.
So go ahead, immerse yourself in your favorite music, movies, or games with the perfect bass and treble settings tailored just for you.