Home>Devices & Equipment>Earbuds>How To Know If JLab Earbuds Are Charging
Earbuds
How To Know If JLab Earbuds Are Charging
Published: November 14, 2023
Discover how to check if JLab earbuds are charging and ensure they stay powered up. Find out the essential steps to keep your earbuds ready for use.
(Many of the links in this article redirect to a specific reviewed product. Your purchase of these products through affiliate links helps to generate commission for AudioLover.com, at no extra cost. Learn more)
Table of Contents
Introduction
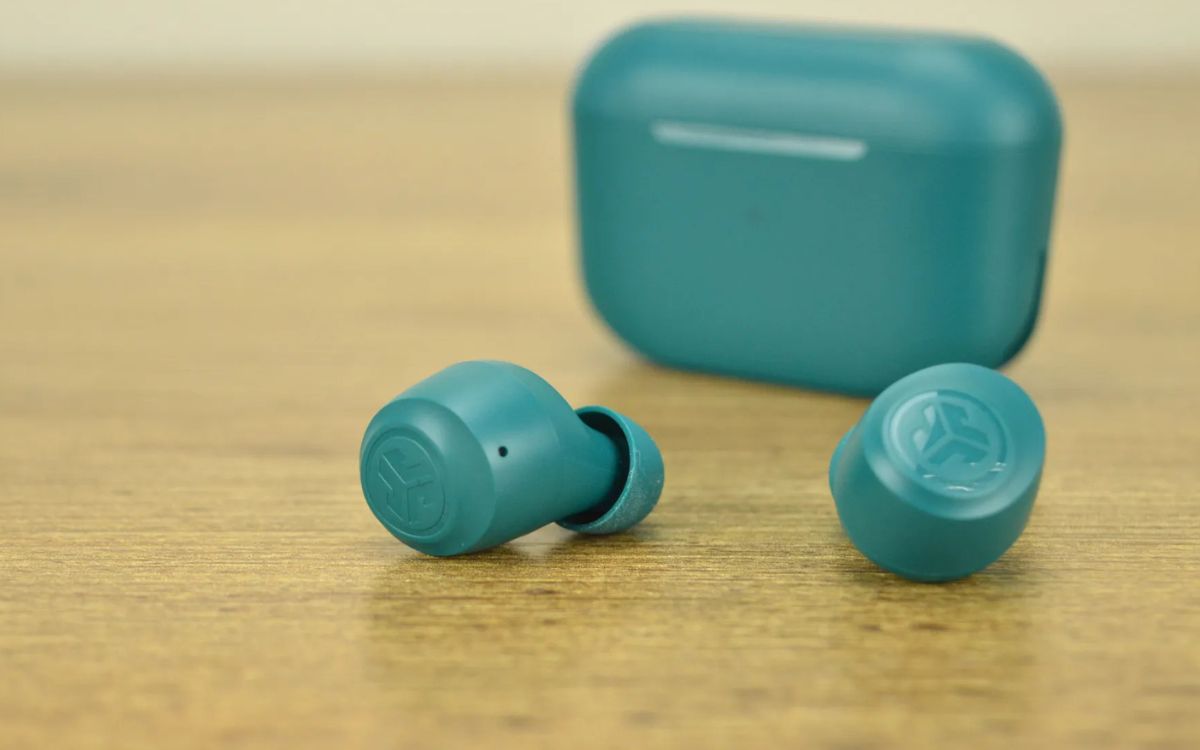
Welcome to the world of JLab earbuds! These sleek and stylish audio accessories are known for their exceptional sound quality and comfortable fit. As with any earbuds, it’s important to keep them charged to ensure uninterrupted listening pleasure. But how do you know if your JLab earbuds are charging?
In this article, we will guide you through the process of understanding how JLab earbuds are charged and provide step-by-step instructions to help you determine if they are charging. We will also troubleshoot common issues that may arise during the charging process.
Whether you are a music lover, a podcast enthusiast, or someone who enjoys immersive gaming experiences, having fully charged earbuds is crucial for an uninterrupted audio journey. By following the guidelines and tips outlined in this article, you will have the confidence and knowledge to ensure that your JLab earbuds are always ready to deliver exceptional sound quality.
Understanding JLab Earbuds Charging Process
Before we dive into determining if your JLab earbuds are charging, it’s important to understand the charging process. JLab earbuds typically utilize a built-in rechargeable battery that can be charged using a charging case or a USB cable connected to a power source.
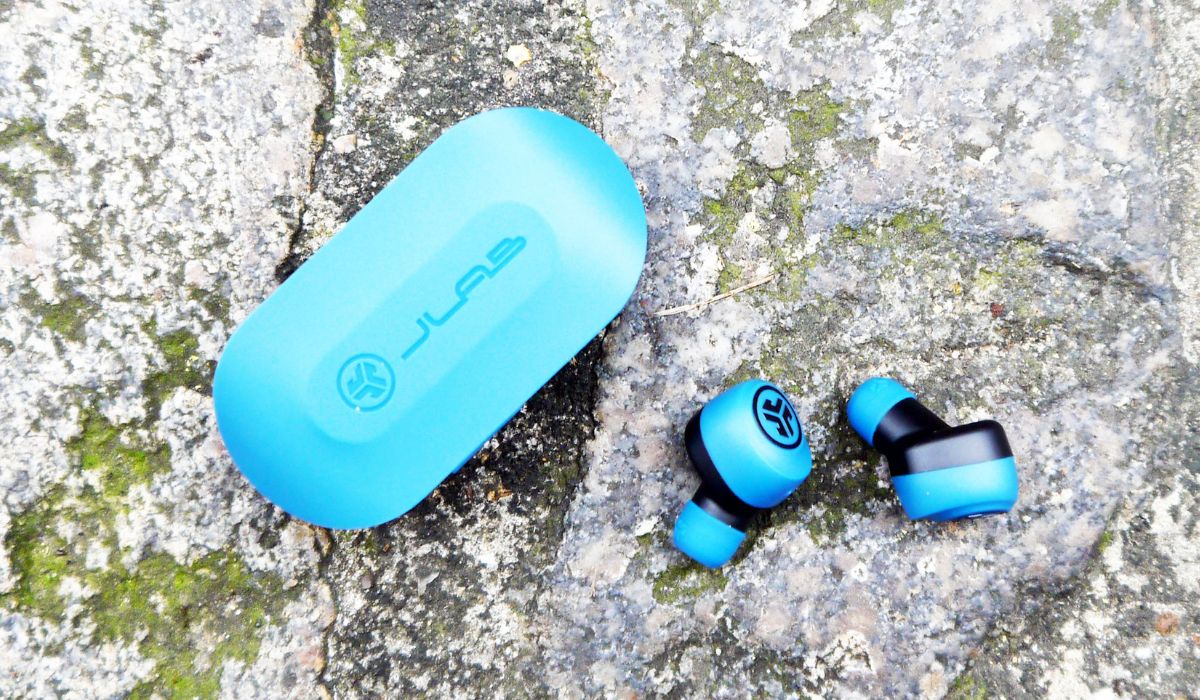
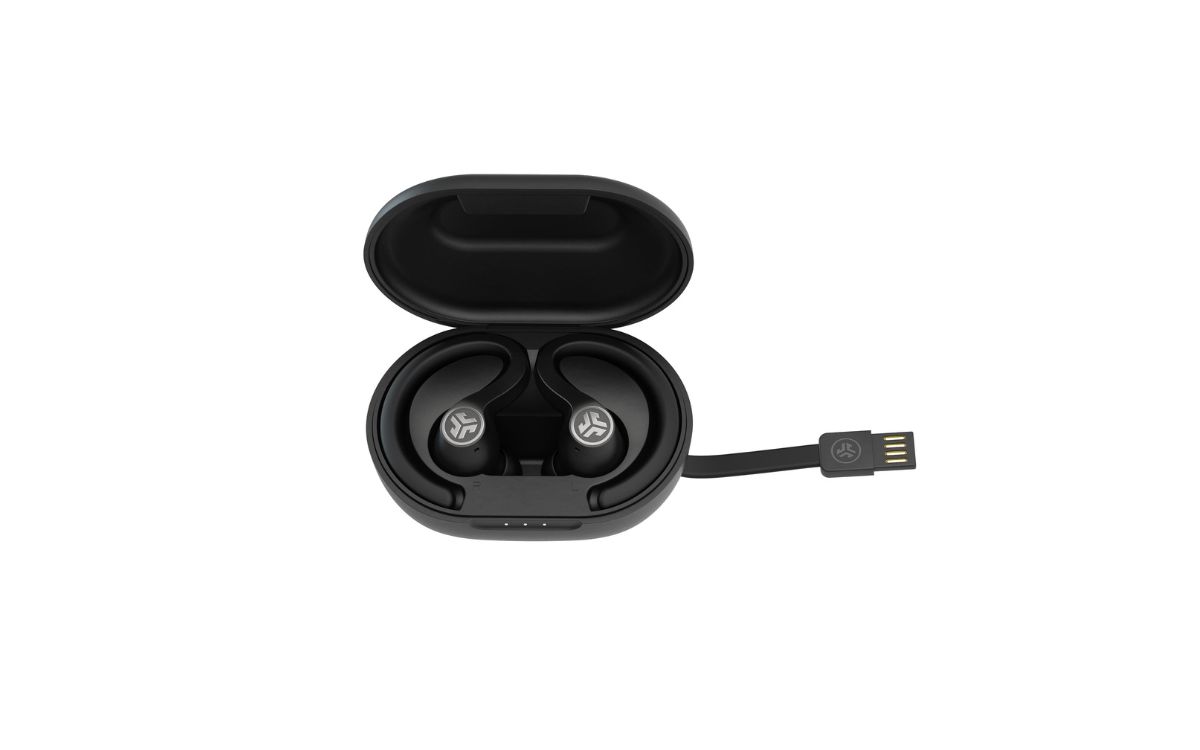
The charging case, which is included with most JLab earbuds, serves as a convenient storage and charging solution. The case itself is equipped with a built-in battery that can provide multiple charges to your earbuds on the go. When the earbuds are properly placed in the charging case, they automatically start charging.
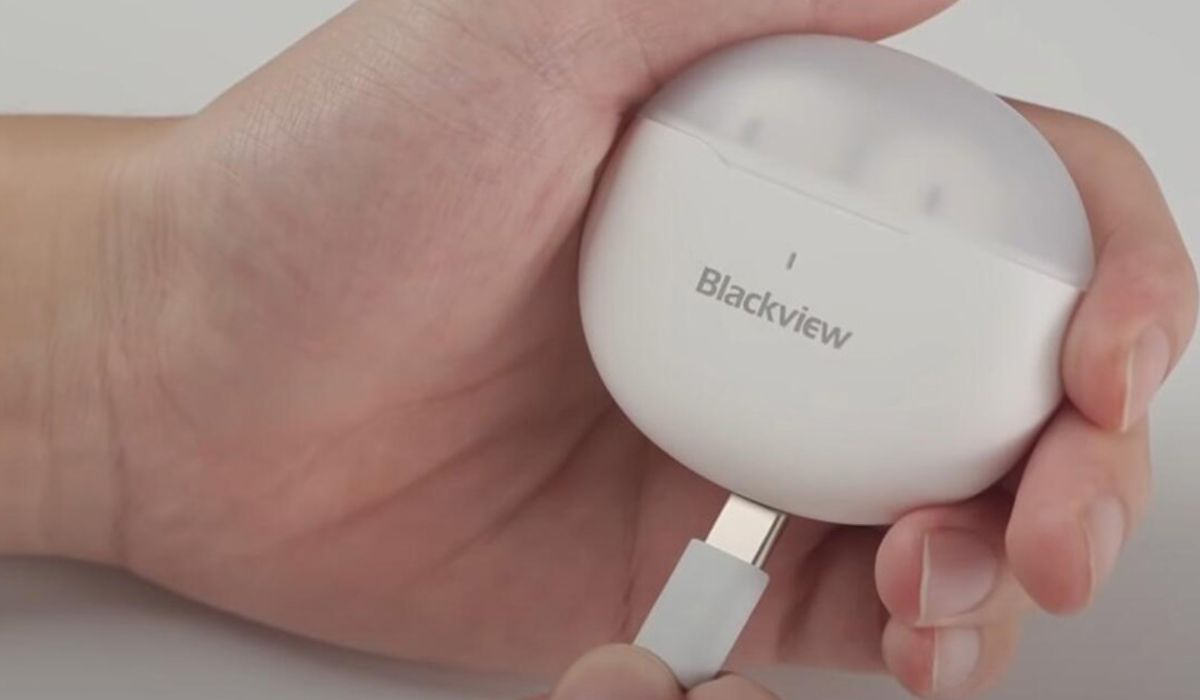
If you are using a USB cable to charge your JLab earbuds, you will need to connect one end of the cable to the earbuds and the other end to a USB port on your computer, a USB wall adapter, or any other compatible power source. Once connected, the charging process will begin.
It’s important to note that different JLab earbud models may have slight variations in the charging process. Therefore, it is advisable to refer to the user manual specific to your earbuds for detailed instructions on their charging process.
Now that we have a basic understanding of how JLab earbuds are charged, let’s move on to the next section and learn how to determine if your earbuds are charging.
Steps to Determine If JLab Earbuds Are Charging
Now that you have a good grasp of the JLab earbuds charging process, let’s dive into the steps to determine if your earbuds are charging:
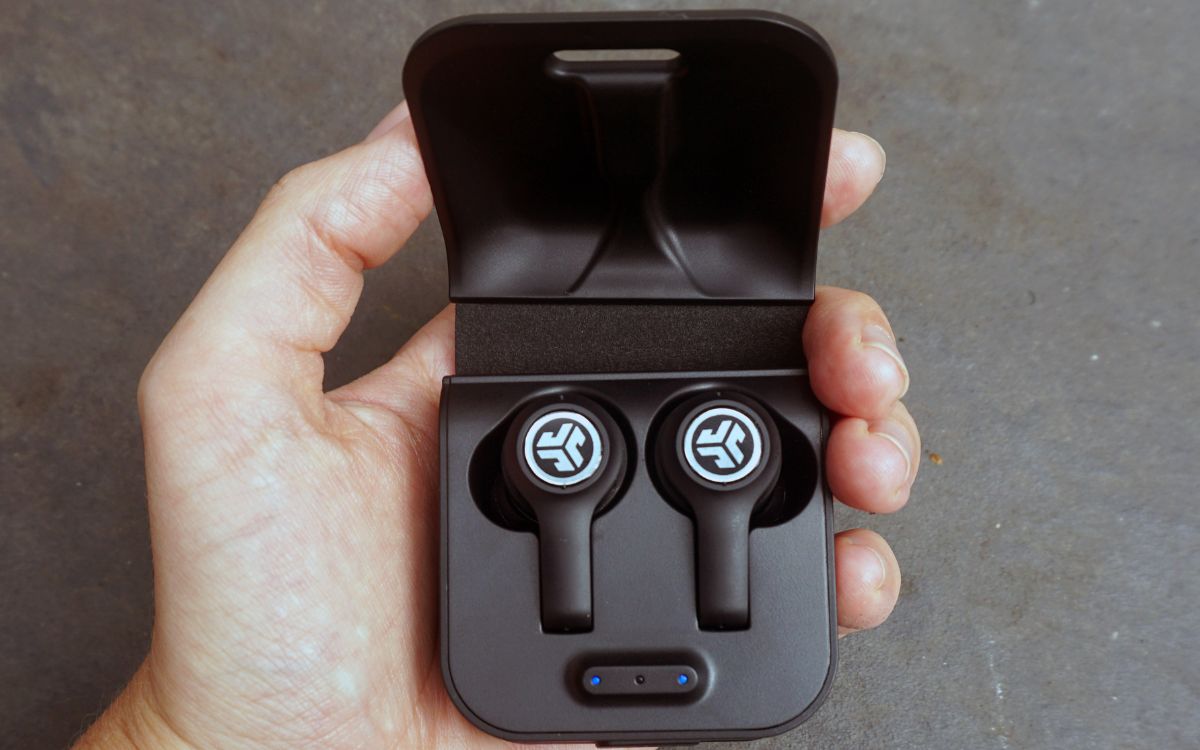
- Check the LED Indicator: Most JLab earbuds are equipped with LED indicators that provide visual cues about the charging status. When you place your earbuds in the charging case or connect them to a power source using a USB cable, check if the LED indicator lights up. A solid or blinking LED light usually indicates that the earbuds are charging. Refer to your specific model’s user manual to understand the meaning of different LED light patterns.
- Observe the Charging Case: If your JLab earbuds came with a charging case, inspect it to confirm if it has a built-in battery. The case should have an LED indicator that illuminates when it is charging. Additionally, most cases come with a charging status button that you can press to check the battery level of both the case and the earbuds.
- Monitor the Earbud Battery Level: Some JLab earbuds have a feature that allows you to check the battery level directly on the earbuds themselves. This is usually indicated by small LED lights on the earbuds. For example, if you see three LED lights illuminated, it may indicate a higher battery level, while one LED light may suggest a lower battery level. Keep an eye on these indicators to determine if your earbuds are charging properly.
- Use the Companion App: If your JLab earbuds have a companion mobile app, install it on your device and check if it provides real-time battery status. Through the app, you can usually monitor the battery level of both the earbuds and the charging case, ensuring that they are charging as expected.
- Charge Time: Be patient and allow your JLab earbuds ample time to charge. The charging time can vary depending on the model and the battery level. Refer to the user manual or the manufacturer’s website for information about the average charging duration for your specific earbuds.
By following these steps, you should be able to determine if your JLab earbuds are charging. However, if you encounter any issues or your earbuds fail to charge despite following the steps, don’t worry. The next section will provide troubleshooting tips for common charging problems.
Troubleshooting Common Charging Issues with JLab Earbuds
While JLab earbuds are generally reliable when it comes to charging, there may be instances where you encounter some common issues. Here are some troubleshooting tips to help you resolve these charging problems:
- No LED Indicator: If the LED indicator on the charging case or the buds themselves doesn’t light up when connected to a power source, try using a different USB cable or charging adapter. Sometimes, faulty cables or adapters can prevent proper charging. Additionally, make sure the charging contacts on the earbuds are clean and free from debris.
- Intermittent Charging: If your earbuds are charging inconsistently or the charging process keeps getting interrupted, make sure the charging contacts on both the earbuds and the charging case are aligned properly. Even a slight misalignment can disrupt the charging process. Also, ensure that the charging pins are clean and not obstructed by any dirt or debris.
- No Power in the Charging Case: If the charging case is not providing any power to your earbuds despite being fully charged itself, try resetting the case. To do this, press and hold the button on the case for about 15 seconds until the LED lights flash. Then, place the earbuds back into the case and check if they start charging.
- Poor Battery Life: If you notice that your JLab earbuds are not holding a charge for as long as they used to, it may be due to a worn-out battery. Over time, the battery capacity may decrease, resulting in shorter battery life. In such cases, you may need to contact JLab customer support for further assistance or consider getting a battery replacement if it is an option for your model.
If you have tried these troubleshooting tips and your JLab earbuds are still not charging or functioning properly, it is recommended to reach out to JLab’s customer support for further assistance. They have knowledgeable representatives who can help diagnose and resolve any charging or technical issues you may be experiencing.
Remember, keeping your JLab earbuds charged and properly maintained will ensure that you get the best audio experience every time you use them. Now that you are well-equipped with the knowledge of JLab earbuds charging and troubleshooting, you can enjoy your favorite music, podcasts, or games without any interruptions!
Conclusion
Charging your JLab earbuds is integral to enjoying uninterrupted audio and ensuring a seamless listening experience. By understanding the charging process and following the steps outlined in this article, you can easily determine if your JLab earbuds are charging. Checking the LED indicators, monitoring the charging case, observing the earbud battery level, using companion apps, and allowing ample charging time are crucial steps to confirm the charging status.
In the event that you encounter common charging issues, such as a non-responsive LED indicator or intermittent charging, troubleshooting techniques like checking charging contacts, using different cables or adapters, or resetting the charging case can often resolve the problems. If issues persist, reaching out to JLab’s customer support can provide further guidance and assistance.
Remember to keep your JLab earbuds well-maintained and regularly charged to ensure they are always ready for your audio adventures. With this knowledge, you can confidently indulge in your favorite music, podcasts, or gaming sessions, knowing that your JLab earbuds are fully charged and ready to deliver exceptional sound quality.
So, go ahead, charge up those earbuds and immerse yourself in a world of audio bliss!