Home>Devices & Equipment>Earbuds>Why My Earbuds Are Not Charging
Earbuds
Why My Earbuds Are Not Charging
Modified: January 22, 2024
Discover the reasons why your earbuds are not charging and find solutions to fix the issue. Troubleshoot common problems with charging earbuds and get back to enjoying your favorite tunes.
(Many of the links in this article redirect to a specific reviewed product. Your purchase of these products through affiliate links helps to generate commission for AudioLover.com, at no extra cost. Learn more)
Table of Contents
- Introduction
- Common Reasons for Earbuds Not Charging
- Loose Connection or Damaged Charging Port
- Low Battery or Dead Battery
- Faulty Charging Cable
- Software or Firmware Issues
- Moisture or Water Damage
- Internal Hardware Problems
- Troubleshooting Steps for Earbuds Not Charging
- Checking the Charging Port and Connection
- Charging with a Different Cable or Adapter
- Resetting the Earbuds
- Cleaning and Drying the Earbuds
- Updating Software or Firmware
- Factory Reset or Contacting Manufacturer Support
- Conclusion
Introduction
Earbuds have become an indispensable accessory for many people, offering a convenient and immersive audio experience. Whether you use them to listen to music, watch videos, or take calls, having your earbuds fully charged is essential for uninterrupted usage. However, there may come a time when you encounter the frustrating issue of your earbuds not charging.
When your earbuds fail to charge, it can be a perplexing problem to troubleshoot. There are numerous potential causes, ranging from simple to more complex issues. In this article, we will explore the common reasons why earbuds may not charge, as well as provide troubleshooting steps to help you resolve the problem.
By understanding these issues and taking appropriate action, you can get your earbuds back up and running in no time, ensuring that you can once again enjoy your favorite music, podcasts, or other audio content without any interruptions.
Common Reasons for Earbuds Not Charging
There can be several factors that contribute to earbuds not charging properly. Understanding these common reasons will help you diagnose and address the issue effectively.
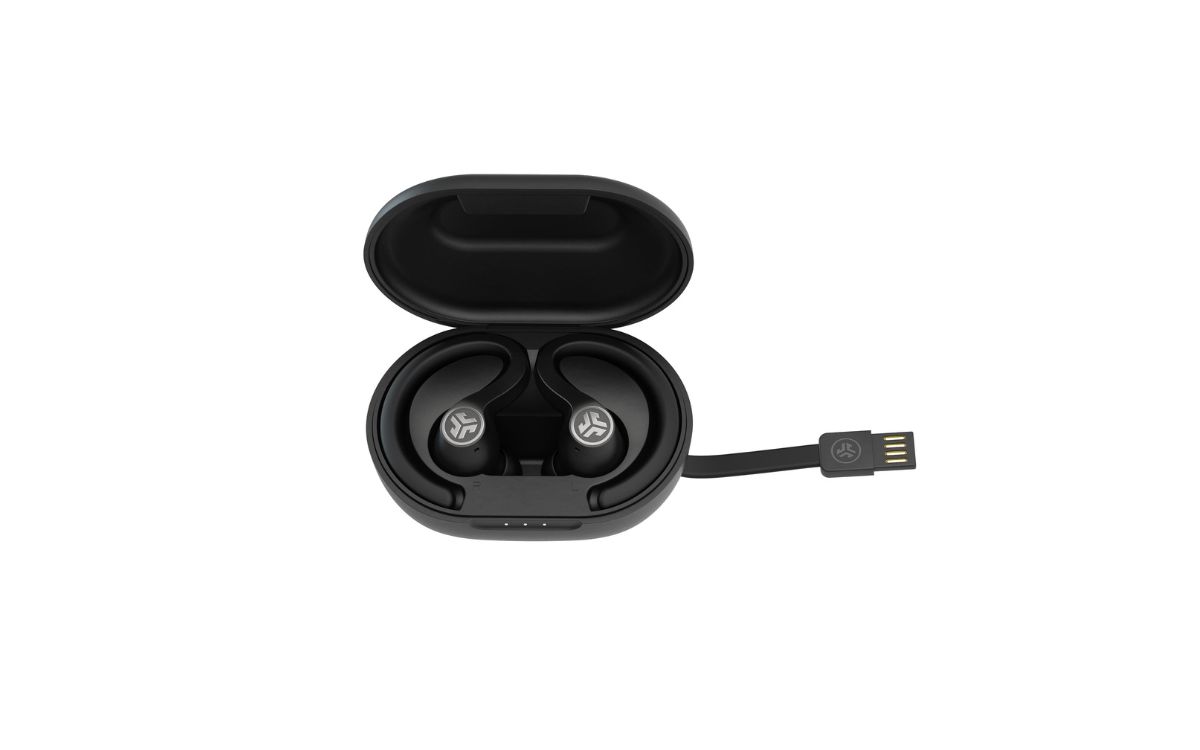
- Loose Connection or Damaged Charging Port: One of the most prevalent causes of earbuds not charging is a loose connection between the charging cable and the earbuds, or a damaged charging port on the earbuds themselves. Over time, the repeated plugging and unplugging of the charging cable can lead to a weakened connection or port damage.
- Low Battery or Dead Battery: If your earbuds have a low battery or a dead battery, they may not charge at all. This can happen if you haven’t used them for an extended period or if you have used them extensively without recharging.
- Faulty Charging Cable: The charging cable itself could be the culprit. A damaged or faulty cable may not deliver a proper charge to the earbuds, resulting in charging issues.
- Software or Firmware Issues: Occasionally, software or firmware issues can prevent earbuds from charging correctly. This can happen after a software update or due to a glitch in the system.
- Moisture or Water Damage: Earbuds are susceptible to damage from moisture or water exposure. If your earbuds have been exposed to moisture or submerged in water, it can interfere with the charging process and cause malfunctions.
- Internal Hardware Problems: In some cases, there may be internal hardware problems with the earbuds. These issues can range from a faulty circuitry to a damaged battery, preventing proper charging.
It is important to note that these are just common reasons for earbuds not charging and may not cover all possible scenarios. However, they provide a starting point for troubleshooting the issue and determining the appropriate course of action to resolve it.
Loose Connection or Damaged Charging Port
A common reason for earbuds not charging is a loose connection between the charging cable and the earbuds, or a damaged charging port on the earbuds themselves. Over time, the repeated plugging and unplugging of the charging cable can lead to a weakened connection or port damage.
To check if this is the issue, start by ensuring that the charging cable is securely plugged into both the charging port on the earbuds and the power source. Sometimes, the connection can feel secure but may not be fully engaged. Try gently wiggling the cable to see if the charging indicator on the earbuds turns on or if any signs of charging are observed.
If the connection seems loose, try using a different charging cable to see if that resolves the issue. It’s possible that the original cable has become worn or damaged. By using a new cable, you can determine if the problem lies with the cable or with the earbuds.
Additionally, inspect the charging port on the earbuds for any signs of damage or debris. Dust, lint, or other particles can accumulate in the port over time and obstruct the charging process. If you notice any debris, carefully clean the port using a small brush or compressed air. Be gentle to avoid causing further damage to the port.
If you suspect that the charging port on the earbuds is damaged, it may require professional repair. Contact the manufacturer’s customer support or bring the earbuds to an authorized service center for assistance. They will be able to assess the extent of the damage and provide the necessary repairs.
Remember that a loose connection or damaged charging port is just one potential cause of earbuds not charging. If this troubleshooting step does not resolve the issue, continue exploring the other possibilities to identify the underlying problem.
Low Battery or Dead Battery
If your earbuds have a low battery or a dead battery, they may not charge at all. This can happen if you haven’t used them for an extended period or if you have used them extensively without recharging.
To determine if a low or dead battery is the cause of your earbuds not charging, try the following steps:
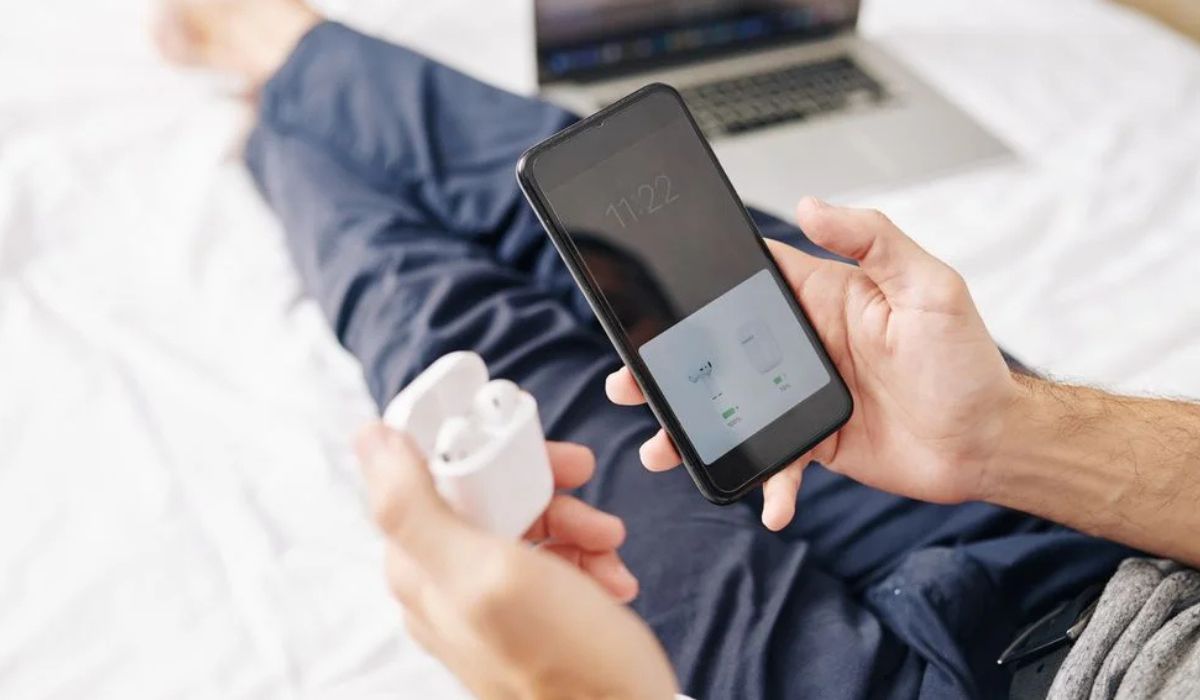
- Check the battery level indicator, if available, on the earbuds or the charging case. This will give you an indication of how much battery life is remaining. If the indicator shows a very low or no battery level, it is likely that a battery issue is causing the charging problem.
- Place the earbuds in the charging case and ensure that the case itself is charged. Sometimes, the earbuds will not charge if the case battery is drained.
- Leave the earbuds in the charging case for an extended period, typically around 30 minutes to an hour, to allow them to gather enough charge. Then, check if the charging indicator on the case or the earbuds has activated.
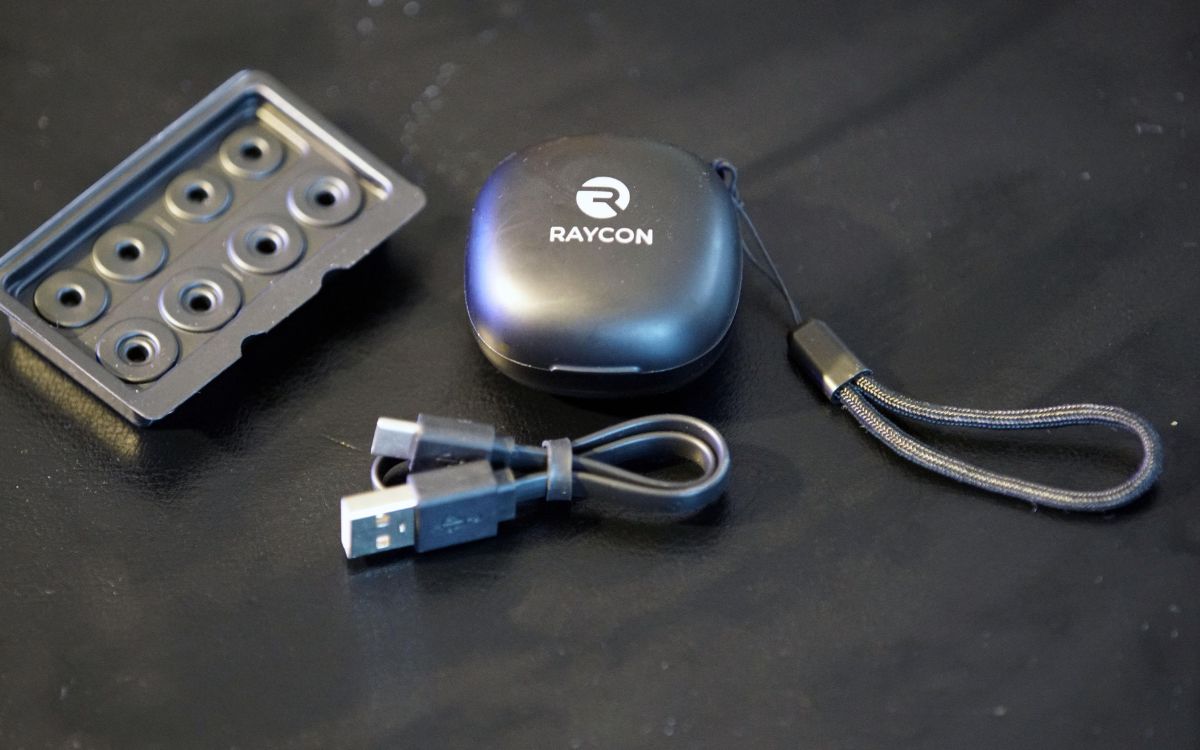
- If possible, try using a different charging cable or adapter to rule out any issues with the charging accessories. Sometimes, a faulty cable or adapter can prevent proper charging.
If none of these steps revive the battery or show any signs of charging, it may be necessary to replace the battery in your earbuds. Contact the manufacturer’s customer support or a certified service center to inquire about battery replacement options.
Remember to follow the manufacturer’s guidelines and recommendations for battery maintenance and charging habits to prolong the lifespan of your earbuds’ battery. Regularly charging your earbuds and avoiding complete drainage can help prevent issues with low or dead batteries in the future.
Faulty Charging Cable
A faulty charging cable can also be a common reason why earbuds are not charging properly. Over time, cables can become damaged due to wear and tear or improper handling.
If you suspect a faulty charging cable, try the following steps to troubleshoot the issue:
- Inspect the charging cable for any visible signs of damage, such as frayed wires, bent connectors, or loose connections. If you notice any issues, it’s likely that the cable is malfunctioning and needs to be replaced.
- Try using a different charging cable to see if it resolves the charging problem. If the earbuds charge successfully with the new cable, you can conclude that the original cable was indeed faulty.
- Make sure the charging cable is properly connected to both the earbuds and the power source. Sometimes, a loose or improper connection can prevent charging from occurring. Ensure that the cable is securely plugged in on both ends.
- If you have access to another device that uses the same type of charging cable, try using the cable with that device. This will help verify if the issue lies with the cable itself or with the earbuds.
If it is determined that the charging cable is indeed faulty, you will need to replace it. Contact the manufacturer’s customer support or search for a compatible charging cable from a reputable retailer. Be sure to choose a cable that is specifically designed for your earbuds to ensure compatibility and optimal charging performance.
Remember to handle your charging cables with care to prevent damage in the future. Avoid excessive bending or pulling on the cable and store it properly when not in use. This will help prolong its lifespan and reduce the chances of encountering charging issues.
Software or Firmware Issues
Occasionally, software or firmware issues can interfere with the charging process of your earbuds. These issues can arise after a software update or due to a glitch in the system.
If you suspect that software or firmware issues are causing your earbuds not to charge, try the following troubleshooting steps:
- Check for any available software or firmware updates for your earbuds. Manufacturers often release updates to address bugs and improve performance. Visit the manufacturer’s website or download their official app to see if there are any updates for your specific earbud model.
- If an update is available, follow the manufacturer’s instructions to install it on your earbuds. Sometimes, updating the software or firmware can resolve charging issues and improve overall functionality.
- If the earbuds have a companion app, ensure that it is up to date and compatible with your device’s operating system. Keeping the companion app updated can help maintain a smooth user experience and address potential software-related problems.
- If the software or firmware update does not resolve the issue, consider performing a reset on your earbuds. Refer to the user manual or the manufacturer’s website for instructions specific to your model. Resetting the earbuds can help clear any software glitches and restore them to their default settings.
If after following these troubleshooting steps the earbuds still do not charge properly, it is recommended to contact the manufacturer’s customer support for further assistance. They may ask for additional information or provide specialized troubleshooting steps to help diagnose and resolve any software or firmware-related issues.
Keep in mind that software or firmware issues can sometimes be complex, and it is important to follow the manufacturer’s guidance to avoid potentially causing further problems or voiding the warranty of your earbuds.
Moisture or Water Damage
Moisture or water damage can significantly impact the functionality of your earbuds, including their ability to charge. Even a small amount of moisture or exposure to water can interfere with the charging process and cause malfunctions.
If your earbuds have been exposed to moisture or submerged in water, follow these steps to address the issue:
- Immediately remove the earbuds from any moisture or water source. The longer they remain in contact with moisture, the higher the chances of irreversible damage.
- Dry the earbuds thoroughly before attempting to charge them. Use a soft cloth or towel to gently pat them dry. Avoid using heat sources such as hair dryers, as extreme heat can further damage the internal components.
- Check for signs of moisture or water in the charging port or other openings of the earbuds. If you notice any, use a can of compressed air to blow out any remaining moisture. Be careful not to hold the can too close to the earbuds to prevent damage.
- Allow the earbuds to dry completely before attempting to charge them. This process can take several hours or even overnight, depending on the level of moisture exposure. Patience is crucial to ensure that the earbuds are completely dry before connecting them to a power source.
- Once the earbuds are dry, attempt to charge them. If they still do not charge properly, it is likely that the moisture or water damage has caused internal component failure. In this case, it is advisable to reach out to the manufacturer’s customer support or take the earbuds to an authorized service center for evaluation and repair.
Prevention is always better than cure when it comes to moisture or water damage. Avoid using your earbuds in excessively humid environments or exposing them to water unnecessarily. Additionally, consider investing in earbuds that have an IPX water resistance rating, which provides an extra layer of protection against moisture and water damage.
Please note that water damage is not always covered under warranty, so it is important to check the warranty terms and conditions provided by the manufacturer.
Internal Hardware Problems
In some cases, internal hardware problems can be the underlying cause of earbuds not charging. These issues can range from a faulty circuitry to a damaged battery, preventing the earbuds from receiving a proper charge.
If you suspect internal hardware problems, consider the following steps to troubleshoot the issue:
- Inspect the earbuds for any visible signs of damage, such as loose wires or broken components. If you notice any physical damage, it is likely that internal hardware issues are the cause of the charging problem. In this case, professional repair may be required.
- Try charging the earbuds with a different power source, such as a USB port on a computer or a different charging adapter. Sometimes, the original power source may be faulty, and using an alternative can help determine if the issue lies with the earbuds or the charging setup.
- Test the earbuds with a different device to see if they charge properly. If they charge successfully with another device, it suggests that the initial device’s charging port may be the problem, rather than the earbuds themselves.
- If possible, try using a different set of earbuds or headphones with the same charging cable and power source. If the alternative earbuds charge without issues, it indicates that the problem resides solely with the original earbuds.
- If none of these steps resolve the issue, it is recommended to contact the manufacturer or bring the earbuds to an authorized service center for further assessment and repair. They have the expertise and specialized tools to diagnose and fix internal hardware problems.
Internal hardware problems can be more complex to diagnose and address, and it is crucial to rely on professional assistance to avoid causing further damage to the earbuds.
Remember to provide relevant information to the manufacturer or service center, such as the model and serial number of the earbuds, any relevant details about the issue, and any troubleshooting steps you have already taken. This will help expedite the diagnosis and repair process.
Keep in mind that internal hardware problems may be covered under warranty, depending on the specific terms and conditions provided by the manufacturer. It is recommended to check the warranty information and guidelines before seeking professional support.
Troubleshooting Steps for Earbuds Not Charging
If your earbuds are not charging properly, there are several troubleshooting steps you can take to try and resolve the issue. Follow these steps to troubleshoot the problem:
- Check the charging port and connection: Ensure that the charging cable is securely plugged into both the earbuds and the power source. Make sure there are no obstructions or debris in the charging port that may hinder the connection.
- Use a different charging cable or adapter: Try using a different charging cable or adapter to rule out any issues with the original accessories. Faulty cables or adapters can prevent proper charging.
- Reset the earbuds: Many earbuds have a reset function that can help resolve charging issues. Consult the user manual or the manufacturer’s website for instructions on how to perform a reset on your specific earbud model.
- Clean and dry the earbuds: If moisture or debris is obstructing the charging process, gently clean the earbuds using a soft cloth or compressed air. Ensure that the earbuds are completely dry before attempting to charge them.
- Update software or firmware: Check for any available software or firmware updates for your earbuds. Installing updates can address potential compatibility issues and improve charging performance.
- Factory reset or contact the manufacturer: If none of the above steps resolve the issue, you may need to perform a factory reset on your earbuds. Refer to the user manual or reach out to the manufacturer’s customer support for specific instructions. If the earbuds are still under warranty, consider contacting the manufacturer for further assistance.
It is important to note that these troubleshooting steps may not solve all charging issues, as there can be other underlying causes. If you have tried these steps without success, it is recommended to reach out to the manufacturer’s customer support or take the earbuds to an authorized service center for further assistance. They can provide specialized guidance and support to help resolve the charging problem.
Checking the Charging Port and Connection
When your earbuds are not charging, the first troubleshooting step is to check the charging port and its connection. A loose connection or a damaged charging port can prevent the proper flow of power and hinder the charging process.
To check the charging port and connection, follow these steps:
- Inspect the charging port on both the earbuds and the charging case (if applicable) for any visible signs of damage or debris. Look for bent pins, oxidation, or accumulation of dust or lint. If you notice any issues, it may be hindering the connection and preventing charging.
- Carefully clean the charging port using a soft dry cloth or a small brush. Remove any debris, dust, or lint that may have accumulated inside the port. Be gentle during the cleaning process to avoid causing further damage.
- Ensure that the charging cable is securely plugged into both the earbuds and the power source. Sometimes, a loose connection can be mistaken for a charging issue. Firmly push the charging cable into the earbuds and power source to ensure a secure connection.
- Observe the charging indicator on the earbuds or the charging case, if available. It should indicate that the earbuds are receiving power and charging. If there is no charging indicator or it does not light up, it could be an indication of a faulty connection or a damaged charging port.
- If possible, try using a different charging cable or adapter to see if the issue is with the original cable or adapter. Faulty or damaged charging accessories can also prevent the earbuds from charging correctly.
If the above steps do not resolve the issue, it is recommended to contact the manufacturer’s customer support or consult the user manual for further assistance. They can provide specific instructions or offer solutions for checking and repairing the charging port and its connection.
Remember to handle the charging port with care and avoid inserting any sharp objects that could cause damage. Regularly inspecting and cleaning the charging port can help prevent future charging issues and ensure the longevity of your earbuds.
Charging with a Different Cable or Adapter
If your earbuds are not charging properly, the next troubleshooting step is to try charging them with a different cable or adapter. A faulty or damaged charging cable or adapter can hinder the charging process and prevent the earbuds from receiving power.
Follow these steps to charge your earbuds with a different cable or adapter:
- Obtain a different charging cable or adapter that is compatible with your earbuds. It is important to use a cable or adapter that is designed for your specific earbud model to ensure compatibility and optimal charging performance.
- Disconnect the original charging cable from both the earbuds and the power source.
- Connect the alternative charging cable to the earbuds, ensuring a secure and snug connection.
- Plug the other end of the charging cable into a power source such as a USB port on a computer, a wall adapter, or a power bank.
- Monitor the charging indicator on the earbuds or the charging case, if available. It should indicate that the earbuds are receiving power and charging. If the indicator does not light up or shows no signs of charging, it may indicate an issue beyond the charging cable or adapter.
- If the earbuds start charging with the alternative cable or adapter, it suggests that the original charging accessories were the cause of the problem. Consider replacing the faulty cable or adapter with a new one for optimal charging performance.
If the earbuds still do not charge with the different cable or adapter, it may indicate an underlying issue with the earbuds themselves or another component. In such cases, it is recommended to reach out to the manufacturer’s customer support for further assistance or take the earbuds to an authorized service center for evaluation and repair.
Remember to handle charging cables and adapters with care to avoid any damage that could hinder the charging process in the future. Regularly inspecting and maintaining your charging accessories can ensure a reliable charging experience for your earbuds.
Resetting the Earbuds
If your earbuds are not charging properly, another troubleshooting step to consider is resetting them. Resetting the earbuds can help resolve any potential software or firmware glitches that could be causing the charging issue.
To reset your earbuds, follow the steps below:
- Refer to the user manual or the manufacturer’s website to find specific instructions on how to reset your earbuds. The reset process can vary depending on the brand and model.
- Typically, the reset involves pressing and holding a specific button or combination of buttons on the earbuds for a certain period of time.
- Make sure your earbuds are disconnected from any power source during the reset process.
- Follow the instructions carefully to perform the reset. It may involve pressing and holding the reset button for a few seconds or until you see a confirmation indicator, such as a flashing light or a sound.
- Once the reset is complete, attempt to charge your earbuds again using the original charging cable and adapter.
- Observe the charging indicator on the earbuds or the charging case, if available. It should indicate that the earbuds are receiving power and charging. If the indicator remains unresponsive or shows no signs of charging, proceed to the next troubleshooting step.
If resetting the earbuds does not resolve the charging issue, it is recommended to contact the manufacturer’s customer support or consult the user manual for further assistance. They can provide specific guidance or offer solutions based on your earbud model.
Remember that resetting the earbuds will revert them to their default settings and may erase any customized settings or pairing information. After the reset, you may need to re-pair the earbuds with your devices.
Resetting the earbuds should be approached with caution, and it is advisable to follow the manufacturer’s instructions to avoid any potential damage or loss of functionality.
Cleaning and Drying the Earbuds
If your earbuds are not charging properly, it’s worth considering that debris or moisture may be obstructing the charging process. Cleaning and drying the earbuds can help remove any obstructions and ensure proper charging functionality.
Follow these steps to clean and dry your earbuds:
- Inspect the earbuds for any visible debris, dust, or lint. Use a soft, dry cloth or a small brush to gently remove any particles that may have accumulated on the earbuds, including the charging ports and vents.
- Avoid using liquid cleaners or submerging the earbuds in water, as this can cause damage to the internal components.
- If moisture is a concern, carefully dry the earbuds using a soft cloth or towel. Gently pat them dry to remove any moisture on the surface. Avoid using heat sources, such as hair dryers, as excess heat can damage the earbuds.
- Allow the earbuds to air dry for an extended period. Place them in a clean, dry area and let them sit undisturbed for several hours or overnight. This will allow any remaining moisture to evaporate.
- Once the earbuds are completely dry, attempt to charge them using the original charging cable and adapter.
- Observe the charging indicator on the earbuds or the charging case, if available. It should indicate that the earbuds are receiving power and charging. If the indicator remains unresponsive or shows no signs of charging, proceed to the next troubleshooting step.
If cleaning and drying the earbuds do not resolve the charging issue, it is recommended to reach out to the manufacturer’s customer support or consult the user manual for further assistance. They can provide specific guidance or offer solutions based on your earbud model.
Regularly cleaning and maintaining your earbuds can help prevent debris buildup and ensure optimal charging performance. It is advisable to include this maintenance step in your routine to prolong the lifespan of your earbuds and avoid potential charging issues.
Updating Software or Firmware
If your earbuds are not charging properly, it’s worth considering that outdated software or firmware may be causing the issue. Updating the software or firmware can resolve compatibility issues and improve the overall charging performance of your earbuds.
Follow these steps to update the software or firmware of your earbuds:
- Visit the manufacturer’s website or check the companion app for your earbuds to see if any software or firmware updates are available. Manufacturers often release updates to address bugs, improve performance, and enhance charging functionality.
- Download and install any available updates following the instructions provided by the manufacturer. Ensure that you choose the correct update for your specific earbud model.
- Connect your earbuds to a power source using the original charging cable and adapter.
- Ensure that your earbuds have sufficient battery level before starting the update process. A low battery level can cause issues during the update and may result in incomplete or failed updates.
- Follow the manufacturer’s instructions to initiate the update process. This may involve connecting your earbuds to a computer or using the companion app to perform the update wirelessly.
- During the update process, avoid disconnecting the earbuds or interrupting the update. It is important to follow the instructions carefully and allow the update to complete fully.
- Once the update is finished, disconnect your earbuds from the power source and attempt to charge them again.
- Observe the charging indicator on the earbuds or the charging case, if available. It should indicate that the earbuds are receiving power and charging. If the indicator remains unresponsive or shows no signs of charging, proceed to the next troubleshooting step.
If updating the software or firmware does not resolve the charging issue, it is recommended to contact the manufacturer’s customer support or consult the user manual for further assistance. They can provide specific guidance or offer solutions based on your earbud model.
Keeping your earbuds up-to-date with the latest software or firmware updates is essential for optimal performance and charging reliability. Regularly check for updates and install them when available to ensure that your earbuds are operating at their best.
Factory Reset or Contacting Manufacturer Support
If your earbuds are still not charging properly after attempting the previous troubleshooting steps, you may need to consider a factory reset or contacting the manufacturer’s support for further assistance. Resetting the earbuds can help resolve any complex issues, while reaching out to the manufacturer can provide specialized guidance and solutions specific to your earbud model.
Follow these steps to perform a factory reset or seek assistance from the manufacturer:
- Refer to the user manual or the manufacturer’s website to find instructions on how to perform a factory reset on your earbuds. The reset process can vary depending on the brand and model.
- Make sure your earbuds are disconnected from any power source before initiating the reset process.
- Follow the manufacturer’s instructions carefully to perform the factory reset. This usually involves pressing and holding specific buttons on the earbuds for a certain duration until you see a confirmation indicator, such as a flashing light or a sound.
- After the factory reset, attempt to charge your earbuds again using the original charging cable and adapter.
- Observe the charging indicator on the earbuds or the charging case, if available. It should indicate that the earbuds are receiving power and charging. If the indicator remains unresponsive or shows no signs of charging, it may be time to contact the manufacturer’s customer support.
- Reach out to the manufacturer’s customer support through their website, email, or phone. Explain the issue you are facing, the troubleshooting steps you have already taken, and the results obtained. Provide any necessary details, such as the model and serial number of your earbuds.
- The manufacturer’s support team will provide you with further guidance and solutions specific to your situation. They may suggest additional troubleshooting steps or arrange for further diagnostics or repairs of your earbuds.
Remember that performing a factory reset will revert your earbuds to their default settings and may erase any customized settings or pairing information. It is recommended to back up any important data before proceeding.
Seeking assistance from the manufacturer’s support team ensures that you receive knowledgeable and reliable guidance. They have the expertise and resources to address complex issues and provide solutions tailored to your earbud model.
By performing a factory reset or contacting the manufacturer’s support, you can take the necessary steps to resolve the charging issue and get your earbuds working optimally once again.
Conclusion
When your earbuds are not charging properly, it can be frustrating and disrupt your audio experience. However, by understanding the common reasons for charging issues and following the appropriate troubleshooting steps, you can often resolve the problem and get your earbuds back to full functionality.
Throughout this article, we have explored various potential causes for earbuds not charging, including loose connections, low or dead batteries, faulty cables, software or firmware issues, moisture or water damage, and internal hardware problems. We have also provided troubleshooting steps for each scenario, such as checking the charging port and connection, using a different cable or adapter, resetting the earbuds, cleaning and drying them, updating the software or firmware, and considering a factory reset or contacting the manufacturer’s support.
It is worth noting that while these troubleshooting steps can resolve many charging issues, there may be cases where professional assistance or repair is necessary. In such situations, reaching out to the manufacturer’s customer support or visiting an authorized service center is recommended.
To prevent future charging problems, remember to handle your earbuds with care, regularly clean the charging port, and keep them updated with the latest software or firmware releases. Following the manufacturer’s guidelines for charging and maintenance will help prolong the lifespan of your earbuds and ensure optimal charging performance.
By taking the necessary steps to troubleshoot and resolve charging issues, you can continue enjoying your favorite music, podcasts, and audio content uninterrupted with fully charged earbuds.