Home>Devices & Equipment>Earbuds>How To Turn On JLab Earbuds
Earbuds
How To Turn On JLab Earbuds
Modified: January 22, 2024
Learn how to turn on your JLab earbuds and start enjoying your favorite tunes in no time. Discover step-by-step instructions for activating your earbuds effortlessly.
(Many of the links in this article redirect to a specific reviewed product. Your purchase of these products through affiliate links helps to generate commission for AudioLover.com, at no extra cost. Learn more)
Table of Contents
Introduction
Welcome to the world of JLab Earbuds! Whether you are a music enthusiast, a podcast lover, or simply someone who wants to enjoy their audio experience without the hassle of wires, JLab Earbuds are the perfect choice. These wireless earbuds offer convenience, comfort, and high-quality sound all in one package.
In this article, we will guide you through the process of turning on your JLab Earbuds and getting them ready for use. Whether you are a new owner or someone who needs a refresher, we’ve got you covered.
JLab Earbuds come with a variety of features and options, including touch controls, voice commands, and seamless connectivity. By following these simple steps, you’ll be able to power on your JLab Earbuds and start enjoying your favorite audio in no time.
So, let’s dive in and explore the steps you need to take to turn on your JLab Earbuds.
Step 1: Charging the Earbuds
Before you can power on your JLab Earbuds, it is essential to ensure that they are adequately charged. Charging your earbuds will not only provide you with an uninterrupted audio experience but also prolong their overall battery life.
To charge your JLab Earbuds, follow these simple steps:
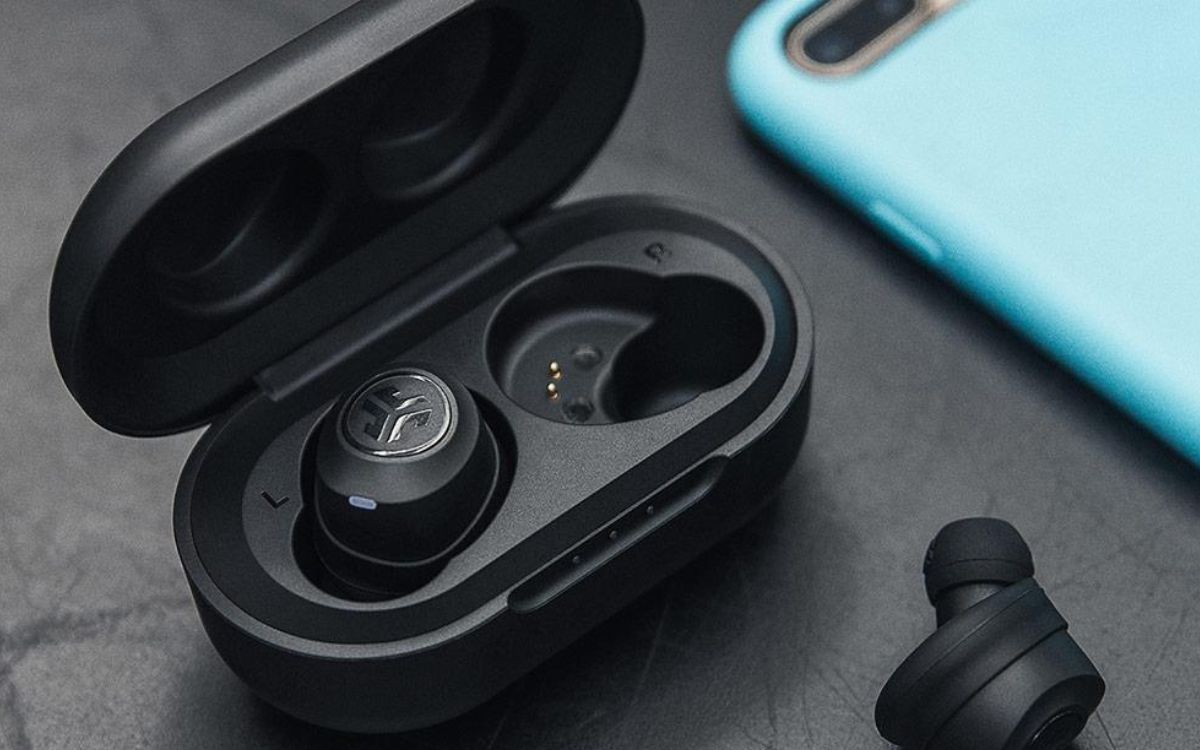
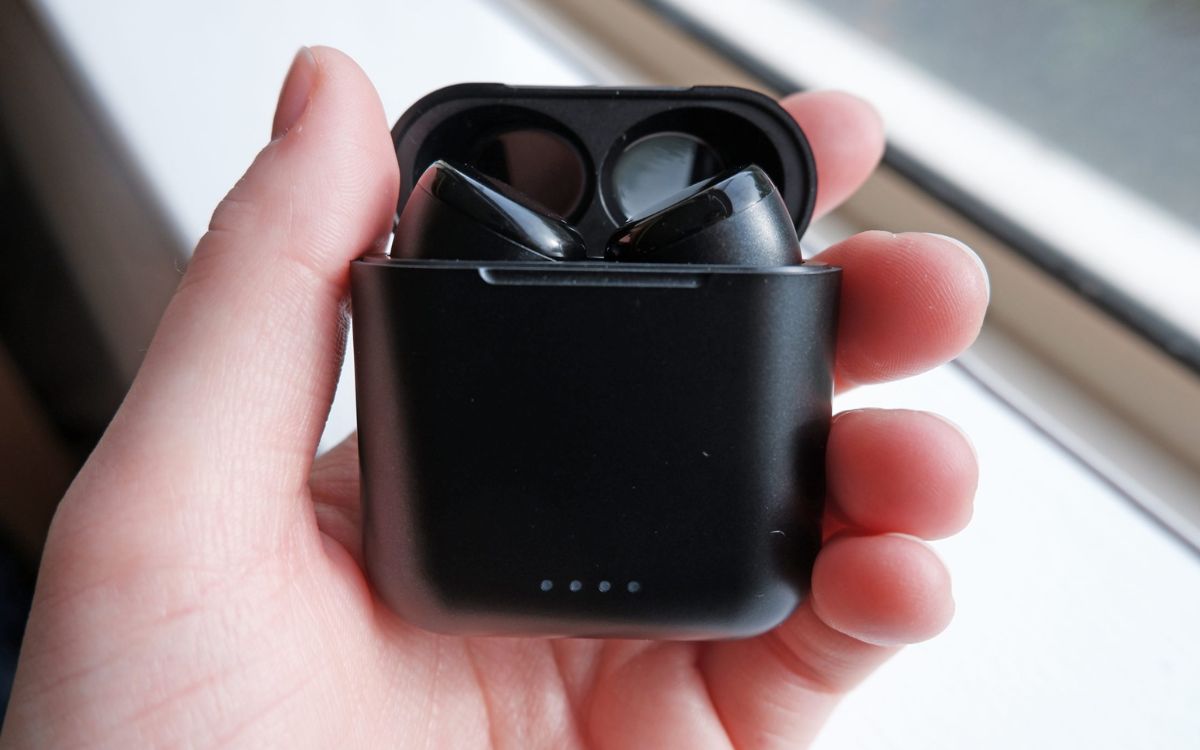
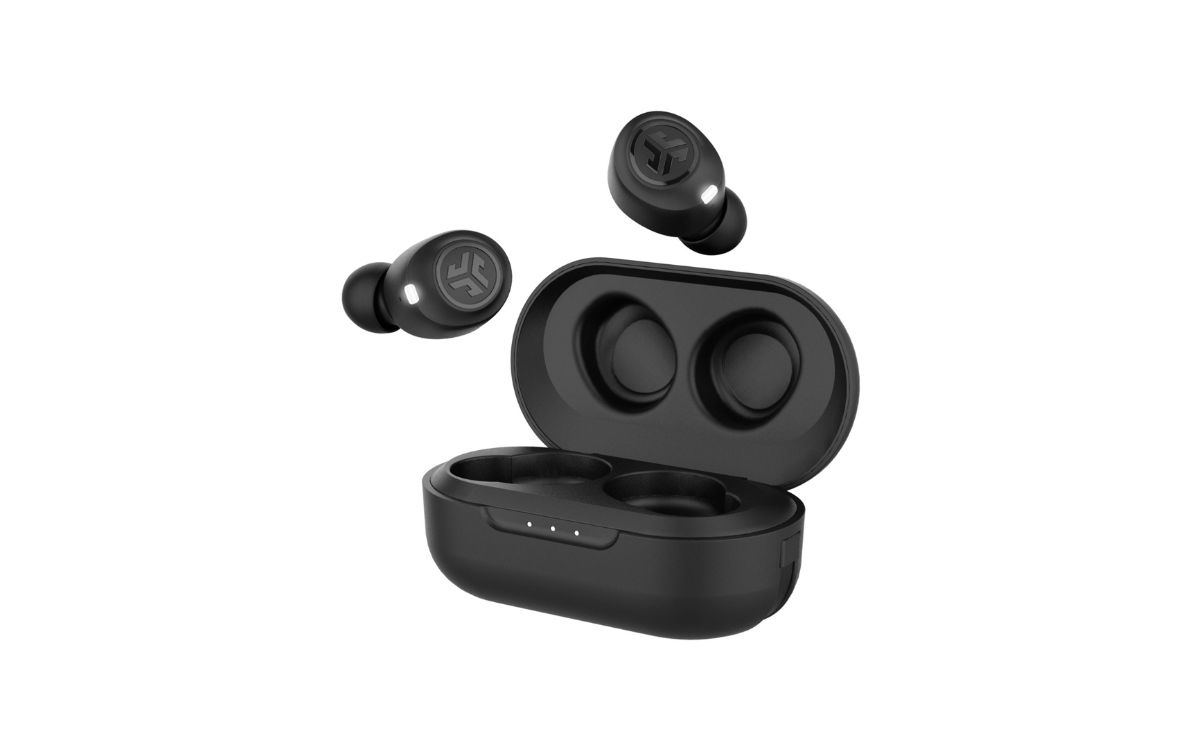
- Locate the charging case: The charging case for your JLab Earbuds is a compact and portable case that also acts as a charging station. It usually comes with the earbuds when you purchase them.
- Open the charging case: Gently open the lid of the charging case to reveal the slots where you will place the earbuds.
- Insert the earbuds into the charging slots: Take each earbud and carefully align it with the charging ports inside the case. Ensure that the metal charging pins on the earbuds make contact with the corresponding pins in the case.
- Close the charging case: Once the earbuds are securely placed in the charging slots, close the lid of the case. You should hear a satisfying click, indicating that the case is securely closed.
- Connect the charging cable: Take the USB charging cable provided with your JLab Earbuds and plug it into a power source. It can be a wall adapter, a USB port on your laptop, or any other USB power source.
- Connect the other end of the charging cable to the charging case: Locate the charging port on the back or bottom of the charging case and plug in the cable. Ensure that the connection is secure.
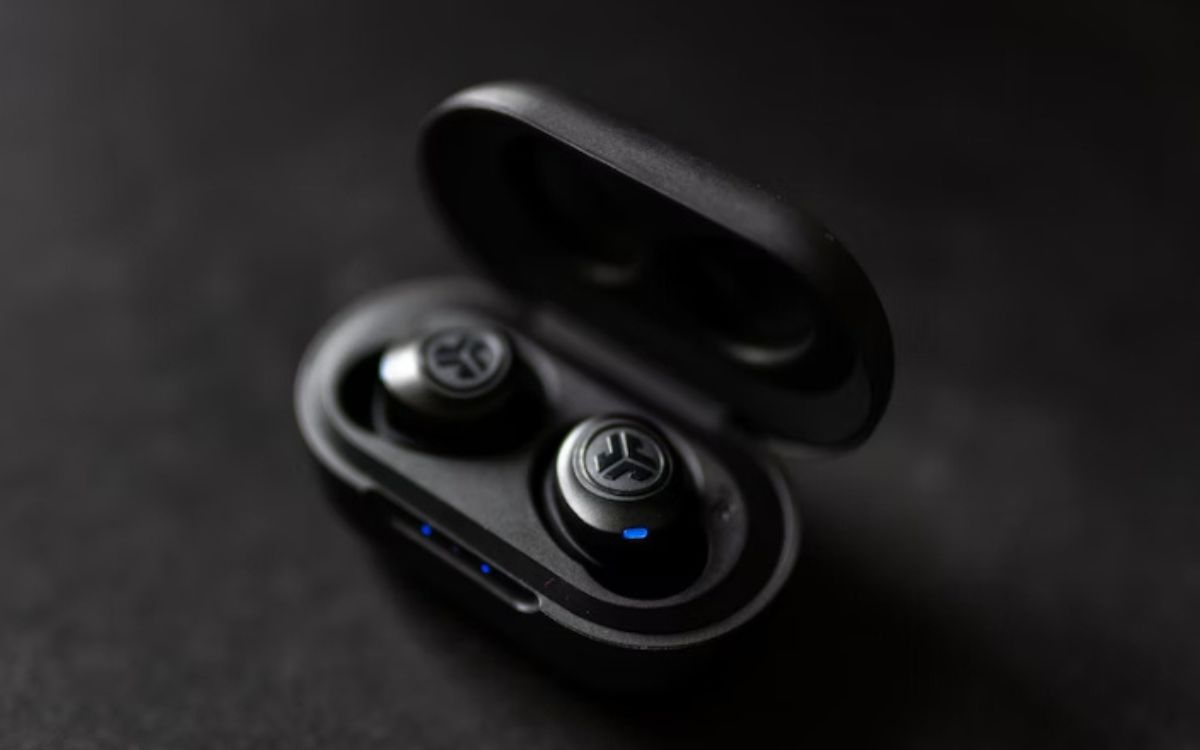
- Wait for the earbuds to charge: Once the earbuds are connected to the power source, they will start charging. The LED indicators on the front of the charging case may light up to indicate the charging status. Depending on the model, it may take a couple of hours for the earbuds to fully charge.
- Check the charging status: You can check the charging status of your earbuds by looking at the LED indicators on the charging case. Different colors or patterns may indicate different levels of charge.
Remember to keep an eye on the charging progress and avoid leaving the earbuds connected to the power source for an extended period after they are fully charged. Overcharging can potentially affect the battery life of the earbuds.
Now that your JLab Earbuds are charging, you can move on to the next step: powering them on!
Step 2: Powering On the Earbuds
Once your JLab Earbuds are fully charged, it’s time to power them on and start enjoying your audio experience. The process of turning on your JLab Earbuds may vary slightly depending on the model, but the basic steps remain the same.
To power on your JLab Earbuds, follow these steps:
- Remove the earbuds from the charging case: Open the charging case and gently take out the earbuds. Ensure that both earbuds are fully removed from the charging slots.
- Inspect the earbuds: Before powering on the earbuds, take a moment to inspect them. Look for any visible damage or dirt that may affect their performance or comfort. Clean them if necessary.
- Activate the earbuds: Most JLab Earbuds have sensors that detect when they are removed from the charging case and automatically power them on. In this case, simply removing the earbuds will activate them. Alternatively, some models may have a dedicated power button that needs to be pressed to turn on the earbuds.
- Listen for the power-on confirmation: When the earbuds are powered on, you may hear a sound cue or a voice prompt confirming their activation. This indicates that the earbuds are ready to be connected to a device.
- Check the LED indicators: Some JLab Earbuds have LED indicators that provide additional information about their status. Make sure to check the LEDs on the earbuds or the charging case to ensure that they are powered on and ready for pairing.
Once your JLab Earbuds are powered on, you are now ready to pair them with a compatible device and start enjoying your audio content without any wires holding you back.
Note: If you are unsure about the specific steps to power on your JLab Earbuds, refer to the user manual or instructions provided by JLab Audio. Each model may have slight variations in the power-on process, so it’s always a good idea to consult the documentation.
Now that your JLab Earbuds are powered on, let’s move on to the next step: pairing them with a device.
Step 3: Pairing with a Device
After powering on your JLab Earbuds, the next step is to pair them with a compatible device, such as a smartphone, tablet, or computer. Pairing allows the earbuds to establish a wireless connection with the device, enabling you to enjoy your audio content without the need for any physical cables.
To pair your JLab Earbuds with a device, follow these steps:
- Activate Bluetooth: Ensure that the Bluetooth function on your device is turned on. You can usually find the Bluetooth settings in the device’s settings menu or quick settings dropdown.
- Put the earbuds in pairing mode: Depending on the JLab Earbuds model, this step may vary. Most earbuds will enter pairing mode automatically when powered on for the first time. However, if they don’t, you may need to press and hold a dedicated button on the earbuds to activate pairing mode. Refer to your device’s user manual or JLab’s instructions for the specific method.
- Select the earbuds on your device: On your device, go to the Bluetooth settings menu and look for the name of your JLab Earbuds. It may be listed as “JLab Earbuds” or a specific model name. Tap on the earbuds’ name to initiate the pairing process.
- Wait for the connection: After selecting the earbuds on your device, wait for the pairing process to complete. This may take a few seconds, and you may see a confirmation message on your device’s screen.
- Confirm the connection: Once the pairing process is successful, you may hear a sound cue or see a notification on both your device and the earbuds indicating a successful connection. The LED indicators on the earbuds may also change to a solid color or pattern.
After successfully pairing your JLab Earbuds with your device, they are now ready to be used for your audio needs. You can use them to listen to music, watch videos, make phone calls, or any other audio-related activities supported by your device.
If you encounter any issues during the pairing process or if your device fails to detect the earbuds, try the following troubleshooting steps:
- Restart your device’s Bluetooth: Turn off and then turn on the Bluetooth function on your device to refresh its settings.
- Reset the earbuds: Some JLab Earbuds have a reset option that you can access through specific button combinations or in the accompanying mobile app. Resetting the earbuds can help resolve connectivity problems.
- Move closer to the device: If the distance between the earbuds and the device is too far, try moving closer to establish a stronger connection.
- Check for firmware updates: Visit JLab’s website or use their mobile app to check if there are any firmware updates available for your earbuds. Updating the firmware can address any compatibility issues.
By following these steps and troubleshooting tips, you should be able to successfully pair your JLab Earbuds with your device and enjoy a seamless and wireless audio experience.
Now that your JLab Earbuds are paired with your device, let’s move on to the next step: adjusting volume and controls.
Step 4: Adjusting Volume and Controls
Once your JLab Earbuds are paired with your device, you have the freedom to control the volume and other essential functions directly from the earbuds. Most JLab Earbuds come with built-in controls that allow you to adjust the volume, play/pause audio, skip tracks, and even activate voice assistants.
To adjust volume and control your audio playback using JLab Earbuds, follow these steps:
- Locate the control buttons on the earbuds: Depending on the JLab Earbuds model, the control buttons may be located on the surface of the earbuds or on a remote attached to the cable. Familiarize yourself with the placement of the buttons before using them.
- Volume control: To adjust the volume, look for the volume control buttons on the earbuds. Press the “+” button to increase the volume and the “-” button to decrease it. Some models may have touch-sensitive panels that allow you to swipe up or down to adjust the volume.
- Playback control: To control playback, locate the play/pause button on the earbuds. Press this button once to pause or resume the audio playback. You may also have the option to skip to the next track or go back to the previous track by double or triple pressing the button, respectively.
- Voice assistant: Some JLab Earbuds have a dedicated button or touch control that can activate your device’s voice assistant, such as Siri or Google Assistant. Press and hold this button to prompt the voice assistant and perform various functions using voice commands.
- Customize controls (if available): Depending on the model, you may have the option to customize the earbud controls using the companion mobile app or software. This allows you to assign specific functions to different button presses or gestures according to your preferences.
It’s important to note that the control options may vary depending on the specific JLab Earbuds model and the device you are using. Refer to the user manual or JLab’s instructions for the detailed control functionalities and customization options available for your specific earbuds.
By using the control buttons or touch controls on your JLab Earbuds, you can conveniently adjust the volume and control your audio playback without reaching for your device.
Now that you are familiar with adjusting volume and controls on your JLab Earbuds, let’s move on to the final step: powering off the earbuds.
Step 5: Powering Off the Earbuds
After you have completed your audio session with your JLab Earbuds, it is important to power them off to conserve battery life and ensure their longevity. Properly turning off the earbuds will also prevent any accidental activation or battery drain when they are not in use.
To power off your JLab Earbuds, follow these steps:
- Pause the audio playback: If you are currently playing any audio, pause it by pressing the play/pause button on the earbuds or using the controls on your device.
- Disconnect from the device: If your JLab Earbuds are connected to a device via Bluetooth, disconnect them by going to the Bluetooth settings on your device and selecting the option to disconnect or forget the earbuds.
- Place the earbuds back in the charging case: Gently place the earbuds back into their designated slots in the charging case. Ensure that they are properly aligned and make contact with the charging pins.
- Close the charging case: Once the earbuds are securely placed in the charging case, close the lid to protect and store them. Make sure the lid is fully closed and latched.
It’s important to note that some JLab Earbuds models have an automatic power-off feature when placed back in the charging case. In this case, the earbuds will automatically power off as soon as they are detected by the charging case. However, if your earbuds do not have this feature, you may need to manually power them off using the following steps:
- Press and hold the power button: Locate the power button on the earbuds or the remote control. Press and hold this button for a few seconds until you hear a power-off confirmation tone or see the LED indicators turn off.
- Confirm the power-off status: To ensure that the earbuds are powered off, check the LED indicators on the earbuds or the charging case. The LEDs should not be lit or display any activity.
By properly powering off your JLab Earbuds and storing them in the charging case, you can ensure that they are ready for the next use and maintain their battery life for longer periods of usage.
Congratulations! You have now successfully powered off your JLab Earbuds. With these steps, you can conveniently power them on, pair them with devices, adjust volume and controls, and power them off when necessary.
Remember to refer to the user manual or JLab’s instructions specific to your model for any additional information or features that may be available.
Enjoy your wireless and convenient audio experience with your JLab Earbuds!
Conclusion
In conclusion, JLab Earbuds offer a fantastic wireless audio experience, providing convenience, comfort, and high-quality sound. By following the steps we’ve outlined in this article, you can easily turn on, charge, pair, control, and power off your JLab Earbuds.
Starting with charging the earbuds, it’s essential to ensure they are adequately charged to enjoy uninterrupted audio. Powering on the earbuds is as simple as removing them from the charging case, while pairing them with a device involves activating Bluetooth and selecting the earbuds from the device’s settings.
Once your JLab Earbuds are connected, you can adjust the volume and control playback directly from the earbuds using the designated buttons or touch controls. Additionally, some models allow you to customize the controls according to your preferences.
When you’re done using your JLab Earbuds, it’s important to power them off properly. This involves pausing audio playback, disconnecting from the device, and placing the earbuds back in the charging case. Some models have automatic power-off functionality when placed in the case, while others may require manual power-off via a designated button.
By following these steps and familiarizing yourself with the specific features of your JLab Earbuds model, you can seamlessly integrate them into your audio routine and enjoy a wireless, hassle-free audio experience.
We hope this guide has been helpful in assisting you with turning on your JLab Earbuds and getting them ready for use. Remember to consult the user manual or JLab’s instructions for detailed information specific to your model.
Now, grab your favorite audio content, put on your JLab Earbuds, and immerse yourself in rich, high-quality sound without the tangle of wires. Happy listening!