Home>Devices & Equipment>Microphone>How To Make AirPod Microphone Louder
Microphone
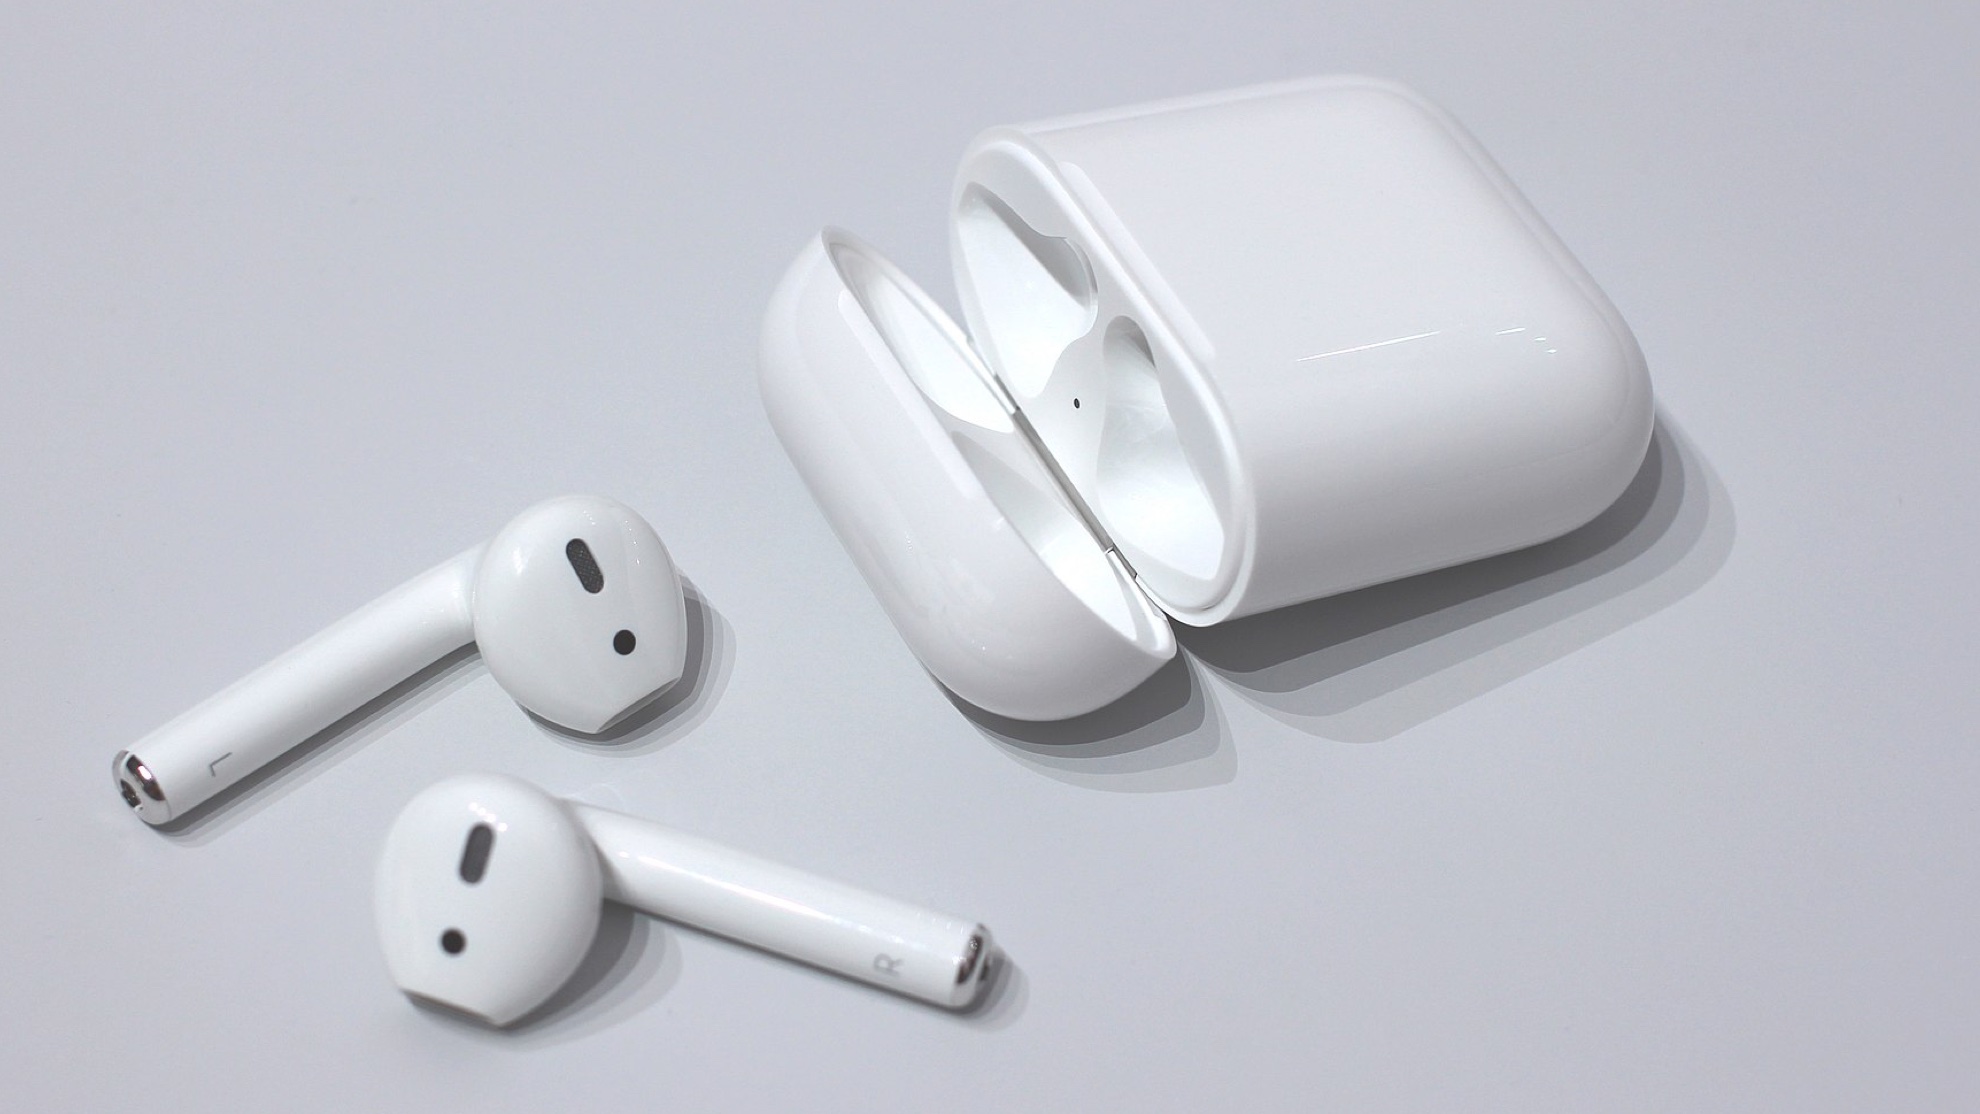
How To Make AirPod Microphone Louder
Published: February 16, 2024
Learn how to make your AirPod microphone louder with our simple step-by-step guide. Enhance your audio quality and improve your microphone performance.
(Many of the links in this article redirect to a specific reviewed product. Your purchase of these products through affiliate links helps to generate commission for AudioLover.com, at no extra cost. Learn more)
Table of Contents
**
Introduction
**
When using AirPods for calls or voice commands, having a clear and loud microphone is essential for effective communication. However, at times, users may encounter situations where the AirPod microphone seems quieter than expected. This can be frustrating, especially when it hinders seamless communication or voice recognition. Fortunately, there are several steps you can take to address this issue and make your AirPod microphone louder.
In this guide, we will explore various methods to enhance the microphone volume of your AirPods. From checking for physical obstructions to adjusting the microphone settings and cleaning the AirPods, we will cover practical solutions to help you optimize the microphone performance. Additionally, we will delve into the importance of updating the AirPods firmware to ensure that they are functioning at their best.
Whether you use AirPods for work calls, virtual meetings, or hands-free voice commands, a louder microphone can significantly improve your overall experience. By following the steps outlined in this article, you can troubleshoot and potentially resolve any issues related to low microphone volume, ultimately enhancing the functionality of your AirPods for voice-based activities.
Now, let's delve into the specific steps you can take to make your AirPod microphone louder and improve your overall user experience.
**
Check for Obstructions
**
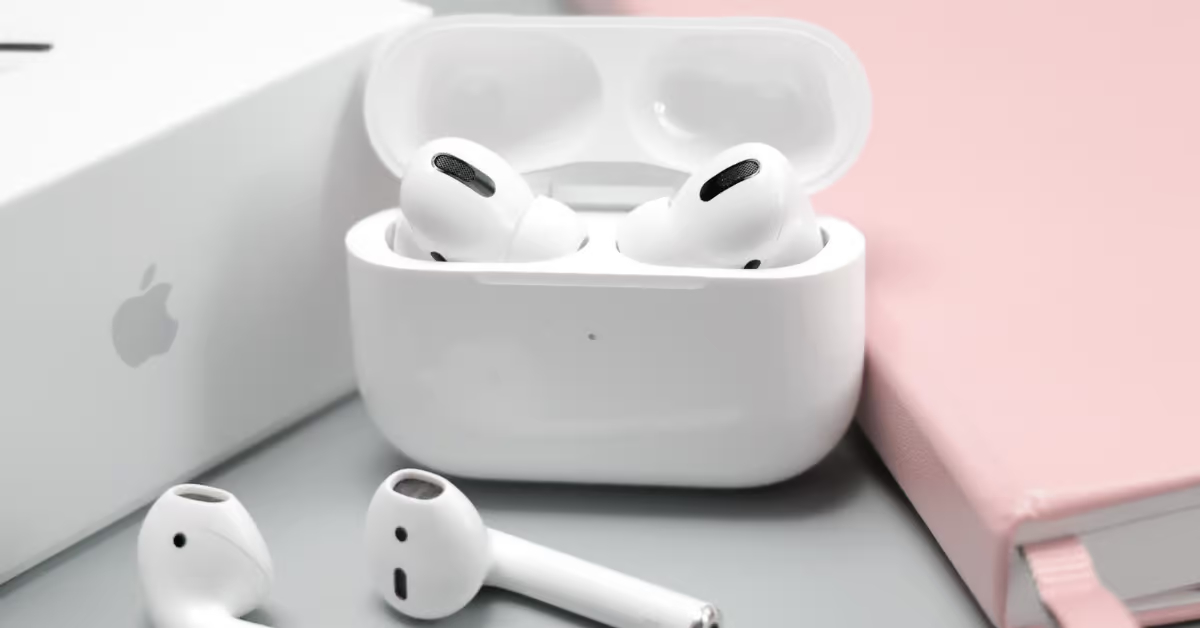
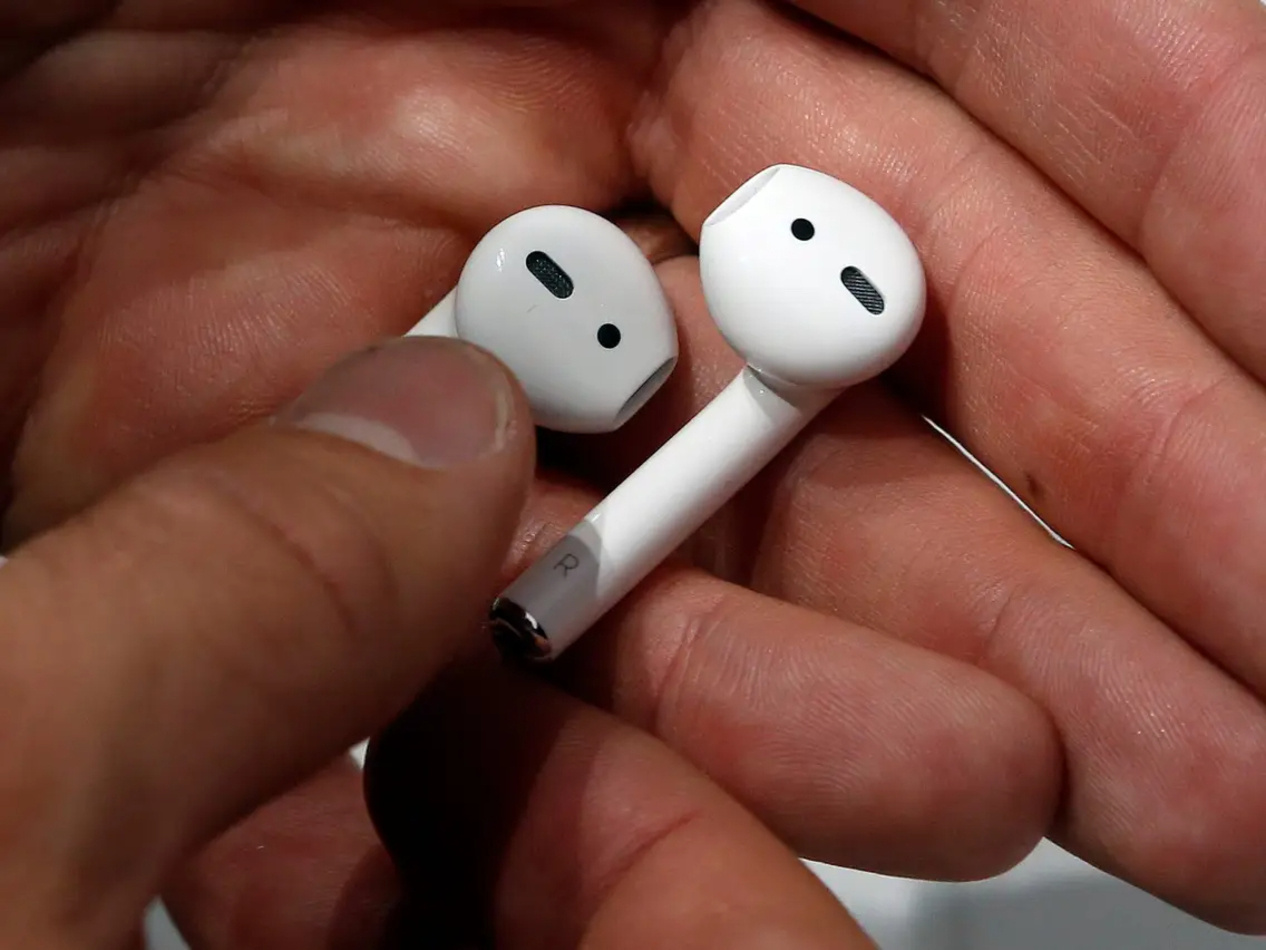
Before delving into more complex solutions, it’s important to start with the basics. Sometimes, a simple physical obstruction can significantly impact the performance of the AirPods microphone. Begin by carefully examining the microphone and the surrounding areas for any potential blockages or debris. Over time, dust, lint, or other particles can accumulate and obstruct the microphone, leading to reduced volume and clarity.
Inspect the exterior of the AirPods, paying close attention to the microphone openings. If you notice any visible debris or buildup, gently remove it using a soft, dry brush or compressed air. Be cautious not to apply excessive force or use sharp objects that could damage the delicate components of the AirPods. By clearing any obstructions, you can potentially improve the microphone’s ability to capture and transmit sound effectively.
Furthermore, consider the environment in which you are using the AirPods. If you are in a particularly dusty or windy area, it’s possible that external elements could be affecting the microphone performance. In such cases, relocating to a cleaner or more sheltered space may alleviate the issue.
If after inspecting for obstructions you find that the microphone volume is still insufficient, it may be necessary to explore other potential causes and solutions. The following sections will delve into additional steps to address low microphone volume and enhance the overall performance of your AirPods.
**
Adjust the Microphone Settings
**
When experiencing low microphone volume with your AirPods, it’s essential to explore the available settings on the connected device. Whether you are using AirPods with an iPhone, iPad, Mac, or another compatible device, there are often specific settings that can be adjusted to optimize the microphone performance.
Begin by accessing the Bluetooth or audio settings on your device. Look for options related to the connected AirPods and navigate to the microphone settings, if available. Depending on the device and operating system, you may have the ability to adjust the microphone input volume or enable features designed to enhance microphone clarity and sensitivity.
If you are using AirPods with an iPhone or iPad, you can customize the microphone settings by following these steps:
- Open the Settings app on your iOS device.
- Scroll down and select “Bluetooth.”
- Locate your connected AirPods in the list of devices and tap the “i” icon next to them.
- Within the AirPods settings, you may find options to adjust the microphone volume or enable features such as “Live Listen,” which uses the device’s microphone to focus on specific sounds.
For Mac users, adjusting the microphone settings can be done by following these steps:
- Click on the Apple menu and select “System Preferences.”
- Choose “Sound” and navigate to the “Input” tab.
- Select your AirPods from the list of input devices and adjust the input volume as needed.
By exploring and adjusting the available microphone settings on your device, you may be able to significantly improve the volume and clarity of the AirPods microphone. However, if adjusting the settings does not yield the desired results, there are additional steps to consider in the quest to make your AirPod microphone louder.
**
Clean the AirPods
**
Over time, the accumulation of dirt, earwax, and debris can impact the performance of the AirPods, including the microphone. Cleaning your AirPods regularly is crucial for maintaining optimal audio quality and microphone functionality. Here are the steps to effectively clean your AirPods and potentially improve the microphone volume:
1. Remove Earwax and Debris: Inspect the speaker and microphone openings of your AirPods for any visible earwax or debris. Use a soft, dry brush or a clean, lint-free cloth to gently remove any buildup. Avoid using liquids or cleaning solutions, as these can damage the delicate components of the AirPods.
2. Clean the Charging Case: If the microphone volume issues persist, it’s important to also clean the AirPods charging case. Wipe the interior and exterior of the case with a slightly damp, lint-free cloth to remove any dirt or residue that could potentially transfer to the AirPods and affect their performance.
3. Utilize Compressed Air: For stubborn debris that is difficult to remove with a cloth or brush, consider using compressed air to carefully dislodge any particles from the microphone and speaker openings. Hold the AirPods securely and use short bursts of compressed air to avoid causing damage.
Regularly incorporating these cleaning practices into your AirPods maintenance routine can contribute to clearer audio and improved microphone performance. However, if cleaning the AirPods does not yield the desired results, there are additional steps to consider in addressing low microphone volume.
**
Update the Firmware
**
Ensuring that your AirPods have the latest firmware is crucial for maintaining optimal performance, including microphone functionality. Firmware updates often include bug fixes, performance enhancements, and improvements to audio processing, which can directly impact the microphone volume and clarity.
To update the firmware of your AirPods, follow these steps:
- Ensure that your AirPods are connected to your iOS device or Mac.
- Place the AirPods in the charging case and ensure that the case is connected to a power source.
- With your iOS device nearby, open the case lid. A prompt to update the firmware may appear on your device. Follow the on-screen instructions to initiate the update.
- If no prompt appears, you can manually check for firmware updates by navigating to the “Settings” app on your iOS device, selecting “General,” and then “About.” If an update is available for your AirPods, you will have the option to install it.
- For Mac users, ensure that your AirPods are connected to your Mac and the charging case is nearby. Open the “Bluetooth” settings and right-click on your AirPods. If an update is available, there may be an option to install it.
By keeping your AirPods firmware up to date, you can take advantage of the latest improvements and optimizations, potentially addressing any underlying issues related to microphone volume. However, if updating the firmware does not resolve the low microphone volume, there are additional troubleshooting steps to consider.
**
Conclusion
**
Addressing low microphone volume with your AirPods is essential for ensuring clear and effective communication during calls and voice commands. By following the steps outlined in this guide, you can troubleshoot and potentially resolve issues related to low microphone volume, ultimately enhancing the functionality of your AirPods.
From checking for physical obstructions to adjusting the microphone settings, cleaning the AirPods, and updating the firmware, each step plays a crucial role in optimizing the microphone performance. By starting with simple solutions such as clearing obstructions and cleaning the AirPods, you can address common issues that may be affecting the microphone volume.
Exploring the available microphone settings on your connected device and ensuring that your AirPods have the latest firmware are important steps in the quest to make your AirPod microphone louder. By customizing the microphone settings and keeping the firmware up to date, you can take advantage of enhancements designed to improve microphone clarity and volume.
It’s important to approach troubleshooting with patience and thoroughness, as each step contributes to the overall maintenance and performance of your AirPods. By incorporating these practices into your routine maintenance, you can enjoy consistently clear and loud microphone performance from your AirPods.
Remember, if you encounter persistent issues with low microphone volume despite attempting these solutions, it may be beneficial to seek support from Apple’s customer service or authorized service providers for further assistance.
By taking proactive steps to address low microphone volume and optimize the performance of your AirPods, you can elevate your overall user experience and ensure that your communication and voice command needs are met with clarity and precision.