Home>Devices & Equipment>Microphone>How To Connect Microphone To FL Studio
Microphone
How To Connect Microphone To FL Studio
Published: February 16, 2024
Learn how to connect a microphone to FL Studio and start recording your music with ease. Follow simple steps to set up your microphone for professional-quality audio.
(Many of the links in this article redirect to a specific reviewed product. Your purchase of these products through affiliate links helps to generate commission for AudioLover.com, at no extra cost. Learn more)
Table of Contents
Introduction
Introduction
Are you ready to take your music production to the next level? Connecting a microphone to FL Studio opens up a world of possibilities for recording vocals, instruments, and sound effects. Whether you're a seasoned producer or just starting out, harnessing the power of a microphone in conjunction with FL Studio can elevate your projects to new heights. In this comprehensive guide, we'll delve into the intricacies of connecting a microphone to FL Studio, exploring the various types of microphones, the setup process, and tips for achieving optimal recordings.
Understanding the nuances of microphone selection and setup is crucial for capturing high-quality audio. With the right knowledge and techniques, you can harness the full potential of your microphone and seamlessly integrate it into your FL Studio workflow. By the end of this guide, you'll be well-equipped to unleash your creativity and capture pristine audio with confidence.
Let's embark on this journey together as we unravel the art of connecting a microphone to FL Studio, empowering you to infuse your music with the magic of live recordings and vocal performances. Whether you're aiming to lay down captivating vocals, record expressive instruments, or experiment with unique soundscapes, the ability to connect a microphone to FL Studio is a game-changer that can revolutionize your music production endeavors.
Understanding Microphone Types
Understanding Microphone Types
Before delving into the technical aspects of connecting a microphone to FL Studio, it’s essential to grasp the fundamental differences between microphone types. Microphones come in various forms, each with its own unique characteristics and ideal applications.
1. Dynamic Microphones:
Dynamic microphones are rugged and versatile, making them suitable for capturing loud sound sources such as amplified instruments and drums. Their robust build and ability to handle high sound pressure levels make them a popular choice for live performances and recording environments with significant ambient noise.
2. Condenser Microphones:
Condenser microphones are revered for their sensitivity and ability to capture intricate details in sound. They excel at recording vocals, acoustic instruments, and nuanced performances, making them a staple in studio settings. However, they are more sensitive to loud volumes and require phantom power to operate.
3. Ribbon Microphones:
Ribbon microphones are revered for their warm, vintage sound characteristics. They are prized for their ability to impart a smooth and natural tonality to recordings, making them a popular choice for capturing the nuances of vocals and acoustic instruments. However, they are delicate and require careful handling.
Understanding the unique sonic traits and intended applications of each microphone type empowers you to make informed decisions when selecting a microphone for your recording endeavors. Whether you’re aiming to capture the raw energy of a live performance or the delicate nuances of a vocal ballad, choosing the right microphone type is pivotal in achieving the desired sonic outcome.
Setting Up Your Microphone
Setting Up Your Microphone
Properly setting up your microphone is crucial for achieving optimal audio quality and ensuring a seamless connection to FL Studio. Follow these steps to set up your microphone effectively:
1. Choose the Right Location:
When setting up your microphone, consider the acoustic environment in which you’ll be recording. Select a location with minimal background noise and reverberation to capture clean, focused audio.
2. Mounting the Microphone:
If you’re using a microphone stand or shock mount, ensure that the microphone is securely positioned to minimize vibrations and handling noise. Proper mounting helps maintain a consistent sound quality during recording.
3. Connect the Microphone:
Depending on the type of microphone you’re using, connect it to an audio interface or directly to your computer’s audio input. Ensure that the connection is secure to prevent audio dropouts or signal interference.
4. Phantom Power (for Condenser Microphones):
If you’re using a condenser microphone, make sure to activate phantom power on your audio interface or preamp. Phantom power is essential for powering the internal circuitry of condenser microphones.
5. Positioning the Microphone:
Experiment with the microphone’s positioning to achieve the desired sound. For vocals, a pop filter can help minimize plosives, while angling the microphone slightly off-axis can reduce sibilance and harsh consonant sounds.
6. Test for Signal Quality:
Before diving into recording, perform a sound check to ensure that the microphone is capturing audio at the desired level and that there are no technical issues affecting the signal quality.
By meticulously setting up your microphone, you lay the groundwork for capturing pristine audio that translates seamlessly into your FL Studio projects. A well-prepared microphone setup forms the cornerstone of high-quality recordings, providing a solid foundation for your creative endeavors.
Configuring FL Studio
Configuring FL Studio
Once your microphone is set up and ready to go, it’s time to configure FL Studio to recognize and optimize the audio input from your microphone. Follow these steps to ensure that FL Studio is properly configured for recording with your microphone:
1. Selecting the Input Device:
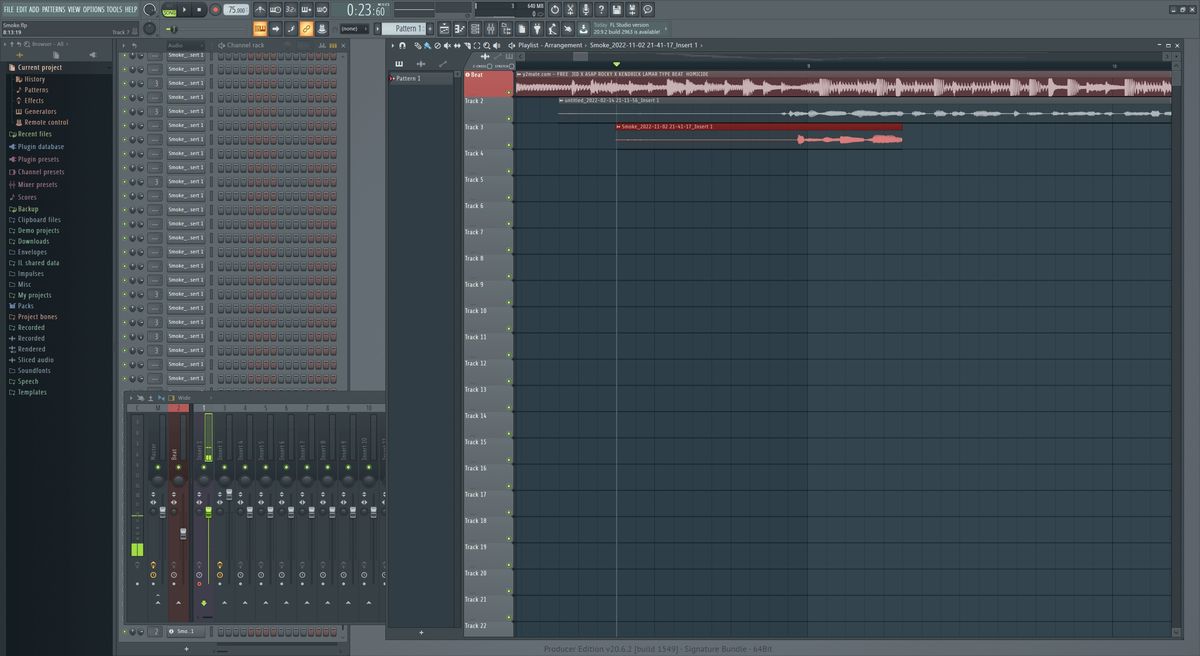
Open FL Studio and navigate to the audio settings. Choose your audio interface or sound card as the input device to which your microphone is connected. Ensure that the input device is correctly recognized by FL Studio.
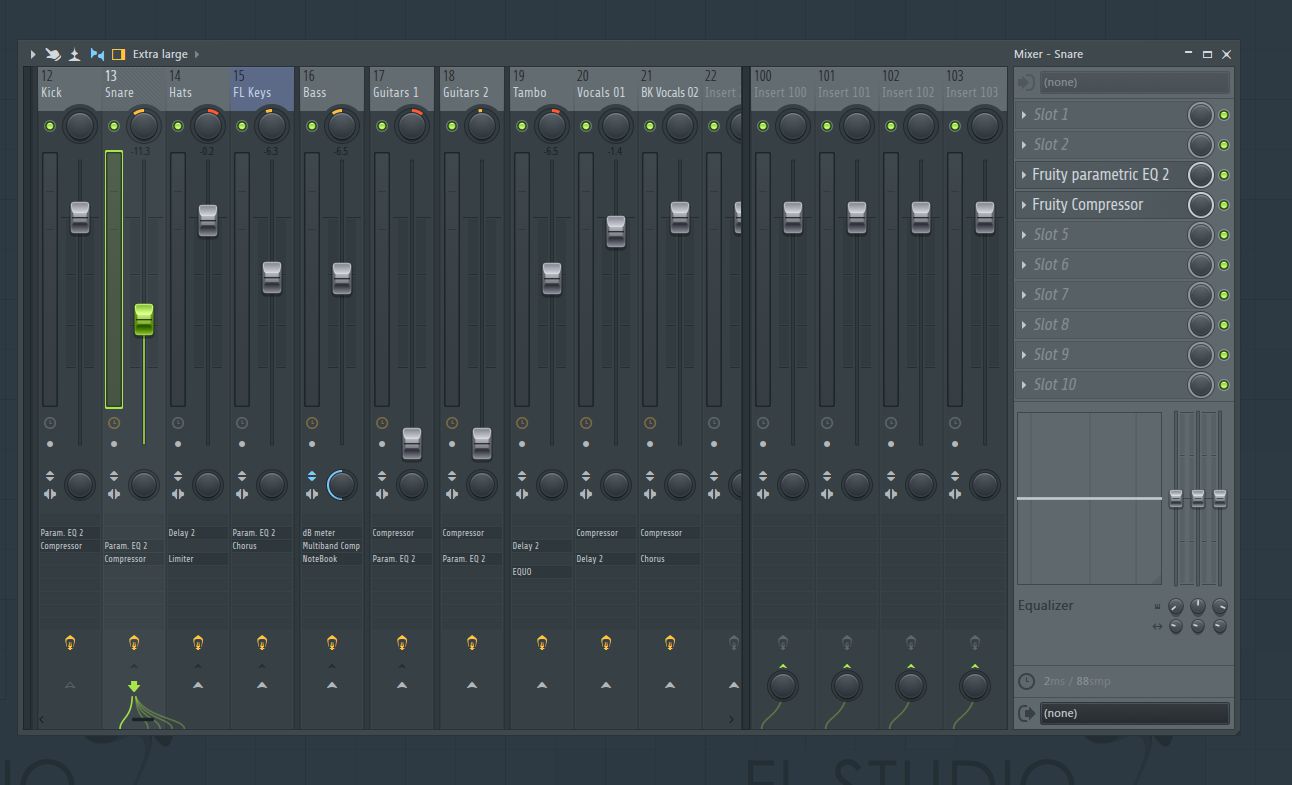
2. Setting the Input Channel:
Assign the input channel corresponding to your microphone within FL Studio. This step ensures that FL Studio is receiving audio input from the designated microphone source, allowing you to monitor and record the incoming signal.
3. Adjusting Input Levels:
Calibrate the input levels to optimize the signal coming from your microphone. Aim to set the input levels to a point where the signal is robust and clear without clipping or distorting, ensuring a clean and balanced input for your recordings.
4. Enabling Monitoring:
Enable monitoring for the input channel to listen to the live audio from your microphone through your headphones or studio monitors. Monitoring allows you to hear yourself in real-time, making it easier to adjust your performance and ensure optimal recording quality.
5. Configuring Recording Settings:
Set the recording preferences within FL Studio, including the file format, sample rate, and bit depth. Ensure that the recording settings align with your desired audio quality and project requirements to capture recordings with precision and clarity.
6. Testing the Setup:
Before diving into your recording session, perform a test recording to verify that the microphone input is accurately captured by FL Studio. This step allows you to address any potential issues and fine-tune the configuration before committing to a full-fledged recording.
By meticulously configuring FL Studio to accommodate your microphone, you pave the way for a seamless recording experience, empowering you to capture performances with precision and finesse. With FL Studio primed to harness the potential of your microphone, you’re poised to embark on a creative journey filled with captivating audio recordings.
Recording with Your Microphone
Recording with Your Microphone
With your microphone and FL Studio configured and ready, it’s time to embark on the exhilarating process of capturing audio recordings. Whether you’re laying down vocals, tracking instruments, or capturing ambient sounds, the following steps will guide you through the recording process:
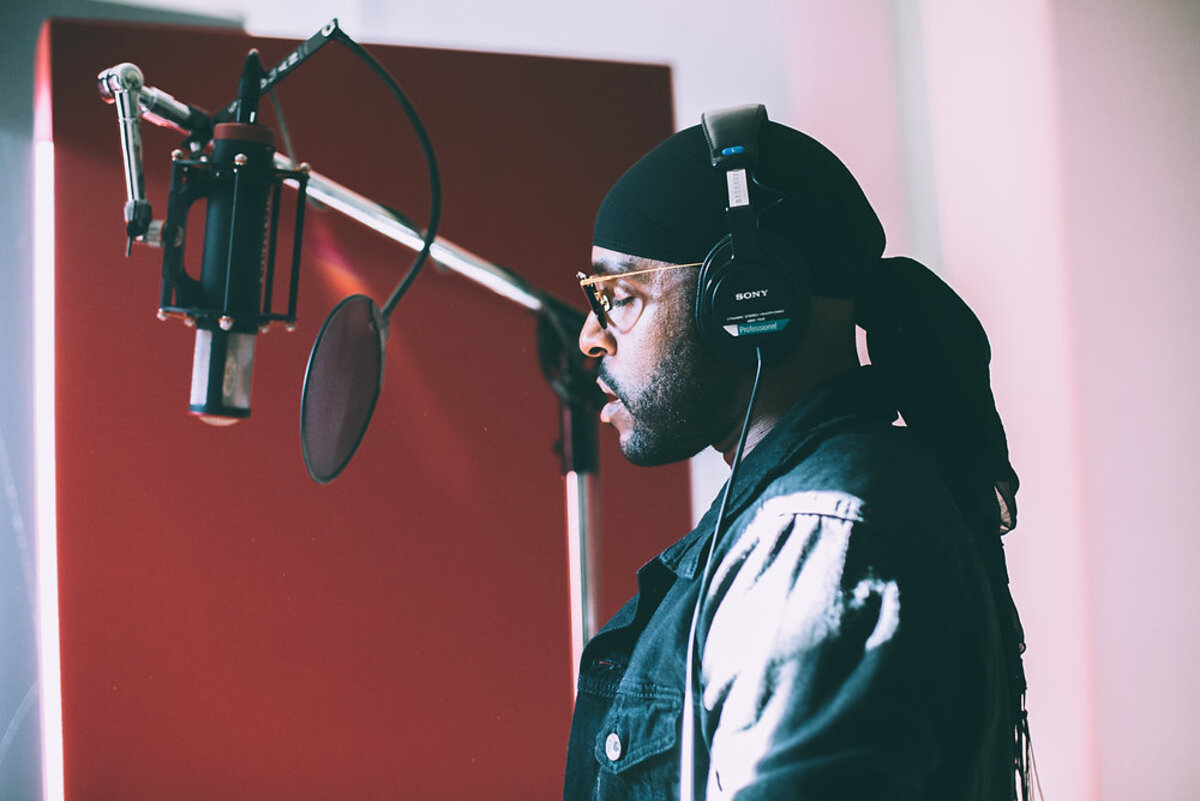
1. Prepare the Performance Space:
Set the stage for your recording by creating a conducive environment. Ensure that the performer is comfortable and positioned optimally relative to the microphone. Additionally, address any potential sources of noise or distractions to maintain a focused recording atmosphere.
2. Monitor the Signal:
As the recording session commences, monitor the signal from your microphone within FL Studio. Keep an eye on the input levels to ensure that the audio signal remains within an optimal range, avoiding clipping or excessively low levels that may compromise the recording quality.
3. Capture Multiple Takes:
Encourage the performer to deliver multiple takes of the performance to explore different nuances and expressions. Recording multiple takes provides flexibility during the editing and mixing stages, allowing you to cherry-pick the best moments from each performance.
4. Experiment with Mic Placement:
Throughout the recording process, don’t hesitate to experiment with the microphone’s placement to achieve varying tonal characteristics. Subtle adjustments in mic positioning can yield significant differences in the captured sound, offering creative possibilities for shaping the final audio result.
5. Fine-Tune Performance:
Offer constructive feedback to the performer and make adjustments as necessary to enhance the quality of the recording. Encourage the artist to deliver a captivating and emotive performance while remaining receptive to collaborative input and creative exploration.
6. Review and Select Takes:
After the recording session concludes, review the recorded takes within FL Studio. Listen attentively to each take, noting standout performances and moments that resonate with the intended artistic vision. Select the most compelling takes for further processing and refinement.
By embracing the recording process with a meticulous and creative mindset, you can harness the full potential of your microphone and FL Studio to capture evocative and captivating audio performances. Each recording session presents an opportunity to encapsulate the essence of a musical or sonic expression, allowing you to breathe life into your creative endeavors with authenticity and depth.
Tips for Better Recording
Tips for Better Recording
Embarking on a recording journey with your microphone and FL Studio opens the door to a realm of creative possibilities. To elevate the quality of your recordings and optimize the potential of your setup, consider the following tips for achieving exceptional results:
1. Room Acoustics:
Pay attention to the acoustic characteristics of your recording space. Opt for a room with minimal reverb and unwanted reflections to capture clean and focused audio. If necessary, use acoustic treatment such as baffles and sound-absorbing panels to improve the acoustics of the space.
2. Vocal Warm-Up:
Prior to recording vocals, encourage the vocalist to engage in vocal warm-up exercises. Warm-ups can enhance vocal flexibility, control, and overall performance quality, leading to more polished and expressive recordings.
3. Maintain Proper Mic Technique:
Guide performers on proper microphone technique to ensure consistent audio quality throughout the recording. Emphasize techniques such as maintaining an optimal distance from the microphone, controlling plosives, and modulating vocal dynamics for a balanced and controlled performance.
4. Monitor Headphone Mix:
Provide the performer with a well-balanced headphone mix to facilitate a comfortable and engaging recording experience. A balanced headphone mix allows the performer to hear themselves clearly while staying attuned to the accompanying music or backing tracks.
5. Experiment with Polar Patterns:
If your microphone supports multiple polar patterns, explore the sonic nuances offered by each pattern. Switching between polar patterns can yield diverse tonal characteristics, offering creative options for tailoring the sound to suit the artistic vision of the recording.
6. Embrace Post-Processing:
After capturing the initial recordings, leverage the post-processing capabilities of FL Studio to refine and enhance the audio. Experiment with EQ, compression, and reverb to sculpt the sound, address any imperfections, and imbue the recordings with depth and coherence.
7. Foster a Relaxed Atmosphere:
Create a relaxed and supportive environment during recording sessions to encourage performers to deliver their best performances. A comfortable and nurturing atmosphere can inspire creativity and authenticity, resulting in recordings imbued with emotion and sincerity.
By integrating these tips into your recording approach, you can elevate the caliber of your audio productions and unlock the full potential of your microphone and FL Studio. Each tip serves as a valuable tool for refining the recording process and nurturing a creative environment conducive to capturing exceptional performances and sonic textures.
Conclusion
Conclusion
As we conclude this exploration of connecting a microphone to FL Studio, it’s evident that the synergy between a microphone and a powerful digital audio workstation such as FL Studio opens a gateway to boundless creative expression. The ability to capture pristine audio recordings with finesse and precision is a cornerstone of music production, and the knowledge gained from this guide equips you to navigate this process with confidence and artistry.
By understanding the nuances of microphone types, mastering the setup process, configuring FL Studio for optimal performance, and embracing the art of recording, you’ve embarked on a journey that transcends technicalities and delves into the realm of artistic craftsmanship. The tips provided serve as guiding beacons, illuminating the path toward capturing evocative and captivating audio performances that resonate with depth and authenticity.
As you venture forth into your recording endeavors, remember that each session presents an opportunity to encapsulate the essence of musical or sonic expression, allowing you to infuse your creative endeavors with authenticity and depth. Whether you’re capturing the emotive nuances of a vocal performance or the intricate timbres of acoustic instruments, the marriage of microphone and FL Studio empowers you to weave sonic tapestries that resonate with emotion and artistry.
Armed with a profound understanding of microphone selection, setup, and recording techniques, you’re poised to embark on a creative journey filled with captivating audio recordings. Embrace the intricacies of the recording process, nurture a supportive and creative atmosphere, and allow your artistic vision to flourish through the medium of pristine audio recordings.
As you harness the potential of your microphone and FL Studio, may your musical endeavors be enriched by the magic of live recordings and the allure of authentic sonic textures. The fusion of technology and artistry paves the way for a world where every sound is a brushstroke on the canvas of creativity, and every recording is a testament to the boundless ingenuity of the human spirit.