Home>Devices & Equipment>Microphone>How To Use AirPods As Microphone For Video

Microphone
How To Use AirPods As Microphone For Video
Published: February 16, 2024
Learn how to use your AirPods as a microphone for video recording and enhance your audio quality. Discover simple steps to optimize your AirPods as a microphone.
(Many of the links in this article redirect to a specific reviewed product. Your purchase of these products through affiliate links helps to generate commission for AudioLover.com, at no extra cost. Learn more)
Table of Contents
Introduction
Using AirPods as a microphone for video recording can significantly improve the audio quality of your videos. Whether you’re creating vlogs, recording interviews, or capturing special moments, the AirPods’ built-in microphone can offer a convenient and effective solution for capturing clear and high-quality audio. This article will guide you through the process of setting up and using AirPods as a microphone for video recording, as well as provide some useful tips to optimize your recording experience.
With the increasing popularity of content creation and video sharing platforms, such as YouTube, TikTok, and Instagram, the demand for high-quality audio in videos has become more important than ever. While the built-in microphones on smartphones and cameras can capture audio, they often fall short in delivering the clarity and crispness that can elevate the overall production value of your videos. This is where using AirPods as a microphone can make a difference, providing a simple yet effective way to enhance the audio component of your video content.
Whether you’re a content creator, a social media enthusiast, or someone who simply wants to improve the audio quality of their video recordings, learning how to use AirPods as a microphone can be a valuable skill. By leveraging the capabilities of your AirPods, you can achieve professional-sounding audio without the need for complex external microphones or recording equipment. Additionally, the portability and wireless connectivity of AirPods make them a versatile and convenient tool for on-the-go video recording, allowing you to capture clear audio in various environments and situations.
Throughout this article, you’ll discover the step-by-step process of setting up your AirPods as a microphone for video recording, as well as practical tips to optimize their performance. Whether you’re a beginner looking to enhance your video content or a seasoned creator seeking to elevate the audio quality of your productions, harnessing the potential of AirPods as a microphone can be a game-changer in your video recording endeavors.
Setting Up AirPods as Microphone
Setting up your AirPods as a microphone for video recording is a straightforward process that can be accomplished with just a few simple steps. Whether you’re using an iPhone, iPad, or Mac for your video recording, the wireless functionality of AirPods allows for seamless integration with your device’s audio input, providing a convenient and high-quality audio capture solution.
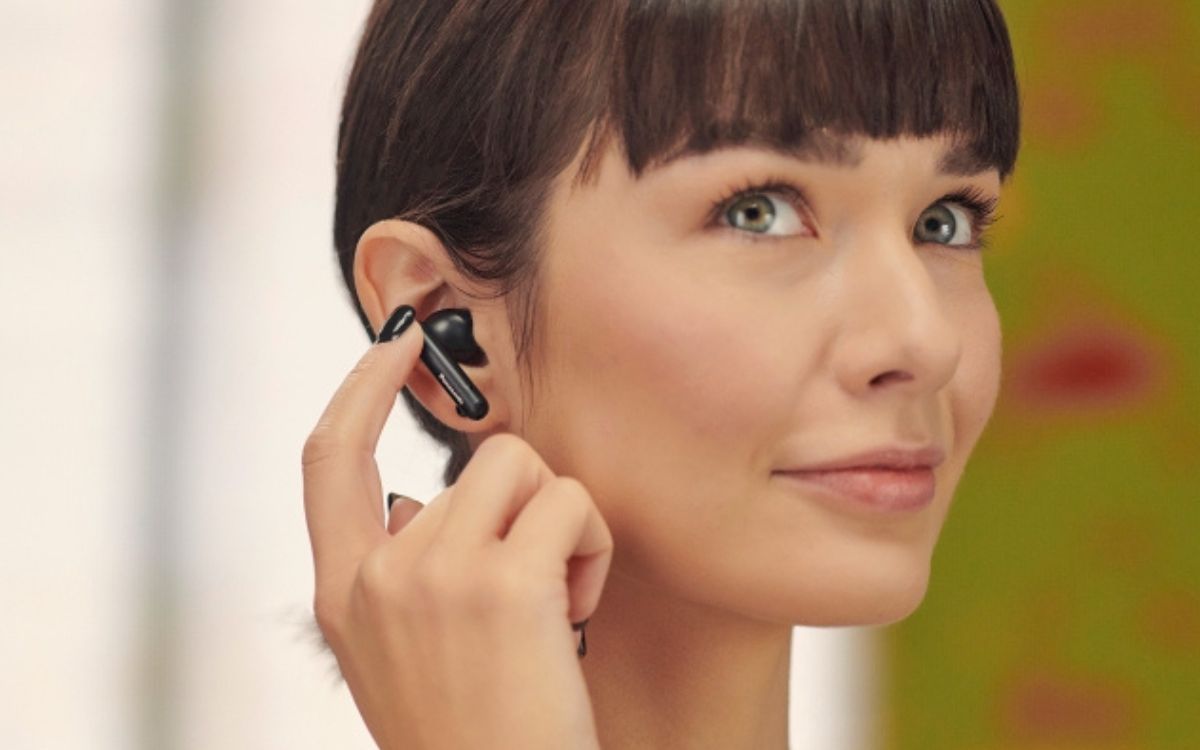
To begin, ensure that your AirPods are fully charged and paired with the device you’ll be using for video recording. For iPhone and iPad users, the AirPods can be paired by simply opening the charging case near the device and following the on-screen prompts. Once paired, the AirPods will automatically connect to your device whenever they are within range, providing a hassle-free setup for your video recording sessions.
Once your AirPods are paired with your device, navigate to the settings or preferences menu to verify that the AirPods are recognized as the audio input source. On an iPhone or iPad, this can typically be found in the Bluetooth settings, where you can select the AirPods as the preferred microphone for audio input. On a Mac, you can access the sound input settings in the System Preferences menu to designate the AirPods as the default microphone.
After ensuring that your AirPods are set as the audio input source, you’re ready to use them as a microphone for your video recordings. Whether you’re using the native camera app on your iPhone or iPad, or a third-party video recording application, the AirPods will seamlessly capture your voice and ambient sounds, delivering clear and high-fidelity audio to complement your video content.
It’s important to note that the positioning of the AirPods during recording can impact the audio quality, so consider placing them in a position that allows for optimal sound capture. Additionally, be mindful of any potential background noise or distractions that may affect the audio recording, and make adjustments as needed to ensure a clean and professional sound.
By following these simple setup steps, you can harness the power of your AirPods as a microphone for video recording, unlocking the potential for enhanced audio quality in your video content creation endeavors.
Testing the AirPods as Microphone
Before diving into full-scale video recording using your AirPods as a microphone, it’s essential to conduct a thorough testing phase to ensure that the audio quality meets your expectations and requirements. Testing the AirPods as a microphone allows you to assess the sound capture, clarity, and overall performance, providing an opportunity to make any necessary adjustments before embarking on actual video recording sessions.
To begin the testing process, launch the video recording application or software that you plan to use for your video projects. Whether it’s the native camera app on your iPhone or iPad, or a third-party video recording application, ensure that the AirPods are selected as the audio input source within the app’s settings or preferences. This ensures that the audio captured during testing will reflect the performance of the AirPods as a microphone.
Once the AirPods are designated as the microphone input, conduct a series of test recordings in different environments and scenarios to gauge their performance. Start by recording your voice in a quiet setting to assess the clarity and fidelity of the audio capture. Pay attention to any background noise or interference that may affect the recording, as well as the overall balance and richness of the sound.
After testing the AirPods in a quiet environment, consider recording in more challenging acoustic settings, such as outdoor environments or areas with increased ambient noise. This allows you to evaluate how the AirPods handle varying sound conditions and whether they can effectively capture your voice while minimizing unwanted background noise.
During the testing phase, it’s also beneficial to move around and simulate real-world recording scenarios to assess the stability and consistency of the AirPods’ audio capture. This can involve walking, speaking at different volumes, and testing the range at which the AirPods can effectively capture your voice without compromising audio quality.
As you conduct the testing, listen to the recorded audio playback carefully to identify any areas for improvement. Pay attention to the presence of any distortion, muffled sounds, or inconsistencies in the audio capture, and make note of any adjustments that may be necessary to optimize the performance of the AirPods as a microphone.
By thoroughly testing the AirPods as a microphone in various recording scenarios, you can gain valuable insights into their capabilities and make informed decisions regarding their usage for video recording. This testing phase empowers you to fine-tune the setup and ensure that the AirPods deliver the desired audio quality for your video content creation endeavors.
Tips for Using AirPods as Microphone for Video Recording
When using AirPods as a microphone for video recording, incorporating some practical tips and best practices can further enhance the audio quality and overall recording experience. Whether you’re a content creator, a vlogger, or someone capturing memorable moments on video, these tips can help you maximize the potential of your AirPods as a reliable microphone for your video projects.
- Optimal Positioning: Position the AirPods strategically to ensure optimal audio capture. Placing them within close proximity to your mouth can help capture clear and articulate vocals while minimizing ambient noise.
- Background Noise Management: Be mindful of the environment in which you’re recording and aim to minimize background noise that may interfere with the audio quality. Choosing quieter settings or using noise reduction techniques can contribute to cleaner audio recordings.
- Microphone Sensitivity: Familiarize yourself with the microphone sensitivity of the AirPods and adjust your speaking volume accordingly. Avoid speaking too softly or too loudly, as this can impact the clarity and balance of the audio capture.
- Audio Monitoring: Consider using headphones or monitoring the audio levels during recording to ensure that the captured audio meets your quality standards. This allows for real-time adjustments and ensures that the audio is being captured as intended.
- Wireless Range Considerations: Be mindful of the wireless range of the AirPods, especially if you’re recording in larger spaces. Maintaining a close proximity to the recording device can help prevent potential signal loss or audio dropout.
- Test Recording: Regularly conduct test recordings in different environments to assess the performance of the AirPods as a microphone. This ongoing evaluation allows you to make adjustments and optimize the audio capture for specific recording scenarios.
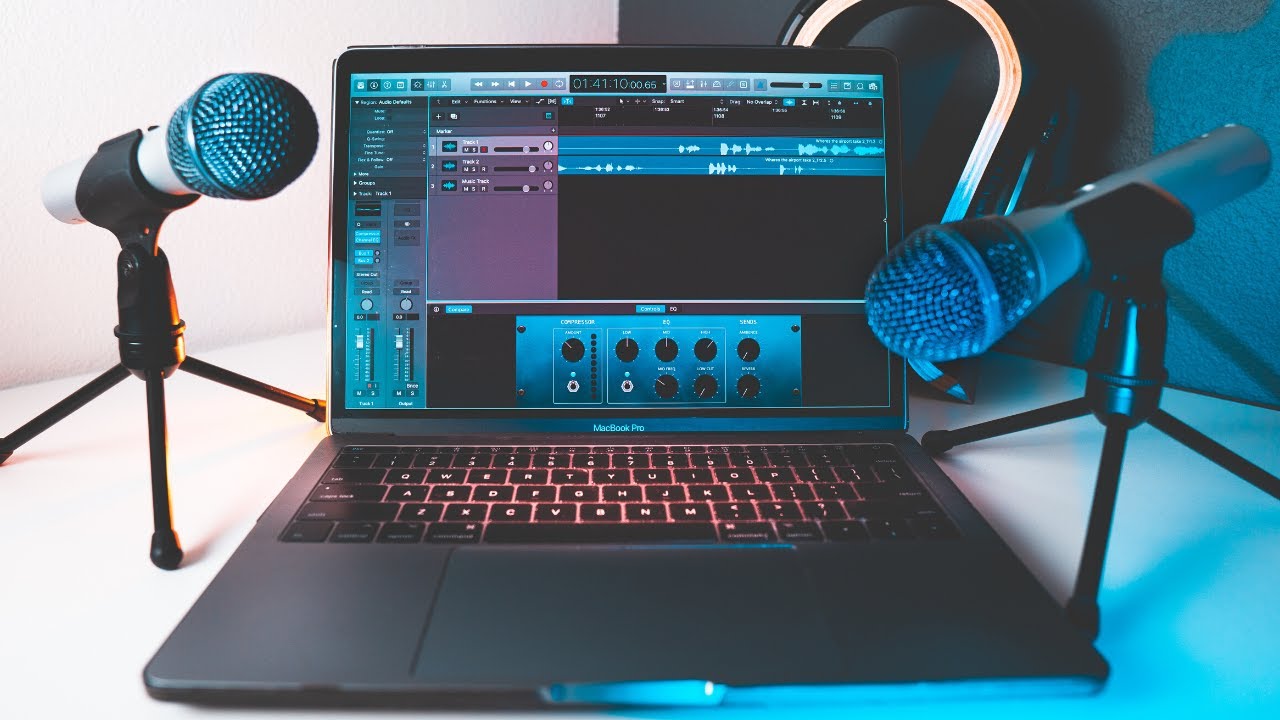
- Audio Editing and Enhancement: Leverage audio editing software to further enhance the recorded audio from your AirPods. This can involve noise reduction, equalization, and other post-processing techniques to refine the audio quality before integrating it into your video projects.
By implementing these tips, you can elevate the audio quality of your video recordings when using AirPods as a microphone. Whether you’re creating professional content or capturing personal moments, optimizing the performance of your AirPods as a microphone enhances the overall impact and engagement of your video projects.