Home>Production & Technology>Metronome>How To Make The Metronome Louder In Pro Tools

Metronome
How To Make The Metronome Louder In Pro Tools
Published: January 14, 2024
Learn how to make the metronome louder in Pro Tools with easy steps. Enhance your rhythm practice and stay on beat with our comprehensive guide.
(Many of the links in this article redirect to a specific reviewed product. Your purchase of these products through affiliate links helps to generate commission for AudioLover.com, at no extra cost. Learn more)
Table of Contents
Introduction
Pro Tools is widely regarded as one of the most popular and powerful digital audio workstations (DAW) in the music industry. It offers a wide range of features and capabilities for musicians, producers, and engineers to create and shape their sound. One of the fundamental tools in Pro Tools is the metronome, which helps musicians maintain tempo and play in sync.
While the default metronome sound in Pro Tools is functional, many users find it helpful to adjust the metronome volume to better suit their needs. Whether you want a louder metronome sound to cut through the mix, or a softer metronome sound for a more subtle reference, Pro Tools provides several options to customize and enhance the metronome sound.
In this article, we will explore various techniques and methods to make the metronome louder in Pro Tools. Whether you are a seasoned professional or a beginner just starting out, these tips and tricks will help you maximize the effectiveness of the metronome in your music production workflow.
Understanding the Metronome in Pro Tools
The metronome in Pro Tools serves as a timing reference, providing a consistent beat to help musicians stay in time while recording or playing back their music. It consists of a clicking sound that plays at a specific tempo, typically measured in beats per minute (BPM).
In Pro Tools, the metronome can be turned on or off for different tracks, allowing for greater control and flexibility. It can also be customized in terms of the sound, volume, and timing options. By default, the metronome uses a simple click sound, but it can be replaced with other sounds or even synced with external MIDI devices.
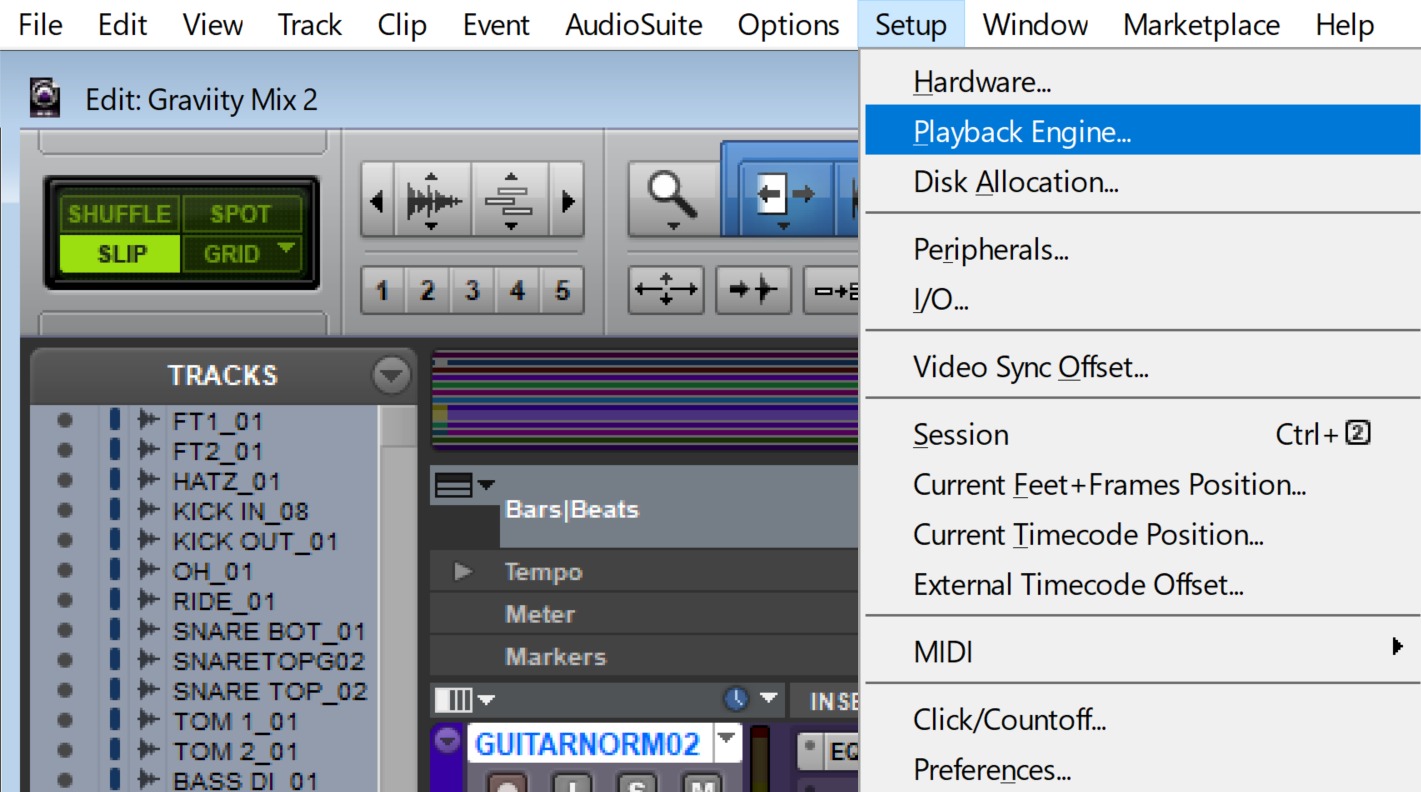
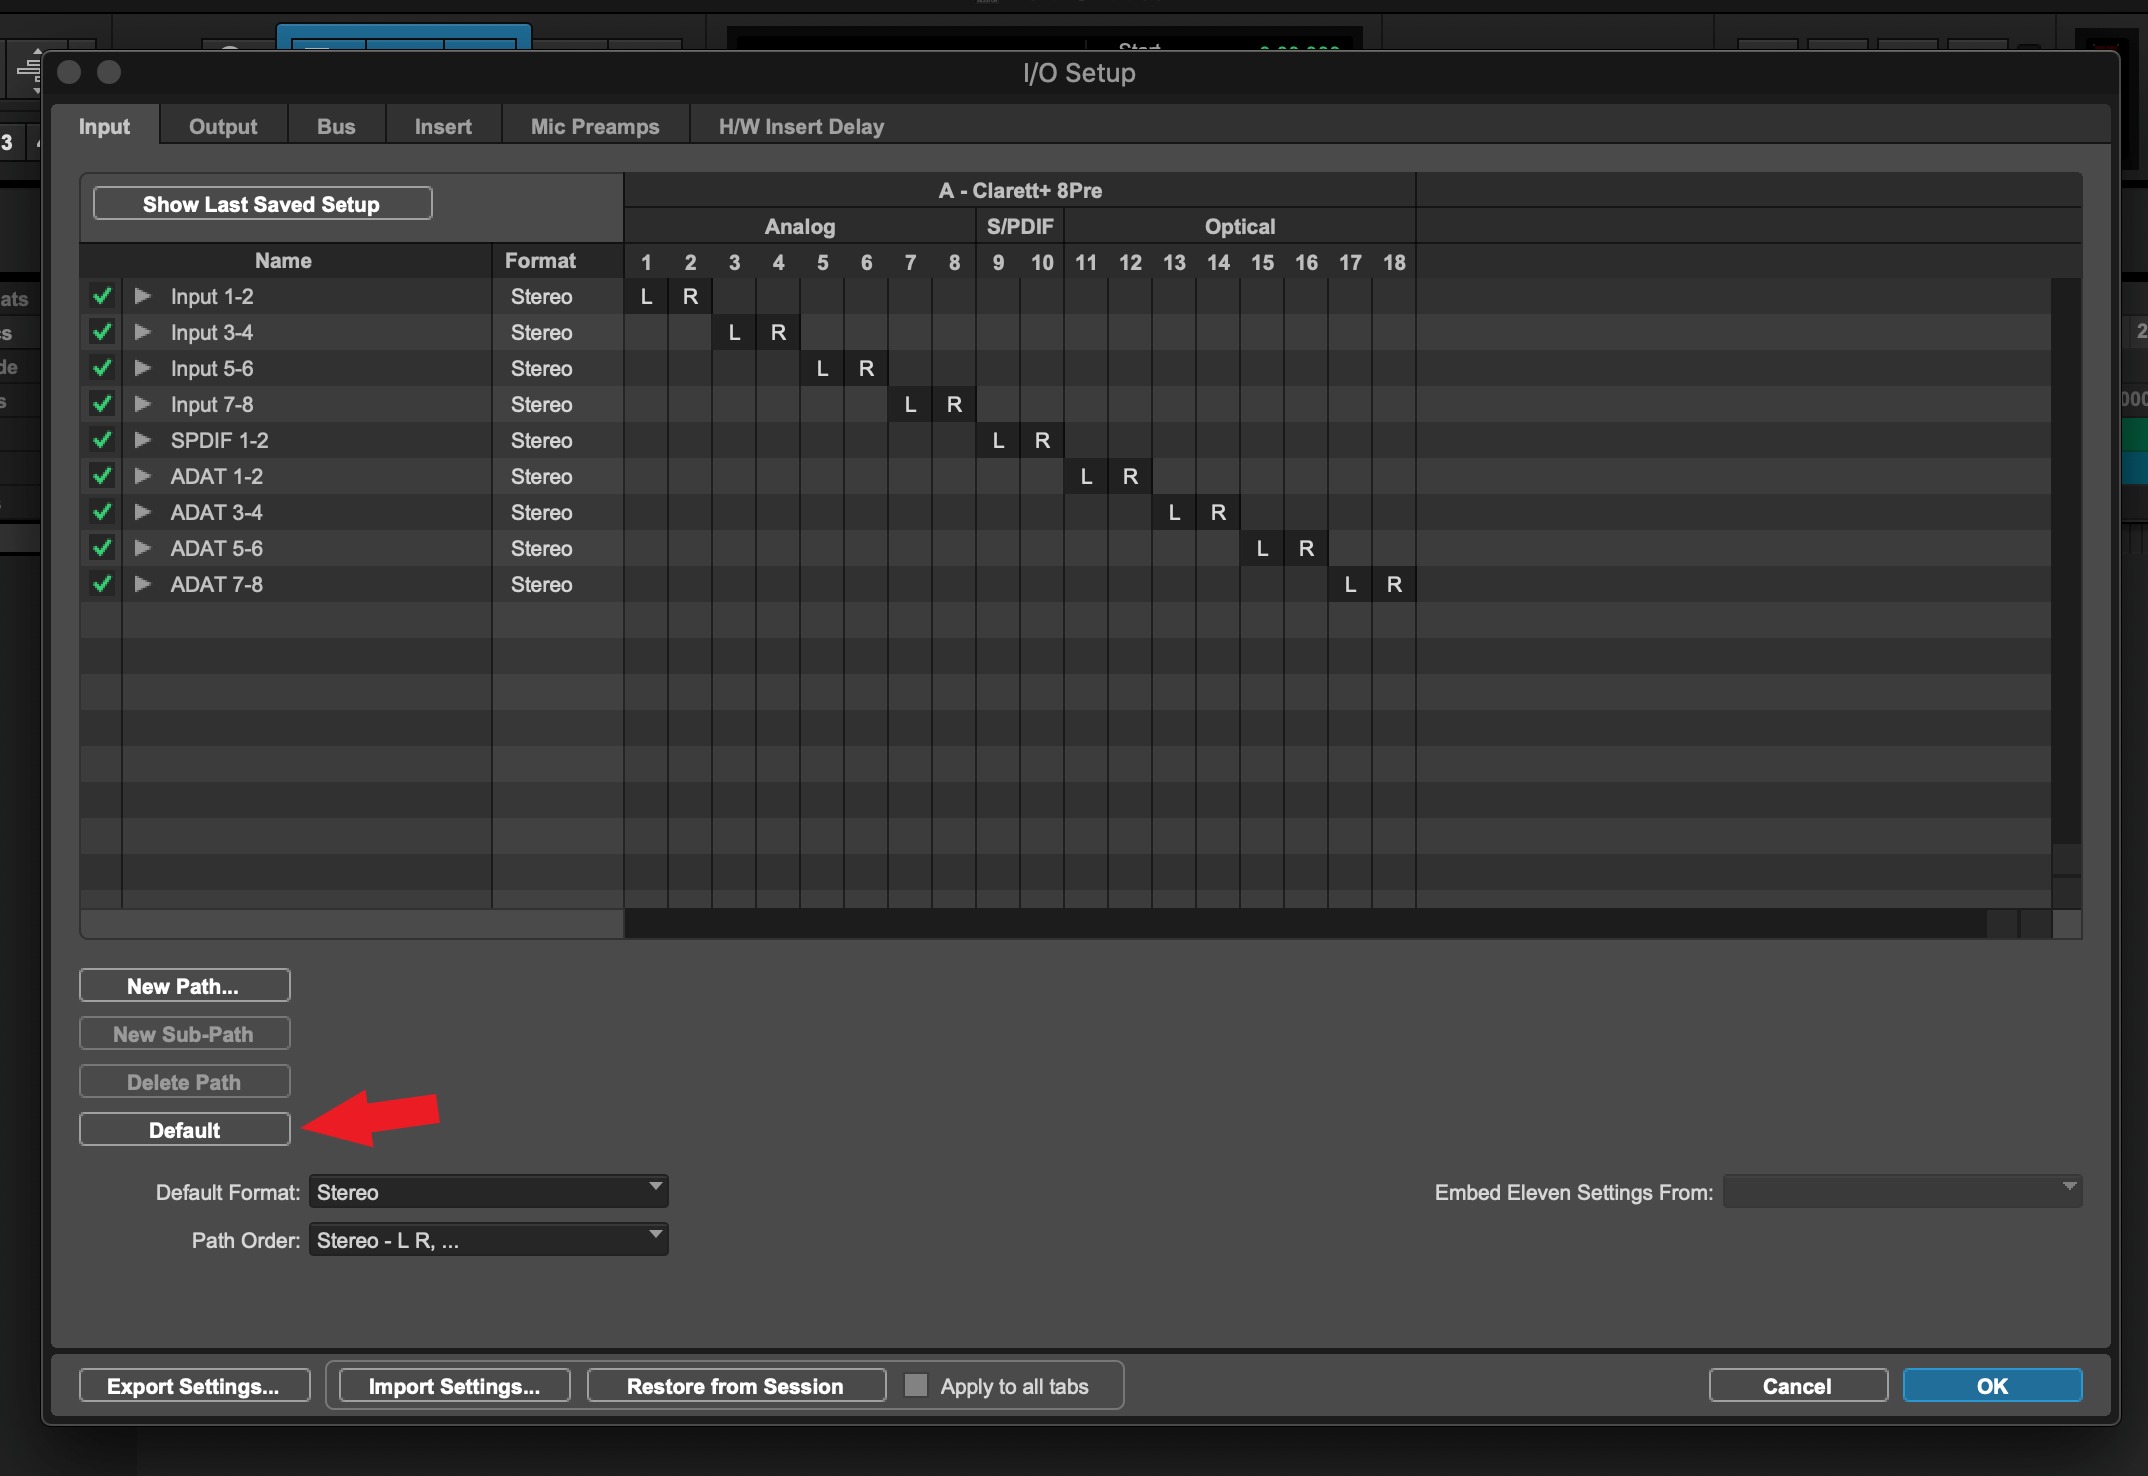
Understanding the metronome’s settings and features is crucial for taking full advantage of its capabilities. To access the metronome settings in Pro Tools, go to the Setup menu, click on Preferences, and then select the Metronome tab.
Within the Metronome settings, you can adjust options such as the metronome volume, the accent beat (a louder click on a selected beat), and the pre-roll time (the number of measures before recording starts). These settings can be modified to suit your preferences and the specific requirements of your recording.
It is worth noting that the metronome sound is independent of the track’s volume. This means that even if you adjust the overall track volume, it will not affect the metronome volume. Therefore, if you wish to modify the metronome’s loudness, you’ll need to utilize other techniques, which we will explore in the following sections.
Adjusting the Metronome Volume
When it comes to adjusting the metronome volume in Pro Tools, there are a few different approaches you can take depending on your specific needs. Let’s explore some of these methods:
- Metronome Volume Slider: The most straightforward way to adjust the metronome volume is by using the Metronome Volume slider in the Pro Tools interface. Located at the top of the Transport window, this slider allows you to increase or decrease the overall volume of the metronome. Simply drag the slider to the left to lower the volume, or to the right to increase it.
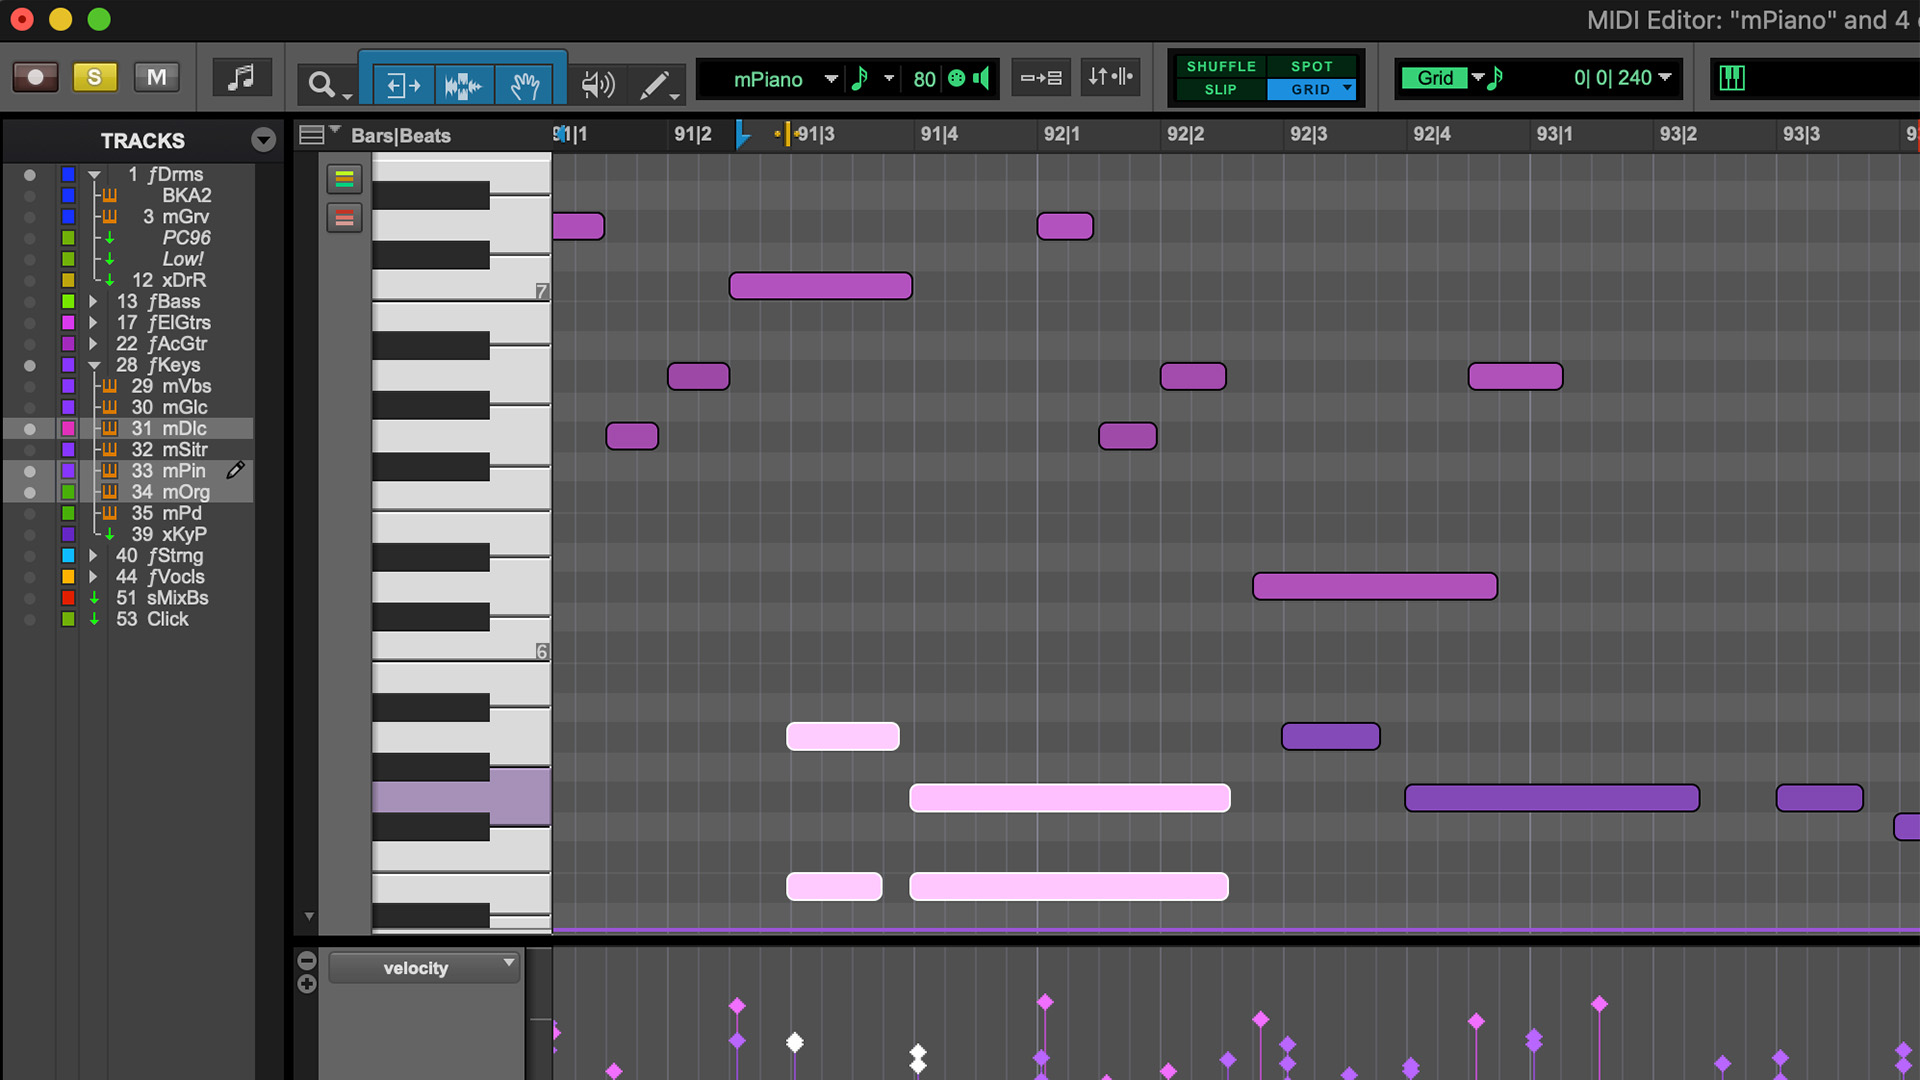
- MIDI Volume: Another option is to adjust the MIDI volume of the metronome sound. This can be done by opening the MIDI Editor for the metronome track and adjusting the velocity (volume) of the MIDI notes. Higher velocity values will result in a louder metronome sound, while lower values will make it softer.
- Velocity Plug-In: Pro Tools offers a Velocity plug-in that can be applied to the metronome track. This plug-in allows you to control the velocity (volume) of the MIDI notes in a more precise and automated manner. By adjusting the parameters of the Velocity plug-in, you can create dynamic changes in the metronome volume over time.
Remember to experiment with these methods to find the right balance of metronome volume that works best for your specific needs. Keep in mind that the metronome should be audible enough to provide a clear reference, but not overpowering to the point of distracting the musician or interfering with the rest of the mix.
Utilizing Plugins to Boost Metronome Sound
In addition to adjusting the metronome volume settings, Pro Tools offers a wide range of plugins that can be used to enhance and boost the metronome sound. These plugins allow you to shape the tonal quality, add effects, and further customize the metronome to your liking. Here are some plugins you can utilize:
- EQ Plugin: An EQ (equalizer) plugin can be used to increase specific frequencies of the metronome sound, making it more present and cutting through the mix. Boosting the high frequencies can add clarity and definition to the metronome click, while boosting the low frequencies can give it more weight and impact.
- Compression Plugin: Applying a compressor to the metronome track can help to even out the volume levels and make the metronome click more consistent. Adjusting the compression settings, such as the threshold, ratio, attack, and release, can help to control the dynamics of the metronome and make it easier to hear in the mix.
- Reverb Plugin: Adding a touch of reverb to the metronome sound can create a sense of space and provide a more natural and immersive listening experience. Be cautious not to overdo it, as too much reverb can muddy the metronome sound and make it less distinct.
- Delay Plugin: Applying a delay effect to the metronome can create a sense of depth and add a rhythmic texture to the click. Experiment with different delay settings, such as the delay time, feedback, and mix, to achieve the desired effect. Again, moderation is key to ensure the metronome remains clear and easily discernible.
By utilizing these plugins strategically, you can enhance the metronome sound and make it more prominent in your mix. Remember to use your ears and trust your judgment when adjusting the plugin parameters. The goal is to create a metronome sound that is clear, impactful, and serves as a reliable timing reference for your music production.
Using Auxiliary Sends for Increased Metronome Volume
Another effective method to boost the metronome volume in Pro Tools is by utilizing auxiliary sends. An auxiliary send allows you to create a separate auxiliary track that receives a copy of the metronome signal. This auxiliary track can then be adjusted independently to achieve a louder metronome sound.
Here’s how you can use auxiliary sends to increase the metronome volume:
- Create a new auxiliary track in Pro Tools.
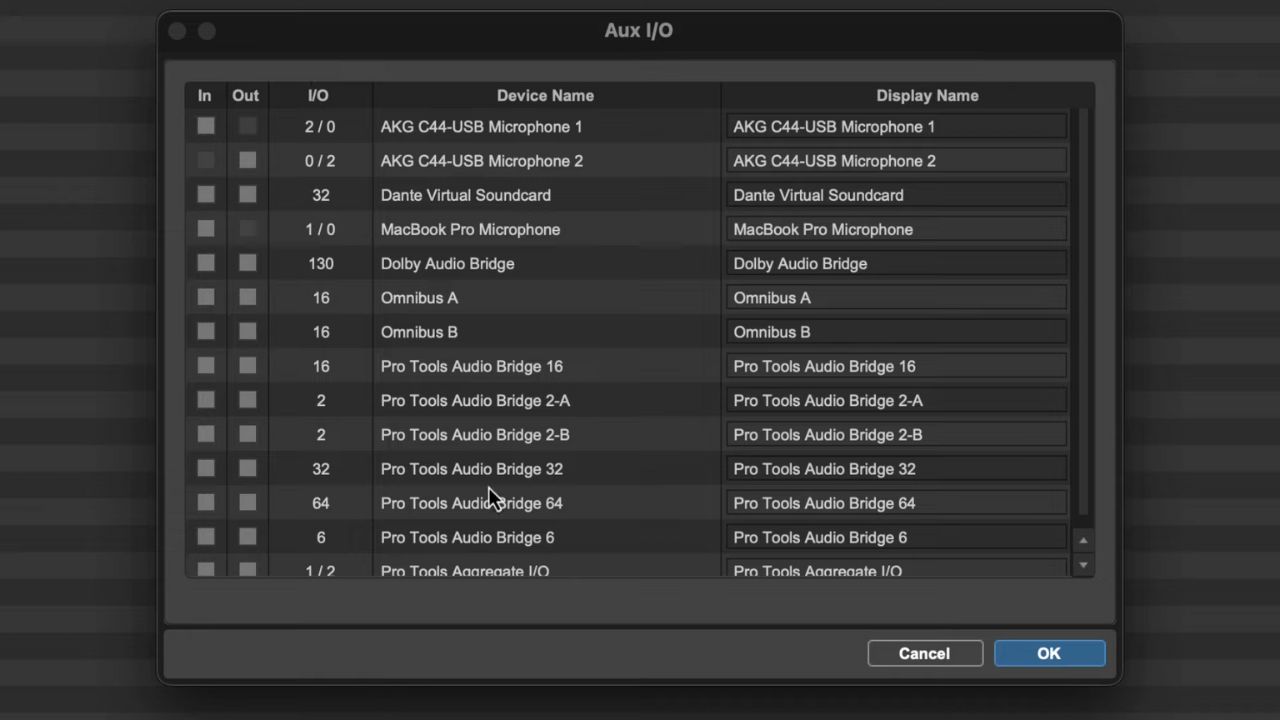
- Assign the input of the auxiliary track to receive the metronome output. To do this, click on the track input selector of the auxiliary track and select the metronome track as the source.
- Adjust the volume fader of the auxiliary track to increase or decrease the metronome volume. By sending the metronome signal to the auxiliary track, you now have independent control over its volume.
You can also apply additional processing to the auxiliary track, such as EQ, compression, or any other plugins to further shape the metronome sound. This gives you greater flexibility in customizing the metronome to fit your specific preferences and needs.
Auxiliary sends provide a convenient way to increase the metronome volume without affecting the overall track balance or mix. You can adjust the volume of the metronome and fine-tune it to provide the ideal reference for recording or playing along with your music.
Remember that when using auxiliary sends, it’s important to be mindful of the overall balance in the mix. Ensure that the metronome remains audible without overpowering other elements of your music. Use your ears and make adjustments accordingly to find the perfect level for the metronome in your production.
Enhancing Metronome Sound with Audio Effects
While the metronome in Pro Tools serves as a useful timing reference, it doesn’t have to be limited to a simple click sound. You can enhance the metronome sound by applying audio effects to give it a unique character and make it more engaging. Here are some ways to enhance the metronome sound with audio effects:
- Pitch Shifting: Experiment with pitch shifting effects to alter the pitch of the metronome click. Lowering the pitch can give it a deeper and more resonant tone, while raising the pitch can make it brighter and more distinctive. This can add a new dimension to the metronome sound and make it more enjoyable to listen to.
- Modulation Effects: Apply modulation effects like chorus, flanger, or phaser to the metronome sound to create a sense of movement and depth. These effects can add a subtle swirling or sweeping effect to the click, making it more interesting and immersive.
- Distortion: If you’re looking for a more gritty and aggressive metronome sound, consider adding some distortion. This can add bite and edge to the click, making it stand out in the mix. Experiment with different distortion types and settings to find the right amount of grit for your metronome sound.
- Delay and Echo Effects: Adding delay or echo effects to the metronome can create interesting rhythmic patterns and textures. You can experiment with different delay times, feedback settings, and modulation options to achieve a desired rhythmic effect. Be mindful of the metronome’s timing and ensure that the delay doesn’t interfere with its purpose as a timing reference.
By applying these audio effects to the metronome sound, you can transform it from a simple click into a captivating element within your music. The key is to use these effects tastefully and in a way that enhances the metronome’s usability without distracting the musician or interfering with the overall mix.
Remember to always listen critically and make adjustments based on your personal preference and the specific requirements of your music. The goal is to create a metronome sound that not only helps with timing but also adds depth and creativity to your production.
Conclusion
Adjusting the metronome volume in Pro Tools is essential to ensure that it serves its purpose effectively as a timing reference in your music production. In this article, we discussed various methods to make the metronome louder and more prominent in your mix. From simple volume adjustments to utilizing plugins, auxiliary sends, and audio effects, there are several options to customize and enhance the metronome sound.
Remember to strike a balance between making the metronome audible and ensuring that it doesn’t overpower other elements in your music. The metronome should provide a clear and consistent beat to keep you in time without compromising the overall mix quality.
Experiment with different techniques and settings to find what works best for your specific needs and preferences. Pro Tools offers a wide range of options and tools to help you tailor the metronome sound to your liking.
By taking the time to adjust and enhance the metronome volume in Pro Tools, you can improve your workflow, increase your accuracy, and enhance the overall quality of your music production. So, don’t hesitate to explore these methods and techniques to maximize the effectiveness of the metronome in your projects.
Capture the rhythm, stay in tempo, and let the metronome be your trusted companion in the world of music production with Pro Tools.