Home>Devices & Equipment>Microphone>How To Change AirPod Microphone
Microphone
How To Change AirPod Microphone
Published: February 16, 2024
Learn how to change the microphone on your AirPods with our step-by-step guide. Improve your audio quality and enhance your listening experience.
(Many of the links in this article redirect to a specific reviewed product. Your purchase of these products through affiliate links helps to generate commission for AudioLover.com, at no extra cost. Learn more)
Table of Contents
**
Introduction
**
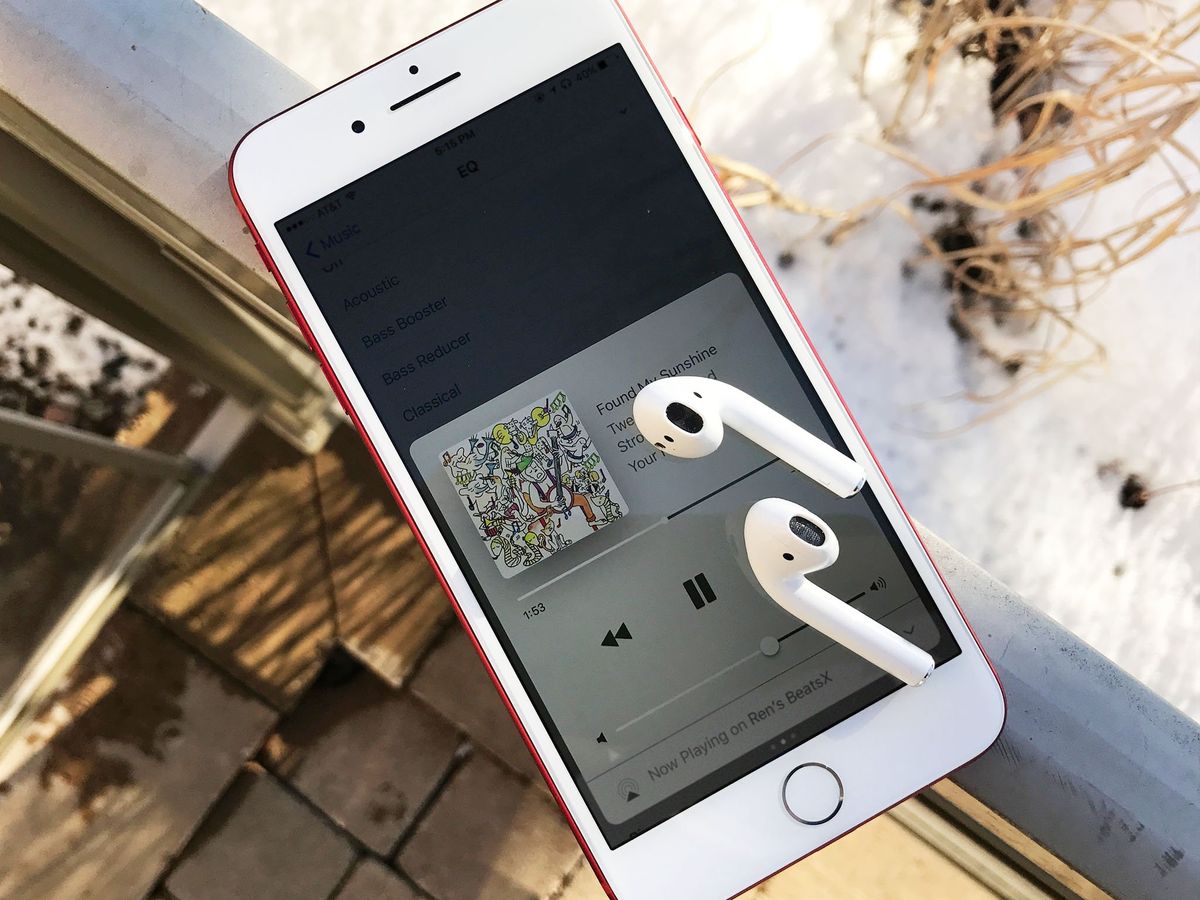
Welcome to the ultimate guide on how to change the microphone on your AirPods! As wireless earbuds continue to revolutionize the way we experience audio, the built-in microphones play a crucial role in ensuring clear communication during calls and seamless interaction with voice assistants. However, like any technology, AirPod microphones can encounter issues that may warrant a change or adjustment. In this comprehensive guide, we will delve into the intricacies of the AirPod microphone, troubleshoot common problems, explore cleaning methods, and discuss adjusting settings and even replacing the microphone when necessary.
Whether you're experiencing muffled sound during calls, inconsistent voice recognition with Siri, or other microphone-related concerns, this guide will equip you with the knowledge and practical steps to address these issues effectively. By understanding the inner workings of the AirPod microphone and mastering the troubleshooting techniques, you can optimize the performance of your AirPods and elevate your overall listening and communication experience. So, let's embark on this journey to unlock the full potential of your AirPods' microphone functionality!
Understanding the AirPod Microphone
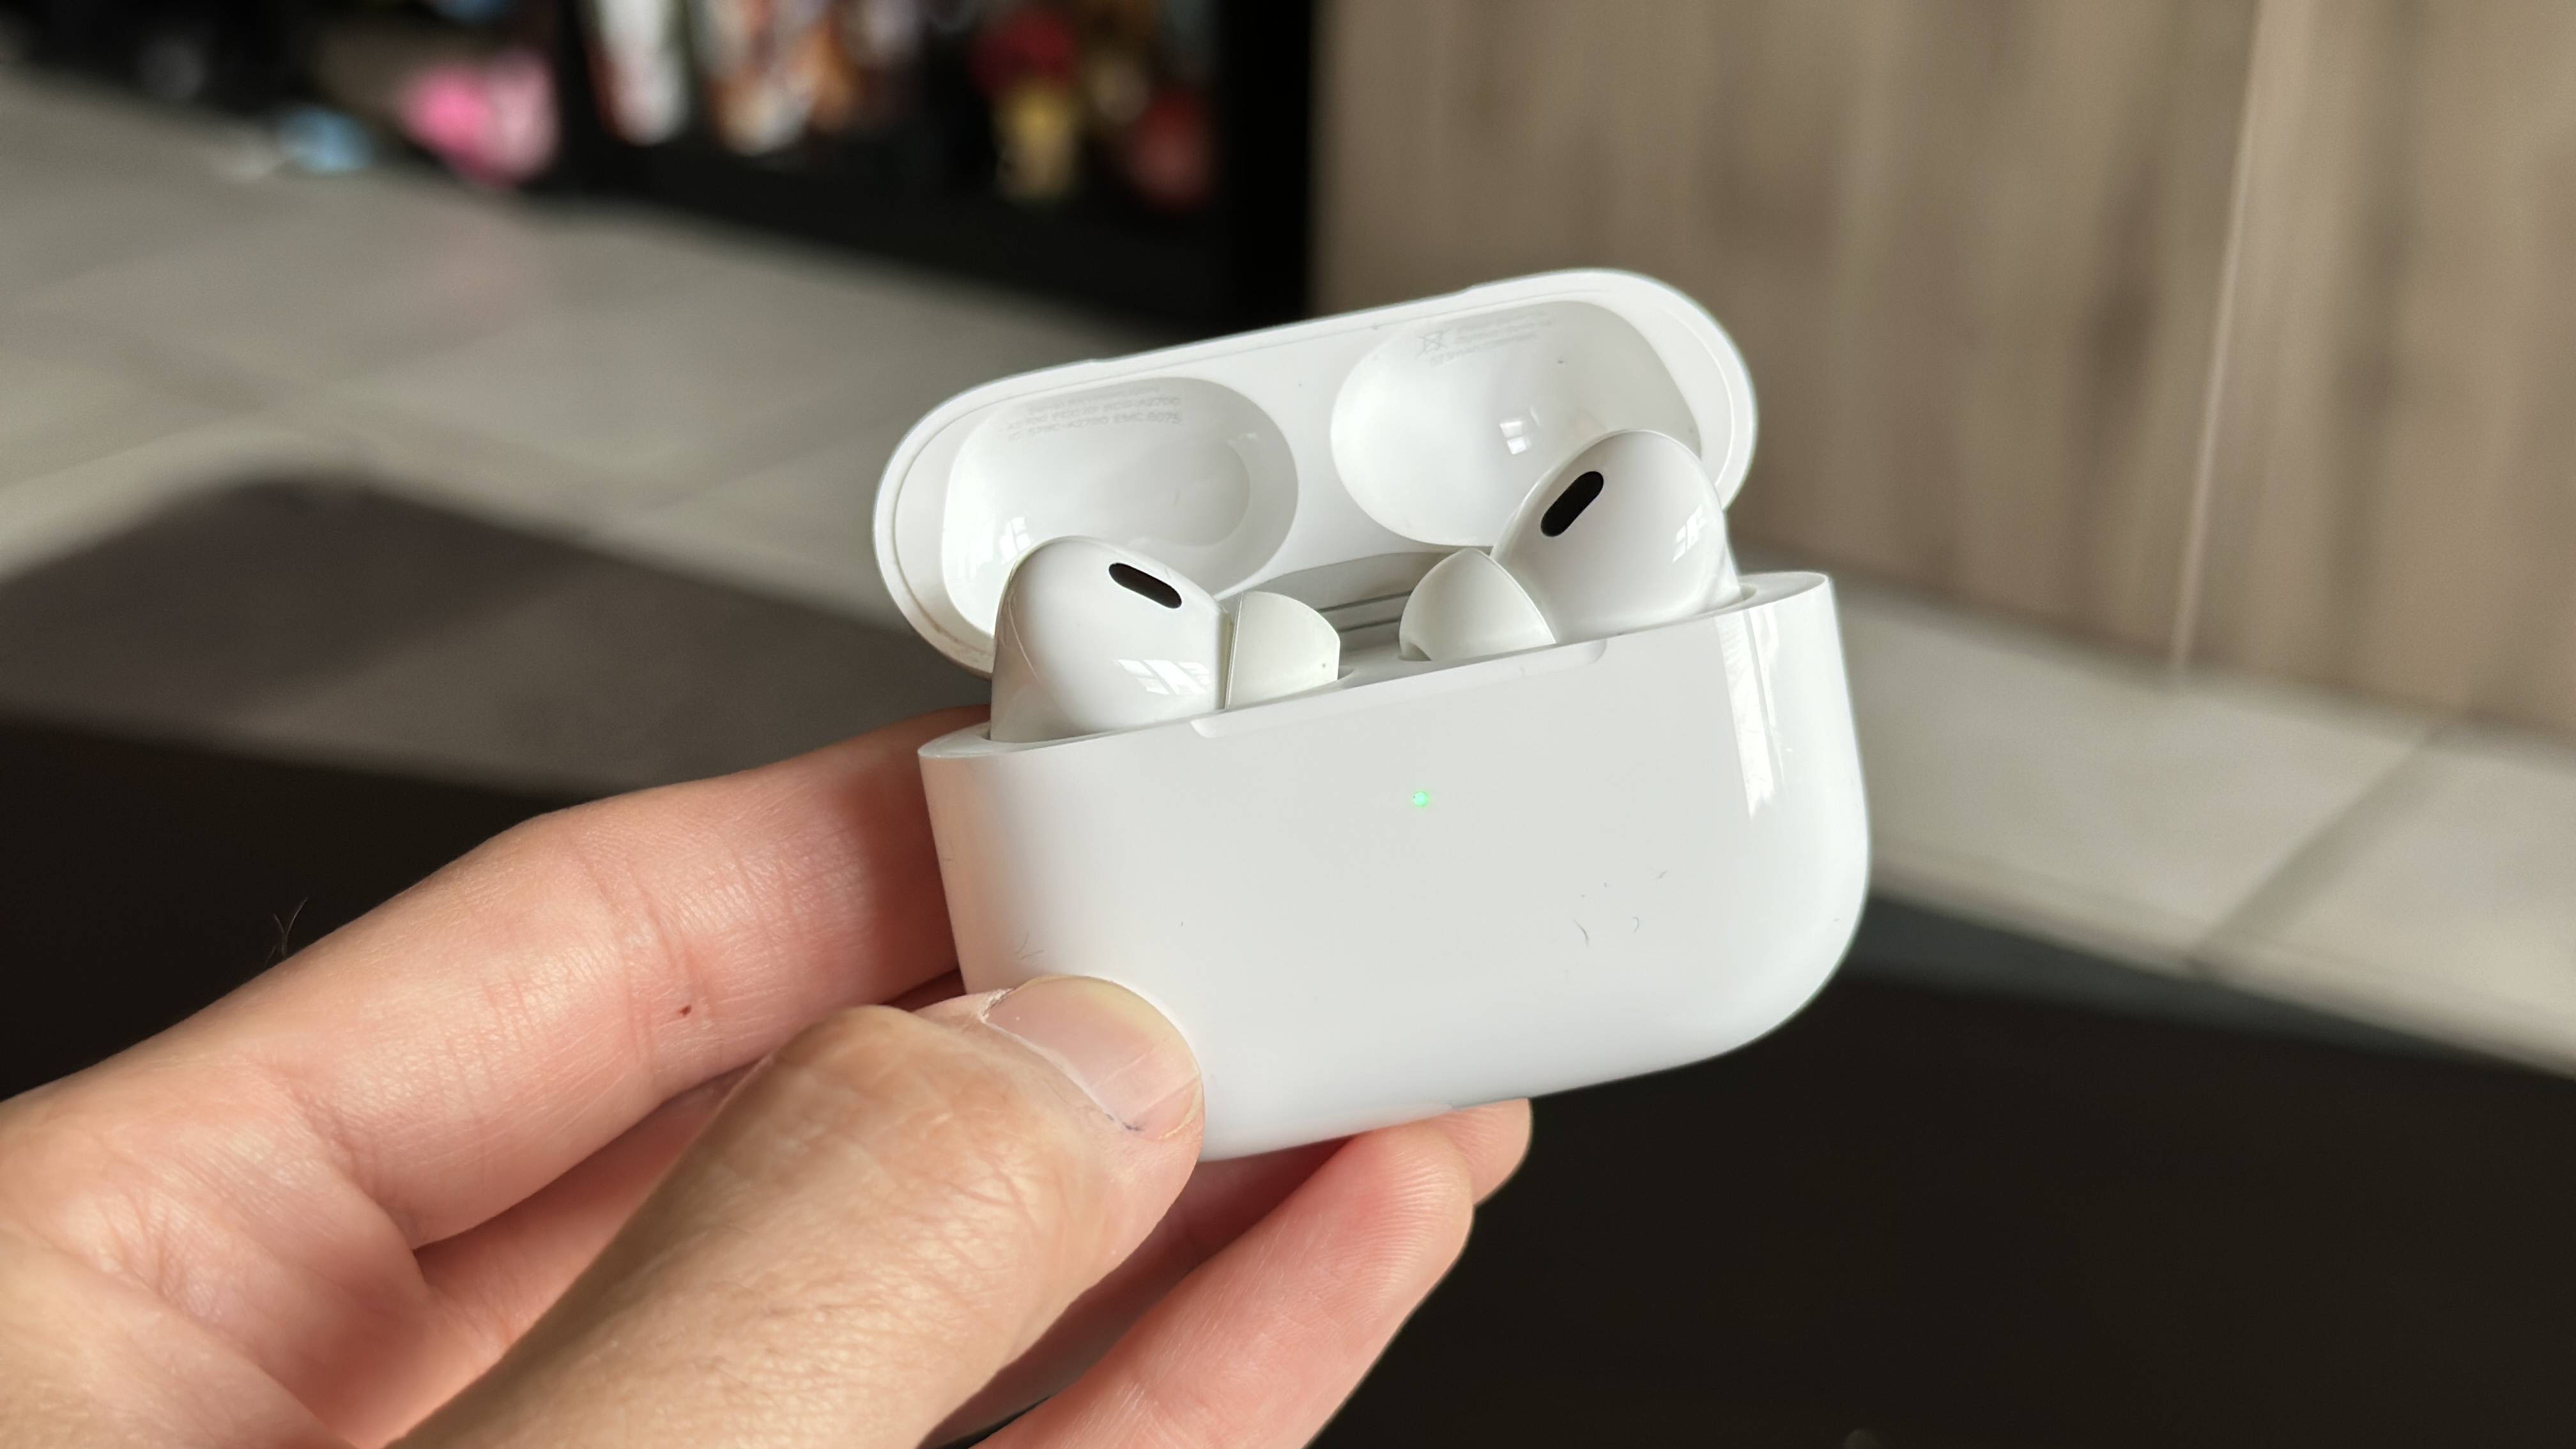
Before delving into troubleshooting and maintenance, it’s essential to grasp the fundamental aspects of the AirPod microphone. Each AirPod is equipped with dual microphones, one for capturing your voice and the other for reducing external noise, ensuring clear and uninterrupted communication.
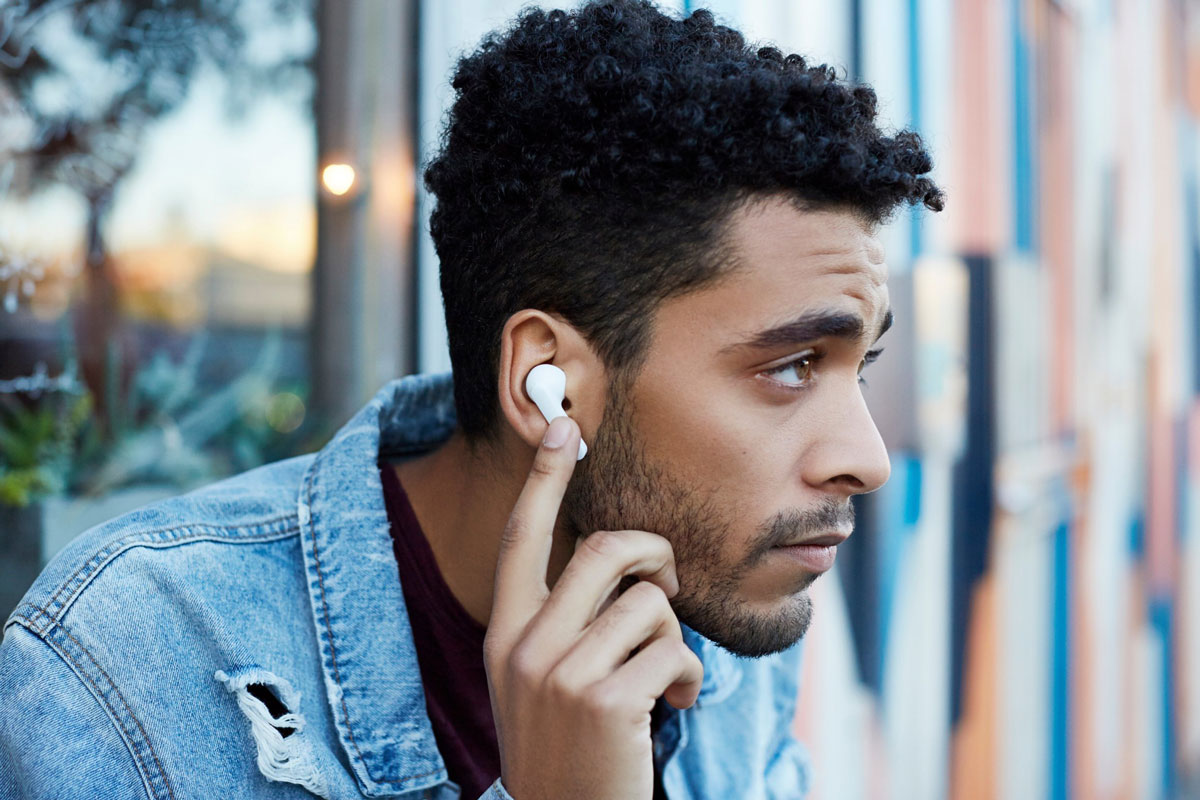
The microphone’s position on the AirPod is strategically located at the bottom of the stem, facing towards your mouth when worn. This design optimizes voice capture while minimizing background noise, resulting in enhanced call quality and accurate voice commands for virtual assistants like Siri.
Furthermore, the AirPod microphone employs advanced beamforming technology, which works by focusing on the sound of your voice while filtering out ambient noise. This sophisticated feature enhances the clarity of your voice during calls and ensures that voice commands are accurately recognized, contributing to a seamless user experience.
Understanding the intricacies of the AirPod microphone empowers users to appreciate its capabilities and recognize potential issues that may arise. By familiarizing yourself with how the microphone operates within the AirPods, you’ll be better equipped to troubleshoot any challenges that affect its performance, ultimately optimizing your overall experience with these innovative wireless earbuds.
Troubleshooting Common Issues
While the AirPods’ microphone is designed to deliver exceptional performance, various factors can lead to common issues that affect its functionality. Understanding these issues and their potential solutions is crucial for maintaining optimal microphone performance.
One prevalent issue is muffled or distorted sound during calls, which can occur due to debris or earwax obstructing the microphone. In such cases, gently cleaning the microphone area using a soft, dry brush or cloth can often resolve the problem. Additionally, ensuring that the AirPods fit properly in your ears can significantly improve microphone performance, as a secure fit enhances sound capture and clarity.
Another common concern is inconsistent voice recognition with Siri or other voice assistants. This can be attributed to environmental noise or interference, which may disrupt the microphone’s ability to accurately capture your voice. In such instances, moving to a quieter environment or adjusting the microphone settings can mitigate these issues.
If you encounter persistent microphone issues despite troubleshooting, it’s advisable to check for software updates on your connected devices, as outdated firmware can impact the AirPods’ overall performance, including the microphone functionality. Keeping your devices up to date can often resolve compatibility issues and optimize microphone performance.
By identifying and addressing these common issues, users can effectively troubleshoot microphone-related concerns, ensuring that their AirPods consistently deliver exceptional audio quality and reliable communication capabilities.
Cleaning the AirPod Microphone
Proper maintenance and cleaning of the AirPod microphone are essential for preserving its performance and ensuring clear audio transmission during calls and interactions with voice assistants. Over time, debris, earwax, and other particles can accumulate around the microphone area, potentially impacting its functionality. Here’s a guide to effectively clean the AirPod microphone:
- Gentle Cleaning: Use a soft, dry, lint-free cloth or a small, soft-bristled brush to carefully remove any visible debris or earwax from the microphone area. Avoid using liquids or abrasive materials, as these can damage the delicate components of the AirPods.
- Compressed Air: If the microphone area is difficult to clean with a cloth or brush, a can of compressed air can be used to gently dislodge and remove stubborn particles. Ensure that the air is directed away from the internal components of the AirPods.
- Regular Maintenance: Incorporate regular cleaning of the AirPods, including the microphone area, into your maintenance routine to prevent the buildup of debris. This proactive approach can help maintain optimal microphone performance over time.
By following these cleaning methods, users can effectively maintain the cleanliness of the AirPod microphone, mitigating potential issues caused by debris accumulation and preserving the device’s overall audio quality and functionality.
Adjusting Microphone Settings
Customizing the microphone settings on your AirPods can significantly impact the audio quality during calls and interactions with voice assistants. Understanding and adjusting these settings can optimize the microphone’s performance to suit your preferences and environment. Here are some steps to adjust the microphone settings:
- Device Settings: Access the Bluetooth settings on your connected device, such as an iPhone or iPad, and locate the AirPods in the list of paired devices. Within the AirPods settings, you may find options to adjust the microphone input levels and noise reduction settings. Experimenting with these settings can help fine-tune the microphone performance based on your specific needs.
- Voice Assistant Settings: If you frequently use voice assistants like Siri, explore the settings related to voice input and recognition. Some devices offer the ability to adjust the sensitivity of voice commands, which can enhance the accuracy of interactions with the voice assistant, leveraging the AirPods’ microphone capabilities effectively.
- Third-Party Apps: For users who utilize third-party communication or recording apps, explore the microphone settings within these applications. Adjusting the input levels and noise reduction features within these apps can further optimize the microphone’s performance for specific use cases, such as voice calls or audio recordings.
By proactively adjusting the microphone settings to align with your preferences and usage scenarios, you can harness the full potential of the AirPods’ microphone, ensuring that it consistently delivers clear and crisp audio, whether you’re engaging in calls, interacting with voice assistants, or recording audio content.
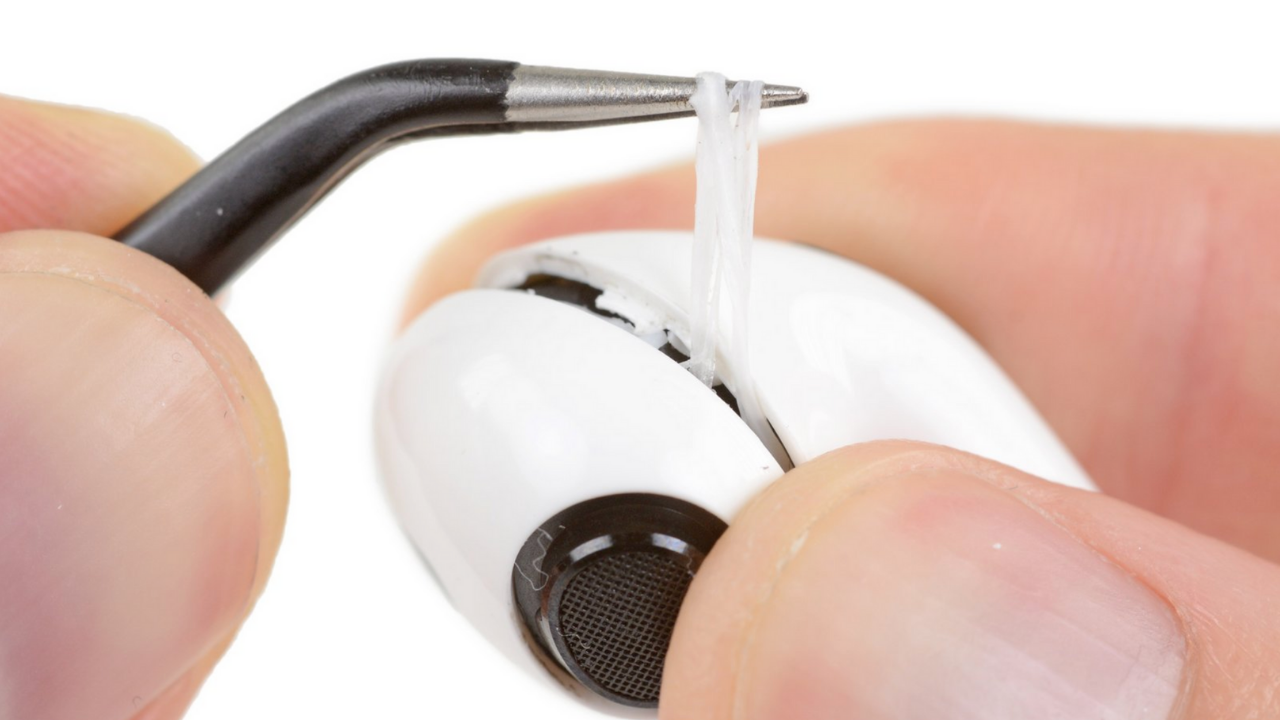
Replacing the AirPod Microphone
While the AirPods are designed for durability and longevity, there may be rare instances where the microphone requires replacement due to internal issues or damage. Replacing the AirPod microphone involves intricate steps and is recommended to be carried out by certified technicians or authorized service providers to ensure the integrity of the device. Here’s an overview of the replacement process:
- Professional Assessment: If you suspect that the microphone is malfunctioning or damaged, seek a professional assessment from an authorized Apple service provider or a qualified technician. They can diagnose the issue and determine if the microphone needs replacement.
- Authorized Service: If the microphone requires replacement, it is advisable to entrust the task to authorized service personnel who have the expertise and access to genuine replacement parts. Attempting to replace the microphone independently may result in further damage to the AirPods.
- Genuine Parts: When replacing the microphone, ensure that genuine and compatible parts are used to maintain the AirPods’ original performance and quality. Authorized service providers utilize authentic components to uphold the device’s integrity.
- Post-Replacement Testing: Following the microphone replacement, the AirPods undergo thorough testing to validate the microphone’s functionality and ensure that it seamlessly integrates with the device, delivering optimal audio performance.
By entrusting the replacement of the AirPod microphone to certified professionals and utilizing genuine replacement parts, users can rest assured that their AirPods will continue to deliver exceptional audio quality and reliable communication capabilities, ultimately extending the lifespan of these innovative wireless earbuds.
Conclusion
As we conclude this comprehensive guide on changing the AirPod microphone, it’s evident that understanding the intricacies of the microphone, troubleshooting common issues, cleaning methods, adjusting settings, and the replacement process are vital for maintaining optimal performance and extending the lifespan of these innovative wireless earbuds.
By familiarizing yourself with the dual microphone setup, beamforming technology, and the potential challenges that may arise, you are better equipped to address any issues that affect the microphone’s functionality. Whether it’s muffled sound during calls, inconsistent voice recognition, or the need for professional replacement, taking proactive measures can ensure that your AirPods consistently deliver exceptional audio quality and reliable communication capabilities.
Furthermore, incorporating regular maintenance, such as gentle cleaning and adjusting microphone settings, empowers you to optimize the microphone’s performance based on your specific preferences and usage scenarios, enhancing your overall experience with the AirPods.
Should the need for professional assistance or replacement arise, entrusting the task to certified technicians and utilizing genuine replacement parts is crucial for preserving the integrity and longevity of the AirPods.
By leveraging the insights and practical steps outlined in this guide, you can maximize the potential of your AirPods’ microphone, ensuring clear and crisp audio during calls, seamless interactions with voice assistants, and an immersive listening experience that aligns with your preferences and lifestyle.
Embracing a proactive approach to maintaining and optimizing the AirPod microphone not only enhances the performance of these cutting-edge wireless earbuds but also underscores the value of investing in innovative technology that continues to elevate our daily experiences.