Home>Devices & Equipment>Microphone>How To Set Up A Condenser Microphone
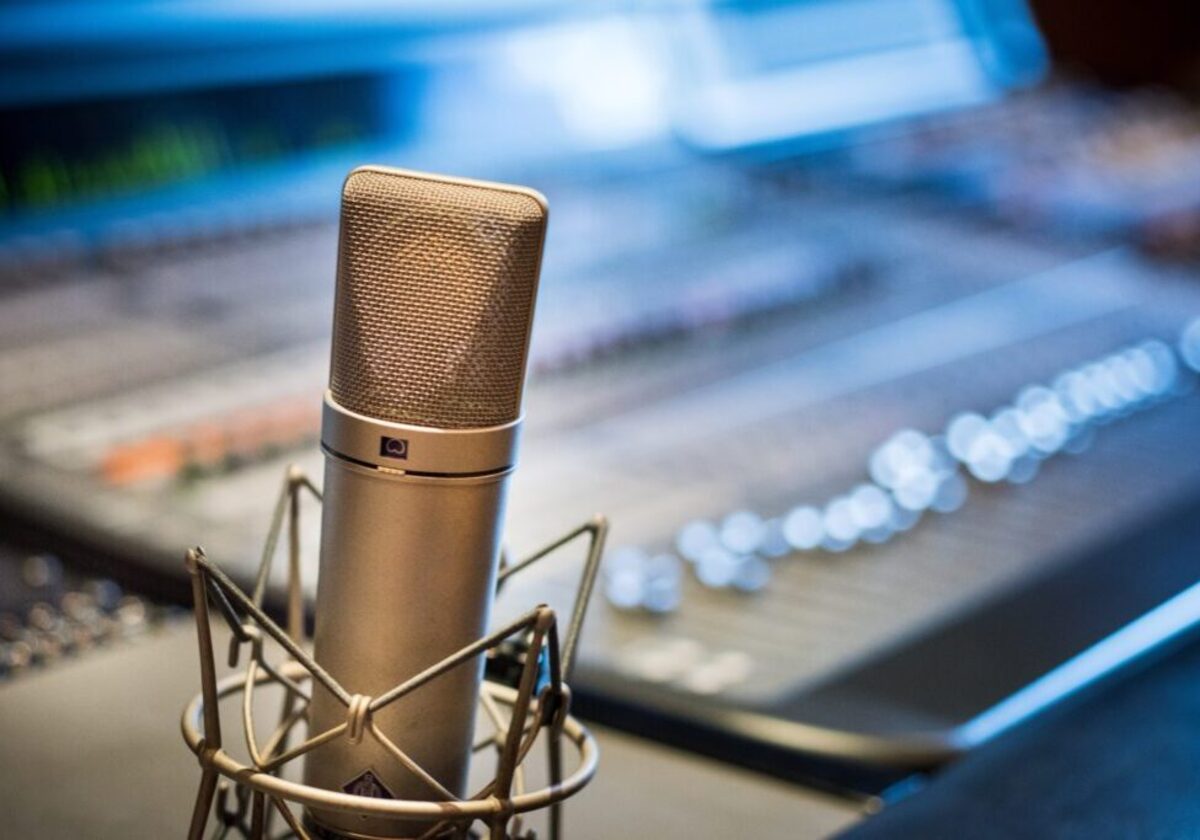

Microphone
How To Set Up A Condenser Microphone
Published: February 17, 2024
Learn how to set up a condenser microphone for optimal sound quality. Discover microphone placement and settings for professional audio recording.
(Many of the links in this article redirect to a specific reviewed product. Your purchase of these products through affiliate links helps to generate commission for AudioLover.com, at no extra cost. Learn more)
Table of Contents
Introduction
So, you’ve finally decided to take your audio recording to the next level by investing in a condenser microphone. Congratulations! Whether you’re a podcaster, musician, YouTuber, or voice-over artist, a condenser microphone can significantly enhance the quality of your recordings. However, setting up a condenser microphone properly is crucial to ensure that you capture clear and professional-grade audio.
In this comprehensive guide, we’ll walk you through the process of setting up your condenser microphone step by step. From understanding the basics of condenser microphones to connecting and adjusting settings, we’ve got you covered. By the end of this article, you’ll have the knowledge and confidence to unleash the full potential of your condenser microphone.
So, let’s dive in and demystify the world of condenser microphones. Whether you’re a beginner or a seasoned audio enthusiast, there’s something valuable here for everyone. Let’s transform your recording space into a haven for pristine sound quality.
Understanding Condenser Microphones
Before delving into the setup process, it’s essential to grasp the fundamental workings of condenser microphones. Unlike dynamic microphones, which are sturdy and versatile, condenser microphones are renowned for their exceptional sensitivity and ability to capture nuanced audio details with remarkable clarity.
At the heart of a condenser microphone lies a diaphragm, typically made of extremely thin material, such as gold-sputtered Mylar. This diaphragm is positioned close to a backplate, creating a capacitor that is charged with an electric current. When sound waves hit the diaphragm, it vibrates in response, causing the distance between the diaphragm and the backplate to fluctuate. These minute variations in distance result in corresponding changes in the electrical current, effectively capturing the audio signal.
One of the key distinctions of condenser microphones is their requirement for external power, often referred to as phantom power. This additional power source is necessary to energize the capacitor within the microphone, enabling it to capture sound accurately. Many audio interfaces and mixing consoles provide phantom power, ensuring that the condenser microphone receives the electricity it needs to operate effectively.
Condenser microphones come in two main types: large-diaphragm and small-diaphragm. Large-diaphragm condenser microphones are favored for their warm and rich sound, making them ideal for vocals, acoustic instruments, and studio recordings. On the other hand, small-diaphragm condenser microphones excel in capturing fast transients and high-frequency details, making them a popular choice for recording acoustic guitars, cymbals, and intricate sound sources.
Understanding the intricacies of condenser microphones is crucial for harnessing their full potential. By comprehending their internal mechanisms and unique characteristics, you can make informed decisions when setting up and utilizing these remarkable audio tools.
Setting Up Your Condenser Microphone
Setting up your condenser microphone correctly is the first step towards unlocking its exceptional audio-capturing capabilities. Whether you’re preparing for a podcast recording, musical performance, or voice-over session, the following guidelines will ensure that your condenser microphone is ready to deliver outstanding sound quality.
1. Choose an Ideal Location: Select a suitable location for your condenser microphone. Ideally, this should be a quiet space with minimal background noise and reverberation. Consider using acoustic treatment or soundproofing materials to optimize the recording environment.
2. Mount the Microphone: Use a sturdy microphone stand or shock mount to securely position the condenser microphone. Ensure that the microphone is angled and positioned according to your specific recording needs, such as capturing vocals or instruments.
3. Connect the Microphone Cable: Carefully connect the microphone cable to the XLR output of the condenser microphone. The other end of the cable will typically feature an XLR or TRS connector, which will be plugged into your audio interface or mixing console.
4. Engage Phantom Power: If your condenser microphone requires phantom power, activate this feature on your audio interface or mixing console. Ensure that the phantom power is switched on before connecting the microphone to avoid any potential damage to the equipment.
5. Position a Pop Filter: Attach a pop filter in front of the condenser microphone to minimize plosive sounds and excessive air blasts when recording vocals. This simple accessory can significantly improve the clarity of your recordings.
6. Test the Microphone Placement: Before initiating the recording session, test the microphone placement and ensure that it captures the audio source accurately. Make any necessary adjustments to the microphone position to achieve the desired sound quality.
By following these steps, you can establish a solid foundation for utilizing your condenser microphone effectively. With the microphone securely mounted, connected, and positioned, you are now ready to harness the full potential of this exceptional audio recording tool.
Connecting Your Condenser Microphone to an Audio Interface
Connecting your condenser microphone to an audio interface is a crucial step in the setup process, as it facilitates the translation of analog audio signals into digital data that can be processed and recorded by your computer or recording device. Here’s a comprehensive guide to seamlessly linking your condenser microphone to an audio interface:
1. Select the Correct Input: Identify the appropriate input on your audio interface for connecting the condenser microphone. Most audio interfaces feature XLR or TRS inputs specifically designed for microphones.
2. Use High-Quality Cables: Ensure that you use high-quality XLR or TRS cables to establish a reliable connection between the condenser microphone and the audio interface. Quality cables minimize the risk of signal interference and ensure optimal audio transmission.
3. Plug in the Microphone: Connect the XLR or TRS cable from the output of the condenser microphone to the designated input on the audio interface. Ensure that the connection is secure to prevent any signal loss or audio artifacts during recording.
4. Set Input Gain Levels: Adjust the input gain levels on the audio interface to optimize the signal strength from the condenser microphone. Carefully monitor the levels to prevent distortion while capturing the full dynamic range of the audio source.
5. Activate Phantom Power: If your condenser microphone requires phantom power, activate this feature on the audio interface. Phantom power is typically provided at +48V and is essential for powering the internal circuitry of the condenser microphone.
6. Monitor the Signal: Utilize the headphone output on the audio interface to monitor the signal from the condenser microphone in real time. This allows you to ensure that the audio levels are optimal and that the microphone is capturing the desired sound accurately.
By following these steps, you can seamlessly integrate your condenser microphone with an audio interface, setting the stage for pristine audio capture and recording. The synergy between the microphone and the audio interface is pivotal in translating your creative expressions into captivating audio productions.
Adjusting Settings for Your Condenser Microphone
Once your condenser microphone is connected to the audio interface, it’s essential to fine-tune the settings to optimize its performance and ensure exceptional audio quality. Here are the key settings to consider when adjusting your condenser microphone:
1. Polar Patterns: Many condenser microphones offer selectable polar patterns, such as cardioid, omnidirectional, and figure-8. Choose the appropriate polar pattern based on the recording scenario. For solo vocals or instruments, a cardioid pattern is often preferred, while omnidirectional patterns are suitable for capturing ambient soundscapes.
2. Low-Cut Filter: Some condenser microphones feature a low-cut filter, also known as a high-pass filter, which attenuates low-frequency signals. Activating the low-cut filter can effectively reduce rumble, handling noise, and other unwanted low-frequency sounds, enhancing the clarity of the recorded audio.
3. Pad Switch: Certain condenser microphones are equipped with a pad switch that attenuates the microphone’s output signal. This feature is useful when recording loud sound sources, such as drums or amplified instruments, as it prevents the audio from distorting due to excessive input levels.
4. Input Gain on the Audio Interface: Fine-tune the input gain on the audio interface to achieve an optimal signal level from the condenser microphone. Adjust the gain control to prevent clipping while ensuring that the microphone captures the full sonic nuances of the audio source.
5. Monitor Headphone Mix: If your audio interface offers a headphone mix control, adjust the blend between the direct input signal from the condenser microphone and the playback from your recording software. This allows for real-time monitoring with customizable levels, ensuring that you can hear the input signal and playback in the desired balance.
6. Test Recording Levels: Before commencing the actual recording, perform a test recording to evaluate the microphone settings and ensure that the audio levels are optimal. This allows for adjustments to be made before capturing the final audio content.
By carefully adjusting these settings, you can tailor the performance of your condenser microphone to suit a diverse range of recording scenarios. From controlling the microphone’s directional sensitivity to refining the frequency response, these settings empower you to capture audio with precision and finesse.
Testing Your Condenser Microphone
Before embarking on a full-fledged recording session, it’s imperative to conduct thorough testing of your condenser microphone to ensure that it is functioning optimally and delivering the desired audio quality. Here’s a systematic approach to testing your condenser microphone:
1. Sound Check: Begin by conducting a sound check to verify that the condenser microphone is capturing audio signals. Speak or sing into the microphone while monitoring the audio levels on the interface to confirm that the microphone is responsive and transmitting sound effectively.
2. Polar Pattern Evaluation: If your condenser microphone offers selectable polar patterns, experiment with different patterns to understand their sonic characteristics. Test the microphone’s directional sensitivity by speaking or playing an instrument from various angles around the microphone to discern the nuances of each polar pattern.
3. Low-Cut Filter Assessment: Activate the low-cut filter on the condenser microphone, if available, and compare the audio quality with and without the filter engaged. Listen for any reduction in low-frequency rumble or unwanted noise, assessing the impact of the filter on the overall sound.
4. Pad Switch Testing: If your microphone features a pad switch, test its functionality by recording both quiet and loud sound sources. Engage the pad switch when capturing loud audio and observe how it affects the recording, particularly in preventing distortion and preserving the integrity of the sound.
5. Dynamic Range Examination: Evaluate the condenser microphone’s ability to capture a wide dynamic range by recording both soft and loud passages. Analyze the recorded audio to ensure that the microphone faithfully reproduces the subtle nuances and the powerful transients of the audio source.
6. Playback and Analysis: Listen to the recorded test samples on high-quality studio monitors or headphones. Pay attention to the clarity, tonal accuracy, and overall fidelity of the captured audio, making note of any potential adjustments or refinements required for the microphone settings.
By conducting comprehensive tests, you can gain valuable insights into the performance of your condenser microphone and make informed decisions regarding its setup and usage. Testing allows you to identify any potential issues, optimize the microphone settings, and ultimately achieve exceptional audio recordings.
Troubleshooting Common Issues
While condenser microphones are renowned for their exceptional audio quality, they may occasionally present certain issues that can impact recording sessions. Understanding and addressing these common problems is essential for maintaining the optimal performance of your condenser microphone. Here are some typical issues and troubleshooting steps:
1. Excessive Background Noise: If you notice an unwanted presence of background noise in your recordings, evaluate the recording environment. Consider employing acoustic treatment, such as soundproofing panels or bass traps, to minimize ambient noise and reverberation that may affect the microphone’s performance.
2. Phantom Power Malfunction: In the event of phantom power failure, verify the connections between the condenser microphone and the audio interface. Check the phantom power switch on the interface and ensure that it is activated. Additionally, test the microphone with a different cable and input to rule out potential cable or interface issues.
3. Distorted Audio: If the recorded audio exhibits distortion, first check the input gain levels on the audio interface. Lower the gain if the input signal is excessively hot, leading to clipping and distortion. Additionally, consider engaging the pad switch on the microphone if it is capturing loud sound sources.
4. Inconsistent Frequency Response: Should you encounter inconsistencies in the frequency response of the microphone, inspect the microphone cable for any damage or signal interference. Switch to a different cable to determine if the issue persists. Additionally, ensure that the microphone’s diaphragm is clean and free from debris that may affect its sensitivity.
5. Unwanted Plosive Sounds: To mitigate plosive sounds, ensure that a pop filter is positioned correctly in front of the microphone. Orient the pop filter at an optimal distance from the microphone to effectively diffuse plosive air blasts while recording vocals or speech.
6. Monitoring Issues: If you encounter challenges with monitoring the microphone signal, check the headphone output on the audio interface. Ensure that the headphone mix control is set appropriately to blend the microphone input signal with playback from your recording software, allowing for real-time monitoring with the desired balance.
By addressing these common issues proactively, you can maintain the integrity and performance of your condenser microphone, ensuring that it consistently delivers exceptional audio quality across various recording scenarios.
Conclusion
Congratulations on completing the journey of setting up and optimizing your condenser microphone for exceptional audio capture. By gaining a deeper understanding of condenser microphones and following the comprehensive setup process, you have equipped yourself with the knowledge and skills to elevate the quality of your recordings.
Throughout this guide, we explored the intricate workings of condenser microphones, delving into their unique characteristics such as sensitivity, polar patterns, and the requirement for phantom power. By comprehending these fundamental aspects, you have unlocked the potential to harness the full capabilities of your condenser microphone.
From selecting an ideal recording location to connecting the microphone to an audio interface and adjusting essential settings, you have laid the groundwork for capturing pristine audio with precision and finesse. By conducting thorough testing and troubleshooting common issues, you have demonstrated a proactive approach to ensuring the optimal performance of your condenser microphone.
As you embark on your creative endeavors, whether it’s recording vocals, musical instruments, podcasts, or voice-overs, your meticulously set up condenser microphone stands ready to faithfully capture the nuances and subtleties of your audio sources. The attention to detail and the understanding of the technical nuances of your microphone setup will undoubtedly elevate the quality of your recordings.
Remember, the journey of audio production is a continuous learning experience, and as you become more familiar with your condenser microphone, you’ll discover new techniques and approaches to refine your recording process further. Embrace experimentation, continue honing your skills, and let your passion for audio excellence drive your creative pursuits.
With your condenser microphone poised to transform your sonic visions into captivating recordings, may your future endeavors be filled with exceptional audio quality and boundless creative inspiration.


