Home>Production & Technology>Soundproofing>How To Set Up A Microphone Without Soundproofing The Room

Soundproofing
How To Set Up A Microphone Without Soundproofing The Room
Modified: February 17, 2024
Learn how to set up a microphone without soundproofing the room and achieve clear audio quality. Get tips and tricks for minimizing background noise.
(Many of the links in this article redirect to a specific reviewed product. Your purchase of these products through affiliate links helps to generate commission for AudioLover.com, at no extra cost. Learn more)
Table of Contents
- Introduction
- Step 1: Choosing the Right Microphone
- Step 2: Finding the Optimal Location
- Step 3: Minimizing Background Noise
- Step 4: Using a Microphone Isolation Shield
- Step 5: Proper Mic Placement and Positioning
- Step 6: Utilizing Acoustic Treatment
- Step 7: Adjusting Mic Settings for Optimal Sound
- Step 8: Testing and Fine-Tuning
- Conclusion
Introduction
Welcome to the world of soundproofing! If you’re a content creator, podcaster, musician, or anyone who works with audio, you know how important it is to have a clear and crisp sound. However, soundproofing a room can be a time-consuming and expensive process. The good news is that you can still achieve great sound quality without completely soundproofing your space. In this article, we will guide you through the steps to set up a microphone without soundproofing the room.
Whether you’re recording vocals, instruments, or voiceovers, proper microphone setup is crucial to capturing high-quality audio. The goal is to minimize unwanted noise and reflections, allowing your voice or instrument to shine through. While soundproofing can greatly improve the recording environment, it might not always be feasible or affordable. That’s why we’ll explore alternative methods and techniques that can still yield excellent results.
In the following steps, we’ll cover everything from choosing the right microphone to utilizing acoustic treatment to enhance the sound quality in your recording space. By the end, you’ll have a solid understanding of how to optimize your microphone setup and create professional-grade recordings without the need for extensive soundproofing.
Before we dive into the step-by-step process, it’s important to note that while these methods can significantly improve your sound quality, they may not eliminate all external noises completely. However, with the right techniques and tools, you can greatly minimize their impact on your recordings.
So, let’s get started on setting up your microphone to achieve the best possible sound in your non-soundproofed room!
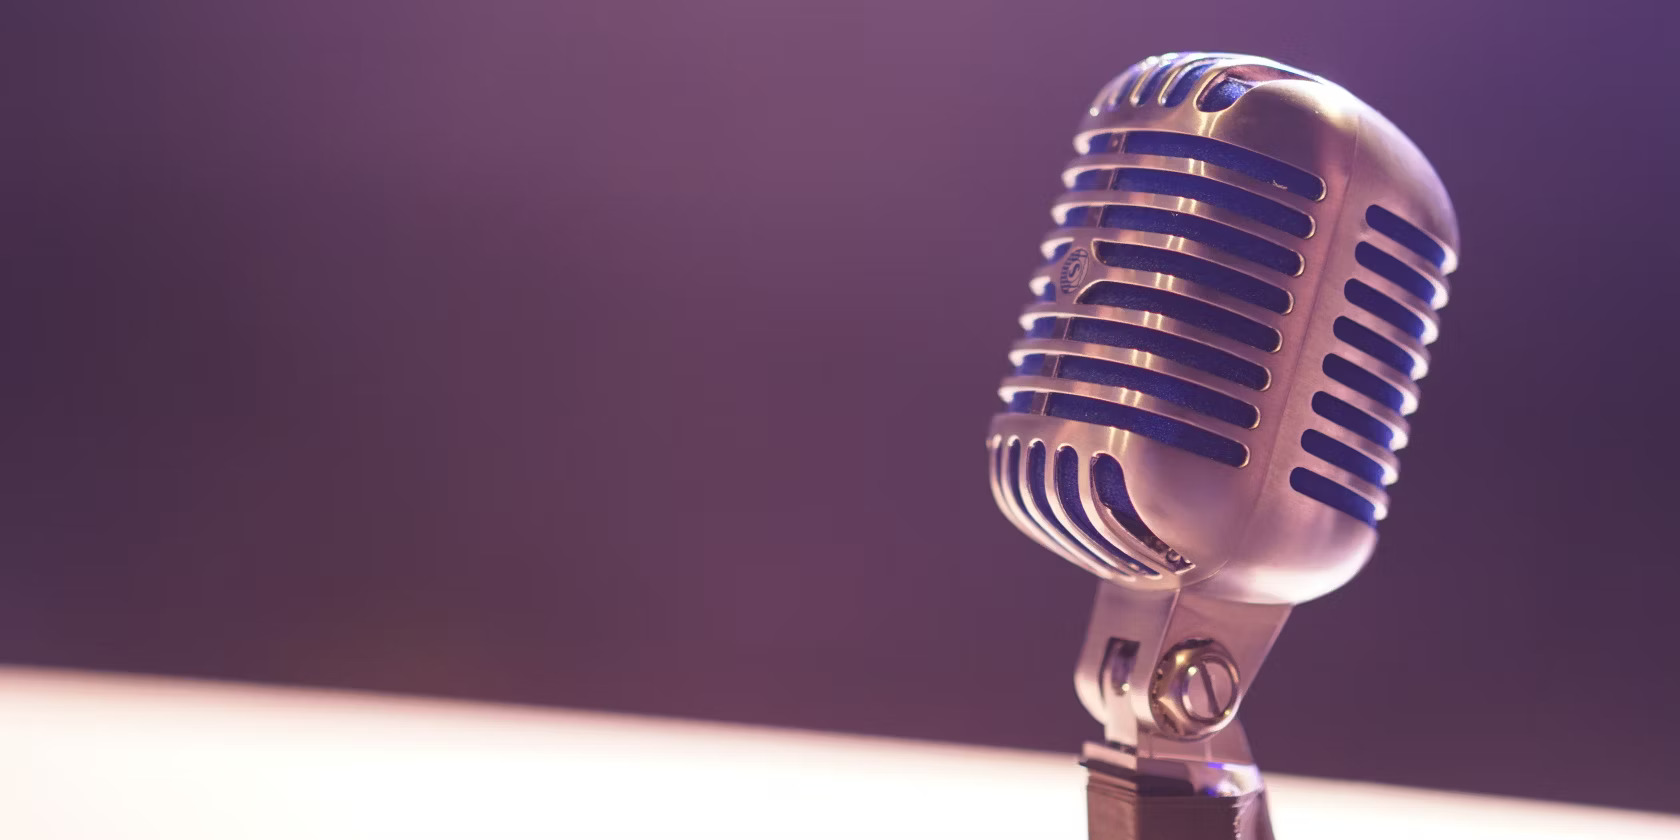
Step 1: Choosing the Right Microphone
The first step in setting up your microphone without soundproofing is selecting the right microphone for your specific needs. There are various types of microphones available, each with its own strengths and weaknesses.
For vocal recording, a popular choice is a dynamic microphone. These microphones are known for their durability, versatile performance, and ability to handle high sound pressure levels. They are also less sensitive to background noise, making them suitable for environments with less soundproofing.
Condenser microphones, on the other hand, excel at capturing detailed and sensitive audio. They are often used in studio settings due to their ability to reproduce a wide frequency range and capture nuances in vocals and instruments. However, they may require more soundproofing or a quieter room to minimize unwanted noise.
Additionally, consider whether you need a USB or XLR microphone. USB microphones are convenient for their plug-and-play functionality and are suitable for beginners or individuals on a budget. XLR microphones, on the other hand, offer more versatility and can be connected to audio interfaces or mixers.
Take some time to research and test different microphones to find the one that best suits your needs and recording environment. Keep in mind factors such as the intended use, budget, and the specific sound characteristics you’re looking to achieve.
Once you have selected your microphone, you can move on to the next steps of the setup process to optimize its performance in your non-soundproofed room.
Step 2: Finding the Optimal Location
Now that you have your microphone ready, it’s time to find the optimal location for recording in your non-soundproofed room. The right placement can make a significant difference in capturing the best sound while minimizing unwanted noise.
Start by assessing your room and identifying the areas that have the least amount of background noise. Avoid placing your microphone near windows, air vents, or sources of excessive noise like appliances. These can introduce unwanted sounds into your recordings. Instead, choose a spot away from these potential noise sources.
You can also experiment by moving around the room and listening for any noticeable changes in background noise. Sometimes, a small adjustment in microphone placement can lead to a significant improvement in sound quality. Trust your ears and find the spot that offers the cleanest and most balanced sound.
Another consideration is the proximity of the microphone to reflective surfaces, such as walls or hard furniture. These surfaces can cause unwanted echoes or reverberations in your recordings. To minimize this, try adding soft materials like curtains, rugs, or acoustic panels to absorb the sound reflections.
It’s worth noting that if you’re recording vocals, you may want to consider using a vocal booth or a portable sound booth. These enclosures can provide additional isolation and help reduce external noise, even in a non-soundproofed room.
Remember, finding the optimal location for your microphone might require some trial and error. Take the time to experiment and listen critically to the results until you find the spot that produces the best sound quality with minimal background noise.
Once you have determined the ideal location, you can proceed to the next steps in setting up your microphone without soundproofing your room.
Step 3: Minimizing Background Noise
While it may not be possible to completely eliminate background noise in a non-soundproofed room, there are several techniques you can employ to minimize its impact on your recordings.
One effective method is to identify and reduce ambient noise sources. Turn off any noisy appliances or electronics in the room, such as fans, air conditioners, or computer fans. If there are other people in the vicinity, kindly ask them to refrain from making loud noises or movements while you are recording.
You can also utilize noise reduction tools in post-processing. Many audio editing software offer features like noise gate and noise reduction plugins, which can help remove background noise from your recordings. However, it’s important to be cautious when using these tools, as they might also affect the quality of your desired sound.
If you are recording in an environment with HVAC or ventilation noise, consider using a microphone windscreen or pop filter. These accessories can help minimize plosive sounds and reduce wind noise, resulting in cleaner recordings.
Another technique to consider is using headphones during recording. By monitoring your audio in real-time, you can catch and address any background noise issues before they become a problem. Additionally, using closed-back headphones can help isolate your ears from outside noise, allowing you to focus on the sound you are capturing.
It’s important to remember that while these techniques can significantly reduce background noise, they might not eradicate it completely. The goal is to create a controlled environment that allows your sound source to stand out without distractions from the surroundings.
By implementing these methods, you’ll be able to achieve cleaner recordings and improve the overall sound quality in your non-soundproofed room.
Now that you’ve addressed background noise, let’s move on to the next step in setting up your microphone without soundproofing the room.
Step 4: Using a Microphone Isolation Shield
If you want to further enhance the sound isolation in your non-soundproofed room, incorporating a microphone isolation shield into your setup can be beneficial.
A microphone isolation shield, also known as a reflection filter or vocal booth, is a portable device that surrounds your microphone to minimize external sound reflections. It acts as a barrier between the microphone and the surrounding room, preventing unwanted echoes and reverberations from entering your recordings.
The shield consists of acoustic materials and absorptive panels that help absorb and redirect the sound waves, reducing reflections and improving the overall sound quality. It effectively isolates the microphone, allowing you to capture cleaner and more focused audio.
To use a microphone isolation shield, simply place it behind or around the microphone, ensuring that it covers the area where sound reflections are most likely to occur. The shield can be mounted on a microphone stand or attached directly to the microphone itself.
There are various types and sizes of isolation shields available on the market, ranging from small filters to larger panels that surround the entire microphone. Choose one that fits your needs and budget, keeping in mind factors such as compatibility with your microphone and the space you have available.
Using a microphone isolation shield not only helps improve the acoustics in your recording environment but also provides a visual cue to others that you are recording, reducing the chances of unwanted interruptions.
While a microphone isolation shield can enhance sound isolation, it’s important to remember that it will not completely soundproof your room. It primarily focuses on reducing reflections and improving the direct sound captured by the microphone.
With the addition of a microphone isolation shield, you’ll be able to further optimize your microphone setup and achieve better sound quality in your non-soundproofed room.
Now, let’s move on to the next step, which involves proper mic placement and positioning.
Step 5: Proper Mic Placement and Positioning
The placement and positioning of your microphone play a crucial role in capturing optimal sound quality. Even in a non-soundproofed room, strategic mic placement can help minimize unwanted noise and maximize the clarity of your recordings.
Start by positioning the microphone at the appropriate height and angle. For vocals, it’s generally recommended to position the microphone at mouth level, slightly tilted upwards. This helps capture the best balance between the vocal projection and minimizing plosive sounds.
If you’re recording instruments or other sound sources, experiment with different angles and distances to find the sweet spot that captures the desired sound. Keep in mind that different instruments may require specific placement techniques for optimal results.
It’s also important to maintain a consistent distance between the microphone and the sound source. Moving too close or too far away can result in imbalanced recordings or capture excessive room reflections. Aim for a distance of around 6-12 inches (15-30 cm) from the microphone for vocals, adjusting as necessary based on the sound source.
Avoid placing the microphone too close to reflective surfaces, such as walls or large furniture. These surfaces can cause sound reflections and color the recorded sound. Use acoustic foam panels or other absorptive materials to minimize these reflections.
If you’re using a cardioid or directional microphone, pay attention to its polar pattern. These microphones capture sound primarily from the front and reject sounds from the sides and rear. Position yourself or the sound source accordingly to take advantage of this directional pattern and minimize unwanted background noise.
Remember to also consider using a shock mount or microphone stand to reduce mechanical vibrations and handling noise that could affect your recordings. These accessories help isolate the microphone from any physical disturbances and result in cleaner audio.
By taking the time to properly position and place your microphone, you can capture the best possible sound quality in your non-soundproofed room. The next step involves utilizing acoustic treatment to further enhance the recording environment.
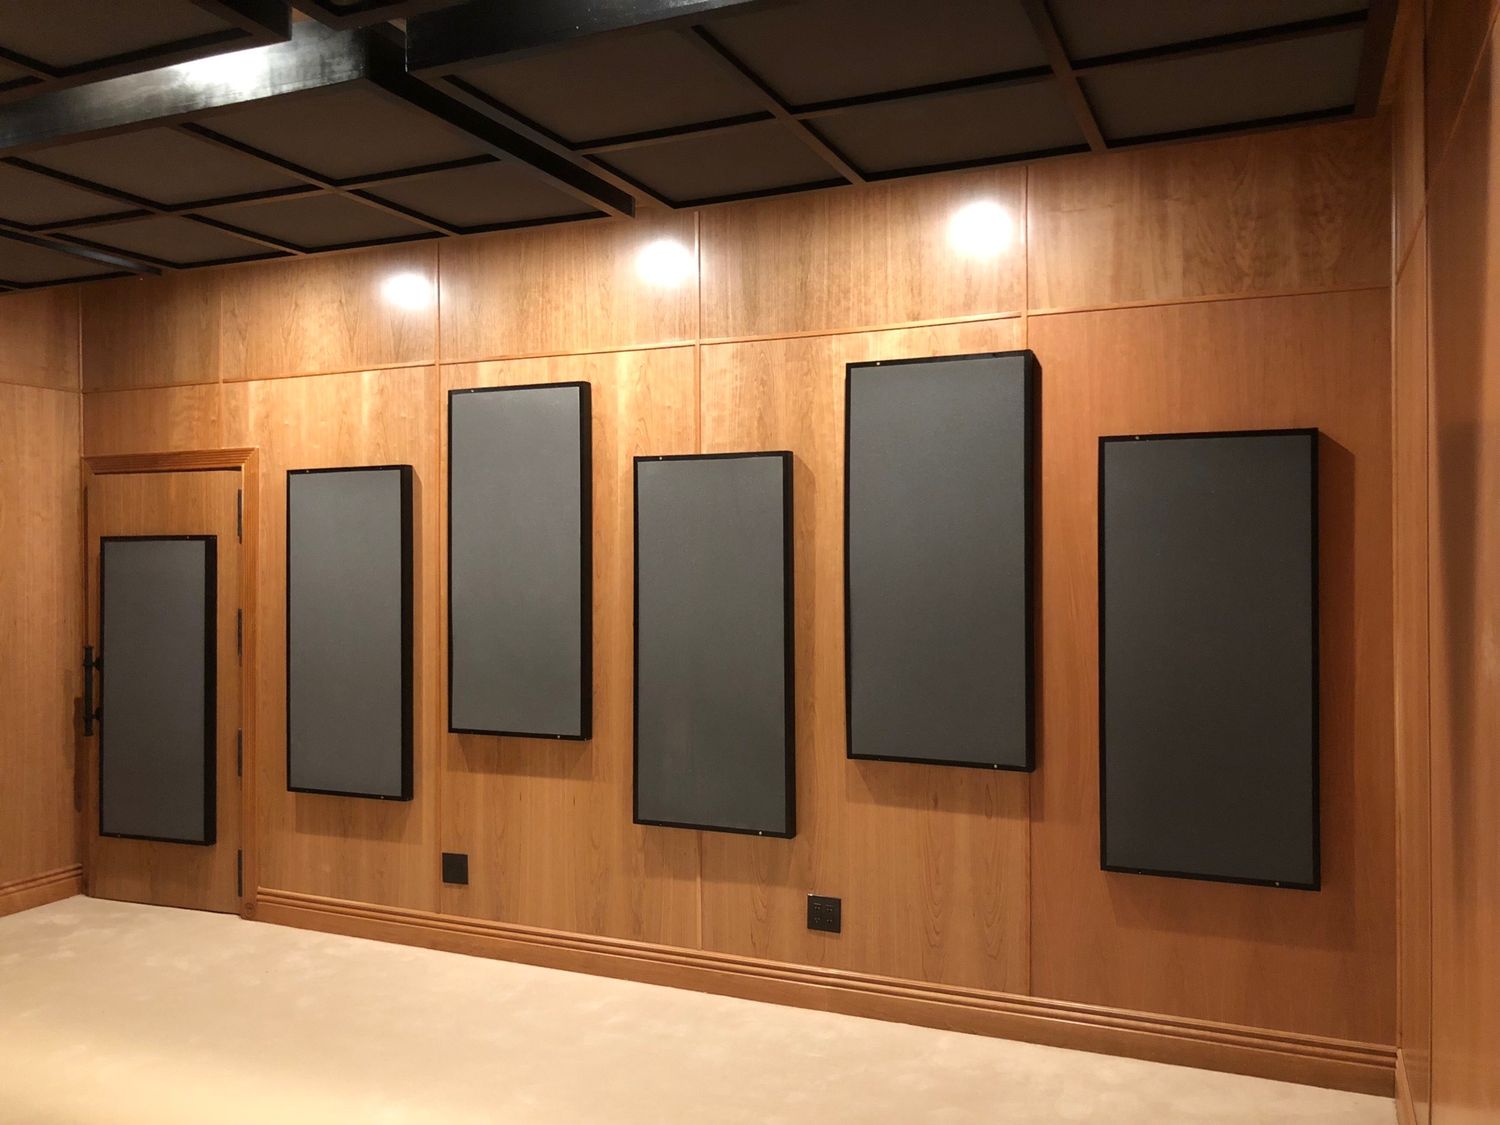
Step 6: Utilizing Acoustic Treatment
Acoustic treatment is a critical aspect of setting up a microphone in a non-soundproofed room. While it may not completely eliminate all external noises, it can significantly improve the overall sound quality and reduce unwanted reflections and echoes.
One of the most effective ways to enhance the acoustics of your recording space is by using acoustic panels or foam. These materials absorb sound waves and reduce reverberations, creating a more controlled and balanced environment for recording.
Place acoustic panels on the walls behind and around the microphone to minimize sound reflections. You can also add them to the ceiling or corners of the room for additional absorption. Choose panels or foam with a high Noise Reduction Coefficient (NRC) rating for optimal performance.
If you’re on a budget and don’t have access to professional acoustic panels, you can create DIY alternatives using materials such as thick blankets, curtains, or even egg cartons. These can help reduce reflections to some extent, although they may not be as effective as specialized acoustic panels.
Another area to consider is the floor. If you have hard flooring surfaces, such as hardwood or tile, they can cause sound reflections and reverberations. Place rugs or carpets in the recording area to help absorb some of these reflections and create a more acoustically balanced space.
Additionally, consider the layout of your room and the arrangement of furniture. Avoid cluttering the space with furniture that can cause sound reflections. Instead, opt for a clean and open layout that allows sound to travel more freely and reduces potential echoes.
While acoustic treatment can greatly improve the sound quality in your non-soundproofed room, it’s important to note that it may not eliminate all external noises completely. However, it will help create a more controlled and focused recording environment.
Now that you’ve implemented acoustic treatment, let’s move on to adjusting microphone settings for optimal sound in the next step.
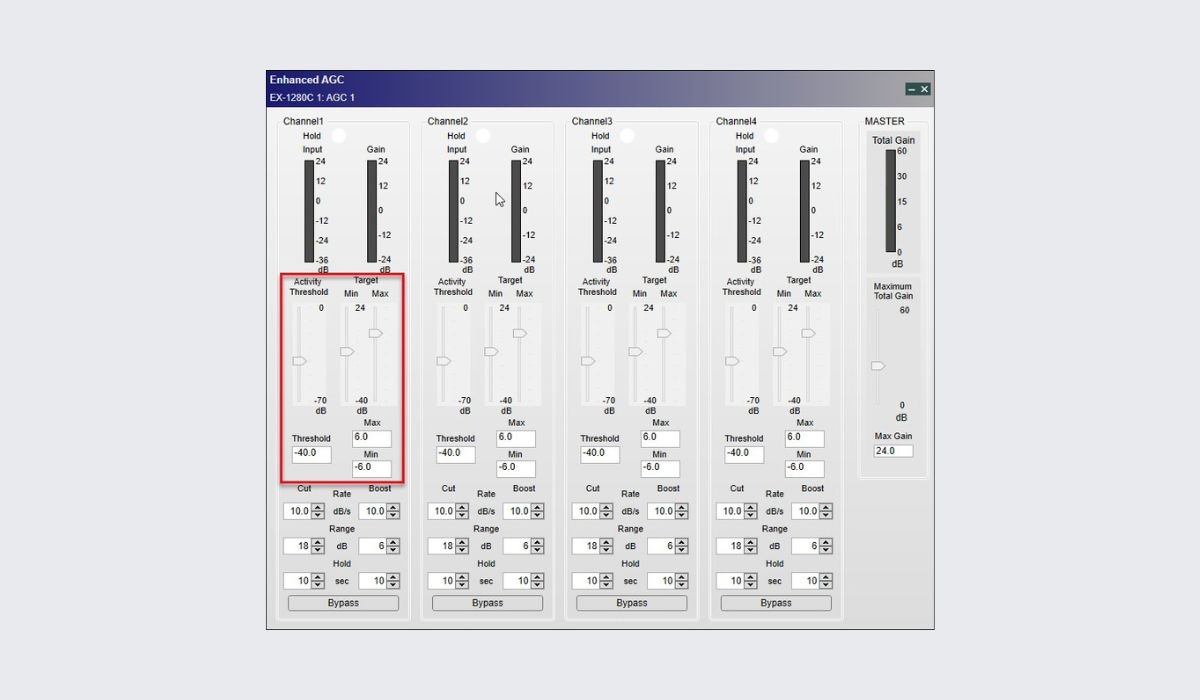
Step 7: Adjusting Mic Settings for Optimal Sound
After setting up your microphone and addressing the acoustics of your non-soundproofed room, it’s time to fine-tune the mic settings to achieve the best sound quality. This step involves adjusting parameters such as gain, polar pattern, and frequency response to optimize the audio recording.
Start with the microphone gain or sensitivity. Adjust the gain level to ensure that the sound signal is strong enough without clipping or distorting. Too low of a gain may result in a weak and unclear recording, while too high of a gain can introduce noise or distortion. Experiment with different gain settings and monitor the audio levels to find the optimal balance.
If your microphone has different polar pattern options, such as cardioid, omnidirectional, or figure-8, choose the pattern that best suits your recording needs. Cardioid pattern is ideal for capturing sound directly in front of the microphone while rejecting noise from the sides and rear. Omnidirectional captures sound from all directions, which can be useful in certain recording scenarios. The figure-8 pattern captures sound from the front and back while rejecting sound from the sides. Select the pattern that provides the least amount of unwanted noise for your specific recording situation.
Consider adjusting the frequency response of the microphone, especially if it has built-in EQ settings or presets. This allows you to tweak the sound characteristics to match your desired tone. For example, boosting the high frequencies can add clarity and presence to vocals, while reducing certain frequencies can help minimize room resonances or background noise.
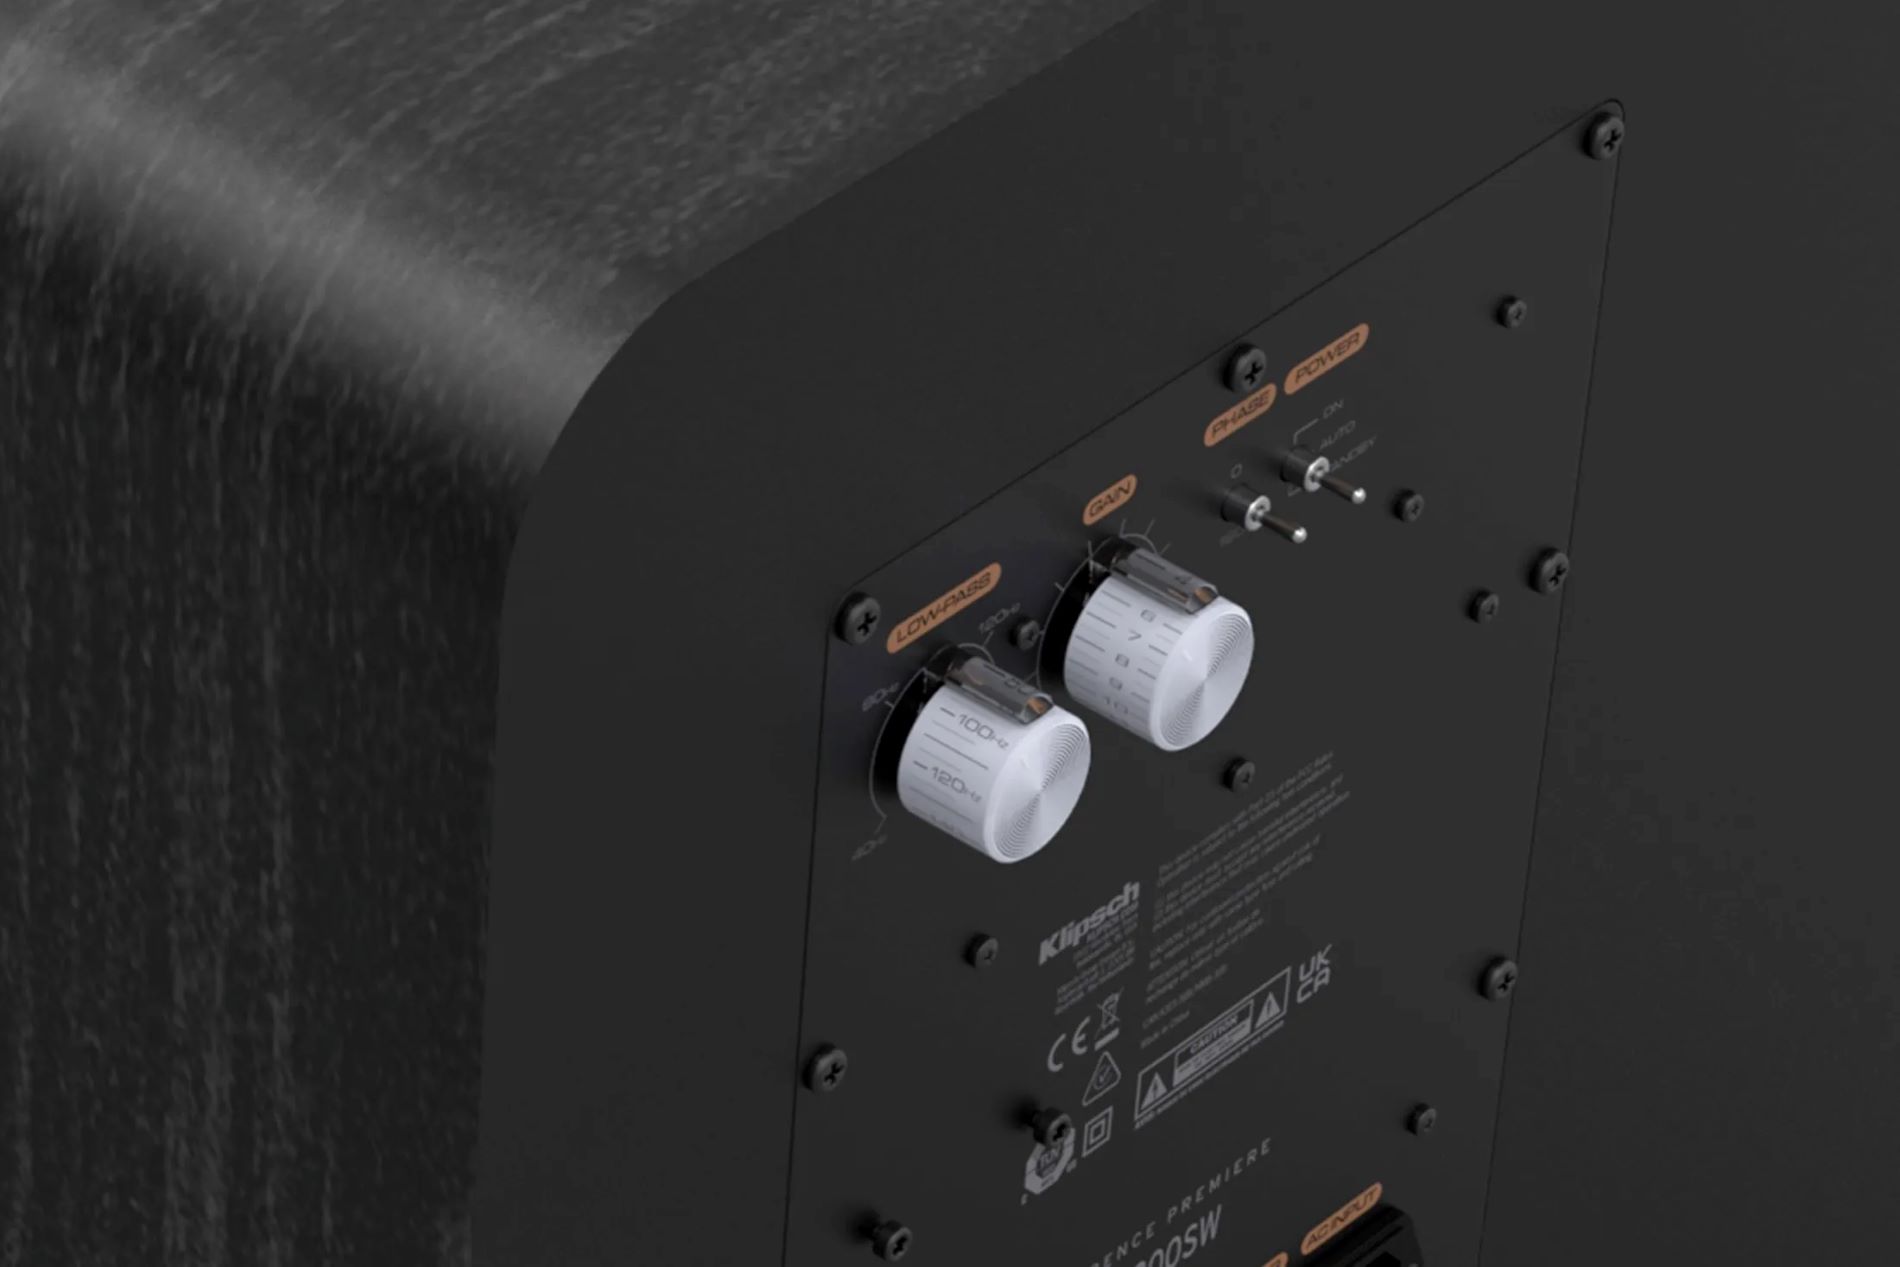
Some microphones also have built-in features like low-cut filters or pads. The low-cut filter (also known as high-pass filter) removes low-frequency rumble or ambient noise from the recording. The pad attenuates the input signal, useful when recording loud sound sources to prevent distortion.
Keep in mind that these mic settings should be adjusted based on the specific recording environment and the desired sound you want to achieve. Take your time to experiment with different settings and listen critically to the results until you find the ideal configuration that captures the best sound quality in your non-soundproofed room.
Once you’ve optimized the mic settings, it’s time to move on to the final step of the setup process: testing and fine-tuning.
Step 8: Testing and Fine-Tuning
After completing the setup process, it’s crucial to thoroughly test and fine-tune your microphone setup in your non-soundproofed room. This step involves evaluating the quality of your recordings, making adjustments as necessary, and ensuring that your sound is optimized.
Begin by recording a sample clip or test track using your microphone setup. Pay close attention to the clarity, volume, and overall sound quality of the recording. Listen for any unwanted background noise, echoes, or other artifacts that may affect the recording.
As you listen, make note of any areas that could be improved. Are there still noticeable background noises that need addressing? Are there any reflections or resonances that need to be minimized? Analyzing and identifying these issues will help you fine-tune your setup for better results.
Based on your evaluation, consider making additional adjustments. This could include repositioning the microphone, adding more acoustic treatment, or tweaking the mic settings further. Take the time to iterate and test different configurations until you’re satisfied with the sound quality.
It’s also helpful to seek feedback from others. Share your recordings with trusted individuals in the audio or music industry who can provide valuable input. They may offer insights or suggestions for improving your setup that you may not have considered.
Remember that achieving the best sound quality in a non-soundproofed room is a continuous process. Experimenting, testing, and fine-tuning your setup will help you optimize the sound and minimize any limitations or challenges posed by the room’s acoustics.
Regularly reassessing and refining your microphone setup will lead to better recordings and ensure that you’re making the most of your non-soundproofed space.
With these eight steps, you now have the knowledge and tools to set up a microphone and achieve high-quality audio recordings even in a non-soundproofed room. Remember to embrace creativity, innovate, and explore new techniques to further enhance your soundproofing setup.
So, go ahead and start creating incredible audio content without the need for expensive soundproofing measures!
Conclusion
Setting up a microphone in a non-soundproofed room may present challenges, but it’s not impossible to achieve excellent sound quality. By following the steps outlined in this article, you can optimize your microphone setup and create professional-grade recordings without the need for extensive soundproofing.
Choosing the right microphone for your needs, finding the optimal location, and minimizing background noise are important initial considerations. Using a microphone isolation shield and implementing acoustic treatment further enhance the sound isolation and reduce reflections. Proper mic placement and positioning help capture the best sound, while adjusting mic settings allows you to fine-tune the audio to your desired tone.
Remember that testing and fine-tuning your setup is crucial to achieving the best results. Regularly evaluate your recordings, make any necessary adjustments, and seek feedback from trusted individuals to continuously improve your sound quality.
While it may not be possible to completely eliminate background noise or achieve the same level of isolation as a fully soundproofed room, these methods and techniques significantly improve your recordings’ clarity and minimize unwanted distractions.
Now armed with the knowledge and tools to set up a microphone in a non-soundproofed room, you can confidently dive into podcasting, music production, or any other audio-related endeavors. Embrace creativity, experiment with different techniques, and refine your setup to achieve the best possible sound quality.
So, don’t let the limitations of your space hold you back. With the right approach and a bit of ingenuity, you can create exceptional audio content and take your recordings to the next level, even in a non-soundproofed room.