Home>Instruments>Drums>How To Set Up Electronic Drums
Drums
How To Set Up Electronic Drums
Modified: March 12, 2024
Learn how to set up electronic drums with our comprehensive guide. Discover the essential steps and tips for assembling your drum kit. Perfect for beginners and experienced drummers alike.
(Many of the links in this article redirect to a specific reviewed product. Your purchase of these products through affiliate links helps to generate commission for AudioLover.com, at no extra cost. Learn more)
Table of Contents
Introduction
So, you’ve decided to take the plunge into the world of electronic drums. Whether you’re a seasoned acoustic drummer looking to expand your sonic horizons or a beginner eager to embark on a rhythmic journey, electronic drums offer a versatile and dynamic alternative to their traditional counterparts.
In this comprehensive guide, we’ll delve into the essential steps for setting up your electronic drum kit, from selecting the right equipment to fine-tuning the settings for optimal performance. By the end of this article, you’ll be well-equipped to unleash your creativity and express your unique rhythm in the digital realm.
Embracing electronic drums opens up a myriad of possibilities, allowing you to explore diverse sounds, practice quietly with headphones, and seamlessly integrate with recording software for music production. Whether you’re a live performer, studio musician, or passionate hobbyist, the flexibility and adaptability of electronic drums make them a compelling choice for drummers of all levels.
Throughout this guide, we’ll cover the fundamental aspects of assembling and configuring your electronic drum kit, ensuring that you can make the most of this innovative musical tool. So, without further ado, let’s dive into the world of electronic drums and unlock the potential of your rhythmic prowess.
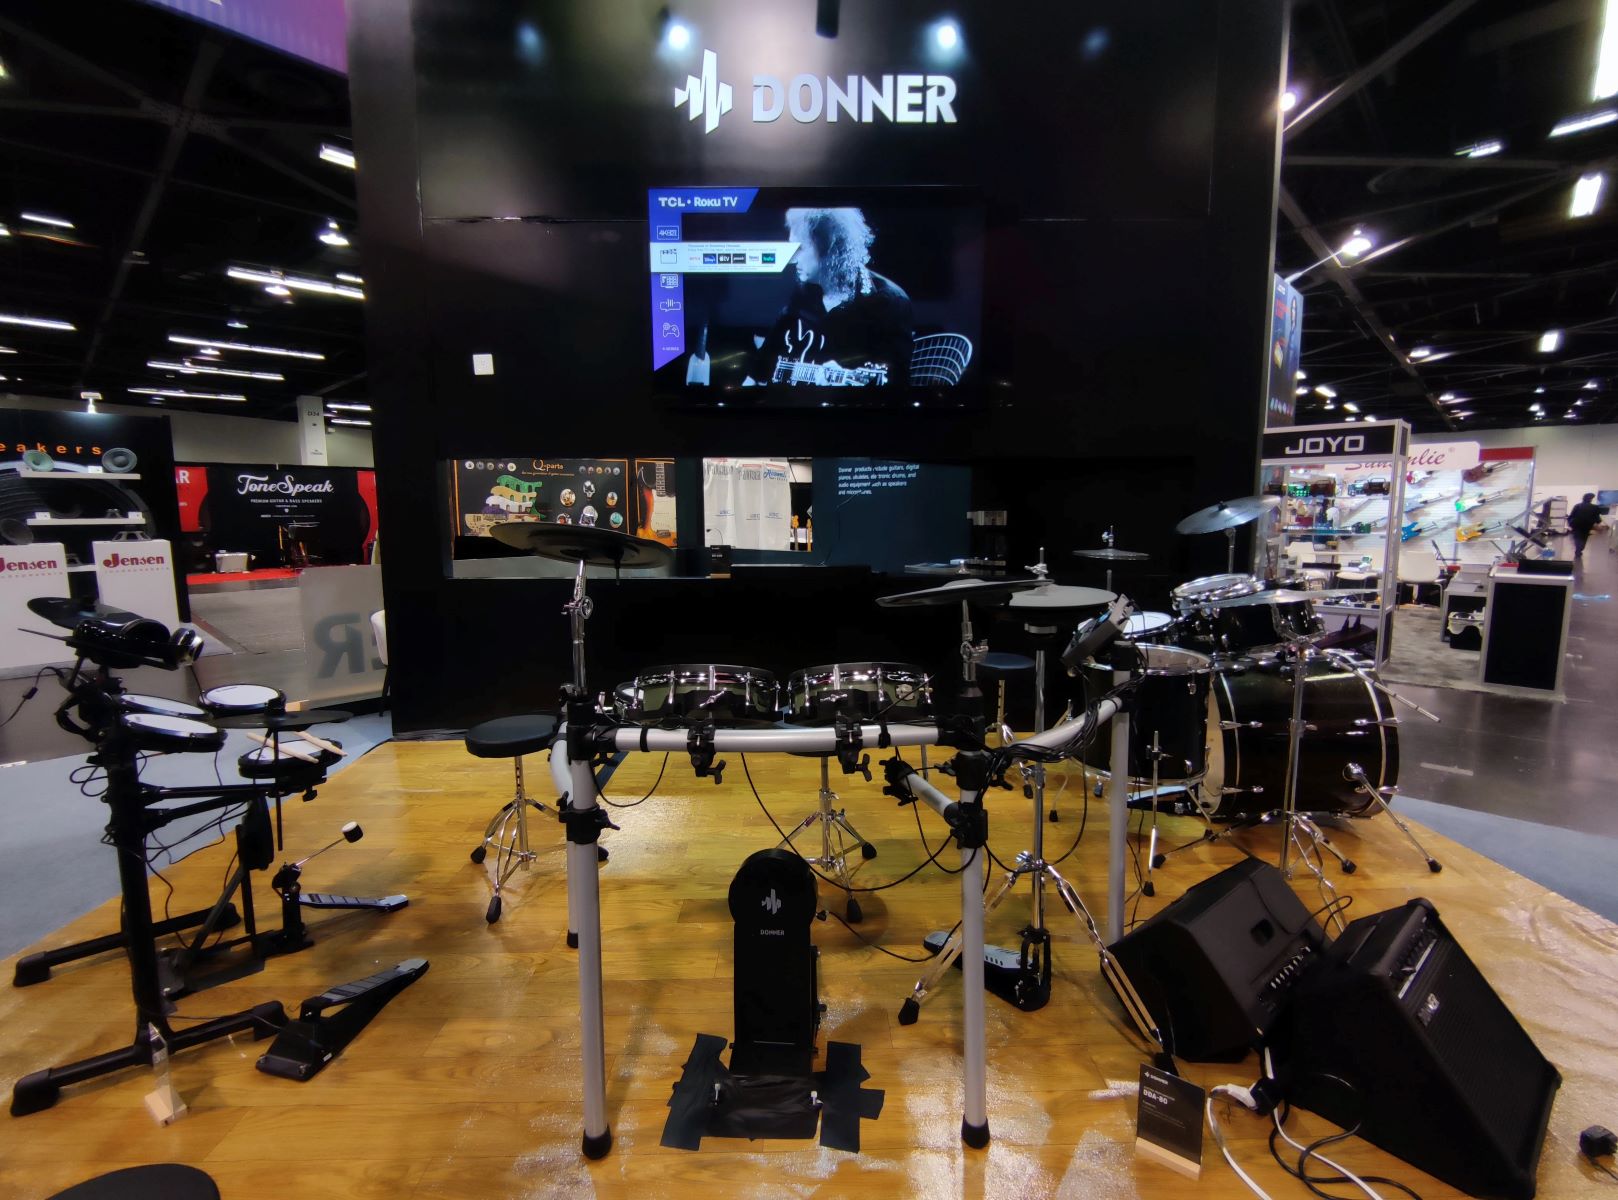
Choosing the Right Electronic Drum Kit
Before embarking on your electronic drumming journey, it’s crucial to select a kit that aligns with your specific needs and preferences. With a myriad of options available in the market, understanding the key factors to consider will empower you to make an informed decision.
First and foremost, assess your playing environment and intended usage. If you primarily plan to practice at home or in a small space, a compact and lightweight kit may be ideal for easy storage and portability. Conversely, if you envision performing live or recording in a studio, a more robust and feature-rich electronic drum set may be better suited to meet the demands of those settings.
Consider the number and variety of drum pads and cymbals included in the kit. A diverse array of pads enables you to replicate the nuances of an acoustic drum set, offering a rich and expressive playing experience. Additionally, pay attention to the quality of the drum module, which serves as the brain of the electronic kit, housing a plethora of sounds, settings, and connectivity options.
Furthermore, evaluate the responsiveness and feel of the drum pads. Look for pads that deliver a natural and dynamic response, akin to traditional acoustic drums, ensuring that your playing dynamics are accurately translated into the electronic realm.
When exploring different electronic drum kits, take note of additional features such as built-in practice tools, sound customization capabilities, and compatibility with expansion options. These attributes can significantly enhance your practice sessions and performance versatility, allowing you to tailor the kit to suit your evolving musical aspirations.
Finally, establish a realistic budget that aligns with your investment in electronic drumming. While there are entry-level kits that offer essential features at an affordable price point, higher-end models provide advanced functionalities and premium build quality. By balancing your requirements with available options, you can procure a drum kit that not only meets your immediate needs but also accommodates your growth as a drummer.
By carefully considering these factors, you can navigate the vast landscape of electronic drum kits and select the one that resonates with your playing style, musical objectives, and practical considerations.
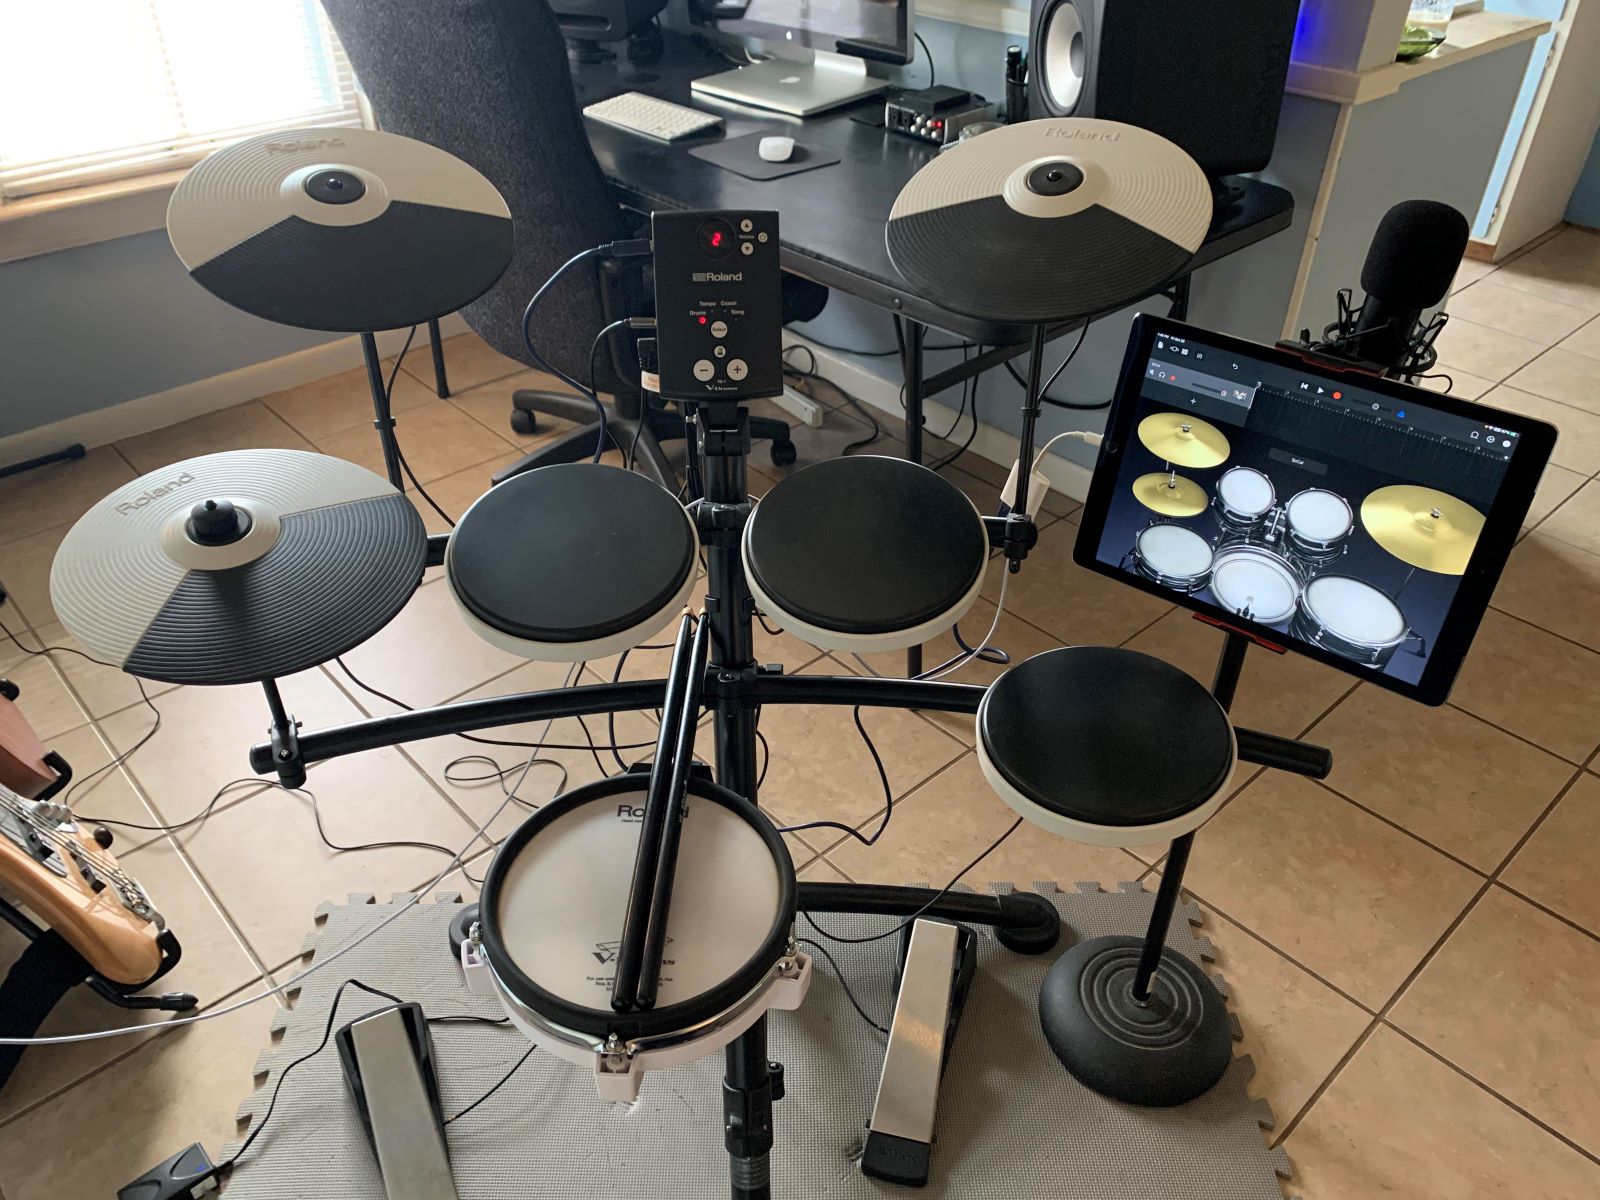
Setting Up the Drum Module
Once you’ve acquired your electronic drum kit, the next step is to set up the drum module, a pivotal component that houses a diverse array of sounds, settings, and connectivity options. Properly configuring the drum module is essential to unleash the full potential of your electronic drums and tailor the kit to your playing preferences.
Begin by selecting an optimal location for the drum module within your setup. Ideally, place the module within arm’s reach, ensuring convenient access to its controls during practice and performance. Additionally, consider the visibility of the module’s display screen, as a clear line of sight can facilitate seamless navigation through various settings and functions.
Upon powering up the drum module, familiarize yourself with its interface and navigation controls. Most modules feature an intuitive layout comprising buttons, knobs, and a display screen, enabling you to access different drum kits, adjust sound parameters, and customize settings according to your musical requirements.
One of the key aspects of setting up the drum module is selecting and customizing drum kits. Explore the diverse range of preset kits available in the module, encompassing various genres, drum sound characteristics, and performance setups. Experiment with different kits to identify the ones that resonate with your musical style, and don’t hesitate to customize individual drum and cymbal sounds to achieve a personalized sonic palette.
Furthermore, delve into the settings menu to fine-tune parameters such as sensitivity, crosstalk, reverb, and metronome options. Adjusting these settings allows you to tailor the response of the drum pads, mitigate unwanted crosstalk between pads, imbue your playing with ambient effects, and synchronize your practice sessions with the built-in metronome.
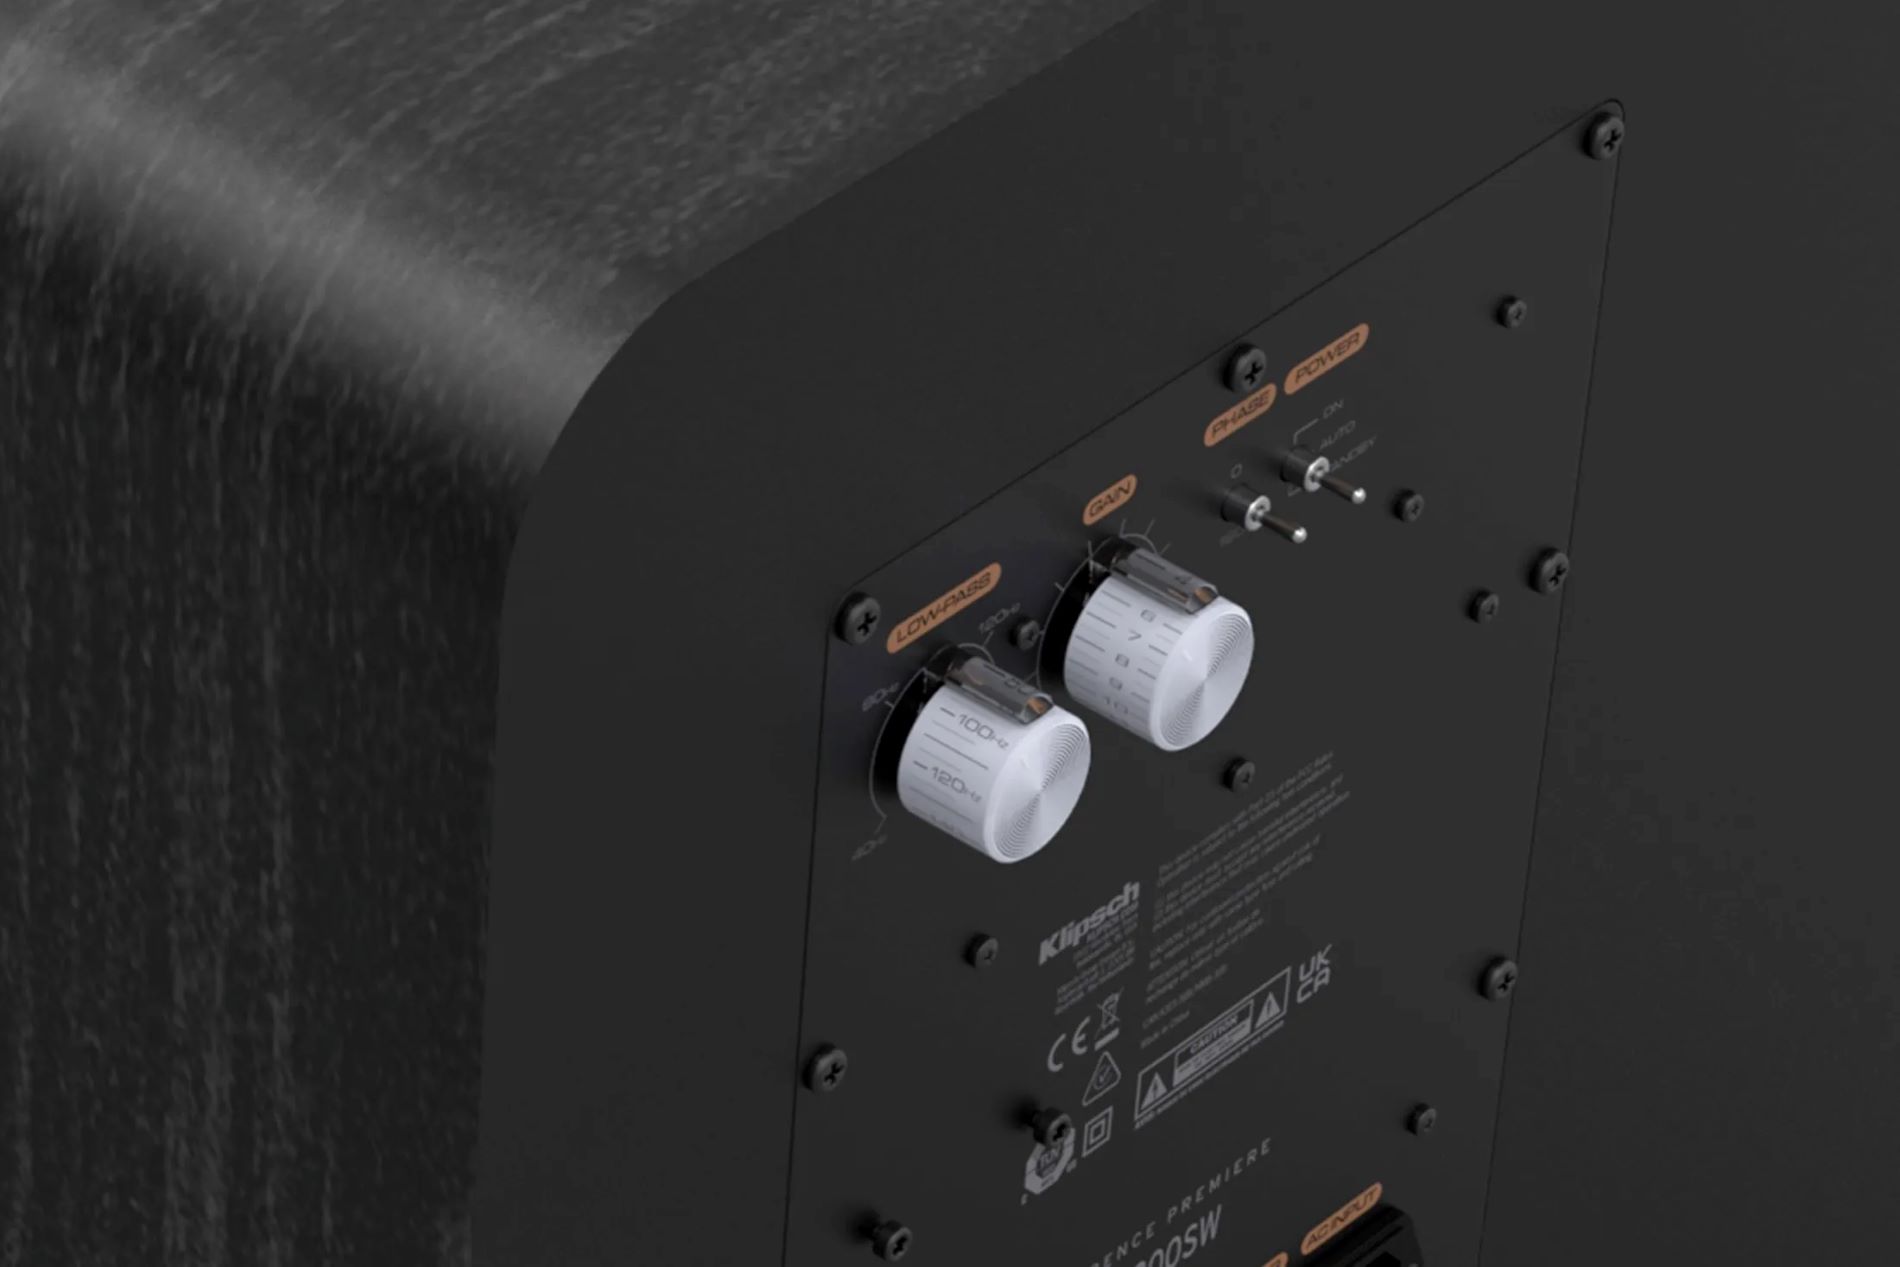
Connectivity is another crucial aspect of setting up the drum module. Depending on your specific requirements, establish connections for audio output, headphones, MIDI interfaces, and auxiliary input for playing along with external audio sources. Understanding the connectivity options empowers you to integrate the electronic drum kit seamlessly into various musical contexts, whether it’s practicing silently with headphones or interfacing with recording software for music production.
By meticulously setting up the drum module and exploring its myriad capabilities, you can harness the full potential of your electronic drum kit, sculpting a personalized sonic identity and optimizing the kit for diverse musical scenarios.
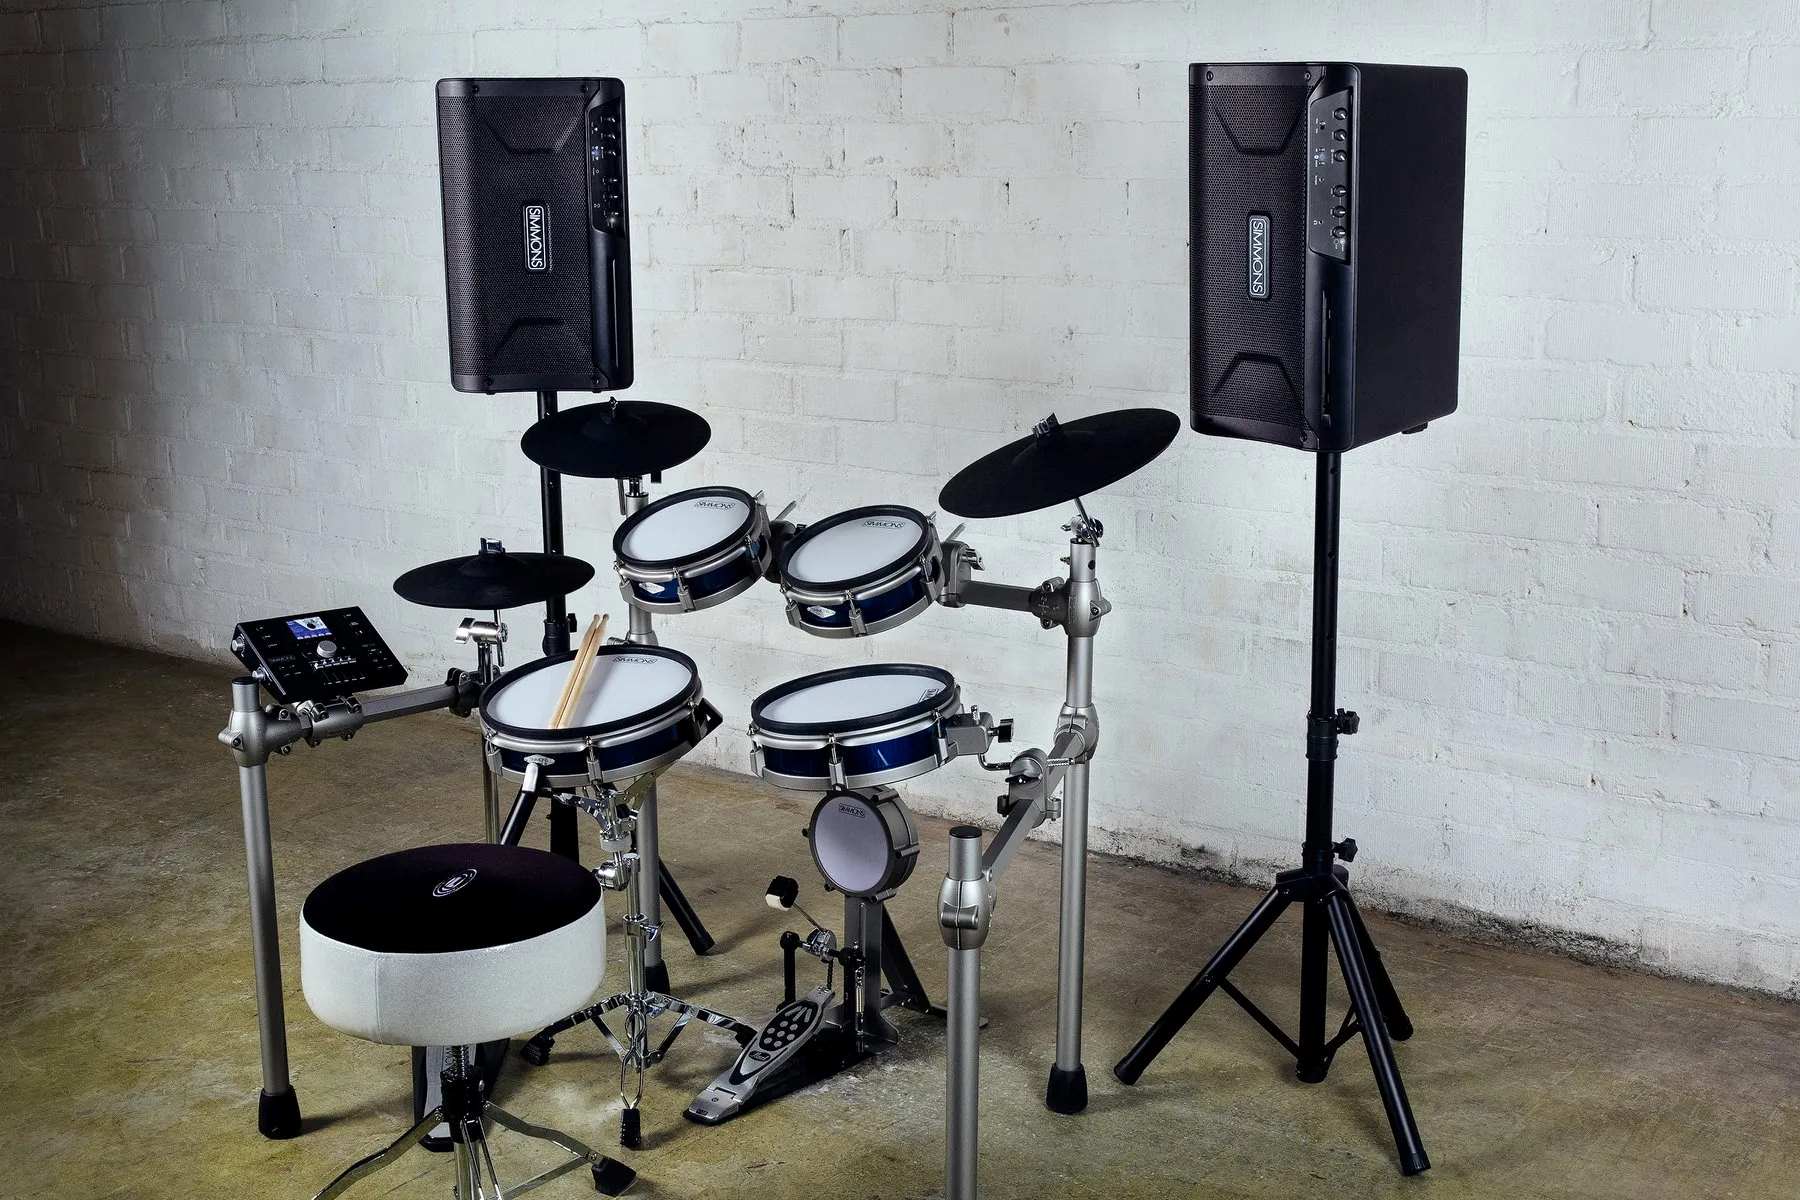
Assembling the Drum Pads and Hardware
With the drum module configured, the next step in setting up your electronic drum kit involves assembling the drum pads and hardware to create a functional and ergonomically optimized playing environment. This process ensures that the drum components are securely positioned for comfortable and efficient performance, allowing you to focus on expressing your rhythmic creativity.
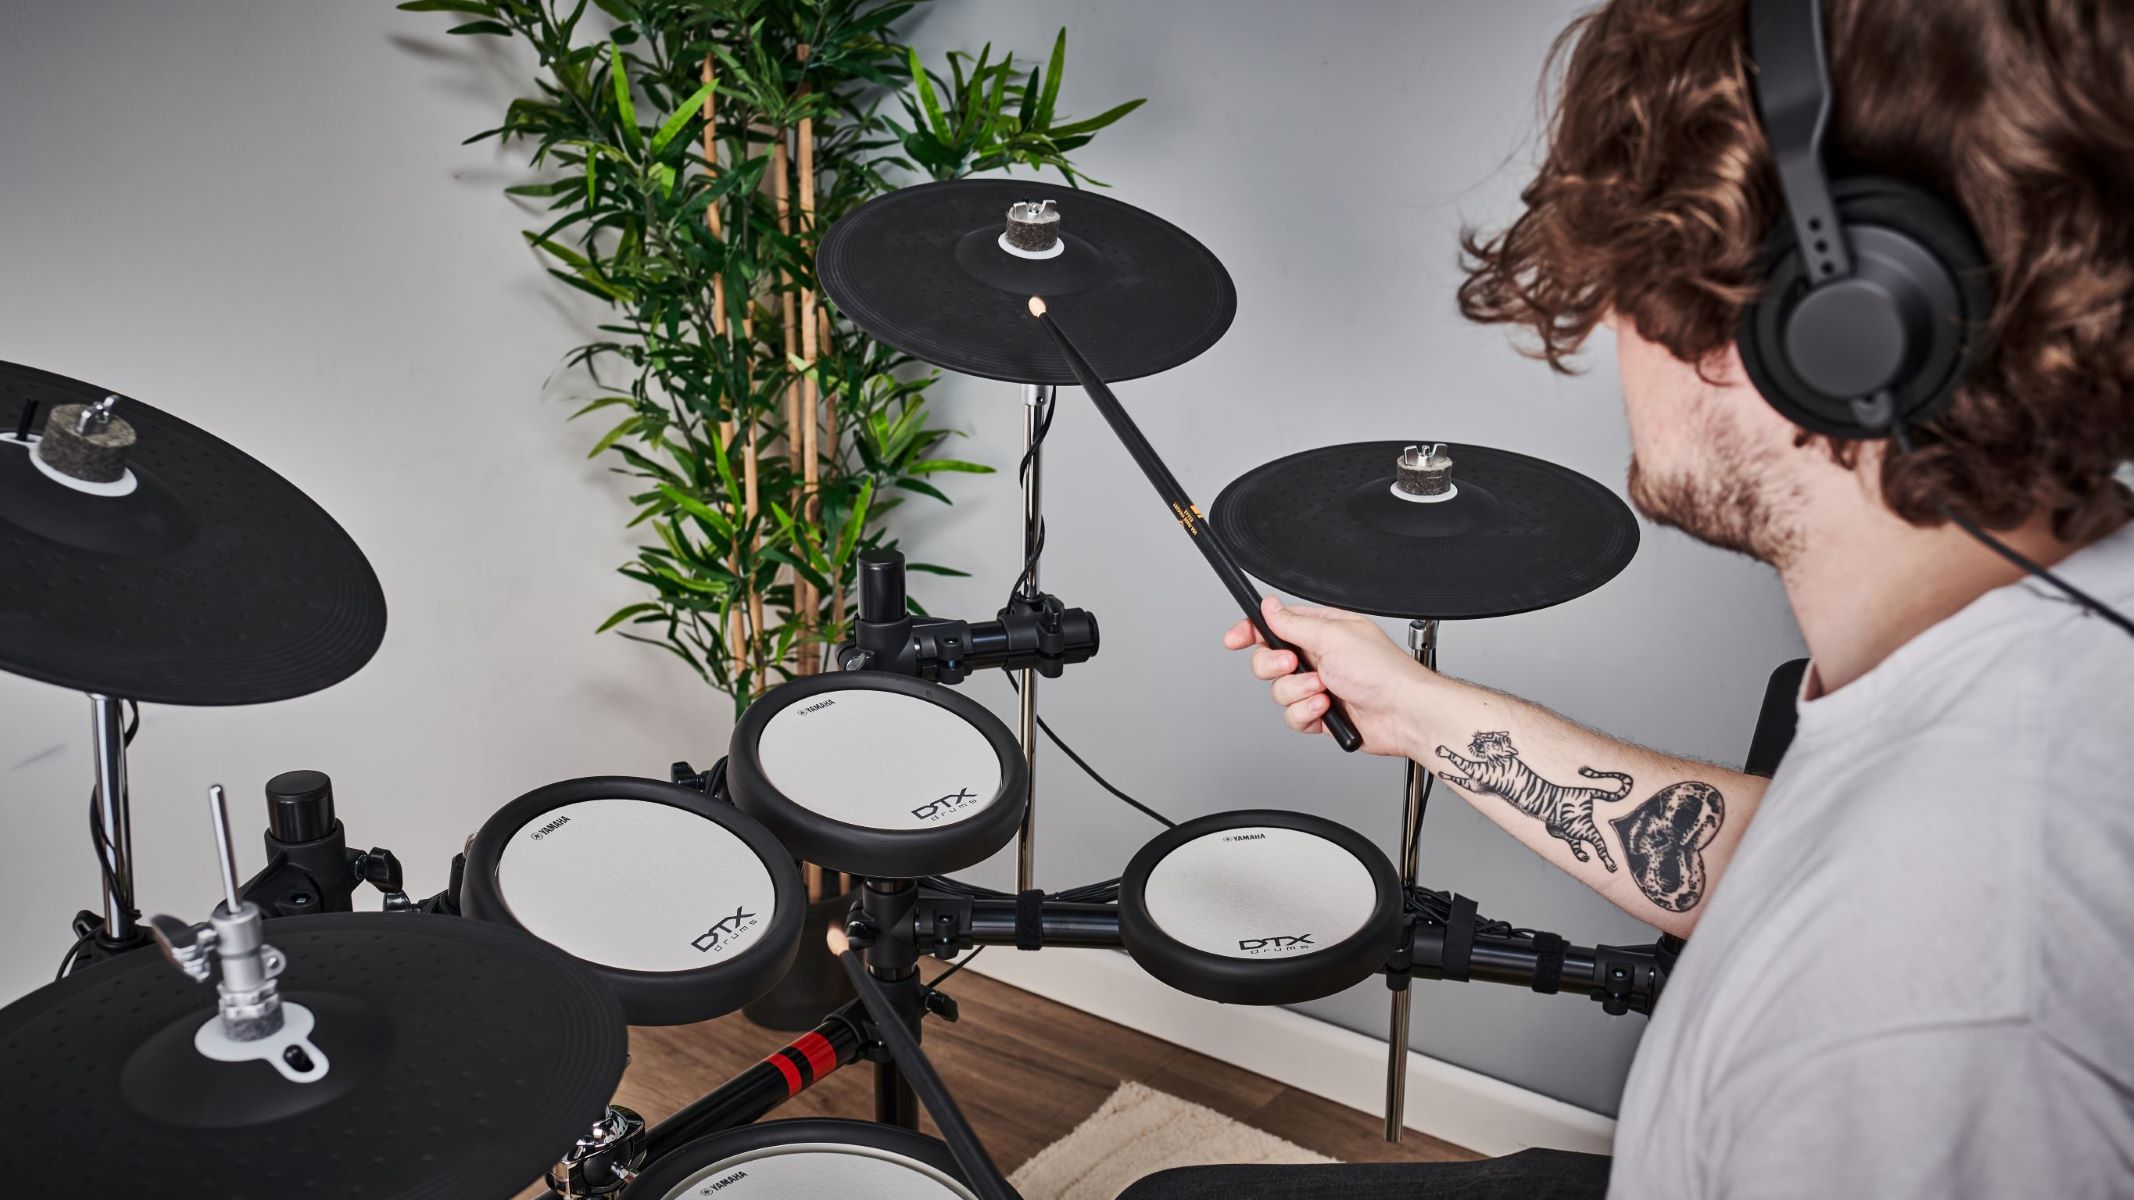
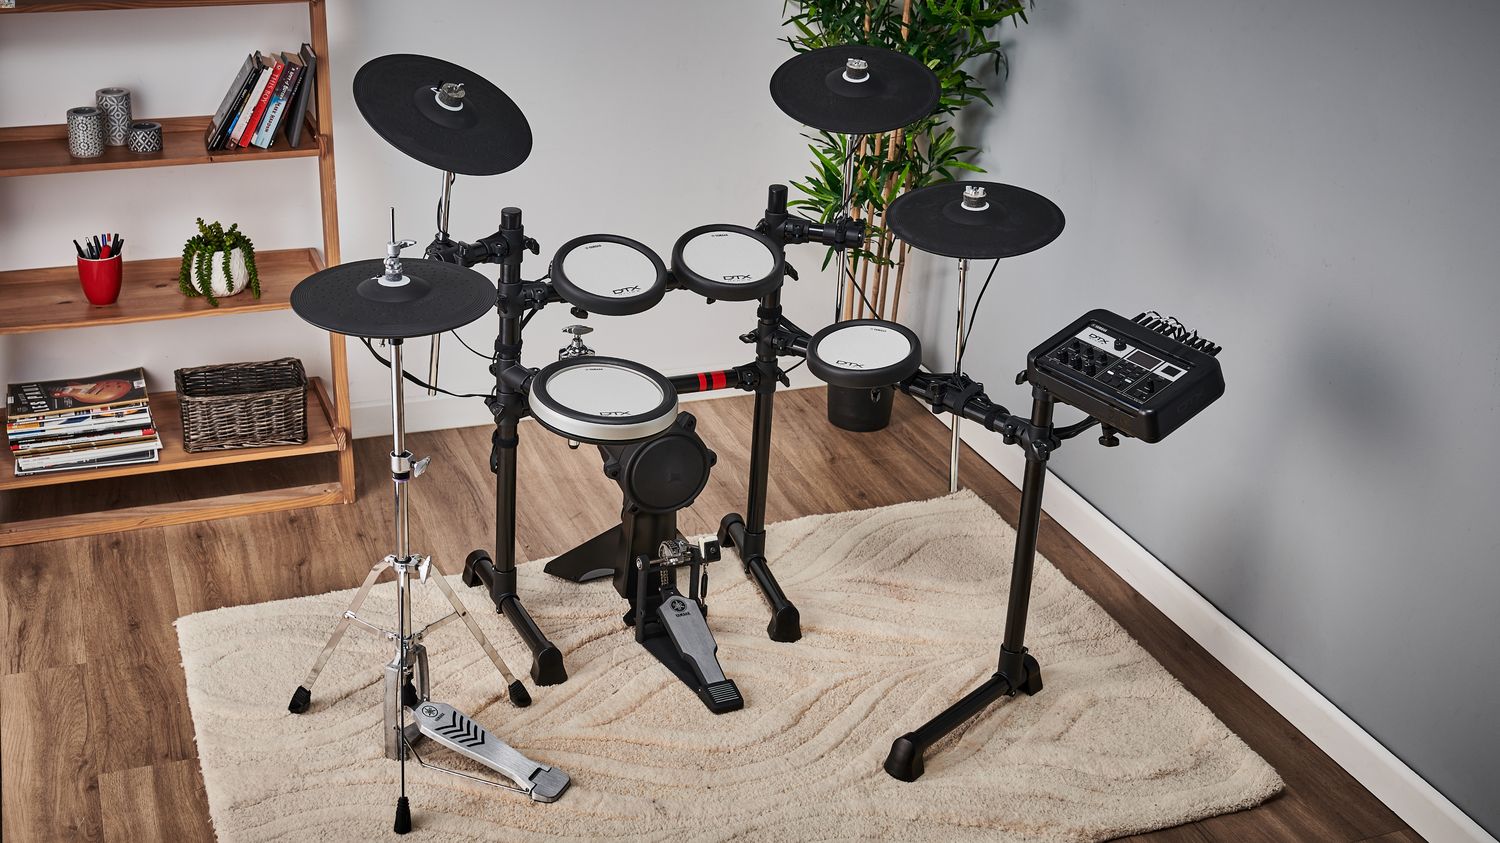
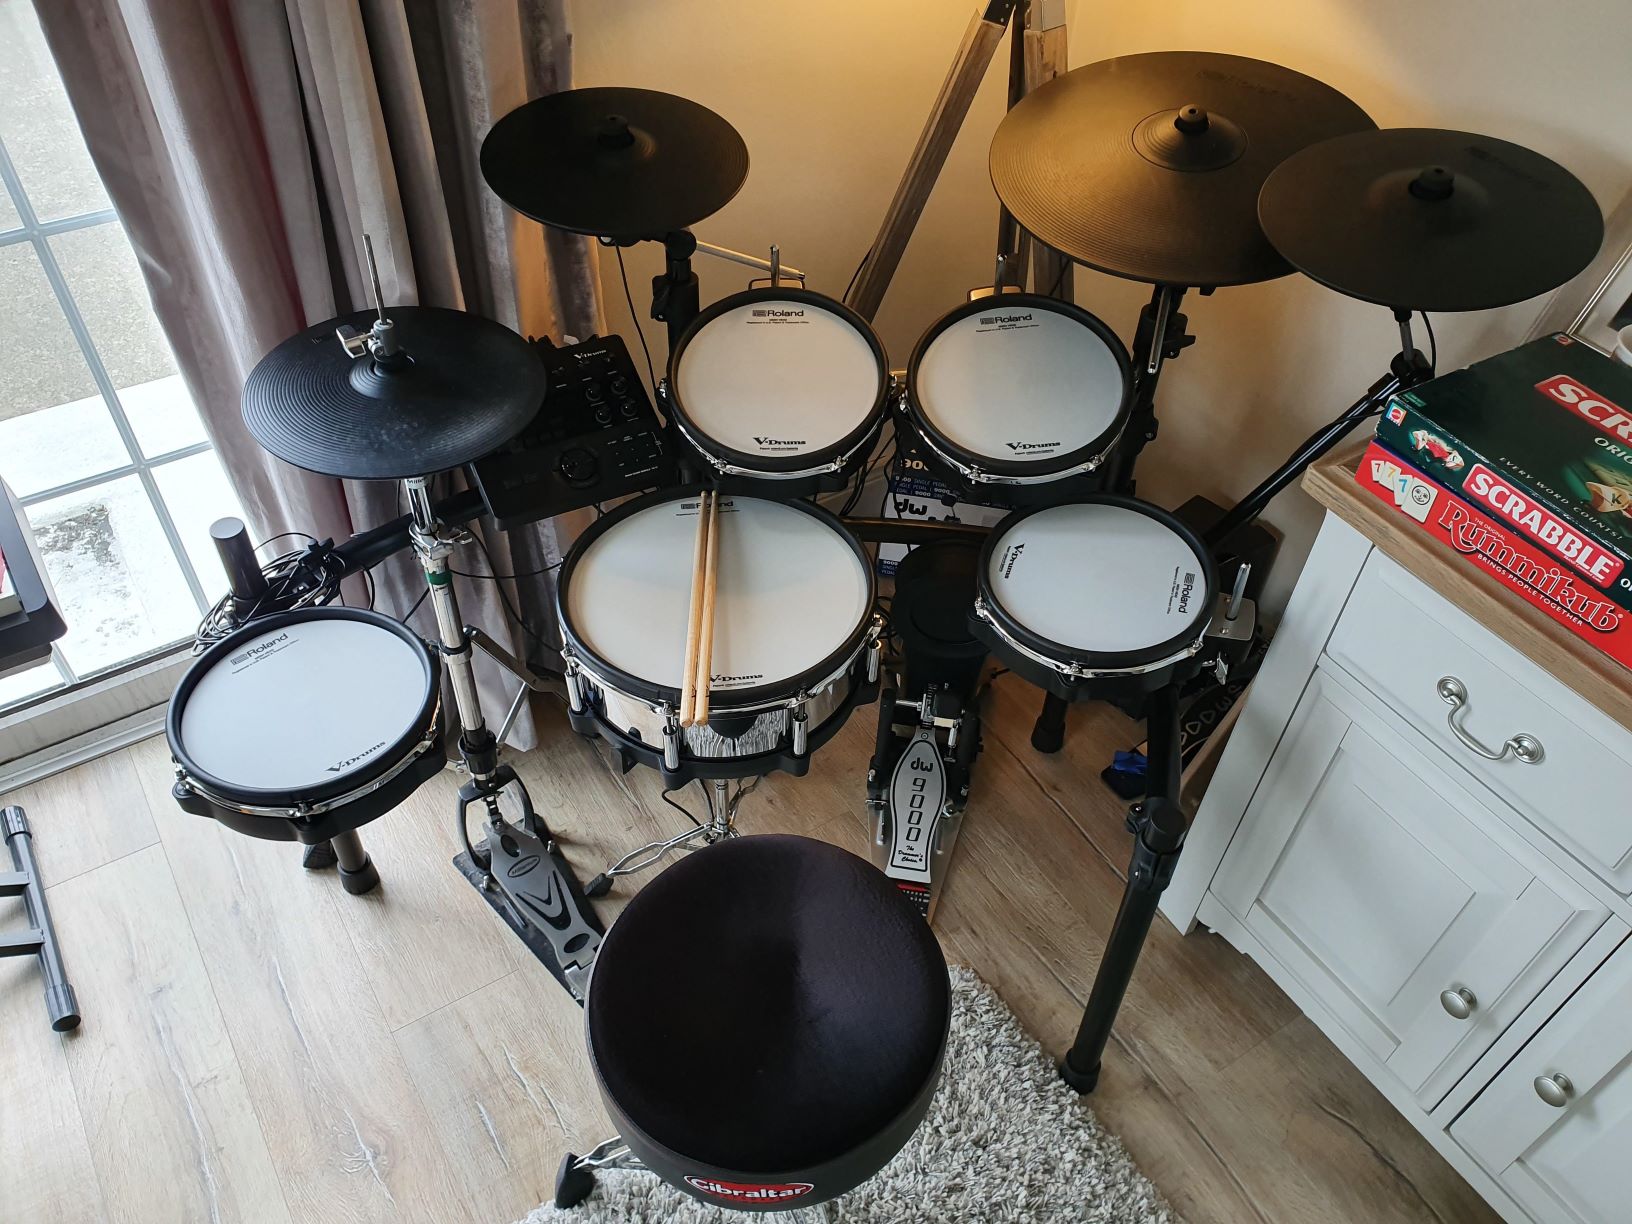
Commence the assembly by arranging the drum pads in a layout that mirrors the configuration of a traditional acoustic drum set. Position the snare, tom, and cymbal pads within comfortable reach, taking into account your playing style and ergonomic preferences. Additionally, adjust the height and angle of the pads to suit your posture and ensure a natural playing motion.
As you assemble the drum pads, pay attention to the hardware components that facilitate their mounting and positioning. Utilize sturdy and adjustable mounting arms or racks to secure the pads in place, guaranteeing stability during intense playing and minimizing the risk of unintended movement or displacement.
When installing the kick drum pad, ensure that it is securely anchored to a stable base, such as a dedicated kick drum tower or pedal. Adjust the positioning and tension of the kick drum pad to replicate the feel and response of an acoustic kick drum, allowing for precise and expressive footwork during performances and practice sessions.
Once the drum pads are in place, take the time to fine-tune their individual positioning and sensitivity. Adjust the tension of the drum heads or playing surfaces to achieve a balance between responsiveness and rebound, providing a familiar and dynamic playing experience akin to traditional drumming.
Furthermore, verify the connectivity of the drum pads to the drum module, ensuring that each pad is properly linked to the corresponding input on the module. This step is crucial for seamless communication between the pads and the module, enabling accurate sound triggering and nuanced expression during your drumming endeavors.
As you complete the assembly of the drum pads and hardware, take a moment to assess the overall layout and ergonomics of your electronic drum kit. Fine-tune the positioning of the components to optimize accessibility and comfort, fostering a conducive environment for honing your rhythmic skills and unleashing your musical creativity.
Connecting the Electronic Drum Kit to Amplification and Headphones
Once the drum pads and hardware are meticulously assembled, the next crucial step in setting up your electronic drum kit involves establishing connections for amplification and headphone monitoring. This pivotal phase ensures that your drumming performances can be projected audibly through amplification systems while also enabling private practice sessions through headphones.
Begin by identifying the audio output options available on the drum module. Most electronic drum kits feature a dedicated stereo output, allowing you to connect the module to amplifiers, PA systems, or audio interfaces for live performances, rehearsals, or recording sessions. Utilize high-quality audio cables to establish a secure and reliable connection between the drum module and the amplification system, ensuring optimal signal transmission without interference or signal degradation.
When connecting the electronic drum kit to amplification systems, consider the tonal characteristics and volume requirements of the intended performance environment. Adjust the output levels on the drum module to achieve a balanced and impactful sound projection, catering to the specific acoustics and sonic demands of the venue or recording space.
Simultaneously, the option to practice silently and privately through headphones is a hallmark feature of electronic drum kits. Locate the headphone output on the drum module and connect a pair of high-fidelity headphones to facilitate immersive and focused practice sessions without disturbing others. Adjust the headphone volume to a comfortable level, allowing you to discern intricate nuances in your playing while maintaining auditory awareness.
For enhanced versatility and audio control, consider utilizing a headphone amplifier or monitor system to expand the headphone monitoring capabilities of your electronic drum kit. These additional components can provide individual volume controls, EQ adjustments, and spatial enhancement, further enriching your practice and performance experiences.
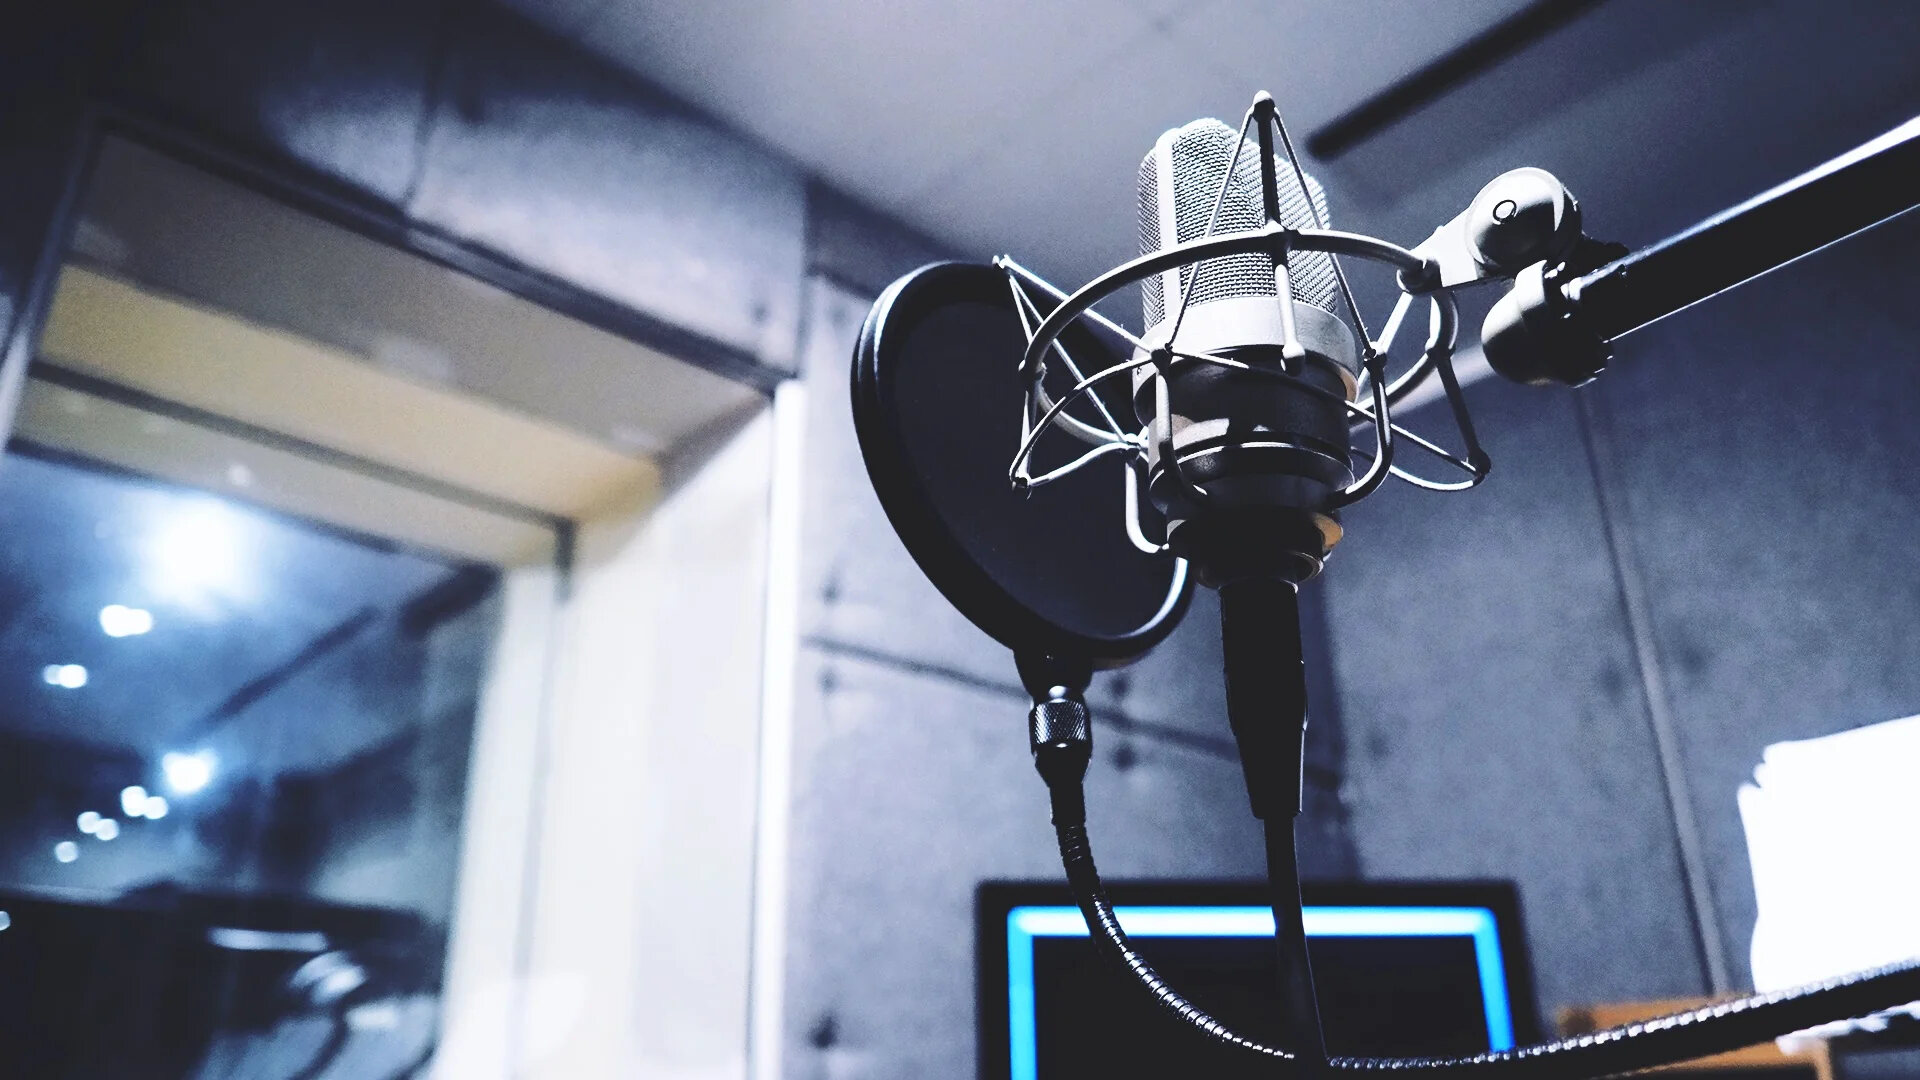
Moreover, explore the potential for integrating the electronic drum kit with recording software and audio interfaces for music production purposes. Establish MIDI connections or utilize USB interfaces to link the drum module to recording devices, enabling seamless integration with digital audio workstations (DAWs) and virtual instruments for expansive creative possibilities.
By meticulously connecting your electronic drum kit to amplification systems and headphones, you can unlock its full sonic potential, whether it’s delivering captivating performances on stage, honing your skills in private practice sessions, or seamlessly interfacing with recording technology for music production endeavors.
Adjusting Settings and Testing the Electronic Drum Kit
With the physical setup and connectivity of your electronic drum kit in place, it’s time to delve into the realm of settings adjustment and comprehensive testing. This pivotal phase allows you to fine-tune various parameters, verify the functionality of the kit, and ensure that it aligns with your playing preferences and performance requirements.
Commence this phase by revisiting the drum module’s settings menu to refine and optimize critical parameters. Adjust the sensitivity and dynamic response of the drum pads to suit your playing style, ensuring that soft strokes and powerful hits are accurately translated into expressive sound dynamics. Additionally, explore the crosstalk settings to minimize interference between adjacent pads, preserving the integrity of your drumming performance.
Delve into sound customization options within the drum module, allowing you to sculpt and tailor individual drum and cymbal sounds to your sonic preferences. Experiment with tuning, damping, and effects parameters to create a personalized sonic palette that resonates with your musical expression, offering a diverse range of sounds for various genres and performance contexts.
Verify the functionality of essential features such as the metronome, practice tools, and performance-oriented settings. Ensure that the metronome operates reliably and accurately, serving as a foundational tool for rhythmic precision and timing refinement. Explore practice exercises and performance aids embedded within the drum module, leveraging these resources to enhance your skill development and musical proficiency.
Conduct comprehensive testing of the electronic drum kit by performing various playing techniques across the drum pads and cymbals. Assess the responsiveness, articulation, and consistency of the pads, verifying that they accurately capture the nuances of your playing dynamics. Pay particular attention to the kick drum pad, evaluating its stability and responsiveness to foot pedal input for precise and dynamic bass drum articulation.
Simultaneously, assess the functionality of the connectivity options by interfacing the electronic drum kit with amplification systems, headphones, and recording devices. Verify the signal integrity, audio clarity, and latency performance during these connections, ensuring seamless integration into diverse musical environments and technological setups.
Engage in an immersive and exploratory playing session to familiarize yourself with the sonic capabilities and expressive nuances of the electronic drum kit. Experiment with different drum kits, sound variations, and performance settings, allowing your creativity to flourish within the digital percussion landscape.
By meticulously adjusting settings and conducting comprehensive testing, you can optimize the performance, responsiveness, and sonic versatility of your electronic drum kit, setting the stage for captivating performances, immersive practice sessions, and seamless integration into recording and production endeavors.
Conclusion
Congratulations! You’ve embarked on an enriching journey into the realm of electronic drums, unlocking a world of sonic possibilities and rhythmic exploration. As you’ve navigated through the essential steps of setting up your electronic drum kit, you’ve gained insights into the intricate process of assembling, configuring, and optimizing this innovative musical instrument.
By carefully selecting the right electronic drum kit that aligns with your playing style and musical aspirations, you’ve laid the foundation for a dynamic and expressive drumming experience. The thoughtful consideration of drum pads, hardware, and the drum module has empowered you to create a personalized and ergonomic playing environment, fostering comfort and efficiency in your musical endeavors.
Through the meticulous establishment of connections for amplification and headphone monitoring, you’ve harnessed the sonic potential of your electronic drum kit, seamlessly integrating it into diverse performance settings and enabling immersive and focused practice sessions. The comprehensive adjustment of settings and thorough testing has allowed you to fine-tune the responsiveness, sound characteristics, and performance capabilities of the kit, ensuring that it resonates with your unique musical identity.
As you venture forth with your electronic drum kit, remember that this journey is a continuous evolution. Embrace the opportunity to explore new sounds, refine your playing techniques, and unleash your rhythmic creativity in diverse musical contexts. Whether you’re honing your skills in private practice sessions, captivating audiences on stage, or immersing yourself in the realm of music production, your electronic drum kit stands as a versatile and dynamic companion in your musical odyssey.
As you continue to refine your craft and expand your sonic horizons, cherish the flexibility and adaptability that electronic drums offer. Embrace the innovative features, diverse sound palettes, and technological integration possibilities that enrich your drumming experience, amplifying your musical expression and creativity.
With the foundational knowledge and practical insights gained from this guide, you’re well-equipped to embark on a fulfilling and inspiring journey with your electronic drum kit. Let the rhythms flow, the beats resonate, and the melodies come to life as you harness the power of electronic drums to shape and elevate your musical narrative.
So, seize the drumsticks, engage the pads, and immerse yourself in the boundless world of electronic drums – where rhythm knows no bounds and creativity knows no limits.