Home>Production & Technology>Sound>How To Set Up Surround Sound
Sound
How To Set Up Surround Sound
Modified: February 18, 2024
Learn how to set up surround sound in your home for the ultimate sound experience. Enhance your audio quality with our step-by-step guide.
(Many of the links in this article redirect to a specific reviewed product. Your purchase of these products through affiliate links helps to generate commission for AudioLover.com, at no extra cost. Learn more)
Table of Contents
- Introduction
- Step 1: Determine the Room Layout
- Step 2: Choose and Position the Speakers
- Step 3: Arrange the Speaker Wiring
- Step 4: Connect the Speakers to the Receiver
- Step 5: Connect Audio Sources to the Receiver
- Step 6: Configure the Receiver Settings
- Step 7: Test and Adjust the Surround Sound System
- Conclusion
Introduction
Setting up a surround sound system can greatly enhance your audio experience, whether you’re watching movies, playing video games, or listening to music. With the right equipment and proper configuration, you can immerse yourself in a world of high-quality sound, where every whisper, explosion, and melody comes to life.
In this guide, we will walk you through the step-by-step process of setting up a surround sound system in your home. From determining the room layout to configuring the receiver settings, we will cover everything you need to know to get the most out of your audio setup. So let’s dive in!
Before we get started, it’s important to note that a surround sound system typically consists of multiple speakers placed strategically around the room, along with a receiver that acts as the central hub for audio processing and distribution. The receiver decodes the audio signals and sends them to the appropriate speakers, creating a surround sound effect that mimics real-life soundscapes.
While the process may seem daunting at first, rest assured that with a little patience and some basic knowledge, you can have your surround sound system up and running in no time. So let’s get started with the first step: determining the room layout.
Step 1: Determine the Room Layout
Before you start setting up your surround sound system, it’s important to evaluate the layout of the room where you plan to install it. The room’s size and shape will play a crucial role in determining the optimal speaker placement and overall audio experience.
Start by taking measurements of the room, including its length, width, and height. This will help you determine the size and power requirements of the speakers you’ll be using. Additionally, consider the placement of windows, doors, and furniture, as these can impact the acoustics of the room.
Next, think about the seating arrangement in the room. Ideally, you want to position the main listening area, such as your couch or chairs, in the center of the room, facing the television or screen. This will provide an immersive experience for everyone in the room.
Another important factor to consider is the distance between the seating area and the speakers. For the best surround sound experience, aim to have the speakers equidistant from the seating area, forming an imaginary arc around it. This will create a balanced soundstage and ensure that sounds from all directions reach your ears at the same time.
It’s also crucial to take into account any obstructions in the room. Avoid placing speakers behind large furniture or other objects that could block or reflect the sound waves. Additionally, be mindful of any potential sound reflections or echoes caused by hard surfaces like walls, glass windows, or hardwood floors, as these can negatively impact the audio quality.
Once you have a clear understanding of the room’s layout and dimensions, you can move on to the next step: choosing and positioning the speakers.
Step 2: Choose and Position the Speakers
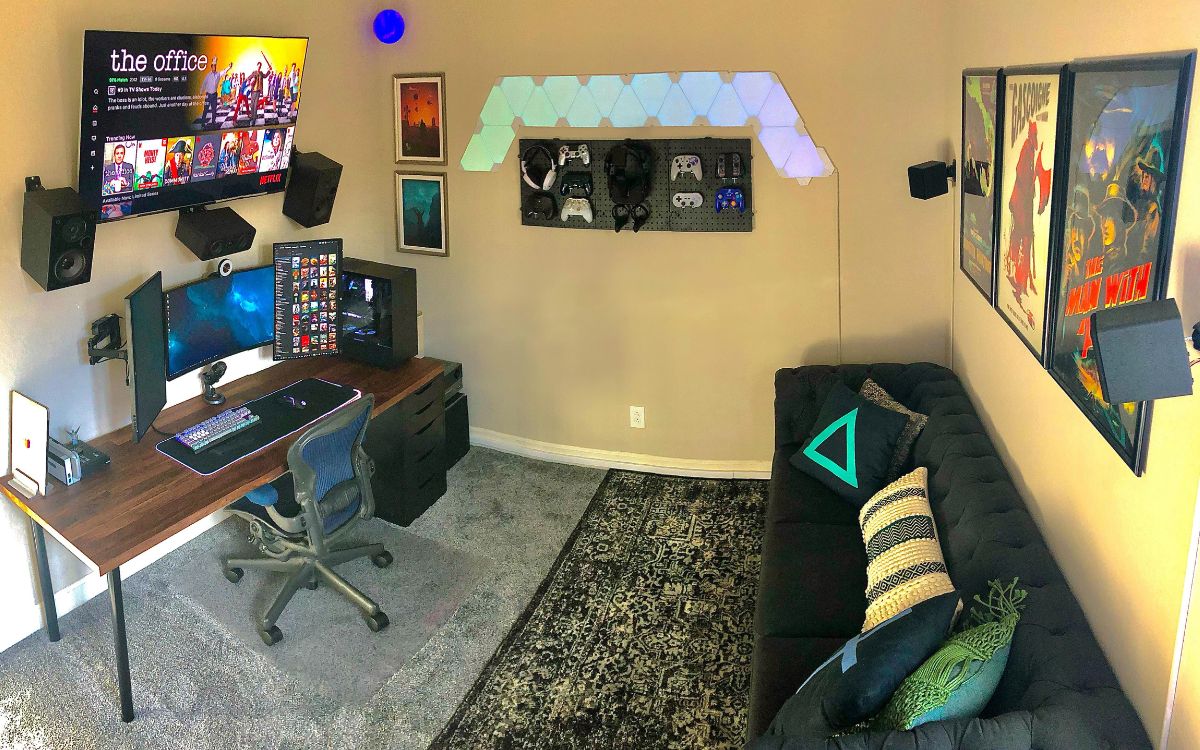
Choosing the right speakers and positioning them correctly is crucial for creating an immersive surround sound experience. There are several types of speakers to consider, including front speakers, surround speakers, a center channel speaker, and a subwoofer.
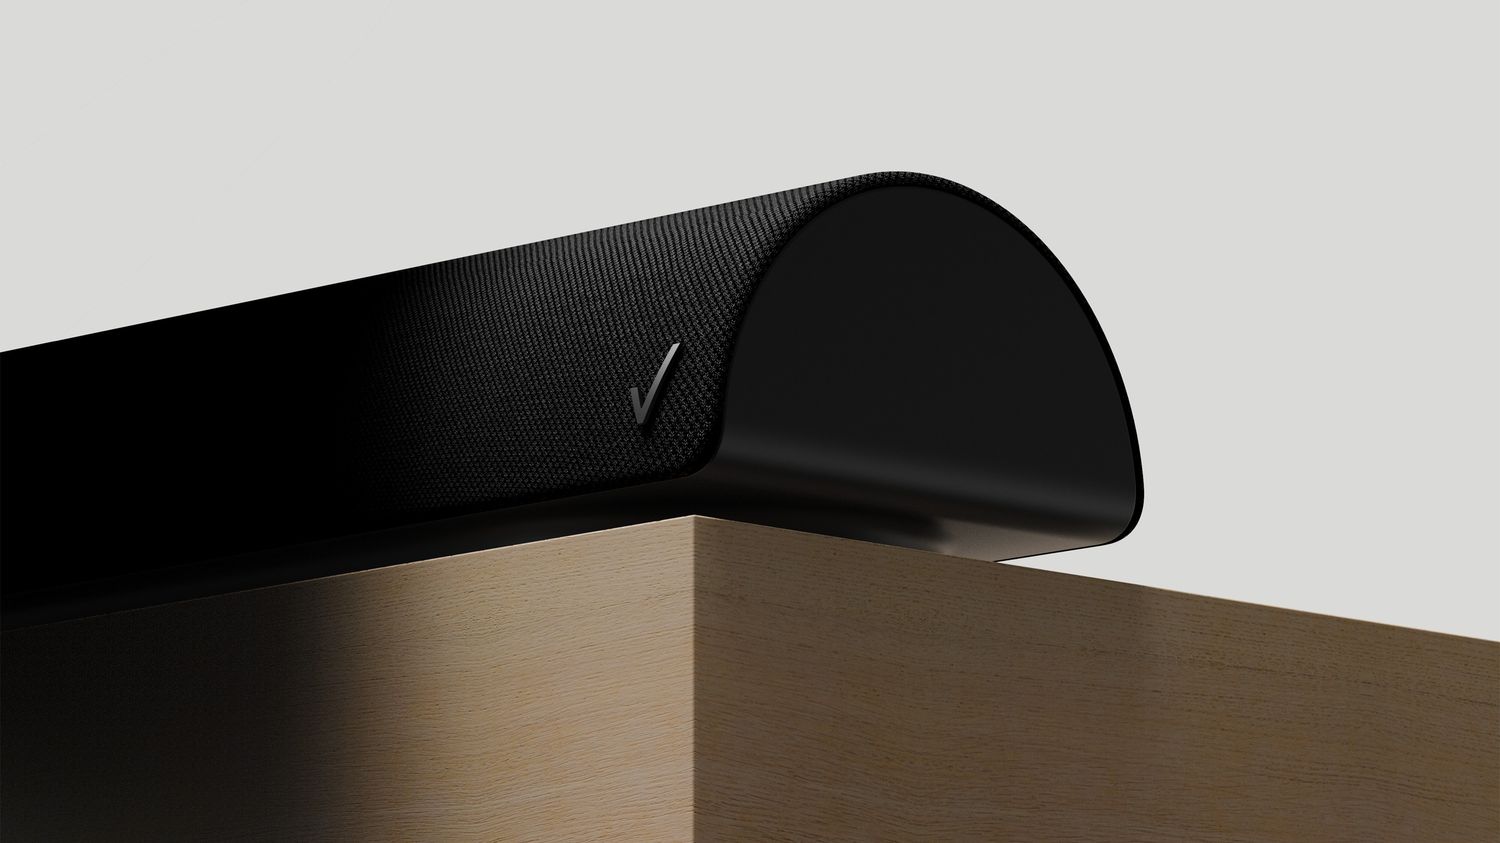
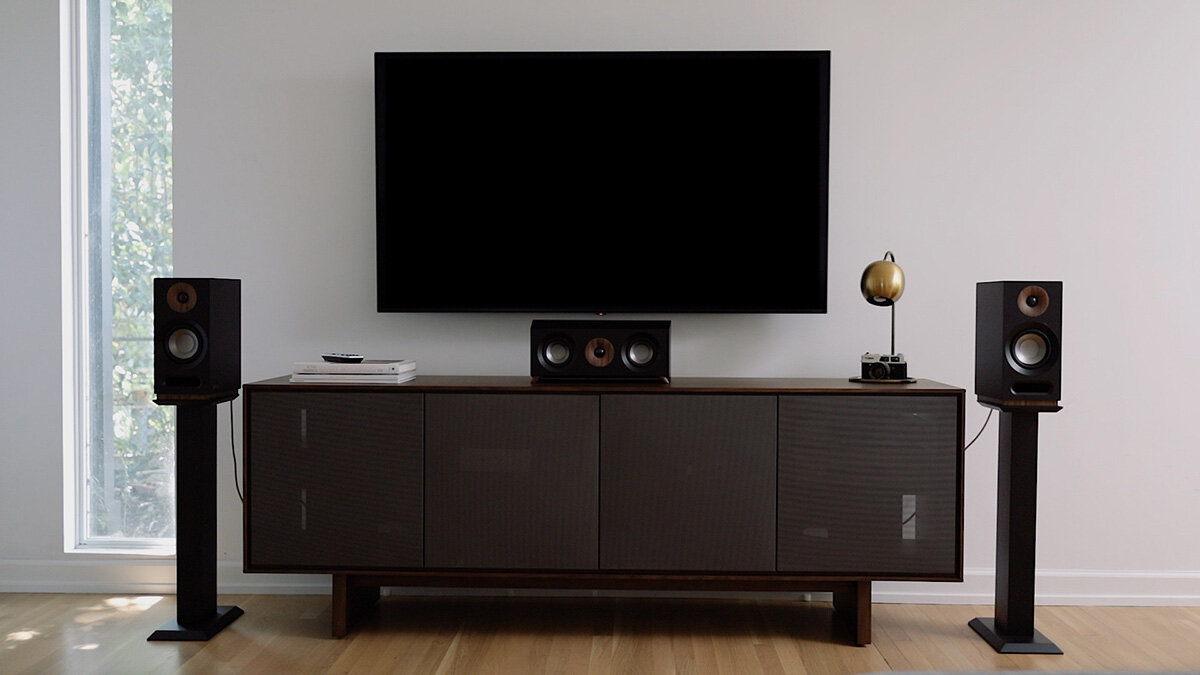
Front speakers are the main speakers in your surround sound system and are responsible for handling a majority of the audio. They should be placed on either side of the television or screen, preferably at ear level when seated. These speakers deliver the primary sound effects, music, and dialogue of a movie or game.
Surround speakers are used to create a sense of depth and envelopment in the audio. They provide ambient sounds and special effects that make you feel like you’re in the middle of the action. Place them on the sides or behind the seating area, slightly above ear level. Aim for an angle of about 90 to 110 degrees between the listener and the surround speakers.
The center channel speaker is responsible for delivering clear and distinct dialogue. It should be positioned directly above or below the television or screen, at ear level when seated. This ensures that the dialogue is centered and easily understandable.
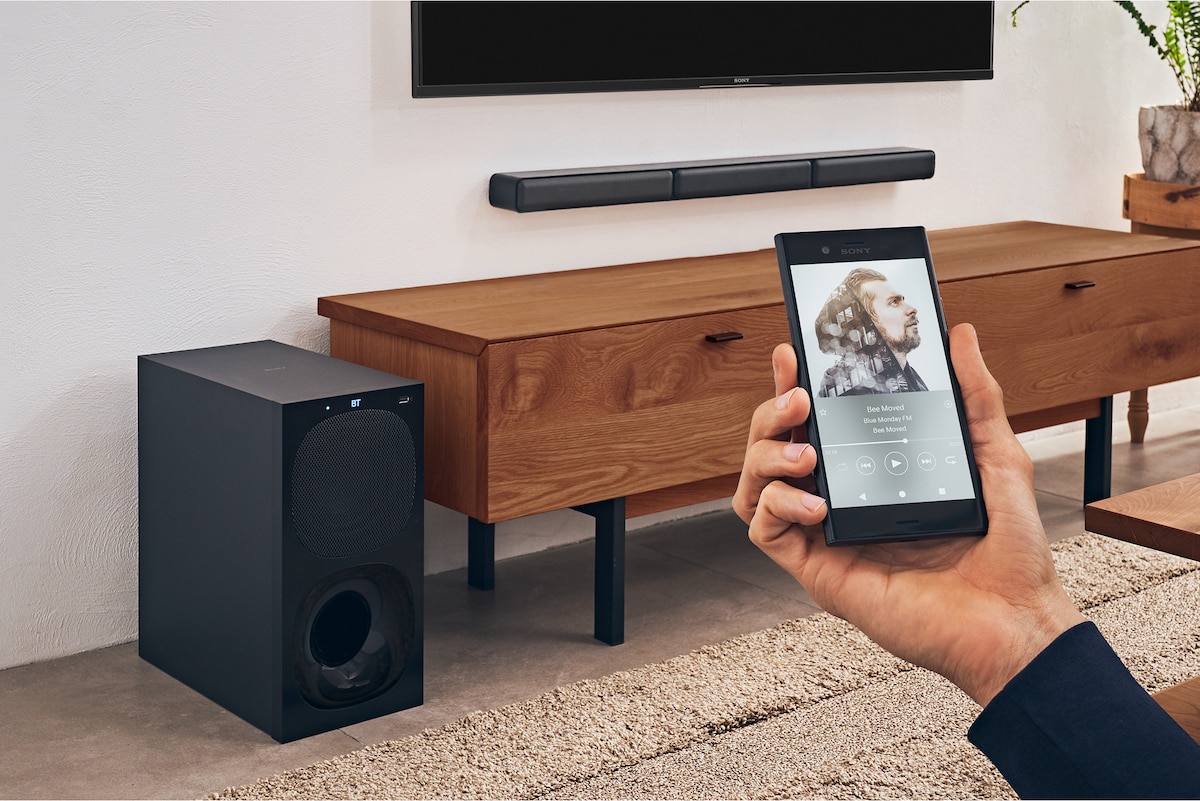
The subwoofer is dedicated to reproducing low-frequency sounds, such as deep bass and rumbling effects. It can be placed anywhere in the room, preferably near the front speakers, as low-frequency sounds are non-directional. Experiment with different locations to find the spot that delivers the best bass response.
When positioning the speakers, try to maintain an equal distance between each speaker and the main listening area. This helps to create a balanced soundstage where the audio seamlessly transitions from speaker to speaker. Keep in mind that the distance to the back wall can affect the sound quality, so consider leaving a few feet of space between the speakers and the wall.
Remember to consult the manufacturer’s recommendations for optimal speaker placement. They may provide specific guidelines based on the characteristics of the speakers you’ve chosen.
Once you have selected and positioned the speakers, you’re ready to move on to the next step: arranging the speaker wiring.
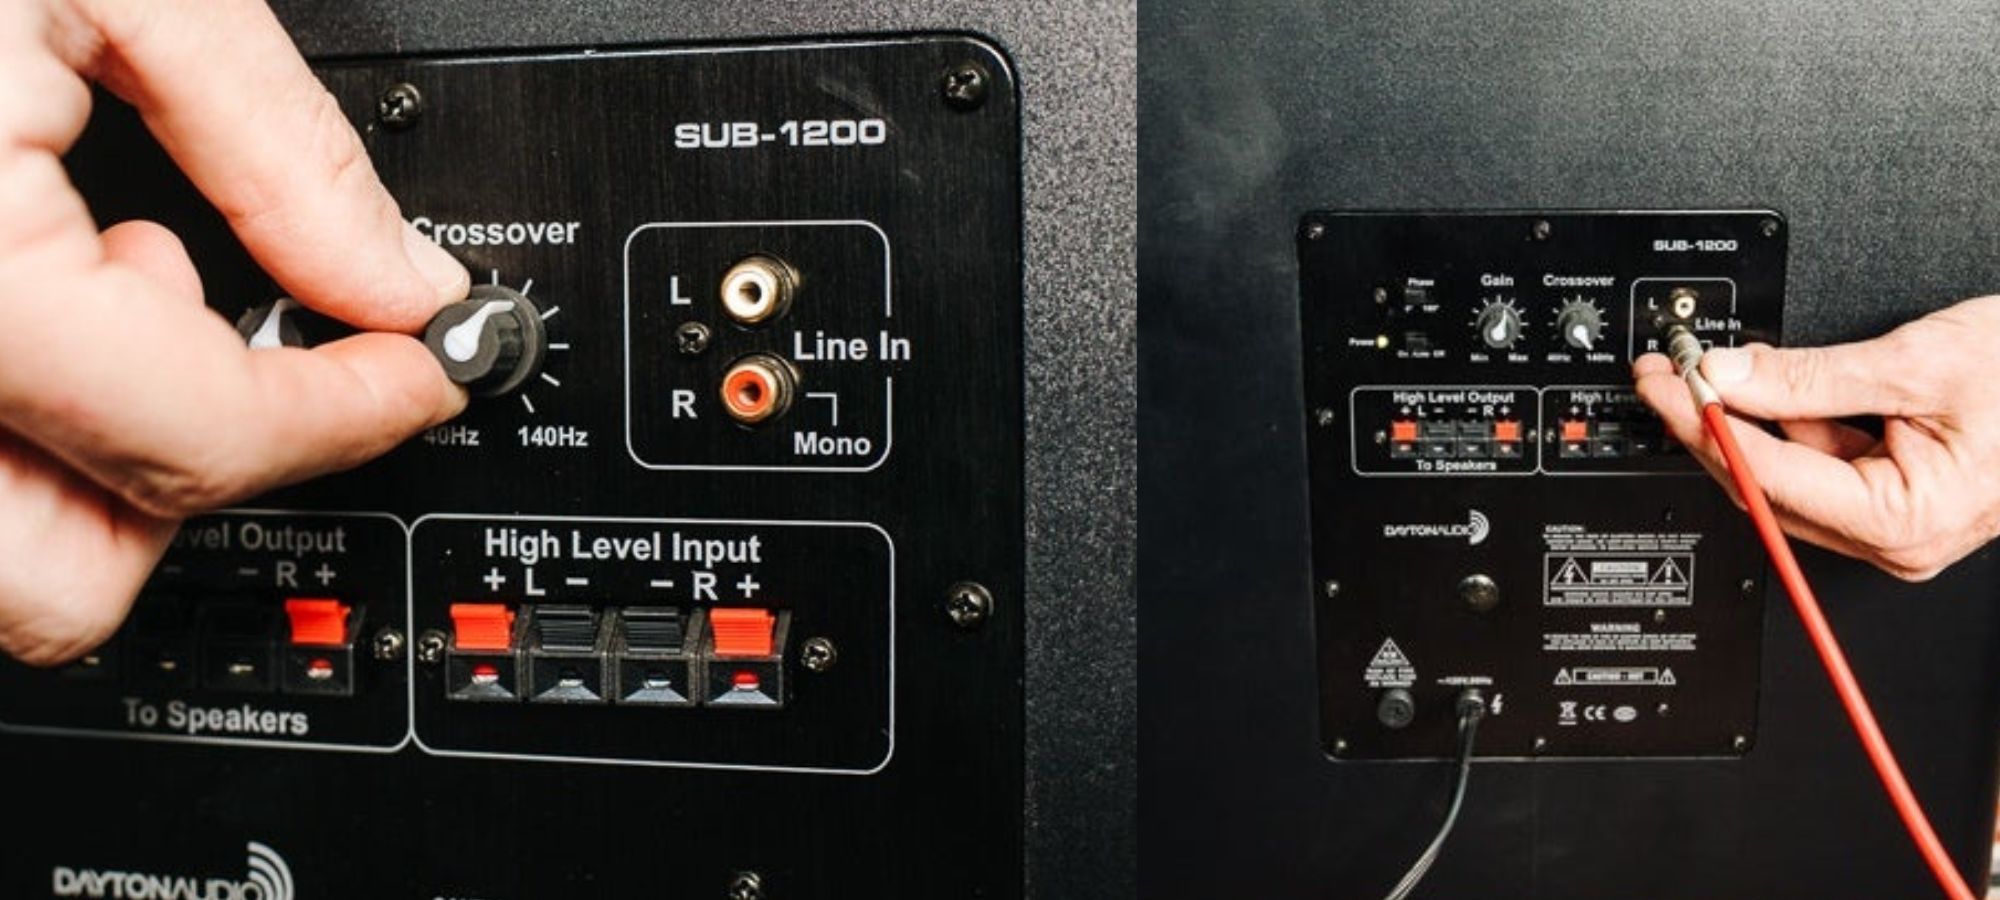
Step 3: Arrange the Speaker Wiring
Now that you have chosen and positioned your speakers, it’s time to arrange the speaker wiring. Properly organizing and connecting the wires is essential for optimal sound quality and a clean-looking setup.
Start by determining the length of speaker wire you’ll need for each speaker. It’s a good idea to add a bit of extra length to each wire to allow for flexibility during installation. Measure the distance from each speaker to the receiver and add a few feet for good measure.
Next, carefully run the speaker wire from the receiver to each speaker location. Keep the wires hidden and out of the way as much as possible. You can use wire clips or adhesive cable management solutions to secure the wires along the baseboards or tuck them behind furniture for a cleaner look.
When running the wires, be mindful of any potential hazards or obstacles. Avoid crossing wires over walkways or areas where people may trip over them. If needed, use cord covers or rugs to ensure the wires are safely tucked away.
An important consideration when arranging the speaker wiring is to keep the positive and negative wire connections consistent. Each speaker and the receiver will have clearly labeled positive (+) and negative (-) terminals. Make sure to connect the positive wire from the receiver to the positive terminal on each speaker and the negative wire to the negative terminal. This ensures that the audio signals are properly transmitted.
Additionally, if you have a powered subwoofer, it may require a separate audio cable connection from the receiver. Consult the subwoofer’s manual or the receiver’s documentation for the specific connection method.
Take your time to neatly arrange and secure the speaker wires, ensuring that they are not crimped or twisted. These small details can make a significant difference in the overall audio quality and the longevity of your system.
With the speaker wiring properly arranged, you’re ready to move on to the next step: connecting the speakers to the receiver.
Step 4: Connect the Speakers to the Receiver
With the speaker wiring arranged, it’s time to connect the speakers to the receiver. This step ensures that the audio signals from the receiver are properly distributed to each speaker, allowing them to produce sound.
Start by identifying the speaker terminals on the back of the receiver. Most receivers will have labeled terminals corresponding to each speaker channel, such as “Front Left,” “Front Right,” “Center,” “Surround Left,” and “Surround Right.”
Take the speaker wire for each speaker and strip about half an inch of insulation from the ends. This will expose the bare wire, which you will connect to the receiver’s terminals.
Insert the bare wire into the corresponding terminals, making sure to match the positive (+) and negative (-) connections. The positive wire should be connected to the positive terminal, and the negative wire should be connected to the negative terminal.
Once the wires are securely connected, tighten the terminals to ensure a solid electrical connection. This will prevent any loose or unstable connections that can affect the sound quality.
Repeat this process for each speaker, connecting the appropriate wires to their corresponding terminals on the receiver.
If your receiver supports additional speakers, such as overhead or rear speakers for a more advanced surround sound setup, refer to the receiver’s manual for specific instructions on connecting those speakers.
Double-check all your connections to ensure they are secure and properly aligned. A loose connection can result in intermittent sound or poor audio quality.
Once all the speakers are connected to the receiver, you’re ready to move on to the next step: connecting audio sources to the receiver.
Step 5: Connect Audio Sources to the Receiver
Now that the speakers are connected to the receiver, it’s time to connect your audio sources, such as your TV, gaming console, Blu-ray player, or streaming device, to the receiver. This allows the receiver to receive and process the audio signals from these sources, and then distribute them to the appropriate speakers.
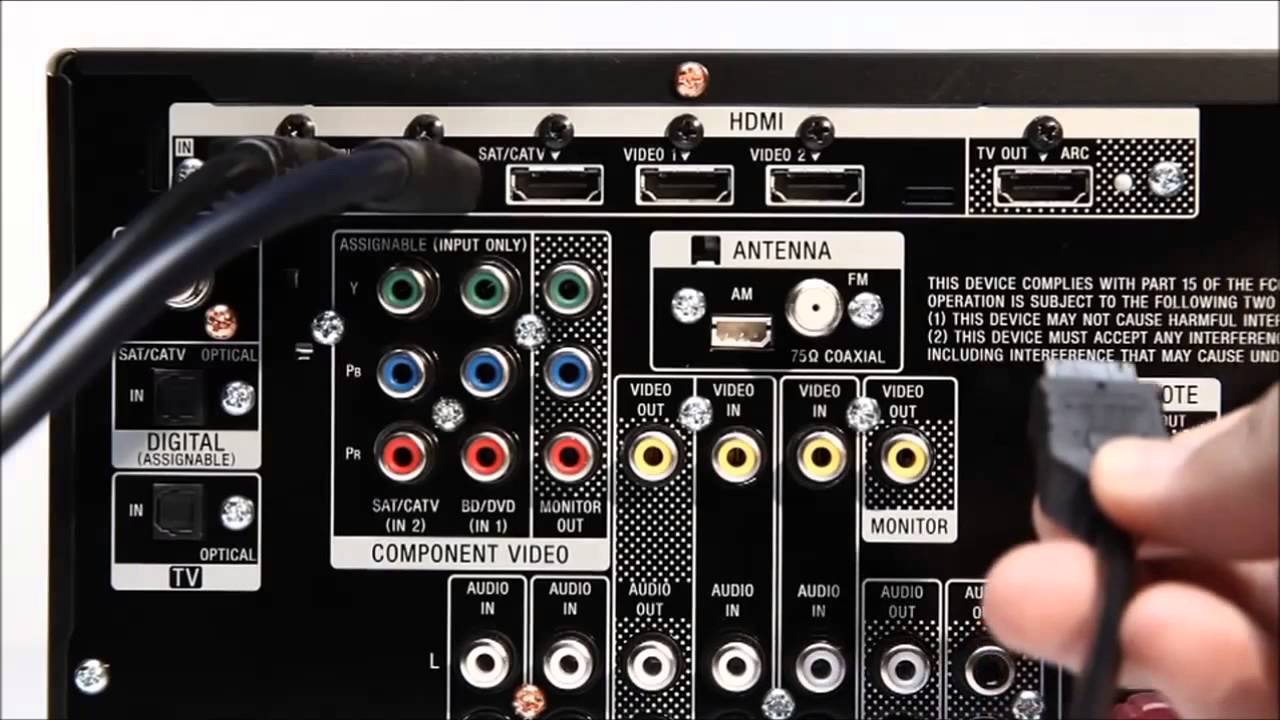
The most common method of connecting audio sources to the receiver is through HDMI cables. HDMI cables transmit both audio and video signals, providing a high-quality and convenient connection.
Start by identifying the HDMI output ports on your audio sources. These are typically labeled as “HDMI Out” or “ARC” (Audio Return Channel). Connect one end of an HDMI cable to the HDMI output port of your audio source, and the other end to the HDMI input port on the back of the receiver. Repeat this process for each audio source you want to connect.
Alternatively, if your audio sources do not have HDMI outputs, you can use analog RCA cables or optical/coaxial digital cables to connect them to the receiver. For analog RCA cables, connect the red and white cables to the corresponding audio output ports on the audio source, and then connect the other end to the corresponding audio input ports on the receiver. For optical or coaxial digital cables, insert one end into the audio source’s digital audio output port, and the other end into the corresponding digital audio input port on the receiver.
Remember to consult the manuals of your audio sources and receiver for specific instructions on connecting them, as the ports and configurations may vary.
Once all the audio sources are connected to the receiver, turn on the receiver and navigate to the appropriate input source on the receiver’s display or menu. This will ensure that the receiver is receiving the audio signals from the selected source.
With the audio sources connected, you’re ready to move on to the next step: configuring the receiver settings.
Step 6: Configure the Receiver Settings
After connecting the audio sources to the receiver, it’s important to configure the receiver settings to optimize the audio output and tailor it to your preferences.
Start by accessing the receiver’s menu or settings on its display. The exact method may vary depending on the receiver model, so refer to the receiver’s manual for specific instructions.
In the settings menu, you’ll find various options and parameters to adjust, including speaker configuration, audio settings, and room calibration features.
Begin by configuring the speaker settings. Select the appropriate speaker size (usually small or large) and crossover frequency for each speaker. These settings ensure that the audio signals are distributed correctly and that the frequencies are balanced across the speakers.
Next, adjust the sound mode settings. Some receivers offer different surround sound modes, such as Dolby Atmos, DTS:X, or stereo. Experiment with these modes to find the one that best suits your preferences and enhances your audio experience.
If your receiver has room calibration capabilities, consider running the calibration process. This involves using a microphone to measure the audio characteristics of the room and adjust the speaker output accordingly. The receiver will automatically optimize the audio settings based on the room’s acoustics, resulting in a more accurate and immersive sound experience. Follow the instructions in the receiver’s manual on how to perform the calibration process.
Additionally, if your receiver supports advanced audio features and settings, such as equalizers, dynamic range control, or audio delay adjustments, take the time to explore and fine-tune these options to your liking.
Once you have configured the receiver settings to your satisfaction, double-check all the connections and settings to ensure they are correctly set up.
Now comes the exciting part – testing and adjusting your surround sound system!
Move on to the next step to learn how to test the speakers and make any necessary adjustments to achieve the optimal audio experience.
Step 7: Test and Adjust the Surround Sound System
Now that you have set up and configured your surround sound system, it’s time to test the speakers and make any necessary adjustments to ensure the best audio experience possible.
Start by playing a piece of media that showcases surround sound effects, such as a movie with dynamic sound effects or a video game with immersive sound design. This will allow you to test the audio coming from each speaker and assess its quality.
As you listen, pay attention to the balance and positioning of the sound. Are the dialogue and center channel speaker properly aligned? Do the surround speakers enhance the immersive feel of the audio? Is the bass from the subwoofer deep and impactful?
If you notice any inconsistencies or imbalances, you may need to make some adjustments. Consider the following troubleshooting steps:
- Ensure that all speakers are functioning properly by testing them individually. Most receivers have a speaker test mode that allows you to send a test tone to each speaker one at a time. Make sure that you hear sound from each speaker and that the sound is clear and distinct.
- Check the speaker wiring and connections. Verify that each speaker is securely connected to the receiver and that the positive and negative terminals are correctly matched.
- Experiment with different audio settings on the receiver. Adjust the audio mode, speaker size, crossover frequency, or equalizer settings to improve the overall sound balance.
- If available, use the receiver’s built-in audio calibration feature. The calibration process can help identify and correct any room-related audio issues.
- Consider repositioning the speakers. Moving them slightly or adjusting their angles can greatly impact the sound dispersion and positioning.
Take the time to fine-tune and tweak the settings until you are satisfied with the audio quality and the surround sound effect. Every room and personal preference is different, so don’t hesitate to make adjustments to achieve the best audio experience for your specific setup.
Remember that a well-calibrated surround sound system can truly transform your entertainment experience, immersing you in a world of rich and lifelike audio. Enjoy the enhanced sound quality and immerse yourself in your favorite movies, music, and games!
With the surround sound system properly tested and adjusted, you have successfully completed the setup process. Now sit back, relax, and enjoy the immersive audio experience that your surround sound system provides.
Congratulations on setting up your surround sound system – you’re ready to enjoy your favorite media like never before!
Conclusion
Setting up a surround sound system can be a rewarding experience that takes your audio enjoyment to new heights. By following the steps outlined in this guide, you can transform your living space into a captivating audio oasis.
From determining the room layout and choosing the right speakers to connecting audio sources and configuring the receiver settings, each step plays a crucial role in achieving an immersive surround sound experience.
Remember to take your time and pay attention to details, ensuring that the speaker wiring is organized, the connections are secure, and the settings are tailored to your preferences. Don’t be afraid to experiment and make adjustments along the way to fine-tune the audio output.
With your surround sound system properly set up, you can now fully immerse yourself in movies, games, and music, hearing every sound effect, dialogue, and note in incredible detail. Experience the thrill of being surrounded by audio that brings your entertainment to life.
Whether you’re hosting a movie night with friends, indulging in a gaming session, or simply enjoying your favorite music, the enhanced audio quality will transport you into a whole new realm of audio bliss.
So what are you waiting for? Dive into the world of surround sound and elevate your audio experience today!