Home>Devices & Equipment>Turntable>How To Set Up A Audio Technica Turntable
Turntable
How To Set Up A Audio Technica Turntable
Published: January 17, 2024
Learn how to set up your Audio Technica turntable with our easy step-by-step guide. Get the best sound quality and start enjoying your vinyl collection today.
(Many of the links in this article redirect to a specific reviewed product. Your purchase of these products through affiliate links helps to generate commission for AudioLover.com, at no extra cost. Learn more)
Table of Contents
Introduction
Welcome to the world of vinyl! Whether you’re a longtime music enthusiast or simply curious about the resurging popularity of vinyl records, setting up a turntable is an exciting endeavor. The quality and warmth of sound produced by a turntable are unmatched, giving you a unique listening experience that digital music formats can’t replicate.
In this article, we will guide you through the process of setting up an Audio Technica turntable. Audio Technica is known for their high-quality turntables that strike a balance between affordability and performance. By following the steps outlined here, you’ll have your turntable up and running in no time, ready to enjoy your favorite vinyl records.
Before diving into the setup process, it’s important to familiarize yourself with the components you’ll need and how they work together. Understanding the basics will help you assemble your turntable with ease and ensure optimal performance.
So let’s gather the necessary tools and get started on setting up your Audio Technica turntable!
What You Will Need
Before you can start setting up your Audio Technica turntable, it’s essential to have all the necessary components on hand. Here’s a list of what you’ll need:
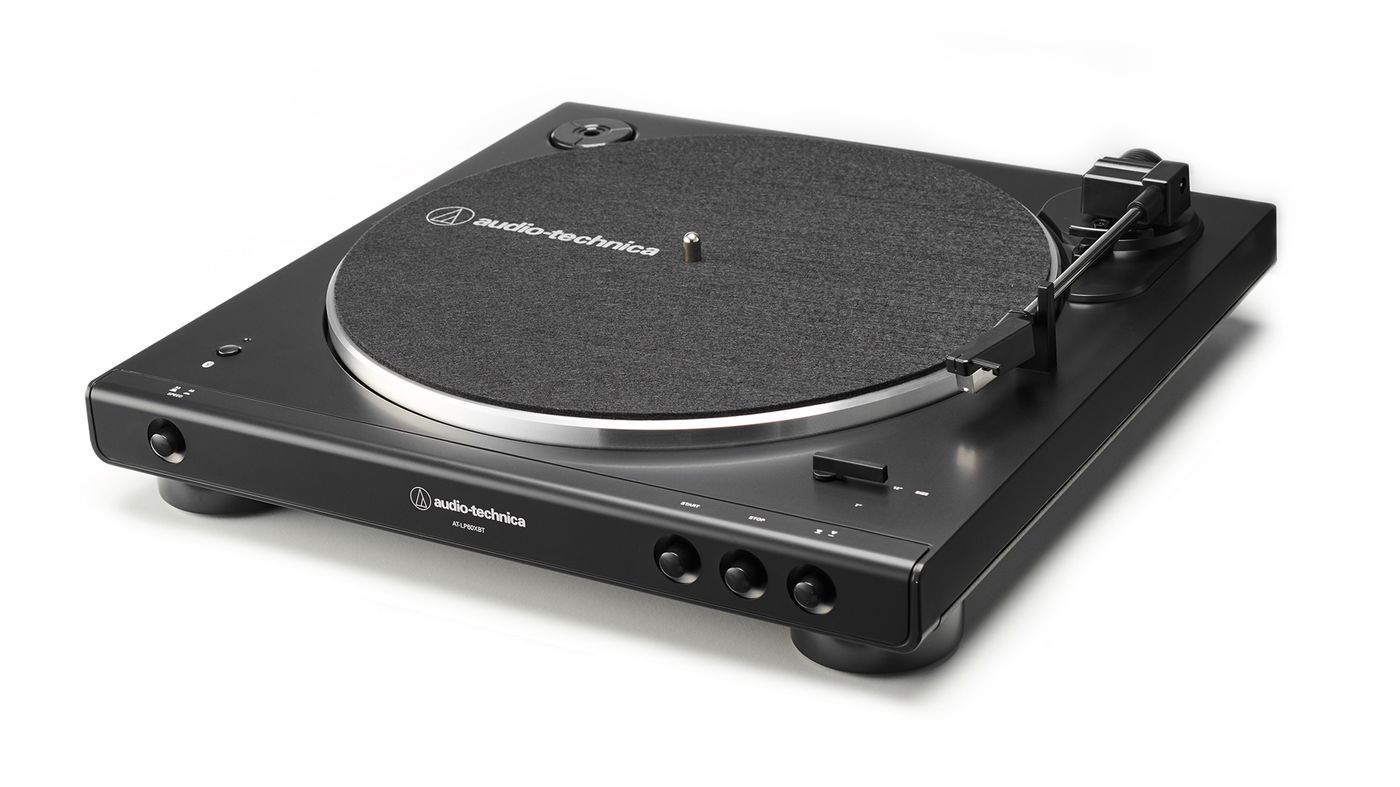
- Audio Technica Turntable: Choose a model that suits your needs and budget. Audio Technica offers a range of turntables, from entry-level to high-end options.
- Amplifier: Also known as a receiver or preamp, the amplifier is a crucial component for powering the sound from your turntable. Make sure it has a phono input or a built-in phono preamp.
- Speakers: A good pair of speakers will allow you to fully enjoy the rich sound produced by your turntable. Consider investing in quality speakers for an enhanced listening experience.
- Vinyl Records: Of course, you’ll need a collection of vinyl records to play on your turntable. Start building your collection with your favorite music genres or explore new artists and albums.
- Cables: Depending on your setup, you may need RCA cables to connect the turntable to the amplifier or speakers. Make sure to check the necessary cable types for your specific turntable model.
- Tools: While not always necessary, having basic tools like a screwdriver and a level can be helpful during the setup process.
Once you have gathered all the necessary components, you’re ready to start unpacking and assembling your Audio Technica turntable.
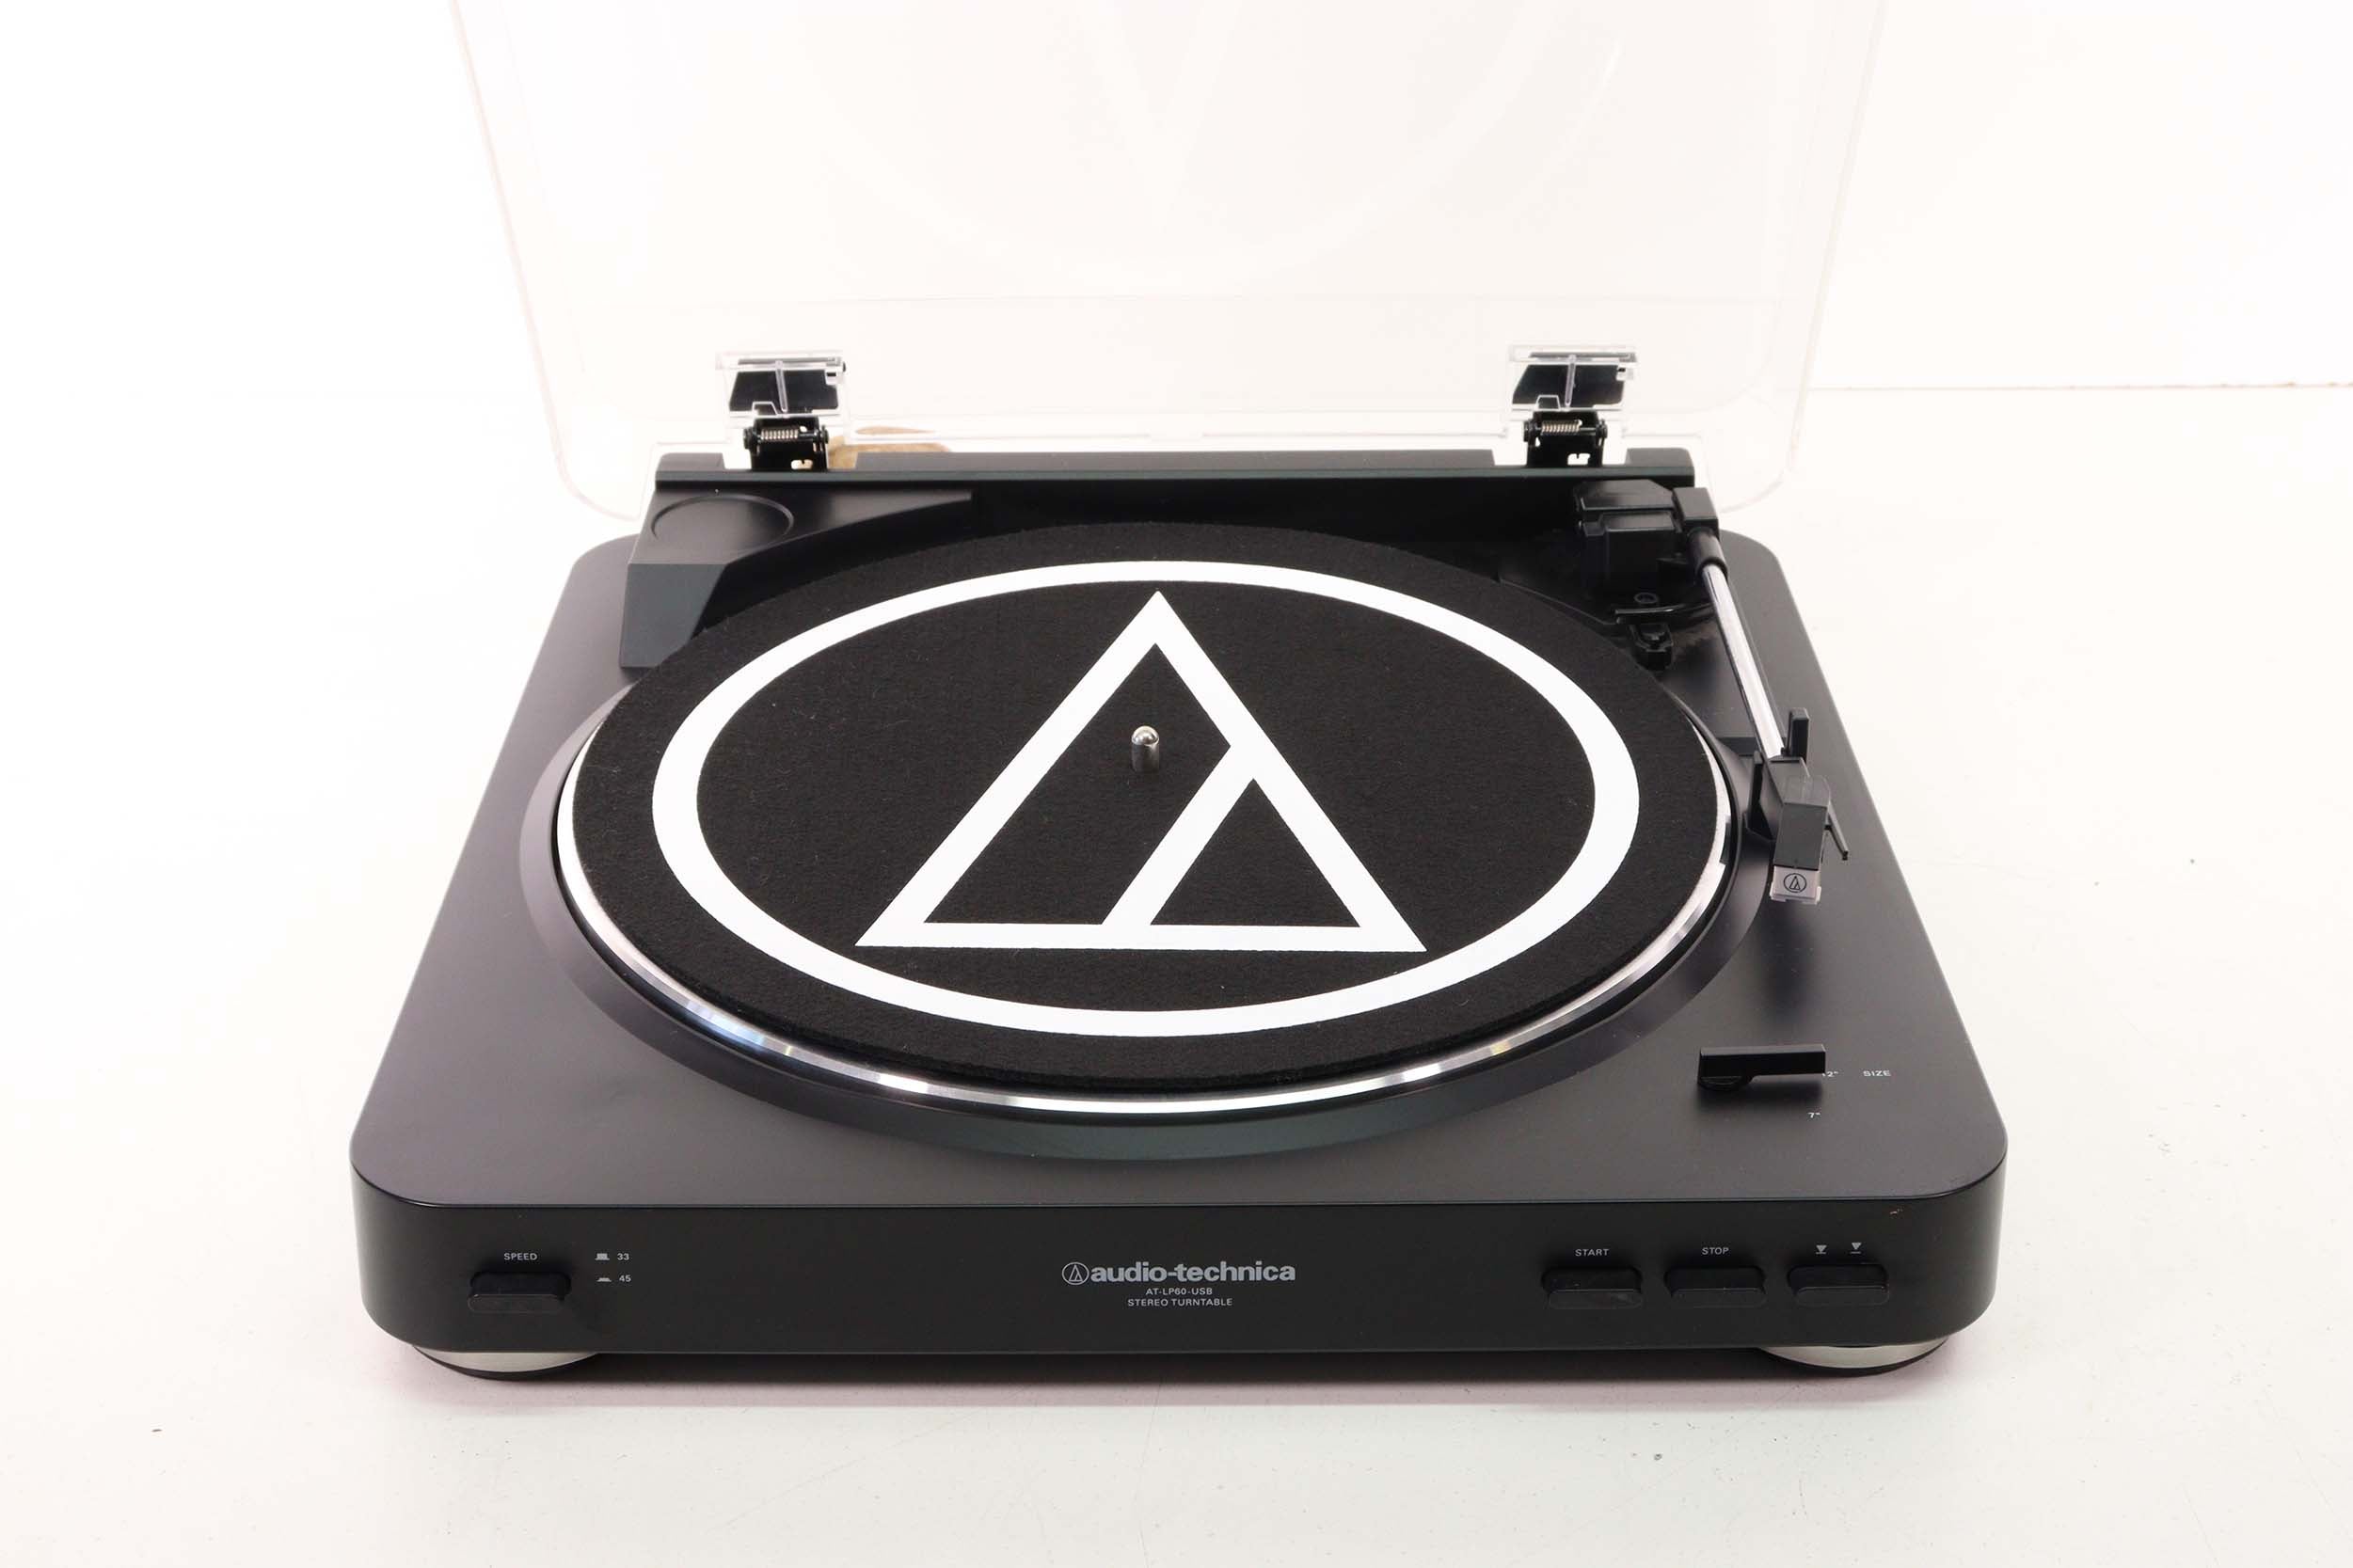
Step 1: Unpack and Assemble the Turntable
Now that you have all the required components, it’s time to unpack and assemble your Audio Technica turntable. Follow these steps to ensure a smooth and hassle-free setup:
- Choose a Suitable Location: Find a sturdy and stable surface to place your turntable. Avoid placing it near speakers or any other device that may cause vibrations and affect the sound quality.
- Unpack the Turntable: Carefully unbox the turntable, taking note of any included accessories or documentation. Remove any protective covers or clips that may be attached to the turntable components.
- Install the Platter: Remove the platter from the packaging and locate the spindle at the center. Gently place the platter onto the spindle, ensuring it sits securely and rotates smoothly.
- Attach the Belt: If your turntable has a belt-drive system, locate the belt included in the packaging. Loop the belt around the motor pulley and the underside of the platter. Make sure the belt is properly aligned and seated in the pulley.
- Mount the Cartridge: If the cartridge is not pre-installed, carefully align it with the tonearm. Follow the manufacturer’s instructions for properly mounting the cartridge. Take caution not to touch the stylus (needle) during this process.
- Adjust the Tracking Force: Some Audio Technica turntables allow you to adjust the tracking force. Use the included tracking force gauge, following the manufacturer’s instructions, to set the appropriate tracking force for your cartridge.
- Balancing the Tonearm: Ensure the tonearm is balanced and level. Adjust the counterweight at the back of the tonearm according to the manufacturer’s instructions until the tonearm floats freely without tilting up or down.
- Connect the Power Cord: Plug in the power cord provided with your turntable into a nearby power outlet.
Congratulations! You have successfully unpacked and assembled your Audio Technica turntable. Now it’s time to move on to the next step: connecting the turntable to the amplifier.
Step 2: Connect the Turntable to the Amplifier
With your Audio Technica turntable properly assembled, it’s time to connect it to the amplifier to start enjoying your vinyl records. Here’s how to make the necessary connections:
- Locate the Phono Input: Identify the phono input on your amplifier. It is typically labeled as “Phono” and may have a separate grounding post nearby.
- Connect the RCA Cables: Take the RCA cables provided or any high-quality RCA cables and connect them to the designated outputs on the back of your turntable. Most turntables have color-coded RCA jacks (red for right channel, white for left channel). Connect the corresponding plugs into the appropriate color-coded inputs on the amplifier’s phono input.
- Ground the Turntable (if necessary): If your turntable has a grounding wire, connect it to the grounding post on the amplifier. This helps eliminate any potential hum or noise issues.
- Power On the Amplifier: Once you’ve made the connections, switch on the amplifier and set it to the appropriate input source (e.g., Phono).
Now that your turntable is connected to the amplifier, you’re one step closer to experiencing the rich and warm sound of vinyl records. However, before you start playing your favorite records, be sure to adjust the turntable settings to optimize the audio performance, which we’ll cover in the next step.
Step 3: Adjust the Turntable Settings
To ensure optimal audio performance and playback quality on your Audio Technica turntable, it’s essential to make a few adjustments to the turntable settings. Follow these steps carefully:
- Set the Speed: Most turntables have different speed settings for 33 1/3 RPM (standard LP), 45 RPM (singles), and sometimes 78 RPM (older records). Select the appropriate speed for the record you’re playing using the speed control switch or button on your turntable.
- Adjust the Anti-Skate: Anti-skate helps prevent the tonearm from being pulled towards the center center or outside of the record. Set the anti-skate control knob or dial to match your tracking force. Consult your turntable’s manual for specific instructions on adjusting the anti-skate.
- Balance the Tonearm: Use the tonearm’s balance adjustment to achieve perfect balance. Lift the tonearm gently and release it. It should float parallel to the turntable surface. If it tilts up or down, adjust the tonearm’s counterweight until it is balanced.
- Set the Tracking Force: Adjust the counterweight on the tonearm to set the recommended tracking force for your cartridge. Consult your turntable’s manual or the cartridge manufacturer’s specifications for the correct tracking force.
- Calibrate the Stylus Pressure: If your turntable has a built-in stylus pressure gauge, use it to ensure the correct stylus pressure on the record. Place the gauge on the platter and gently lower the tonearm onto it. Adjust the counterweight until the recommended pressure is achieved.
By carefully adjusting these settings, you’ll maximize the audio fidelity and tracking accuracy of your turntable. Remember to refer to your turntable’s manual for specific instructions, as the adjustment methods may vary slightly between different Audio Technica models. With the settings properly adjusted, you’re ready to move on to the next step: placing a vinyl record on the turntable.
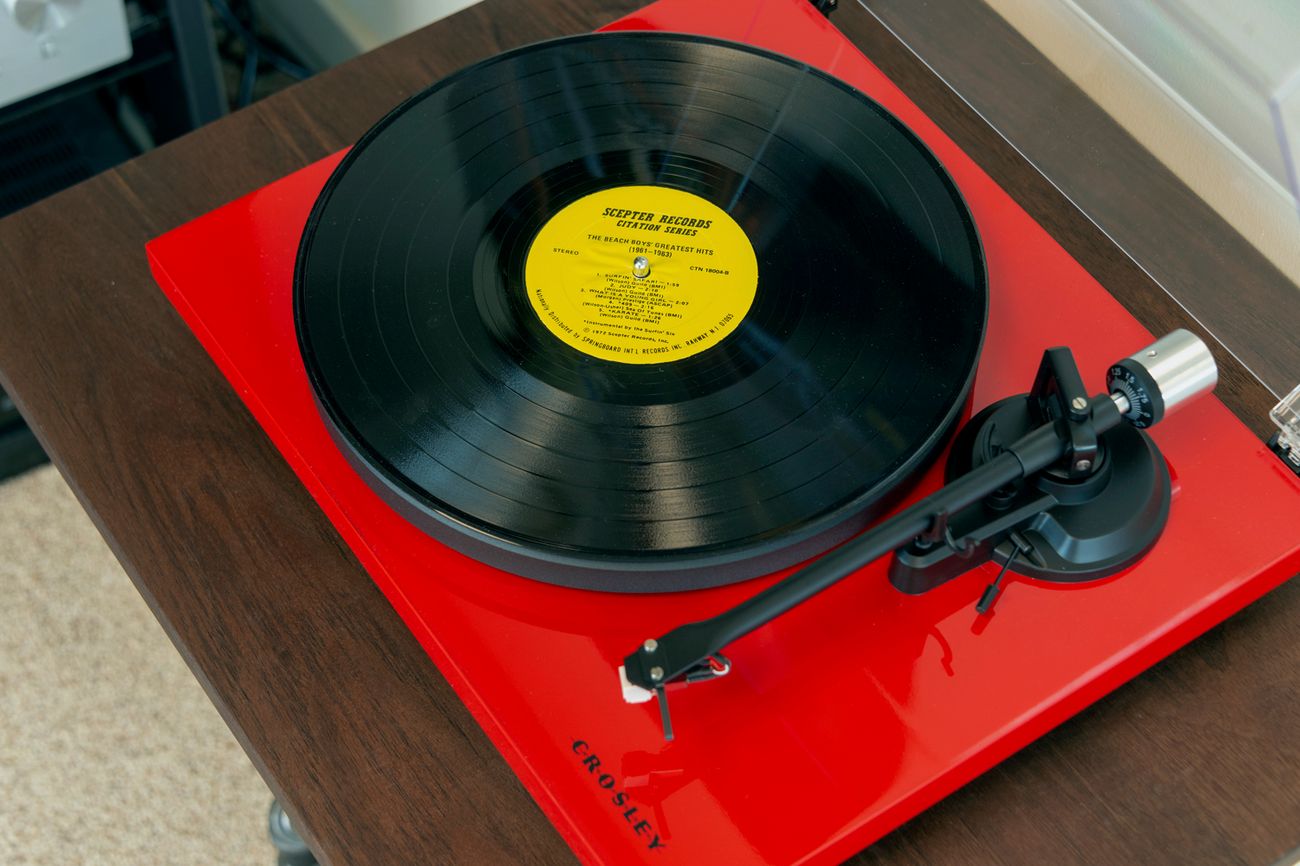
Step 4: Place the Vinyl Record on the Platter
Now that you have your Audio Technica turntable properly set up and adjusted, it’s time to place a vinyl record on the platter and prepare it for playback. Follow these steps to ensure a smooth and safe placement:
- Handle Records with Care: Before handling a vinyl record, make sure your hands are clean and dry. Hold the record by its edges to avoid leaving fingerprints or smudges on the playing surface.
- Remove the Record from its Sleeve: Carefully remove the vinyl record from its sleeve. Be cautious not to touch the playing surface or scratch it.
- Inspect the Record: Take a moment to visually inspect the record for any dust, dirt, or debris. Gently blow away or use an anti-static brush to remove any particles that may affect playback.
- Place the Record on the Platter: Hold the record above the platter, with the label facing up. Locate the center hole on the record and align it with the spindle on the platter. Lower the record onto the platter, making sure it sits securely and centered.
- Secure the Record: If your turntable has a record clamp or weight, gently place it on the center of the record to hold it in place during playback. This helps improve stability and reduce vibration.
Once the vinyl record is properly placed on the platter, you’re ready to move on to the next step: starting the playback and enjoying the music!
Step 5: Start Playing the Record
With the vinyl record securely placed on the platter of your Audio Technica turntable, it’s time to bring the music to life. Follow these steps to start playing your vinyl record:
- Power On the Turntable: Ensure that your turntable is powered on and spinning at the correct speed for the record you’re about to play.
- Lift the Tonearm: Gently lift the tonearm from its rest position using the cueing lever or handle. Be careful not to touch the stylus (needle) as you lift the tonearm.
- Position the Tonearm: Position the tonearm above the lead-in groove or the desired track on the vinyl record.
- Lower the Tonearm: Gradually lower the tonearm onto the record by releasing the cueing lever or gently lowering it with your hand. Ensure that the stylus lands in the groove without any force or sudden movements.
- Enjoy the Music: Once the stylus is in the groove, the vinyl record will start spinning, and the music will begin to play. Listen and enjoy the warm and rich sound that vinyl records are known for.
Remember to refrain from touching the tonearm or the record while it’s playing to avoid any unwanted vibrations or damage to the stylus. When you’re finished listening, lift the tonearm gently using the cueing lever or handle and carefully return it to its rest position.
Now that you know how to play a vinyl record on your Audio Technica turntable, it’s time to move on to the next step: maintaining and cleaning your turntable to ensure continued performance and longevity.
Step 6: Maintain and Clean the Turntable
Proper maintenance and regular cleaning are essential to keep your Audio Technica turntable in optimal condition and ensure the best possible sound quality. Follow these steps to maintain and clean your turntable:
- Dust Cover: If your turntable has a dust cover, always keep it closed when not in use to prevent dust and debris from settling on the turntable’s components.
- Stylus Care: The stylus (needle) is a delicate part of your turntable. It is important to keep it clean to maintain proper tracking and sound quality. Use a stylus brush or a stylus cleaning solution to gently remove dirt and debris from the stylus. Be careful not to apply too much pressure or damage the stylus.
- Platter Cleaning: Over time, the platter can accumulate dust and grime. Use a soft, lint-free cloth or a dedicated turntable cleaning brush to wipe the platter and remove any dirt or debris. Be cautious around the belt or motor area to avoid causing any damage.
- Record Cleaning: Regularly clean your vinyl records to maintain their playback quality and safeguard the stylus. Use a dedicated record cleaning brush or a record cleaning solution along with a microfiber cloth to gently remove dust and static from the record surface. Always clean the record in a circular motion to avoid damaging the grooves.
- Tonearm Alignment: Check the alignment of the tonearm periodically to ensure that it is properly calibrated. If necessary, consult the turntable’s manual for instructions on how to adjust the tonearm alignment.
- Belt Replacement: If your turntable has a belt-drive system and the belt becomes worn or stretched, it may affect the playback quality. Follow the manufacturer’s guidelines on when to replace the belt and how to do it properly.
By following these maintenance and cleaning practices, you’ll prolong the life of your Audio Technica turntable and maintain its optimal performance. Remember to always refer to the turntable’s manual for specific care instructions and recommendations to ensure proper maintenance.
Congratulations! You have successfully set up, adjusted, and learned how to maintain and clean your Audio Technica turntable. Now you can immerse yourself in the world of vinyl and enjoy the rich and authentic sound that only a turntable can deliver.
Conclusion
Congratulations on successfully setting up your Audio Technica turntable! By following the step-by-step guide in this article, you have learned how to assemble your turntable, connect it to an amplifier, adjust the settings for optimal performance, and play your favorite vinyl records.
Playing vinyl records on a turntable offers a unique and immersive audio experience that digital music formats simply can’t replicate. The warm sound, tactile experience, and tangible connection to the music add a sense of nostalgia and authenticity to your listening sessions.
To continue enjoying the best possible sound quality and prolong the lifespan of your turntable, remember to take good care of it. Regular maintenance, including cleaning the stylus, platter, and records, will ensure that you consistently receive the best possible sound reproduction.
Now that you’re a proud owner of an Audio Technica turntable, explore a vast world of vinyl records and expand your music collection. Dive into different genres, discover new artists, and relish the unique sonic characteristics that vinyl records offer.
So gather your favorite records, sit back, and let the music sweep you away. Enjoy the magic of vinyl on your Audio Technica turntable and create countless memorable listening experiences.