Home>Devices & Equipment>Radio>How To Unmute Chevy Radio
Radio
How To Unmute Chevy Radio
Published: November 16, 2023
Learn how to unmute your Chevy radio and start enjoying your favorite stations again. Follow our step-by-step guide to easily resolve the issue.
(Many of the links in this article redirect to a specific reviewed product. Your purchase of these products through affiliate links helps to generate commission for AudioLover.com, at no extra cost. Learn more)
Table of Contents
Introduction
Radio is an essential component of any Chevy vehicle, providing entertainment and information while on the road. However, there may be times when the radio becomes muted, making it impossible to enjoy your favorite tunes or stay updated with the latest news.
Fortunately, unmuting the radio is a straightforward process that can be done within seconds. Whether you accidentally muted the radio or the mute function was activated due to a technical glitch, this article will guide you through the steps to unmute the Chevy radio.
Before we dive into the steps, it’s important to note that the exact process may vary slightly across different Chevy models. However, the basic principles remain the same, and this guide should provide you with a good starting point.
So, if you’re ready to regain control of your Chevy radio’s volume and enjoy your favorite tunes once again, let’s get started with the first step: locating the mute button.
Step 1: Locate the Mute Button
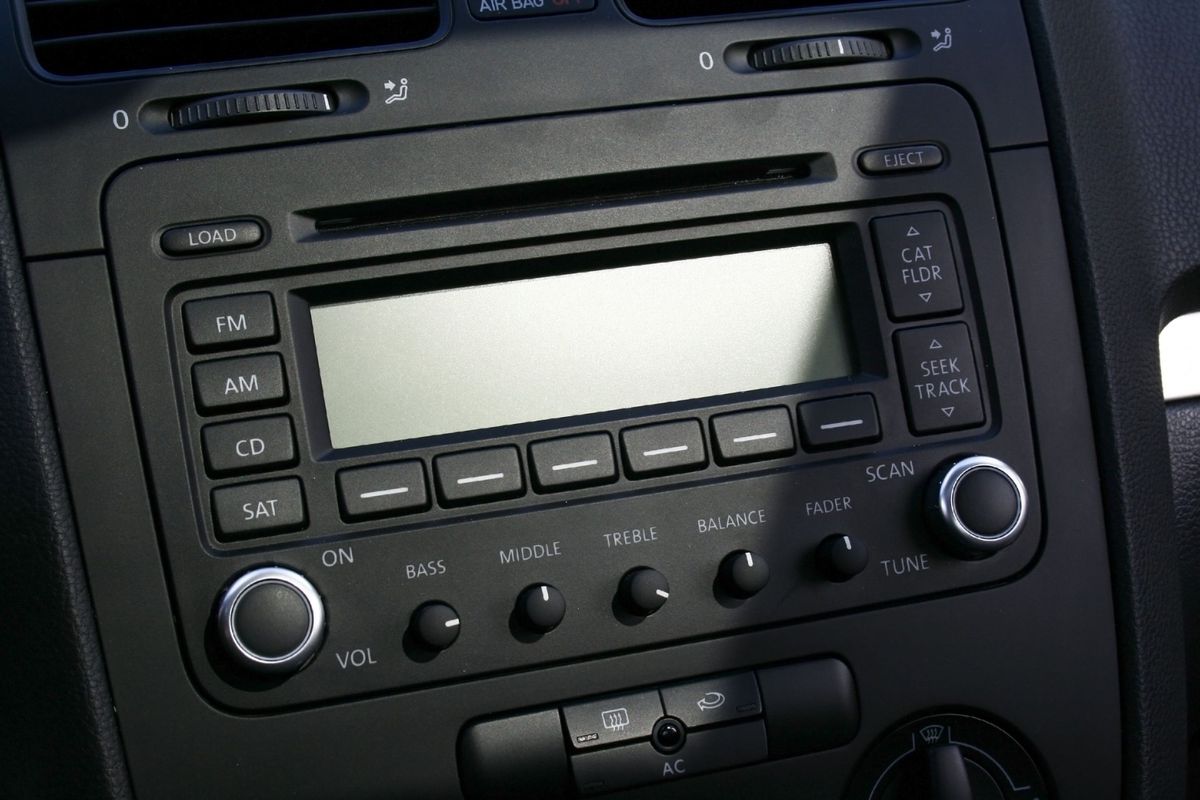
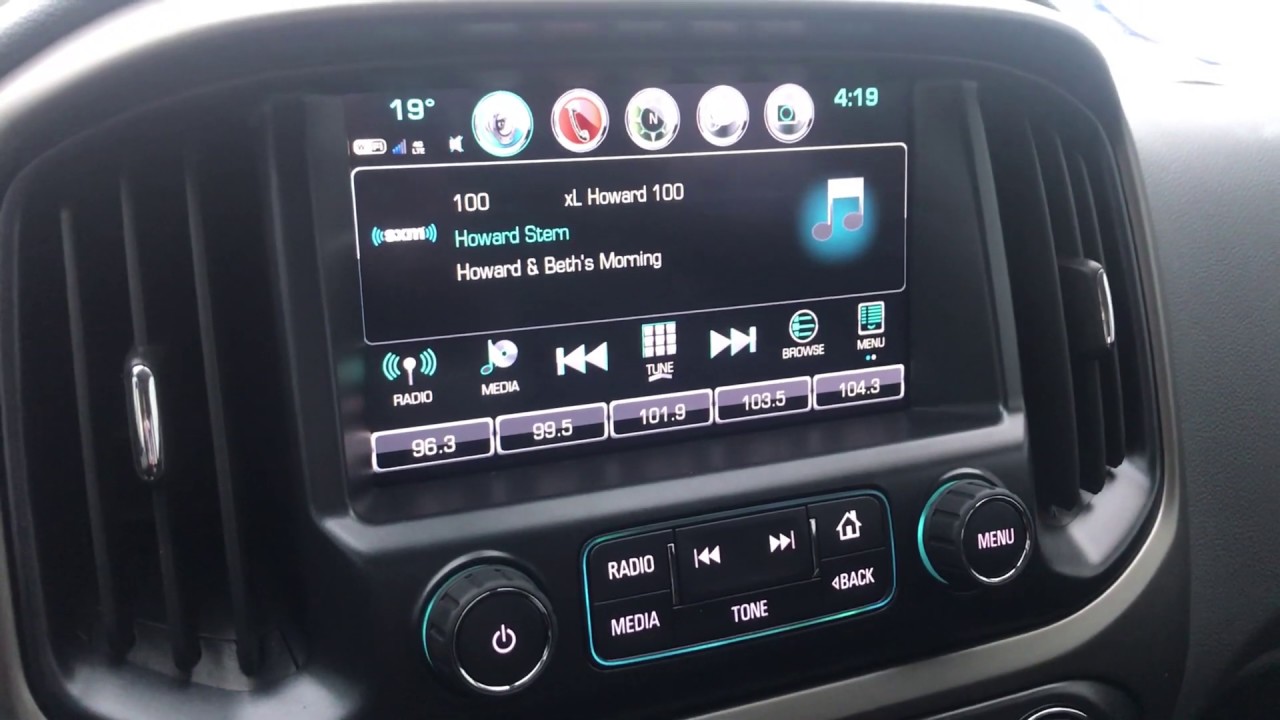
The first step to unmute your Chevy radio is to locate the mute button. The location of the mute button may vary depending on the Chevy model and the stereo system installed. In most Chevy vehicles, the mute button is typically located on the radio console or on the steering wheel controls.
On the radio console, look for a button that is labeled with a speaker symbol crossed out or with the word “mute” written on it. It might be a physical button or a touch-sensitive area on a touchscreen display. If you’re unsure, refer to your vehicle’s user manual to find the exact location of the mute button.
If your Chevy has steering wheel controls, the mute button is usually located on the left side of the steering wheel. It may be marked with a speaker symbol crossed out or labeled “mute.” Some Chevy models also have a dedicated button that allows you to control the audio volume and mute directly from the steering wheel.
Once you have located the mute button, you’re ready to proceed to the next step: pressing and holding the button to unmute the radio.
Step 2: Press and Hold the Mute Button
Now that you have located the mute button on your Chevy radio, it’s time to unmute it. The process generally involves pressing and holding the mute button for a few seconds, releasing it to unmute the radio. However, it’s important to follow the specific instructions for your Chevy model, as the exact steps may vary.
If your Chevy has a physical mute button on the radio console, simply press and hold the button for a few seconds. Pay attention to any on-screen prompts or indicators that may appear on the radio display. Once the mute function is deactivated, you’ll usually see the volume level indicator return or hear the sound playing through the speakers again.
For vehicles equipped with steering wheel controls, press and hold the mute button located on the left side of the steering wheel. Similar to the console button, pay attention to any visual or auditory cues that signal the unmute process. The volume level should return or you should hear sound from the speakers again.
If pressing and holding the mute button doesn’t immediately unmute the radio, don’t worry. There may be additional troubleshooting steps you can try, which we will cover in the troubleshooting section later on. However, in most cases, pressing and holding the mute button should be sufficient to unmute the radio and restore its normal functionality.
Now that you have successfully pressed and held the mute button, it’s time to move on to the next step: releasing the button.
Step 3: Release the Mute Button
After pressing and holding the mute button on your Chevy radio for a few seconds, it’s time to release the button. Releasing the mute button is the crucial step that will unmute the radio and restore the sound to your speakers.
Once you release the mute button, pay close attention to the radio display or listen for any audio cues. In most cases, you will see the volume level indicator return to its normal position or hear the sound coming through the speakers again.
If you encounter any issues during this step, such as the radio remaining muted or the sound not returning, double-check that you followed the instructions correctly. Ensure that you pressed and held the mute button for the recommended duration and released it properly. If the issue persists, refer to the troubleshooting section later in this article for potential solutions.
Assuming you have successfully released the mute button, the next step is to test the radio to ensure that it has been properly unmuted. Let’s move on to step four.
Step 4: Test the Radio
Now that you have unmuted your Chevy radio, it’s time to test it to ensure that the sound is playing correctly. Testing the radio will help confirm that the mute function has been successfully deactivated and that you can once again enjoy your favorite music, news, and other audio content.
Start by adjusting the volume knob or using the volume controls on the steering wheel to raise the volume level. Listen for any audio output from the speakers. If you can hear sound and the volume is at the desired level, then congratulations! You have successfully unmuted your Chevy radio.
If you are not hearing any sound or the volume is still low, make sure that the audio source, such as the radio or CD player, is set to the correct mode. Also, check that the speakers are not muted independently through the audio settings. If all settings appear correct, but you still experience issues with sound output, it may be necessary to further troubleshoot or seek professional assistance.
Remember, each Chevy model may have its own unique features and settings, so consult your vehicle’s user manual for specific instructions on adjusting the radio settings or troubleshooting audio issues.
With the radio successfully tested and the sound playing, you can now enjoy your favorite music, radio programs, and other audio content as you continue your journey.
If you encounter any ongoing issues with muting or unmuting the radio, refer to the troubleshooting tips below for possible solutions.
Troubleshooting Tips
While the steps outlined above should help you unmute your Chevy radio successfully, there may be instances where you encounter difficulties or the issue persists. Here are some troubleshooting tips to help you address common radio muting problems:
- Check the mute settings: Ensure that the radio’s mute setting is disabled. Navigate through the audio settings menu on your Chevy’s stereo system and verify that the mute function is turned off.
- Inspect the wiring: Examine the wiring connections between the radio and the speakers. Loose or faulty wiring can impact the audio output. If necessary, consult a professional to inspect and repair any wiring issues.
- Reset the stereo system: Some Chevy models may have a reset function that can resolve minor technical glitches. Refer to your vehicle’s manual to learn how to reset the stereo system.
- Check for software updates: In some cases, a software update may be available for your Chevy’s stereo system. Contact your local dealership or consult the manufacturer’s website for any available software updates that address audio issues.
- Seek professional assistance: If you have exhausted all troubleshooting steps and the radio still does not unmute or function properly, it may be necessary to take your vehicle to a certified Chevy technician or dealership for further diagnostics and repairs.
Remember, troubleshooting steps can vary depending on your specific Chevy model and stereo system. Always consult your vehicle’s user manual for detailed instructions and seek professional assistance if needed.
By following these troubleshooting tips, you can overcome common muting issues and ensure that your Chevy radio functions effectively.
Conclusion
Unmuting your Chevy radio is a simple process that can be accomplished by following a few easy steps. Whether you have accidentally muted the radio or encountered a technical issue, the steps outlined in this guide should help you regain control of your audio and enjoy your favorite music and programming once again.
Remember to locate the mute button on your Chevy radio, whether it’s on the console or within the steering wheel controls. Press and hold the mute button for a few seconds and then release it to unmute the radio. Test the radio to ensure that the sound is playing correctly, and adjust the volume to your desired level.
In the event that you encounter any ongoing issues with muting or unmuting the radio, refer to the troubleshooting tips provided. These tips can help address common problems and provide possible solutions to ensure that your Chevy radio functions effectively.
By following the steps and troubleshooting tips in this guide, you can easily unmute your Chevy radio and enjoy a seamless and enjoyable audio experience whenever you’re on the road.
Remember to consult your vehicle’s user manual for specific instructions related to your Chevy model, and don’t hesitate to seek professional assistance if needed.
With your Chevy radio successfully unmuted, it’s time to turn up the volume and enjoy the ride!