Home>Production & Technology>Stereo>How To Install A Stereo In A 2001 Chevy Silverado
Stereo
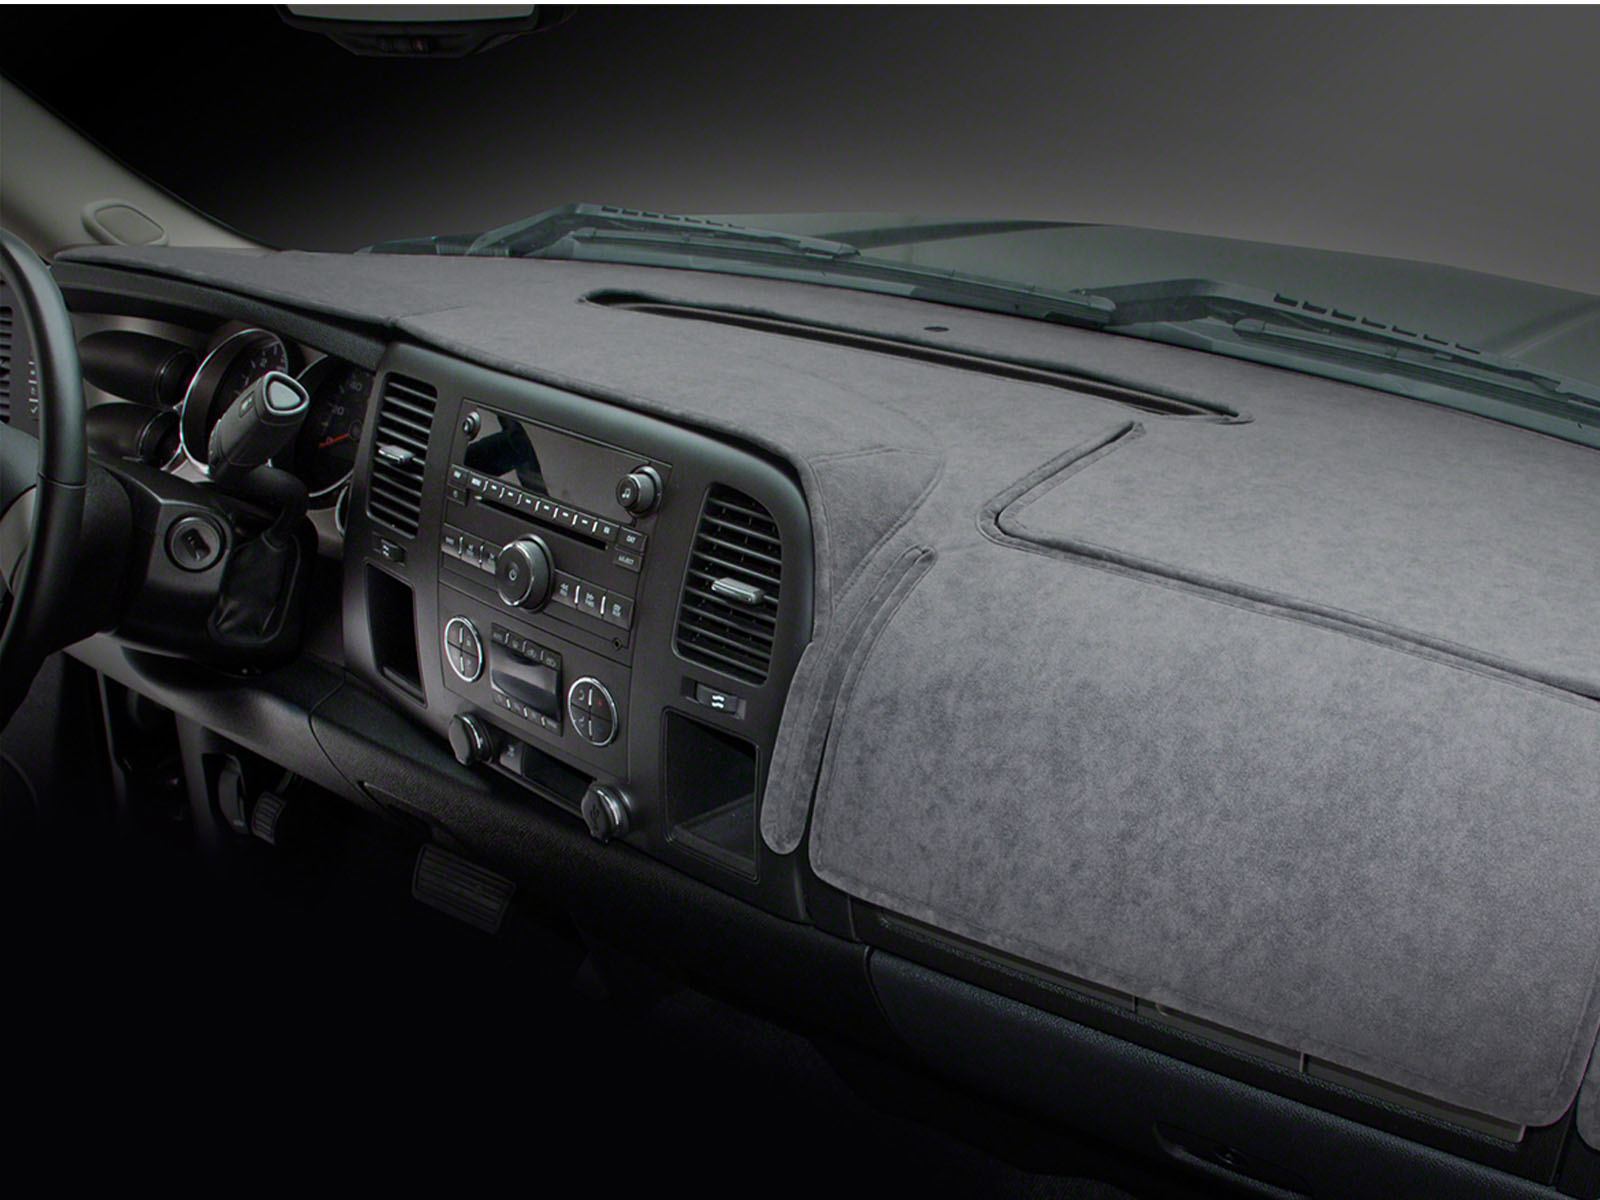
How To Install A Stereo In A 2001 Chevy Silverado
Modified: January 22, 2024
Learn how to install a stereo in your 2001 Chevy Silverado and upgrade your audio experience. Follow our step-by-step guide to easily install the stereo.
(Many of the links in this article redirect to a specific reviewed product. Your purchase of these products through affiliate links helps to generate commission for AudioLover.com, at no extra cost. Learn more)
Table of Contents
Introduction
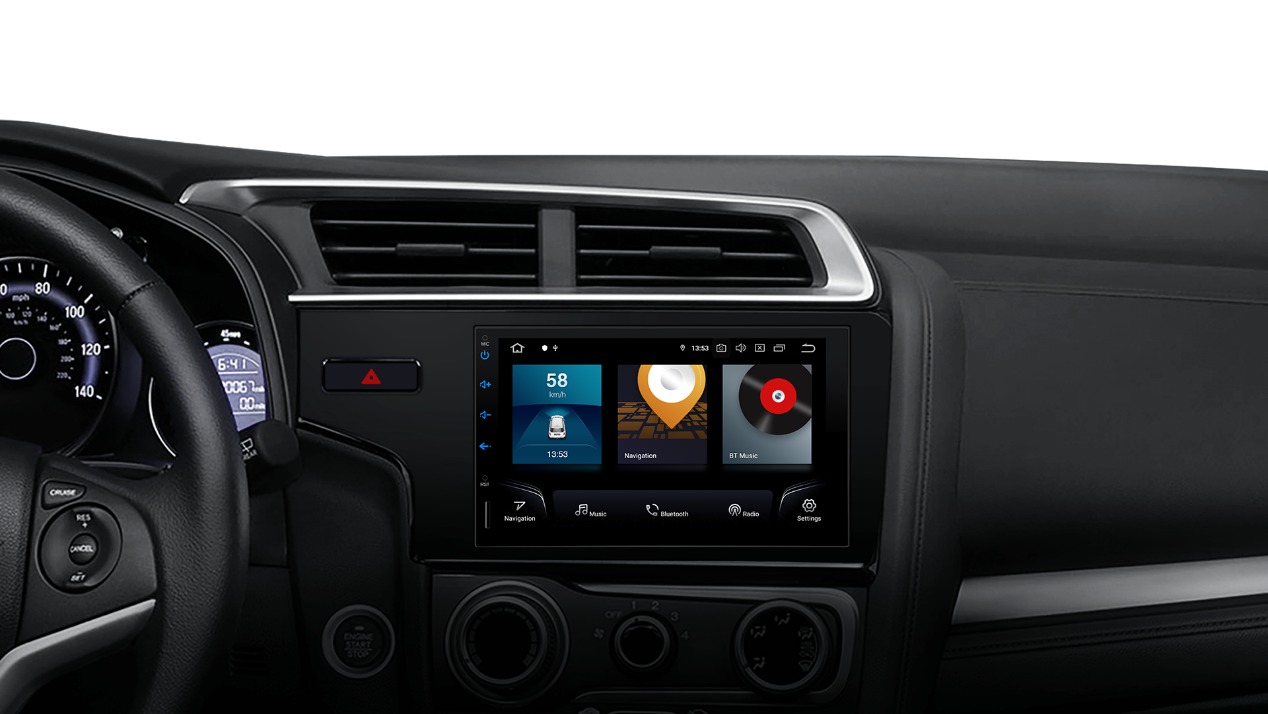
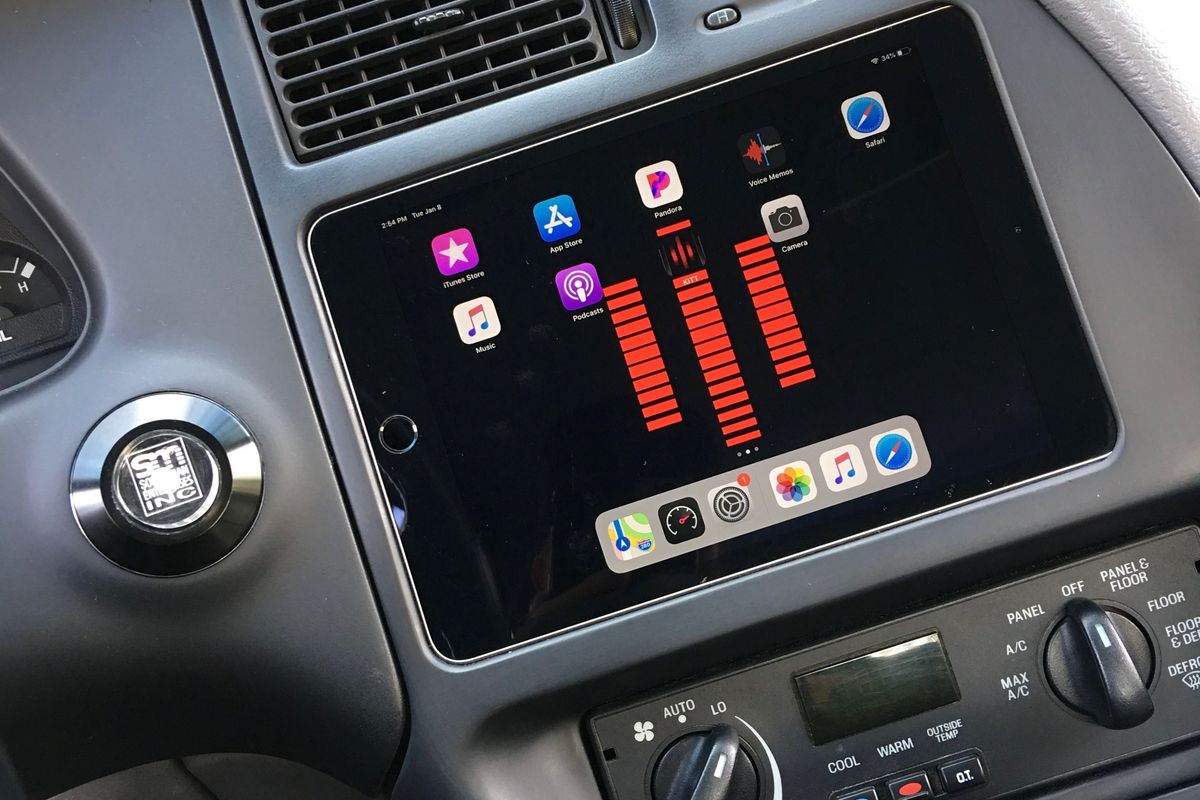
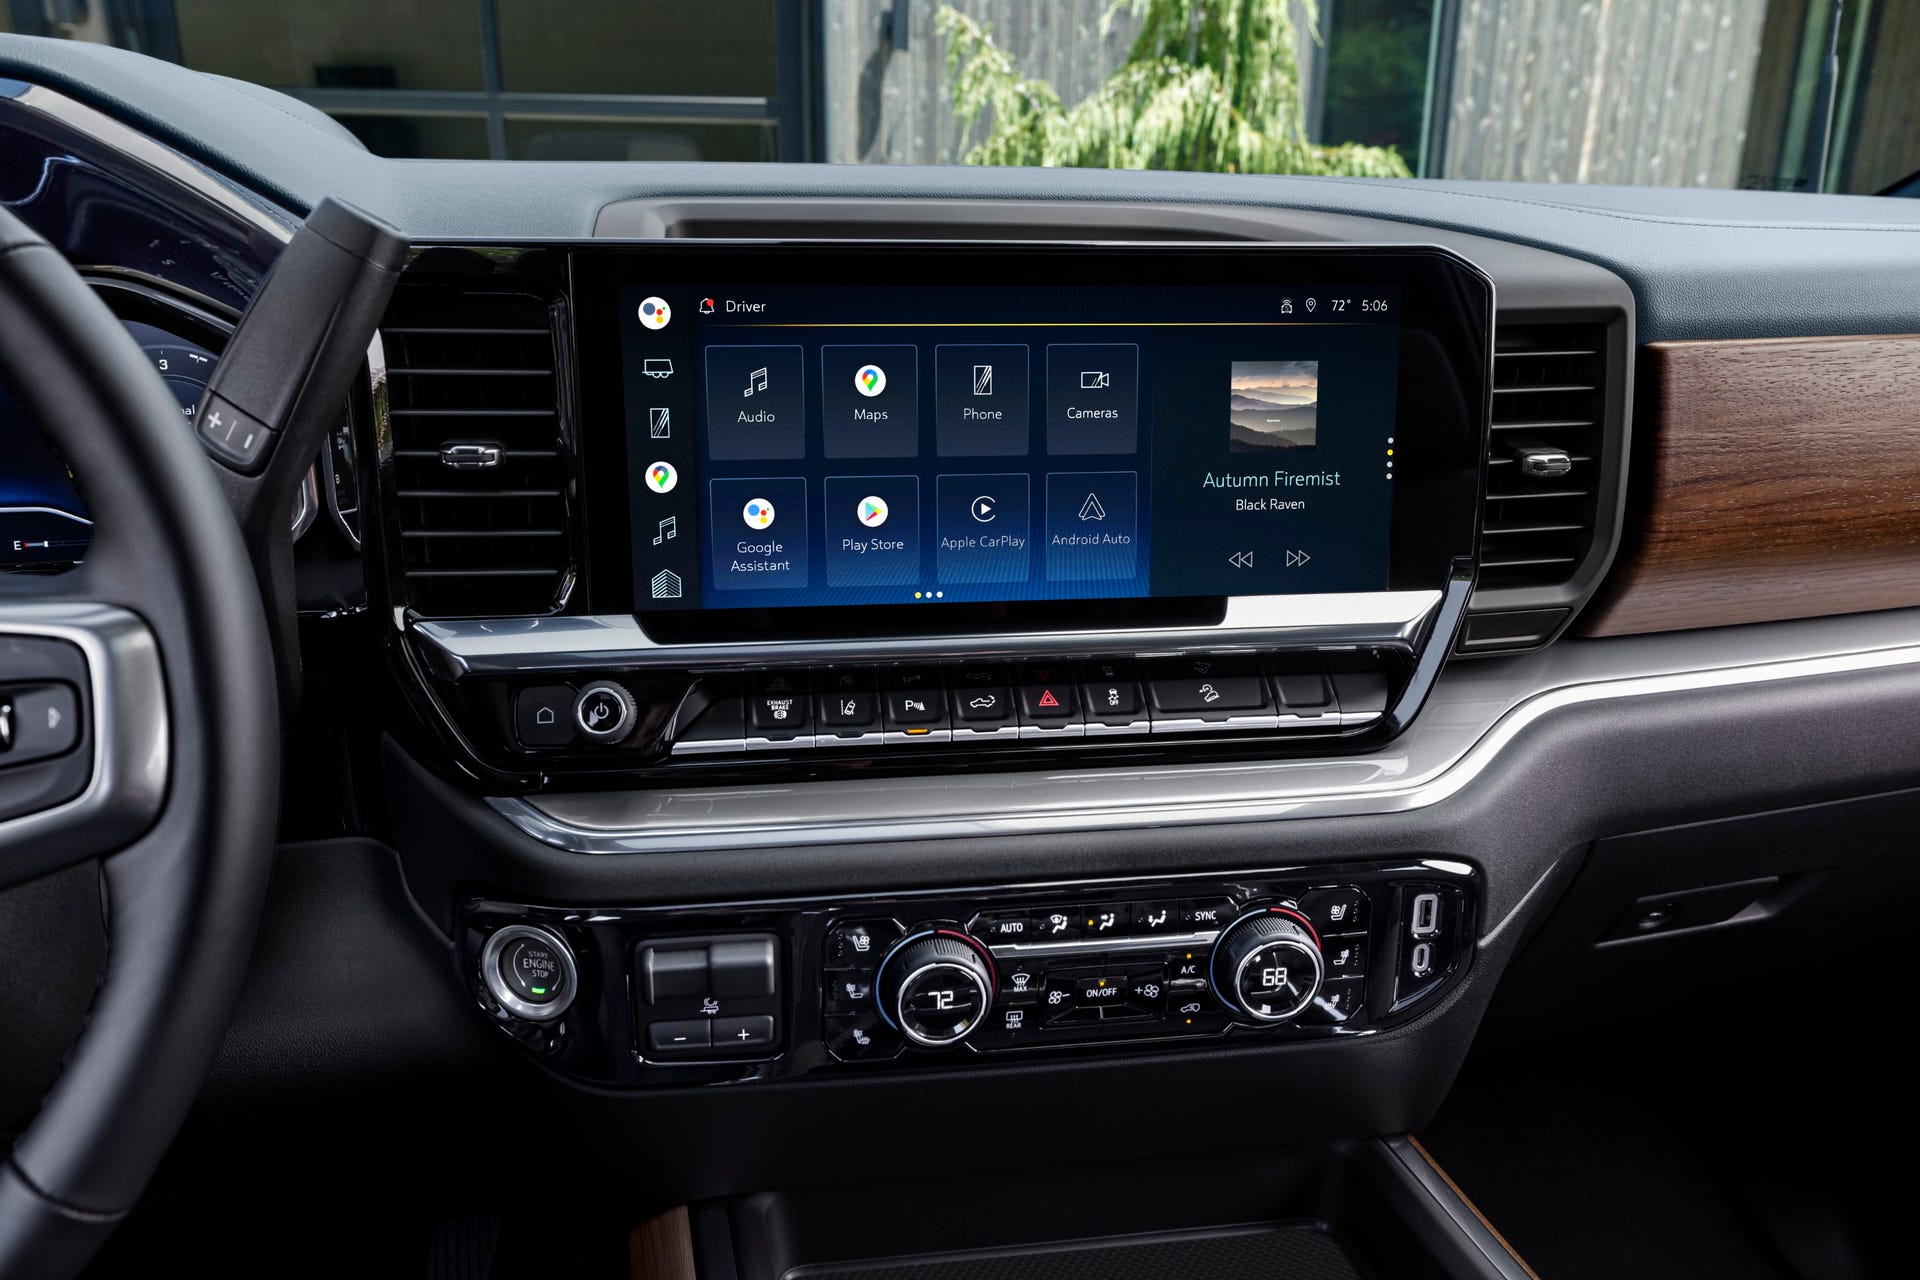
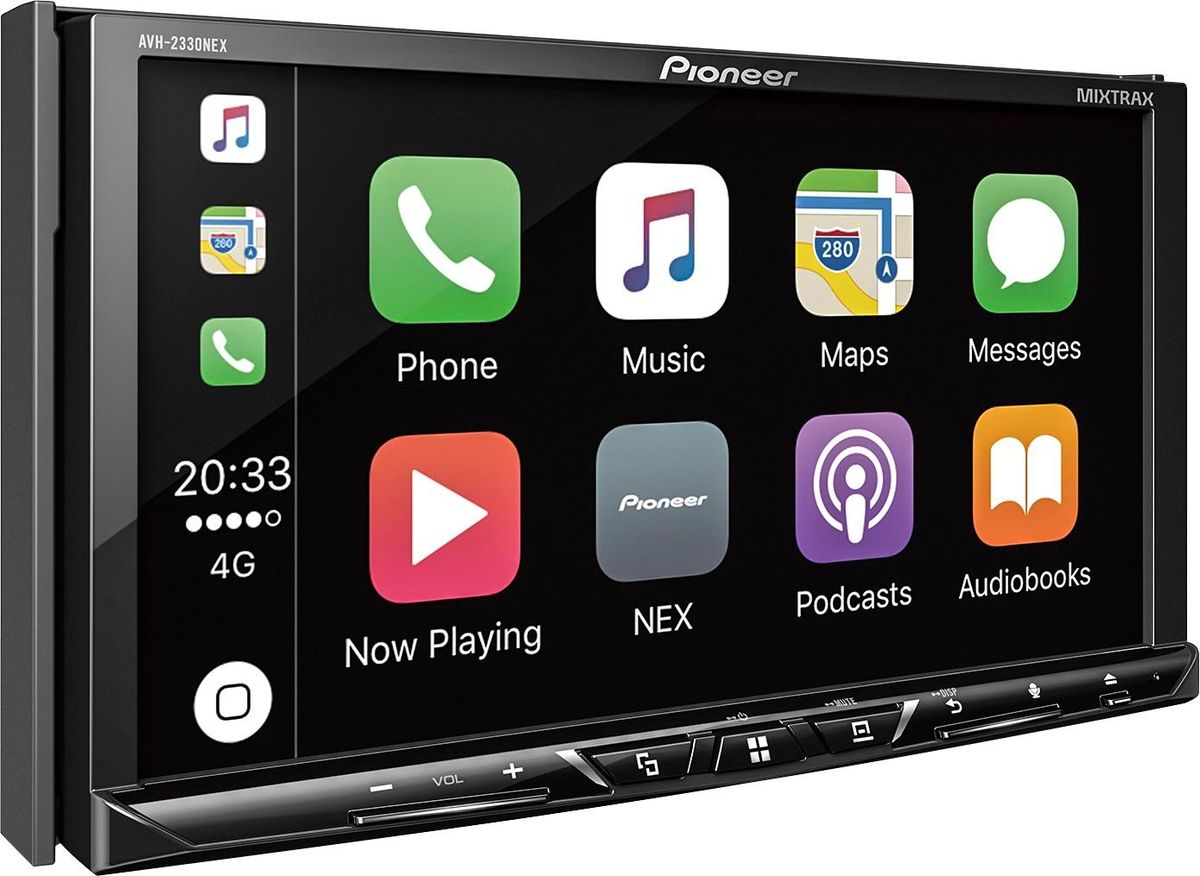
Installing a new stereo in your 2001 Chevy Silverado can greatly enhance your audio experience and even add modern features that may be missing from the factory radio. Whether you’re upgrading to a touchscreen display, adding Bluetooth connectivity, or simply replacing a faulty unit, this guide will walk you through the installation process step by step.
A new stereo can bring new life to your Silverado, allowing you to enjoy your favorite music, podcasts, or navigation instructions with improved sound quality. Plus, with advancements in technology, you can have access to a range of features like hands-free calling, streaming music services, and even integrate with your smartphone.
Before diving into the installation process, it’s essential to gather the necessary tools and materials required to complete the job successfully. Having everything ready ahead of time will ensure a smooth and efficient installation process. So, let’s go over what you’ll need.
Tools and Materials Needed
Before you begin installing the stereo in your 2001 Chevy Silverado, make sure you have the following tools and materials ready:
- Wire cutters/strippers
- Electrical tape
- Trim removal tools
- Phillips screwdriver
- Pliers
- Socket set
- Dash kit
- Wiring harness adapter
- Stereo mounting kit
- Stereo wiring harness
- Antenna adapter
These tools and materials will help you safely remove the factory stereo and properly install the new one. The wire cutters/strippers are essential for connecting the wires, while electrical tape will ensure secure connections and prevent any potential shorts or malfunctions.
Trim removal tools are crucial for removing the panels and trim pieces surrounding the stereo unit without causing any damage. A Phillips screwdriver will be needed to remove any screws holding the stereo in place, while pliers can come in handy for some wire connections.
A socket set is necessary for removing any additional components or brackets that may be in the way during the installation process. The dash kit will help you seamlessly integrate the new stereo into the existing dash, and the wiring harness adapter will simplify the connection between the new stereo and the factory wiring.
The stereo mounting kit is designed to securely hold the new stereo unit in place, ensuring stability and preventing vibrations. Lastly, the stereo wiring harness and antenna adapter are essential for connecting the new stereo to the vehicle’s wiring and antenna, respectively.
With these tools and materials ready, you can proceed with confidence to the installation process and enjoy the benefits of a new stereo in your 2001 Chevy Silverado.
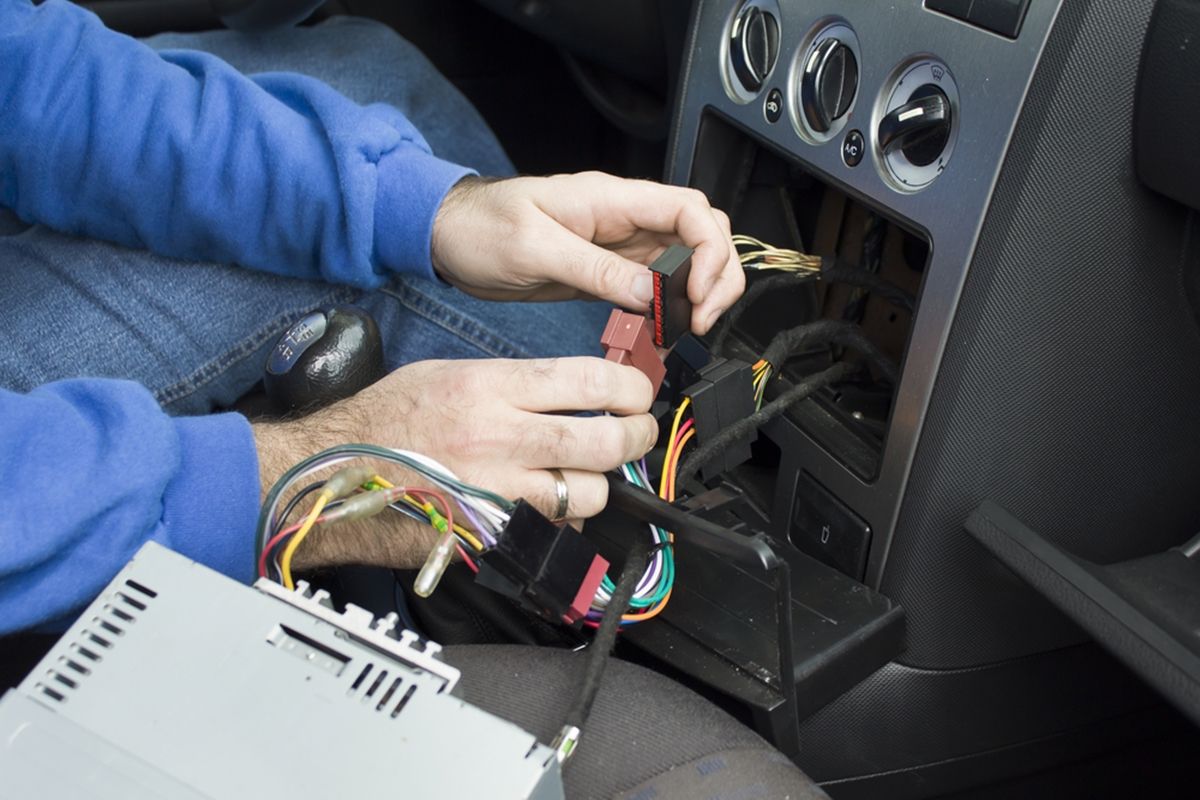
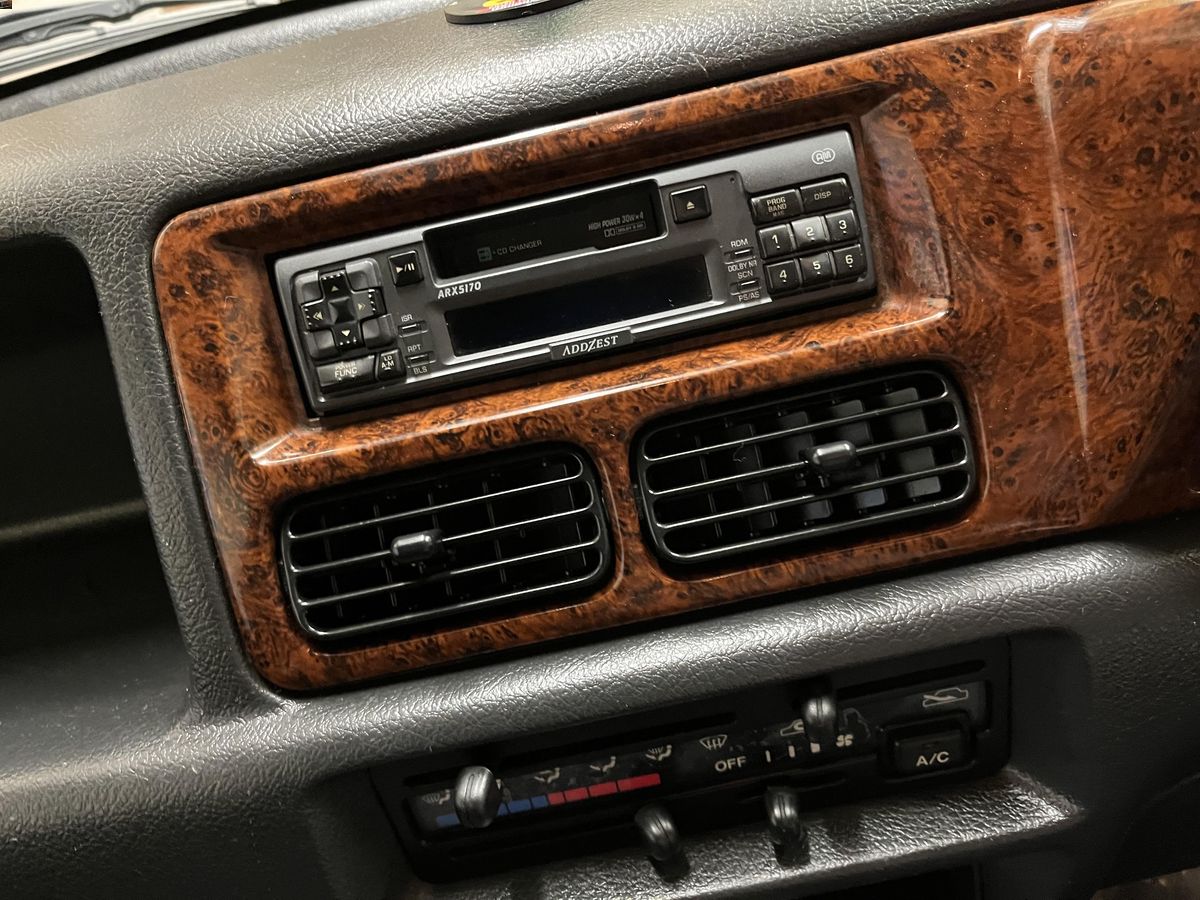
Step 1: Removing the Factory Stereo
Before installing a new stereo in your 2001 Chevy Silverado, you need to remove the factory unit. Here’s how you can do it:
- Start by disconnecting the negative terminal of the vehicle’s battery to prevent any electrical mishaps.
- Using the appropriate trim removal tools, carefully pry off the trim panel surrounding the stereo. Be gentle to avoid damaging the panel or clips.
- Once the trim panel is removed, you’ll likely find screws holding the factory stereo in place. Use a Phillips screwdriver to remove these screws.
- Gently pull the stereo out of the dash, being cautious of any connected wires or cables.
- Disconnect the wiring harness and antenna cable from the back of the factory stereo. Most connectors have a tab that needs to be pressed or released to safely disconnect them.
- Set aside the factory stereo and remove any additional brackets or mounting hardware if necessary.
By following these steps, you can safely remove the factory stereo from your Chevy Silverado without causing any damage. Take your time and be careful with the trim panel and connected wires.
Keep in mind that the process may vary slightly depending on the specific trim level or aftermarket accessories installed in your Silverado. Consult your vehicle’s manual or seek professional assistance if you encounter any difficulties during this step.
With the factory stereo removed, you’re now ready to move on to the next step: preparing the wiring harness for the new stereo installation.
Step 2: Preparing the Wiring Harness
Before installing the new stereo in your 2001 Chevy Silverado, it’s essential to prepare the wiring harness that will connect the stereo to your vehicle’s electrical system. Here’s how you can do it:
- Take the wiring harness adapter that corresponds to your vehicle’s make and model. This adapter will allow you to connect the wires from the new stereo to the factory wiring harness without cutting or splicing any wires.
- Using wire cutters or strippers, trim the ends of the wires on the wiring harness adapter to expose a small length of bare wire.
- Refer to the instructions provided with the wiring harness adapter to identify the wire color coding for each function, such as power, ground, speaker wires, and so on.
- Match the wire color coding on the wiring harness adapter with the corresponding wires on the new stereo’s wiring harness.
- Using crimp connectors or soldering, securely connect and join the wires from the wiring harness adapter to the corresponding wires of the new stereo’s harness. Make sure the connections are firm and insulated.
- Before proceeding, it’s a good idea to wrap each individual connection with electrical tape for added protection and to prevent any accidental shorts or loose connections.
By preparing the wiring harness in advance, you’ll save time during the installation process and ensure a reliable and hassle-free connection between the new stereo and your vehicle’s electrical system.
Remember to double-check all connections and ensure they are correctly joined and insulated. Faulty connections can lead to audio issues or even damage to the new stereo and your vehicle’s electrical system.
With the wiring harness prepared, you’re now ready to move on to the next step: connecting the wiring harness to the new stereo.
Step 3: Connecting the Wiring Harness to the Stereo
Now that you have prepared the wiring harness, it’s time to connect it to the new stereo in your 2001 Chevy Silverado. Follow these steps to ensure a proper and secure connection:
- Locate the wiring harness on the back of the new stereo unit. It should have color-coded wires corresponding to the functions mentioned in the previous step.
- Take the prepared wiring harness adapter and connect it to the wiring harness on the back of the new stereo. The connectors should fit securely and click into place.
- Ensure that each wire from the wiring harness adapter properly matches its corresponding colored wire on the new stereo’s harness, maintaining proper polarity.
- Verify that all connections are secure by gently tugging on each wire. They should not come loose or disconnect easily.
Once the wiring harness is properly connected to the new stereo, you are one step closer to enjoying your upgraded audio system in your Silverado. However, before moving on to the next step, it’s crucial to test the stereo to ensure everything is working correctly.
Reconnect the negative terminal of your vehicle’s battery to restore power and then proceed to step 4: mounting the stereo to the dash.
Step 4: Mounting the Stereo to the Dash
With the wiring harness connected to the new stereo, it’s time to securely mount it to the dash of your 2001 Chevy Silverado. Follow these steps to ensure a stable installation:
- Start by placing the stereo mounting kit into the stereo opening in the dash. Ensure that it aligns properly and sits flush with the surrounding dash panels.
- Insert the new stereo unit into the mounting kit. Most mounting kits have a bracket or sleeve that holds the stereo securely in place. Follow the instructions specific to your kit for proper installation.
- Once the stereo is inserted, use a screwdriver or socket set to tighten any screws or clips that come with the mounting kit. This will ensure a secure and stable fit.
- Double-check the alignment and make any necessary adjustments to ensure the stereo is centered and level with the dash.
When mounting the stereo, it’s important to be gentle and not overtighten any screws or clips, as it could damage the dash or the stereo unit itself.
Now that the new stereo is securely mounted in the dash, it’s time to move on to the next step: testing the stereo to ensure proper functionality.
Step 5: Testing the Stereo
After mounting the new stereo in your 2001 Chevy Silverado, it’s crucial to test it before finalizing the installation. Follow these steps to ensure that everything is functioning correctly:
- Reconnect the negative terminal of your vehicle’s battery to restore power.
- Turn on the ignition to power up the stereo.
- Check that the stereo powers on without any issues. Look for any error messages or warning lights on the display.
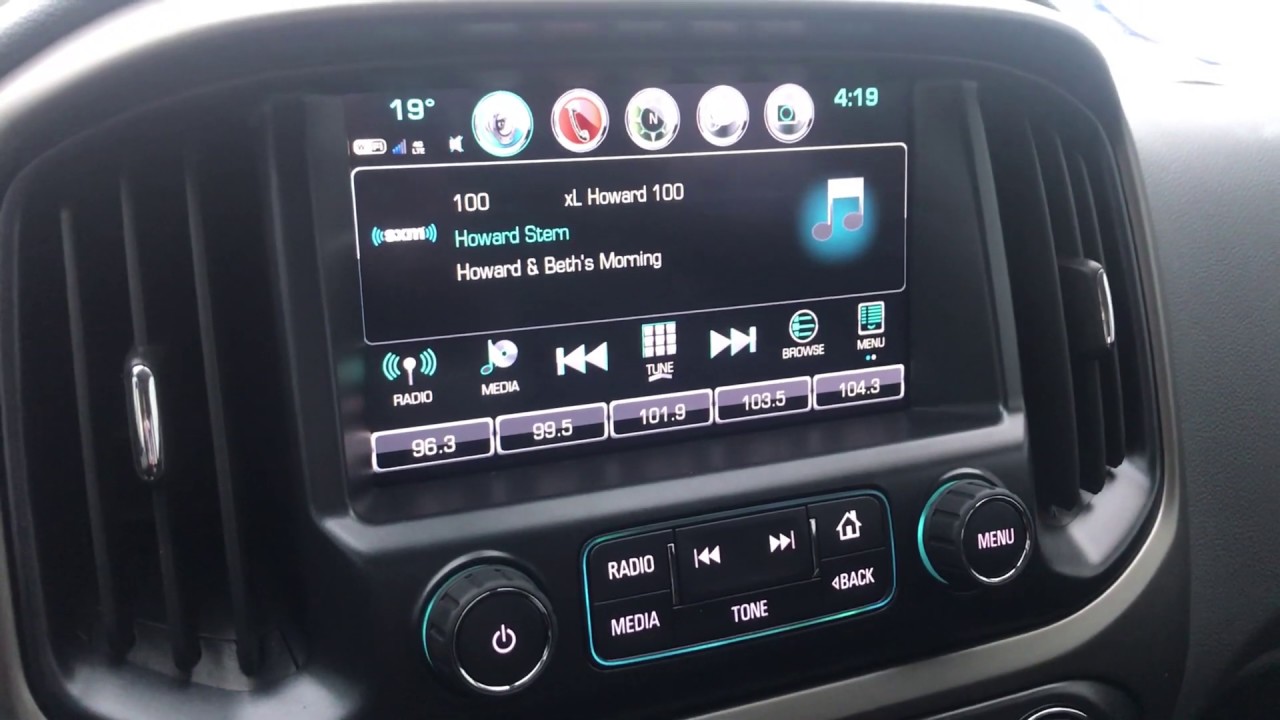
- Test the basic functions of the stereo, such as the volume control, audio sources (AM/FM radio, CD, AUX), and the menu navigation.
- If applicable, test any additional features of the stereo, such as Bluetooth connectivity, USB input, or smartphone integration.
- Check that the sound quality is satisfactory and that all speakers are functioning correctly.
- Adjust any settings or preferences as desired.
During the testing phase, pay attention to any unusual behavior, such as distorted sound, static, or malfunctioning buttons. If you encounter any issues, double-check the wiring connections and ensure that the wiring harness adapter is compatible with your vehicle’s make and model.
If everything is working as expected, you can proceed to the final step: securing and finishing the installation.
Step 6: Securing and Finishing the Installation
Once you have tested the new stereo in your 2001 Chevy Silverado and verified that everything is functioning correctly, it’s time to secure the installation and put the finishing touches. Follow these steps to complete the process:
- If there are any loose wires or cables, use zip ties or adhesive tape to secure them and prevent them from interfering with the operation of the stereo or other components in the dash.
- Ensure that all wiring connections are securely fastened and free from any potential hazards or obstructions.
- Replace any trim panels or dash components that were removed during the installation process. Carefully reattach them, making sure they snap or clip into place properly.
- Inspect the overall appearance of the dashboard and stereo installation. Ensure that the stereo unit is centered and aligned with the surrounding dashboard panels.
- Double-check that all control buttons and knobs are functioning correctly and that there are no loose fittings or gaps.
- Clean the dash and surrounding areas using appropriate cleaning products to remove any fingerprints or dirt accumulated during the installation process.
By securing and finishing the installation, you not only ensure the long-term functionality of the stereo but also maintain the aesthetics of the dashboard. This step adds the final polish to your upgraded audio system.
Congratulations! You have successfully completed the installation of a new stereo in your 2001 Chevy Silverado. Enjoy your enhanced audio experience and take pride in your DIY accomplishment.
If you have any questions or concerns, refer to the instructions provided by the stereo manufacturer or consult a professional for assistance. Happy listening!
Conclusion
Installing a new stereo in your 2001 Chevy Silverado can bring a refreshing upgrade to your audio system and enhance your driving experience. By following the step-by-step instructions provided in this guide, you can successfully remove the factory stereo and install a new one with ease.
Throughout the installation process, we discussed the tools and materials you’ll need, how to remove the factory stereo, preparing and connecting the wiring harness, mounting the new stereo to the dash, testing its functionality, and securing and finishing the installation. Each step is crucial to ensure a secure and functioning stereo system.
Remember to take your time during the installation process and stay organized. Double-check all connections, test the stereo thoroughly, and ensure everything is aligned and properly secured before finishing the installation.
Upgrading your stereo system allows you to enjoy better sound quality, access modern features like Bluetooth connectivity or touchscreen displays, and personalize your audio experience. It’s a worthwhile investment that can bring hours of entertainment and convenience while on the road.
If you encounter any difficulties or have specific questions about your specific vehicle or stereo model, consult the user manual or seek professional assistance. Following the manufacturer’s instructions and guidelines is essential for a successful installation.
We hope this guide has provided you with valuable insights and instructions to help you install a new stereo in your 2001 Chevy Silverado. Enjoy your new audio system and the enhanced driving experience it brings!