Home>Production & Technology>Stereo>How To Install A Stereo In A 2011 Chevy Malibu
Stereo
How To Install A Stereo In A 2011 Chevy Malibu
Published: November 25, 2023
Learn how to install a stereo in your 2011 Chevy Malibu with this step-by-step guide. Upgrade your car's audio system for a better driving experience.
(Many of the links in this article redirect to a specific reviewed product. Your purchase of these products through affiliate links helps to generate commission for AudioLover.com, at no extra cost. Learn more)
Table of Contents
Introduction
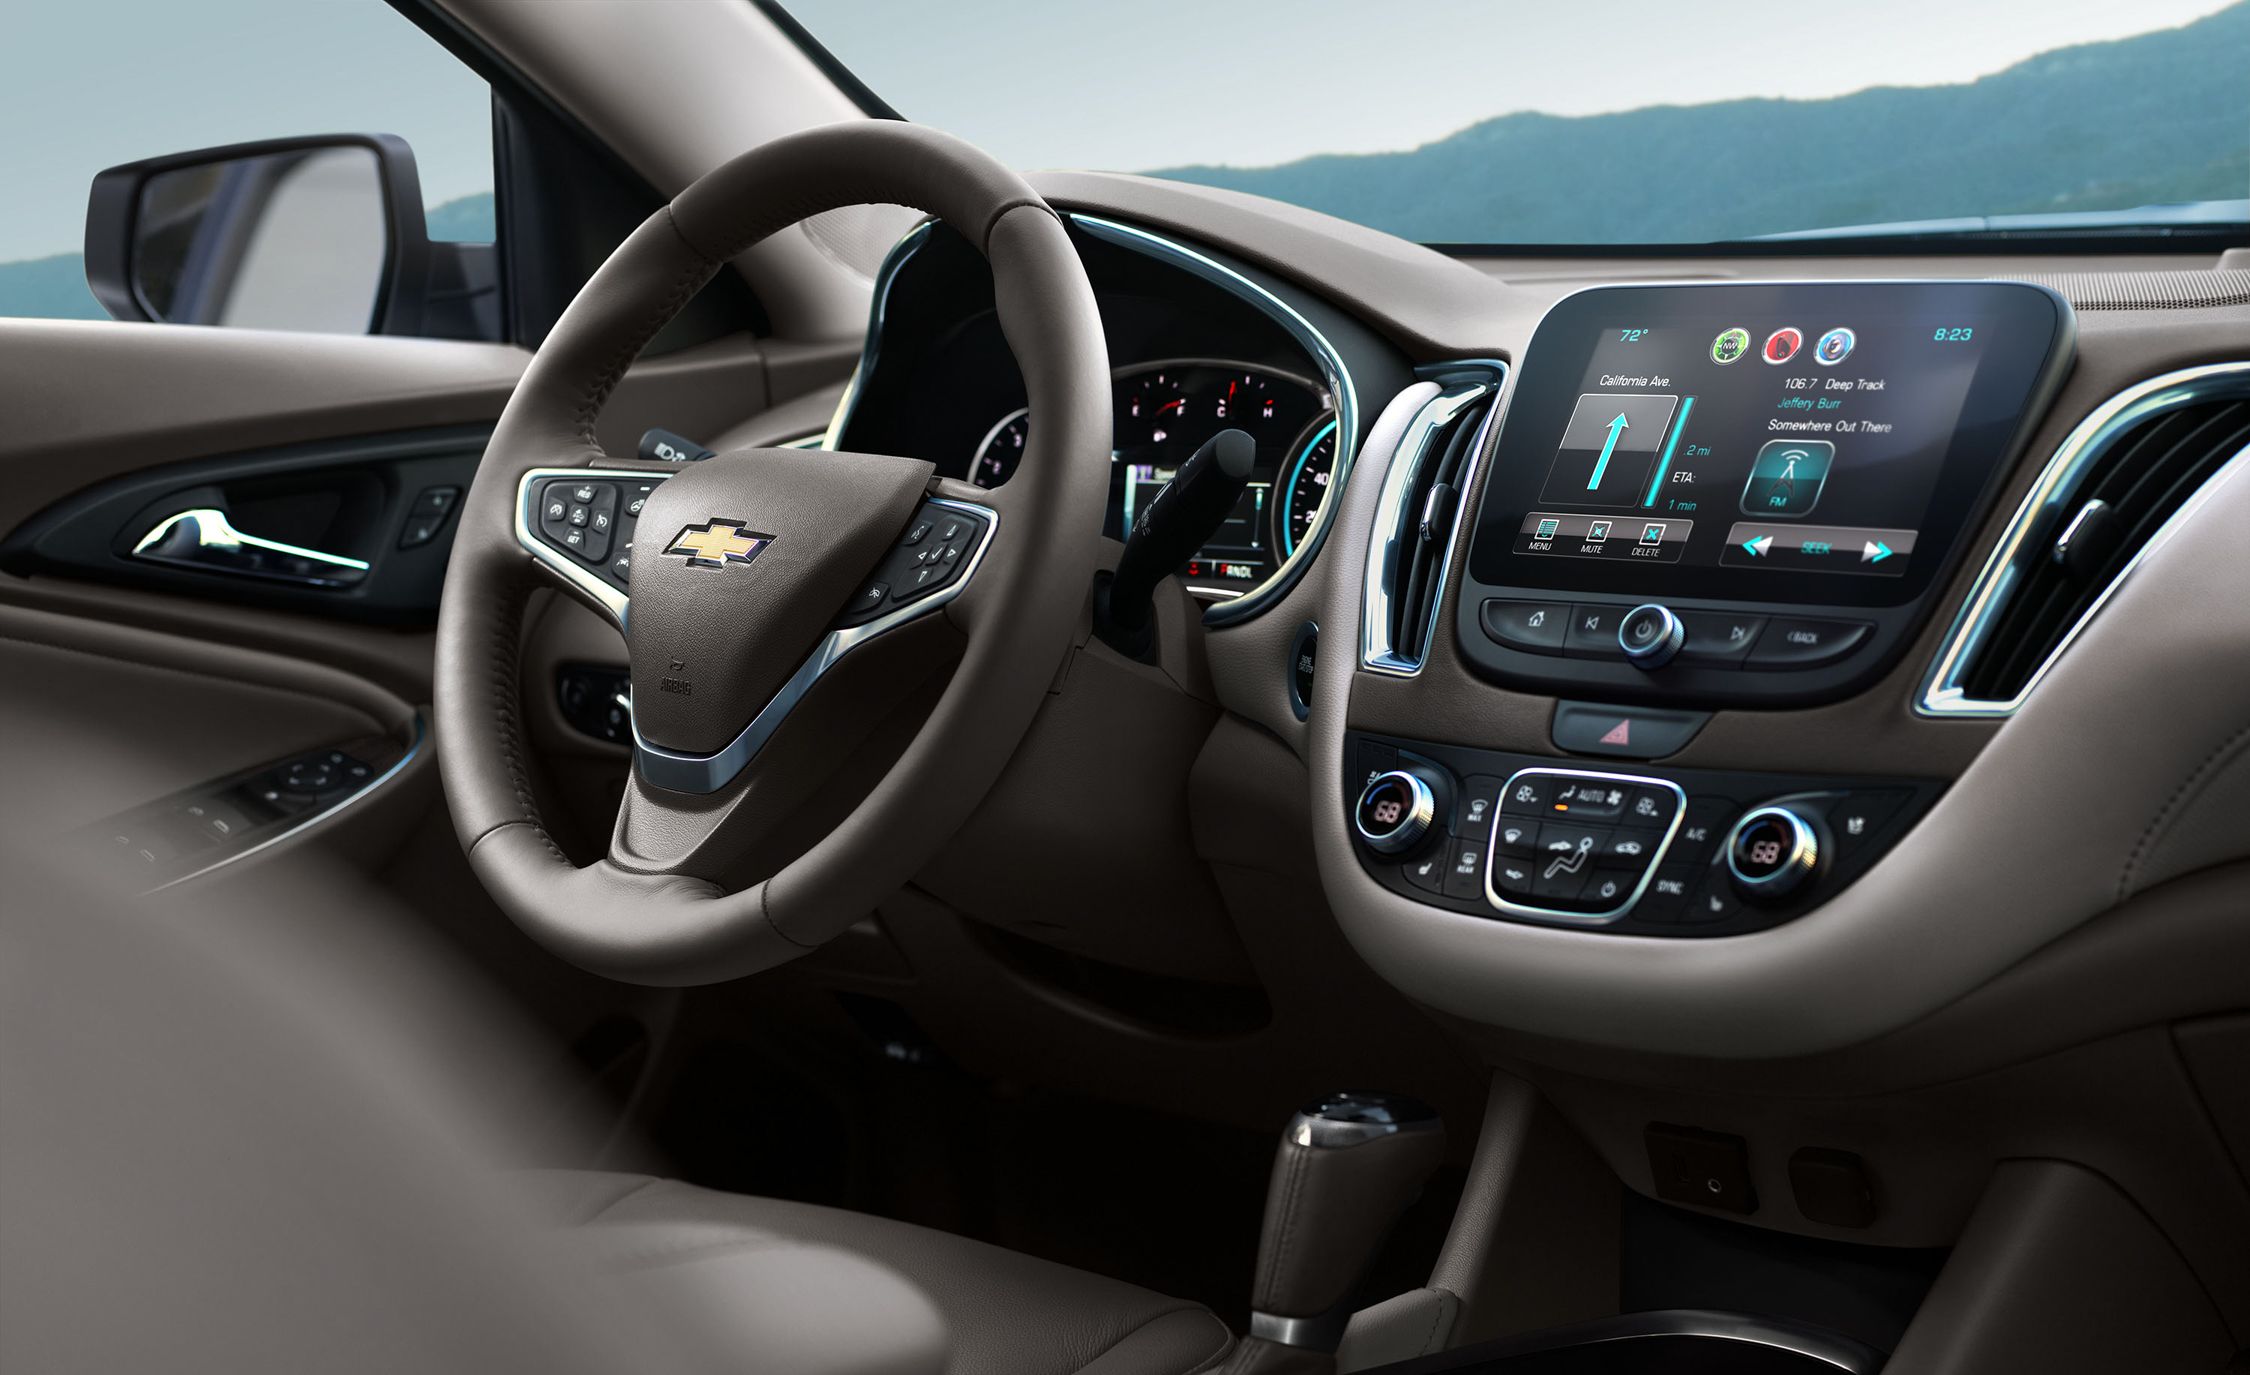
Installing a new stereo in your 2011 Chevy Malibu can significantly upgrade your car audio system and enhance your driving experience. Whether you want to enjoy your favorite music or have access to advanced features like Bluetooth connectivity, GPS navigation, or Apple CarPlay, replacing the factory stereo is a worthwhile upgrade.
With a few basic tools and some technical guidance, you can easily install a new stereo in your Chevy Malibu. This article will provide you with step-by-step instructions and tips to help you navigate the installation process.
Upgrading your car stereo not only improves the sound quality, but it also allows you to customize your in-car entertainment system to suit your preferences. Plus, with the advancement of technology, aftermarket stereo units offer a wide range of features that were not available in older models.
Before diving into the installation process, it’s important to gather the necessary tools and materials. These will ensure a smooth and successful installation. Remember, it’s always a good idea to consult the user manual provided by the manufacturer of your new stereo to familiarize yourself with specific instructions or requirements.
In the following sections, we will cover the step-by-step process of installing a new stereo in your 2011 Chevy Malibu. We will discuss removing the factory stereo, preparing the wiring harness, connecting the wiring harness, mounting the new stereo unit, and finally, testing the installation.
By the end of this article, you will have the knowledge and confidence to replace your factory stereo with an aftermarket unit, allowing you to enjoy a more immersive and personalized audio experience while driving your Chevy Malibu.
Tools and Materials Needed
Before starting the installation process, make sure you have the following tools and materials on hand:
- Screwdriver set: You will need a set of screwdrivers, including Phillips and flathead, to remove screws and fasteners.
- Trim removal tools: These special tools are designed to safely remove interior panels and trims without causing any damage.
- Socket wrench set: Depending on the type of screws used, you may need a socket wrench set to loosen and remove the stereo unit.
- Wire cutters and crimpers: These tools will be required for preparing and connecting the wiring harness.
- Electrical tape: Use electrical tape to insulate and secure wire connections.
- Heat shrink tubing (optional): Heat shrink tubing provides a more secure and professional-looking insulation for wire connections.
- Trim panel removal tool (optional): If your vehicle has a recessed stereo, a trim panel removal tool can make it easier to access the unit.
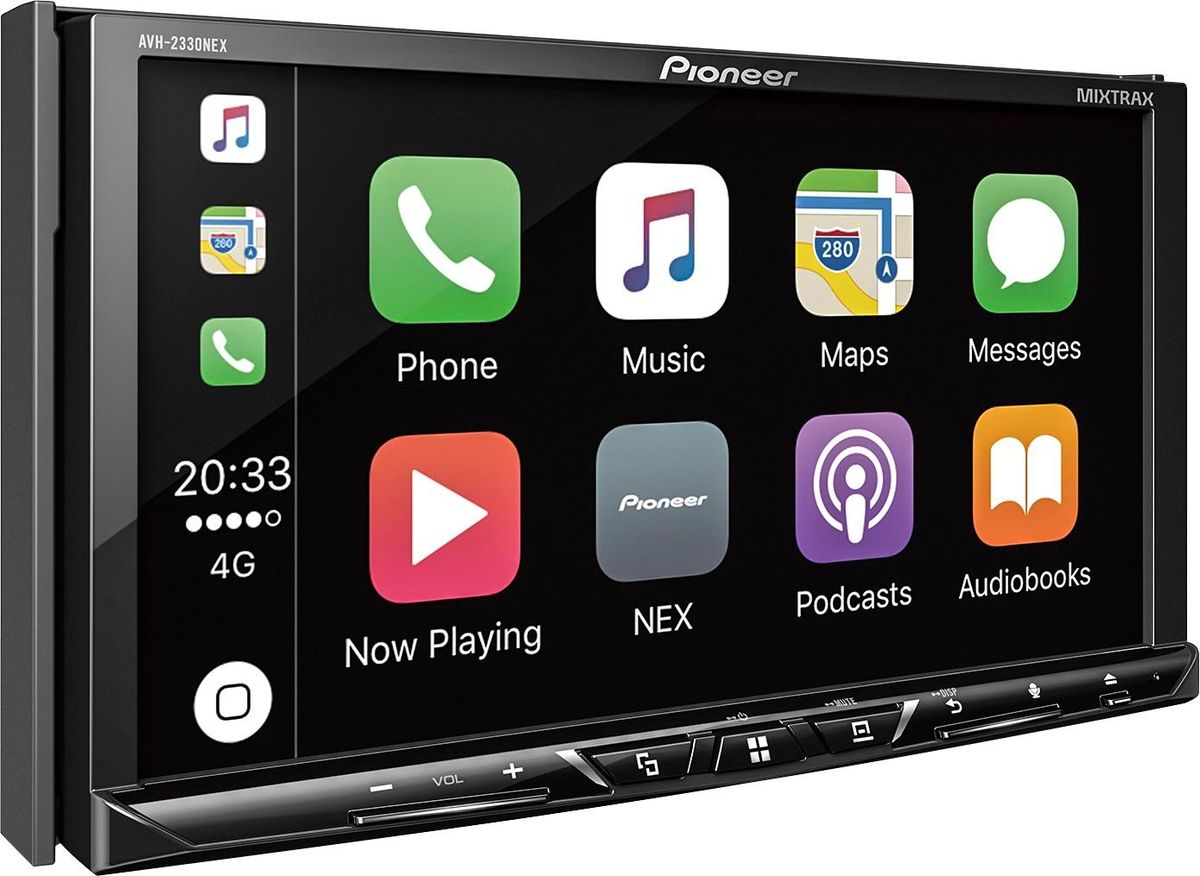
- New stereo unit: Choose a stereo unit that fits your Chevy Malibu’s year and model and offers the features you desire, such as Bluetooth, USB, CD player, or auxiliary input.
- Wiring harness adapter: This is essential for connecting your new stereo to the car’s wiring system without cutting or splicing any wires.
- Antenna adapter (if necessary): Some aftermarket stereos require an antenna adapter to connect the car’s antenna properly.
Having these tools and materials readily available will make the installation process much smoother and more efficient. It’s always a good idea to double-check the compatibility of the new stereo unit with your specific vehicle make and model before making a purchase.
Now that you have gathered all the necessary tools and materials, it’s time to begin removing the factory stereo from your 2011 Chevy Malibu.
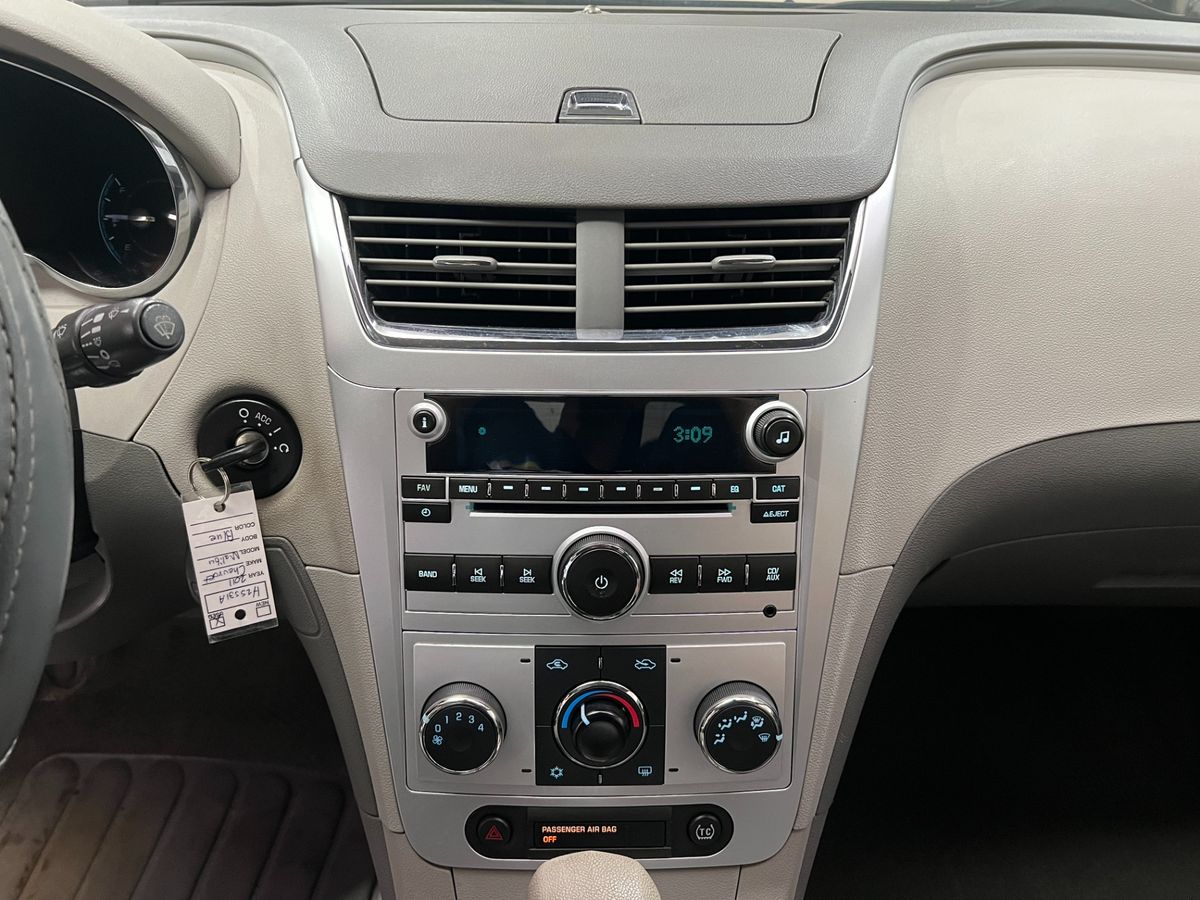
Removing the Factory Stereo
Before installing a new stereo in your 2011 Chevy Malibu, you need to remove the factory stereo unit. Follow these steps to safely remove the existing stereo:
- Disconnect the negative terminal of the car battery to prevent any electrical mishaps.
- Using a trim removal tool, carefully remove the trim panel surrounding the stereo. Start from one corner and gently pry the panel away from the dashboard. Be cautious not to damage the panel or any surrounding components.
- Once the trim panel is removed, you will expose the mounting screws or bolts holding the stereo unit in place. Use the appropriate screwdriver or socket wrench to remove these screws or bolts. Keep them in a safe place for later use.
- Gently pull the stereo unit out of the dash. You may need to use a bit of force, but be careful not to pull any wires that may be connected to the back of the stereo unit.
- Identify the wiring harness connected to the back of the factory stereo. Pinch the release tab on the harness and gently unplug it from the stereo unit.
- Depending on the setup, you may also need to disconnect the antenna cable from the back of the stereo. Detach it carefully to avoid damaging the connector.
Once the factory stereo is completely disconnected, you can set it aside. Take a moment to compare the wiring harnesses of the factory stereo and the new stereo to ensure compatibility. If necessary, use a wiring harness adapter to connect the new stereo to the car’s wiring system.
Removing the factory stereo is a crucial first step in the installation process. By following these steps carefully, you can easily prepare your 2011 Chevy Malibu for the installation of a new stereo unit. Next, we will discuss how to prepare the wiring harness for the new stereo.
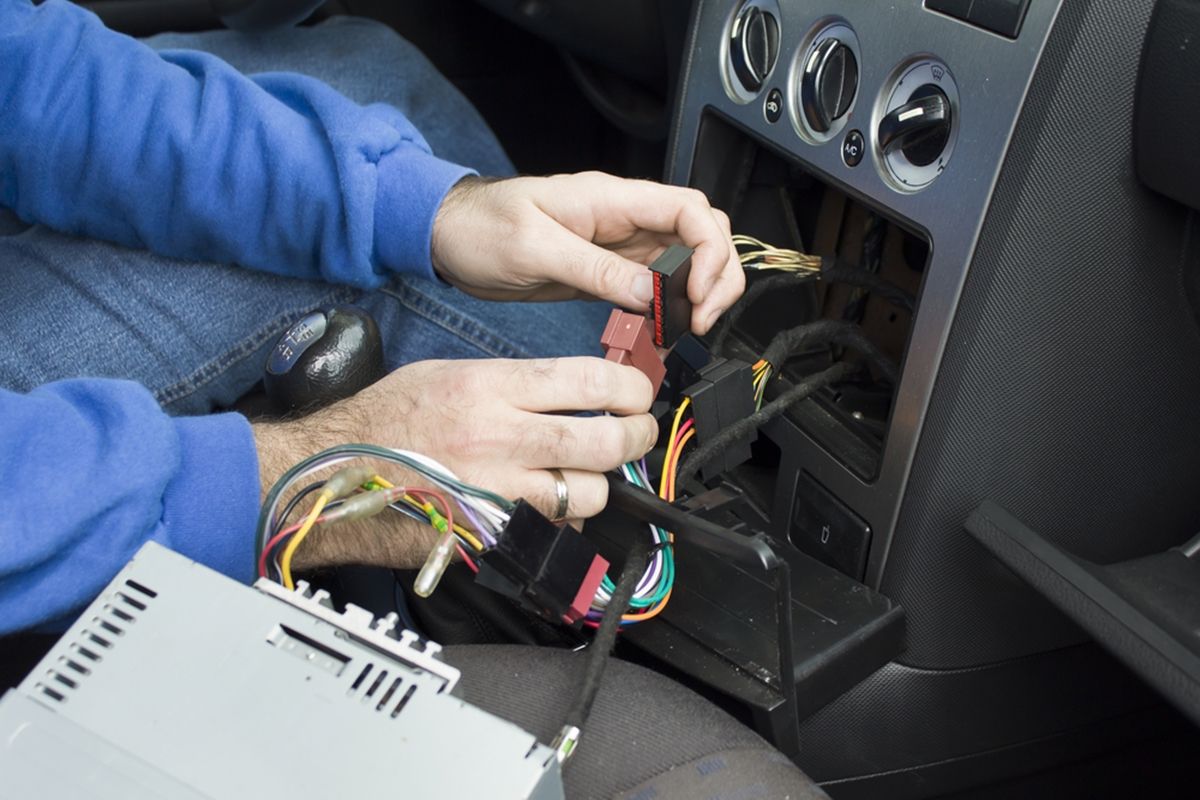
Preparing the Wiring Harness
To successfully install a new stereo in your 2011 Chevy Malibu, you need to prepare the wiring harness. This involves making the necessary connections between the car’s wiring system and the new stereo unit. Follow these steps to prepare the wiring harness:
- Start by identifying the wiring harness adapter that matches your car make and model. This adapter will allow you to connect the new stereo to the car’s wiring system without cutting or splicing any wires.
- Compare the color-coded wires of the wiring harness adapter with those of the new stereo’s wiring harness. Match the wires based on their color and function, such as power, ground, speaker wires, and so on. Refer to the wiring diagrams provided by the new stereo’s manufacturer if needed.
- Strip about 1/2 inch of insulation from the end of each wire in the wiring harness adapter and the new stereo’s wiring harness.
- Twist the exposed wire strands together to create a secure connection. If desired, you can also use crimp connectors or solder the wires for added stability.
- Once the wires are securely connected, cover each connection with electrical tape or heat shrink tubing for insulation and protection against short circuits.
- Repeat this process for each wire connection, following the color and function matching between the wiring harness adapter and the new stereo’s harness.
Taking the time to properly prepare the wiring harness is essential for a successful installation. It ensures that the new stereo unit will be able to receive power and audio signals from your 2011 Chevy Malibu’s wiring system. By following these steps, you can ensure a seamless connection and minimize the risk of electrical issues.
Now that the wiring harness is prepared, you are ready to move on to the next step: connecting the wiring harness to the new stereo unit.
Connecting the Wiring Harness
With the wiring harness prepared, it’s time to connect it to the new stereo unit in your 2011 Chevy Malibu. Follow these steps to ensure a secure and proper connection:
- Locate the wiring harness of the new stereo unit. It should be clearly labeled with the corresponding wire functions.
- Take the wiring harness adapter that you prepared in the previous step and plug it into the corresponding port on the back of the new stereo unit. Ensure that the connection is secure and the adapter is fully inserted.
- Make sure to match the wire colors and functions between the wiring harness adapter and the new stereo’s harness. Connect each wire by inserting it into the corresponding slot on the adapter and firmly pressing it in place. You may hear a click to indicate a secure connection.
- Continue connecting each wire until all the necessary connections have been made, including power, ground, speaker wires, and any other auxiliary or control wires.
- If your new stereo requires an antenna adapter, connect it to the antenna cable coming from the car. Follow the manufacturer’s instructions for proper connection.
Once all the wiring connections are made, carefully tuck the wiring harness and any excess wires behind the stereo unit. It’s important to ensure that the wires do not interfere with the installation or any surrounding components. They should be neatly organized and secured in place.
Double-check all the connections to make sure they are properly seated and secure. Any loose or improperly connected wires can lead to functionality issues or even damage to the new stereo unit.
With the wiring harness successfully connected, you have completed a critical step in installing the new stereo in your 2011 Chevy Malibu. The next section will guide you through the process of mounting the new stereo unit into the dash.
Mounting the New Stereo Unit
Now that the wiring harness is connected, it’s time to mount the new stereo unit into the dash of your 2011 Chevy Malibu. Follow these steps to ensure a secure and stable installation:
- Take the new stereo unit and carefully slide it into the empty stereo mounting slot in the dash. Be gentle to avoid damaging the wiring harness connections or any other components in the dash.
- As you slide the stereo unit in, align the screw holes on the sides of the unit with the corresponding holes in the dash. This will allow you to securely fasten the stereo unit in place later.
- Once the stereo unit is correctly positioned, retrieve the screws or bolts that you removed earlier to secure the factory stereo. Insert them into the screw holes on the sides of the stereo unit and tighten them using a screwdriver or socket wrench.
- Ensure that the stereo unit is securely mounted and does not wobble or move when pressed. A stable installation is crucial to prevent the stereo from coming loose while driving.
- Double-check all the controls and buttons on the stereo unit to ensure they are easily accessible and function properly. Make any necessary adjustments to the position of the stereo unit if needed.
Once the new stereo unit is securely mounted, take a moment to admire your work. You have successfully installed a new stereo in your 2011 Chevy Malibu. However, before completing the process, it’s important to test the installation and make sure everything is functioning correctly.
The next section will guide you through the process of testing the installation to ensure optimal performance and audio quality.
Testing the Installation
After mounting the new stereo unit in your 2011 Chevy Malibu, it’s crucial to test the installation to ensure everything is working properly. Follow these steps to verify the functionality and audio quality of your new stereo:
- Reconnect the negative terminal of the car battery that you previously disconnected. This will restore power to the car’s electrical system.
- Turn on the ignition and power up the new stereo unit. Check if it powers on and displays the appropriate screen or menu.
- Test the basic functions of the stereo, such as volume control, tuning, and source selection. Ensure that all the buttons and knobs are responsive.
- Check the audio quality and balance by playing a song or audio file. Make sure that all the speakers are functioning correctly and producing sound.
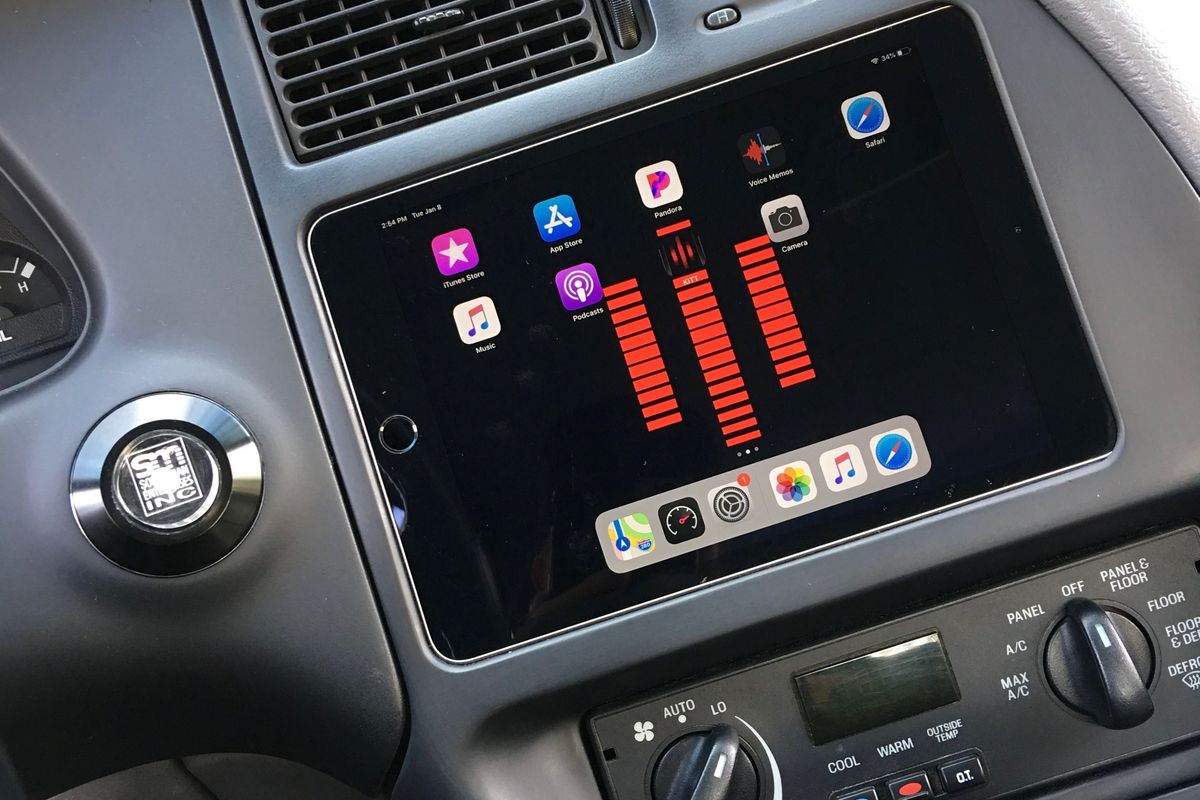
- If your new stereo has additional features like Bluetooth connectivity, GPS navigation, or Apple CarPlay, test these functions to confirm their proper functionality.
- Verify that the steering wheel controls, if applicable, are working with the new stereo. If not, consult the user manual or contact the manufacturer for assistance.
During the testing process, pay attention to any unusual noises, distortion, or other issues with the audio quality. If you encounter any problems, double-check the wiring connections and ensure that all the wires are securely connected. It’s also a good idea to consult the user manual of the new stereo unit for troubleshooting tips.
Once you are satisfied with the functionality and audio quality of your new stereo, you can proceed to complete the installation process. Make sure to secure any loose wiring or excess wires behind the stereo unit and reattach any trim panels or trims that were removed during the process.
Congratulations! You have successfully installed a new stereo in your 2011 Chevy Malibu. Enjoy your upgraded audio system and enhanced driving experience.
Conclusion
Installing a new stereo in your 2011 Chevy Malibu is a rewarding project that can greatly enhance your driving experience. By following the step-by-step instructions provided in this article, you can replace the factory stereo with a modern aftermarket unit that offers advanced features and improved audio quality.
Throughout the installation process, we discussed the tools and materials needed to complete the project successfully. We covered the steps of removing the factory stereo, preparing and connecting the wiring harness, and mounting the new stereo unit into the dash. Lastly, we emphasized the importance of testing the installation to ensure optimal functionality and audio performance.
With your new stereo installed, you can now enjoy your favorite music, podcasts, and other audio content with enhanced sound quality. Additionally, features like Bluetooth connectivity, navigation system, and Apple CarPlay can make your driving experience more convenient and enjoyable.
Remember to take your time during the installation process, double-check all the connections, and refer to the user manual provided by the manufacturer of your new stereo unit for any specific instructions or troubleshooting tips.
We hope that this guide has been informative and helpful in guiding you through the process of installing a new stereo in your 2011 Chevy Malibu. Enjoy your upgraded audio system and happy driving!