Home>Devices & Equipment>Radio>Why Is My Car Radio Not Working

Radio
Why Is My Car Radio Not Working
Modified: January 22, 2024
Facing issues with your car radio? Find out why it's not working and get expert solutions to fix it. Don't miss out on enjoying your favorite tunes while driving.
(Many of the links in this article redirect to a specific reviewed product. Your purchase of these products through affiliate links helps to generate commission for AudioLover.com, at no extra cost. Learn more)
Table of Contents
Introduction
The car radio is an essential component of any vehicle, providing entertainment and important information while on the road. Whether you enjoy listening to your favorite music or staying up-to-date with the latest news and traffic updates, a functioning car radio is crucial. However, there may come a time when you encounter issues with your car radio not working.
When your car radio malfunctions, it can be frustrating and distracting, especially during long drives or daily commutes. Understanding the common causes of car radio problems can help you troubleshoot the issue and potentially resolve it on your own. In this article, we will explore some of the most common reasons why your car radio may not be working and provide you with troubleshooting tips to address the problem.
Before delving into the specific causes of car radio malfunctions, it is important to note that not all issues can be easily resolved without professional assistance. In some cases, a malfunctioning car radio may require the expertise of a qualified technician. However, by familiarizing yourself with the common causes, you may be able to identify and address simpler issues on your own.
Now, let’s dive into the potential reasons why your car radio might not be functioning properly, and learn how to troubleshoot these issues effectively.
Common Causes of Car Radio Malfunctions
When your car radio stops working, it can be frustrating and inconvenient. However, understanding the common causes of car radio malfunctions can help you narrow down the potential issues and find a solution. Here are some of the most frequent reasons why your car radio may not be working:
- Faulty Fuse: A blown fuse is one of the primary culprits behind a non-functioning car radio. Fuses protect the electrical components of your vehicle, including the radio, from power surges. If the fuse related to the radio has blown, it needs to be replaced to restore functionality.
- Loose Wiring: Loose or disconnected wiring can disrupt the electrical connection to the car radio, resulting in a loss of power or signal. Over time, vibrations and regular use can cause wires to become loose. Checking the wiring connections behind the radio and ensuring they are securely attached can help resolve this issue.
- Antenna Issues: The radio antenna is responsible for receiving the radio signal. If the antenna is damaged, corroded, or not connected properly, it can lead to poor reception or no signal at all. Inspecting the antenna and replacing it if necessary can help restore the radio’s functionality.
- Problems with the Audio System: In some cases, the issue may not lie solely with the car radio itself but with the audio system as a whole. Faulty speakers, amplifier problems, or issues with the audio control module can all affect the performance of the car radio. Diagnosing and repairing these components may be necessary to restore proper functionality.
- Dead Battery: A dead or disconnected battery can also cause the car radio to stop working. If the battery is not providing enough power to the electrical system, the radio may not turn on. Checking the battery’s voltage and ensuring it is properly connected can help resolve this issue.
It’s important to note that these are just some of the common causes of car radio malfunctions. Other factors such as software glitches, faulty radio components, or even water damage can also contribute to radio issues. If you are unable to identify and fix the problem on your own, it is recommended to seek the assistance of a professional car audio technician.
Now that we have explored the common causes of car radio malfunctions, it’s time to move on to troubleshooting tips that can help you address these issues effectively.
Faulty Fuse
A blown or faulty fuse is a common culprit when it comes to a car radio not working. The fuse acts as a protection mechanism, preventing electrical overloads that can damage the radio or other components of the vehicle’s electrical system.
To determine if a faulty fuse is causing the radio malfunction, you will need to locate the fuse box in your car. The fuse box is usually found in the engine compartment or on the driver’s side kick panel. Refer to your vehicle’s manual for the exact location.
Once you’ve located the fuse box, open it and inspect the radio fuse. It is often labeled as “RADIO” or “AUDIO.” Check if the fuse is blown by looking for a break or discoloration in the metallic strip inside the fuse. If the fuse is damaged, you will need to replace it with a new one of the same amperage rating.
Most fuse boxes come with a fuse puller tool and a diagram that outlines the fuse locations and ratings. If you’re unsure which fuse controls the radio, consult the diagram or the vehicle’s manual for guidance.
It’s important to note that simply replacing a blown fuse may not solve the underlying issue. If the newly replaced fuse blows again, there may be an electrical problem with the radio or another component in the system. In such cases, it is recommended to have a professional diagnose and repair the issue.
Remember to always disconnect the car’s battery before replacing a fuse to prevent any electrical shocks or short circuits.
After replacing the fuse, test the radio to see if it is functioning properly. If the radio continues to have issues or does not turn on at all, there may be another cause at play. In such situations, it is best to move on to the next troubleshooting step to further investigate the problem.
Now that we have covered the potential issue of a faulty fuse, let’s move on to the next common cause of car radio malfunctions: loose wiring.
Loose Wiring
Loose or disconnected wiring can often contribute to a car radio malfunction. The vibrations and movements that occur while driving can cause wires to become loose over time, resulting in a weak or interrupted electrical connection.
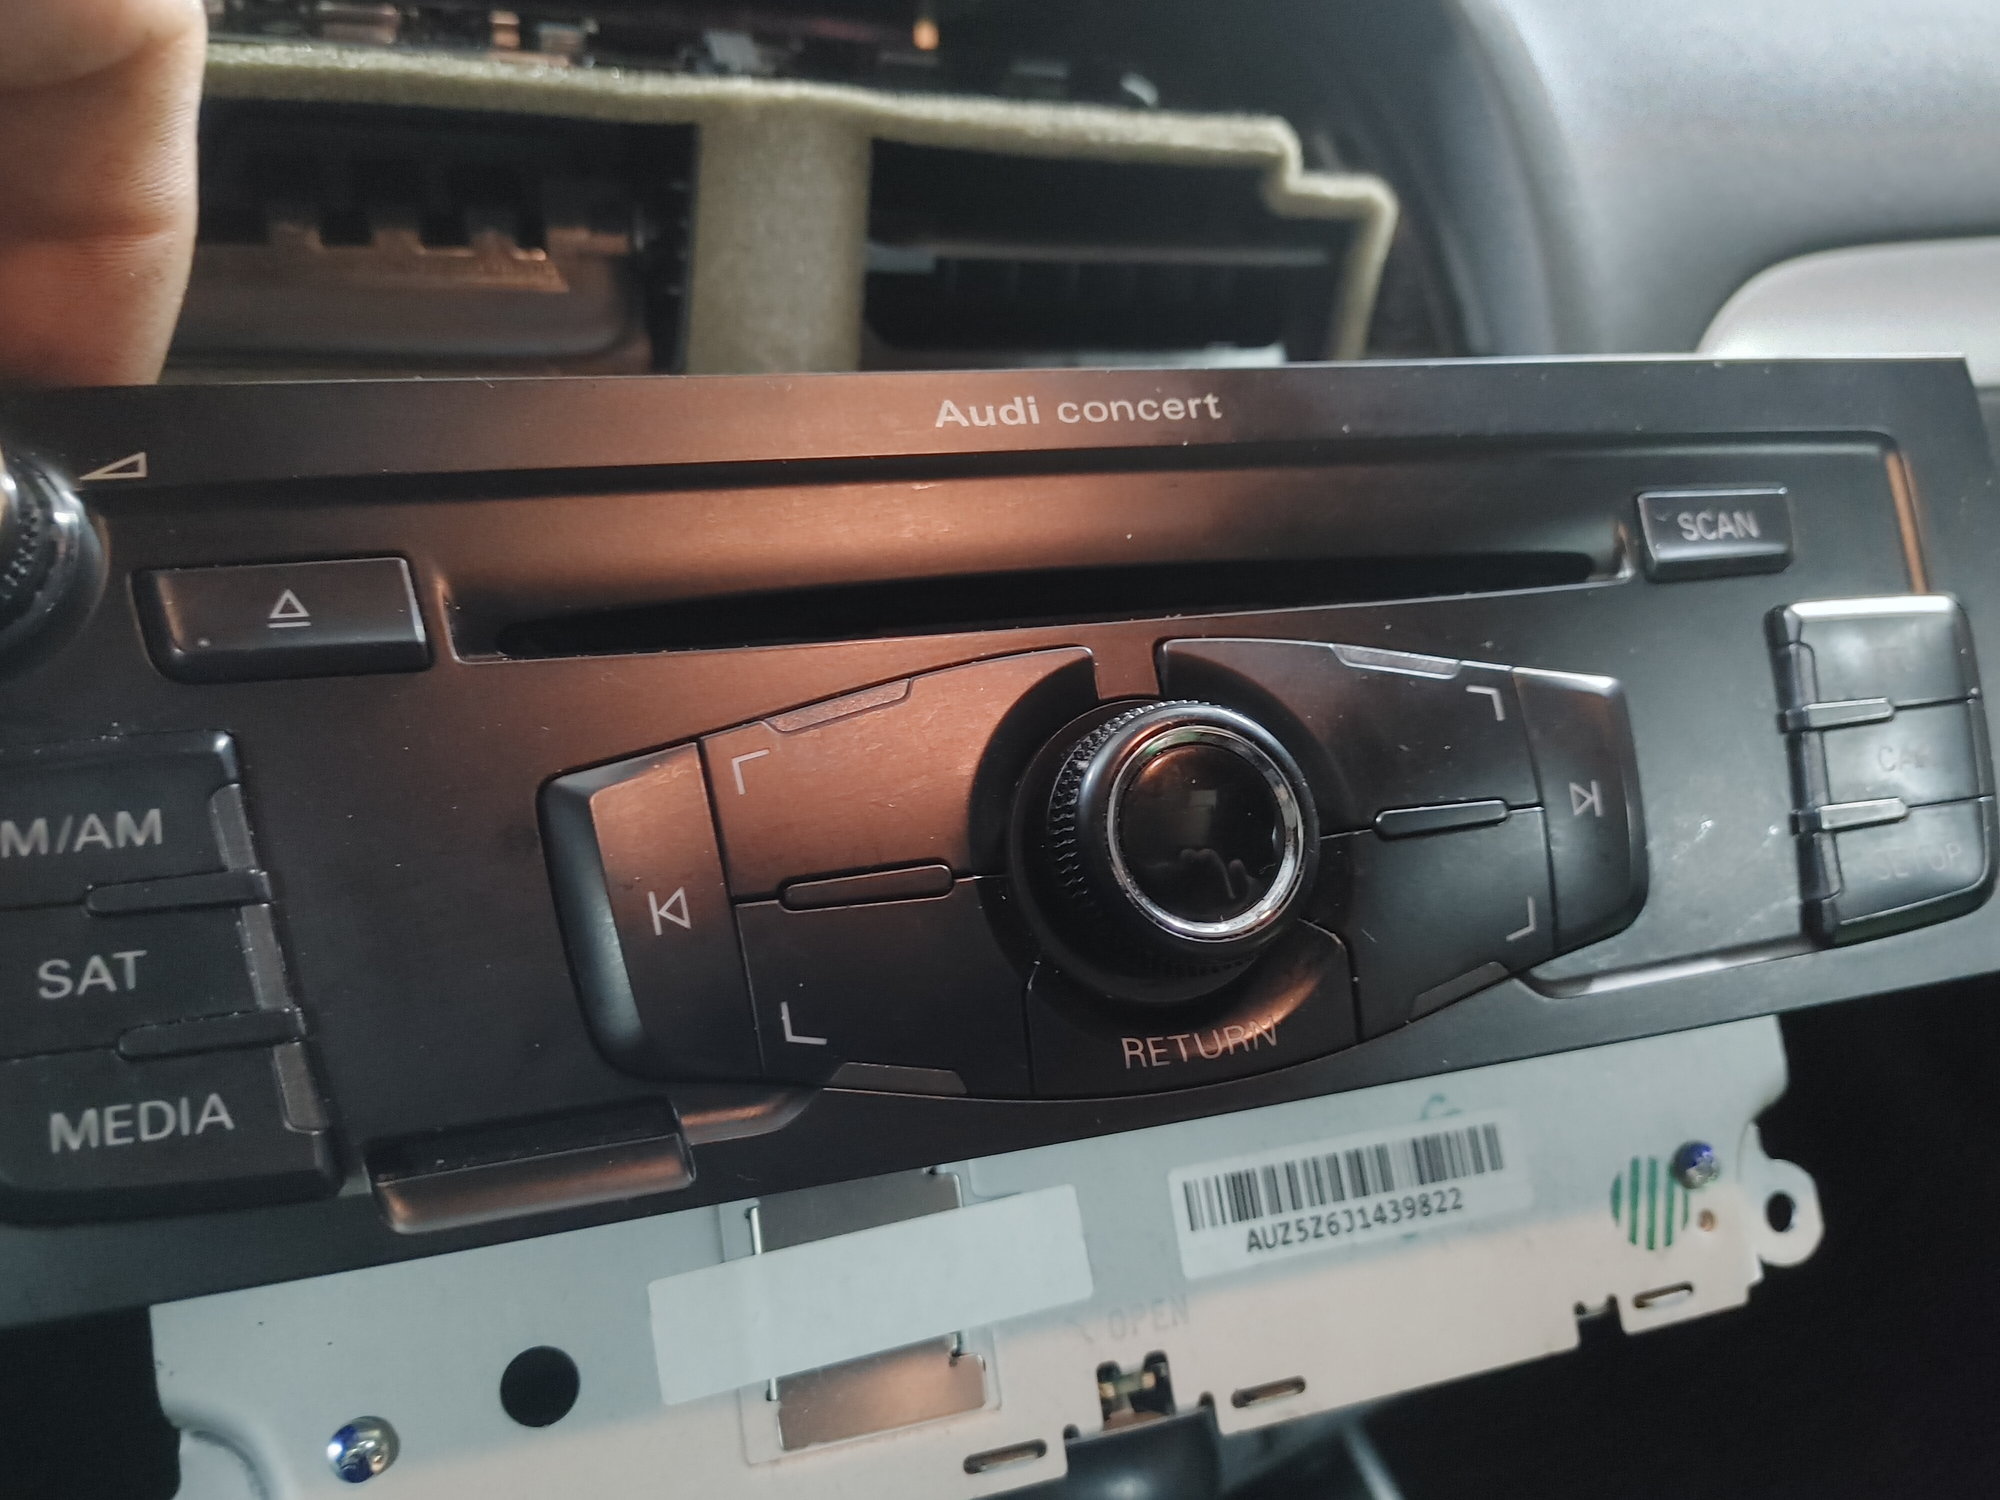
To check for loose wiring, you’ll need to access the back of your car radio. Start by removing the radio from its housing following the manufacturer’s instructions. Be cautious and gentle to avoid damaging any components.
Once you have access to the back of the radio, inspect the wiring connections. Ensure that all the wires are securely connected to their respective terminals. Look for any loose or disconnected wires that may be causing the issue.
If you find any loose wires, carefully reconnect them to their appropriate terminals. Use caution and follow the color-coded markings on the wires to ensure proper connections. You may need to use wire connectors or electrical tape to secure the connections and prevent them from coming loose again.
While inspecting the wiring, also check for any signs of wire damage, such as fraying or exposed wires. If you notice any damaged wires, it is recommended to replace them with new ones to ensure a proper and safe connection.
After rechecking and securing all the wiring connections, reinstall the radio back into its housing and test it to see if the issue has been resolved.
If the loose wiring was the cause of the radio malfunction, you should now have a properly functioning radio. However, if the radio continues to have issues or does not turn on, there may be another underlying problem. In such cases, it is advisable to proceed to the next troubleshooting step to further investigate the issue.
Next, we will explore the potential issue of antenna problems and how to address them.
Antenna Issues
The antenna is a vital component of the car radio system as it is responsible for receiving radio signals. When the antenna is damaged, not connected properly, or facing other issues, it can result in poor radio reception or no signal at all.
To check for antenna issues, start by inspecting the external antenna on your vehicle. Look for any visible signs of damage, such as bent, broken, or corroded parts. If you notice any damage, it may be necessary to replace the antenna to restore proper radio functionality.
Ensure that the antenna is securely fastened to its mount and that all connectors and cables are properly connected. Loose connections can disrupt the signal reception and cause radio malfunctions. Tighten any loose bolts or connectors and make sure they are snugly in place.
If your vehicle has an internal antenna integrated into the windshield or rear window, ensure that it is not obstructed by any objects or window tinting, as this can interfere with signal reception. Clear any obstructions and ensure a clear line of sight for the antenna.
In some cases, the issue may not be with the antenna itself, but with the antenna cable or the antenna amplifier. Check the antenna cable for any visible damage or wear. If the cable is damaged, it may need to be replaced. Additionally, inspect the antenna amplifier, if your vehicle is equipped with one, and ensure it is functioning properly.
It’s worth mentioning that interference from nearby electronic devices or structures can also affect radio reception. If you park your vehicle near high-power electrical equipment or in an area with weak radio frequency signals, it can impact the radio reception. Consider parking in a different location or testing the radio in a different area to rule out external interference.
After inspecting and addressing any antenna issues, test the radio again to see if the problem has been resolved. If the radio continues to exhibit malfunctioning symptoms or fails to work, it may be necessary to move on to the next troubleshooting step.
Next, we will explore potential problems with the audio system as a whole and how they can impact the functionality of the car radio.
Problems with the Audio System
While the car radio itself is the main focus when troubleshooting radio malfunctions, it’s important to consider that the issue may lie within the audio system as a whole. Problems with speakers, amplifier issues, or faults with the audio control module can all impact the performance of the car radio.
Start by checking the speakers in your vehicle. If you’re experiencing distorted or no sound from the radio, it’s possible that one or more of the speakers are faulty or damaged. Test each speaker individually by adjusting the audio balance and fade settings. If you notice that one or more speakers are not producing sound or producing poor quality sound, they may need to be repaired or replaced.
Next, examine the amplifier if your vehicle is equipped with one. The amplifier is responsible for boosting the audio signal to the speakers. Check the connections to the amplifier to ensure they are securely plugged in. Additionally, inspect the amplifier for any signs of damage or overheating. Faulty or damaged amplifiers may need to be repaired or replaced to restore proper audio functionality.
The audio control module, also known as the head unit or stereo unit, controls the functions of the car radio. If this module is malfunctioning, it can result in issues with the radio, such as no sound or non-responsive controls. Consider resetting the audio control module by disconnecting the car battery for a few minutes and then reconnecting it. This can help resolve minor software glitches that may be impacting the functionality of the radio.
If you’ve checked the speakers, amplifier, and audio control module and the radio is still not functioning properly, it’s recommended to seek professional assistance. An experienced car audio technician can diagnose and repair any complex issues with the audio system that may require specialized knowledge and equipment.
Now that we’ve explored problems with the audio system, let’s move on to another potential cause of car radio malfunctions: a dead or disconnected battery.
Dead Battery
A dead or disconnected battery can also be a significant factor contributing to a car radio not working. The battery is responsible for providing power to the vehicle’s electrical system, including the radio. If the battery is dead or not properly connected, the radio may not turn on or function correctly.
Start by checking the battery voltage using a multimeter. The voltage should typically be around 12 volts for a fully charged battery. If the reading is significantly lower than 12 volts, the battery may be discharged and in need of recharging or replacement.
If the battery is discharged, you can try jump-starting your vehicle using jumper cables and another vehicle with a functioning battery. Once the vehicle is running, test the radio to see if it starts working again. If the radio functions properly after jump-starting, it indicates that the battery was the issue.
Ensure the battery terminals are clean, securely tightened, and free from corrosion. Corroded or loose battery terminals can disrupt the electrical connection and affect the performance of the radio. Clean the terminals using a battery terminal cleaner or a mixture of baking soda and water, then securely tighten them.
If you find that the battery is in good condition and properly connected, but the radio still does not work, there may be an issue with the radio itself or another component of the vehicle’s electrical system. In this case, it is recommended to seek professional assistance from a qualified car audio technician to diagnose and resolve the problem.
Remember that car batteries have a limited lifespan, typically around 3-5 years, depending on usage and maintenance. If your battery is old or frequently experiencing issues, it may be time for a replacement.
Now that we’ve explored the potential causes of a car radio not working, let’s move on to some troubleshooting tips to help you address these issues effectively.
Troubleshooting Tips for Car Radio Issues
When faced with a car radio malfunction, there are several troubleshooting steps you can take to try and resolve the issue on your own. While these tips won’t cover every possible scenario, they can help you identify and address common problems. Here are some troubleshooting tips for car radio issues:
- Check the Fuse Box: Start by checking the fuse related to the radio. If the fuse is blown, replace it with a new one of the same amperage rating. Keep in mind that a blown fuse may indicate an underlying issue that needs to be addressed.
- Inspect the Wiring: Examine the wiring connections behind the radio. Ensure that all wires are securely connected and there are no loose or damaged wires. Reconnect or replace any problematic wiring as needed.
- Examine the Antenna: Inspect the external antenna for any damage or corrosion. Ensure that it is securely fastened and properly connected. If necessary, consider replacing the antenna to improve signal reception.
- Test the Audio System: Check the speakers, amplifier, and audio control module for any issues. Ensure that the speakers are functioning properly, the amplifier is in good condition, and the audio control module is not experiencing any software glitches.
- Verify the Battery Status: Check the battery voltage using a multimeter. If the battery is discharged, try jump-starting the vehicle and test the radio. Clean and tighten the battery terminals to ensure a secure connection.
After going through these troubleshooting steps, test the radio to see if it is functioning correctly. If the issue persists, it may be necessary to seek professional assistance from an experienced car audio technician. They have the knowledge and tools to diagnose and resolve more complex radio problems.
Remember to consult your vehicle’s manual for model-specific troubleshooting tips and instructions. Additionally, exercise caution when working with electrical components and always disconnect the car battery when performing any repairs or inspections.
By following these troubleshooting tips, you can potentially resolve common car radio issues and get back to enjoying your favorite tunes or staying informed on the latest news while on the road.
Now, let’s wrap up this article.
Check the Fuse Box
When faced with a car radio issue, one of the first steps you should take is to check the fuse box. Many car radio problems can be traced back to a blown fuse. Fuses act as protective devices that prevent electrical overloads, safeguarding the radio and other electrical components in your vehicle.
To check the fuse box, locate it in your car. The fuse box is commonly located in the engine compartment, near the battery, or on the driver’s side kick panel. Check your vehicle’s manual to find the exact location.
Once you find the fuse box, open it and locate the fuse related to the radio. The fuse may be labeled as “RADIO” or “AUDIO” on the fuse box cover or in the manual. Inspect the fuse to see if it is blown. Look for any breaks, discoloration, or a visible gap in the metal strip inside the fuse.
If you find that the fuse is blown, you will need to replace it with a new one of the same amperage rating. Most fuse boxes come with a fuse puller tool that makes it easy to remove and replace fuses. If you don’t have a fuse puller, you can use a pair of needle-nose pliers to carefully remove the blown fuse.
Before replacing the fuse, it’s important to identify and address the underlying issue that caused the fuse to blow. A blown fuse may be a sign of a wiring problem, a faulty component, or an electrical overload. If you replace the fuse and it blows again, it’s advisable to consult a professional to diagnose and fix the issue.
Once you have replaced the fuse, test the car radio to see if it is working properly. If the radio powers on and functions as expected, the blown fuse was likely the cause of the issue. However, if the radio still doesn’t work or continues to experience problems, it may be necessary to explore other potential causes.
Checking the fuse box is a simple and often overlooked step in troubleshooting car radio problems. By verifying the condition of the fuse, you can quickly rule out a common and easily fixable cause of radio malfunctions.
Now that we have covered the importance of checking the fuse box, let’s move on to the next troubleshooting step: inspecting the wiring.
Inspect the Wiring
When dealing with car radio issues, it’s important to inspect the wiring connections behind the radio. Over time, vibrations and regular use can cause wires to become loose or disconnected, resulting in a loss of power or signal to the radio.
To begin the inspection process, you’ll need to gain access to the back of your car radio. This usually involves removing the radio from its housing, following the manufacturer’s instructions. Take care to handle the radio gently to avoid causing any damage.
Once you have access to the back of the radio, closely examine the wiring connections. Ensure that all wires are securely connected to their respective terminals. Look for any loose or disconnected wires that may be causing the radio malfunction.
If you find any loose wires, carefully reconnect them to their appropriate terminals. Pay attention to the color-coded markings on the wires to ensure proper connections. It may be necessary to use wire connectors or electrical tape to secure the connections and prevent them from coming loose again.
While inspecting the wiring, also keep an eye out for any signs of wire damage, such as fraying, exposed wires, or melted insulation. These issues can disrupt the electrical flow and cause problems with the radio. If you notice any damaged wires, it’s best to replace them with new ones to ensure a safe and reliable connection.
Once you have rechecked and secured all of the wiring connections, carefully reinstall the radio back into its housing. Double-check that all connections are tight and in place before proceeding.
Now, test the radio to see if the issue has been resolved. If the radio powers on and functions correctly, it indicates that loose or disconnected wiring was the cause of the problem. However, if the radio still does not work or exhibits the same issues, it’s time to move on to the next troubleshooting step.
Inspecting the wiring behind the car radio is an essential step in troubleshooting radio malfunctions. By ensuring secure and proper connections, you can eliminate wiring-related issues and potentially restore your radio to full functionality.
Now, let’s move on to the next step: examining the antenna for any potential issues.
Examine the Antenna
When your car radio is not working properly, it’s important to examine the condition of the antenna. The antenna plays a crucial role in receiving radio signals, and any issues with it can lead to poor reception or no signal at all.
Start by inspecting the external antenna on your vehicle. Look for any visible signs of damage, such as bends, breaks, or corrosion. These issues can affect the antenna’s ability to receive signals effectively. If you notice any damage, it may be necessary to replace the antenna to restore proper radio functionality.
Ensure that the antenna is securely fastened to its mount and that all connectors and cables are properly connected. Loose connections can disrupt the signal reception and cause radio malfunctions. Tighten any loose bolts or connectors and ensure they are snugly in place.
If your vehicle has an internal antenna integrated into the windshield or rear window, ensure that it is not obstructed by any objects or film tinting, as this can interfere with signal reception. Clear any obstructions and ensure a clear line of sight for the antenna.
In some cases, the issue may not be with the antenna itself, but with the antenna cable or the antenna amplifier. Check the antenna cable for any visible damage or wear. If the cable is damaged, it may need to be replaced to improve signal reception.
If your vehicle is equipped with an antenna amplifier, ensure that it is functioning properly. Faulty or damaged antenna amplifiers can hinder the signal strength and result in poor radio reception. Consult your vehicle’s manual or seek professional assistance to test and replace the amplifier if needed.
Keep in mind that interference from nearby electronic devices or structures can also affect radio reception. If you frequently park near high-power electrical equipment or in an area with weak radio frequency signals, it can impact the radio reception. Consider parking in a different location or testing the radio in a different area to rule out external interference.
After examining and addressing any antenna issues, test the radio again to see if the problem has been resolved. If the radio now functions properly and receives a clear signal, it indicates that the antenna was the cause of the issue. However, if the radio continues to have problems or does not work at all, it’s time to move on to the next troubleshooting step.
Next, we will explore the potential problems with the audio system and how they can affect the car radio.
Test the Audio System
When troubleshooting a car radio issue, it’s important to consider the entire audio system. Problems with speakers, amplifier issues, or faults with the audio control module can all impact the performance of the car radio. Here are some steps to test the audio system:
1. Check the Speakers: Start by testing the speakers in your vehicle. Adjust the audio balance and fade settings to focus on one speaker at a time. Listen for any distortion, buzzing sounds, or complete lack of audio from each speaker. If you notice any issues with specific speakers, it may indicate a problem with those particular components.
2. Inspect the Amplifier: If your vehicle is equipped with an amplifier, ensure that it is functioning properly. Check the connections to the amplifier to ensure they are securely plugged in. Inspect the amplifier for any signs of damage, such as overheating or blown fuses. Faulty or damaged amplifiers may need to be repaired or replaced to restore proper audio functionality.
3. Test the Audio Control Module: The audio control module, also known as the head unit or stereo unit, controls the functions of the car radio. Check if the controls are responsive and functioning correctly. If you notice that the radio is not responding to commands or experiencing software glitches, try resetting the audio control module by disconnecting the car battery for a few minutes and then reconnecting it.
If you encounter issues during the testing process, such as distorted audio or unresponsive controls, it’s advisable to seek professional assistance. Car audio technicians have the expertise and tools to diagnose and resolve complex audio system issues.
It’s essential to remember that the radio’s performance is reliant on the entire audio system. Even if the radio itself appears to be the problem, underlying issues with the speakers, amplifier, or audio control module can affect its functionality.
After testing the audio system components, if the radio still does not work or exhibits the same problems, it may be necessary to consult a professional for further diagnosis and repair.
Now that we have explored the potential issues with the audio system, let’s move on to discussing another potential cause of car radio malfunctions: a dead or disconnected battery.
Verify the Battery Status
A dead or disconnected battery can be a significant factor contributing to a car radio not working. The battery is responsible for providing power to the vehicle’s electrical system, including the radio. If the battery is dead or not properly connected, the radio may fail to turn on or function correctly.
Begin by checking the battery voltage using a multimeter. A fully charged battery typically reads around 12 volts. If the voltage reading is significantly lower than 12 volts, the battery may be discharged and in need of recharging or replacement.
If the battery is discharged, you can try jump-starting your vehicle using jumper cables and another vehicle with a functioning battery. Once the vehicle is running, test the radio to see if it powers on and functions properly. If the radio works after jump-starting, it suggests that the battery was the primary issue.
Ensure the battery terminals are clean, securely tightened, and free from corrosion. Corroded or loose battery terminals can disrupt the electrical connection and impact the performance of the radio. Clean the terminals using a battery terminal cleaner or a mixture of baking soda and water. Make sure to rinse the terminals thoroughly and dry them before reinstalling the connectors.
If you find that the battery is in good condition and properly connected, but the radio still does not work or exhibits the same issues, there may be an issue with the radio itself or another component of the vehicle’s electrical system. In such cases, it is recommended to seek professional assistance from a qualified car audio technician to diagnose and resolve the problem.
It’s worth noting that car batteries have a limited lifespan. Depending on usage and maintenance, they typically last around 3-5 years. If your battery is old or frequently experiences issues, it may be time for a replacement.
Verifying the battery status is an essential step in troubleshooting car radio issues. By ensuring the battery is in good condition and properly connected, you can eliminate a common cause of radio malfunctions.
Now that we have covered the importance of verifying the battery status, let’s move on to the final section and wrap up our troubleshooting tips.
Conclusion
Dealing with a car radio that is not working can be frustrating, but understanding the common causes and following troubleshooting tips can help you resolve the issue. By systematically checking different components, you can identify and address the underlying problems.
In this article, we explored the common causes of car radio malfunctions, including faulty fuses, loose wiring, antenna issues, problems with the audio system, and dead batteries. We provided troubleshooting tips for each of these areas, guiding you through the process of diagnosing and resolving the problems.
It’s important to note that while some car radio issues can be resolved on your own, others may require professional assistance. If you have tried the troubleshooting tips and the radio still does not work, it may be best to consult a car audio technician who can provide specialized expertise and equipment.
Remember to consult your vehicle’s manual for model-specific instructions and always exercise caution when working with electrical components. Ensure you disconnect the battery when performing any repairs or inspections to avoid accidental electrical shocks.
By following the troubleshooting tips outlined in this article, you can increase the chances of getting your car radio back up and running smoothly. Whether it’s a blown fuse, loose wiring, antenna problems, or issues with the audio system, exploring these common causes will put you on the path to a functioning car radio.
If you’re unable to resolve the issue on your own or you prefer professional assistance, don’t hesitate to seek the help of a qualified car audio technician. They have the knowledge and experience to diagnose and address more complex radio problems.
With a working car radio, you can once again enjoy your favorite music, stay informed with news and traffic updates, and make your journeys more enjoyable and entertaining.

