Home>Devices & Equipment>Streaming>How To Capture Amazon Streaming Music

Streaming
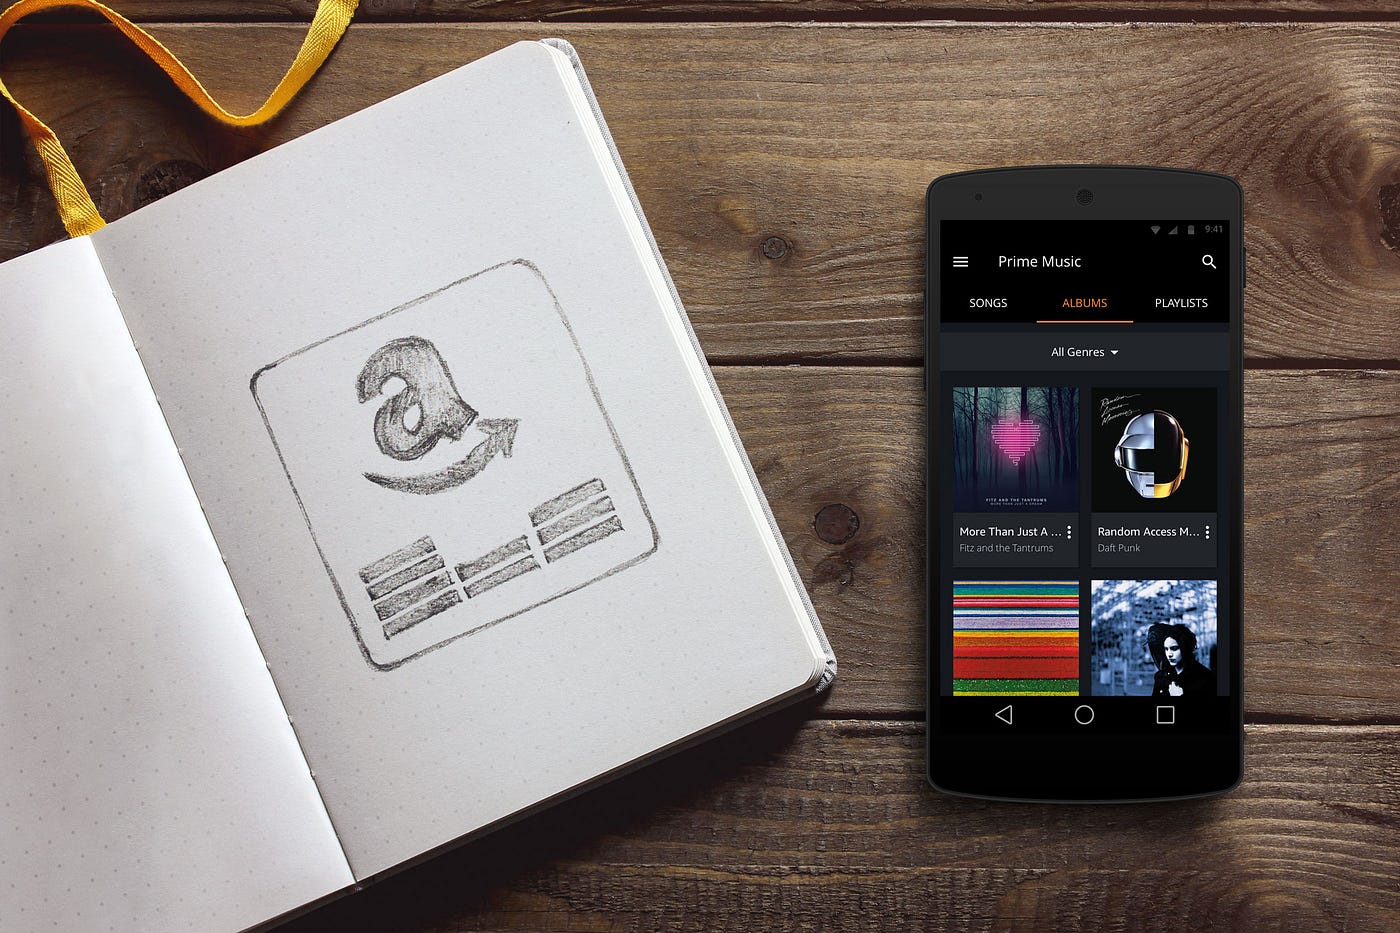
How To Capture Amazon Streaming Music
Published: March 7, 2024
Learn how to capture Amazon streaming music with our step-by-step guide. Discover the best methods for recording and enjoying your favorite tunes offline.
(Many of the links in this article redirect to a specific reviewed product. Your purchase of these products through affiliate links helps to generate commission for AudioLover.com, at no extra cost. Learn more)
Table of Contents
Introduction
Streaming music has revolutionized the way we enjoy our favorite tunes, offering unparalleled convenience and access to an extensive library of songs. Amazon Music, with its vast collection of tracks spanning various genres, has become a go-to platform for music enthusiasts. While streaming music on Amazon Music is convenient, there are times when you may wish to capture and save your favorite tracks for offline listening or to create a personalized music collection. Whether it's a rare live performance, an acoustic rendition, or a beloved classic, capturing Amazon streaming music allows you to preserve these musical moments.
In this guide, we will explore the process of capturing Amazon streaming music, providing you with the tools and know-how to create your own music library. By following these steps, you can enjoy your favorite Amazon Music tracks anytime, anywhere, even without an internet connection. From signing up for Amazon Music to configuring a streaming audio recorder and organizing your captured music, this comprehensive guide will equip you with the knowledge to seamlessly capture and enjoy your favorite tunes. So, let's dive into the world of capturing Amazon streaming music and unlock the potential to curate your personalized music collection.
Step 1: Sign Up for Amazon Music
To embark on the journey of capturing Amazon streaming music, the first step is to sign up for Amazon Music. If you are already an Amazon customer, you can seamlessly access Amazon Music by using your existing Amazon account. For new users, signing up for Amazon Music is a straightforward process that opens the door to a vast selection of music.
-
Visit the Amazon Music Website: Navigate to the Amazon Music website to begin the sign-up process. You can easily find the Amazon Music section on the Amazon website or access it directly through the Amazon Music app.
-
Choose Your Plan: Amazon Music offers different subscription plans tailored to meet various preferences. Whether you opt for Amazon Music Free, Amazon Music Unlimited, or Amazon Prime Music, selecting the plan that aligns with your music streaming needs is the first decision to make.
-
Create Your Account: Once you've chosen your preferred plan, you will be prompted to create an Amazon Music account. This typically involves providing your email address, creating a password, and entering basic account information.
-
Explore the Features: After signing up, take a moment to explore the features and functionalities of Amazon Music. Familiarize yourself with the user interface, music recommendations, curated playlists, and personalized stations to make the most of your Amazon Music experience.
By signing up for Amazon Music, you gain access to a vast library of songs, albums, and playlists, setting the stage for capturing and enjoying your favorite music. With your Amazon Music account in place, you are ready to proceed to the next step of capturing Amazon streaming music.
Signing up for Amazon Music is the gateway to a world of musical exploration and enjoyment. Whether you are drawn to chart-topping hits, indie gems, or timeless classics, Amazon Music offers a diverse array of musical content to cater to every taste. With your Amazon Music account established, you are one step closer to capturing and curating your own personalized music collection.
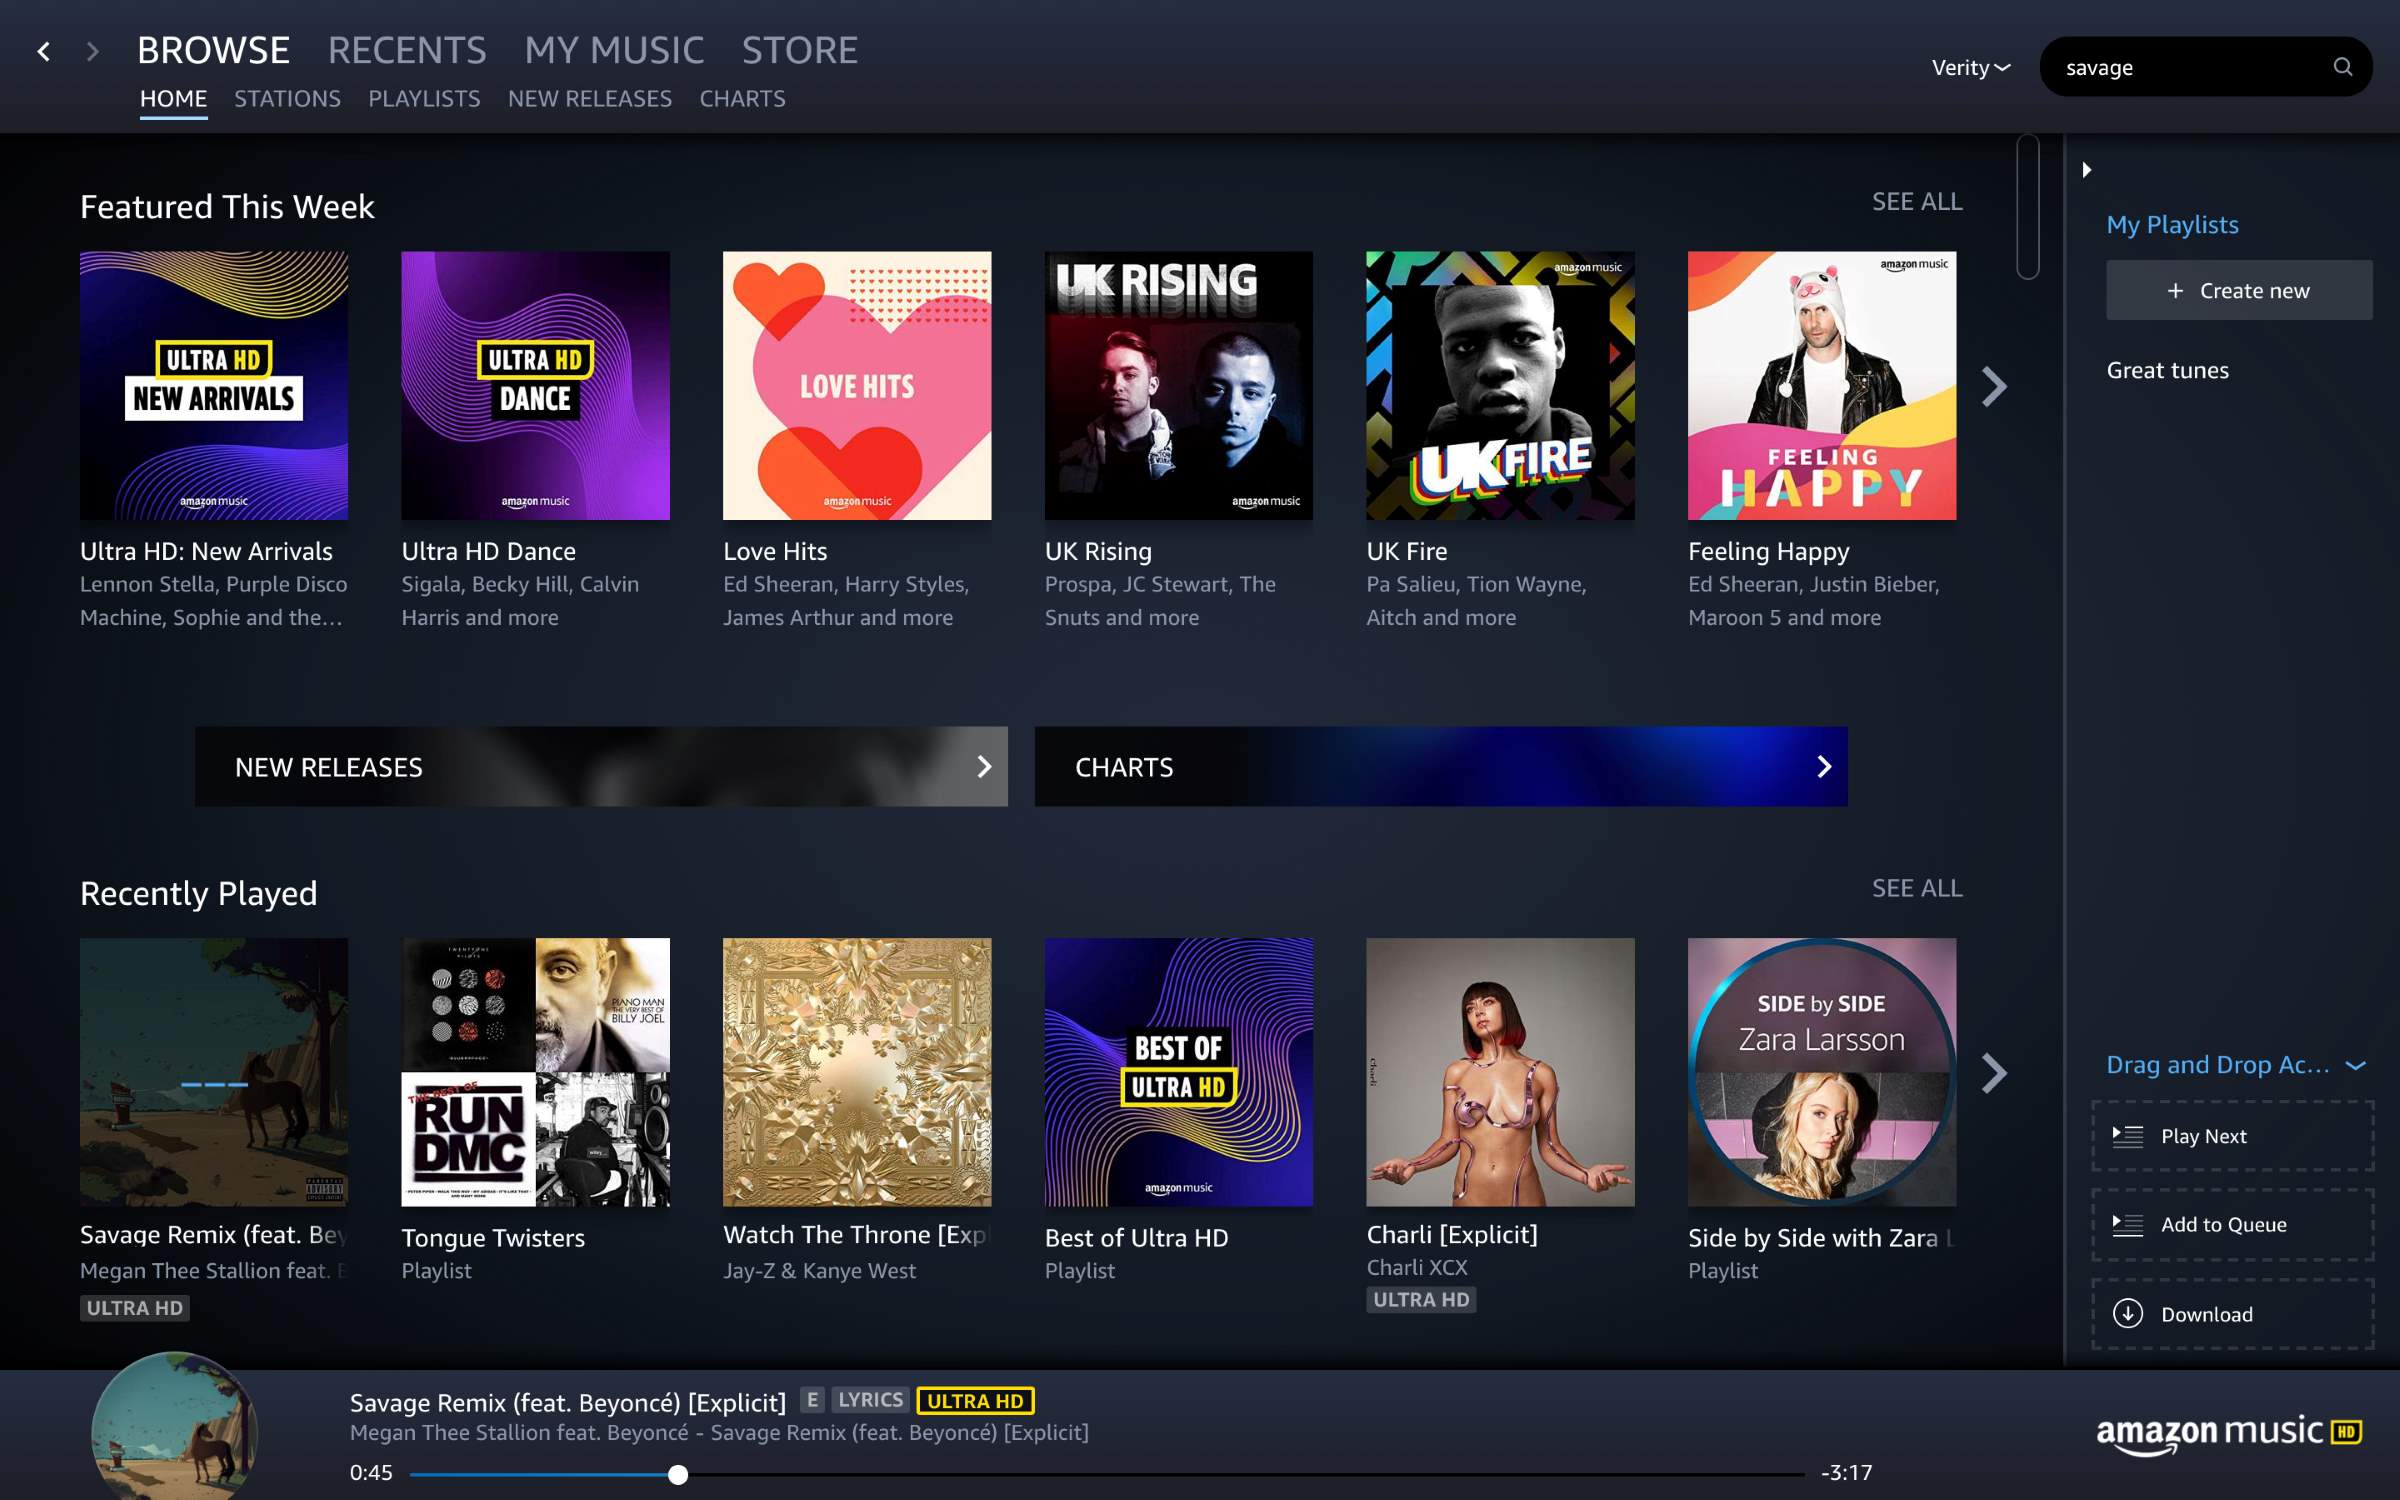
Step 2: Download and Install a Streaming Audio Recorder
Capturing Amazon streaming music requires the right tools, and a streaming audio recorder is an essential component in this process. A streaming audio recorder enables you to capture and save audio from various sources, including online music streaming platforms like Amazon Music. To embark on this step, you will need to download and install a reliable streaming audio recorder that aligns with your capturing needs.
Choosing the Right Streaming Audio Recorder
When selecting a streaming audio recorder, consider factors such as compatibility with your operating system, recording quality, ease of use, and additional features that enhance the capturing experience. There are several reputable streaming audio recorders available, each offering unique functionalities to cater to diverse user preferences.
Downloading the Software
Once you have identified a suitable streaming audio recorder, visit the official website of the software provider or a trusted software distribution platform to download the application. Ensure that you download the software from a reputable source to safeguard your device and guarantee the authenticity of the software.
Installing the Streaming Audio Recorder
After downloading the streaming audio recorder, proceed to install the software on your computer. The installation process typically involves running the setup file and following the on-screen instructions to configure the software on your system. During the installation, you may have the option to customize settings such as the installation directory and desktop shortcuts based on your preferences.
Familiarizing Yourself with the Recorder
Once the streaming audio recorder is successfully installed, take some time to familiarize yourself with its interface and features. Explore the recording settings, audio format options, and any additional functionalities that the software offers. Understanding the capabilities of the streaming audio recorder will empower you to optimize the capturing process and tailor it to your specific requirements.
By downloading and installing a streaming audio recorder, you equip yourself with the means to capture Amazon streaming music seamlessly. With the software in place, you are poised to move on to the next step of configuring the audio recorder settings to ensure optimal audio capture.
Step 3: Configure the Audio Recorder Settings
Configuring the audio recorder settings is a pivotal step in the process of capturing Amazon streaming music. By fine-tuning the settings of the streaming audio recorder, you can ensure that the captured audio meets your desired quality standards and specifications. This step involves adjusting various parameters within the audio recorder to optimize the recording process and tailor it to your preferences.
Selecting the Audio Source
Before initiating the recording, it is essential to specify the audio source from which the streaming audio recorder will capture the sound. In the case of capturing Amazon streaming music, you will need to set the audio source to the system sound or the specific web browser or application through which you are accessing Amazon Music. This ensures that the streaming audio recorder captures the audio output from the Amazon Music platform.
Adjusting Recording Quality
The streaming audio recorder typically offers options to adjust the recording quality, allowing you to define the audio bitrate, format, and other relevant parameters. Depending on your preferences and storage considerations, you can select the desired recording quality to strike a balance between audio fidelity and file size. Higher bitrate settings generally result in better audio quality but may lead to larger file sizes, while lower bitrates prioritize file size efficiency over audio fidelity.
Setting Recording Controls
Many streaming audio recorders provide recording controls such as automatic track splitting, scheduled recording, and silence detection. Automatic track splitting is particularly useful when capturing a playlist or album on Amazon Music, as it enables the software to create individual audio files for each track, facilitating organization and playback. Scheduled recording allows you to set specific times for the audio recorder to initiate and stop capturing, providing flexibility and convenience. Additionally, silence detection can be utilized to automatically pause and resume recording during periods of audio silence, optimizing the capturing process.
Configuring Output Settings
As part of the configuration process, you can specify the output directory where the captured Amazon streaming music will be saved. This allows you to designate a location on your computer where the recorded audio files will be stored, ensuring easy access and organization. Furthermore, you can define the output format and naming conventions for the captured audio files, tailoring them to suit your preferences and playback compatibility.
By meticulously configuring the audio recorder settings, you lay the foundation for a seamless and efficient capturing process. These settings empower you to customize the recording parameters, optimize audio quality, and streamline the organization of the captured Amazon streaming music. With the audio recorder settings configured to your specifications, you are ready to embark on the next step of capturing Amazon streaming music and building your personalized music collection.
Step 4: Start Capturing Amazon Streaming Music
With your Amazon Music account set up and the streaming audio recorder installed and configured, you are now poised to commence capturing your favorite tracks from Amazon Music. The process of capturing Amazon streaming music involves initiating the recording, allowing the streaming audio recorder to capture the audio output from Amazon Music as you play your desired tracks. Here's a detailed walkthrough of how to start capturing Amazon streaming music:
-
Launch the Streaming Audio Recorder: Open the streaming audio recorder application on your computer. Ensure that the software is ready to capture audio and that the settings, including the audio source and recording controls, are configured according to your preferences.
-
Access Amazon Music: Open your web browser or the Amazon Music application and log in to your Amazon Music account. Navigate to the song, album, playlist, or station that you wish to capture. Ensure that the audio playback settings are adjusted to your liking, such as volume levels and playback quality.
-
Initiate the Recording: Once you are ready to capture a specific track or playlist, initiate the recording within the streaming audio recorder. This typically involves clicking a "Record" or "Start" button within the software interface. As the recording commences, the streaming audio recorder will capture the audio output from Amazon Music in real-time.
-
Play the Desired Music: Start playing the music you intend to capture on Amazon Music. Whether it's a beloved classic, a trending hit, or a personalized playlist, let the streaming audio recorder capture the audio as it plays through your computer's sound system.
-
Monitor the Recording: While the streaming audio recorder captures the Amazon streaming music, monitor the recording progress to ensure that the audio is being captured accurately and without interruptions. Keep an eye on the recording duration and any visual indicators within the software that signify the ongoing capture process.
-
Complete the Capture: Once the desired tracks or playlists have been played and captured, stop the recording within the streaming audio recorder. This finalizes the capture process and saves the recorded audio files to the specified output directory on your computer.
By following these steps, you can seamlessly capture Amazon streaming music and build your personalized music collection. The captured audio files are now ready for playback, organization, and enjoyment, allowing you to curate a library of your favorite Amazon Music tracks for offline listening and long-term preservation. With the capturing process complete, you are well on your way to creating a music collection that resonates with your musical preferences and enriches your listening experience.
Step 5: Organize and Enjoy Your Captured Music
After successfully capturing your favorite music from Amazon Music, the next step involves organizing and savoring the captured tracks. This pivotal phase allows you to curate a personalized music library, ensuring easy access to your captured music and seamless enjoyment of your favorite tunes. Here's a detailed guide on how to organize and relish your captured music:
Create Folders and Categories
Begin by organizing your captured music into folders and categories based on genres, artists, albums, or any other classification that resonates with your music preferences. Creating a well-structured hierarchy of folders allows for efficient organization and quick navigation within your music library.
Add Metadata and Artwork
Enhance the visual appeal and organization of your captured music by adding metadata such as song titles, artist names, album information, and genre tags to the audio files. Additionally, incorporating album artwork or cover images enriches the visual representation of your music collection, providing a more immersive and aesthetically pleasing experience.
Utilize Music Management Software
Consider utilizing music management software to streamline the organization of your captured music. These applications offer features for batch editing metadata, automatically organizing music files, and creating playlists, simplifying the management of your music library.
Create Playlists and Mixes
Take advantage of the captured music to curate custom playlists and mixes tailored to specific moods, occasions, or themes. Whether it's a high-energy workout playlist, a relaxing evening mix, or a collection of timeless classics, creating playlists allows for personalized and curated listening experiences.
Sync with Mobile Devices
Sync your organized music library with your mobile devices to ensure that your captured music is readily accessible on the go. Whether it's a smartphone, tablet, or portable music player, syncing your music library enables seamless enjoyment of your favorite tracks anytime, anywhere.
Explore Offline Listening
With your captured music organized and readily available, explore the convenience of offline listening. Whether you're traveling, in areas with limited connectivity, or simply prefer offline access, having your captured music readily available offline ensures uninterrupted enjoyment of your favorite tunes.
Share and Discover
Consider sharing your curated music collection with friends and family, fostering musical discovery and shared enjoyment. Additionally, continue exploring new music on Amazon Music, discovering fresh tracks, and capturing them to expand and enrich your personalized music library.
By following these steps, you can effectively organize and relish your captured music from Amazon Music, creating a tailored music collection that aligns with your musical tastes and preferences. This organized and curated music library becomes a source of enjoyment, inspiration, and personal expression, enriching your listening experiences and fostering a deeper connection with the music you love.
Conclusion
Capturing Amazon streaming music opens the door to a world of musical exploration and personalization. By following the steps outlined in this guide, you have gained the knowledge and tools to curate your own personalized music collection, ensuring that your favorite tracks are readily accessible for offline listening and long-term enjoyment.
From signing up for Amazon Music to configuring a streaming audio recorder and organizing your captured music, each step in the process contributes to the seamless capture and curation of your favorite tunes. With your Amazon Music account established, the streaming audio recorder installed and configured, and your captured music organized, you have unlocked the potential to create a music library that resonates with your unique musical preferences.
The ability to capture Amazon streaming music empowers you to preserve rare live performances, acoustic renditions, and beloved classics, ensuring that these musical moments are not confined to the limitations of online streaming. Whether it's creating custom playlists, syncing your music library with mobile devices for on-the-go access, or sharing your curated collection with others, the captured music becomes a reflection of your musical identity and a source of joy and inspiration.
As you continue to explore the vast musical landscape offered by Amazon Music, remember that capturing and curating your favorite tracks is a celebration of your musical journey. It allows you to create a personalized soundtrack for life's moments, whether it's the energizing beats of a workout playlist, the soothing melodies of a relaxation mix, or the timeless allure of classic compositions.
In conclusion, capturing Amazon streaming music is not just about preserving audio files; it's about capturing the essence of musical experiences and weaving them into the fabric of your daily life. It's about creating a symphony of sounds that resonates with your soul and enriches your moments. So, embark on this musical adventure, capture the melodies that move you, and let the captured music become a cherished companion on your life's soundtrack.