Home>Devices & Equipment>Subwoofer>How To Connect Klipsch Subwoofer To Soundbar
Subwoofer
How To Connect Klipsch Subwoofer To Soundbar
Published: January 21, 2024
Learn how to easily connect your Klipsch subwoofer to a soundbar and enhance your audio experience with powerful bass. The complete step-by-step guide for setting up your subwoofer.
(Many of the links in this article redirect to a specific reviewed product. Your purchase of these products through affiliate links helps to generate commission for AudioLover.com, at no extra cost. Learn more)
Table of Contents
Introduction
Welcome to this comprehensive guide on how to connect a Klipsch Subwoofer to a Soundbar. If you’re looking to enhance your audio experience and bring powerful bass to your soundbar setup, this article is for you.
Klipsch is renowned for its high-quality audio equipment, and their subwoofers are no exception. By adding a Klipsch subwoofer to your soundbar system, you can enjoy deep, rumbling bass that adds depth and richness to your favorite movies, music, and games.
While the process of connecting a subwoofer to a soundbar may seem daunting at first, rest assured that it’s a straightforward task that can be completed by anyone, regardless of technical expertise. In this guide, we’ll walk you through the step-by-step process of making the physical connections, adjusting the audio settings, and testing the connection to ensure optimal performance.
Before we dive into the details, let’s take a moment to ensure you have everything you need to successfully connect your Klipsch subwoofer to your soundbar.
What You Will Need
Before you get started, make sure you have the following items on hand:
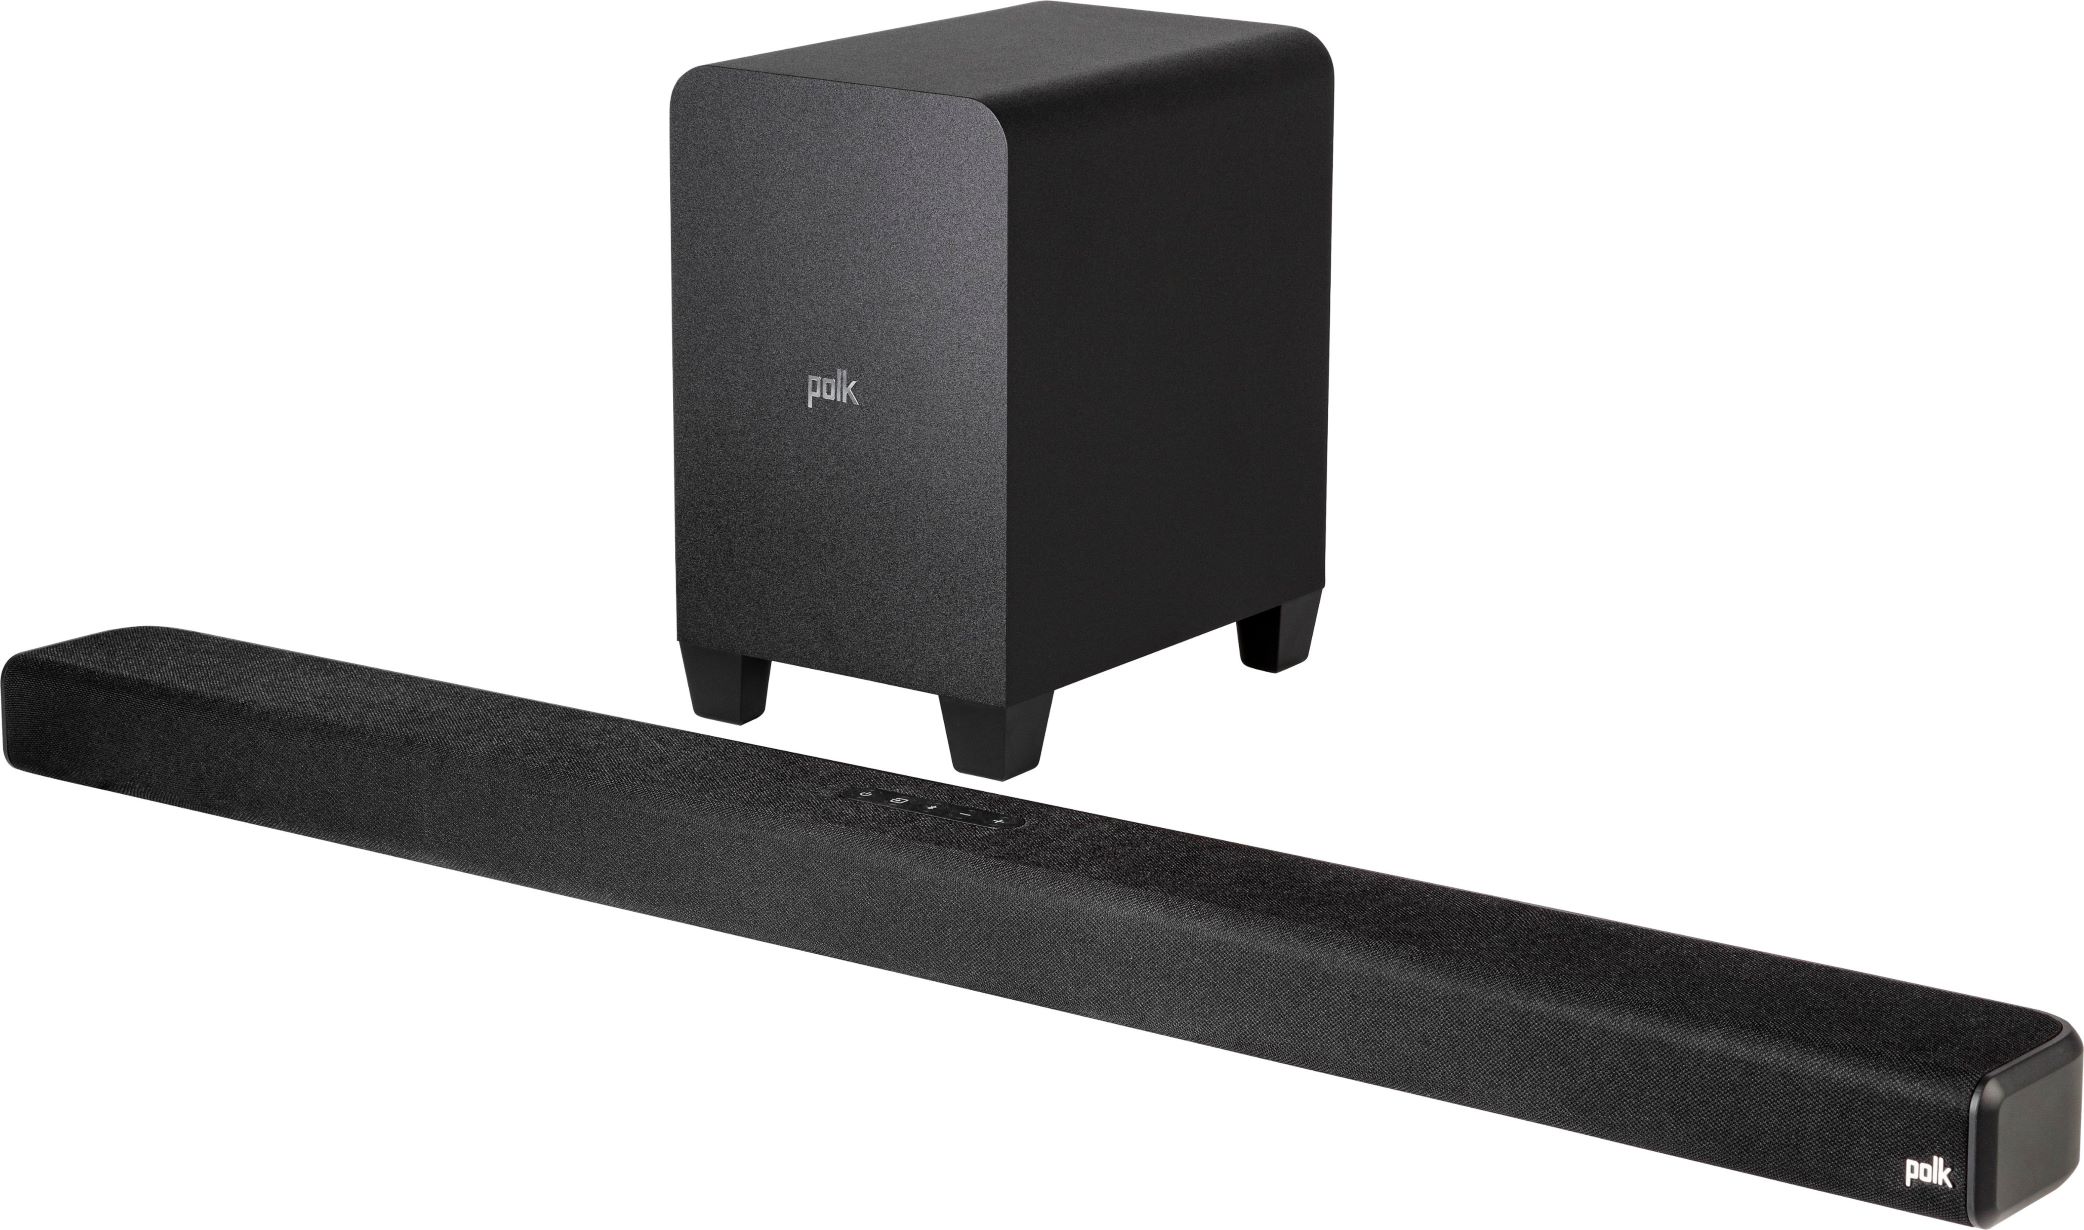
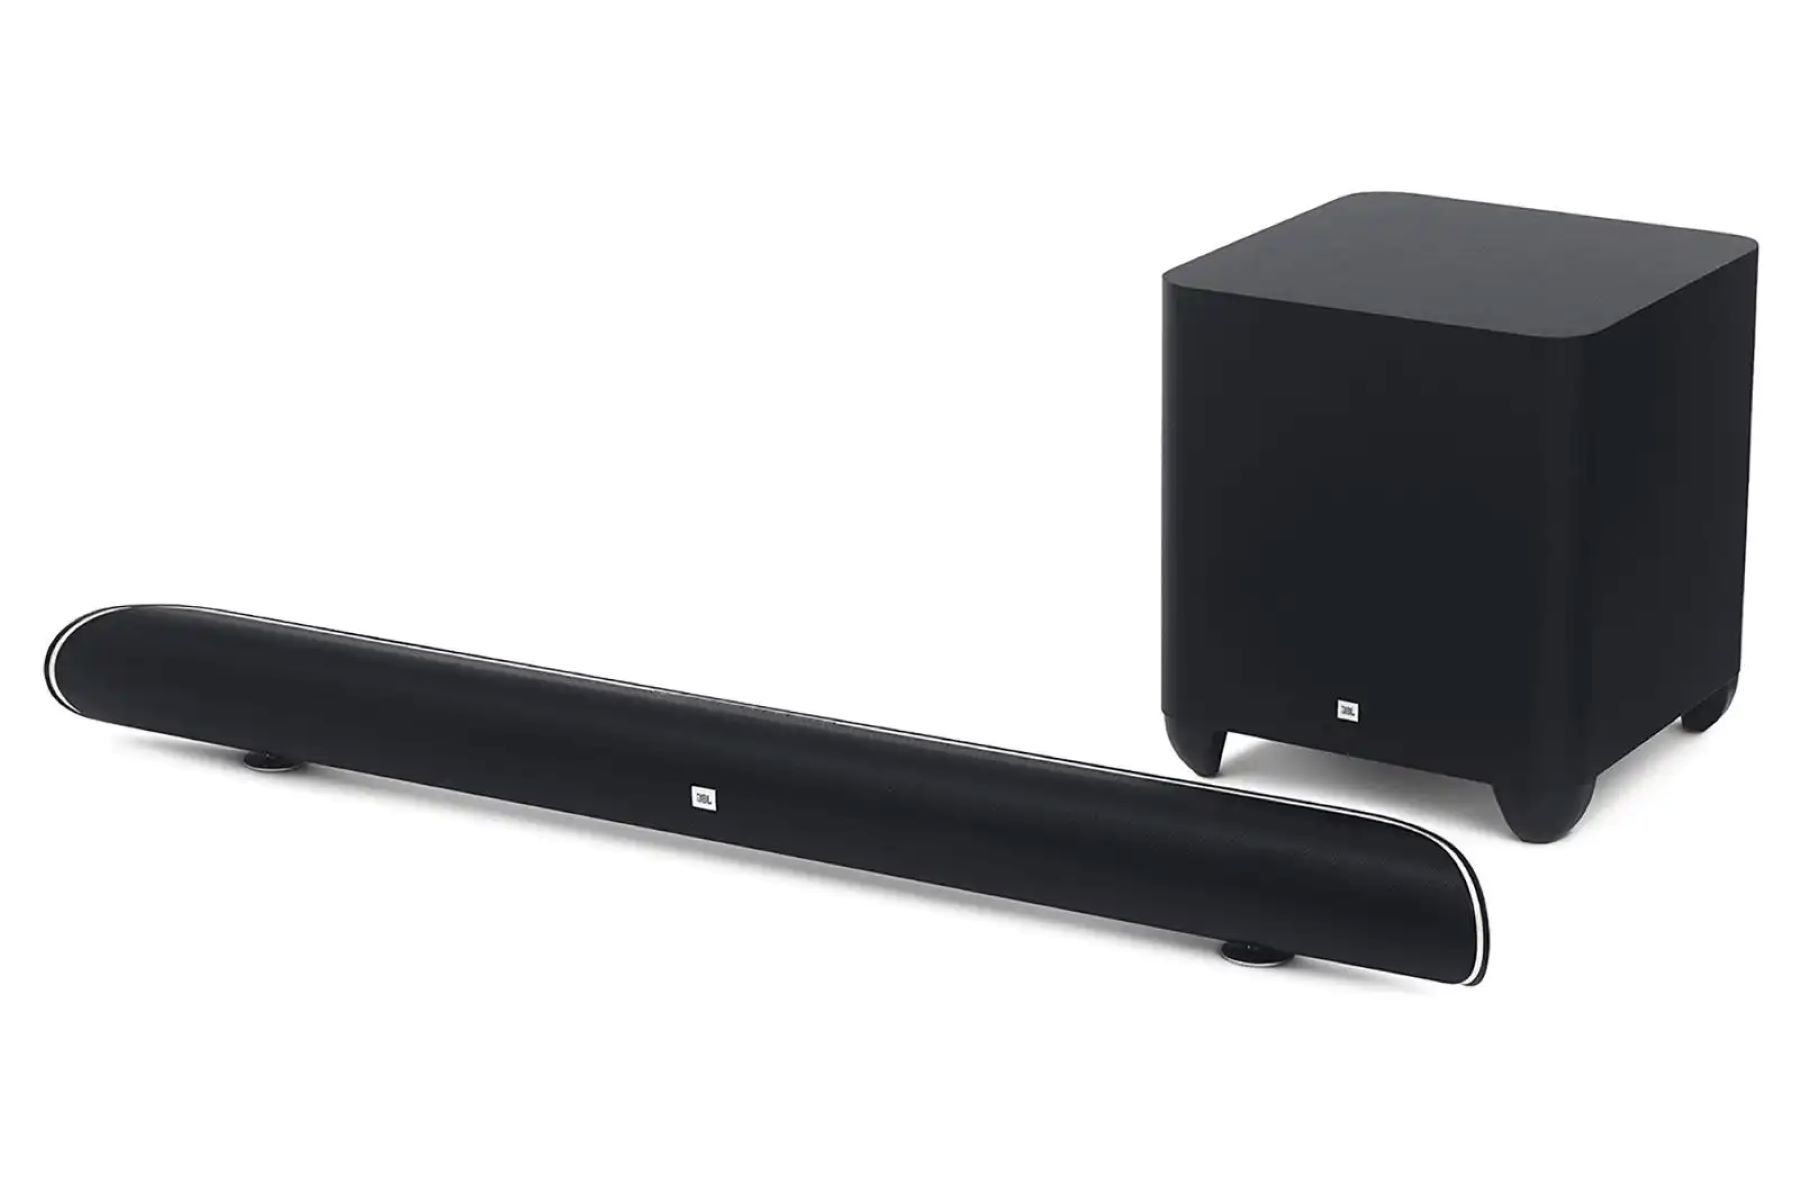
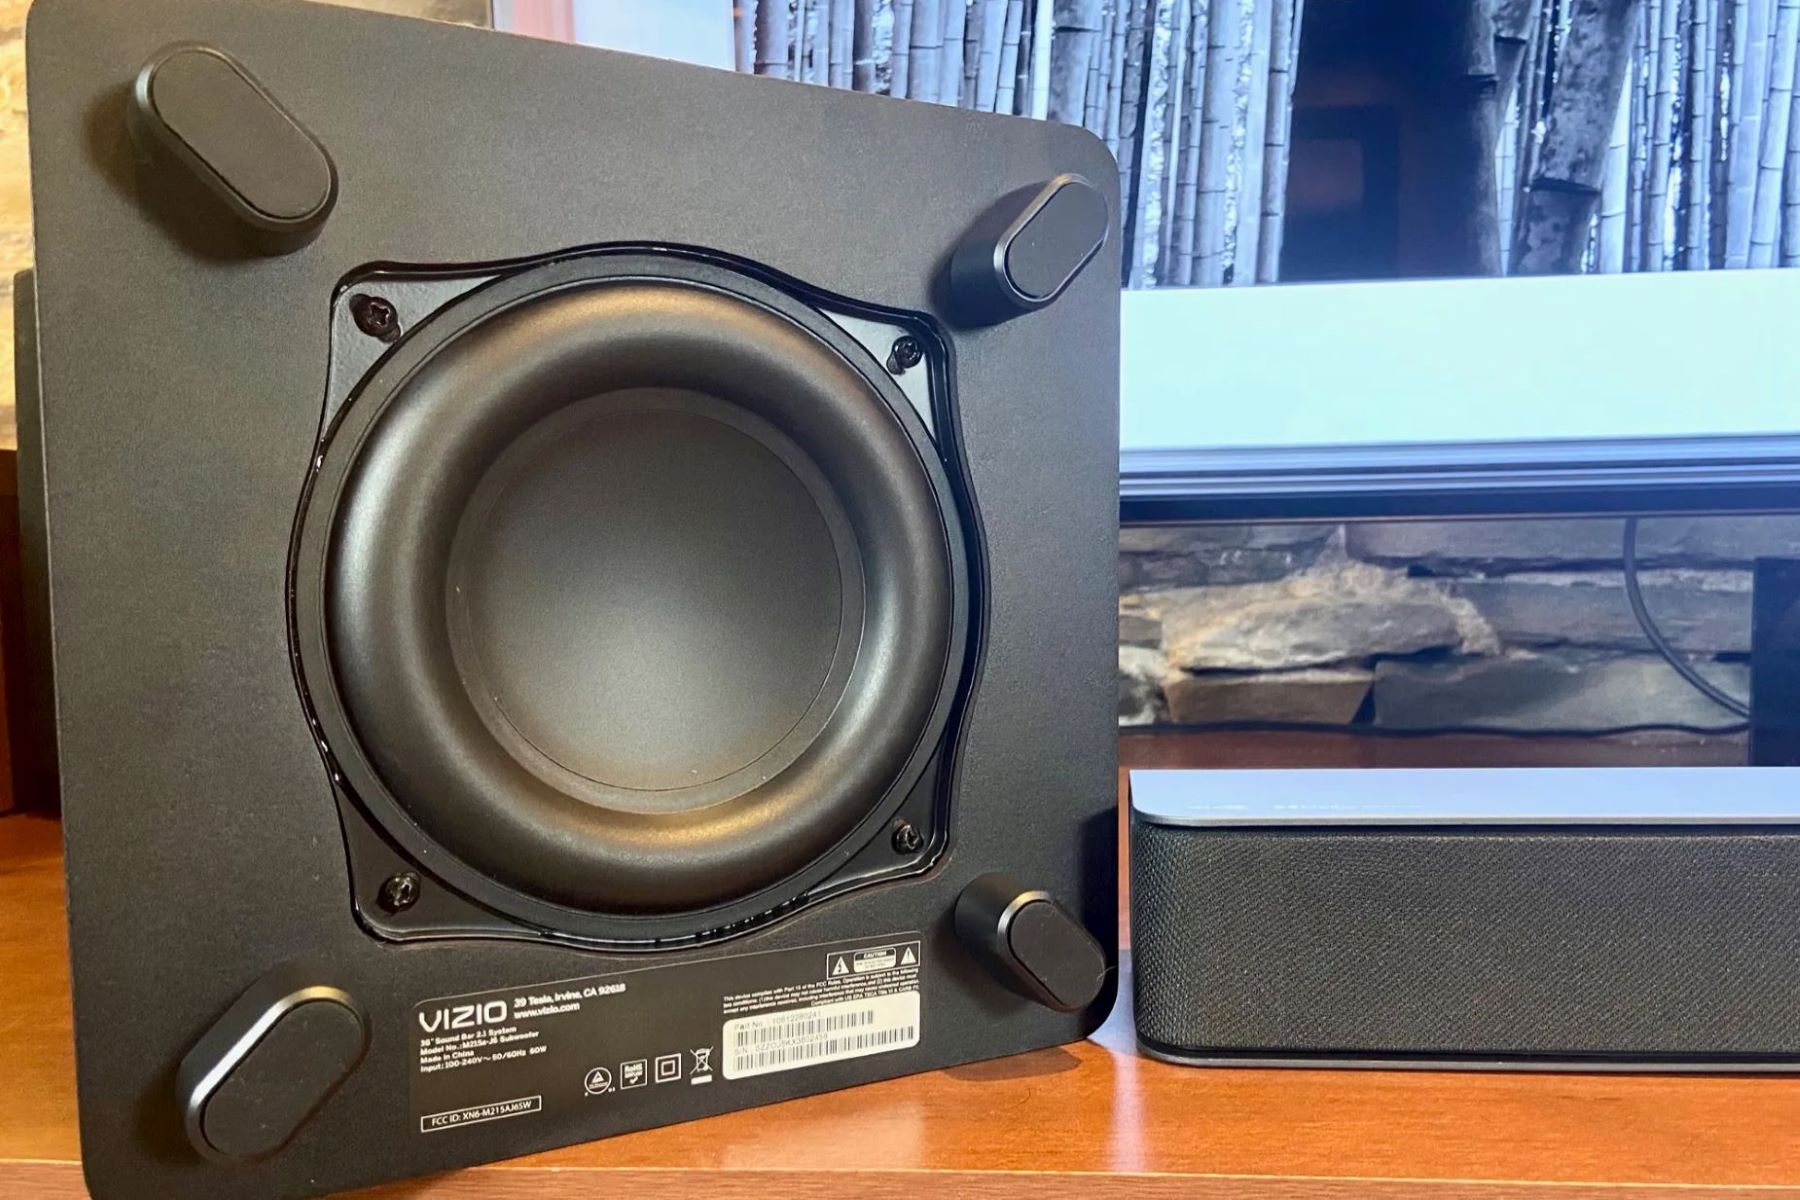
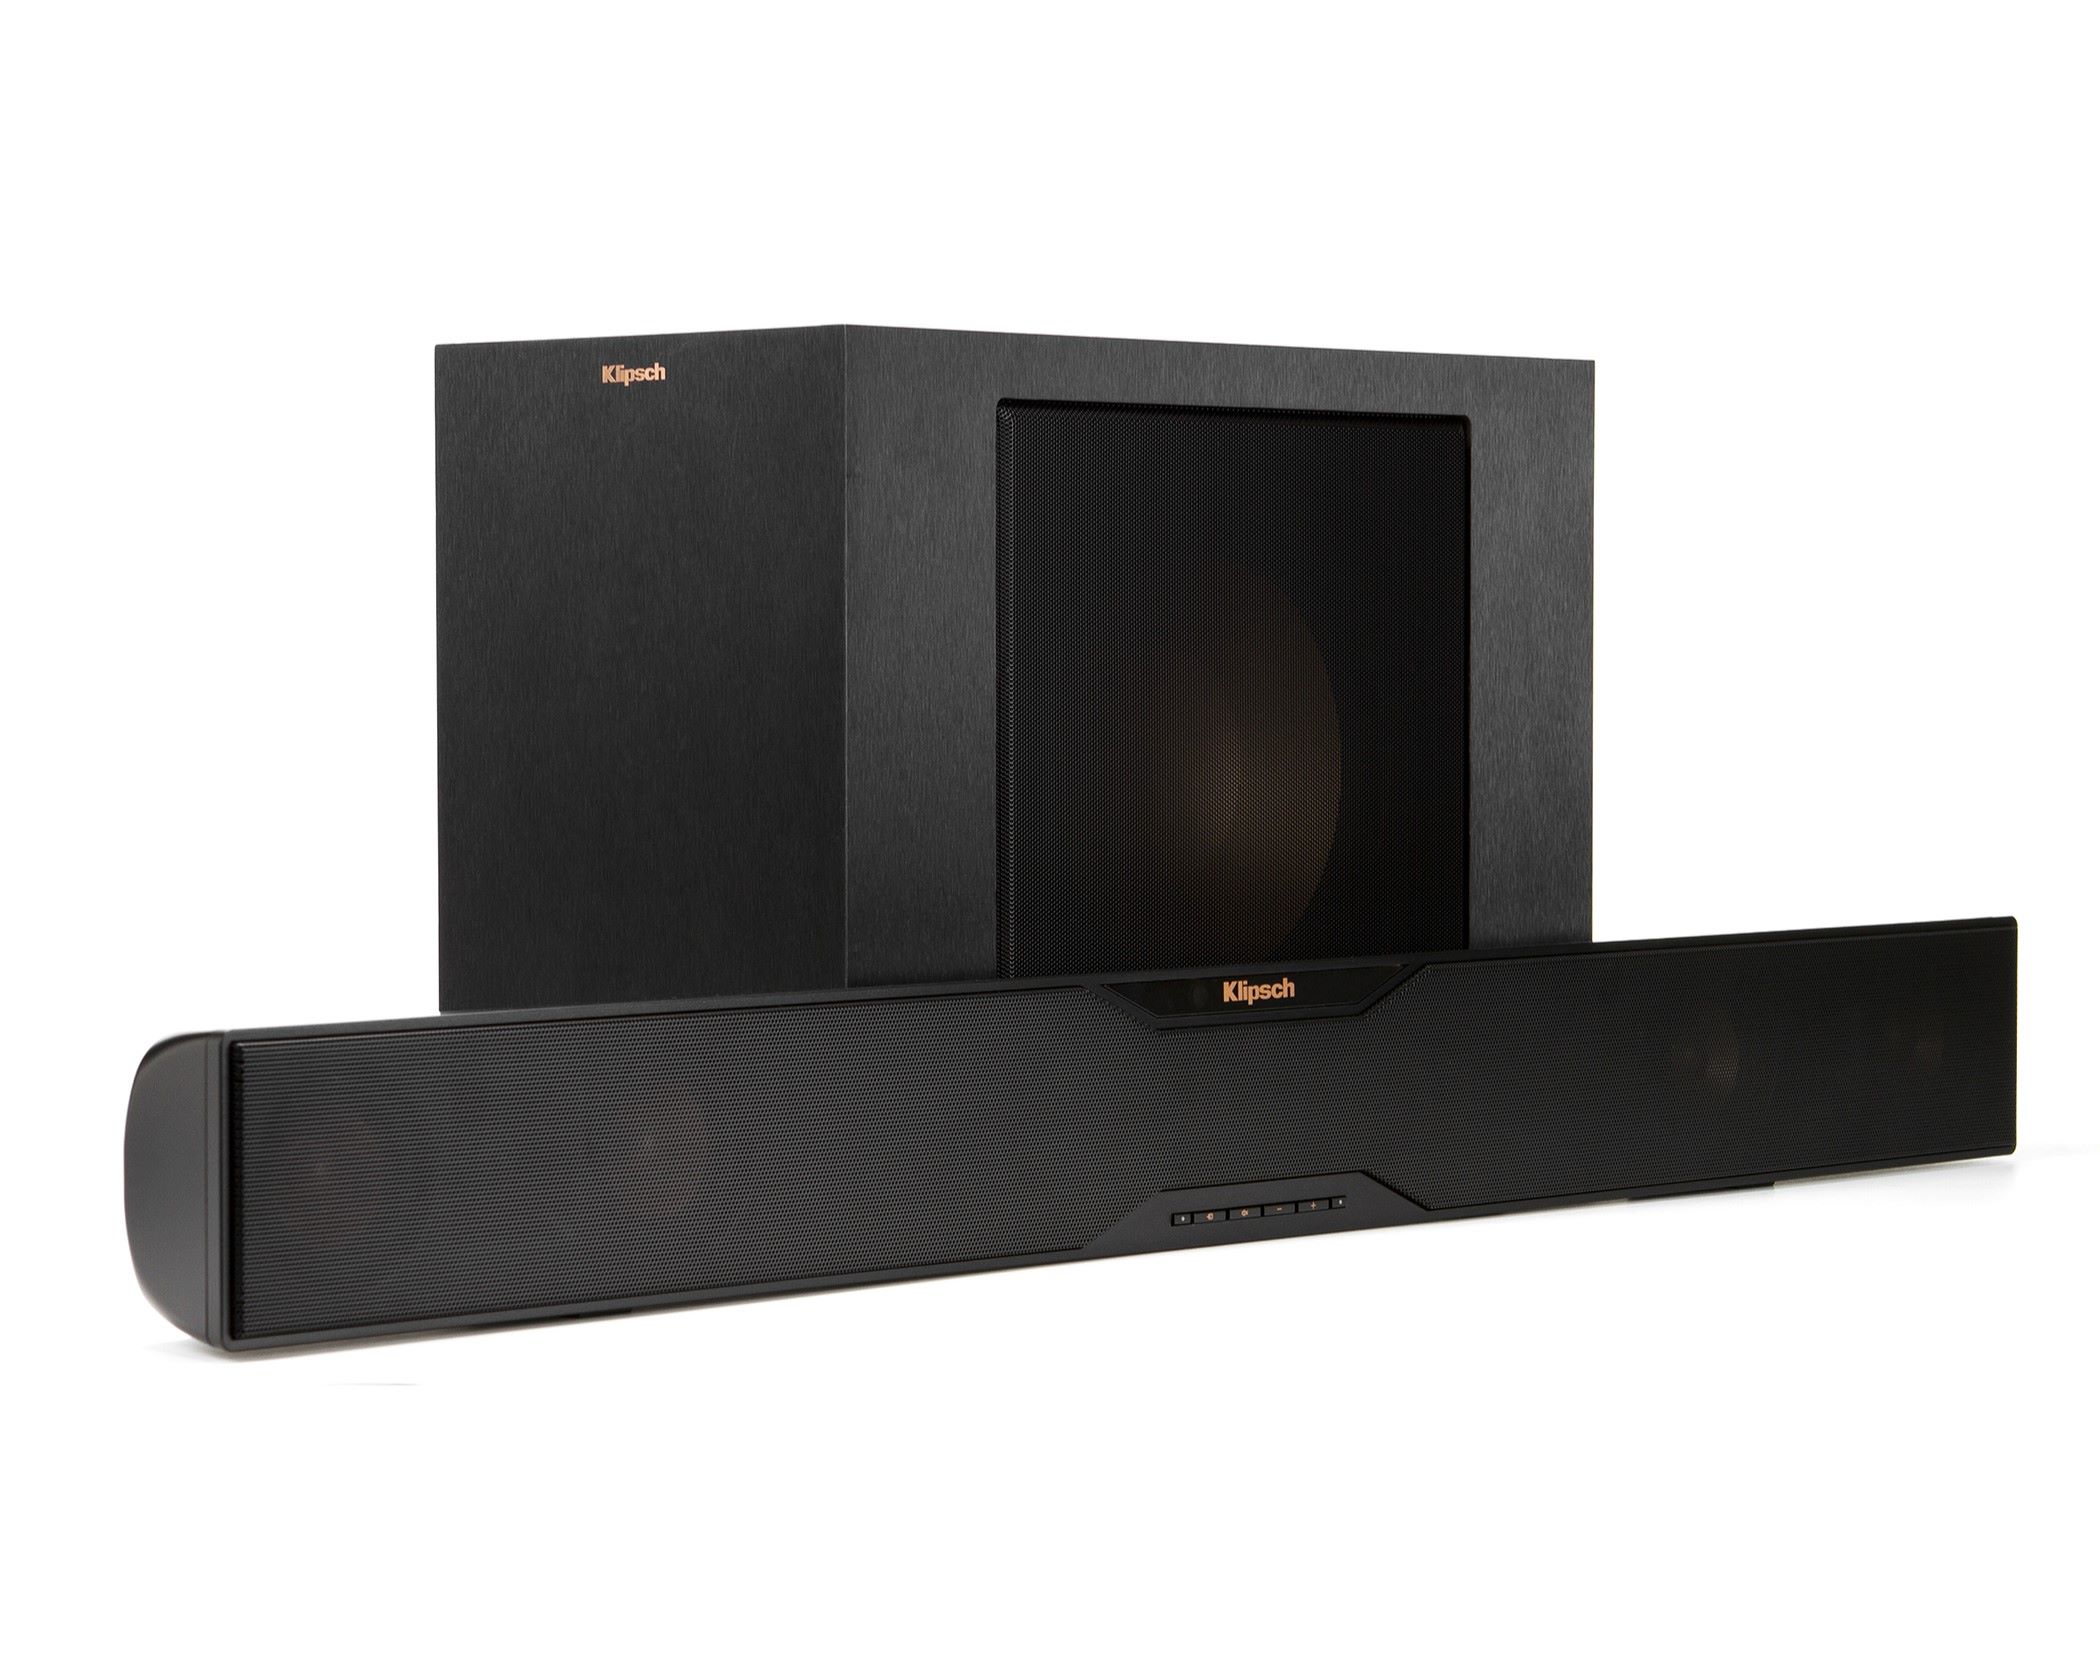
- A Klipsch subwoofer – This is the key component that will provide the powerful bass to your soundbar setup. Ensure that the subwoofer is compatible with your soundbar model.
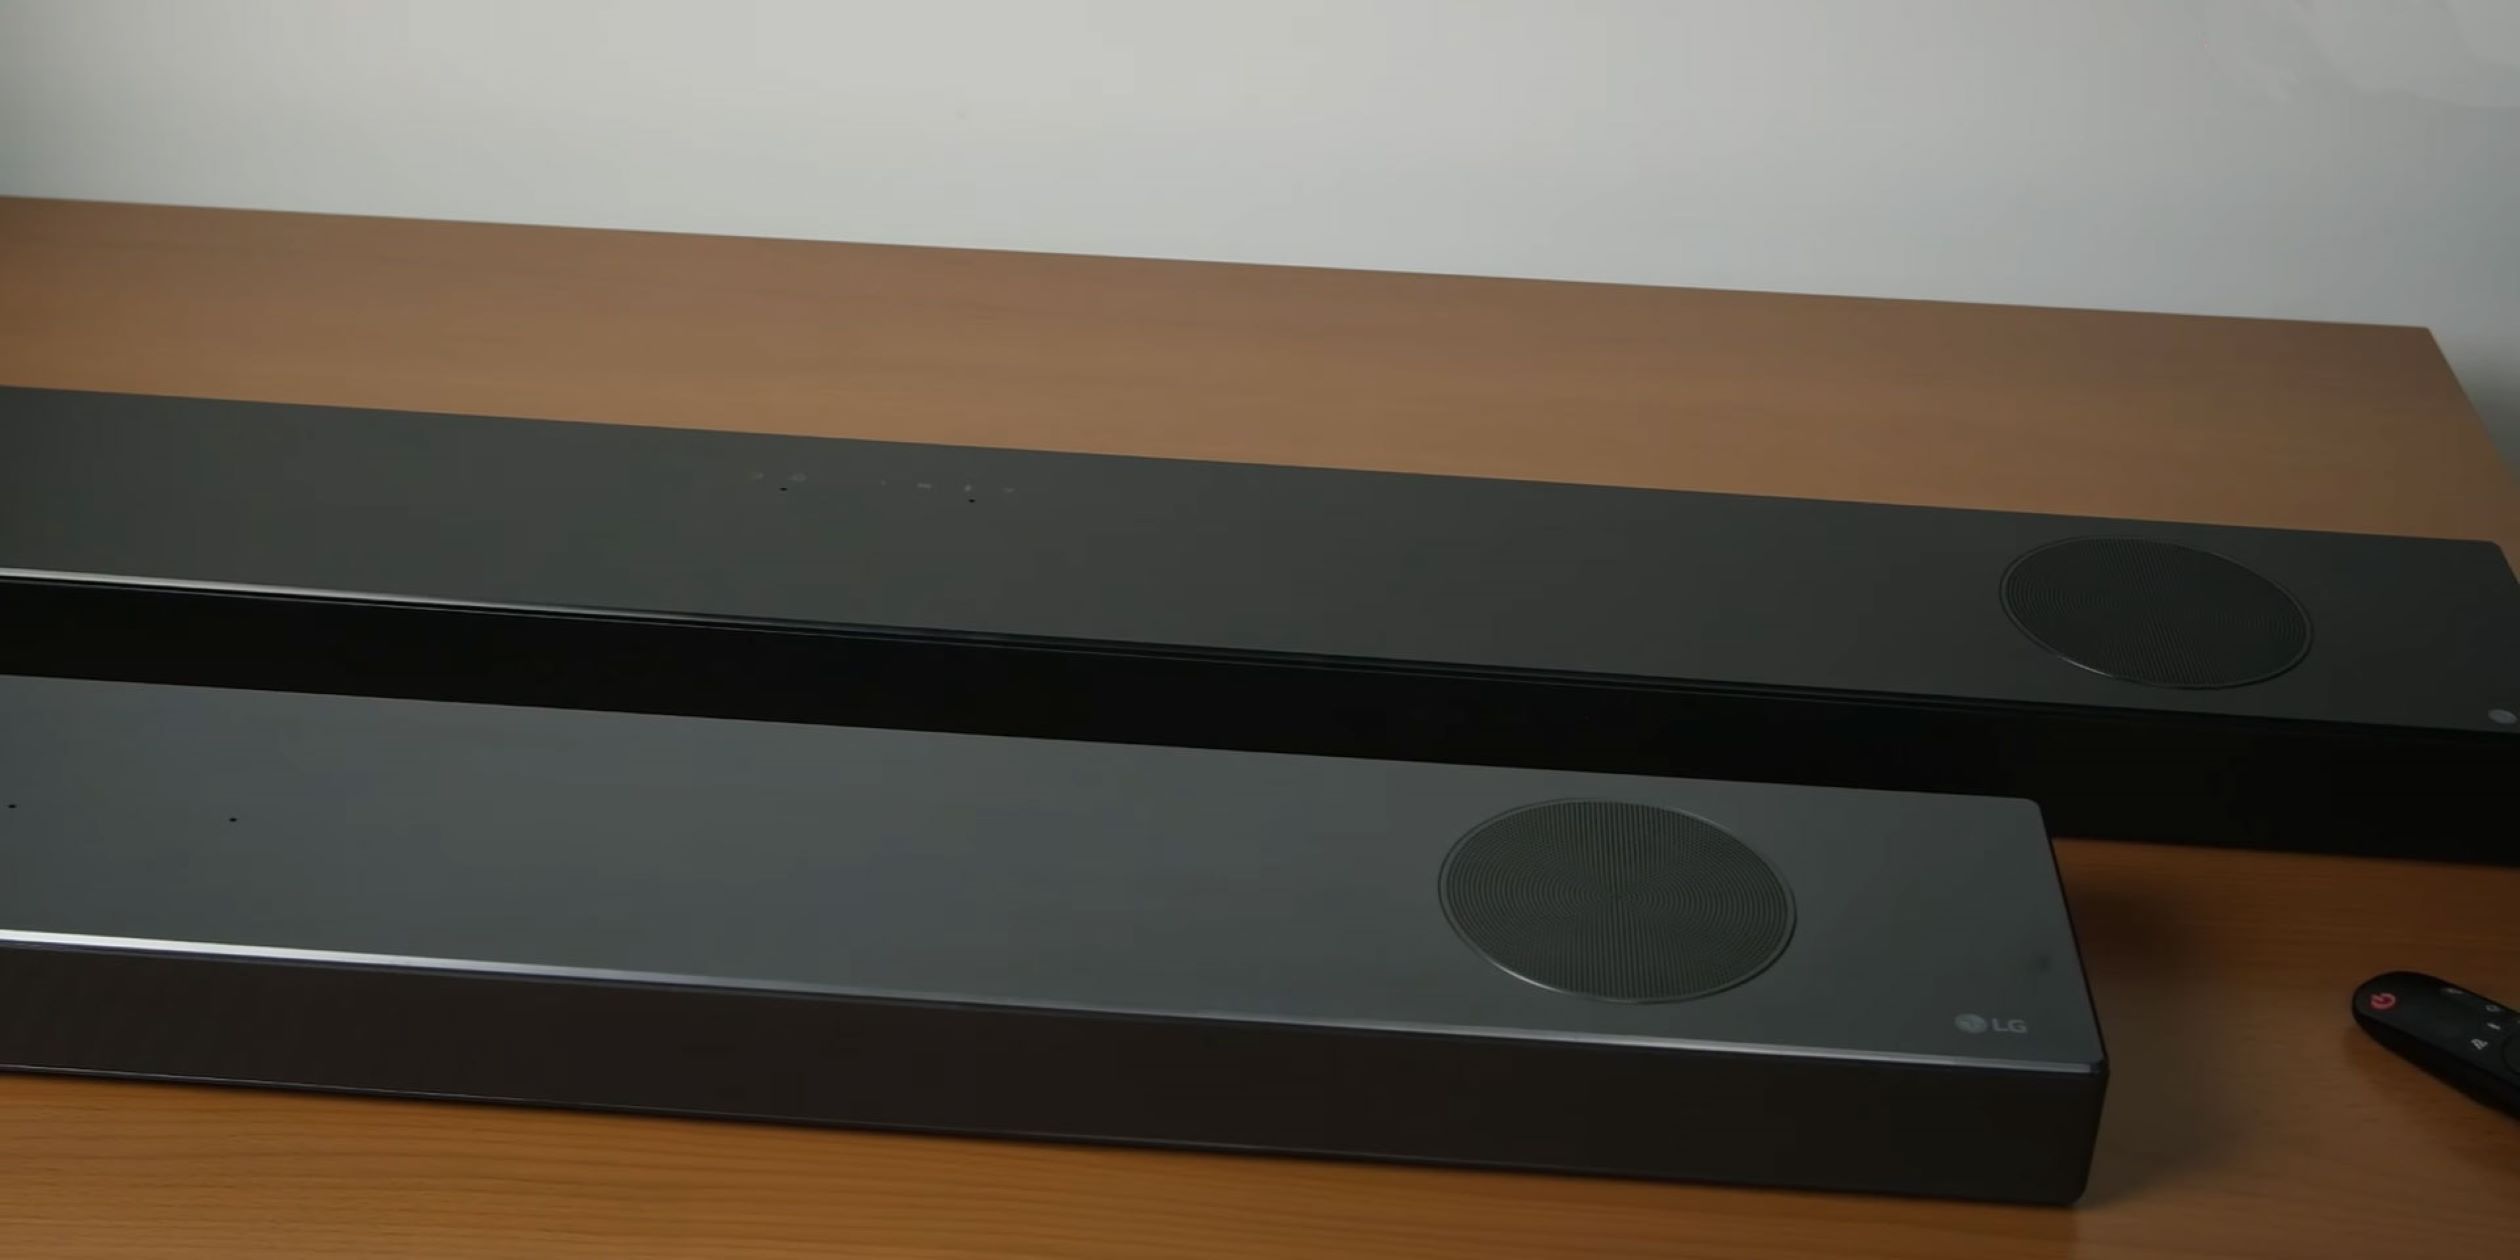
- A soundbar – This is the main audio source that will produce the mid-range and high-frequency sounds. Again, make sure that your soundbar is compatible with the subwoofer.
- An audio cable – The type of cable you need will depend on the input and output connections available on your soundbar and subwoofer. Common options include RCA cables, HDMI cables, or optical cables. Check the user manuals of both devices to determine the appropriate cable type.
- A power cable – This is required to power both the subwoofer and the soundbar. Make sure you have a power outlet nearby to connect the cables.
- User manuals – It’s always helpful to have the user manuals for your subwoofer and soundbar handy. These manuals will provide specific instructions and guidelines for your particular models.
Once you have gathered these items, you’ll be ready to start the process of connecting your Klipsch subwoofer to your soundbar. Keep in mind that the specific steps may vary slightly depending on the brands and models of your devices, so it’s always a good idea to refer to the user manuals for any model-specific instructions.
Now that you have everything you need, let’s move on to the step-by-step process of connecting your Klipsch subwoofer to your soundbar.
Step 1: Check the Compatibility
Before you begin the physical connection process, it’s important to ensure that your Klipsch subwoofer and soundbar are compatible with each other. Compatibility can vary based on the specific models and brands of your devices.
Start by consulting the user manuals for both your subwoofer and soundbar. Look for information on compatibility and recommended configurations. This will help you determine if your devices can work together seamlessly.
Check the input and output options on both the subwoofer and soundbar. Common connection options include RCA, HDMI, and optical. Verify that both devices have matching input and output ports to establish a compatible connection.
It’s also worth noting that some soundbars have a dedicated subwoofer output, while others may require you to connect the subwoofer via the audio output. Refer to your soundbar’s user manual to determine the appropriate connection method.
If you’re unsure about compatibility or need further assistance, reach out to the manufacturer’s support team or consult online forums and communities for advice from users who have successfully connected a Klipsch subwoofer to their soundbar.
By taking the time to check compatibility before proceeding, you can avoid potential issues or complications during the connection process. Once you’ve confirmed compatibility, you’re ready to move on to the next step: making the physical connections.
Step 2: Make the Physical Connections
Now that you have confirmed compatibility, it’s time to make the physical connections between your Klipsch subwoofer and soundbar. Follow these steps:
- Locate the subwoofer output or audio output on your soundbar. This is typically labeled as “Sub Out” or “Audio Out.”
- Take the appropriate audio cable (RCA, HDMI, or optical) and connect one end to the subwoofer output on your soundbar.
- Next, locate the corresponding input on your Klipsch subwoofer. This is usually labeled as “Sub In” or “Audio In.” Connect the other end of the audio cable to this input.
- Ensure that the connections are secure and properly inserted into both the soundbar and subwoofer.
- If your subwoofer requires power, connect the power cable to an outlet. Some subwoofers may have a power switch that needs to be turned on.
- Connect the power cable of your soundbar as well and ensure it is powered on.
With the physical connections made, your Klipsch subwoofer should now be properly linked to your soundbar. However, to ensure optimal audio performance and synchronization, it is essential to adjust the audio settings accordingly.
Please note that the specific steps for making physical connections may vary depending on the models and brands of your devices. Refer to the user manuals for detailed instructions tailored to your specific setup.
Now that the connections are complete, let’s move on to the next step: adjusting the audio settings.
Step 3: Adjust the Audio Settings
After making the physical connections between your Klipsch subwoofer and soundbar, it’s crucial to adjust the audio settings to ensure optimal performance and balance between the two devices. Follow these steps to adjust the audio settings:
- On your soundbar’s remote control or the control panel, locate the audio settings or sound options.
- Select the option to enable or activate the subwoofer output.
- Adjust the subwoofer volume or level to your desired preference. This setting may be labeled as “Subwoofer Level,” “Bass,” or “LFE Level.”
- Explore additional audio settings on your soundbar, such as equalizer presets or audio modes, to customize the sound output according to your preferences.
Keep in mind that the specific names and locations of these settings may vary depending on the brand and model of your soundbar. Consult the user manual for your soundbar for precise instructions on adjusting the audio settings.
Additionally, some Klipsch subwoofers have their own settings that can be adjusted for optimal performance. If your subwoofer offers such controls, refer to its user manual to understand and adjust these settings accordingly.
Once you have fine-tuned the audio settings on both the soundbar and subwoofer, you’re ready to move on to the final step: testing the connection.
Remember, tweaking the audio settings may require some trial and error to achieve the desired sound quality. Take the time to experiment and find the best settings that suit your audio preferences.
Step 4: Test the Connection
Now that you have made all the necessary physical connections and adjusted the audio settings, it’s time to test the connection between your Klipsch subwoofer and soundbar. Testing the connection ensures that both devices are working together harmoniously and delivering the desired audio experience. Here’s how you can test the connection:
- Play a sound source through your soundbar, such as a movie, music, or a gaming console.
- Listen carefully to the audio output and pay attention to the bass frequencies. You should notice a significant improvement in the depth and richness of the bass with the subwoofer connected.
- Adjust the subwoofer volume or level to fine-tune the bass response, if necessary. Increase or decrease the subwoofer volume until you achieve the desired balance with the rest of the soundbar’s audio output.
- Test the connection with various types of audio content to ensure consistent performance across different media.
During the testing phase, if you notice any issues with the bass being too overpowering, distorted, or lacking in impact, revisit the audio settings and make adjustments accordingly. It may take some trial and error to find the optimal settings that suit your preferences and room acoustics.
If you still encounter problems with the connection or are unsatisfied with the audio performance, consult the user manuals for both the subwoofer and soundbar, or reach out to the manufacturer’s support for further assistance.
Once you are satisfied with the performance and the connection between your Klipsch subwoofer and soundbar, sit back, relax, and enjoy the immersive audio experience that only a high-quality subwoofer can provide.
With the testing phase complete, you have successfully connected and tested your Klipsch subwoofer with your soundbar, bringing enhanced bass and audio to your entertainment setup.
Conclusion
Congratulations! You have successfully connected your Klipsch subwoofer to your soundbar, elevating your audio experience to new heights. By following the steps outlined in this guide, you have ensured compatibility, made the necessary physical connections, adjusted the audio settings, and tested the connection to achieve optimal performance.
With the addition of a Klipsch subwoofer, you can now enjoy deep, rumbling bass that adds depth, impact, and immersion to your movies, music, and games. The subwoofer complements the soundbar by handling the low frequencies, resulting in a well-balanced and robust audio output.
Remember that every setup may have different requirements, and it’s important to consult the user manuals for your specific subwoofer and soundbar models for detailed instructions tailored to your devices.
If you encounter any difficulties during the process or have further questions, don’t hesitate to reach out to the manufacturer’s support or community forums for assistance. They will be able to provide additional guidance and troubleshooting tips specific to your setup.
Now, sit back, relax, and immerse yourself in the rich audio experience provided by your Klipsch subwoofer and soundbar combination. Enjoy the enhanced bass and let it elevate your entertainment to the next level.
Thank you for choosing Klipsch, and happy listening!