Home>Devices & Equipment>Turntable>How To Connect Turntable To Soundbar
Turntable
How To Connect Turntable To Soundbar
Published: January 18, 2024
Learn how to easily connect your turntable to a soundbar and enjoy high-quality audio. Follow these steps and enhance your listening experience.
(Many of the links in this article redirect to a specific reviewed product. Your purchase of these products through affiliate links helps to generate commission for AudioLover.com, at no extra cost. Learn more)
Table of Contents
Introduction
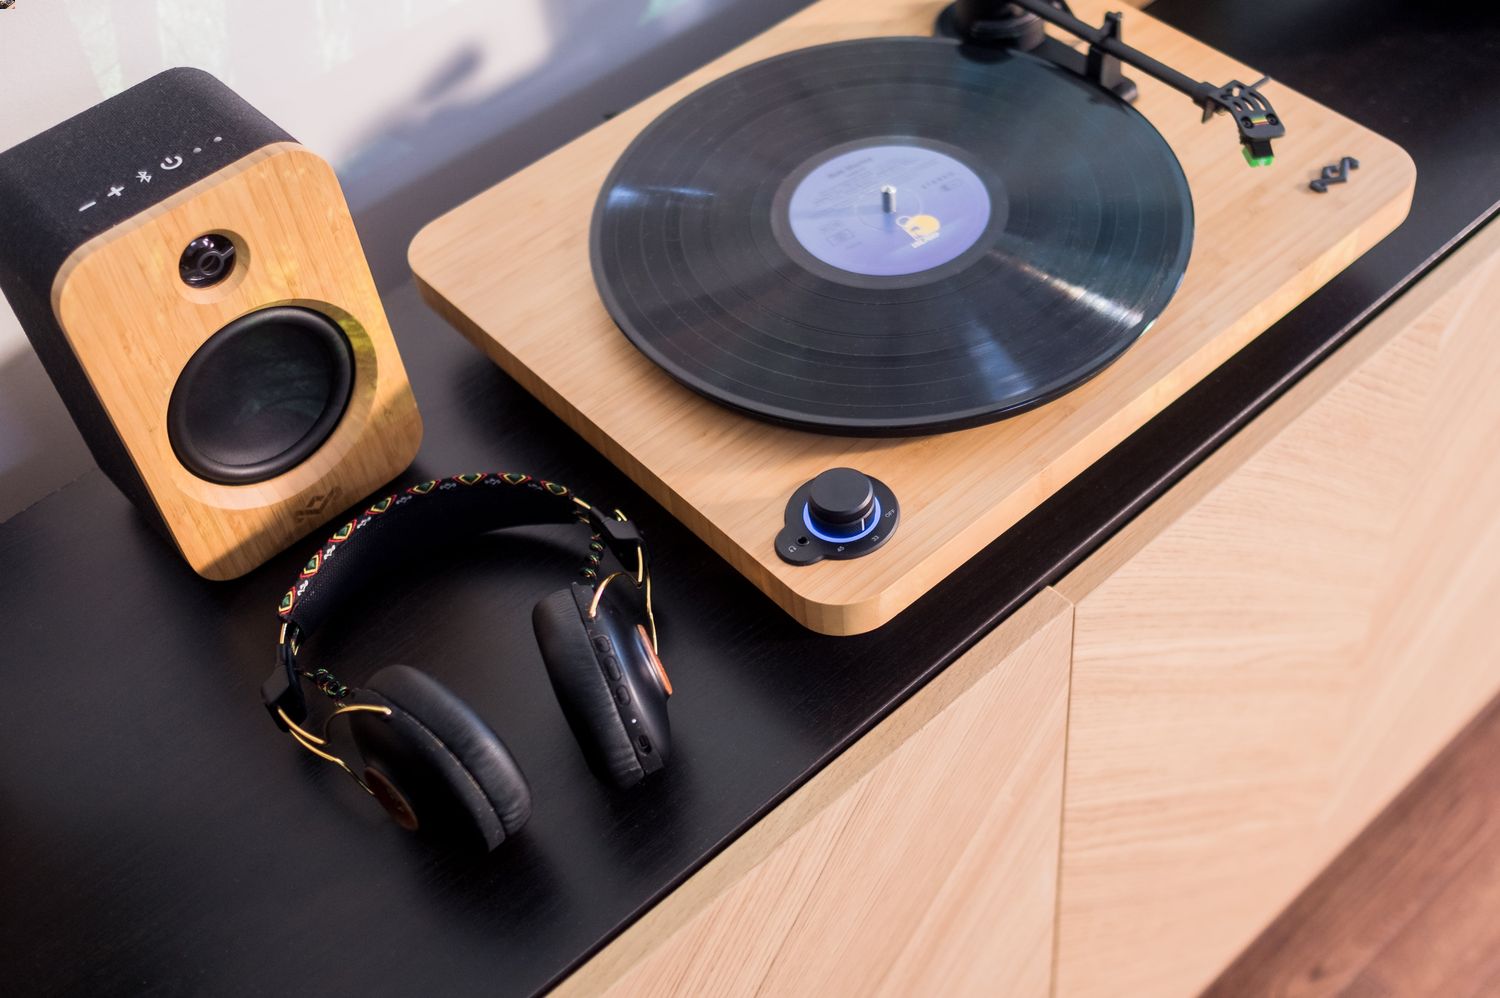
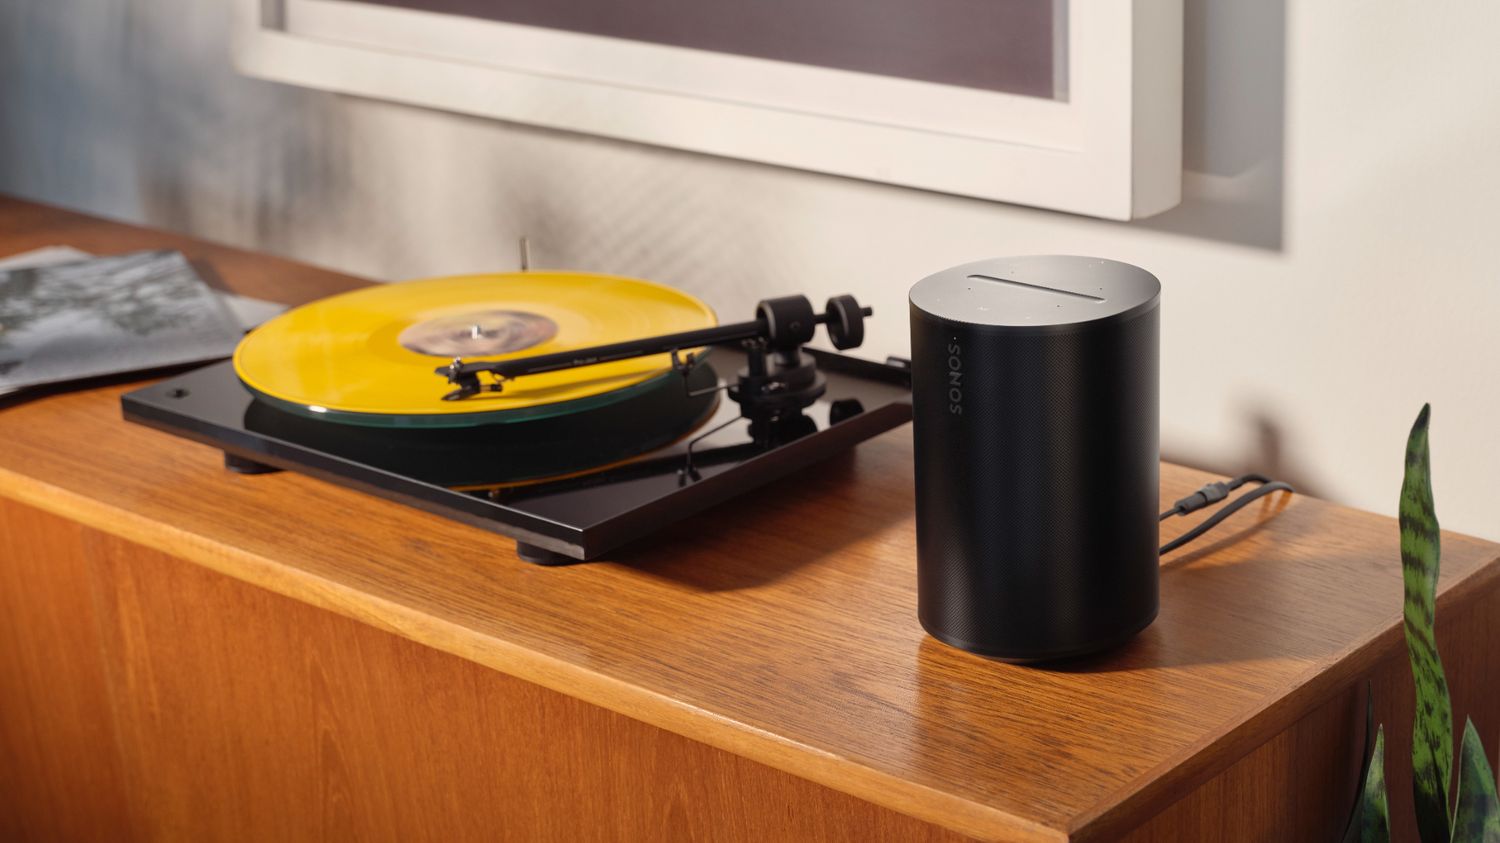
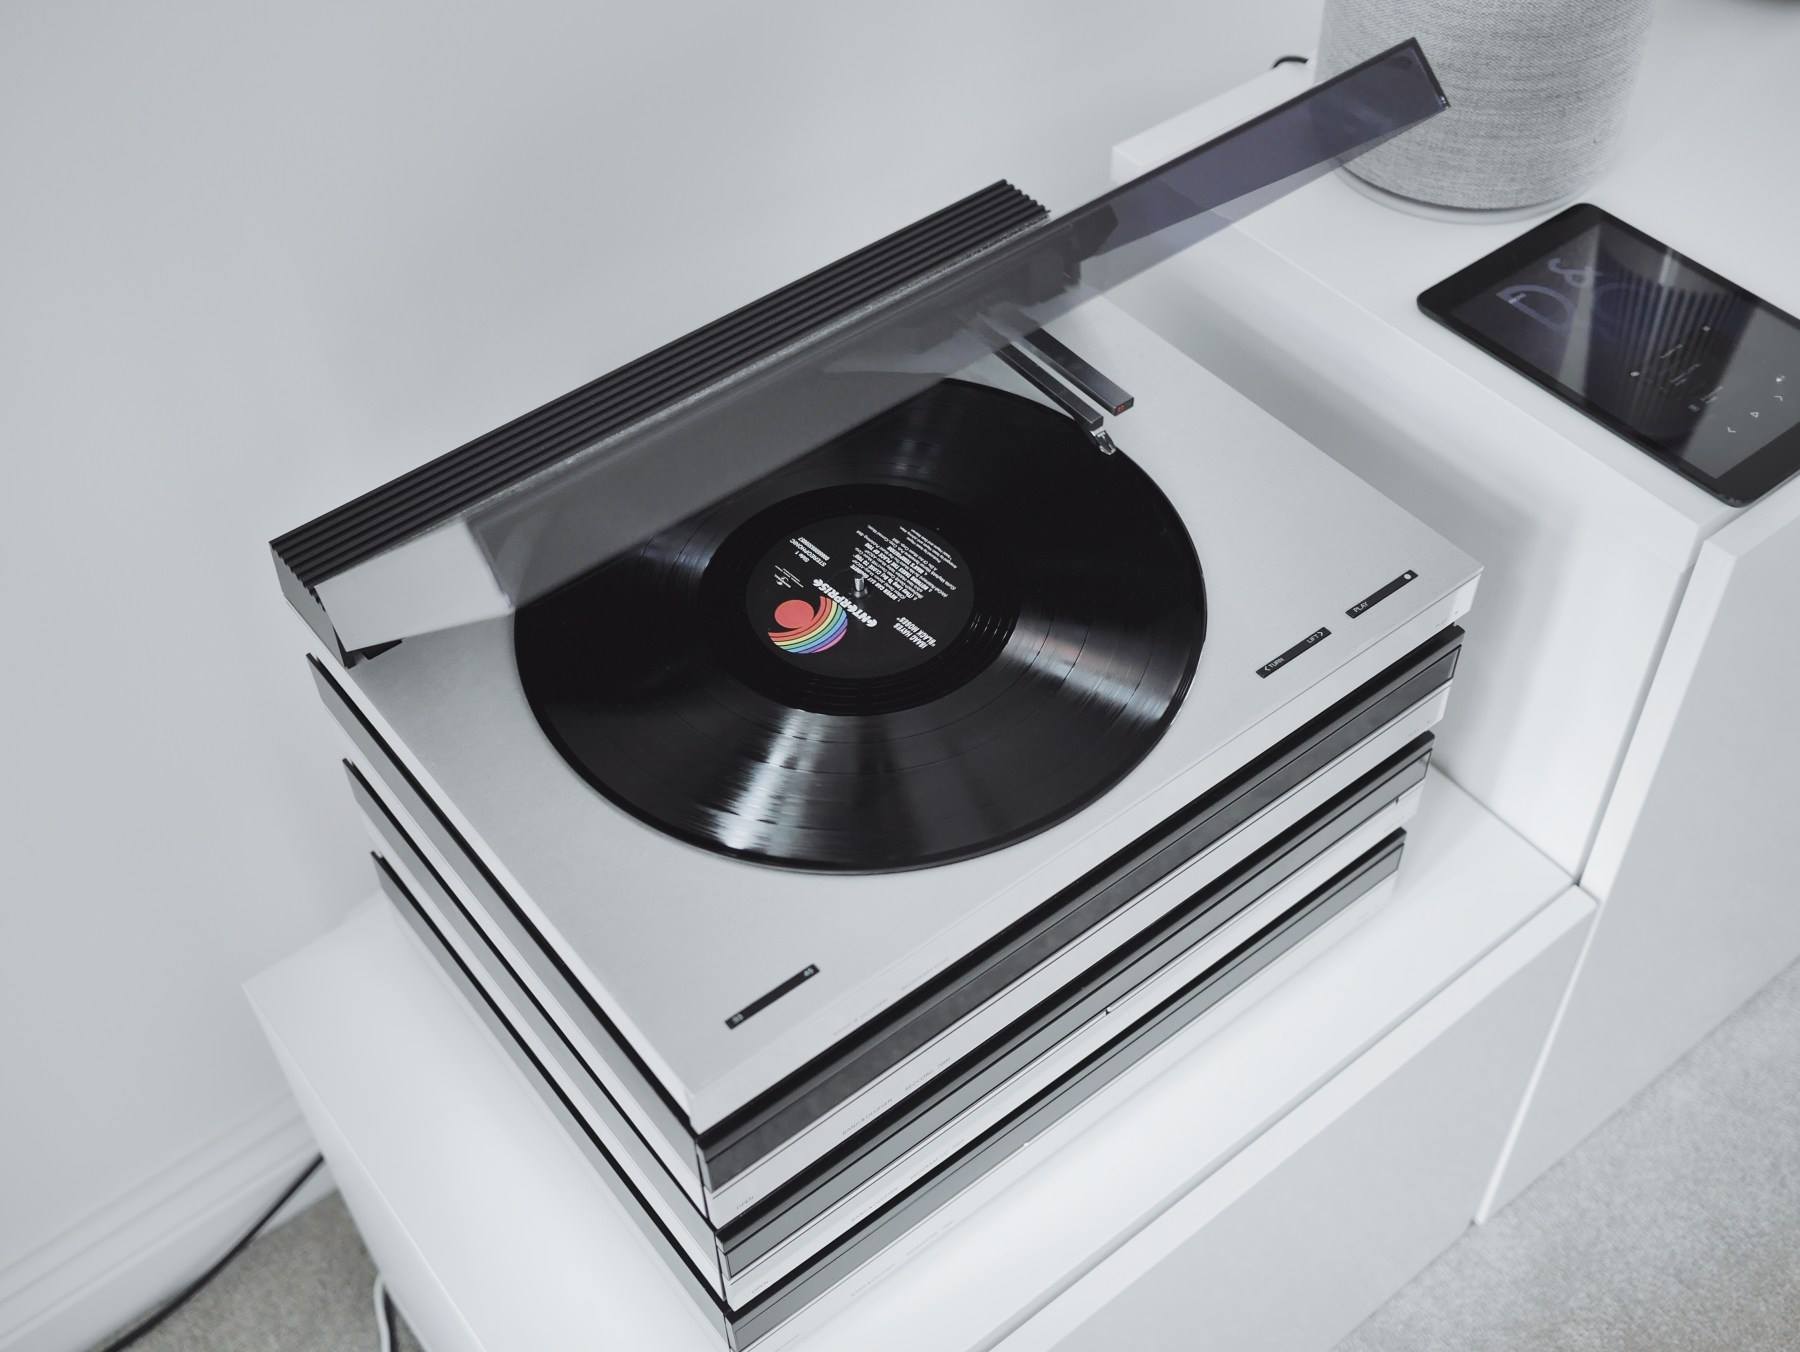
Turntables have become increasingly popular in recent years, with vinyl records experiencing a resurgence in popularity. The rich sound and tangible experience of playing vinyl have made turntables a must-have for many audiophiles and music enthusiasts. However, if you want to enhance your listening experience, connecting your turntable to a soundbar can make a significant difference.
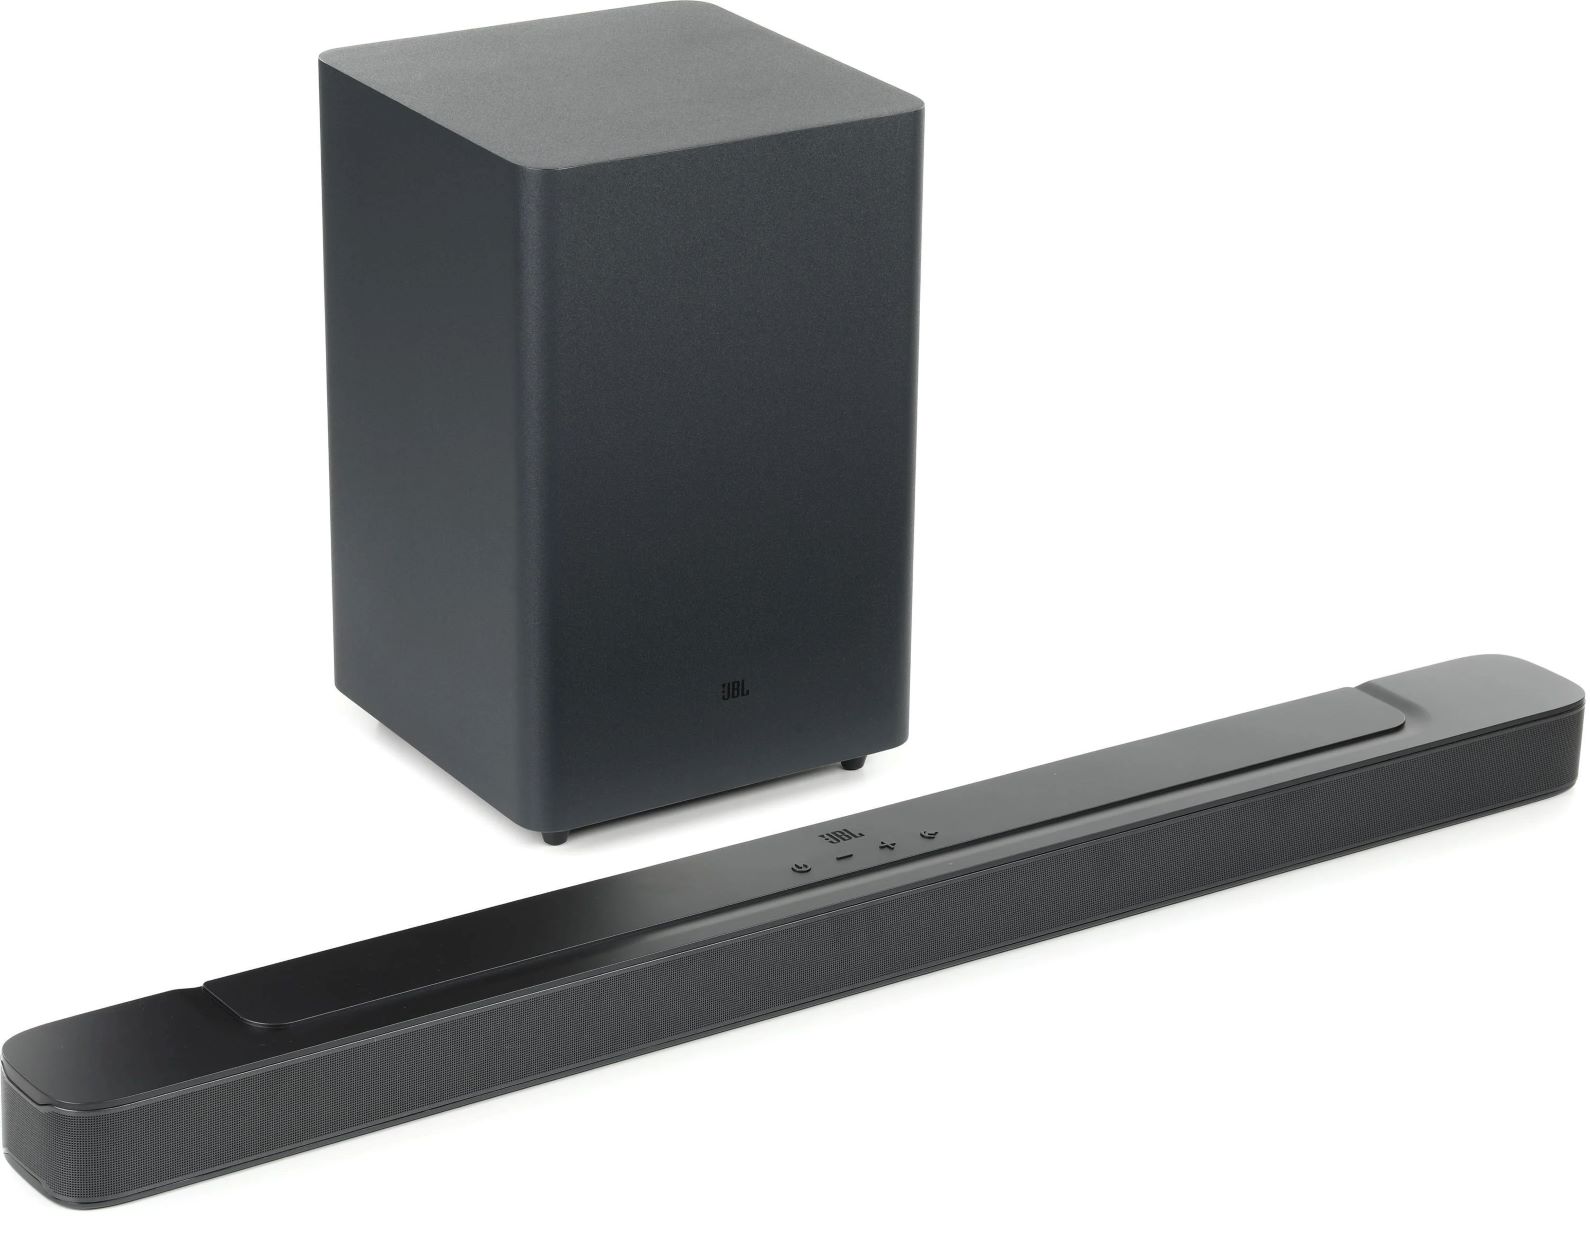
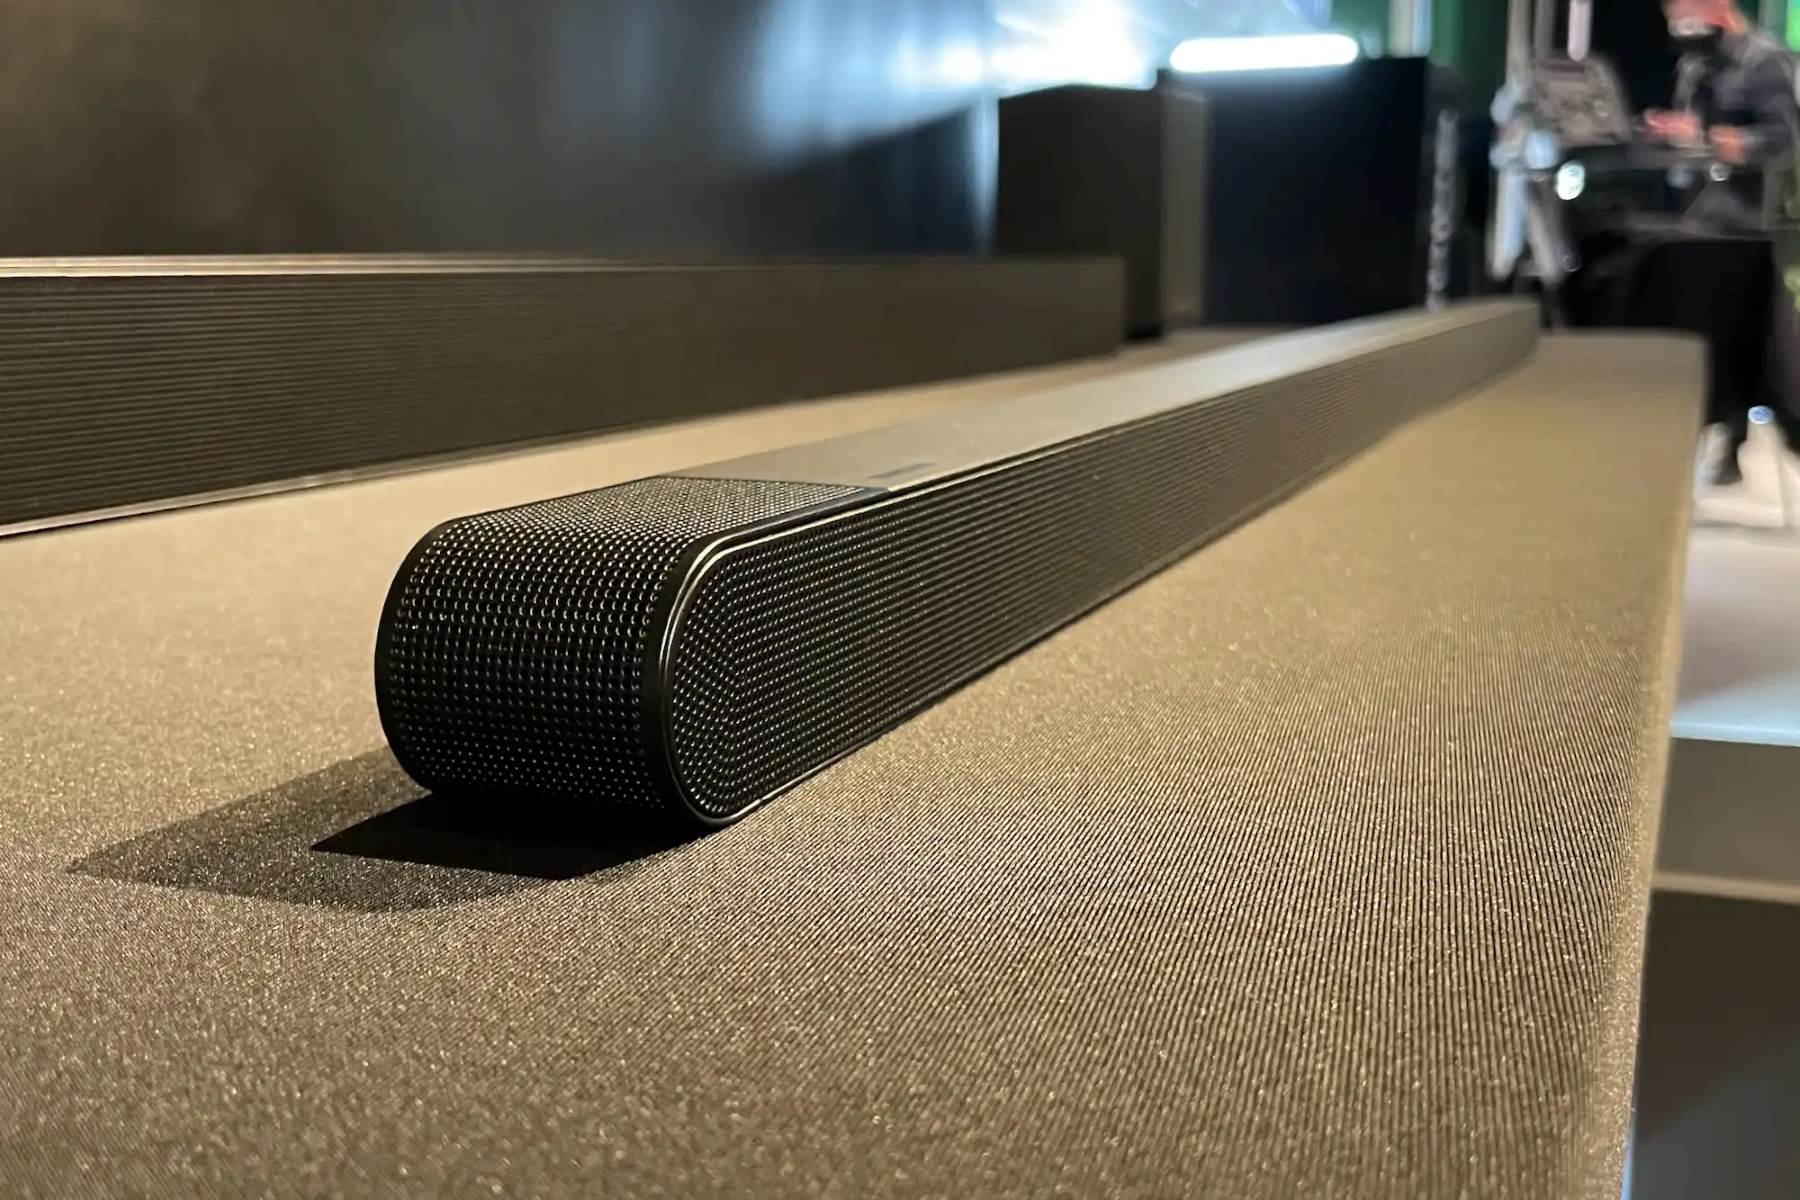
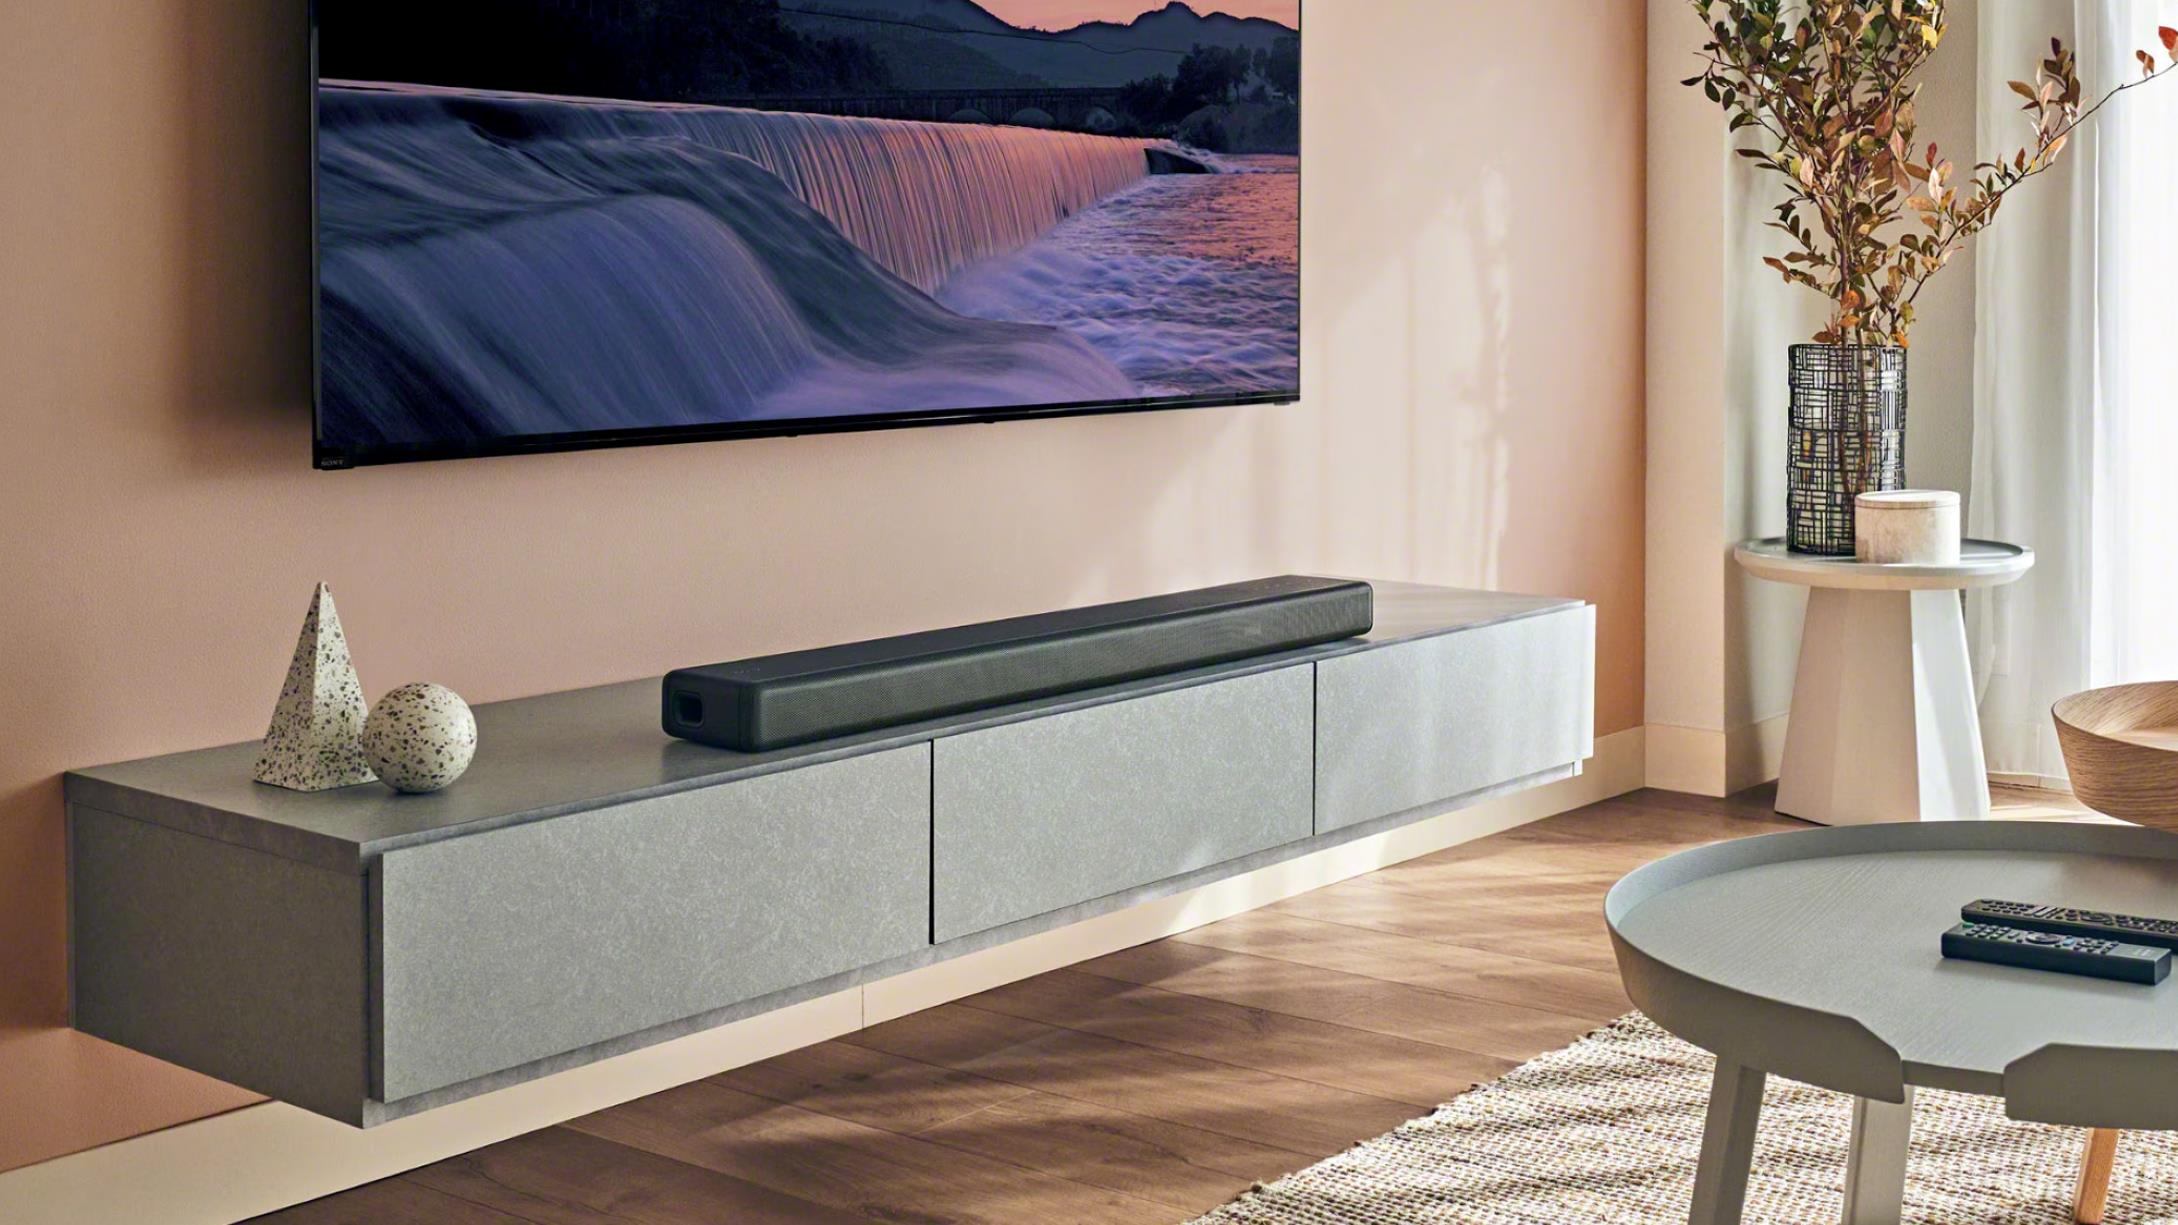
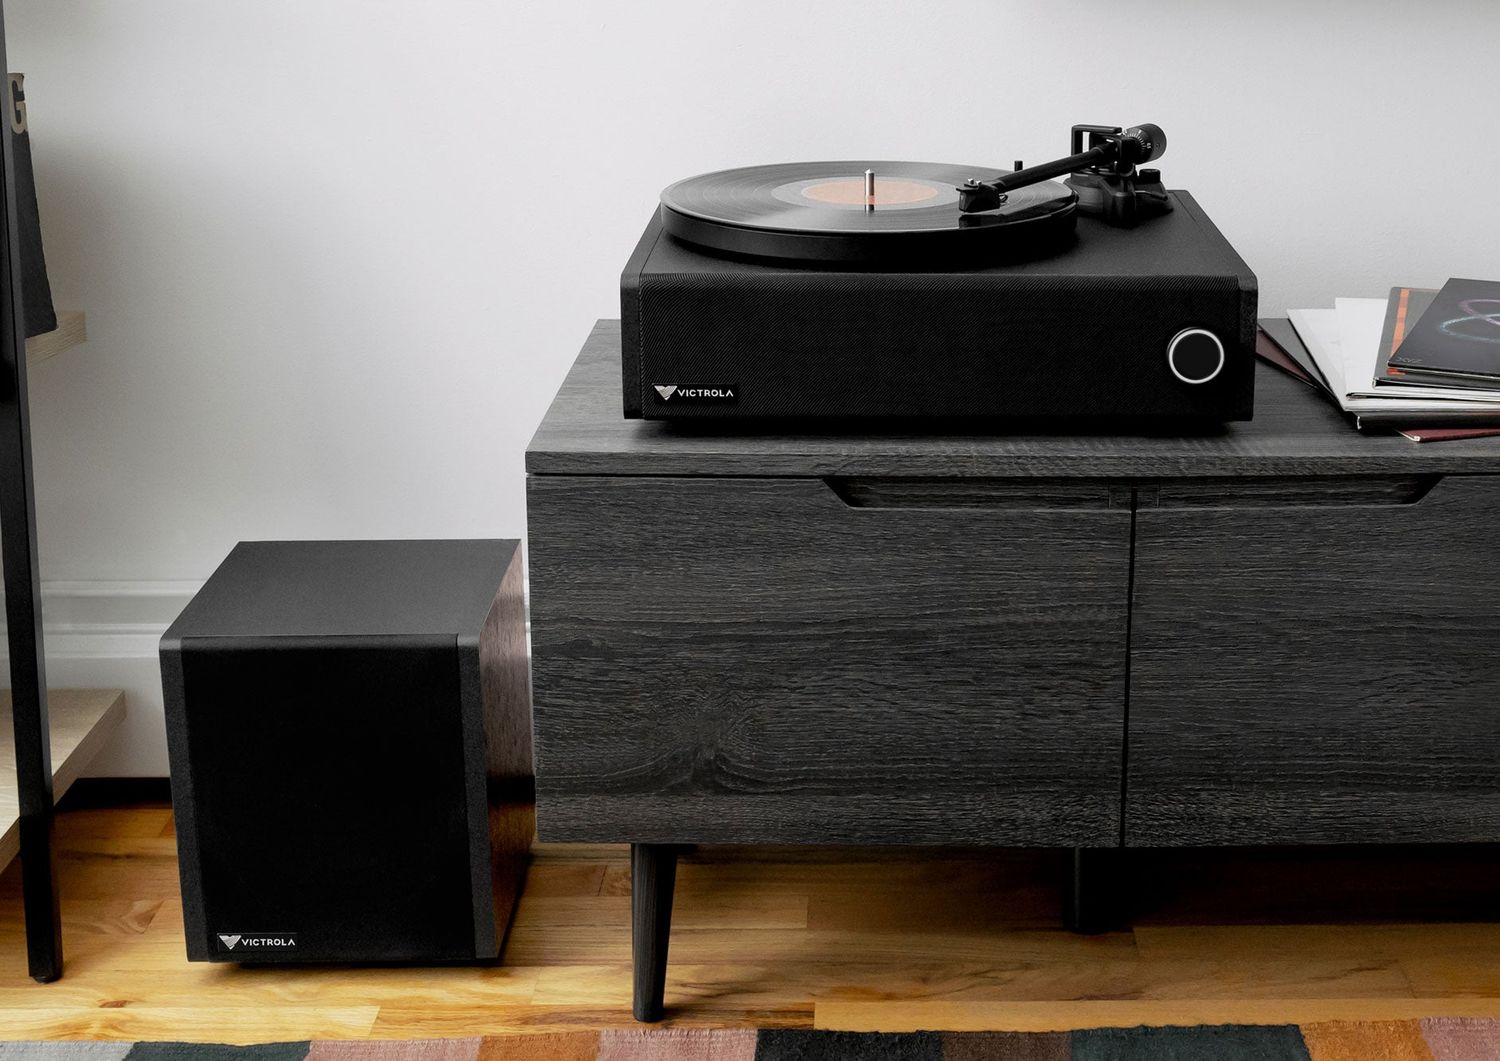
A soundbar is a slim, sleek speaker system designed to improve audio quality and provide a more immersive sound experience, especially when watching movies or listening to music. By connecting your turntable to a soundbar, you can enjoy the warmth and depth of vinyl records while benefiting from the enhanced sound quality and surround sound capabilities of the soundbar.
While the process of connecting a turntable to a soundbar may seem daunting at first, it is actually quite simple once you understand the necessary steps. This guide will walk you through the process, making it easy for you to enjoy your vinyl collection through the powerful sound of a soundbar.
Equipment Needed
Before you begin the process of connecting your turntable to a soundbar, make sure you have the following equipment:
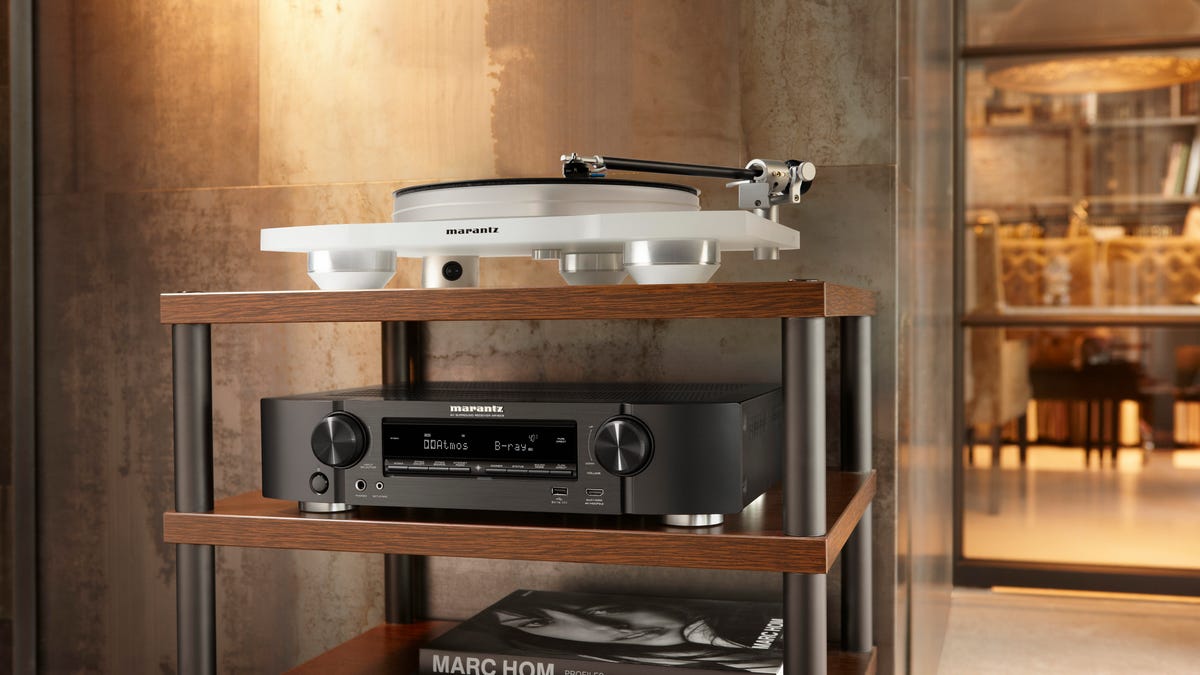
- Turntable: Of course, you will need a turntable to play your vinyl records. Ensure that your turntable is in good working condition and has the necessary outputs to connect to a soundbar.
- Soundbar: Choose a soundbar that suits your preferences and budget. There are many options available, ranging from basic models to more advanced ones with surround sound capabilities. Make sure your soundbar has the necessary inputs to connect to a turntable.
- Audio Cables: You will need audio cables to connect the turntable to the soundbar. The type of cables required will depend on the outputs of your turntable and the inputs of your soundbar. Common options include RCA cables, 3.5mm cables, or optical cables.
- Power Cables and Adapters: Ensure that you have the necessary power cables for both the turntable and the soundbar. Check the power requirements of each device and make sure you have the appropriate adapters if needed.
- User Manuals: Keep the user manuals of your turntable and soundbar handy. These will provide helpful instructions specific to your equipment and can assist you in the setup process.
Once you have gathered all the necessary equipment, you can move on to the next steps of connecting your turntable to the soundbar.
Step 1: Check Compatibility
Before you can connect your turntable to the soundbar, it is essential to check the compatibility of both devices. This step ensures that they can work together seamlessly and produce the desired results.
Start by examining the outputs on your turntable. Most modern turntables have RCA outputs, which are the standard connections for audio devices. If your turntable has RCA outputs, make sure your soundbar has RCA inputs as well. If your turntable has other types of outputs, such as a 3.5mm or optical output, ensure that your soundbar has the corresponding input.
Additionally, check the power requirements of both the turntable and the soundbar. Make sure they are compatible and can be connected to appropriate power sources.
If you are unsure about the compatibility or need assistance, consult the user manuals or reach out to the manufacturers for guidance. It’s crucial to confirm compatibility before moving on to the next steps to avoid any issues or potential damage to your equipment.
Once you have verified the compatibility between your turntable and soundbar, you can proceed with setting up the turntable and connecting it to the soundbar.
Step 2: Set up the Turntable
Now that you have confirmed compatibility between your turntable and soundbar, it’s time to set up the turntable itself. Follow these steps:
- Place the turntable on a stable and level surface. It’s important to ensure that the turntable is not placed near any sources of vibration or excessive movement.
- Connect the power cable to the turntable and plug it into a power outlet. Make sure the power source matches the requirements of your turntable.
- If your turntable has a built-in phono preamp, skip to step 4. If not, continue to the next step.
- If your turntable doesn’t have a built-in phono preamp, you will need an external phono preamp to boost the signal from the turntable to a level that is usable by the soundbar. Connect the turntable’s output to the input of the phono preamp using the appropriate audio cables.
- Take the output from the phono preamp (or directly from the turntable, if it has a built-in preamp) and connect it to the appropriate input on the soundbar using the corresponding audio cables.
- Once the connections are made, ensure that all cable connections are secure and tighten any loose connections.
- Refer to the user manual for your turntable to make any necessary adjustments to the tracking force, anti-skate settings, or any specific settings unique to your turntable model.
With the turntable set up and ready to go, you can now proceed to the next step of connecting it to the soundbar.
Step 3: Connect the Turntable to the Soundbar
Now that your turntable is set up, it’s time to connect it to the soundbar. Follow these steps:
- Identify the appropriate input on the soundbar for the turntable. This is typically labeled as “AUX,” “Line-In,” or “Analog.”
- Take the audio cables that you determined to be compatible during the compatibility check. If you are using RCA cables, connect the red plug to the right channel output of the turntable and the white (or black) plug to the left channel output.
- Plug the other end of the audio cables into the corresponding input on the soundbar.
- Ensure that the cable connections are secure and tight.
- If you are using a soundbar with multiple input options, such as HDMI or Bluetooth, make sure to select the correct input for the turntable function.
Once the turntable is successfully connected to the soundbar, you have completed the physical connection between the two devices.
However, keep in mind that some soundbars may have additional settings or adjustments that need to be configured to optimize the audio playback. These settings are typically accessed through the soundbar’s remote control or on-screen menu. Consult the soundbar’s user manual for instructions on how to access and adjust these settings.
With the turntable and soundbar connected, you can move on to the next step of configuring the soundbar settings.
Step 4: Configure the Soundbar Settings
After connecting the turntable to the soundbar, it’s essential to configure the soundbar settings to optimize the audio output. Follow these steps:
- Using the soundbar’s remote control or on-screen display, access the soundbar’s settings menu.
- Locate the audio input or source selection option. Select the input corresponding to the turntable connection.
- Check if there are any EQ (Equalizer) settings available on the soundbar. Adjust these settings to suit your personal preferences or to match the characteristics of your vinyl records.
- Some soundbars offer different sound modes, such as “Music,” “Cinema,” or “Gaming.” Experiment with these modes to find the one that enhances the audio experience while playing vinyl records on your turntable.
- Adjust the volume levels on the soundbar to a comfortable listening level.
- Take the time to familiarize yourself with any other settings or features offered by your soundbar that may enhance your listening experience.
By configuring the soundbar settings, you can tailor the audio output to your preferences and optimize the sound quality while playing vinyl records on your turntable.
Once you have adjusted the soundbar settings, it’s time to test the connection and ensure everything is working correctly.
Step 5: Test the Connection
After setting up and configuring the soundbar, it’s crucial to test the connection to ensure that everything is working as expected. Follow these steps to test the connection:
- Choose a vinyl record from your collection that you would like to listen to.
- Ensure that your turntable is set to the appropriate speed (typically 33 1/3 RPM or 45 RPM) for the selected record.
- Gently place the needle or stylus onto the record, making sure it is correctly aligned and in the grooves.
- Adjust the volume on the soundbar to a comfortable level.
- Listen to the audio output from the soundbar. Pay attention to the clarity, balance, and overall sound quality.
- If necessary, make further adjustments to the soundbar’s EQ settings or sound modes to fine-tune the audio output.
- Check for any distortion, crackling, or other issues in the audio. If you encounter any problems, double-check the cable connections and the settings on both the turntable and soundbar.
If the audio quality is satisfactory and the playback is smooth, congratulations! You have successfully connected your turntable to the soundbar. Enjoy your vinyl records with enhanced sound through the powerful audio system.
If you encounter any issues or are not satisfied with the audio quality, consult the user manuals of both the turntable and soundbar for troubleshooting tips or reach out to the manufacturers for assistance.
With the connection tested and verified, you can now sit back, relax, and enjoy the joy of listening to your favorite vinyl records through the immersive sound of your soundbar.
Conclusion
Connecting your turntable to a soundbar can be a game-changer for your vinyl listening experience. By combining the warmth and richness of vinyl records with the enhanced sound quality and immersive audio of a soundbar, you can truly elevate your musical enjoyment.
In this guide, we have walked you through the steps of connecting your turntable to a soundbar. From checking compatibility to setting up the turntable, connecting the devices, configuring the soundbar settings, and testing the connection, you now have the knowledge to seamlessly integrate your turntable into your sound system.
Remember, each turntable and soundbar may have unique features or settings, so it’s essential to consult the user manuals specific to your equipment for detailed instructions and troubleshooting tips.
Now that you have successfully connected your turntable to the soundbar, immerse yourself in the captivating sound of vinyl as it resonates through your entire space. Rediscover the joy and nostalgia of vinyl records with the added enhancement of a powerful audio system.
Indulge in the crackling of the needle on the record, the melodies that fill the room, and the sheer pleasure of experiencing music in a way that only vinyl can provide. With your turntable connected to a soundbar, you have unlocked a whole new level of audio immersion and musical enjoyment.
So, gather your vinyl collection, sit back, and let the melodic journey begin!