Home>Devices & Equipment>Subwoofer>How To Connect Sanyo Subwoofer To Soundbar

Subwoofer
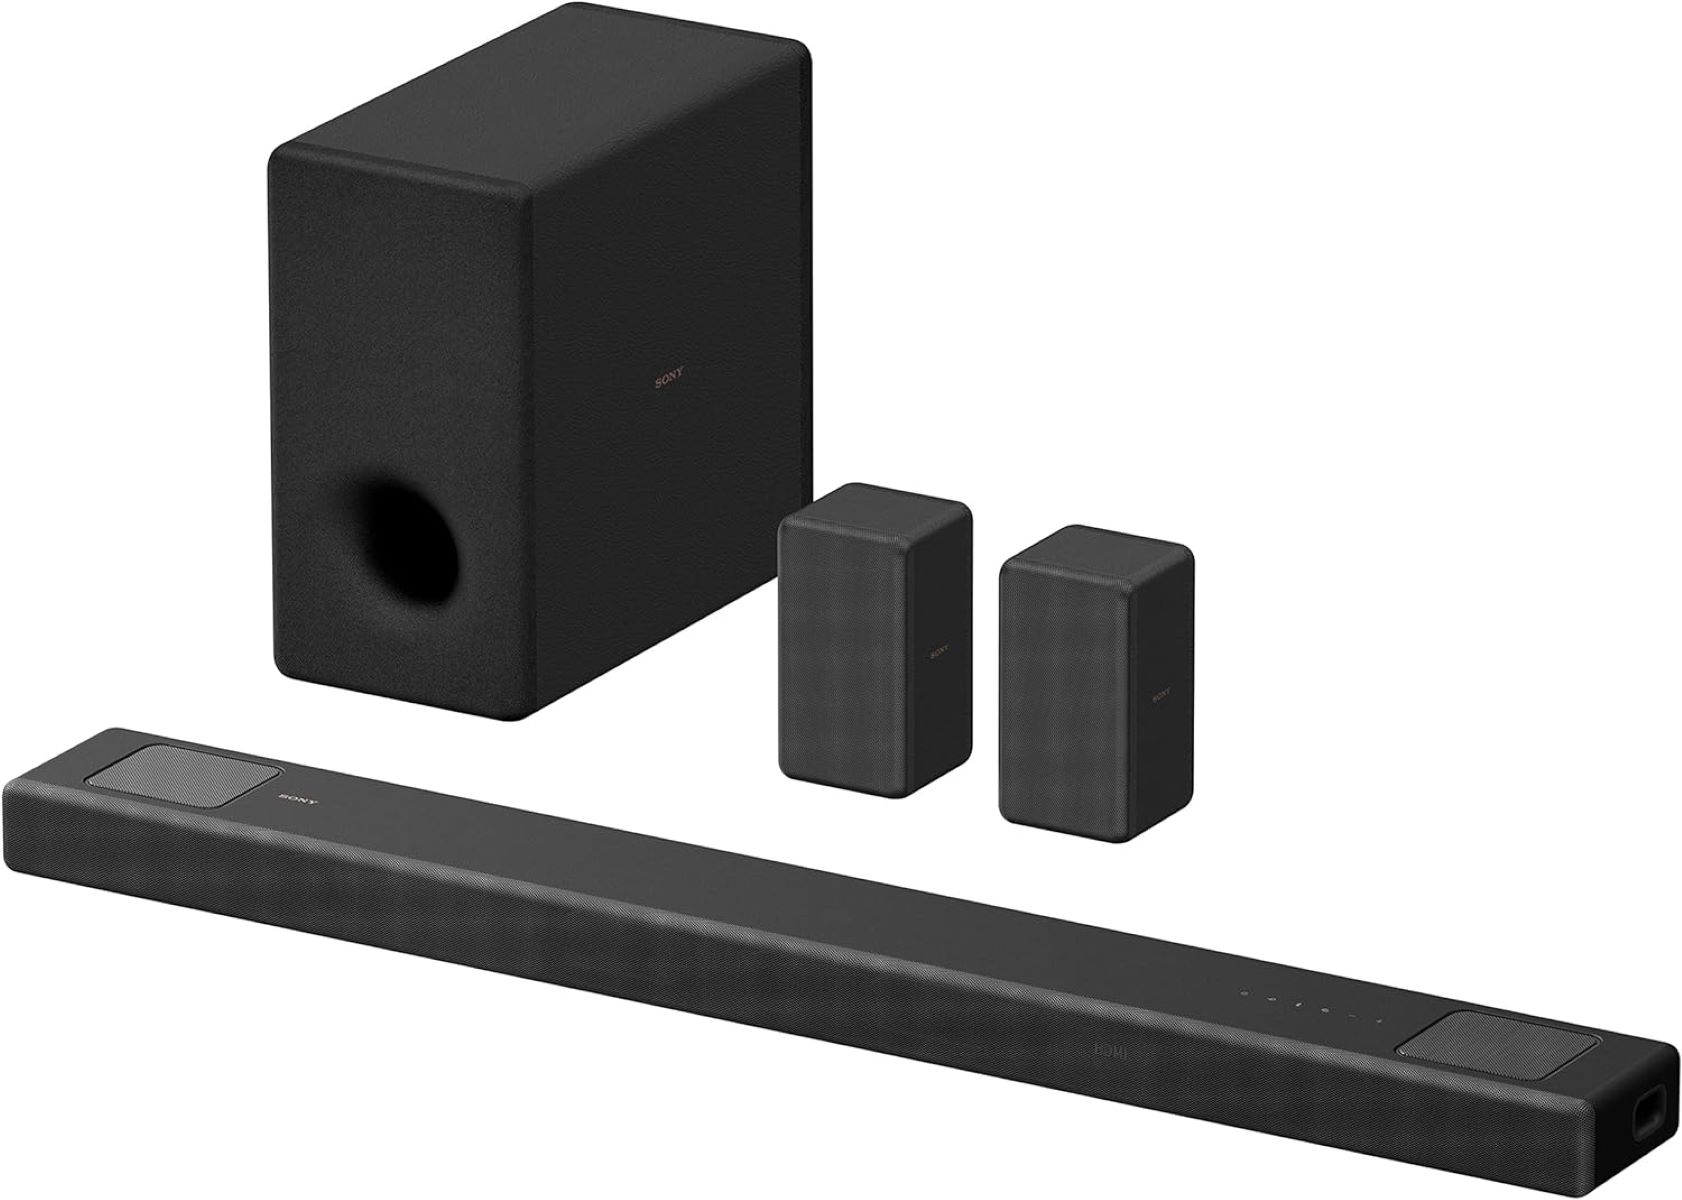
How To Connect Sanyo Subwoofer To Soundbar
Modified: February 18, 2024
Learn how to easily connect your Sanyo subwoofer to your soundbar for an enhanced audio experience. Step-by-step instructions for a seamless setup.
(Many of the links in this article redirect to a specific reviewed product. Your purchase of these products through affiliate links helps to generate commission for AudioLover.com, at no extra cost. Learn more)
Table of Contents
Introduction
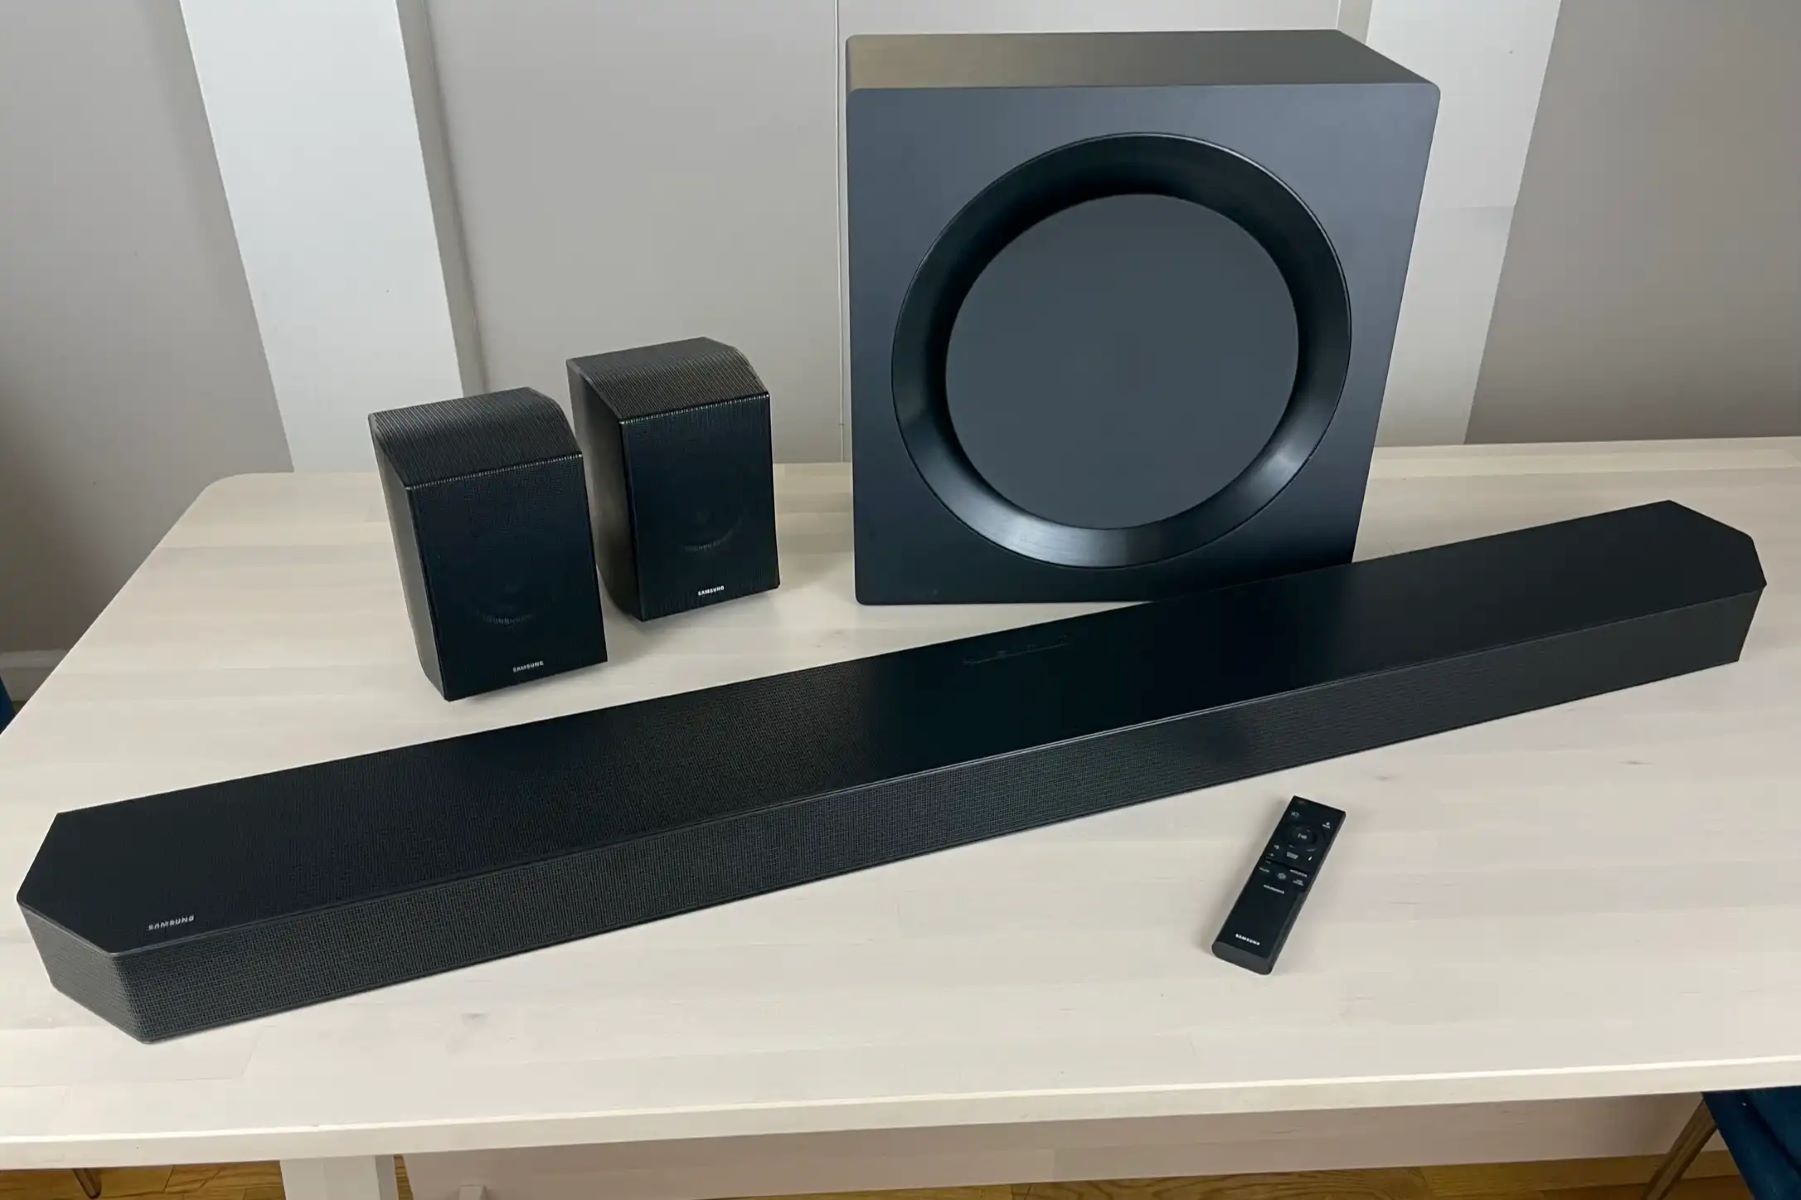
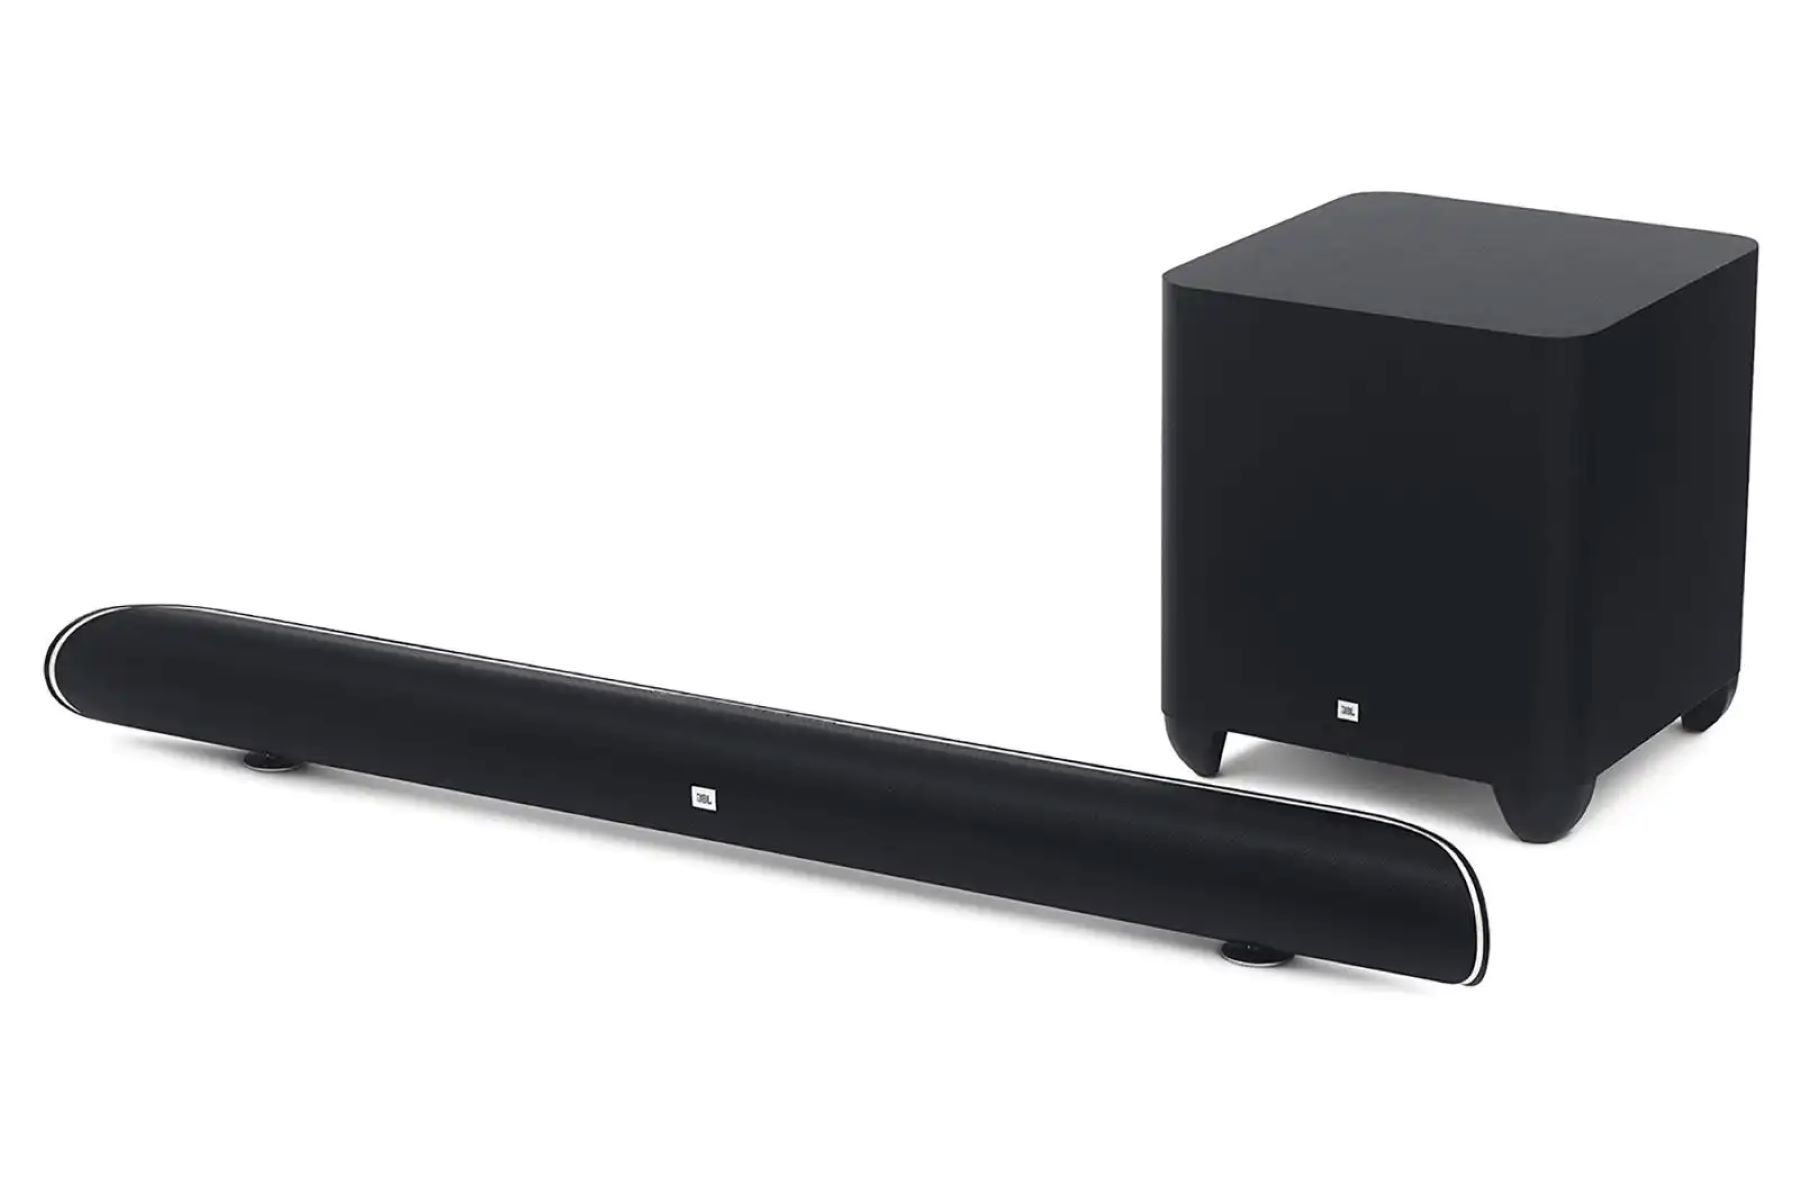
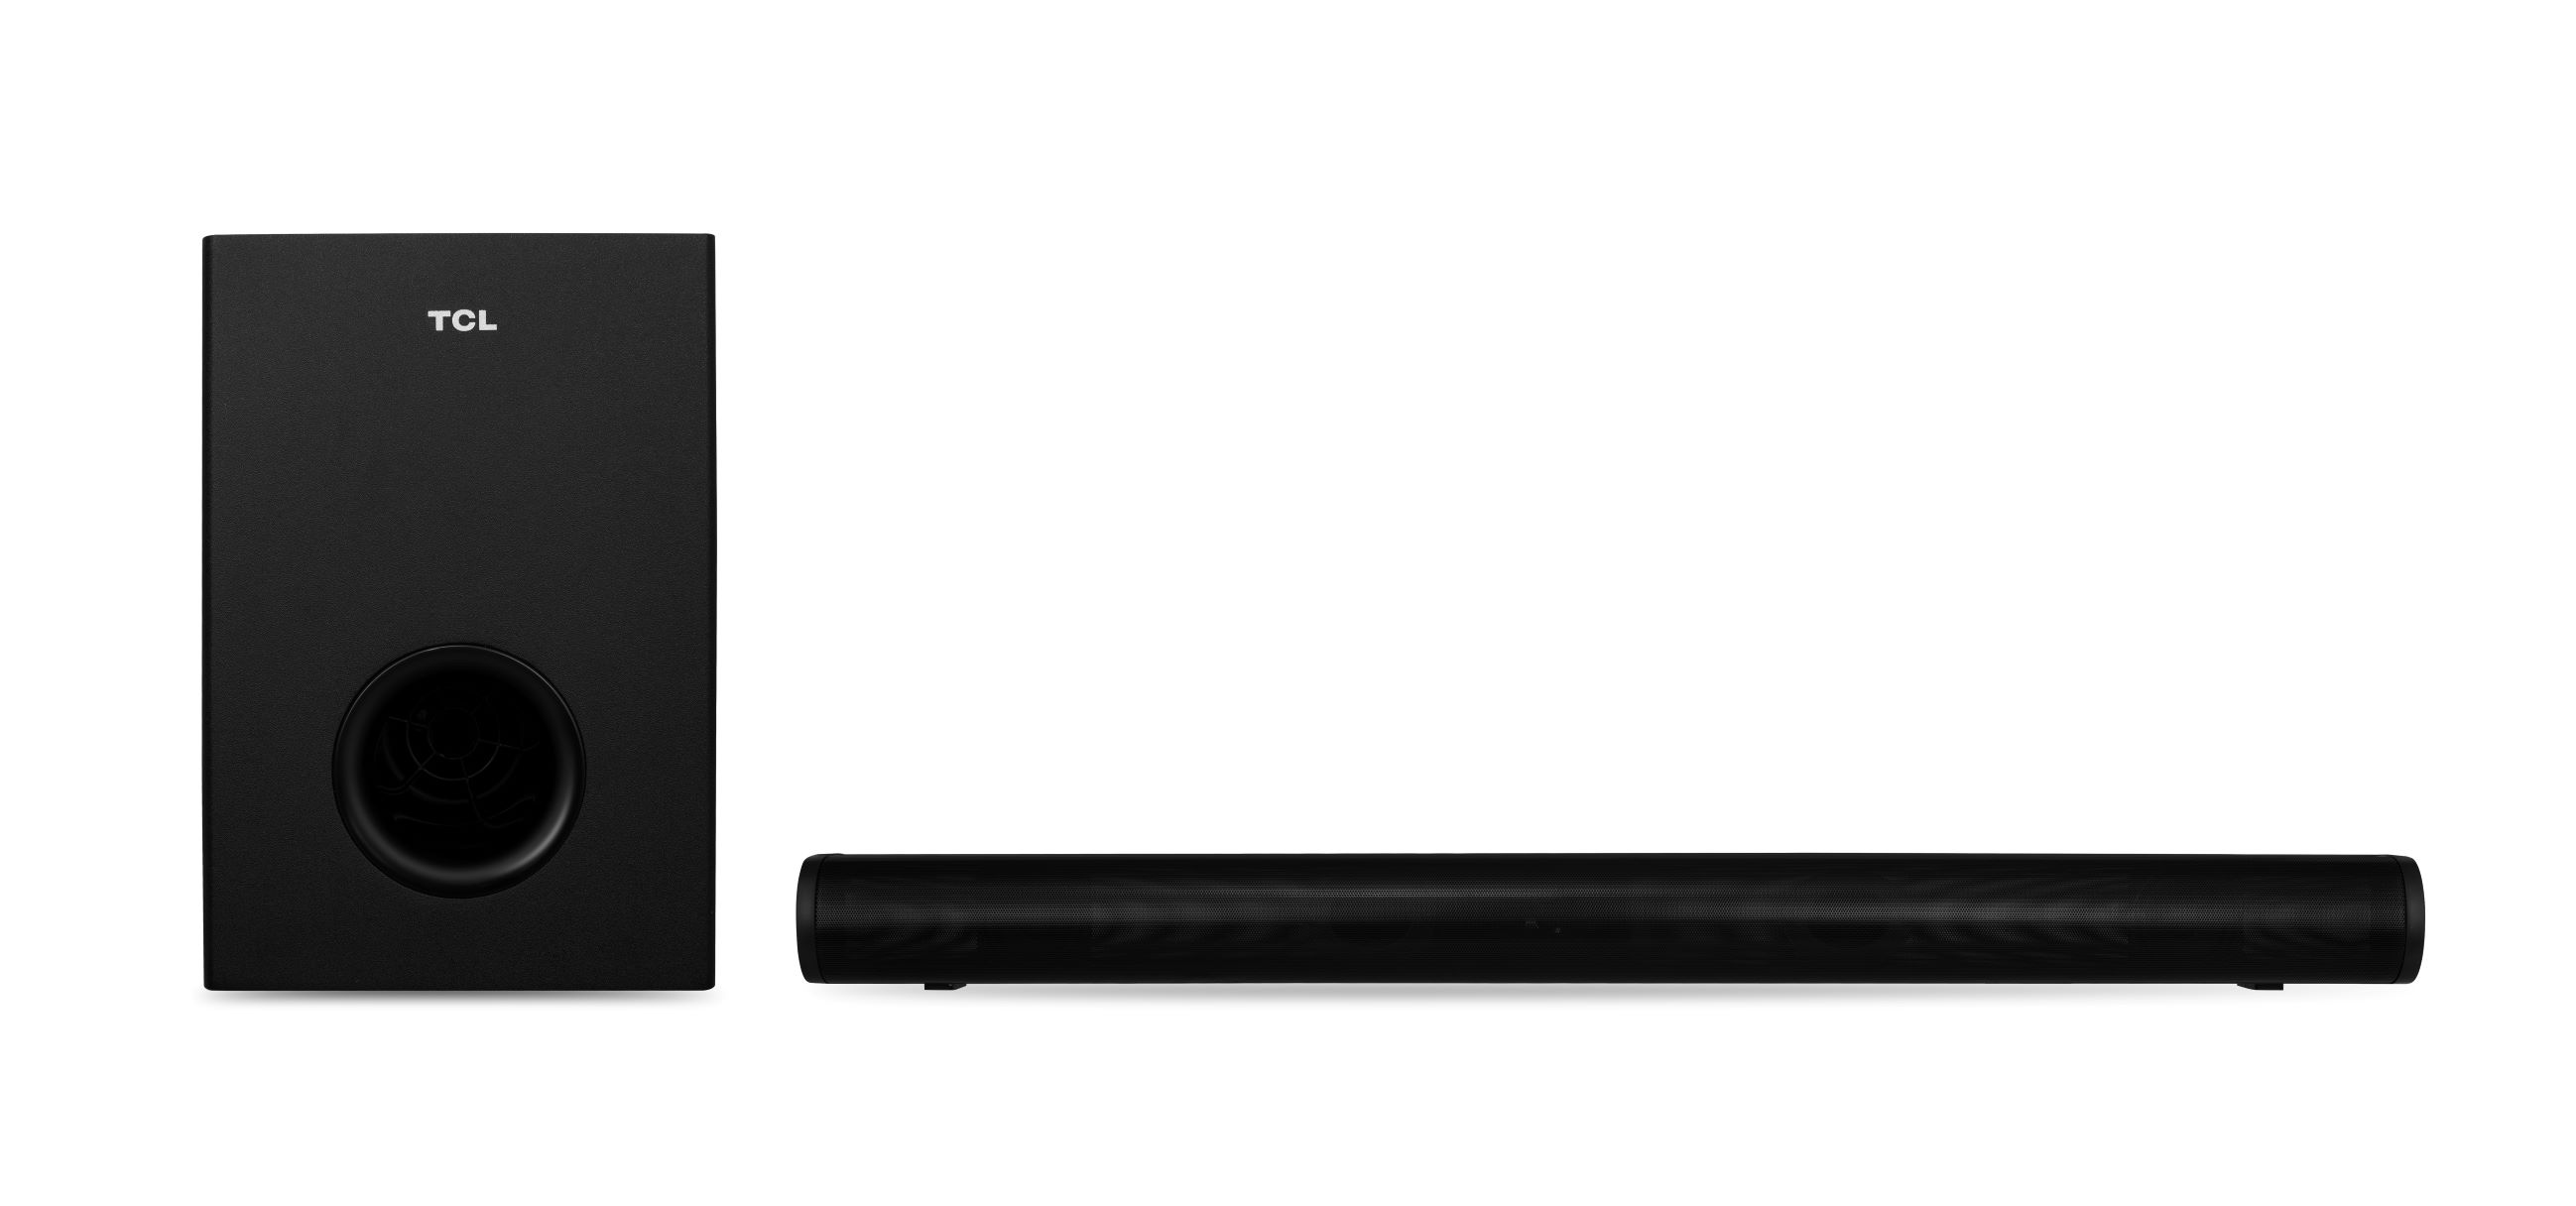
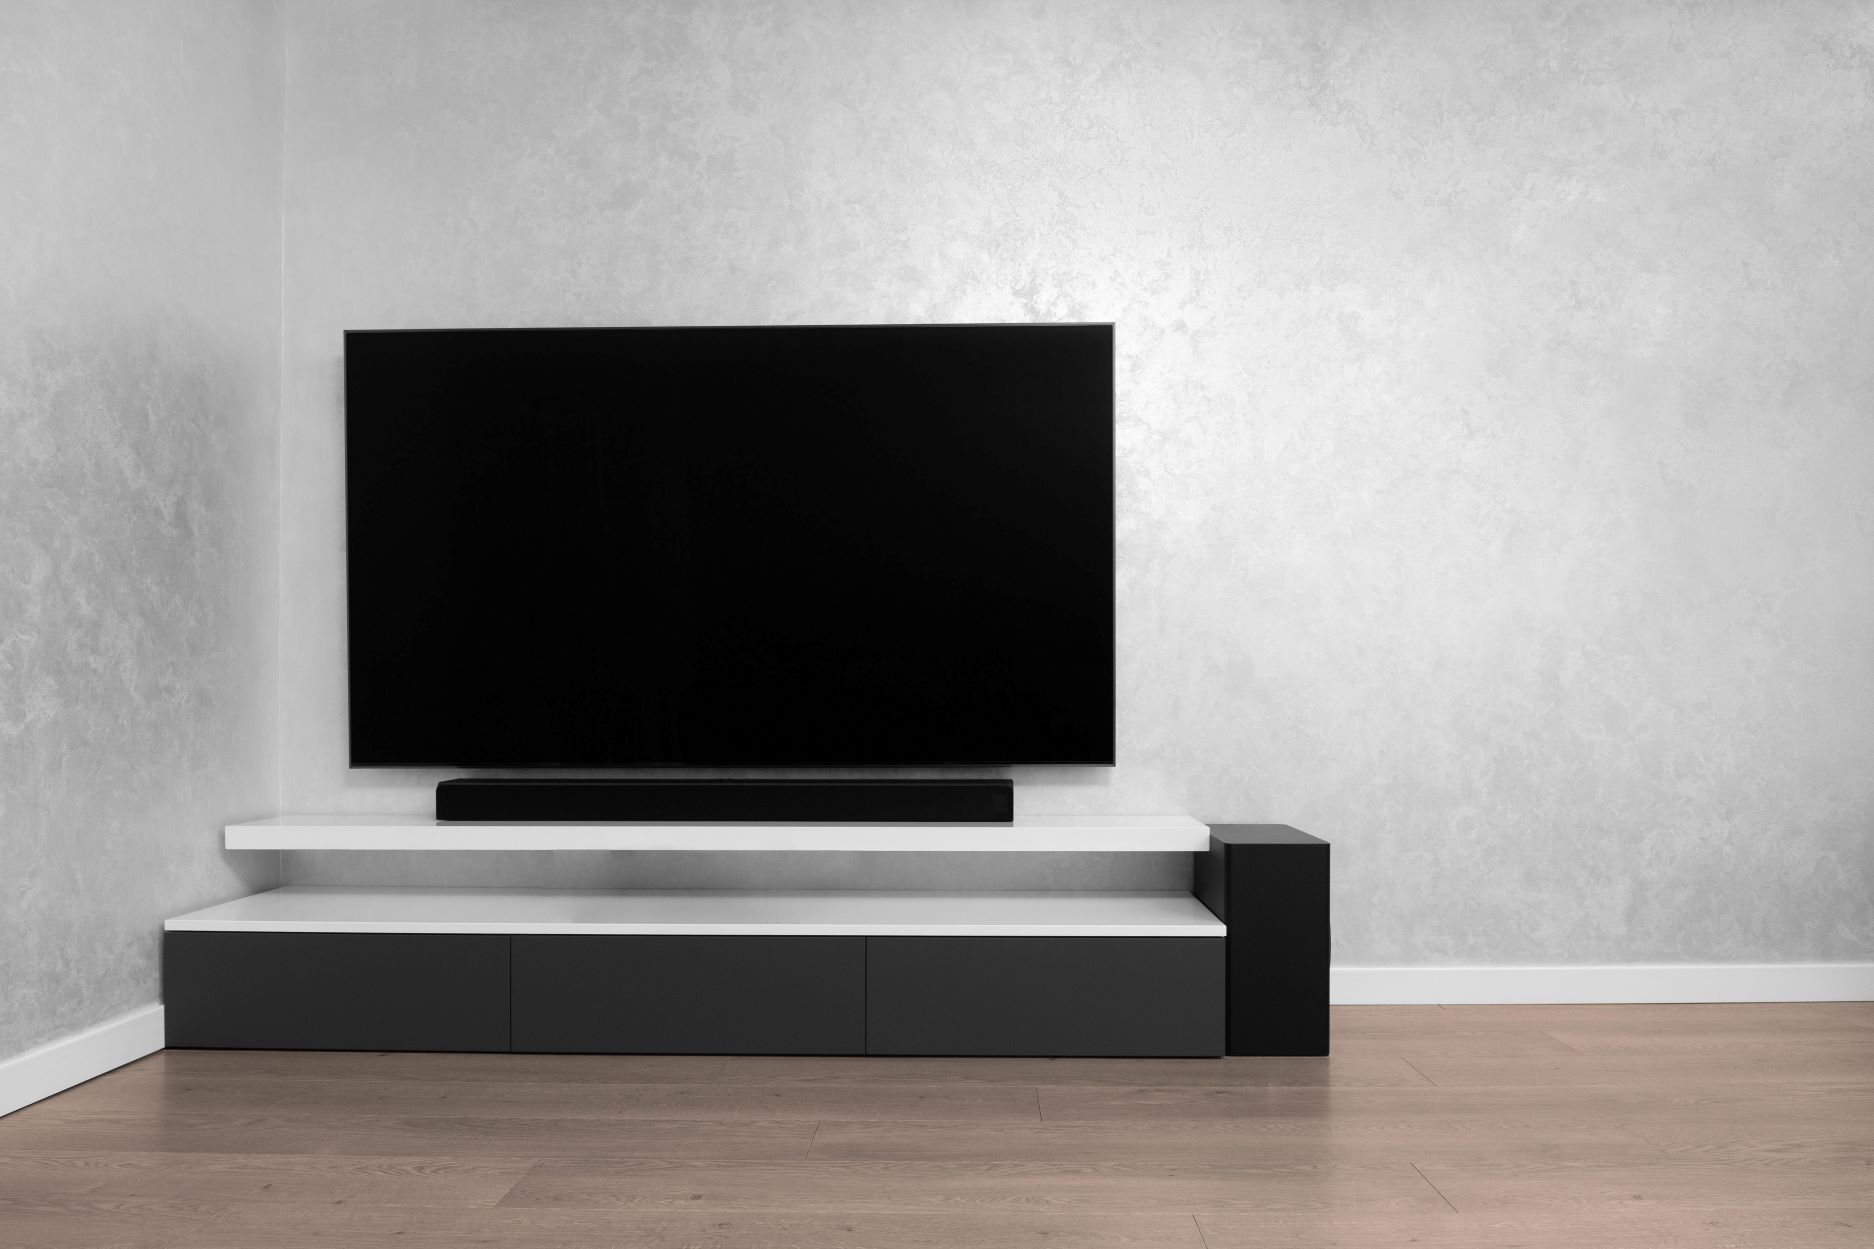
Welcome to the world of audio immersion! If you’re looking to elevate your home theater experience, adding a subwoofer to your soundbar setup is a game-changer. A subwoofer is designed to reproduce low-frequency sounds, giving you that deep, rumbling bass that can make movies, music, and gaming come alive. In this article, we will guide you through the process of connecting your Sanyo subwoofer to your soundbar, so you can enjoy a truly immersive audio experience in the comfort of your own home.
Before we get started, it’s important to note that the specific steps may vary depending on the model of your soundbar and Sanyo subwoofer. However, the general process remains the same, and we will provide you with the necessary guidance to make the connection.
So, whether you’re a novice in the audio world or a seasoned subwoofer enthusiast, let’s dive in and learn how to connect your Sanyo subwoofer to your soundbar!
Step 1: Check the available connections
Before you begin connecting your Sanyo subwoofer to your soundbar, it’s important to check the available connections on both devices. This will help you determine the compatibility and the required cables or adapters needed for the connection.
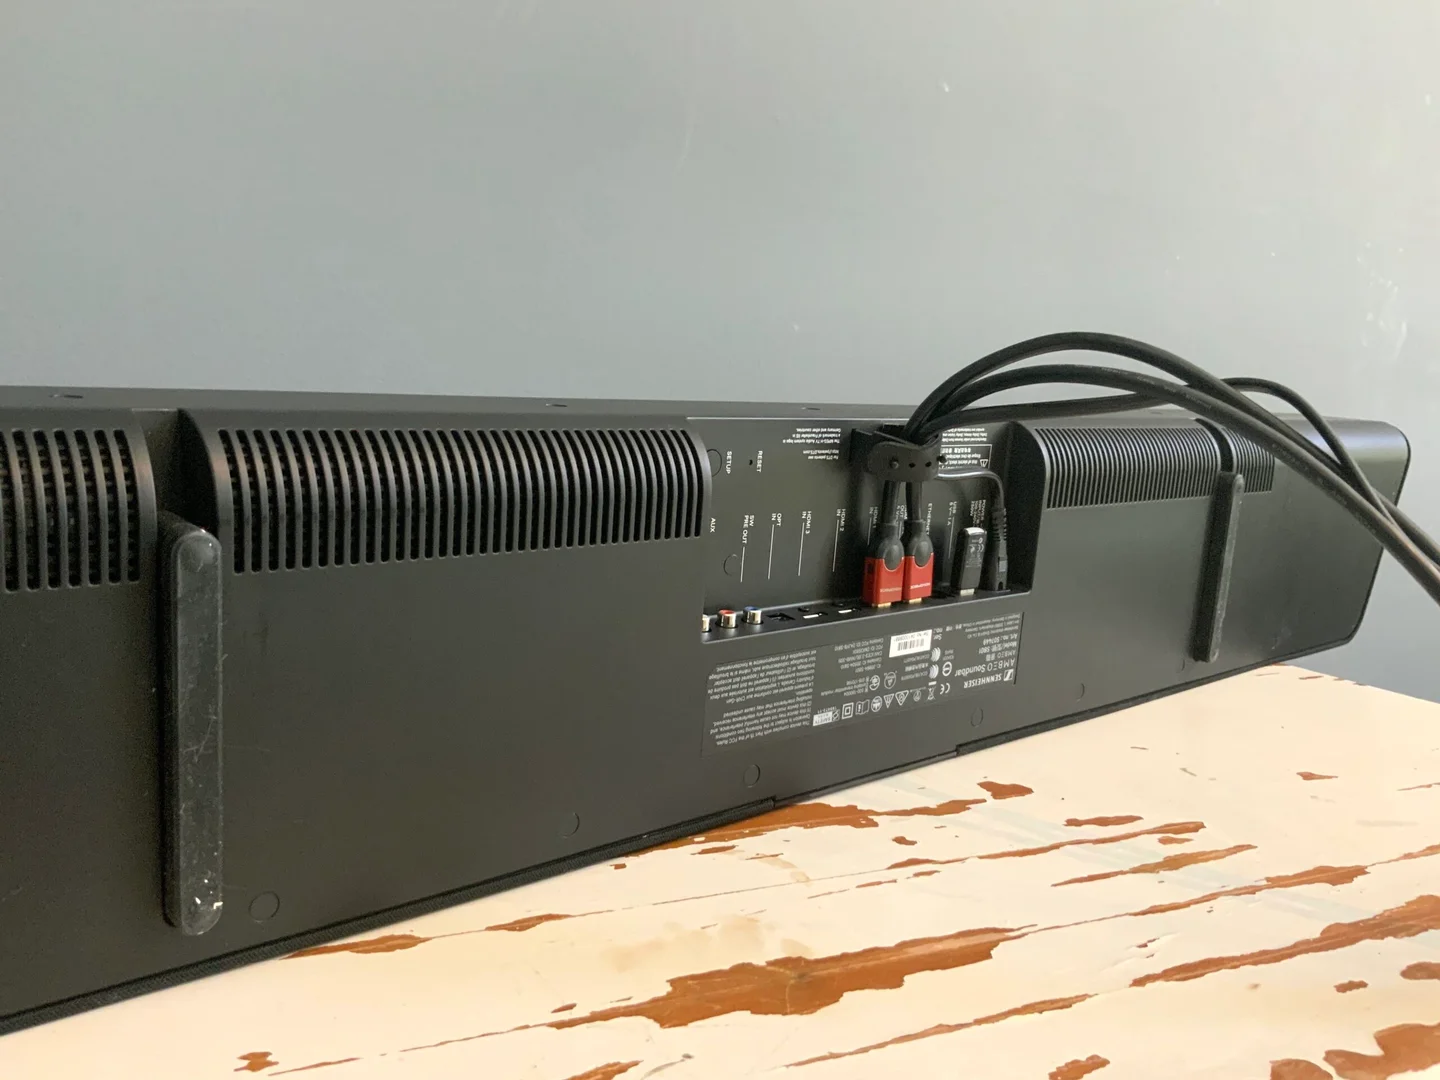
Start by examining your soundbar. Most soundbars have multiple input options, including HDMI ARC, optical audio, RCA, and 3.5mm auxiliary. Take note of which connection options are available on your soundbar, as this will determine the type of cable that you will need to connect it to the subwoofer.
Next, inspect your Sanyo subwoofer. Look for the subwoofer output port, which is usually labeled as “Sub Out” or “LFE Out”. This is where you will connect the cable from the soundbar.
It’s worth mentioning that some soundbars have a dedicated subwoofer output, while others may require you to use a different connection option, such as the HDMI ARC or optical audio output. If this is the case, make sure you have the necessary cables or adapters on hand to facilitate the connection.
Once you have identified the available connections on both the soundbar and Sanyo subwoofer, you’re ready to move on to the next step: locating the subwoofer input on the soundbar and the output on the Sanyo subwoofer.
Step 2: Locate the subwoofer input on the soundbar and the output on the Sanyo subwoofer
In order to connect your Sanyo subwoofer to your soundbar, you need to locate the subwoofer input on the soundbar and the corresponding output on the Sanyo subwoofer. This step is crucial as it ensures that you connect the right cables to the right ports.
Start by examining your soundbar. Look for a dedicated subwoofer input, which is typically labeled as “Sub In” or “Subwoofer”. It may be located on the back or the side of the soundbar. Once you have located the subwoofer input, take note of its position for easier cable connection.
Now, let’s move on to the Sanyo subwoofer. Look for the subwoofer output, which is usually labeled as “Sub Out” or “LFE Out”. This output is where you will connect the cable from the soundbar.
It’s important to ensure that the subwoofer input on the soundbar and the subwoofer output on the Sanyo subwoofer are compatible with each other. For example, if your soundbar has a RCA subwoofer input, make sure the Sanyo subwoofer has a RCA subwoofer output. If they are not compatible, you may need to use an adapter or choose a different connection option.
Once you have located the subwoofer input on the soundbar and the output on the Sanyo subwoofer, you’re ready to proceed to the next step: connecting the subwoofer cable to both devices.
Step 3: Connect the subwoofer cable to the soundbar and subwoofer
Now that you have identified the subwoofer input on your soundbar and the corresponding subwoofer output on your Sanyo subwoofer, it’s time to connect them together using a subwoofer cable.
Start by taking the subwoofer cable and plug one end into the subwoofer output on the Sanyo subwoofer. Ensure a secure connection by pushing the plug in firmly. If you are using an adapter, make sure it is also securely connected to the subwoofer output.
Next, take the other end of the subwoofer cable and plug it into the subwoofer input on your soundbar. Again, ensure a secure connection by pushing the plug in firmly.
If you are using an HDMI ARC connection, make sure that you connect one end of the HDMI cable to the HDMI ARC port on the soundbar and the other end to the HDMI ARC port on your TV. This will enable both audio and video signals to pass through the HDMI cable.
If you are using an optical audio connection, connect one end of the optical audio cable to the optical audio port on the soundbar and the other end to the optical audio output on your TV or audio source.
For RCA or 3.5mm auxiliary connections, connect one end of the cable to the respective ports on the soundbar and the other end to the corresponding ports on your TV or audio source.
Once you have made the connections, double-check that all the cables are securely plugged in and tightened to prevent any loose connections.
Congratulations! You have successfully connected your Sanyo subwoofer to your soundbar. The next step is to power on both devices.
Step 4: Power on the soundbar and subwoofer
Now that you have completed the physical connections between your Sanyo subwoofer and soundbar, it’s time to power on both devices. This step ensures that they are ready to deliver a powerful audio experience.
Start by locating the power buttons on both your soundbar and subwoofer. Typically, the power button is located on the front or top panel of each device. Press the power button on the soundbar to turn it on. You may see an LED indicator light up or a display screen come to life, indicating that the soundbar is powered on.
Next, press the power button on the subwoofer. Depending on the model, you may hear a brief chime or see a status light turn on, indicating that the subwoofer is now powered on and ready to augment the low-frequency sound reproduction.
Give both devices a few moments to fully power on and establish a connection between them. During this time, you may hear a low humming sound coming from the subwoofer, which is normal as it initializes and syncs with the soundbar.
To confirm that the soundbar and subwoofer are successfully connected and powered on, you can check the sound settings or look for any indicators on the soundbar’s display panel. Some soundbars have specific indicators that show the subwoofer is connected and active.
With the soundbar and subwoofer powered on, you’re now ready for the next step: adjusting the sound settings to optimize your audio experience and ensure that the subwoofer is working correctly.
Step 5: Adjust the sound settings
After connecting and powering on your Sanyo subwoofer to your soundbar, it’s important to adjust the sound settings to optimize your audio experience. This step ensures that the subwoofer is working correctly and complements the overall sound output from your soundbar.
Start by accessing the sound settings on your soundbar. This can usually be done through a remote control or via the control panel on the soundbar itself. Look for options related to audio settings, sound modes, or equalizer settings.
Within the sound settings, you may find specific options to adjust the subwoofer volume or bass levels. Increase the subwoofer volume to enhance the bass response, but make sure to find a balance that suits your preferences and does not overpower the other audio frequencies.
Some soundbars offer preset sound modes, such as Movie, Music, or Game modes. These modes are designed to optimize the audio output for specific types of content. Experiment with these modes to find the one that enhances the overall audio experience for your chosen content.
In addition, you may have the option to adjust the overall volume, treble, and other audio settings. Take some time to fine-tune these settings according to your preferences and the specific characteristics of your space.
While adjusting the sound settings, it’s a good idea to play different types of audio content, such as movies, music, and games, to test the performance of the subwoofer. Pay attention to the bass response, clarity, and overall balance of the audio output.
Remember that audio preferences are subjective, and what sounds great to one person may not be ideal for another. Take the time to experiment and find the settings that suit your taste and create an immersive audio experience.
Once you have adjusted the sound settings to your liking, sit back, relax, and enjoy the powerful and enveloping soundscape created by your Sanyo subwoofer and soundbar combination.
Conclusion
Congratulations! You have successfully connected your Sanyo subwoofer to your soundbar, unlocking a whole new level of audio immersion. By following the steps outlined in this article, you have set the stage for an enhanced home theater experience that will impress both yourself and your guests.
Remember, the key to a successful connection is checking the available connections on your soundbar and Sanyo subwoofer, locating the proper input and output ports, and making the necessary connections using the appropriate cables or adapters.
Once connected, don’t forget to power on both the soundbar and subwoofer and adjust the sound settings to fine-tune your audio experience. Take advantage of features like subwoofer volume control, sound modes, and equalizer settings to personalize the audio output to your liking.
Whether you’re enjoying a thrilling action movie, rocking out to your favorite music, or immersing yourself in the world of gaming, the deep, rumbling bass from your Sanyo subwoofer will bring every moment to life. The added dimension and richness in sound will make you feel as if you’re right in the middle of the action.
Remember to keep experimenting with different audio content and settings to find the optimal balance that suits your preferences and the characteristics of your space. Audio preferences may vary from person to person, so feel free to adjust the settings to create the perfect soundstage for your needs.
We hope this guide has been helpful in connecting and setting up your Sanyo subwoofer with your soundbar. Sit back, relax, and enjoy the immersive audio experience that only a high-quality subwoofer can provide.
Happy listening!