Home>Devices & Equipment>Subwoofer>How To Connect Wireless Subwoofer

Subwoofer
How To Connect Wireless Subwoofer
Published: January 20, 2024
Learn how to easily connect a wireless subwoofer to your audio system. Enhance your sound experience with this step-by-step guide.
(Many of the links in this article redirect to a specific reviewed product. Your purchase of these products through affiliate links helps to generate commission for AudioLover.com, at no extra cost. Learn more)
Table of Contents
- Introduction
- Step 1: Check Compatibility
- Step 2: Power on the Subwoofer
- Step 3: Place the Subwoofer in an Ideal Location
- Step 4: Connect the Subwoofer to Power
- Step 5: Enable Wireless Connection on the Subwoofer
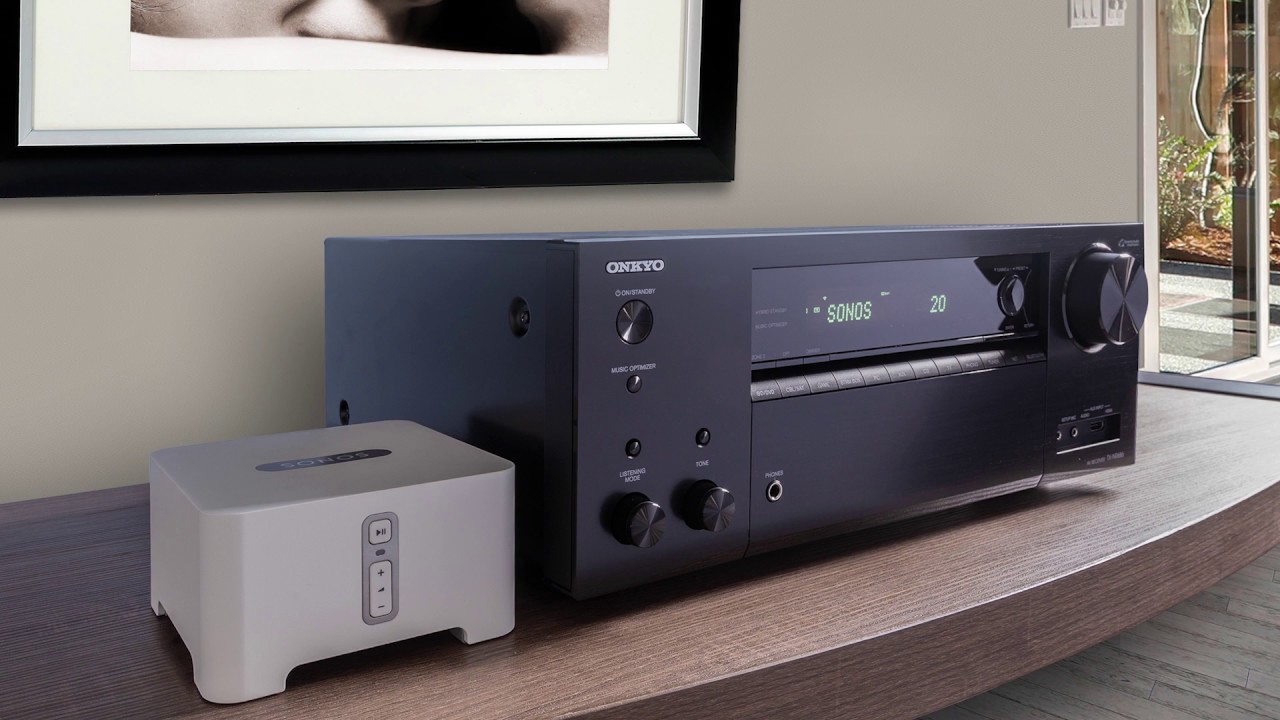
- Step 6: Connect the Subwoofer to the Soundbar or Receiver
- Step 7: Pair the Subwoofer with the Soundbar or Receiver
- Step 8: Test the Connection
- Conclusion
Introduction
Welcome to our comprehensive guide on how to connect a wireless subwoofer. If you’re looking to enhance the sound quality of your audio system without the hassle of cords and wires, then a wireless subwoofer is the perfect solution. A subwoofer is a specialized speaker that is dedicated to reproducing low-frequency sounds, adding depth and richness to your audio experience. By going wireless, you can enjoy the benefits of a powerful subwoofer without the limitations of wire placement.
Wireless subwoofers offer flexibility in terms of positioning, allowing you to place the subwoofer anywhere in your room without having to worry about cable management. Whether you’re setting up a home theater system or simply looking to improve the bass response in your audio setup, connecting a wireless subwoofer is a straightforward process. In this guide, we’ll walk you through the step-by-step process of connecting a wireless subwoofer to your soundbar or receiver.
Before we dive into the details, it’s important to ensure that you have a compatible wireless subwoofer. Not all sound systems and receivers support wireless connectivity, so it’s essential that you check the specifications of your equipment. Additionally, make sure that your subwoofer and soundbar or receiver are from the same brand or are designed to work together. Now let’s get started on setting up your wireless subwoofer!
Step 1: Check Compatibility
The first step in connecting a wireless subwoofer is to ensure that your sound system or receiver and the subwoofer are compatible. Check the user manual or the manufacturer’s website for information on wireless connectivity options and compatibility.
Generally, most modern sound systems or receivers have built-in wireless connectivity options such as Bluetooth or Wi-Fi. However, it’s important to note that not all wireless subwoofers are compatible with every sound system or receiver. Some subwoofers may only work with specific brands or models.
If you already have a soundbar or receiver, check the user manual or the manufacturer’s website to see if it supports wireless subwoofer connections. Look for terms like “wireless subwoofer pairing” or “compatibility” within the documentation.
If you’re purchasing a new wireless subwoofer, make sure to choose one that is compatible with your existing sound system or receiver. Consult the specifications of both the subwoofer and the sound system to ensure compatibility.
If you’re uncertain about the compatibility or need assistance, reach out to the manufacturer’s customer support for guidance. They can provide you with the necessary information and help you in finding a compatible wireless subwoofer.
Once you have confirmed compatibility, you can proceed to the next steps to connect your wireless subwoofer to your sound system or receiver.
Step 2: Power on the Subwoofer
Now that you have confirmed the compatibility of your wireless subwoofer, it’s time to power it on. Locate the power button or switch on the subwoofer itself, usually found on the back or the side of the unit.
Ensure that the subwoofer is plugged into a power outlet using the provided power cord. Make sure the power source is turned on, and then press the power button to turn on the subwoofer.
Once the subwoofer is powered on, you may notice a light or indicator on the front or top panel of the unit. This light confirms that the subwoofer is receiving power and ready to be connected.
It’s important to note that some wireless subwoofers may have additional power settings or modes. Refer to the user manual for any specific instructions related to power settings or modes. In most cases, the default power setting is sufficient for connecting and operating the subwoofer.
Give the subwoofer a few moments to fully power up. While the subwoofer is powering on, it’s a good time to move on to the next step and find an ideal location for your wireless subwoofer.
By following these steps, you’re on your way to enjoying enhanced audio with the wireless subwoofer. The power is now in your hands!
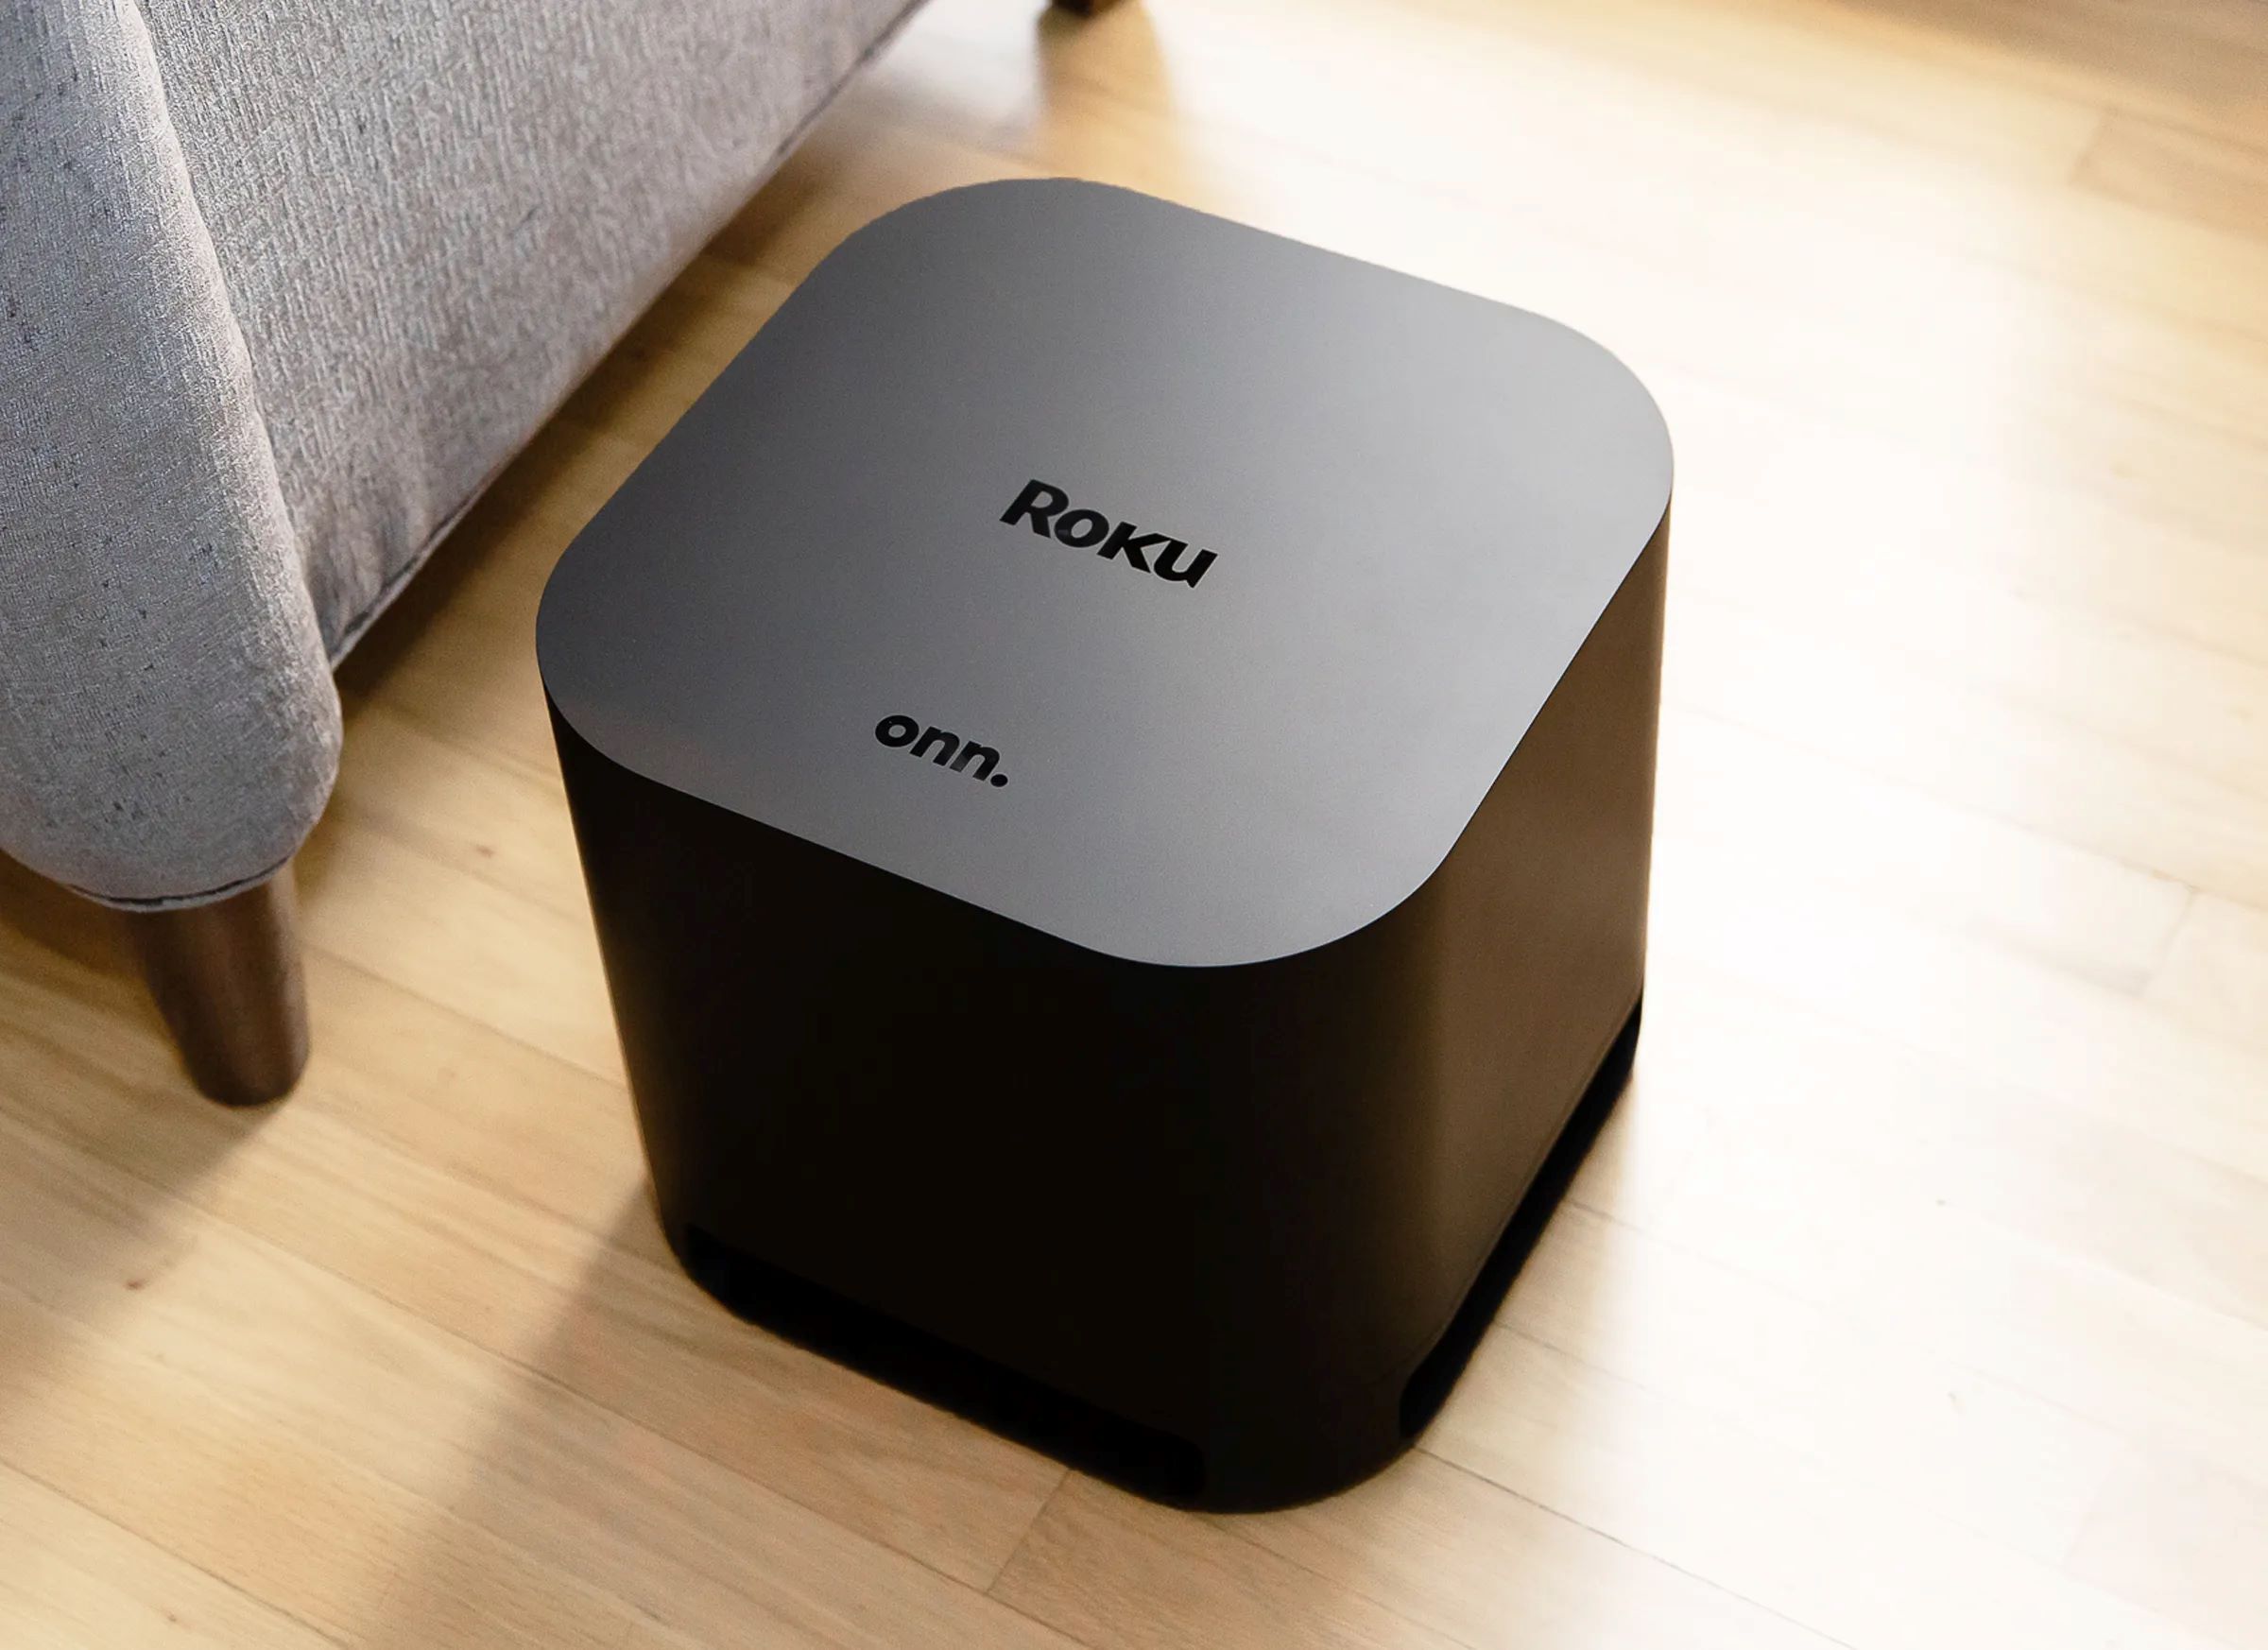
Step 3: Place the Subwoofer in an Ideal Location
The placement of your wireless subwoofer plays a crucial role in optimizing its performance and ensuring a satisfying audio experience. Here are some tips to help you find the ideal location for your subwoofer:
- Consider the Relationship Between the Subwoofer and the Soundbar/Receiver: The subwoofer is typically designed to work in conjunction with a soundbar or receiver. To achieve the best sound balance, place the subwoofer relatively close to the soundbar or receiver. This will allow for a seamless integration of sound between the main speakers and the subwoofer.
- Avoid Obstructions: Ensure that there are no physical obstructions blocking the path between the subwoofer and your listening area. Objects like furniture, walls, or curtains can potentially hinder the subwoofer’s ability to deliver low-frequency sounds effectively.
- Experiment with Placement: Try different locations within the room to find the spot that provides the best bass response. Placing the subwoofer away from walls and corners may produce cleaner bass. You may also want to try positioning the subwoofer at ear level or slightly above for better sound dispersion.
- Consider Room Acoustics: Every room has its unique acoustic properties that can affect the sound quality. Experiment with placement to find the position that minimizes unwanted resonances or echoes and maximizes the subwoofer’s performance.
As you experiment with placement, take the time to listen to various audio tracks or movies that feature deep bass. This will help you identify any potential issues or adjustments needed to achieve optimal sound quality.
Once you have found the ideal location, make sure the subwoofer is stable and secure. Placing it on a solid and level surface will help reduce any vibrations or rattling that may interfere with the audio output.
Now that you have positioned your subwoofer in an optimal location, you can move on to the next step: connecting it to a power source.
Step 4: Connect the Subwoofer to Power
With the subwoofer positioned in the ideal location, it’s time to connect it to a power source. Follow these steps to ensure a proper power connection:
- Locate the power cord that came with your subwoofer.
- Identify the power input port on the back of the subwoofer. It is usually labeled “Power” or “AC Input”.
- Insert one end of the power cord into the power input port on the subwoofer.
- Plug the other end of the power cord into a nearby electrical outlet.
- Make sure the power switch on the back of the subwoofer, if present, is turned on.
Once the subwoofer is connected to power, you may see a power indicator light on the front or top panel of the subwoofer. This light indicates that the subwoofer is receiving power and ready to be paired with your soundbar or receiver.
It’s important to ensure that the power source for your subwoofer is stable and provides consistent power. Avoid using power outlets that are overloaded or connected to power strips with multiple devices, as this can lead to electrical issues or interference.
Now that your wireless subwoofer is connected to power, you’re one step closer to enjoying immersive bass in your audio setup. Let’s move on to the next step to enable the wireless connection on the subwoofer.
Step 5: Enable Wireless Connection on the Subwoofer
Now that the subwoofer is powered on and connected to a power source, it’s time to enable the wireless connection feature. Follow these steps to enable wireless connectivity on your subwoofer:
- Locate the wireless connection button or switch on the subwoofer. It is typically labeled as “Wireless” or “Pairing”.
- Press and hold the wireless connection button or switch for a few seconds. The subwoofer will enter into pairing mode.
- Check the indicator light on the subwoofer. It may start blinking or change color to indicate that the subwoofer is in pairing mode.
- Keep the subwoofer in pairing mode. The exact duration may vary depending on the brand and model, so refer to the user manual for specific instructions.
- During this time, make sure that the soundbar or receiver you are connecting your subwoofer to is also in pairing mode. Consult the user manual of your soundbar or receiver for instructions on how to put it into pairing mode.
Once both the subwoofer and the soundbar/receiver are in pairing mode, they will start searching for each other wirelessly. The pairing process may take a few moments, so be patient and wait for the connection to be established.
Once the wireless connection is successful, the indicator light on the subwoofer may change to a steady solid color, indicating a successful pairing with your soundbar or receiver.
It’s worth mentioning that some wireless subwoofers may have additional methods for establishing the wireless connection, such as using a dedicated smartphone app or an on-screen menu. Refer to the user manual for specific instructions on connecting your wireless subwoofer.
With the wireless connection enabled, it’s time to move on to the next step and connect the subwoofer to your soundbar or receiver.
Step 6: Connect the Subwoofer to the Soundbar or Receiver
Now that both the subwoofer and your soundbar or receiver are in pairing mode, it’s time to establish the wireless connection between them. Follow these steps to connect your subwoofer to your soundbar or receiver:
- Locate the wireless connection options on your soundbar or receiver. This can usually be found in the settings menu or in a dedicated wireless connection section.
- Access the wireless connection settings and search for available devices. The subwoofer should appear in the list of devices.
- Select the subwoofer from the list of available devices. This will initiate the pairing process between the soundbar or receiver and the subwoofer.
- Wait for the pairing process to complete. This may take a few seconds or up to a minute, depending on the devices and the wireless technology they use.
- Once the pairing is successful, you will see a confirmation message or indicator light on your soundbar or receiver.
It’s important to note that the exact steps for connecting the subwoofer to your soundbar or receiver may vary depending on the brand and model. Consult the user manual or the manufacturer’s website for specific instructions related to your devices.
After the wireless connection is established, the soundbar or receiver will start sending audio signals to the subwoofer, allowing it to reproduce the low-frequency sounds and enhance the overall audio experience.
Now that the subwoofer is successfully connected to your soundbar or receiver, it’s time to move on to the next step and test the connection.
Step 7: Pair the Subwoofer with the Soundbar or Receiver
Now that the subwoofer is connected to your soundbar or receiver, it’s time to pair them together. Follow these steps to ensure a seamless pairing process:
- Locate the pairing button or option on your soundbar or receiver. This is usually found in the settings menu or on the remote control.
- Press and hold the pairing button on your soundbar or receiver for a few seconds. This will activate the pairing mode.
- While the soundbar or receiver is in pairing mode, refer to the user manual or instructions of your subwoofer to find the corresponding pairing button or option.
- Press and hold the pairing button on the subwoofer for a few seconds to put it into pairing mode.
- Wait for the soundbar or receiver and the subwoofer to search for each other and establish a connection wirelessly. This may take a few seconds or up to a minute.
- Once the pairing is successful, you will see a confirmation message or indicator light on both the soundbar or receiver and the subwoofer.
It’s important to note that the exact process for pairing the subwoofer with the soundbar or receiver may vary depending on the brand and model. Consult the user manual or the manufacturer’s website for specific instructions related to your devices.
After successfully pairing the subwoofer with the soundbar or receiver, you can enjoy the enhanced audio experience with deep and powerful bass. Test it out by playing your favorite music, watching a movie or TV show, or testing the low-frequency response using dedicated audio test tracks.
If the pairing process is not successful, try repeating the steps or consult the troubleshooting section of the user manuals for both the subwoofer and the soundbar or receiver.
With the subwoofer now paired with the soundbar or receiver, you’re almost done. Let’s move on to the final step and confirm the wireless connection by testing the audio output.
Step 8: Test the Connection
After successfully pairing the subwoofer with your soundbar or receiver, it’s time to test the connection and ensure that everything is working as expected. Follow these steps to test the wireless connection:
- Play a piece of audio that has deep bass or a dedicated bass test track. This will allow you to specifically focus on the low-frequency performance of your newly connected subwoofer.
- Listen carefully and pay attention to the bass response coming from the subwoofer. You should notice a significant improvement in the depth and richness of the audio, particularly in the low-frequency range.
- Adjust the volume level of the subwoofer to suit your preference. Most soundbars or receivers have dedicated volume controls for the subwoofer, allowing you to fine-tune the bass output.
- Test different types of audio content, including movies, music, and TV shows, to get a comprehensive understanding of the subwoofer’s performance across various genres.
While testing the connection, ensure that there are no dropouts, distortion, or other audio issues. If you encounter any problems, double-check the wireless connection, ensure that both devices are properly powered, and refer to the troubleshooting section of the user manuals if necessary.
Once you are satisfied with the performance of the subwoofer and have confirmed that the wireless connection is stable and reliable, you can sit back, relax, and immerse yourself in a captivating audio experience with enhanced bass and depth.
Congratulations! You have successfully connected and tested your wireless subwoofer. Enjoy the incredible sound quality now added to your audio setup.
If you ever need to re-pair the subwoofer or troubleshoot any issues in the future, refer to the user manuals or reach out to the customer support of the respective brands for further assistance.
With the connection tested and working flawlessly, you can now sit back, relax, and enjoy your favorite movies, music, and more with the immersive and dynamic sound brought to you by your wireless subwoofer.
Conclusion
Congratulations on successfully connecting your wireless subwoofer to your soundbar or receiver! By following the step-by-step process outlined in this guide, you have now enhanced your audio setup with deep, powerful bass that adds a new dimension to your audio experience.
Throughout the process, you have learned the importance of checking compatibility, positioning the subwoofer in an ideal location, and enabling the wireless connection. By pairing the subwoofer with your soundbar or receiver, you have established a seamless wireless connection that allows for a harmonious blend between the main speakers and the subwoofer.
Remember to test the connection to ensure optimal performance and adjust the subwoofer volume to suit your preference. Enjoy exploring various audio content, whether it’s movies, music, or TV shows, and experience the immersive sound quality made possible by your wireless subwoofer.
If you ever need to troubleshoot or reconfigure your wireless subwoofer, consult the user manuals provided by the manufacturer or reach out to their customer support for further assistance. They will be able to guide you through any issues or questions you may have.
Thank you for utilizing our guide on how to connect a wireless subwoofer. We hope it has been informative and helpful in creating an enhanced audio experience in your home. Now, sit back, relax, and enjoy the booming bass and immersive sound that your wireless subwoofer brings to your entertainment setup!