Home>Devices & Equipment>Subwoofer>How To Connect Powered Subwoofer To Mixer

Subwoofer
How To Connect Powered Subwoofer To Mixer
Published: January 23, 2024
Learn how to connect a powered subwoofer to a mixer for an enhanced audio experience. Discover the best way to integrate your subwoofer seamlessly into your sound setup
(Many of the links in this article redirect to a specific reviewed product. Your purchase of these products through affiliate links helps to generate commission for AudioLover.com, at no extra cost. Learn more)
Table of Contents
Introduction
When it comes to audio systems, having a subwoofer can make a world of difference in the sound quality and depth of bass. Whether you’re setting up a home theater system, a professional recording studio, or a live sound setup for a band, connecting a powered subwoofer to a mixer is essential for achieving that punchy and powerful low-end experience.
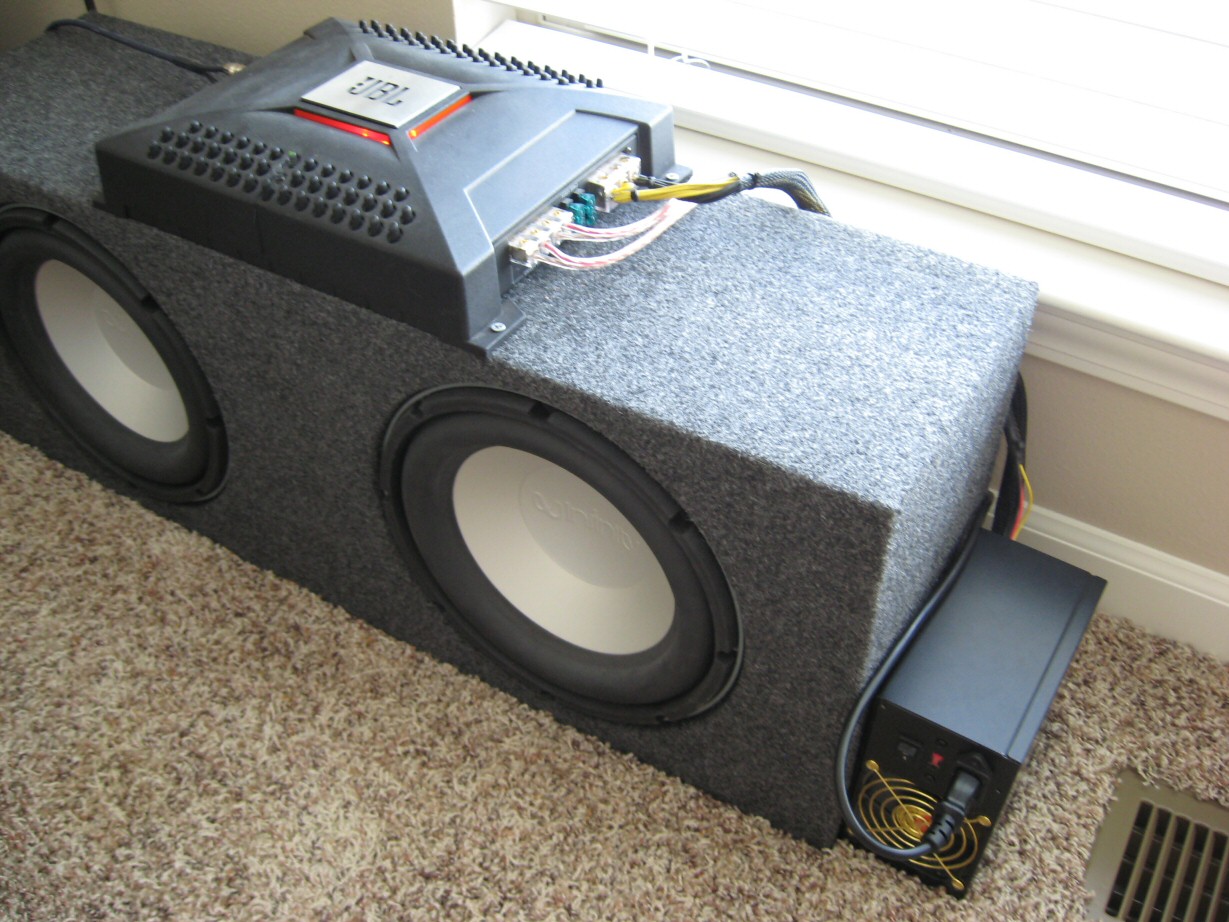
A powered subwoofer is a speaker that has its own built-in amplifier, which means it doesn’t require a separate power source. This makes it a convenient option for connecting to a mixer as it simplifies the setup process. By integrating the subwoofer into your audio system, you can enhance the overall sound by providing a solid foundation of bass frequencies, adding depth, and enhancing the immersive experience.
In this article, we will guide you through the process of connecting a powered subwoofer to a mixer. We will explain the necessary steps, provide helpful tips, and give you a better understanding of the technical aspects involved. Whether you’re a seasoned sound engineer or just starting out, this guide will equip you with the knowledge you need to achieve optimal subwoofer performance and get the most out of your audio system.
Step 1: Gather your equipment
Before you can start connecting your powered subwoofer to a mixer, it’s important to gather all the necessary equipment. Here’s a list of items you’ll need:
- Powered subwoofer: Ensure that you have a powered subwoofer that is compatible with your mixer. Check the specifications of both the subwoofer and the mixer to ensure they are compatible in terms of power output, audio connections, and impedance.
- Mixer: You’ll need a mixer that has dedicated subwoofer outputs or the ability to assign a specific channel for the subwoofer. Most modern mixers offer subwoofer outputs or dedicated low-frequency channels, so make sure to check the specifications of your mixer beforehand.
- Audio cables: Depending on the audio connections available on your subwoofer and mixer, you’ll need the appropriate cables. Common options include XLR, TRS, or RCA cables. Make sure to have the correct cable types and lengths required for your setup.
- Power cables: Ensure that you have the appropriate power cables for both the subwoofer and the mixer. Check the power requirements of both devices and make sure to have a power source within reach.
- Optional accessories: Depending on your setup and personal preferences, you may also need other accessories such as adapters, converters, or extension cables. Consider any additional equipment required to achieve the desired configuration.
Once you have gathered all the necessary equipment, you are ready to move on to the next step: determining the connection options between the subwoofer and the mixer. Understanding the available connections and selecting the appropriate cables will ensure a seamless and efficient setup process.
Step 2: Determine the connection options
Before you start connecting your powered subwoofer to the mixer, it’s important to determine the available connection options. The connection options will depend on the inputs and outputs of both your subwoofer and mixer. Here are the common connection options:
- XLR Connections: XLR connections are commonly used in professional audio setups. Some powered subwoofers and mixers provide XLR inputs and outputs specifically for subwoofers. In this case, you will need XLR cables to connect the subwoofer to the mixer. Make sure to check the polarity of the XLR connections to ensure the correct phase alignment.
- TRS Connections: TRS (Tip-Ring-Sleeve) connections are commonly used for balanced audio signals. If your subwoofer and mixer have TRS inputs and outputs, you can use TRS cables to connect them. TRS cables are available in different lengths, so choose the appropriate length for your setup.
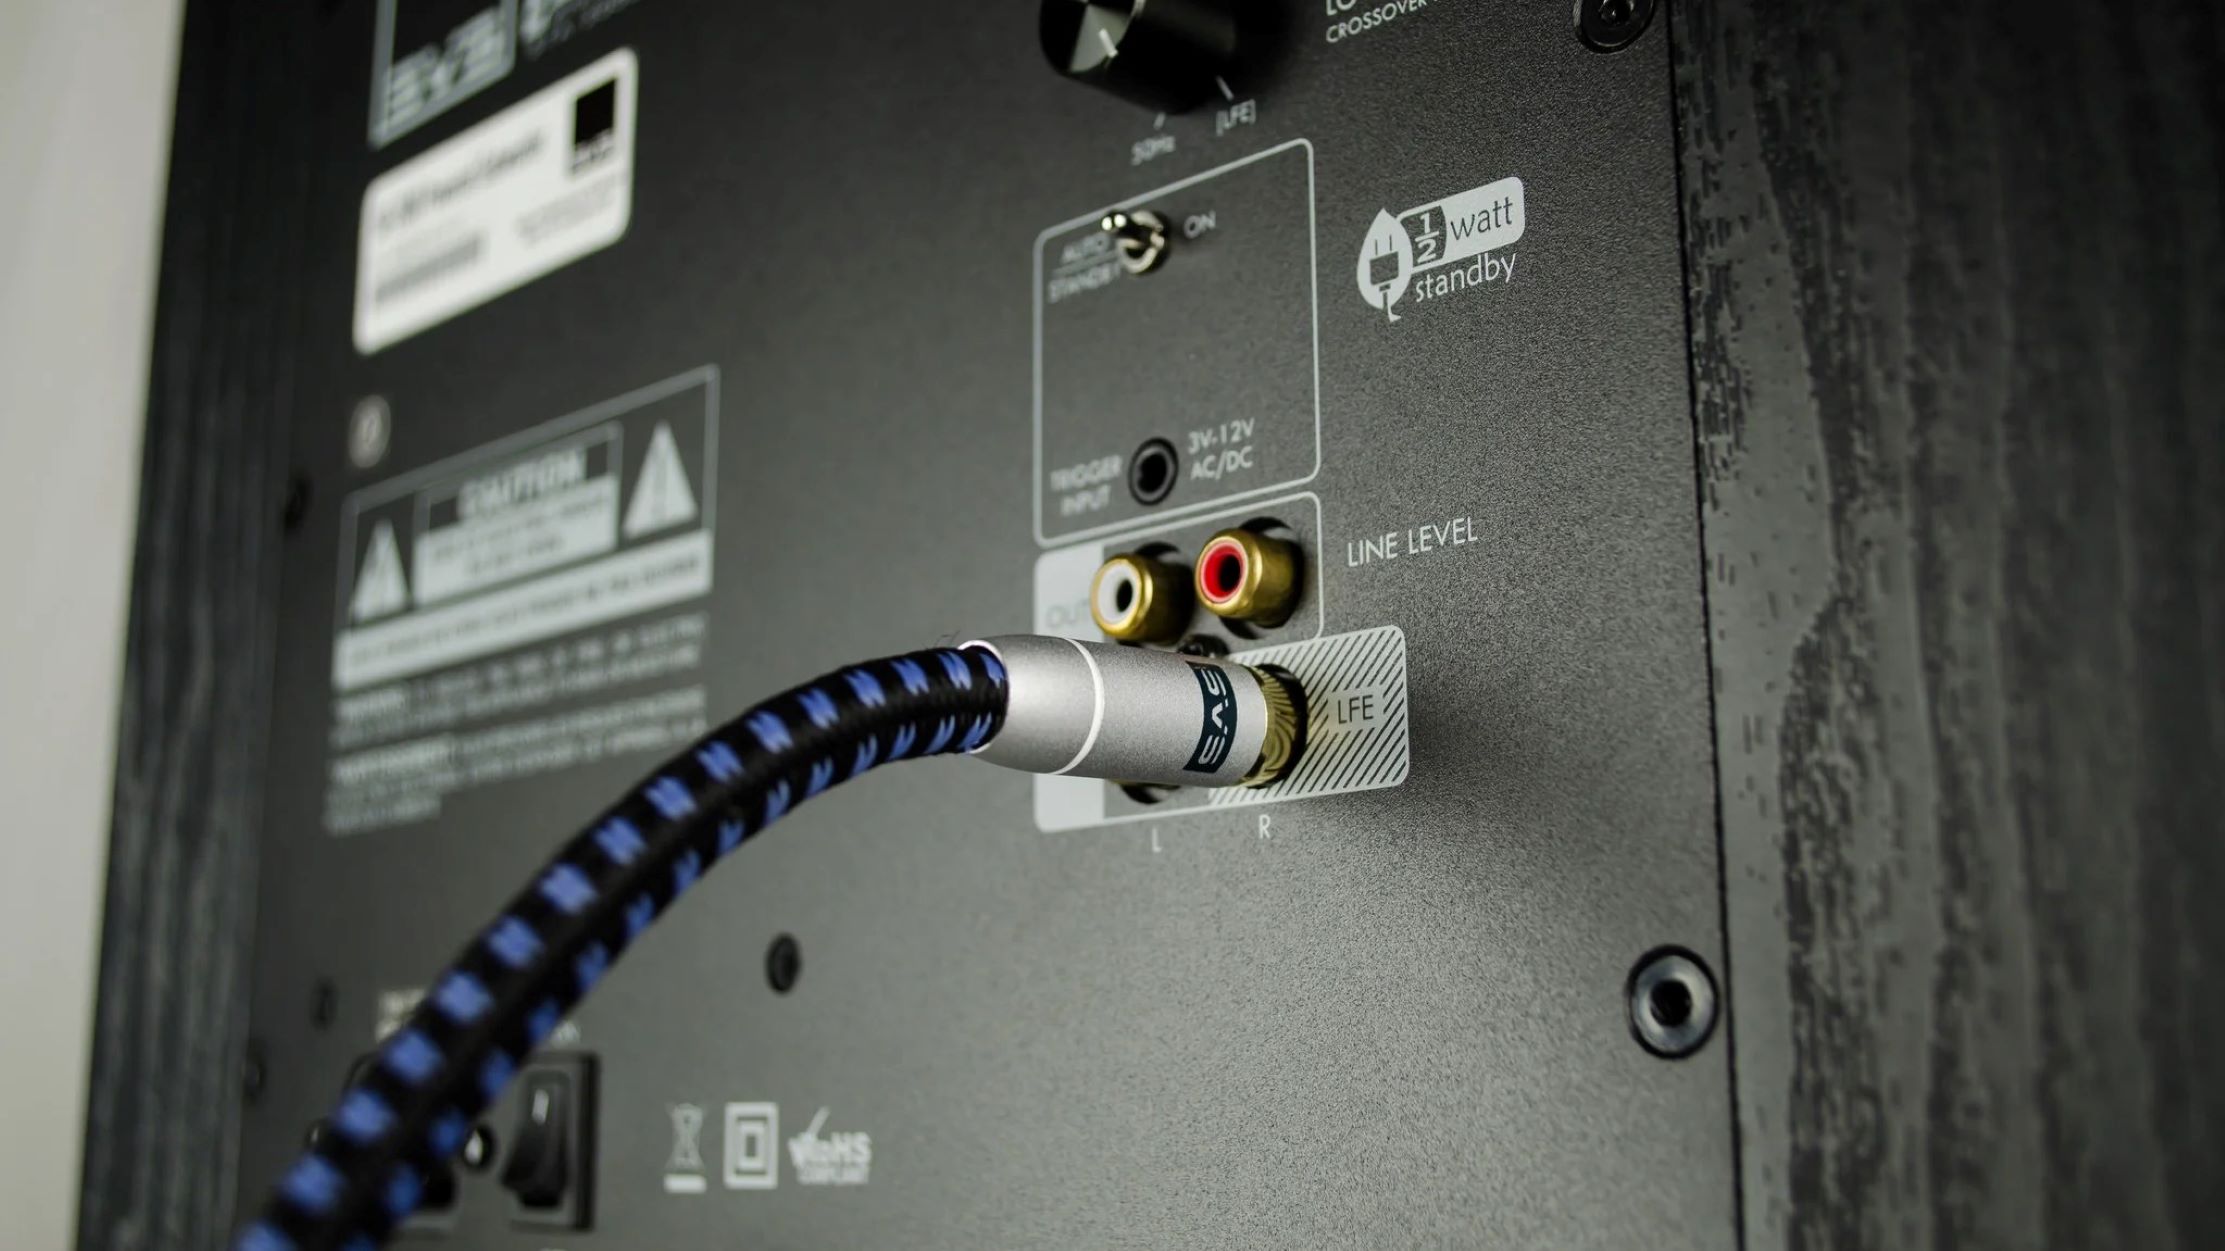
- RCA Connections: RCA connections are often found in consumer audio setups. If your subwoofer or mixer has RCA inputs and outputs, you can use RCA cables to connect them. RCA cables have two connectors, usually color-coded red and white, for right and left channels. Ensure that you connect the subwoofer to the appropriate output on the mixer.
- SPEAKON Connections: SPEAKON connections are commonly used for professional audio setups, especially for connecting speakers and subwoofers. If your subwoofer and mixer support SPEAKON connections, you will need SPEAKON cables to connect them.
Review the inputs and outputs of your powered subwoofer and mixer to determine which connection option is available and works best for your setup. Ensure that you have the correct cables for the chosen connection type. Once you have selected the appropriate connection option, you can proceed to the next step: connecting the subwoofer to the mixer.
Step 3: Connect the subwoofer to the mixer
Now that you have determined the connection options and gathered the necessary cables, it’s time to connect your powered subwoofer to the mixer. Follow these steps to ensure a proper connection:
- Locate the subwoofer output or dedicated low-frequency channel on your mixer. It is typically labeled as “Sub Out,” “Subwoofer,” or something similar.
- Connect one end of the appropriate cable (XLR, TRS, RCA, or SPEAKON) to the subwoofer output on the mixer.
- Locate the input on your powered subwoofer. Most subwoofers have a dedicated input specifically for connecting to a mixer or audio source.
- Connect the other end of the cable to the subwoofer input. Ensure that you match the correct terminals on both ends of the cable.
- If your subwoofer has multiple input options, such as XLR and RCA, choose the connection type that matches the cable you are using. Some subwoofers also have a switch or button to select the input type. Make sure it is set to the correct input option.
- Once the connections are secure, double-check all the cable connections to ensure they are properly connected to both the mixer and subwoofer.
It’s important to make sure all connections are secure and tight to avoid any signal loss or unwanted noise. If you are using XLR or TRS cables, ensure that they are inserted fully into the corresponding jacks. For RCA connections, make sure they are plugged in firmly and that the red and white connectors are correctly matched to the left and right channels.
With the subwoofer now connected to the mixer, you can proceed to the next step: adjusting the settings on the mixer and subwoofer to optimize the audio performance.
Step 4: Adjust the settings on the mixer and subwoofer
After connecting the subwoofer to the mixer, it’s important to adjust the settings on both devices to ensure optimal audio performance. Here are the key settings to consider:
- Subwoofer Level: Adjust the level or volume control on the subwoofer itself. Start by setting it to a moderate level and make fine adjustments later depending on the desired bass response. Be cautious not to overpower the overall sound mix with excessive bass.
- Mixer Subwoofer Output Level: Locate the subwoofer output control on the mixer. This allows you to adjust the overall level of the subwoofer signal being sent from the mixer. Start with a moderate level and listen closely to the mix to find a balance between the subwoofer and the main speakers.
- Subwoofer Frequency Control: Some powered subwoofers have a control knob or switch to adjust the crossover frequency. This determines the point at which the subwoofer begins reproducing bass frequencies. Set this frequency range depending on the capabilities of your main speakers and the desired blend between the subwoofer and the main speakers.
- Equalization: Many mixers have built-in equalization options for individual channels. Utilize the equalization controls to fine-tune the bass frequencies and ensure a smooth and balanced sound. Experiment with boosting or cutting specific frequencies to achieve the desired bass tone.
- Phase Alignment: Some subwoofers have a phase switch that allows you to adjust the phase alignment. Experiment with the phase switch to find the setting that provides the fullest and most coherent bass response when combined with the main speakers.
- Listen and Adjust: Once you have adjusted the settings on the subwoofer and mixer, listen to the audio mix and make further adjustments if necessary. Pay attention to the overall balance, clarity, and impact of the bass frequencies in the mix. Continuously fine-tune the settings until you achieve the desired sound.
Remember, the settings can vary depending on the specific subwoofer and mixer you are using, as well as the acoustics of your listening environment. It may take some trial and error to find the perfect settings for your setup. Trust your ears and make adjustments that result in a well-balanced and powerful bass response without overpowering the rest of the audio.
Once you are satisfied with the settings, it’s time to move on to the final step: testing the connection to ensure everything is working correctly.
Step 5: Test the connection
After connecting and adjusting the settings on your powered subwoofer and mixer, it’s crucial to test the connection to ensure everything is working as intended. Follow these steps to properly test the connection:
- Play some audio through your system. It can be a song, a podcast, or any audio source that contains a wide range of frequencies, including bass-heavy elements.
- Listen carefully to the audio mix and pay specific attention to the bass frequencies. Notice if the subwoofer is producing deep, powerful bass that complements the rest of the audio without overpowering it.
- If the bass response seems weak or lacking, check the settings on both the subwoofer and the mixer. Make adjustments to the subwoofer level, subwoofer output level, equalization, and phase alignment as necessary.
- Continue listening and making adjustments until you achieve a well-balanced, immersive sound experience where the subwoofer enhances the audio without overwhelming it.
- Test the connection further by playing various audio sources and experimenting with different genres and styles of music to ensure the subwoofer performs consistently across different content.
- Pay attention to any distortion, clipping, or excessive vibration coming from the subwoofer. If these issues occur, double-check the cable connections, adjust the levels, and ensure that the subwoofer and mixer are properly grounded.
Remember that every audio system and environment is unique, so it may take some time and experimentation to achieve the desired sound. Trust your ears and make adjustments accordingly to achieve the best audio performance from your powered subwoofer.
By properly testing the connection and fine-tuning the settings, you can ensure that your subwoofer integrates seamlessly with your audio system, delivering a rich and immersive audio experience with enhanced bass.
With the connection tested and everything working as expected, you are now ready to enjoy the full potential of your subwoofer and mixer setup!
Conclusion
Connecting a powered subwoofer to a mixer is a crucial step in achieving a powerful and well-balanced audio system. By following the steps outlined in this guide, you can ensure a seamless connection and optimize the performance of your subwoofer.
Start by gathering the necessary equipment, including the powered subwoofer, mixer, and appropriate cables. Determine the available connection options based on the inputs and outputs of your devices. Make the proper cable connections between the subwoofer and the mixer, ensuring a secure and tight fit.
After connecting the subwoofer, adjust the settings on both the subwoofer and the mixer. Set the subwoofer level, subwoofer output level, and crossover frequency to achieve the desired bass response. Utilize the equalization options to fine-tune the bass frequencies and ensure a balanced sound. Pay attention to phase alignment and make adjustments as needed.
Once the settings are adjusted, it’s important to test the connection by playing various audio sources. Listen closely to the bass frequencies and make further adjustments until you achieve a well-balanced and immersive sound experience. Address any issues like distortion or clipping by checking cable connections and ensuring proper grounding.
By taking the time to properly connect and optimize your subwoofer with the mixer, you can enhance the overall sound of your audio system. Whether you’re enjoying movies at home, recording music in the studio, or providing live sound for a performance, a properly connected powered subwoofer can elevate the audio experience to new heights.
Remember, every audio system is unique, so don’t be afraid to experiment and make adjustments to find the perfect settings for your setup. Trust your ears and fine-tune the settings until you achieve the best possible sound.
Now that you have the knowledge and steps to connect your powered subwoofer to a mixer, it’s time to unleash the power of your bass and enjoy an immersive audio experience like never before.