Home>Devices & Equipment>Subwoofer>How To Connect Powered Subwoofer
Subwoofer
How To Connect Powered Subwoofer
Published: January 22, 2024
Learn how to connect a powered subwoofer to enhance your audio experience. Follow our step-by-step guide for easy subwoofer setup and optimal sound performance.
(Many of the links in this article redirect to a specific reviewed product. Your purchase of these products through affiliate links helps to generate commission for AudioLover.com, at no extra cost. Learn more)
Table of Contents
Introduction
Welcome to the world of booming bass and heart-thumping low frequencies. If you’re a true audiophile or simply someone who appreciates rich, immersive sound, then you know how important a subwoofer is in a home sound system setup. A well-designed subwoofer can add depth and dimension to your favorite music, movies, and games, bringing them to life in a way that regular speakers simply can’t.
But before you can enjoy the rumbling lows, you need to know how to connect your powered subwoofer to your audio system properly. This comprehensive guide will walk you through the essential steps to ensure a seamless and optimized connection.
Whether you’re a seasoned audio enthusiast or a newbie looking to enhance your listening experience, this article will provide you with the knowledge and guidance you need to get your subwoofer up and running.
From choosing the right connection method to adjusting the subwoofer settings, we’ll cover everything you need to know to make the most of your subwoofer. So, let’s dive in and unlock the full potential of your audio system!
Step 1: Gathering the Necessary Equipment
Before you can connect your powered subwoofer, it’s important to gather all the necessary equipment. Here’s a list of the items you’ll need:
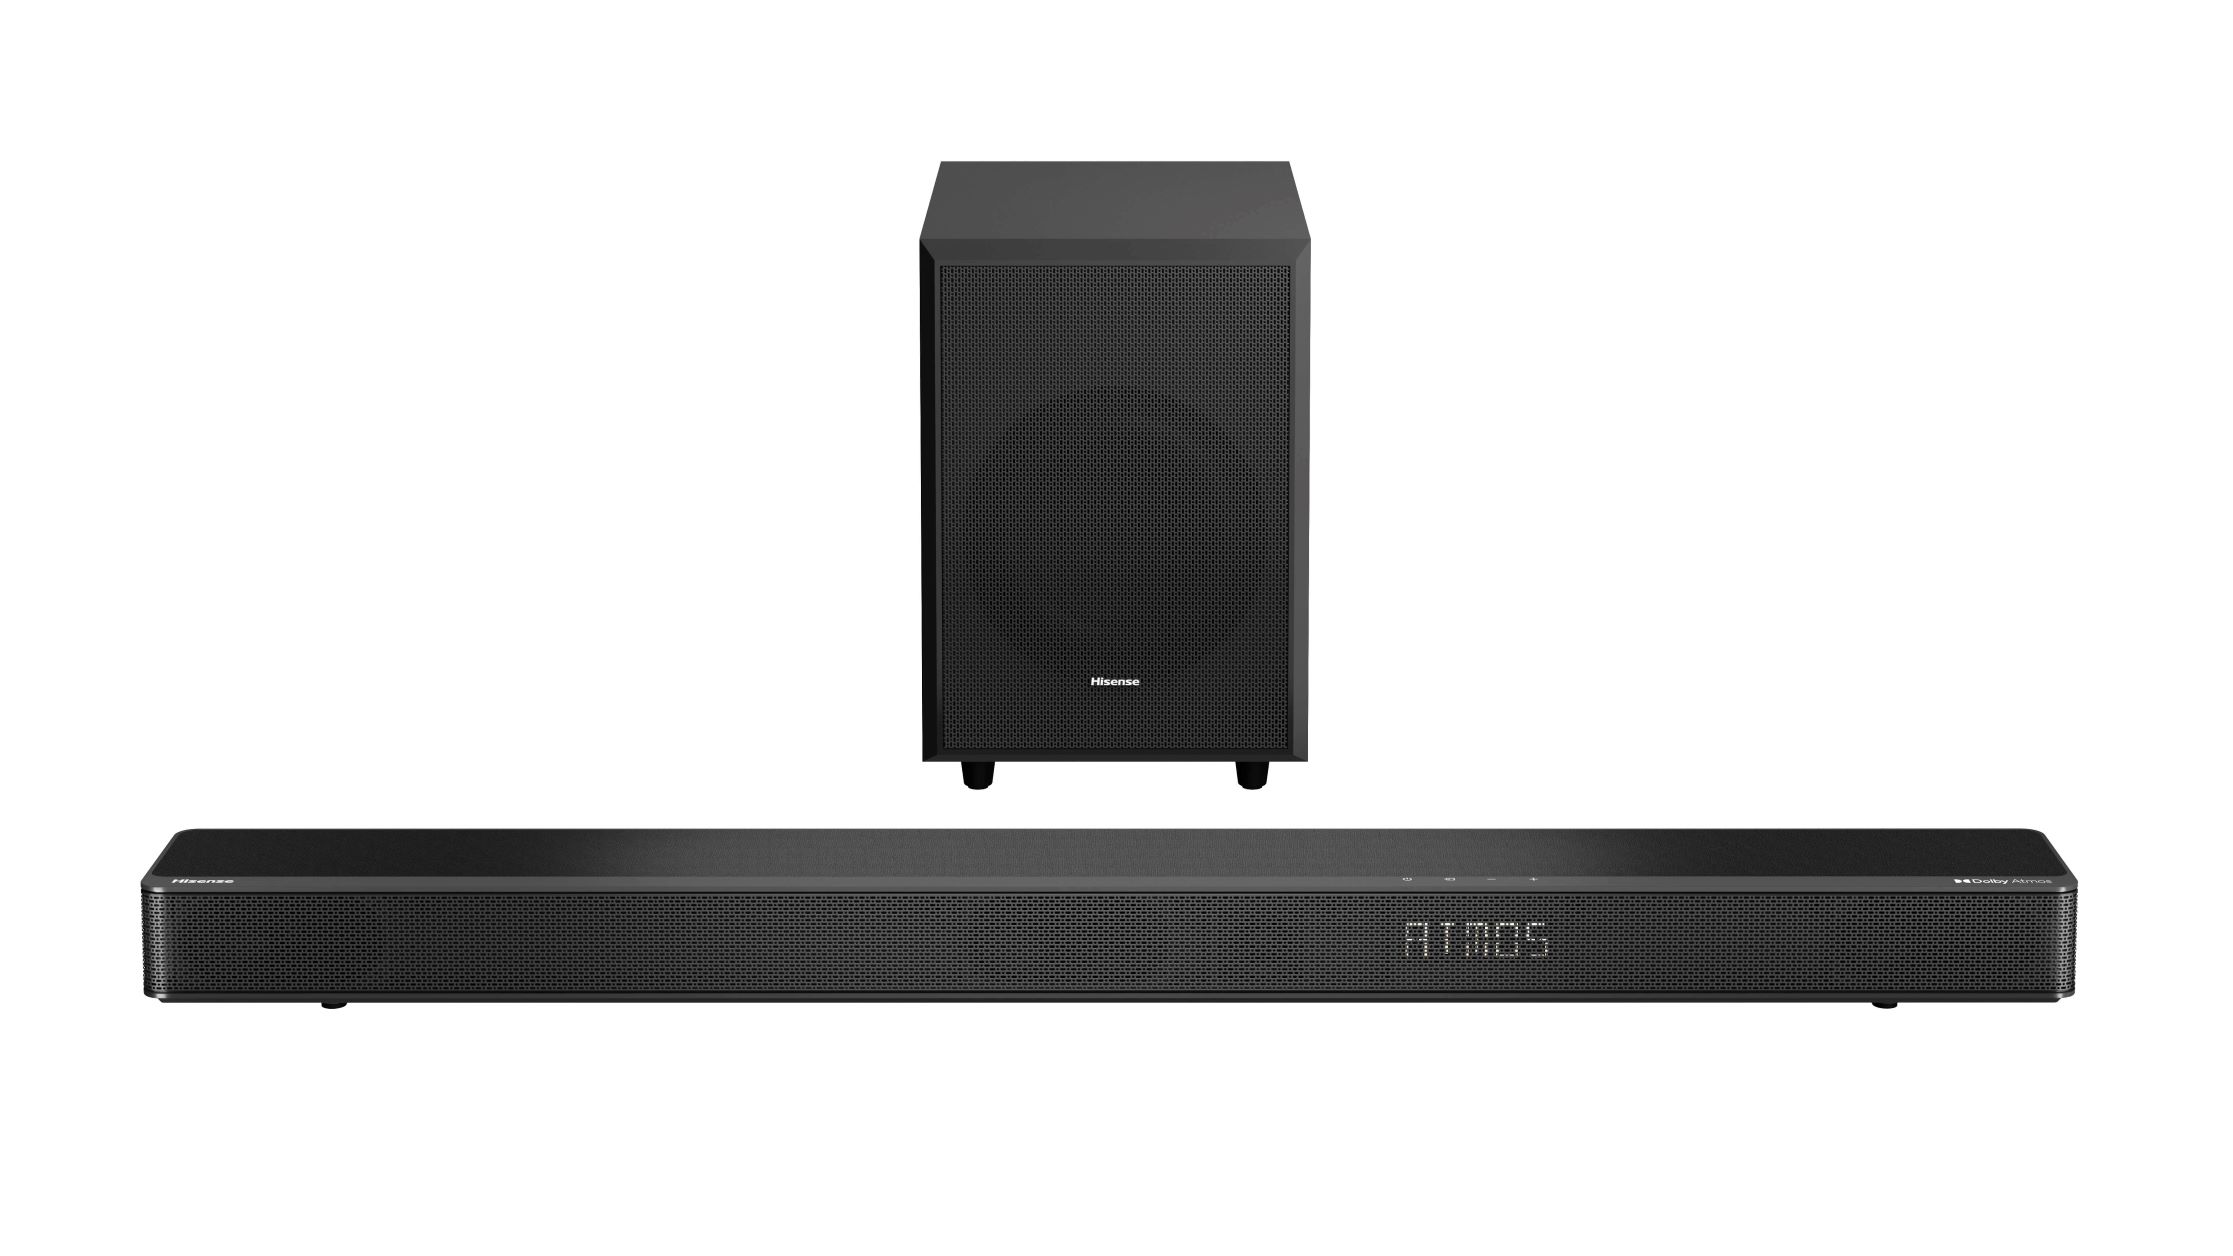
- Powered Subwoofer: This is the main component that produces the low-frequency sounds. Make sure you have a powered subwoofer that is compatible with your audio system.
- Audio Receiver or Amplifier: The receiver or amplifier is responsible for sending the audio signals to the subwoofer. Ensure that your receiver or amplifier has a dedicated subwoofer output or a preamp output.
- Audio Cables: You’ll need high-quality audio cables to connect the subwoofer to the receiver or amplifier. Opt for shielded cables to minimize interference and maximize audio quality.
- Power Cables: Don’t forget to have the appropriate power cables for both the subwoofer and the receiver or amplifier.
Once you have all the necessary equipment ready, you can move on to the next step: choosing the right connection method.
Step 2: Choosing the Right Connection Method
When it comes to connecting your powered subwoofer to your audio system, you have a few different options. The choice of connection method will depend on the available inputs and outputs on your subwoofer and receiver or amplifier. Here are the most common connection methods:
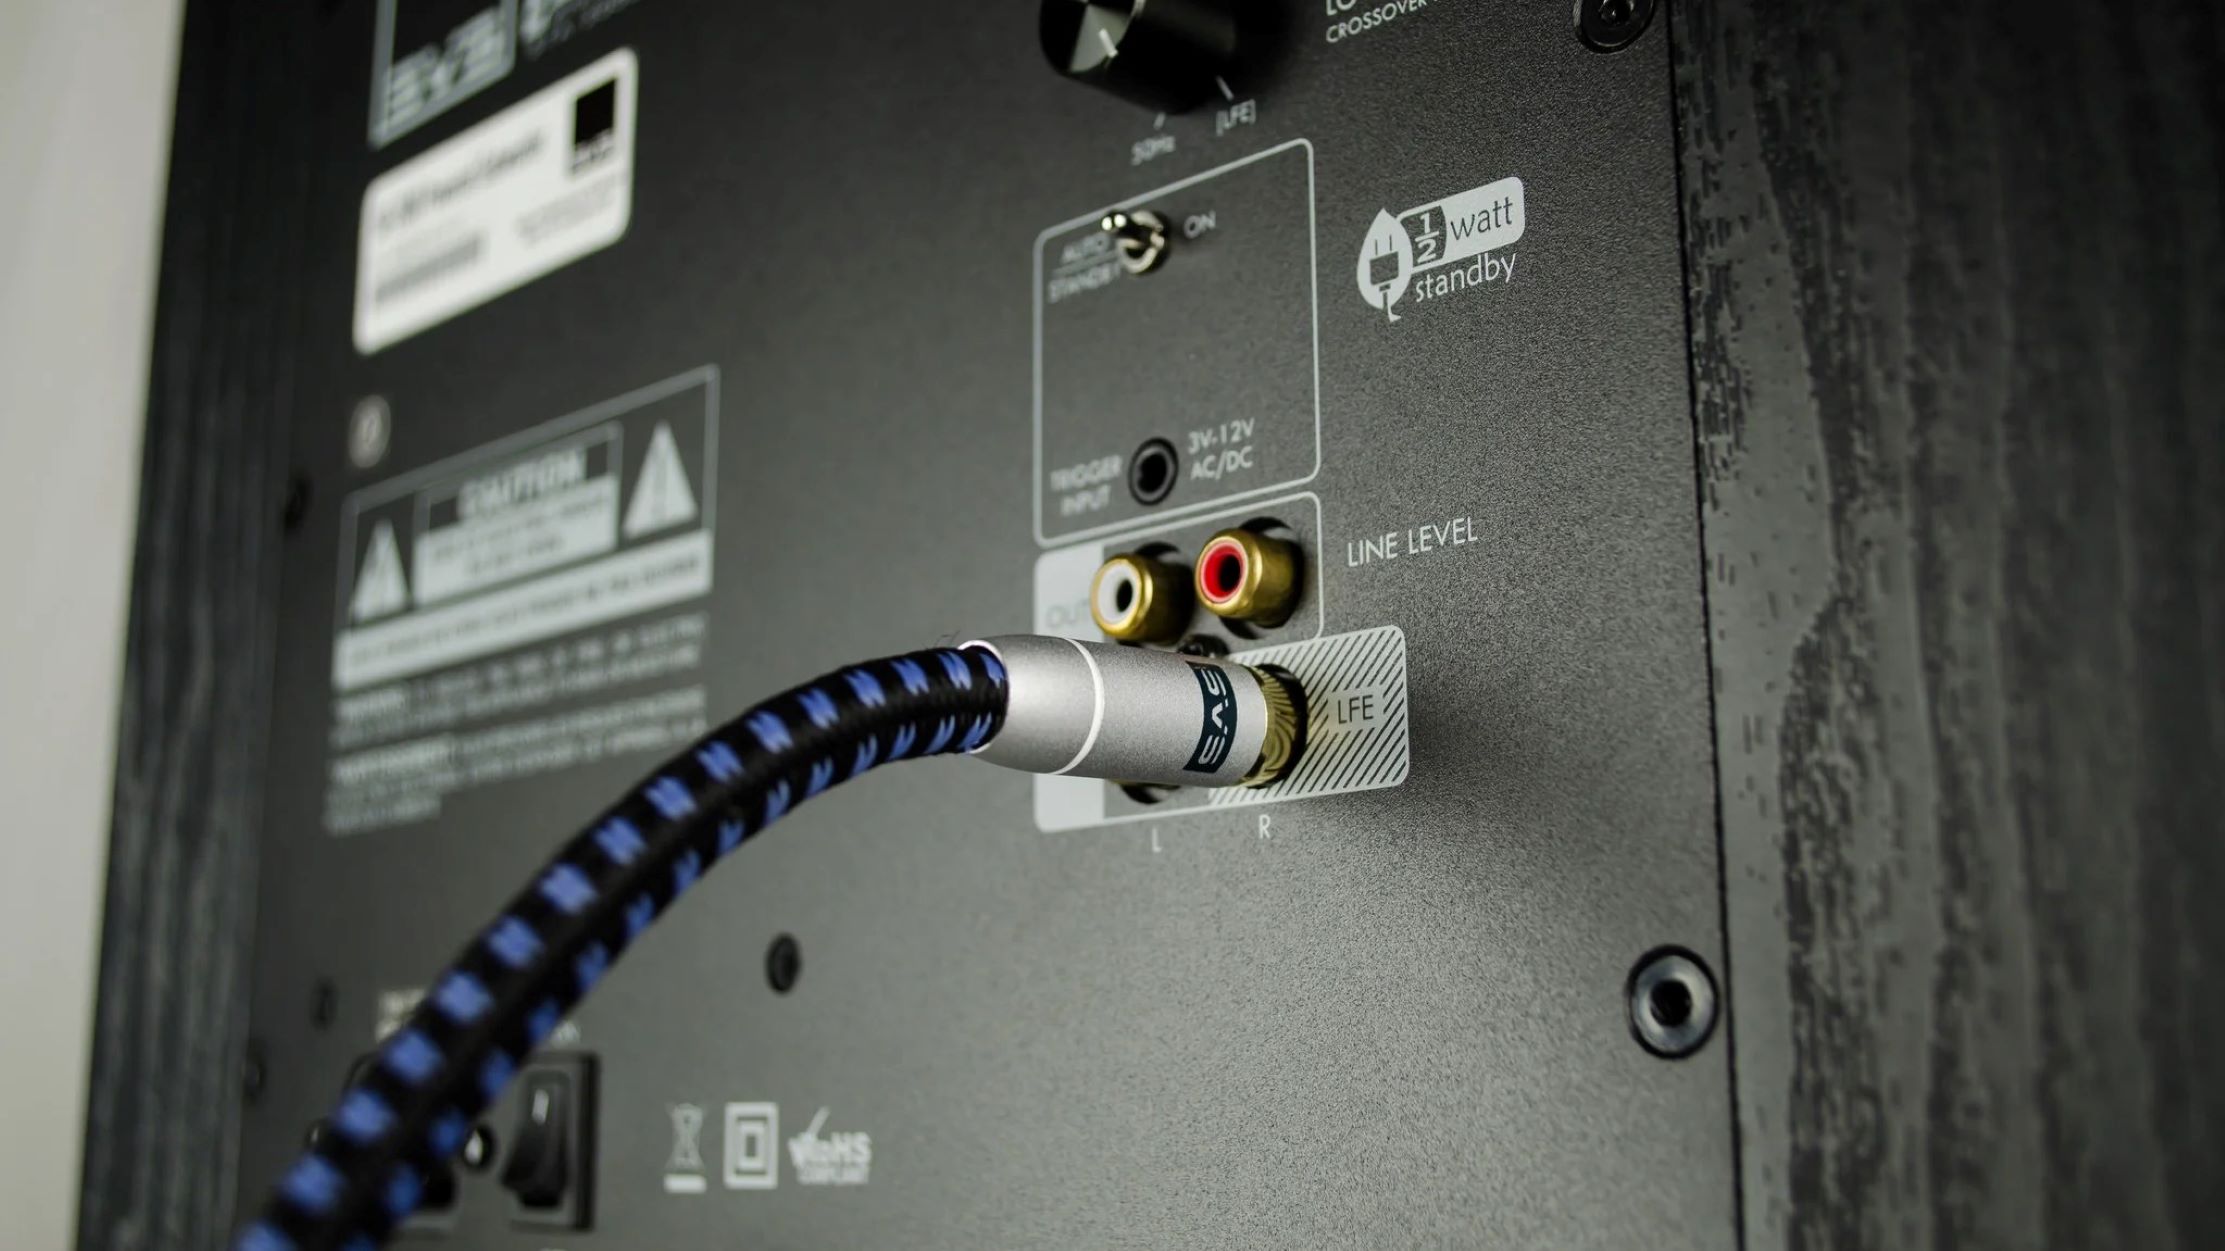
- Single RCA or LFE Input: Many subwoofers have a single RCA input labeled “Sub” or “LFE” (Low-Frequency Effects). If your receiver or amplifier has a dedicated subwoofer output, you can use a single RCA cable to connect the subwoofer to the receiver. Simply plug one end of the cable into the subwoofer’s input and the other end into the receiver’s subwoofer output.
- Stereo Speaker Level Inputs: Some subwoofers have speaker level inputs that allow you to connect them directly to your amplifier’s speaker outputs. This method is useful if you don’t have a dedicated subwoofer output on your receiver or amplifier. To use this method, you will need speaker wire to connect the subwoofer to the amplifier.
- High-Level Inputs: Similar to the speaker level inputs, high-level inputs allow you to connect the subwoofer to your amplifier or receiver using speaker wire. The main difference is that high-level inputs are designed to accept a full-range signal from your amplifier or receiver.
Once you’ve determined the appropriate connection method for your setup, it’s time to move on to the next step: connecting the subwoofer to the receiver or amplifier.
Step 3: Connecting the Subwoofer to the Receiver or Amplifier
Now that you have chosen the right connection method for your setup, it’s time to physically connect the subwoofer to your receiver or amplifier. Follow these steps to ensure a proper connection:
- Power Off: Before making any connections, make sure both the subwoofer and the receiver or amplifier are powered off. This will prevent any potential damage to the equipment.
- Locate the Input: Locate the input on the back of the subwoofer. Depending on the connection method you chose, it will be either an RCA input, speaker level input, or high-level input.
- Connect the Cables: Take the appropriate cables (RCA, speaker wire, or high-level input cable) and securely connect one end to the input on the subwoofer.
- Connect to the Receiver or Amplifier: Locate the corresponding output on your receiver or amplifier. If you’re using an RCA cable, plug the other end into the dedicated subwoofer output. If you’re using speaker wire, connect the cables to the corresponding speaker terminals on the amplifier.
- Double-Check: Double-check all the connections to ensure they are tight and secure. Loose connections can result in poor audio quality or no sound at all.
Once you have successfully connected the subwoofer to the receiver or amplifier, it’s time to move on to the next step: adjusting the subwoofer settings.
Step 4: Adjusting the Subwoofer Settings
After connecting your subwoofer to the receiver or amplifier, it’s crucial to properly adjust the subwoofer settings to optimize the sound output. Follow these steps to fine-tune your subwoofer:
- Crossover Frequency: The crossover frequency determines the point at which your subwoofer takes over the bass frequencies from your main speakers. Set the crossover frequency on your subwoofer to match the capabilities of your main speakers. Typically, a crossover frequency between 80Hz and 120Hz works well for most systems.
- Phase Adjustment: Some subwoofers offer a phase adjustment feature, allowing you to align the subwoofer’s output with that of your main speakers. Experiment with different phase settings to find the one that provides the best integration between the subwoofer and the rest of the audio system.
- Volume Level: Adjust the volume level of your subwoofer to achieve a balanced sound. Too much bass can overpower the rest of the audio, while too little can make the subwoofer barely noticeable. Start with a moderate volume level and make adjustments based on your personal preferences and the characteristics of your listening environment.
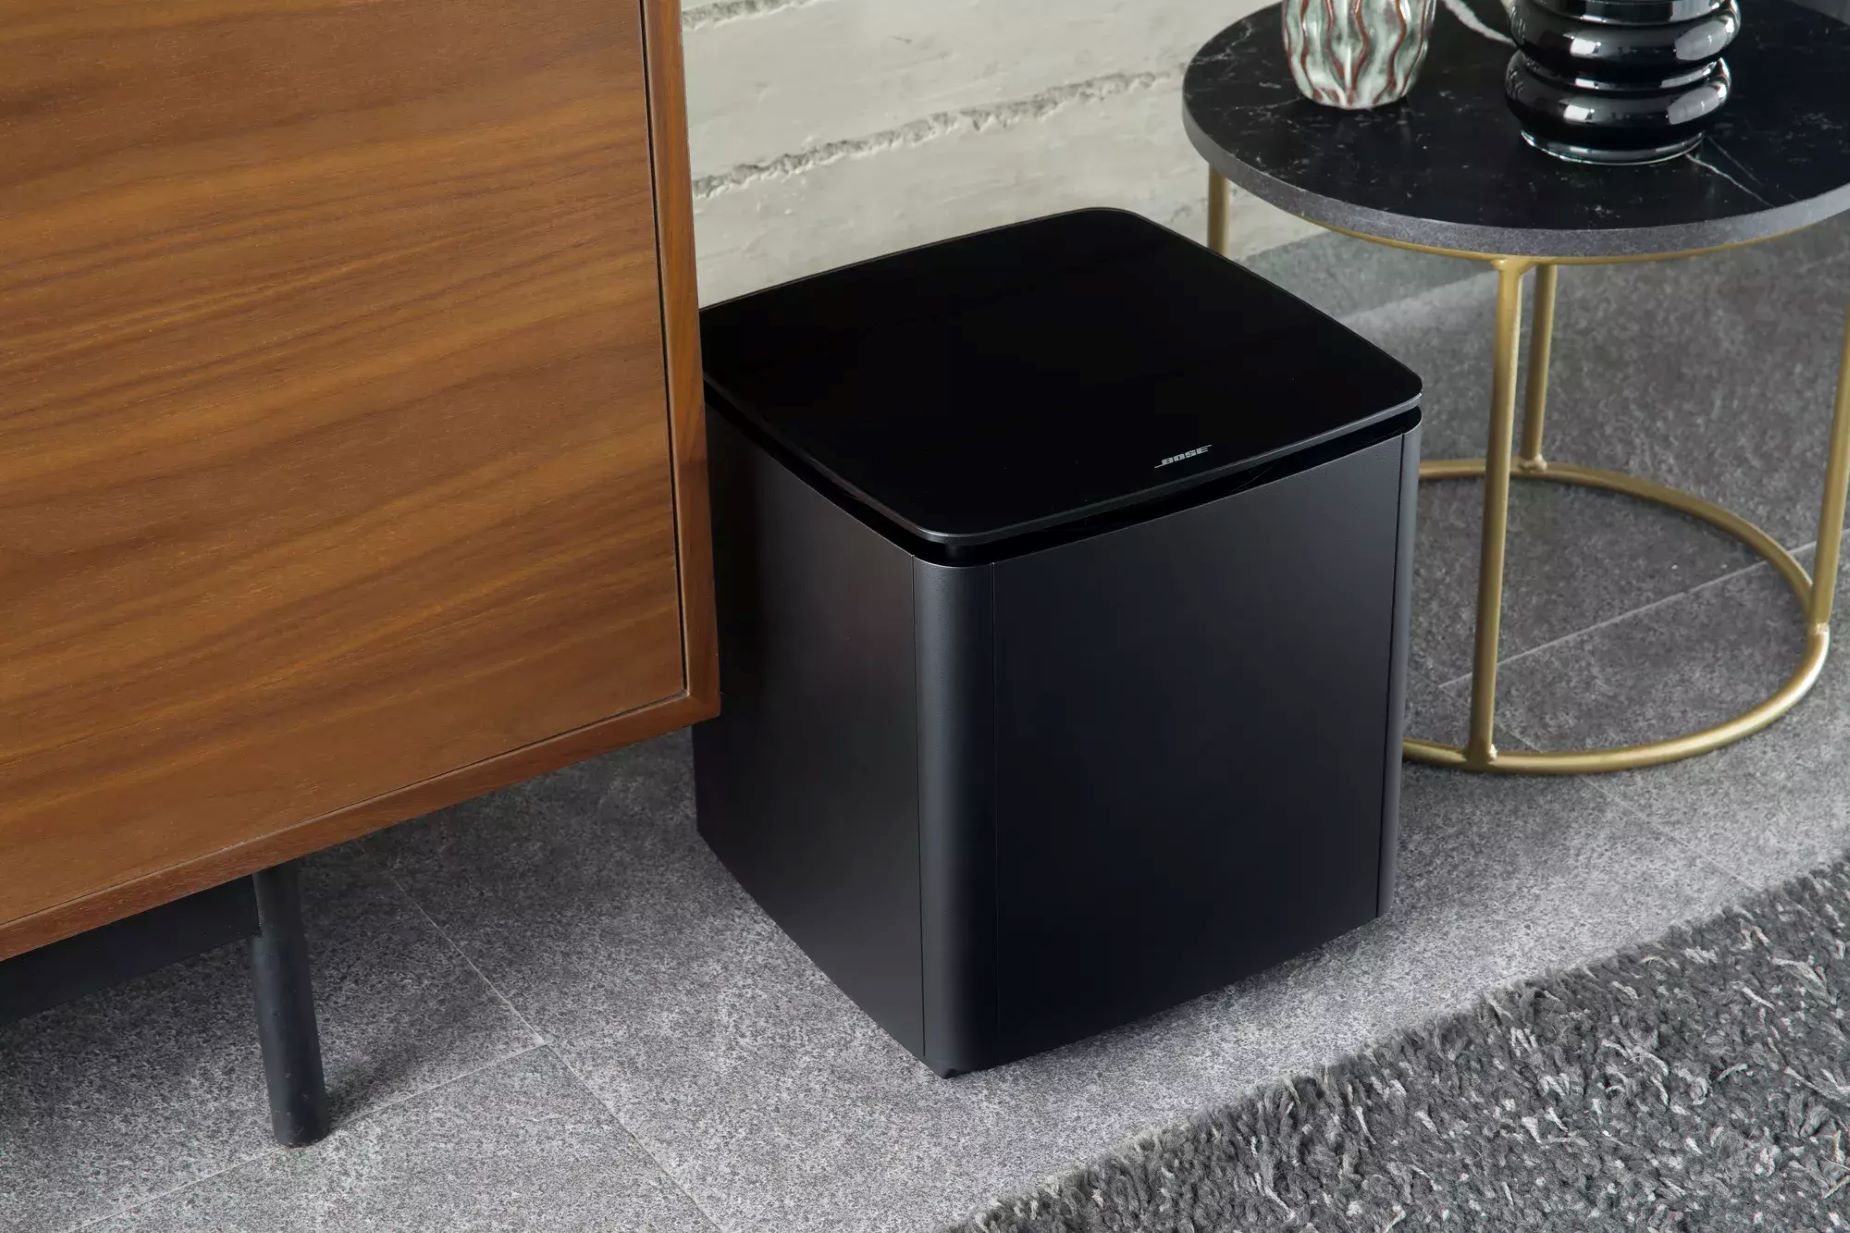
- Placement: Proper subwoofer placement is crucial for achieving optimal performance. Experiment with different locations in your room to find the spot that provides the best bass response. Consider corner placement or placing the subwoofer near a wall to enhance bass reinforcement.
- Room Correction: Some subwoofers come with room correction features or built-in equalizers. Take advantage of these tools to compensate for room acoustics and achieve a more accurate and balanced sound.
By adjusting these settings, you can ensure that your subwoofer seamlessly integrates with your audio system, delivering deep, impactful bass that enhances your listening experience.
Once you have fine-tuned the subwoofer settings to your liking, it’s time for the final step: testing the subwoofer.
Step 5: Testing the Subwoofer
Now that you have connected and adjusted your subwoofer, it’s important to test it to ensure everything is working correctly. Follow these steps to test the performance of your subwoofer:
- Play an Audio Source: Choose an audio source that contains a range of frequencies, such as a music track or a movie scene with deep bass. Make sure the volume is at a moderate level.
- Listen Carefully: Pay close attention to the bass response produced by the subwoofer. It should deliver deep, tight, and well-defined bass without overpowering or distorting the sound from your main speakers.
- Adjust as Needed: If the bass sounds weak or lacks impact, consider increasing the volume level or adjusting the settings of your subwoofer. On the other hand, if the bass is too overpowering, decrease the volume level or adjust the settings to achieve a better balance between the subwoofer and the main speakers.
- Reposition if Necessary: If you notice any inconsistencies in the bass response or localization of the sound, you may need to experiment with repositioning the subwoofer in your room to achieve optimal performance.
By thoroughly testing your subwoofer’s performance, you can ensure that it complements your audio system and provides the desired impact and immersion.
Finally, it’s important to periodically check and fine-tune the subwoofer settings as your audio needs or room dynamics may change over time. This will help maintain optimal performance and ensure the best possible listening experience.
Congratulations! You have successfully connected, adjusted, and tested your powered subwoofer. Now you can sit back, relax, and enjoy the enhanced sound experience that an excellent subwoofer can bring to your favorite music, movies, and games.
Conclusion
Congratulations! You have now completed the process of connecting and optimizing your powered subwoofer. By following the steps outlined in this guide, you have ensured that your subwoofer is seamlessly integrated into your audio system, delivering immersive and powerful bass.
A properly connected subwoofer can greatly enhance your listening experience, adding depth and richness to music, movies, and games. It creates a more immersive and engaging audio environment, allowing you to feel the impact of every beat and rumble.
Remember, choosing the right connection method, adjusting the subwoofer settings, and testing its performance are all essential steps to achieve optimal sound quality. Take the time to fine-tune the settings to suit your personal preferences and the characteristics of your listening room.
Additionally, don’t hesitate to experiment with subwoofer placement within your room to achieve the best bass response. Small changes in positioning can have a significant impact on the overall sound quality.
Lastly, remember to periodically review and adjust your subwoofer settings as your audio system or room dynamics may change over time. By staying proactive and attentive to your subwoofer’s performance, you can continue to enjoy a superb listening experience for years to come.
So, sit back, relax, and get ready to experience your favorite music, movies, and games like never before. With your powered subwoofer properly connected and optimized, you’re in for a deep and immersive audio journey. Enjoy!