Home>Devices & Equipment>Subwoofer>How To Connect SVS Subwoofer

Subwoofer
How To Connect SVS Subwoofer
Modified: January 22, 2024
Learn how to easily connect your SVS subwoofer to your audio system and enhance your listening experience. Discover expert tips and step-by-step instructions for setting up your subwoofer.
(Many of the links in this article redirect to a specific reviewed product. Your purchase of these products through affiliate links helps to generate commission for AudioLover.com, at no extra cost. Learn more)
Table of Contents
Introduction
A subwoofer is an essential component in any audio system, providing deep and powerful bass that can add depth and impact to your music, movies, and gaming experiences. Whether you’re a music enthusiast, a movie buff, or a gamer, connecting a subwoofer correctly is crucial to ensure optimal performance and make the most out of your audio setup.
In this guide, we will walk you through the step-by-step process of connecting an SVS subwoofer to your audio system. SVS is renowned for producing high-quality subwoofers that deliver exceptional performance and immersive bass. By following the instructions outlined in this article, you can ensure a seamless and satisfying subwoofer connection that will enhance your audio experience.
Before we dive into the steps, it’s important to note that the process may vary slightly depending on the specific model of the SVS subwoofer and the audio equipment you are using. However, the underlying principles and concepts remain the same, so you can adapt the instructions accordingly.
Without further ado, let’s get started and learn how to connect your SVS subwoofer for optimal audio performance!
Step 1: Determine the Connection Method
The first step in connecting your SVS subwoofer is to determine the appropriate connection method based on your audio system setup. There are two common ways to connect a subwoofer: using a dedicated subwoofer output (also known as LFE or Low-Frequency Effects) or using the speaker-level inputs.
If your audio receiver or amplifier has a dedicated subwoofer output, usually labeled as “Sub Out” or “LFE Out,” it is recommended to use this method. This connection method allows for a direct and optimized signal transfer from your receiver or amplifier to the subwoofer, ensuring accurate bass reproduction and seamless integration with your speakers.
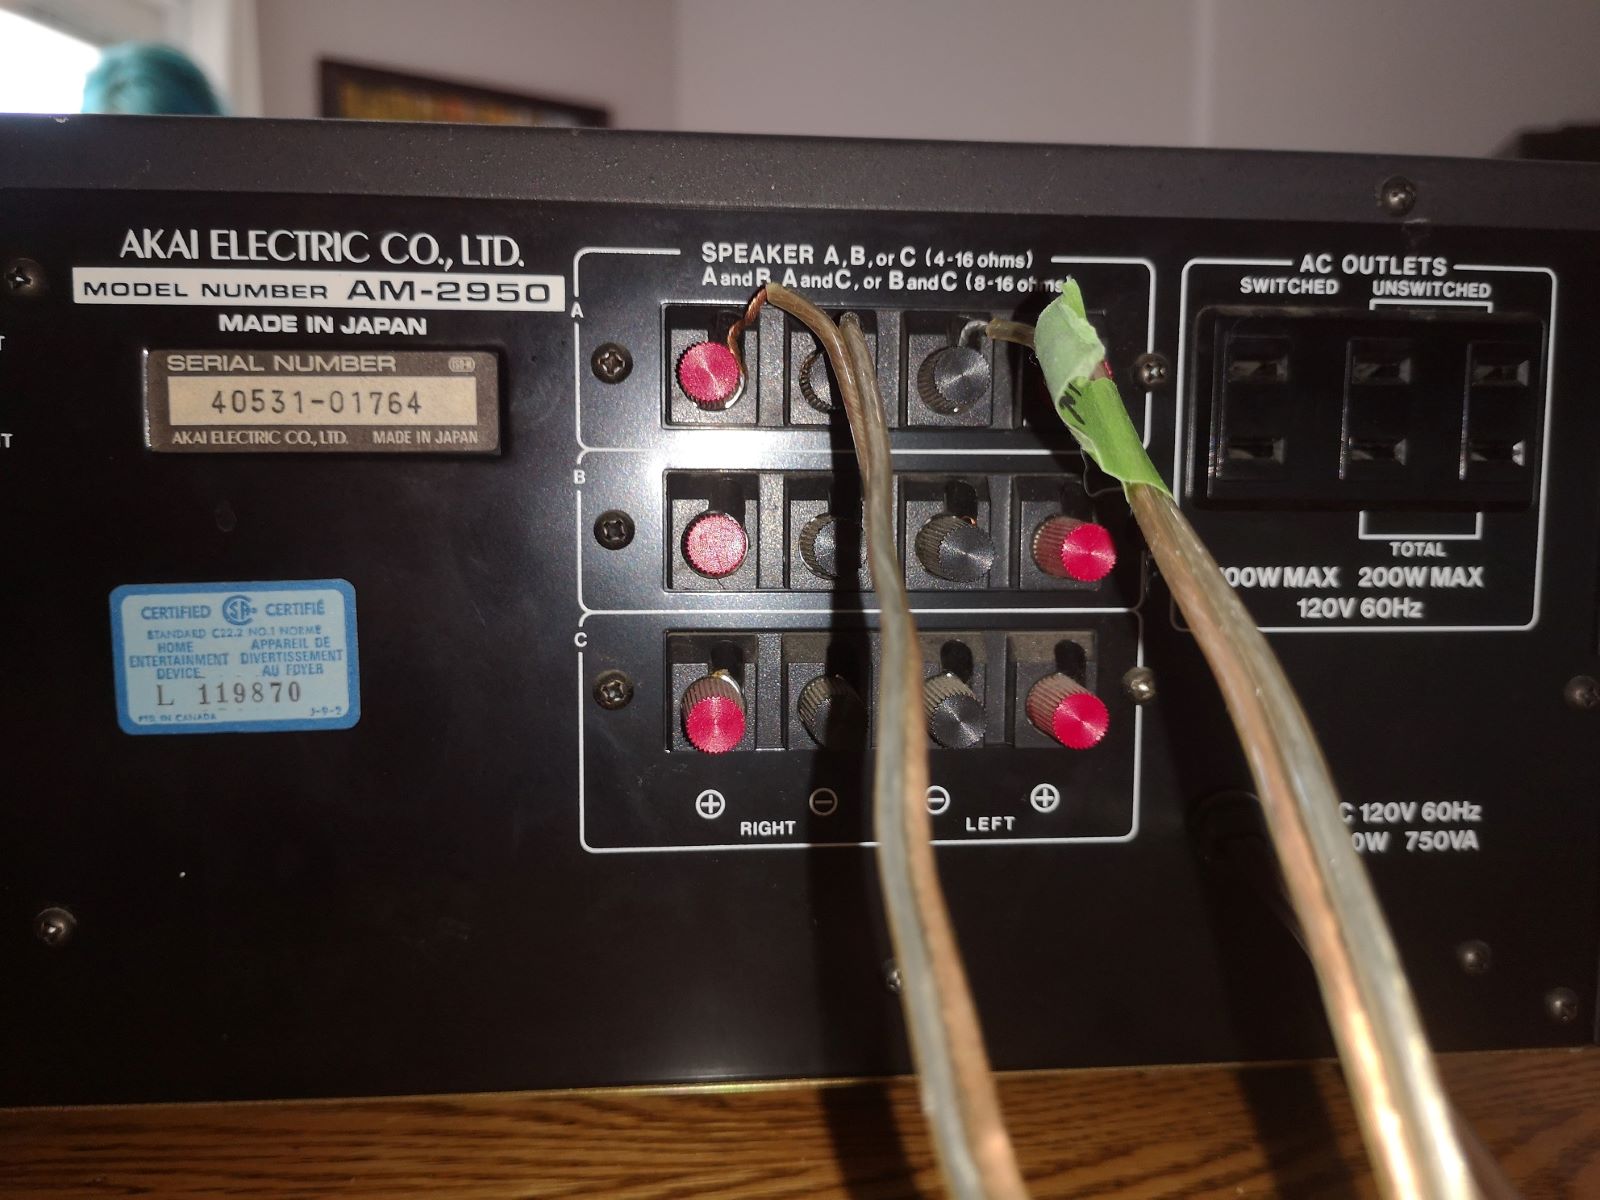
On the other hand, if your receiver or amplifier does not have a dedicated subwoofer output, you can use the speaker-level inputs on the back of the SVS subwoofer. This method involves connecting the subwoofer to your amplifier using speaker wire. While this method may require a bit more setup, it provides flexibility in integrating the subwoofer into your existing audio system.
It’s essential to consult the user manual of your SVS subwoofer and the documentation of your receiver or amplifier to determine the recommended connection method and to ensure compatibility between the subwoofer and your audio equipment.
Once you have identified the appropriate connection method for your setup, you can proceed to gather the necessary cables and equipment for the connection process.
Step 2: Gather Necessary Cables and Equipment
Before you can connect your SVS subwoofer, you’ll need to gather the necessary cables and equipment. The specific items you’ll need will depend on the connection method you determined in Step 1. Here are the common cables and equipment you might need:
- Subwoofer Cable: If you’re using the dedicated subwoofer output on your receiver or amplifier, you’ll need a subwoofer cable. This is a specialized cable that carries the low-frequency signal from the receiver or amplifier to the subwoofer. Subwoofer cables typically have RCA connectors at one or both ends.
- Speaker Wire: If you’re using the speaker-level inputs on your SVS subwoofer, you’ll need speaker wire to connect the subwoofer to your amplifier or receiver. Ensure that the speaker wire is of adequate length and gauge to reach your subwoofer without any strain.
- Power Cord: Every SVS subwoofer comes with a power cord. Make sure you have the power cord that came with your subwoofer, as using a different power cord may not provide the correct power supply and could potentially damage the subwoofer.
- Allen Wrench or Screwdriver: Some SVS subwoofers may require the use of an Allen wrench or screwdriver to secure the connections or adjust certain settings. Refer to your subwoofer’s user manual to determine if any tools are necessary.
Double-check your equipment and ensure that you have all the necessary cables and tools before moving on to the next step. Having everything on hand will make the connection process smoother and more efficient.
Step 3: Connect the Subwoofer to the Receiver or Amplifier
Now that you have gathered all the necessary cables and equipment, it’s time to connect your SVS subwoofer to the receiver or amplifier. Follow these steps:
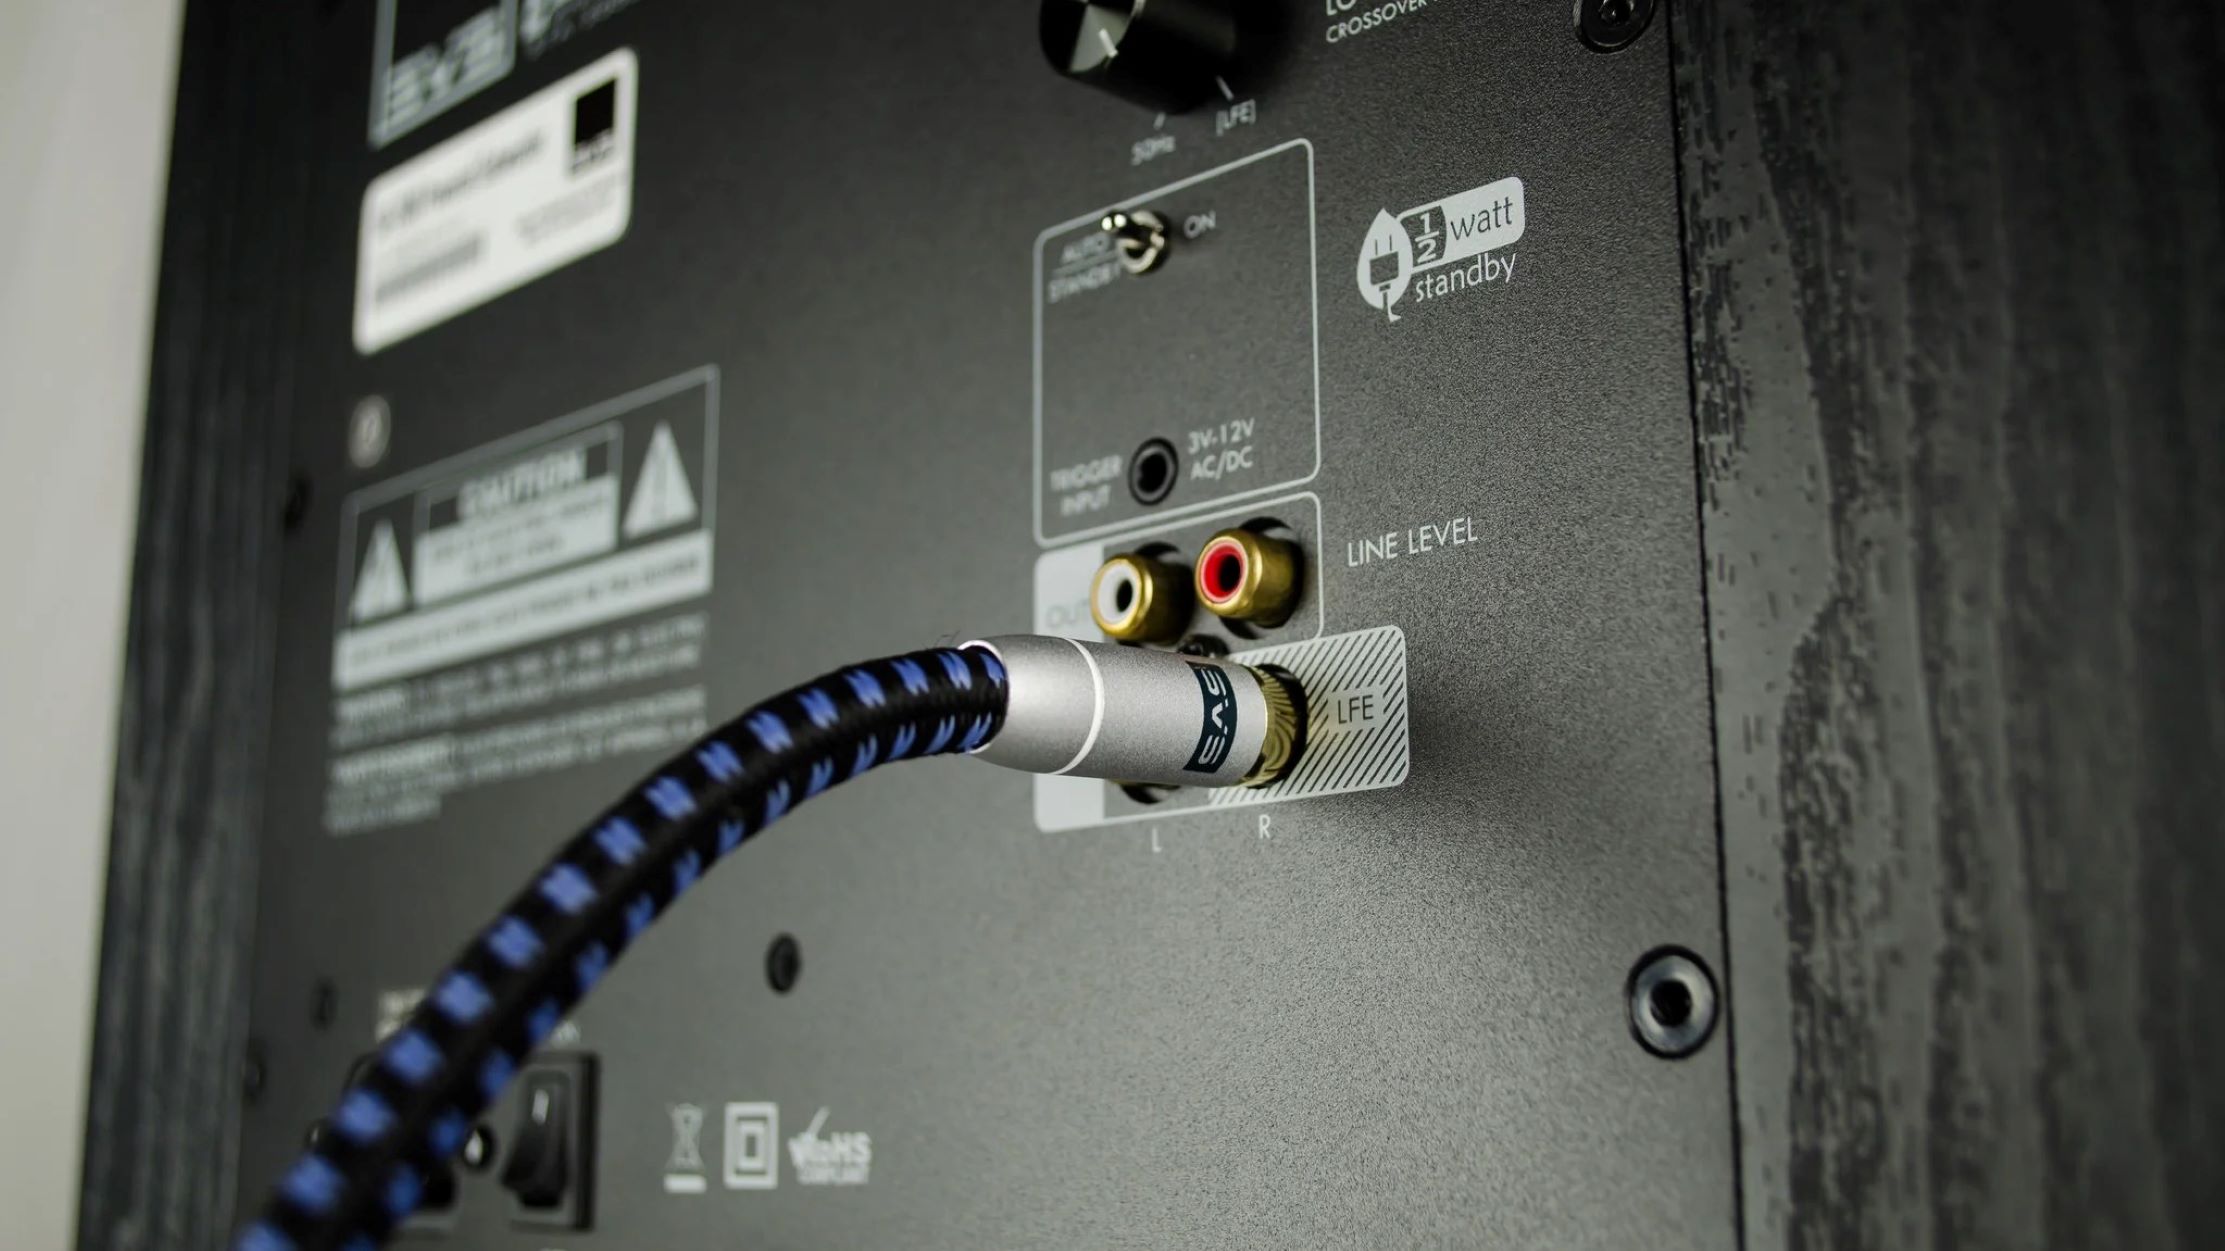
- Locate the subwoofer output on your receiver or amplifier. It is typically labeled as “Sub Out” or “LFE Out.” If you’re using the speaker-level inputs, identify the speaker outputs on your amplifier.
- If you’re using a subwoofer cable, connect one end to the subwoofer output on your receiver or amplifier. If you’re using speaker wire, strip about 1/2 inch of insulation from the ends of the wire.
- For a subwoofer cable connection, connect the other end to the “Sub In” or “LFE In” port on your SVS subwoofer. Ensure a secure connection by firmly tightening the connector.
- If you’re using speaker wire, twist the exposed ends of the wire strands to prevent fraying. Then, connect the positive (+) and negative (-) ends of the speaker wire to the corresponding speaker-level inputs on the back of the SVS subwoofer. Again, make sure the connections are secure.
- If your SVS subwoofer has both subwoofer cable and speaker wire inputs, choose the connection method that aligns with your setup and ignore the unused input ports.
- Double-check all the connections to ensure they are secure and properly seated.
Once the subwoofer is connected to the receiver or amplifier, you are one step closer to enjoying the powerful bass performance of your SVS subwoofer. The next step involves adjusting the subwoofer settings to optimize its performance in your audio system.
Step 4: Adjust Subwoofer Settings
After connecting your SVS subwoofer to the receiver or amplifier, it’s important to adjust the subwoofer settings to achieve the best possible audio performance. Here are some key settings to consider:
- Volume/Gain: Adjust the volume or gain control on the subwoofer to set the desired bass level. Start with a conservative setting and gradually increase the volume to avoid overpowering the other speakers in your system.
- Crossover Frequency: The crossover frequency determines at what point the subwoofer takes over the reproduction of low frequencies from the main speakers. Set the crossover frequency according to the capabilities of your main speakers and the specifications of your subwoofer. A common starting point is around 80Hz.
- Phase: The phase control adjusts the timing between the subwoofer and the main speakers. Experiment with different phase settings to find the one that produces the most coherent and integrated sound. Typically, a phase setting of 0 degrees works well, but this may vary depending on your specific setup.
- EQ Settings: Some SVS subwoofers come with built-in EQ settings that allow you to fine-tune the bass response based on your room acoustics. If available, consult the user manual for guidance on using these EQ options and experiment with different settings to achieve optimal bass performance.
Refer to the user manual of your SVS subwoofer to locate and adjust these settings. Take your time to make incremental adjustments and listen to familiar audio content to assess the impact of each change. Trust your ears and make adjustments that result in a well-balanced and immersive audio experience.
Remember, the room acoustics and your personal preferences play a significant role in setting up the subwoofer. Don’t hesitate to experiment and make adjustments until you achieve the desired sound.
With the subwoofer settings optimized, you’re ready to move on to the final step: testing and fine-tuning the connection to ensure everything is working as expected.
Step 5: Test and Fine-Tune the Connection
Now that you have connected and adjusted your SVS subwoofer, it’s time to put it to the test and make any necessary fine-tuning adjustments. Follow these steps to ensure everything is working as expected:
- Play audio content that includes a wide range of frequencies, such as music tracks or movie scenes with significant bass elements.
- Listen carefully and evaluate the bass performance. Pay attention to the balance between the subwoofer and the main speakers, ensuring that the bass is integrated and enhanced rather than overpowering or lacking in impact.
- If the bass sounds too boomy or overwhelming, consider lowering the subwoofer volume or gain. Conversely, if the bass is weak or not sufficiently present, increase the volume or gain to find the desired balance.
- Check if the crossover frequency is appropriate for your setup. If the transition between the subwoofer and main speakers is noticeable or lacking coherence, try adjusting the crossover frequency up or down in small increments until a seamless blend is achieved.
- Continue to fine-tune other settings, such as phase and EQ, based on your listening preferences and room acoustics. Make subtle adjustments, taking note of the impact on the overall sound quality to achieve the desired balance and immersion.
- Periodically revisit the settings as you become familiar with your subwoofer’s performance in your specific listening environment. Adjustments may be necessary as you encounter different media or make changes to your audio system.
Remember to be patient and take the time to listen critically to various audio sources. Fine-tuning the connection ensures that your SVS subwoofer complements your existing speakers and delivers the immersive and impactful bass performance that enhances your audio experience.
Congratulations! You have successfully connected, adjusted, and tested your SVS subwoofer. Now sit back, relax, and enjoy the enriched audio experience that a well-integrated subwoofer brings to your music, movies, and games.
Conclusion
Connecting an SVS subwoofer to your audio system is a straightforward process that can greatly enhance your overall audio experience. By following the steps outlined in this guide, you can ensure a proper and optimized connection that maximizes the potential of your SVS subwoofer.
We started by determining the connection method based on your audio system setup, whether using a dedicated subwoofer output or the speaker-level inputs. Then, we gathered the necessary cables and equipment to complete the connection.
Next, we walked through the process of connecting the SVS subwoofer to the receiver or amplifier, ensuring secure and proper connections. After that, we focused on adjusting the subwoofer settings, such as volume/gain, crossover frequency, phase, and EQ, to achieve the desired bass performance.
Finally, we emphasized the importance of testing and fine-tuning the connection, actively listening to audio content and making adjustments as needed to optimize the integration of the subwoofer with the main speakers.
Remember, every audio system and room is unique, so it may take some time and experimentation to find the perfect settings for your setup. Trust your ears and make adjustments that result in a well-balanced and immersive audio experience.
With your SVS subwoofer correctly connected and fine-tuned, you can now enjoy the deep, powerful, and impactful bass that adds a new dimension to your favorite music, movies, and games.
So, go ahead, turn up the volume, and immerse yourself in a whole new audio experience with your SVS subwoofer!