Home>Production & Technology>Sound Bar>How To Connect Sony Sound Bar With Wireless Subwoofer
Sound Bar
How To Connect Sony Sound Bar With Wireless Subwoofer
Modified: January 22, 2024
Learn how to easily connect your Sony sound bar with a wireless subwoofer. Enhance your audio experience with the convenience of a seamless setup.
(Many of the links in this article redirect to a specific reviewed product. Your purchase of these products through affiliate links helps to generate commission for AudioLover.com, at no extra cost. Learn more)
Table of Contents
Introduction
Welcome to the world of immersive sound experience with a Sony Sound Bar and Wireless Subwoofer. If you’re looking to enhance your TV or home theater audio, a sound bar is a great addition to your setup. Sony sound bars not only deliver clear and rich sound quality, but they also come with the convenience of wireless connectivity. In this article, we will guide you through the process of connecting your Sony sound bar with a wireless subwoofer, ensuring that you can enjoy an enhanced audio experience without the hassle of messy cables.
Before we delve into the step-by-step instructions, let’s take a moment to understand why a sound bar and wireless subwoofer combination can be the perfect solution for your entertainment needs. A sound bar is designed to deliver a high-quality audio output, bringing your movies, music, and games to life. It eliminates the need for multiple speakers and messy wiring, offering a sleek and compact audio solution that complements your TV or home theater setup.
The addition of a wireless subwoofer to the sound bar setup takes the audio experience to the next level. While the sound bar reproduces the mid and high-frequency sounds, the subwoofer focuses on the low-frequency bass, delivering earth-shaking and immersive audio. The wireless connectivity eliminates the need for a physical connection between the sound bar and subwoofer, providing flexibility in placement and reducing clutter in your entertainment space.
Now that you understand the benefits of a sound bar and wireless subwoofer combination, it’s time to learn how to connect them. Follow the step-by-step instructions in the upcoming sections, and soon you’ll be enjoying a captivating audio experience that brings your entertainment to life.
Step 1: Check Compatibility
Before you start setting up your Sony sound bar and wireless subwoofer, it’s essential to ensure that they are compatible with each other. Checking compatibility will save you time and frustration, preventing any potential issues during the setup process.
Firstly, verify that your Sony sound bar and wireless subwoofer models are designed to be used together. This information can usually be found in the product manuals or on the manufacturer’s website. If you are unsure, reach out to Sony’s customer support for confirmation.
Next, check the connectivity options of your TV or home theater system. Ensure that your TV has the necessary ports to connect the sound bar and supports the required audio format. Most modern TVs have HDMI ARC (Audio Return Channel) ports, which allow for easy audio transmission between devices. If your TV does not have an HDMI ARC port, make sure it has an optical audio output or a 3.5mm audio jack.
Additionally, consider the placement of your sound bar and wireless subwoofer. Make sure there is enough space near your TV to position the sound bar, and ensure that the subwoofer can be placed within the recommended distance for optimal performance. Measure the dimensions of your TV stand or wall mount to ensure the sound bar will fit properly.
Lastly, check the power requirements of both the sound bar and subwoofer. Ensure that there are available power outlets near the designated placement areas.
By checking compatibility before starting the setup process, you’ll be well-prepared and can proceed with confidence. Once you’ve confirmed that your sound bar and wireless subwoofer are compatible, you’re ready to move on to the next step.
Step 2: Unpack and Set Up the Sony Sound Bar and Wireless Subwoofer
Now that you’ve confirmed compatibility, it’s time to unpack and set up your Sony sound bar and wireless subwoofer. Follow these steps to ensure a smooth and hassle-free installation process:
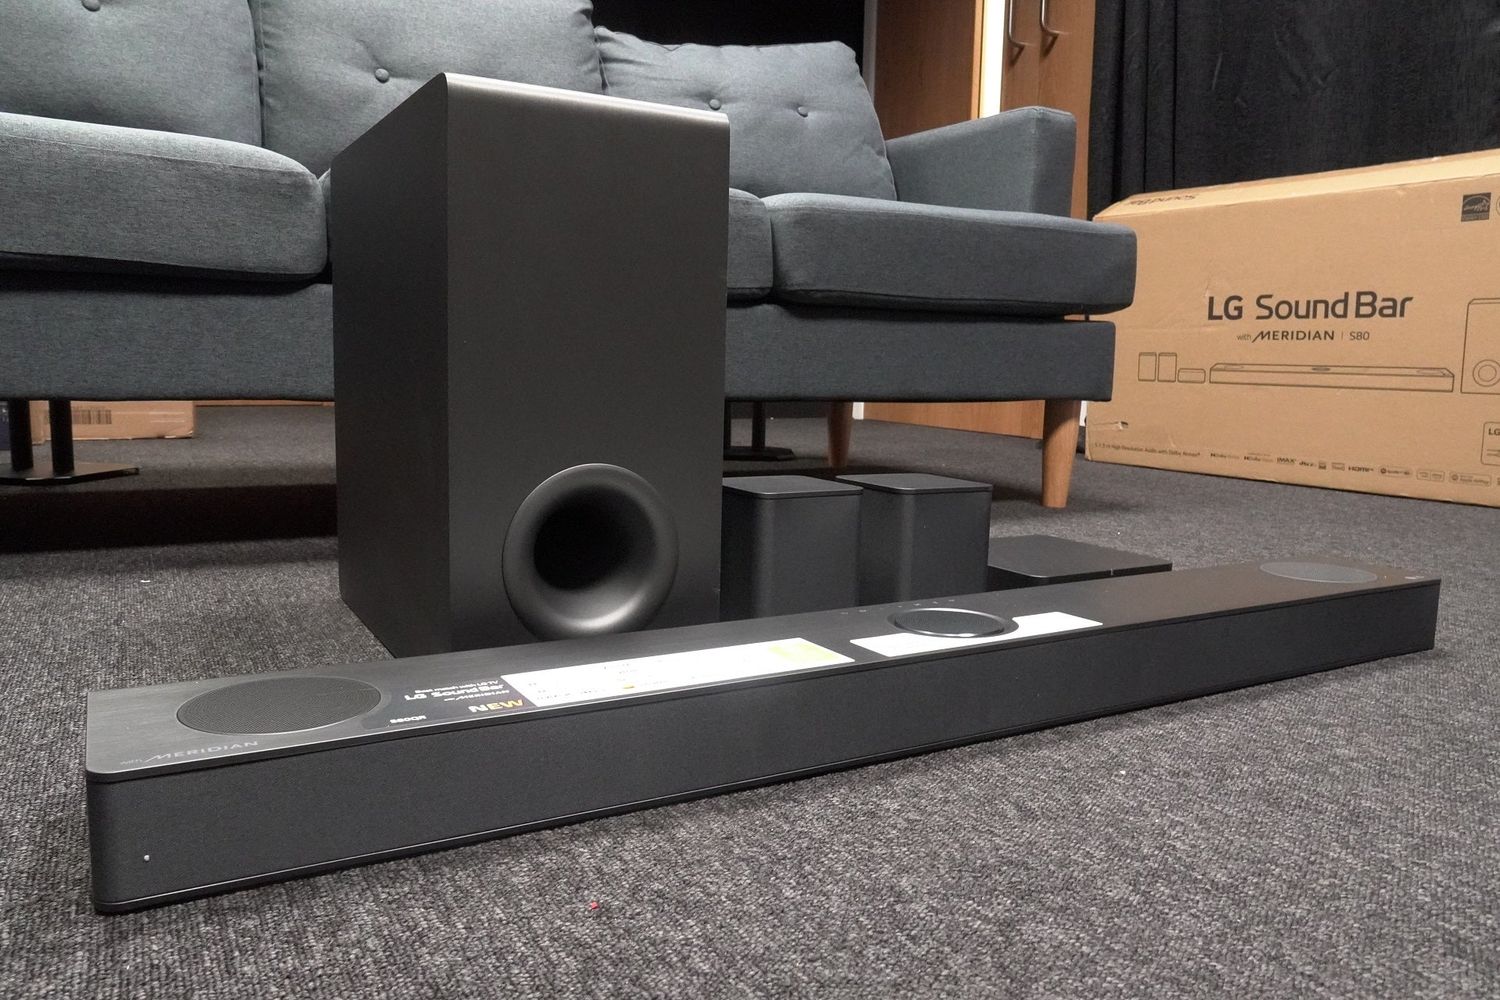
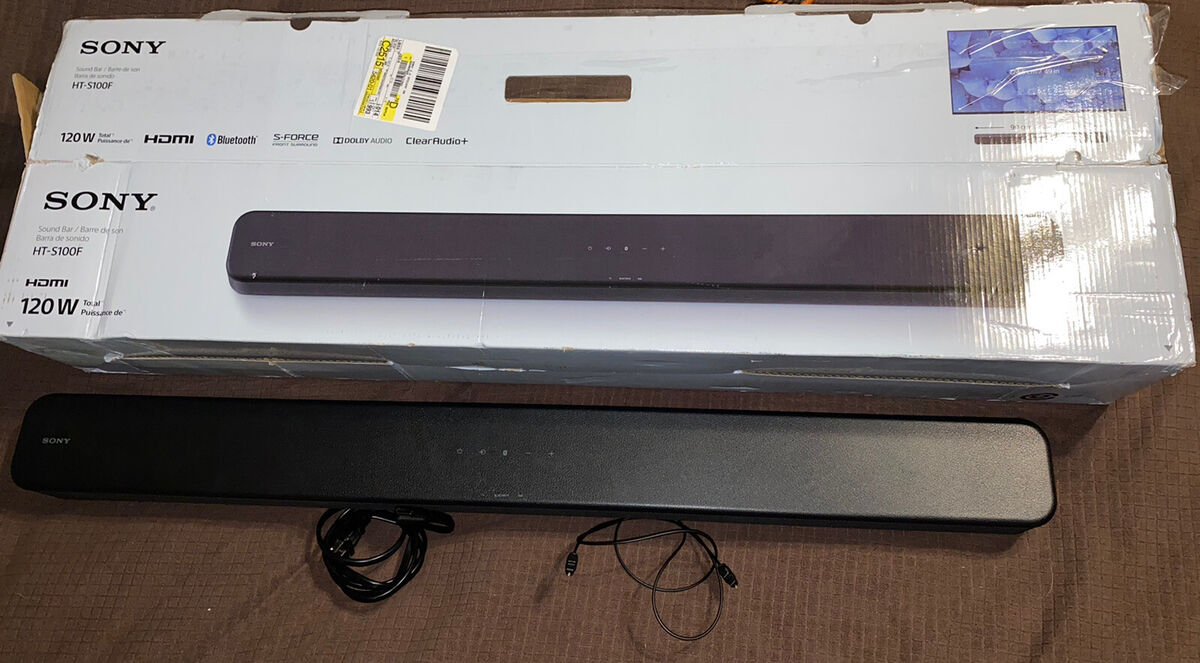
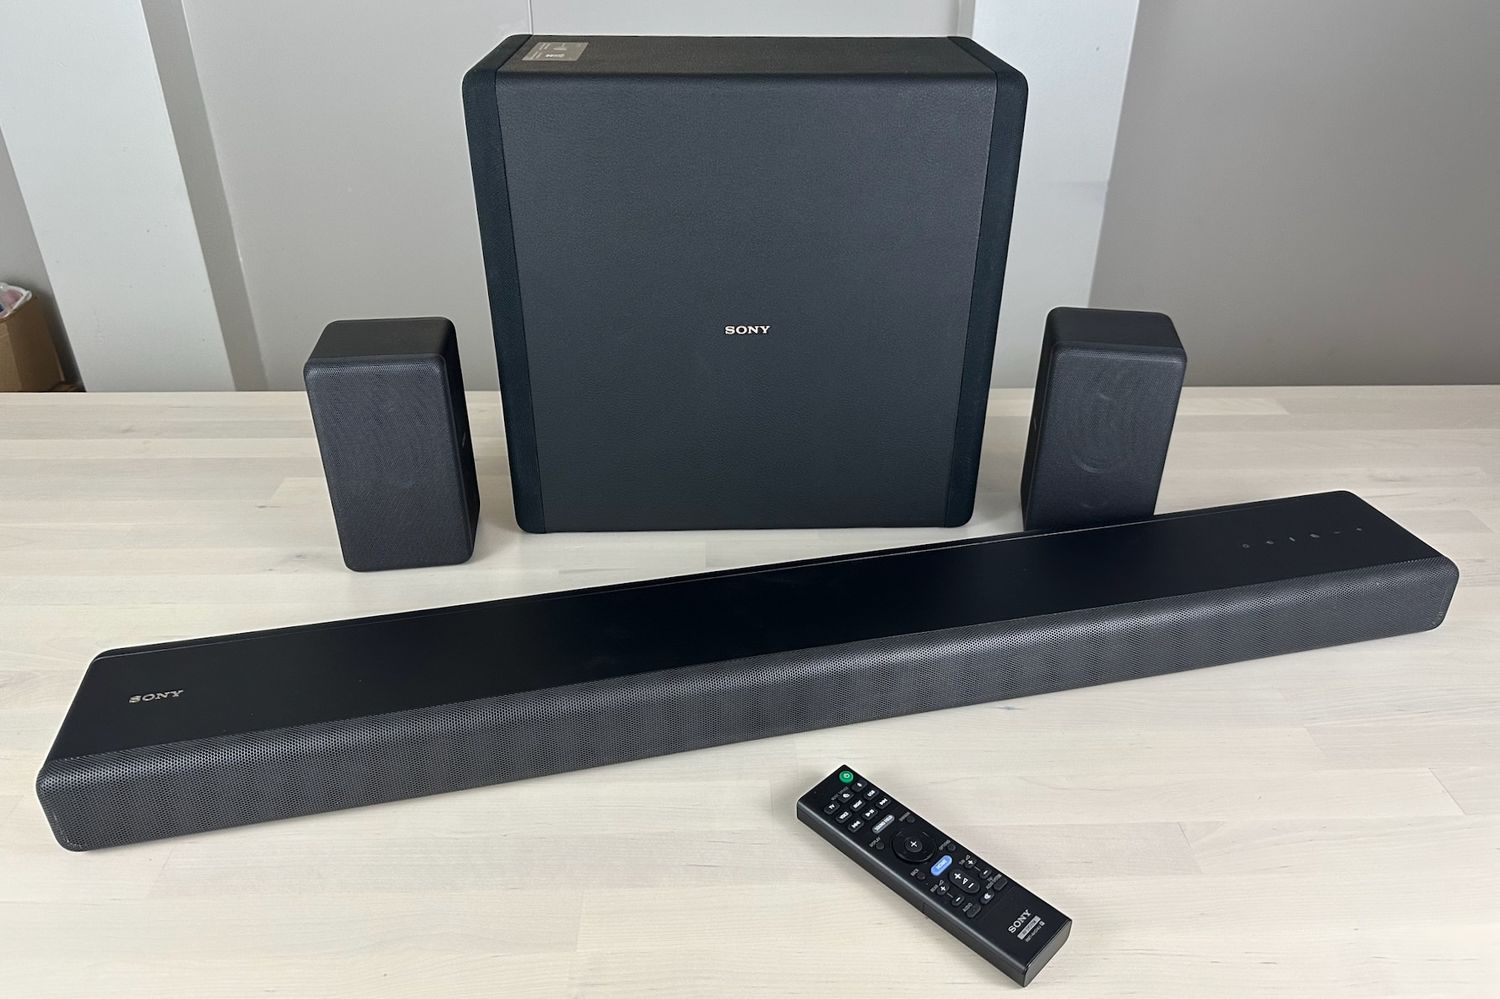
- Unpack the sound bar and subwoofer: Carefully remove the sound bar and subwoofer from their packaging. Take note of any included accessories such as cables, mounting brackets, or remote control.
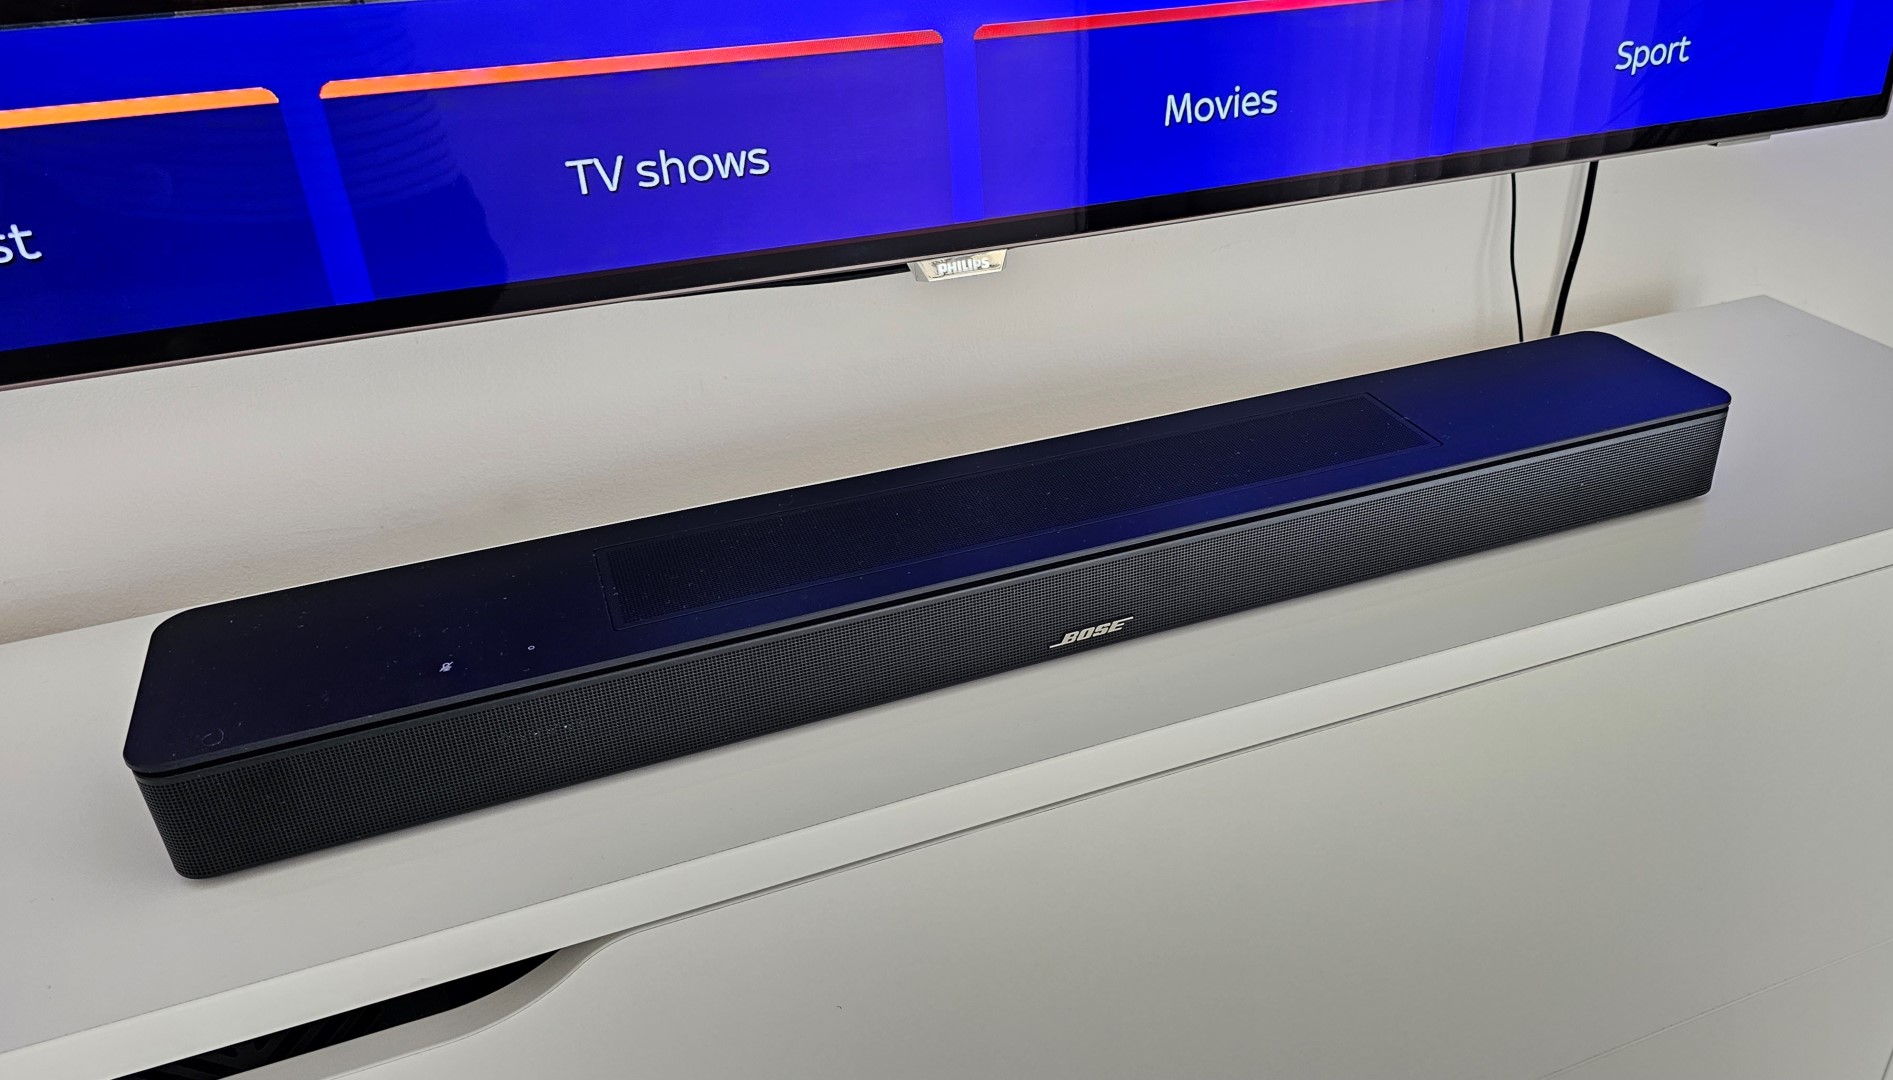
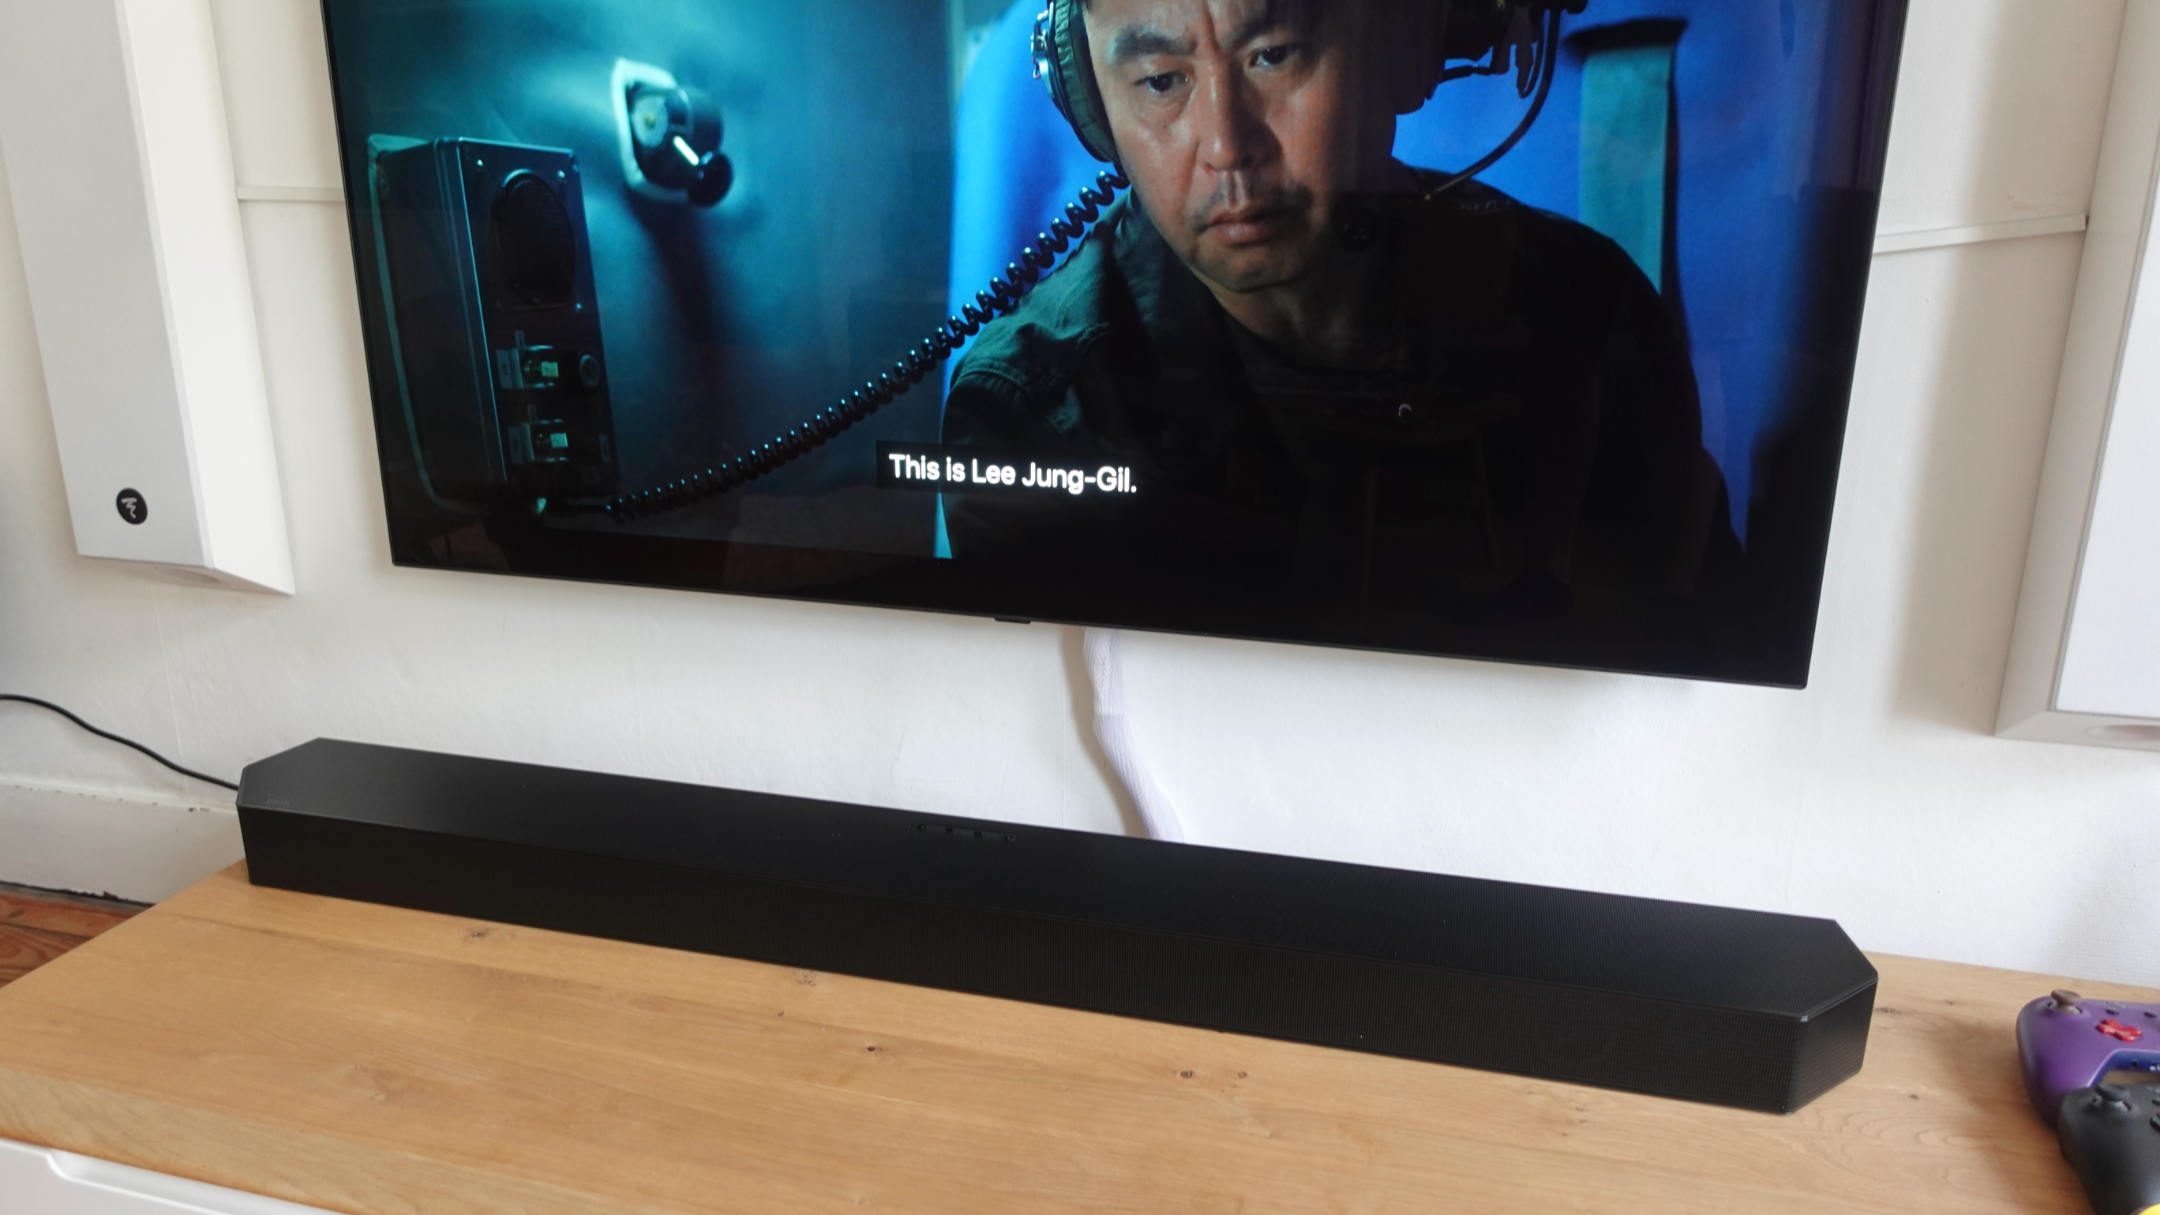
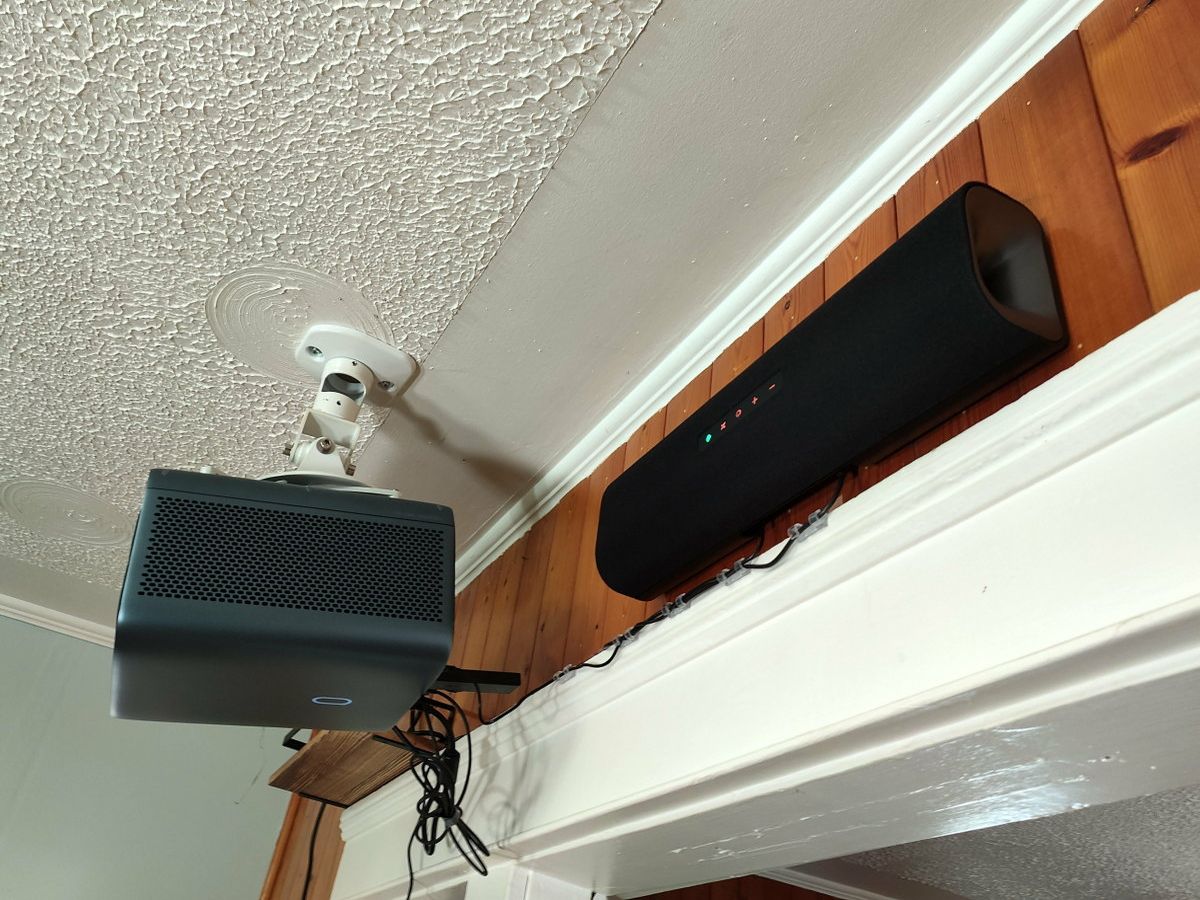
- Find the optimal placement: Before setting up the sound bar and subwoofer, determine the best placement for optimal audio performance. Consider the layout of your room and the acoustics. Ideally, the sound bar should be positioned below or above your TV, facing towards your listening area. The wireless subwoofer can be placed in any convenient location within the recommended distance from the sound bar.
- Connect the power cables: Locate the power cables for both the sound bar and subwoofer. Plug one end of the power cable into the corresponding port on each device, and the other end into a power outlet.
- Connect the sound bar to your TV: Depending on the available connectivity options, connect the sound bar to your TV using the appropriate cable. If your TV has an HDMI ARC port, use an HDMI cable to connect the HDMI ARC port on the TV to the HDMI ARC port on the sound bar. Alternatively, if your TV has an optical audio output, use an optical cable to connect the optical output on the TV to the optical input on the sound bar. If your TV only has a 3.5mm audio jack, use a 3.5mm audio cable to connect the audio output on the TV to the audio input on the sound bar.
- Ensure wireless subwoofer connectivity: Most Sony sound bars come pre-paired with the wireless subwoofer. However, if they are not automatically connected, refer to the user manual for instructions on how to pair them. Typically, you’ll need to press and hold the pairing button on the subwoofer until the indicator light starts flashing. Then, press the pairing button on the sound bar to establish a connection.
Once you’ve completed these steps, your Sony sound bar and wireless subwoofer should be set up and ready for use. In the next step, we’ll guide you through connecting the sound bar to your TV to ensure proper audio transmission.
Step 3: Connect the Sound Bar to the TV
Now that you have unpacked and set up your Sony sound bar and wireless subwoofer, it’s time to connect the sound bar to your TV. This step is crucial to ensure that audio from your TV is properly transmitted to the sound bar for an immersive audio experience. Follow these steps to make the connection:
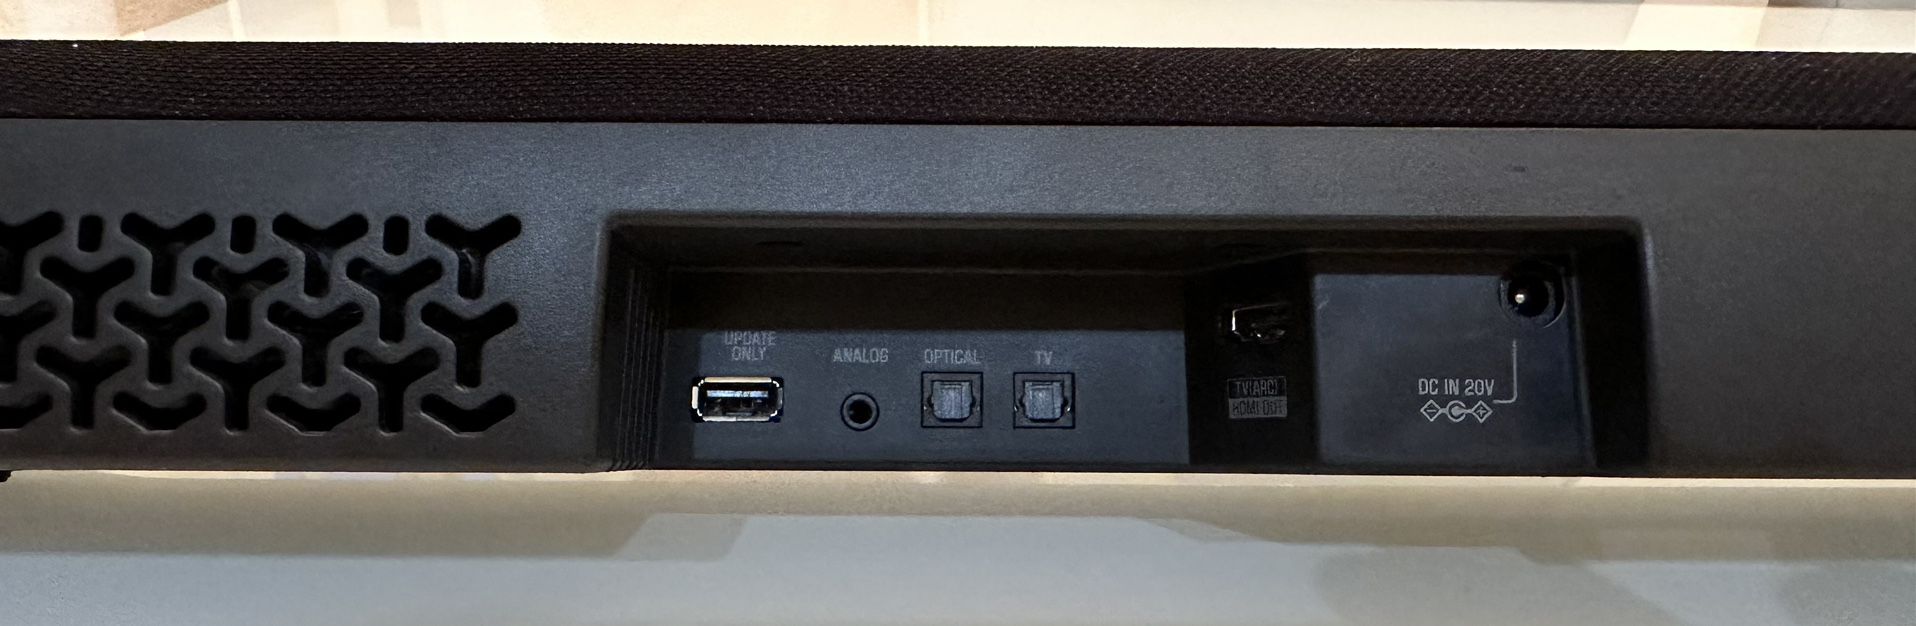
- Identify the appropriate input port on the sound bar: Look for the HDMI ARC, optical input, or 3.5mm audio input on the sound bar. The type of connection will depend on the available ports on your TV.
- Identify the corresponding output port on your TV: Locate the HDMI ARC, optical audio output, or 3.5mm audio output on your TV. It should match the input port you identified on the sound bar.
- Use the appropriate cable to connect the sound bar to the TV:
- If your TV has an HDMI ARC port, use an HDMI cable. Connect one end of the HDMI cable to the HDMI ARC output on your TV, and the other end to the HDMI ARC input on the sound bar.
- If your TV has an optical audio output, use an optical cable. Connect one end of the optical cable to the optical audio output on your TV, and the other end to the optical input on the sound bar.
- If your TV only has a 3.5mm audio output, use a 3.5mm audio cable. Connect one end of the audio cable to the 3.5mm audio output on your TV, and the other end to the 3.5mm audio input on the sound bar.
- Power on the sound bar and TV: Ensure that both the sound bar and TV are powered on.
Once you’ve successfully connected the sound bar to your TV, the audio from your TV should now be transmitted to the sound bar. Adjust the volume on your TV and sound bar to your desired levels, and you’re ready to enjoy the enhanced audio experience provided by your Sony sound bar and wireless subwoofer.
In the next step, we’ll guide you through pairing the sound bar with the wireless subwoofer for optimal sound performance.
Step 4: Pair the Sound Bar with the Wireless Subwoofer
Once you have successfully connected your Sony sound bar to the TV, it’s time to pair the sound bar with the wireless subwoofer. This step ensures that the subwoofer is synchronized with the sound bar to deliver balanced and immersive sound. Follow these steps to pair the two devices:
- Make sure both the sound bar and subwoofer are powered on.
- Locate the pairing button on the subwoofer. This button is usually located on the back or side of the device.
- Press and hold the pairing button on the subwoofer until the LED indicator light starts flashing. This indicates that the subwoofer is ready to be paired.
- Next, locate the pairing button on the sound bar. The location of this button may vary depending on the model of the sound bar. Refer to the user manual if you are having trouble finding it.
- Press and hold the pairing button on the sound bar until the LED indicator on both the sound bar and subwoofer stop flashing and remain solid. This indicates that the pairing process is successful, and the sound bar and subwoofer are now connected.
It’s important to note that some Sony sound bars and subwoofers may have additional pairing requirements. In such cases, refer to the user manual included with your specific model for detailed instructions on the pairing process.
Once the sound bar and wireless subwoofer are successfully paired, you can optimize the settings to suit your audio preferences. In the next step, we’ll walk you through adjusting the sound bar and subwoofer settings for the best audio experience.
Step 5: Adjust Sound Bar and Subwoofer Settings
After pairing the sound bar with the wireless subwoofer, it’s time to fine-tune the settings to optimize your audio experience. Adjusting the sound bar and subwoofer settings allows you to customize the sound quality and tailor it to your preferences. Follow these steps to adjust the settings:
- Access the sound bar settings menu: Depending on the model of your sound bar, you can usually access the settings menu by using the remote control or the buttons on the sound bar itself. Refer to the user manual for specific instructions.
- Adjust the sound modes: Most Sony sound bars come with different sound modes to enhance specific types of content, such as movies, music, or sports. Experiment with the available sound modes to find the one that suits your preferences.
- Control the audio balance: Some sound bars allow you to adjust the audio balance, enabling you to fine-tune the proportions of the audio between the sound bar and the wireless subwoofer. This can be useful if you want to emphasize the bass or adjust the overall balance of the sound.
- Set the subwoofer volume: Adjust the volume of the wireless subwoofer to your liking. Ensure that the subwoofer volume is balanced with the sound bar, so that the bass integrates well with the overall audio output.
- Experiment with other settings: Depending on your sound bar model, there may be additional settings such as equalizer options, surround sound effects, or dialogue enhancement features. Take the time to explore these options and find the settings that enhance your audio experience.
Remember to refer to the user manual for specific instructions on accessing and adjusting the settings menu of your particular sound bar model. By adjusting these settings, you can optimize the sound bar and subwoofer output to suit your preferences and create an immersive audio experience.
In the next step, we will test and confirm the connection to ensure that your Sony sound bar and wireless subwoofer are set up correctly.
Step 6: Test and Confirm Connection
After completing the setup process and adjusting the settings of your Sony sound bar and wireless subwoofer, it’s time to test the connection and ensure everything is working correctly. By performing a quick test, you can confirm that the audio from your TV is being transmitted to the sound bar and that the subwoofer is delivering the desired bass impact. Follow these steps to test and confirm the connection:
- Play audio from your TV: Turn on your TV and play a video or audio content that you are familiar with. It could be a movie, a TV show, or your favorite musical album.
- Listen for sound from the sound bar: As the audio plays, pay attention to where the sound is coming from. Check if the sound is being produced by the sound bar rather than the TV’s built-in speakers. You should notice a significant difference in audio quality and volume.
- Ensure proper bass response: As the audio plays, focus on the bass frequencies. Make sure that the wireless subwoofer is producing deep and impactful bass that complements the sound from the sound bar. You can adjust the subwoofer volume or bass settings if necessary.
- Check for synchronization: Keep an eye on the synchronization between the audio and video. The sound should be perfectly synced with the visuals on your TV screen. If you notice any delay or synchronization issues, refer to the user manual for troubleshooting steps.
If the sound is coming from the sound bar, the subwoofer is delivering the desired bass impact, and the audio and video are in sync, congratulations! Your Sony sound bar and wireless subwoofer are successfully connected and set up.
However, if you encounter any issues during the testing process, double-check the connections, ensure that the sound bar and subwoofer are powered on, and verify the settings. If problems persist, consult the user manual or reach out to Sony’s customer support for further assistance.
With the successful test and confirmation of your Sony sound bar and wireless subwoofer connection, you can now sit back, relax, and enjoy an enhanced audio experience for all your favorite entertainment content.
Congratulations on completing the setup process and optimizing your Sony sound bar and wireless subwoofer!
Conclusion
Congratulations! You have successfully connected your Sony sound bar with a wireless subwoofer, unlocking a whole new level of audio experience for your TV or home theater system. By following the step-by-step instructions in this article, you have seamlessly integrated the sound bar into your entertainment setup, enhancing the quality and immersion of your audio.
Throughout the setup process, you learned the importance of checking compatibility, unpacking and setting up the sound bar and subwoofer, connecting the sound bar to your TV, pairing the sound bar with the wireless subwoofer, adjusting the settings, and testing the connection. Each step played a crucial role in ensuring that your Sony sound bar and wireless subwoofer are functioning optimally and delivering the desired audio performance.
Now that everything is set up, you can sit back and enjoy a truly immersive sound experience. From watching movies and TV shows to playing video games and listening to music, your sound bar and subwoofer combination will provide enhanced audio quality, bringing your entertainment to life with rich sound and powerful bass.
Remember to explore the various settings and sound modes available on your sound bar to further customize your audio experience. Experiment with different settings to find the perfect balance of sound for your preferences and content.
If you ever need to make changes or troubleshoot any issues, refer to the user manual provided with your specific Sony sound bar and wireless subwoofer models. Additionally, Sony’s customer support is always available to assist you with any questions or concerns you may have.
Thank you for choosing Sony for your audio needs. We hope the connection and setup process was straightforward and that you enjoy the enhanced audio experience provided by your Sony sound bar and wireless subwoofer for years to come.