Home>Devices & Equipment>Subwoofer>How To Calibrate Subwoofer
Subwoofer
How To Calibrate Subwoofer
Modified: January 22, 2024
Learn how to calibrate your subwoofer for optimal sound quality and bass performance. Step-by-step guide for setting up and adjusting your subwoofer.
(Many of the links in this article redirect to a specific reviewed product. Your purchase of these products through affiliate links helps to generate commission for AudioLover.com, at no extra cost. Learn more)
Table of Contents
Introduction
Welcome to the world of deep, powerful bass! Subwoofers are a vital component of any audio system, delivering low-frequency sounds that can make your music, movies, and games truly immersive. However, for the best performance, your subwoofer needs to be calibrated properly.
Calibrating your subwoofer is essential to ensure it seamlessly integrates with your speakers and room acoustics. It allows you to achieve the optimal balance between the subwoofer and the rest of your audio system, resulting in accurate and well-defined bass reproduction.
In this article, we will guide you through the process of calibrating your subwoofer like a pro. Whether you’re a seasoned audiophile or just starting your journey into the world of audio, these steps will help you achieve the best possible bass performance.
Before we dive into the calibration process, it’s important to note that each subwoofer and room setup is unique. Therefore, it may take some trial and error to find the perfect settings for your specific system. Don’t worry; we’ll provide you with the necessary tools and techniques to make the process smooth and enjoyable.
Now, let’s get started with understanding the basics of subwoofer calibration and how it can significantly enhance your audio experience.
Understanding Subwoofer Calibration
Subwoofer calibration involves adjusting various settings on your subwoofer to ensure it performs optimally in your specific listening environment. By calibrating your subwoofer, you can achieve a seamless blend of bass with your main speakers, prevent muddiness or overpowering bass, and ensure accurate and balanced low-frequency reproduction.
There are several key factors to consider when calibrating your subwoofer:
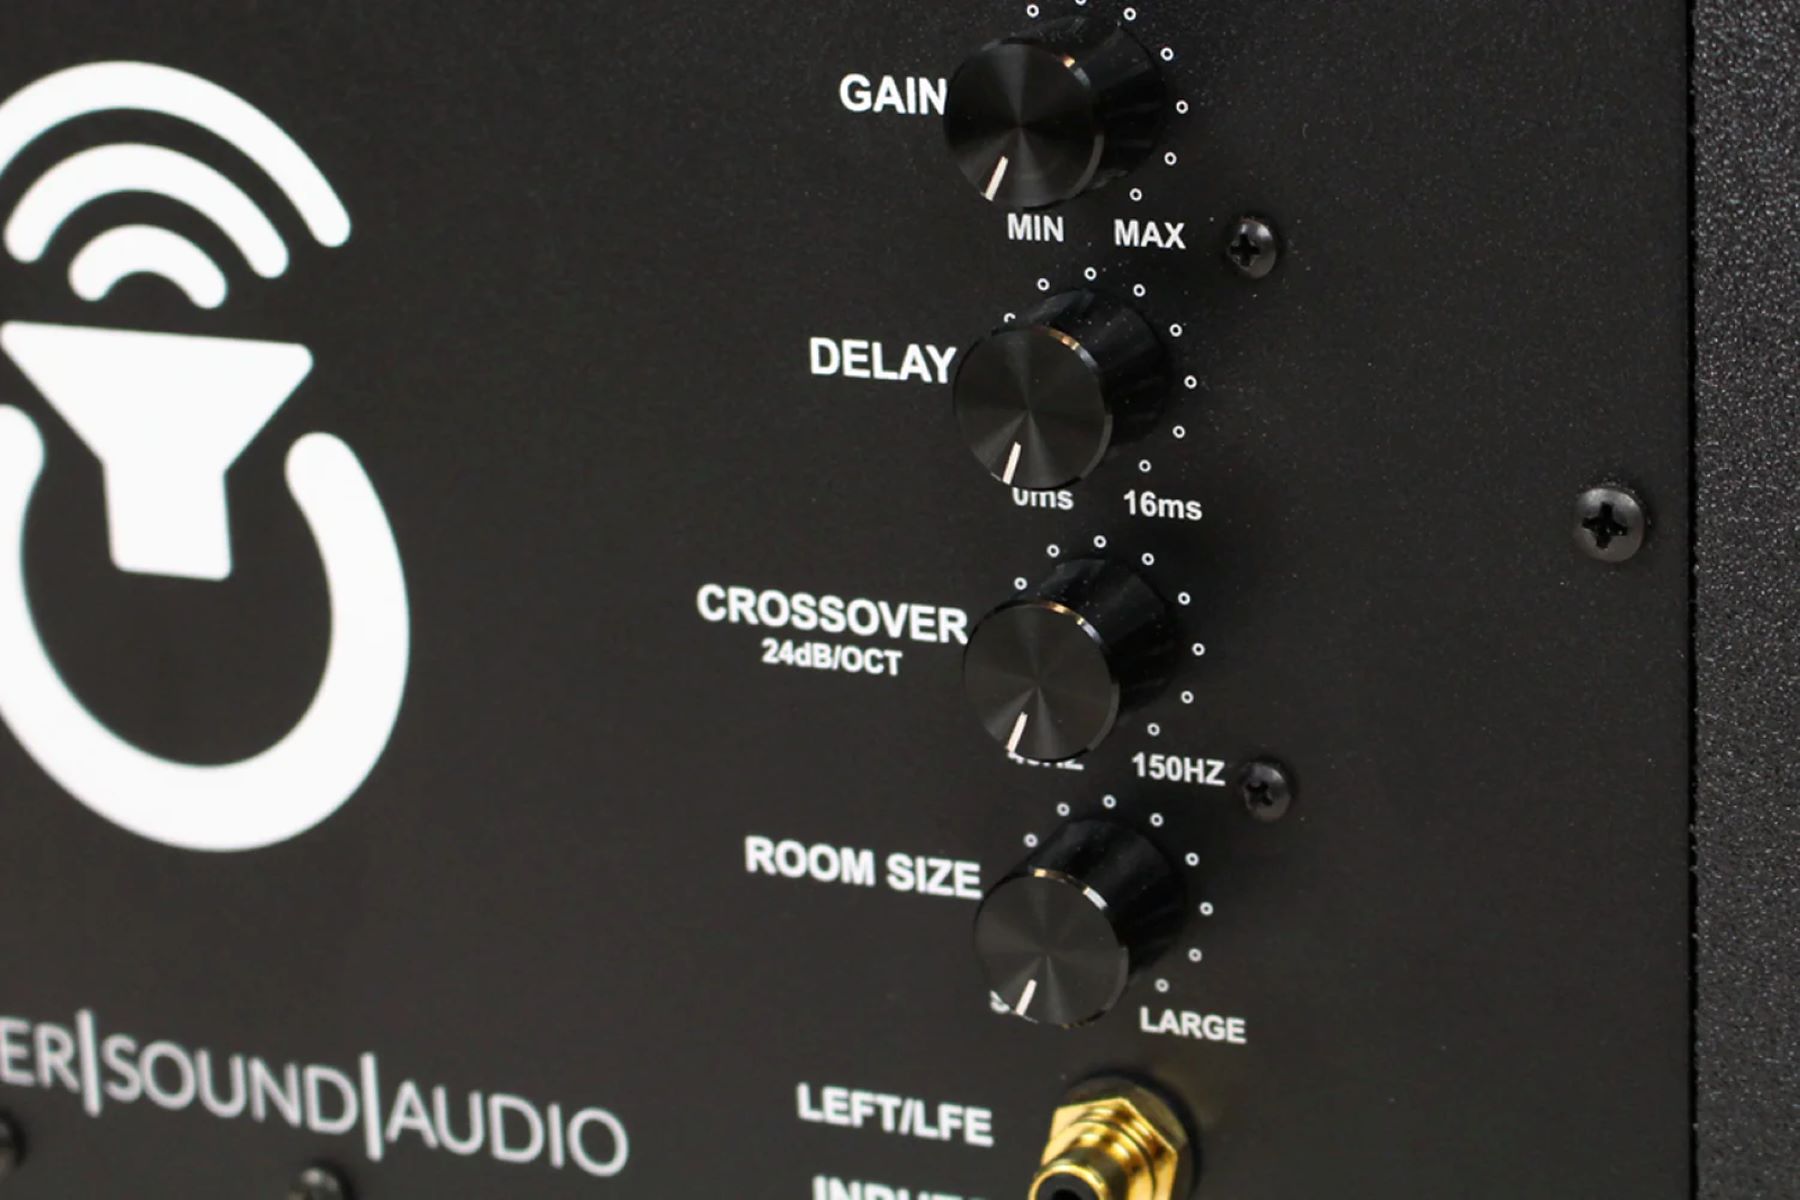
- Crossover Frequency: The crossover frequency determines the point at which your main speakers hand off the signal to the subwoofer. It is crucial to set the crossover frequency correctly to ensure a smooth transition between the speakers and subwoofer. Improper crossover settings can result in bass that is either too weak or too overpowering.
- Phase: The phase control on your subwoofer allows you to adjust the timing of the subwoofer’s output relative to the main speakers. Proper phase alignment ensures that the subwoofer and main speakers are working together coherently, preventing cancellation or reinforcement of certain frequencies.
- Level: Adjusting the level or volume of your subwoofer ensures the bass output is balanced with the rest of your audio system. A properly calibrated subwoofer should blend seamlessly with your main speakers, enhancing the overall listening experience without overpowering the other frequencies.
- Room Acoustics: The acoustics of your room play a significant role in subwoofer performance. Different room sizes, shapes, and furnishings can affect how bass frequencies interact with the space. Understanding your room’s unique characteristics and making adjustments accordingly can help optimize subwoofer performance.
- Listening Tests: While technical adjustments are important, subjective listening tests are also crucial in the calibration process. Ultimately, your ears are the final judge of what sounds good to you. By conducting listening tests, you can fine-tune your subwoofer settings to match your personal preferences and achieve the best sound quality.
By understanding these key elements of subwoofer calibration, you have a solid foundation for achieving exceptional bass performance in your audio system. In the following sections, we will guide you through the step-by-step process of calibrating your subwoofer, ensuring you get the most out of your listening experience.
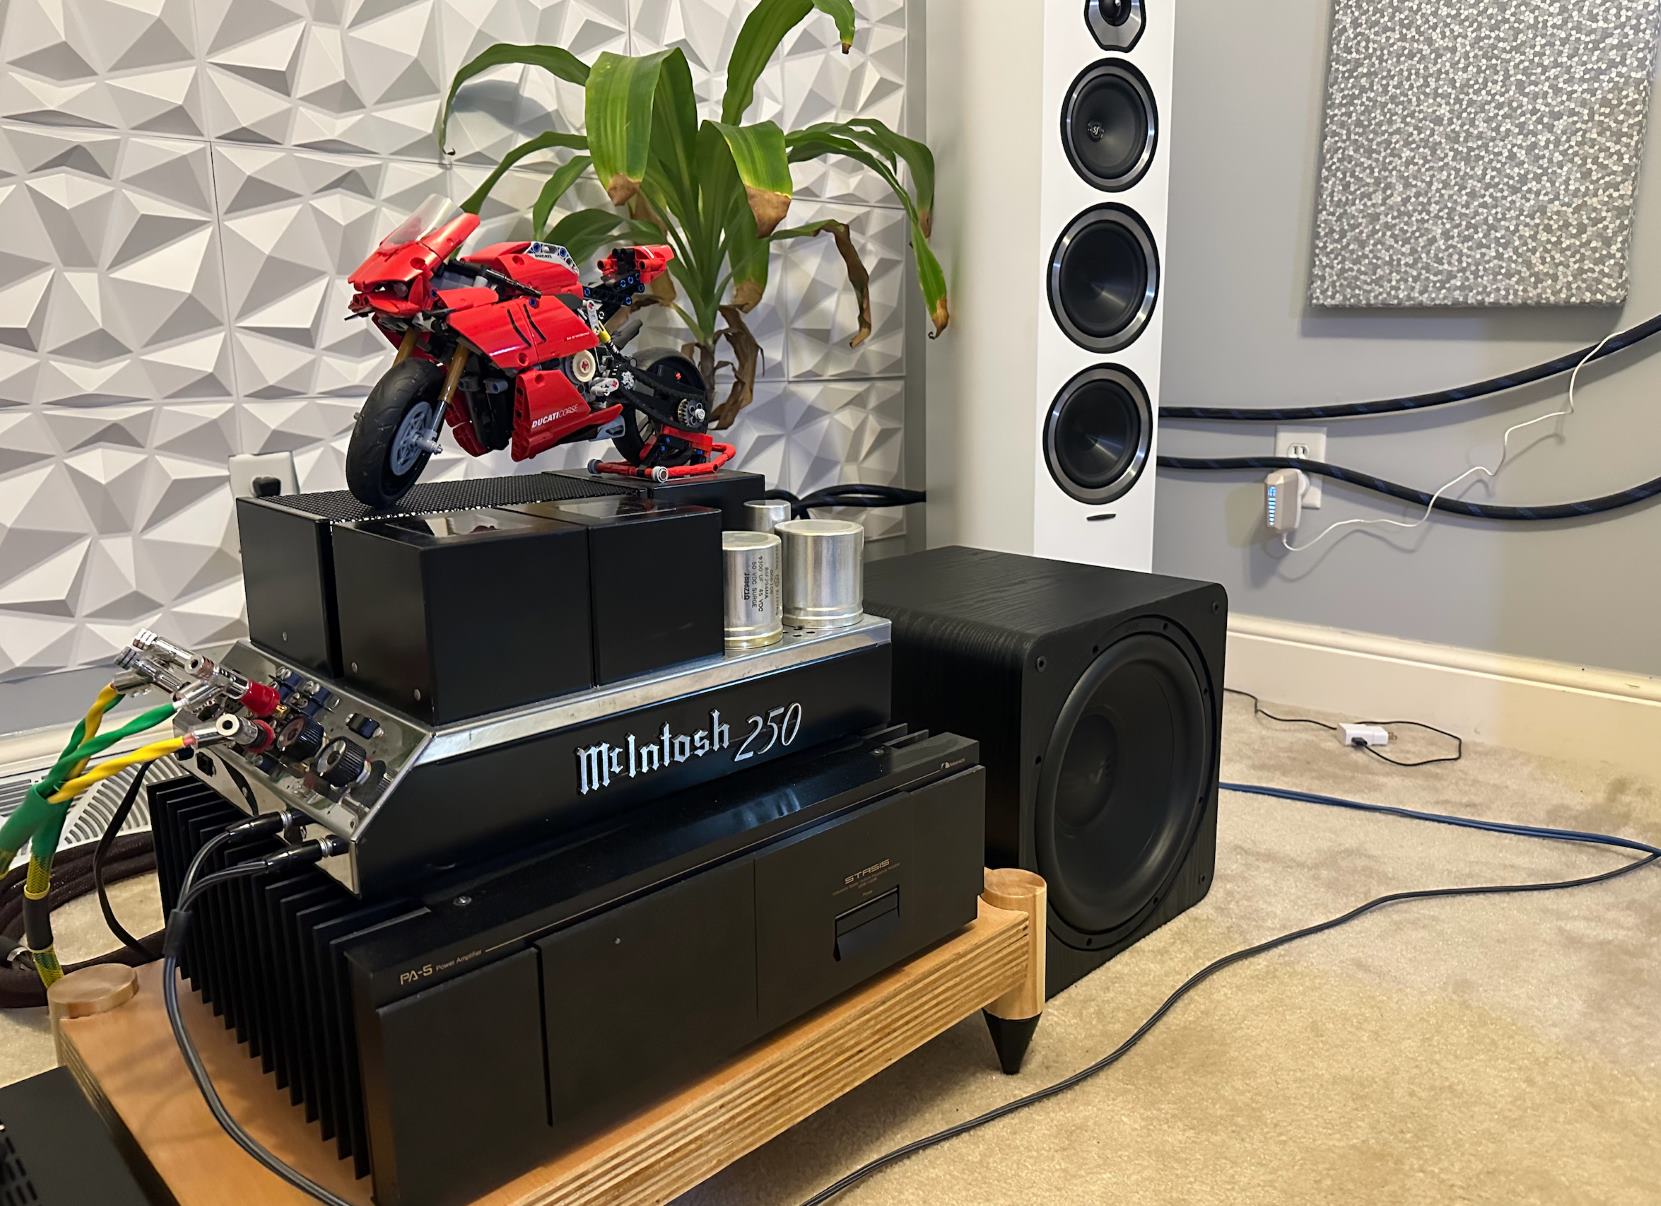
Step 1: Placing the Subwoofer
The placement of your subwoofer plays a crucial role in its overall performance and integration with your main speakers. Poor placement can result in uneven bass response, nulls or peaks in certain frequencies, and a lack of coherence between the subwoofer and the rest of your audio system.
Here are some guidelines to consider when placing your subwoofer:
- Avoid corners: Placing the subwoofer in a corner of the room can result in excessive bass buildup and boomy sound. Try to position the subwoofer away from corners to achieve a more balanced bass response.
- Experiment with placement: Subwoofers can interact with the room in complex ways, so it’s important to experiment with different placements to find the optimal spot. Start by placing the subwoofer near the front wall, away from corners. Then, move it around while listening for the best bass response and integration with your main speakers.
- Consider room modes: Room modes are resonances that occur when sound waves interact with the dimensions of your room. These modes can result in uneven bass response at certain frequencies. To minimize the impact of room modes, try to position the subwoofer along the midpoint of a wall or experiment with different positions to find the smoothest bass response.
- Use a subwoofer isolation pad: Placing your subwoofer on an isolation pad or decoupler can help reduce vibrations that can transfer to the floor and other objects in the room. This can result in cleaner bass reproduction and minimize the impact on the surrounding environment.
Remember, the ideal subwoofer placement may vary depending on the characteristics of your room and personal preferences. Take the time to experiment and listen critically to find the placement that delivers the best possible bass performance in your specific listening environment.
Once you have found the optimal placement for your subwoofer, you can move on to the next step in the calibration process: adjusting the crossover frequency.
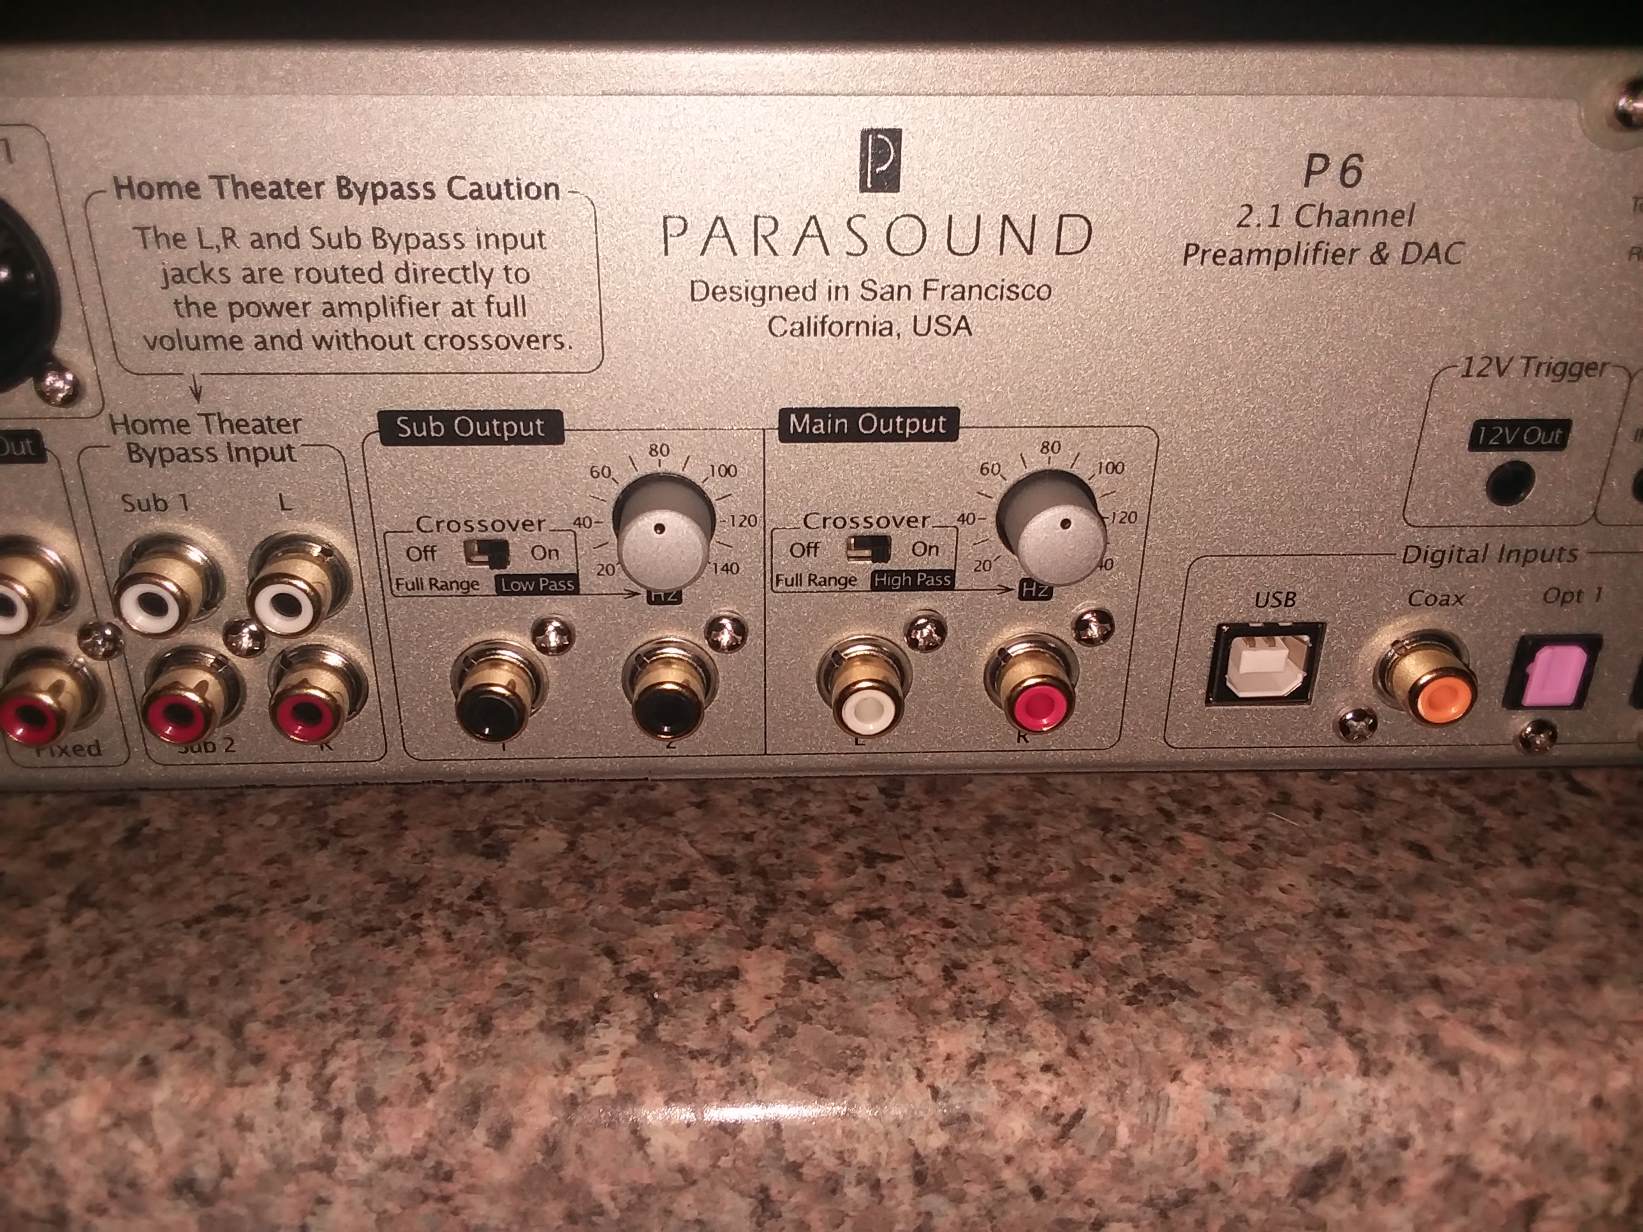
Step 2: Adjusting Crossover Frequency
The crossover frequency is a critical parameter that determines the point at which your main speakers hand off the signal to the subwoofer. It ensures a smooth transition between the speakers and subwoofer, allowing each to handle the frequencies they are best suited for.
Adjusting the crossover frequency involves finding the right balance between the main speakers and the subwoofer, ensuring that neither dominates the low-frequency range. Here’s how you can adjust the crossover frequency:
- Start with the manufacturer’s recommendation: Many subwoofers come with a recommended crossover frequency based on the speaker’s capabilities. Begin by setting the crossover to this recommended value, typically around 80Hz, and then fine-tune from there.
- Consider your main speakers: Take into account the capabilities and frequency response of your main speakers. If your speakers have limited low-frequency response, you may want to set the crossover frequency slightly higher to ensure they don’t struggle to reproduce bass frequencies that are better handled by the subwoofer.
- Listen for a seamless blend: Play music or a movie scene with a wide range of frequencies and listen for a smooth transition between the main speakers and the subwoofer. Adjust the crossover frequency up or down to find the point where the bass seamlessly integrates with the rest of the audio, neither overpowering nor missing in action.
- Consider room acoustics: Room acoustics can impact the perceived bass response. If you notice that the bass sounds boomy or uneven, you may need to make slight adjustments to the crossover frequency to compensate for room resonances. Experiment with different crossover frequency settings to achieve the best balance in your specific listening environment.
It’s important to note that there is no one-size-fits-all crossover frequency setting. It depends on the characteristics of your speakers, subwoofer, and room. Take the time to listen critically and make small adjustments until you find the crossover frequency that provides a seamless blend of audio across the frequency spectrum.
Once you have set the appropriate crossover frequency, you can proceed to the next step: adjusting the subwoofer phase.
Step 3: Setting Subwoofer Phase
The phase of the subwoofer refers to the timing alignment of its output relative to the main speakers. Proper phase adjustment ensures that the subwoofer and main speakers are working together coherently, avoiding cancellations or reinforcements of certain frequencies.
Here’s how you can set the phase of your subwoofer:
- Use the phase control on your subwoofer: Most subwoofers have a phase control knob that allows you to adjust the phase in increments of 0° or 180°. Start by setting the phase to 0°.
- Play a bass-heavy track: Select a track that has consistent and prominent bass throughout. It’s best to choose a track you are familiar with, as it will make it easier to detect any phase issues.
- Listen for a balanced and focused bass: While the bass is playing, listen carefully for the quality and focus of the bass. If you notice that the bass sounds weak, lacks impact, or is boomy, you may need to adjust the phase.
- Experiment with phase adjustments: Gradually adjust the phase control in small increments, either in the clockwise or counterclockwise direction. Listen to how the bass response changes with each adjustment. The goal is to find the phase setting that results in the fullest, most focused bass response.
- Use your ears as the final judge: Remember that room acoustics and the interaction between the speakers and subwoofer can greatly influence the perceived phase. While guidelines can be helpful, trust your ears and personal preference to determine the best phase setting for your system.
Properly setting the phase of your subwoofer ensures that the bass integrates seamlessly with the rest of the audio, providing a balanced and cohesive listening experience. Take the time to experiment with different phase settings and fine-tune until you achieve the best bass performance for your specific setup.
Once you have successfully set the subwoofer phase, we can move on to the next step: adjusting the subwoofer level.
Step 4: Adjusting Subwoofer Level
Adjusting the level or volume of your subwoofer is crucial for achieving a balanced and immersive audio experience. The goal is to ensure that the subwoofer’s output blends seamlessly with the rest of your audio system without overpowering or being too faint.
Here’s how you can adjust the level of your subwoofer:
- Use a reference track: Select a reference track that has a good mix of bass frequencies and is representative of the type of content you typically listen to. It’s best to use a track with which you are familiar, as it will help you gauge the changes in bass volume accurately.
- Set the subwoofer volume to the midpoint: Start by setting the subwoofer volume to the midpoint on the control knob or in your receiver’s settings. This will provide a baseline to work from.
- Play the reference track: Play the reference track and listen carefully to the bass response. Pay attention to how the bass integrates with the rest of the audio spectrum. If the subwoofer volume is too low, the bass may sound weak or lacking impact. Conversely, if the volume is too high, the bass may overpower the rest of the audio.
- Make gradual adjustments: Adjust the subwoofer volume in small increments and listen to the changes in bass response. Fine-tune the volume until you achieve a harmonious balance between the subwoofer and the main speakers.
- Consider room size and personal preferences: The size of your room and your personal preferences for bass impact will play a role in determining the optimal subwoofer level. Take into account the acoustics of your room and what sounds best to your ears.
Keep in mind that the ideal subwoofer level may vary depending on the content you’re listening to and your personal preferences. It’s all about finding the right balance where the subwoofer enhances the overall audio experience without overwhelming or being too subtle.
Once you have adjusted the subwoofer level, it’s time to move on to the final step: fine-tuning with listening tests.
Step 5: Fine-tuning with Listening Tests
While technical adjustments are important, the final step in calibrating your subwoofer involves conducting listening tests to fine-tune the settings. Ultimately, your ears are the best judge of what sounds good to you and suits your personal preferences.
Here’s how you can fine-tune your subwoofer settings through listening tests:
- Select a variety of audio content: Choose different types of music, movies, and games that you typically enjoy. This will allow you to evaluate how well your subwoofer integrates with different sources and genres of content.
- Listen critically: Pay attention to the bass response and overall balance of the audio. Does the bass sound tight and well-defined? Is it blending seamlessly with the main speakers? Are there any noticeable peaks or dips in certain frequencies?
- Make small adjustments: Based on your observations, make small adjustments to the crossover frequency, phase, and subwoofer level to refine the bass performance. Take note of the changes you make and how they affect the overall listening experience.
- Trust your ears: Your personal preference and enjoyment of the audio are paramount. While technical guidelines can provide a starting point, ultimately, your ears should be the final judge. If something sounds good to your ears, then it’s the right setting for you.
- Seek a balanced and immersive experience: The goal of fine-tuning is to achieve a balanced and immersive audio experience. The subwoofer should enhance your overall enjoyment without drawing attention to itself or overpowering the rest of the audio content.
By conducting listening tests and making small adjustments based on your observations, you can achieve a subwoofer calibration that suits your specific preferences and listening environment.
Remember, the calibration process is not a one-time event. As you make changes to your audio system, such as adding new speakers or rearranging furniture, it is worth revisiting the calibration process to ensure optimal performance.
To conclude, the art of subwoofer calibration lies in finding the perfect balance between technical adjustments and subjective listening tests. With patience, critical listening, and willingness to experiment, you can achieve the best bass performance that brings your audio content to life.
Conclusion
Calibrating your subwoofer is essential for achieving the best possible bass performance in your audio system. By following the steps outlined in this guide, you can ensure that your subwoofer integrates seamlessly with your main speakers, resulting in accurate and balanced low-frequency reproduction.
Throughout the calibration process, it’s important to consider factors like subwoofer placement, crossover frequency, phase, and level adjustments. These factors, along with listening tests, allow you to fine-tune your subwoofer settings to match your room acoustics and personal preferences.
Remember that subwoofer calibration is not a one-size-fits-all approach. Each setup is unique, and it may take some experimentation to find the optimal settings for your specific system and listening environment. Trust your ears, as they are the best judge of what sounds pleasing to you.
By calibrating your subwoofer, you can enjoy a balanced and immersive audio experience. The bass will enhance your music, movies, and games, bringing depth and impact to your audio content.
So, take the time to calibrate your subwoofer and unlock the true potential of your audio system. With proper calibration, you can immerse yourself in the deep, powerful bass that adds a new dimension to your listening pleasure.
Happy calibrating!