Home>Devices & Equipment>Subwoofer>How To Test If Subwoofer Is Working

Subwoofer
How To Test If Subwoofer Is Working
Modified: January 22, 2024
Learn how to test if your subwoofer is working properly using simple troubleshooting techniques. Ensure optimal sound quality and performance.
(Many of the links in this article redirect to a specific reviewed product. Your purchase of these products through affiliate links helps to generate commission for AudioLover.com, at no extra cost. Learn more)
Table of Contents
Introduction
Welcome to the world of subwoofers! If you’re an audio enthusiast or simply someone who appreciates deep bass, then you’ve come to the right place. Subwoofers are essential components of any high-quality sound system, responsible for reproducing low-frequency audio signals and adding depth and impact to your listening experience. However, like any other electronic device, subwoofers can sometimes encounter issues or fail to work properly.
In this article, we’ll guide you through the process of testing if your subwoofer is working effectively. Whether you’re setting up a new subwoofer, troubleshooting an existing one, or simply wanting to ensure optimal performance, this guide will equip you with the knowledge and techniques to accurately assess your subwoofer’s functionality.
Before we dive into the testing process, it’s important to note that subwoofers come in various forms, including powered or active subwoofers that have built-in amplifiers, and passive subwoofers that require an external amplifier to function. The testing process may vary slightly depending on the type of subwoofer you have, so it’s vital to consult your subwoofer’s user manual for specific instructions.
Now, let’s get started and find out how we can ensure that your subwoofer is performing at its best!
Checking Power Connection
One of the first steps in testing your subwoofer is to ensure that it is properly connected to a power source. Without proper power, your subwoofer won’t be able to function. Here’s how you can check the power connection:
- Verify that the power cord is securely plugged into both the subwoofer and a working power outlet. Sometimes, a loose connection can result in no power reaching the subwoofer.
- Check if the power indicator light on the subwoofer is illuminated. This light typically indicates that power is being supplied to the subwoofer. If the light is not on, try unplugging the power cord from the outlet, waiting for a few seconds, and then plugging it back in. If the light still doesn’t come on, try using a different power outlet to rule out any issues with the original outlet.
- If your subwoofer has a power switch, ensure that it is turned on. Some subwoofers have a standby mode, indicated by a separate standby light. If your subwoofer has this feature, make sure the standby mode is deactivated by pressing the power button or switching the mode to “On.”
- If your subwoofer is a powered/active subwoofer, check the back panel for any additional power-related settings or switches. Consult the user manual for specific instructions on how to properly configure these settings.
By thoroughly checking the power connection, you can eliminate power-related issues as a potential cause of your subwoofer not working. If the power connection checks out, move on to the next step of the testing process.
Adjusting Volume Settings
Once you have verified that your subwoofer is receiving power, the next step is to ensure that the volume settings are properly adjusted. Here’s how you can do it:
- Start by checking the volume level on your subwoofer. Some subwoofers have a dedicated volume control knob or buttons that allow you to adjust the volume directly on the unit. Make sure the volume is not set too low or all the way down, as this can result in little to no sound output.
- Check the audio source’s volume settings. This could be your stereo receiver, AV receiver, soundbar, or any other device from which you are playing audio. Ensure that the volume on the audio source is set to an appropriate level, allowing the subwoofer to receive a sufficient audio signal.
- If you’re using a powered/active subwoofer, it may have its own internal crossover settings. The crossover determines the frequency at which the subwoofer starts reproducing sound. Make sure the crossover frequency is set appropriately according to your speaker setup and personal preference. Typically, a crossover frequency between 80Hz and 120Hz works well for most home audio systems.
- Consider adjusting the overall system volume. If you’re using external amplifiers or a receiver, ensure that the volume level is adequate and not too low. Sometimes, increasing the volume on the entire system can help determine if the subwoofer is working as it should.
By properly adjusting the volume settings, you can rule out any potential issues related to low volume levels or improperly configured crossover settings. Once you have confirmed that the volume settings are appropriate, it’s time to move on to the next step of testing your subwoofer.
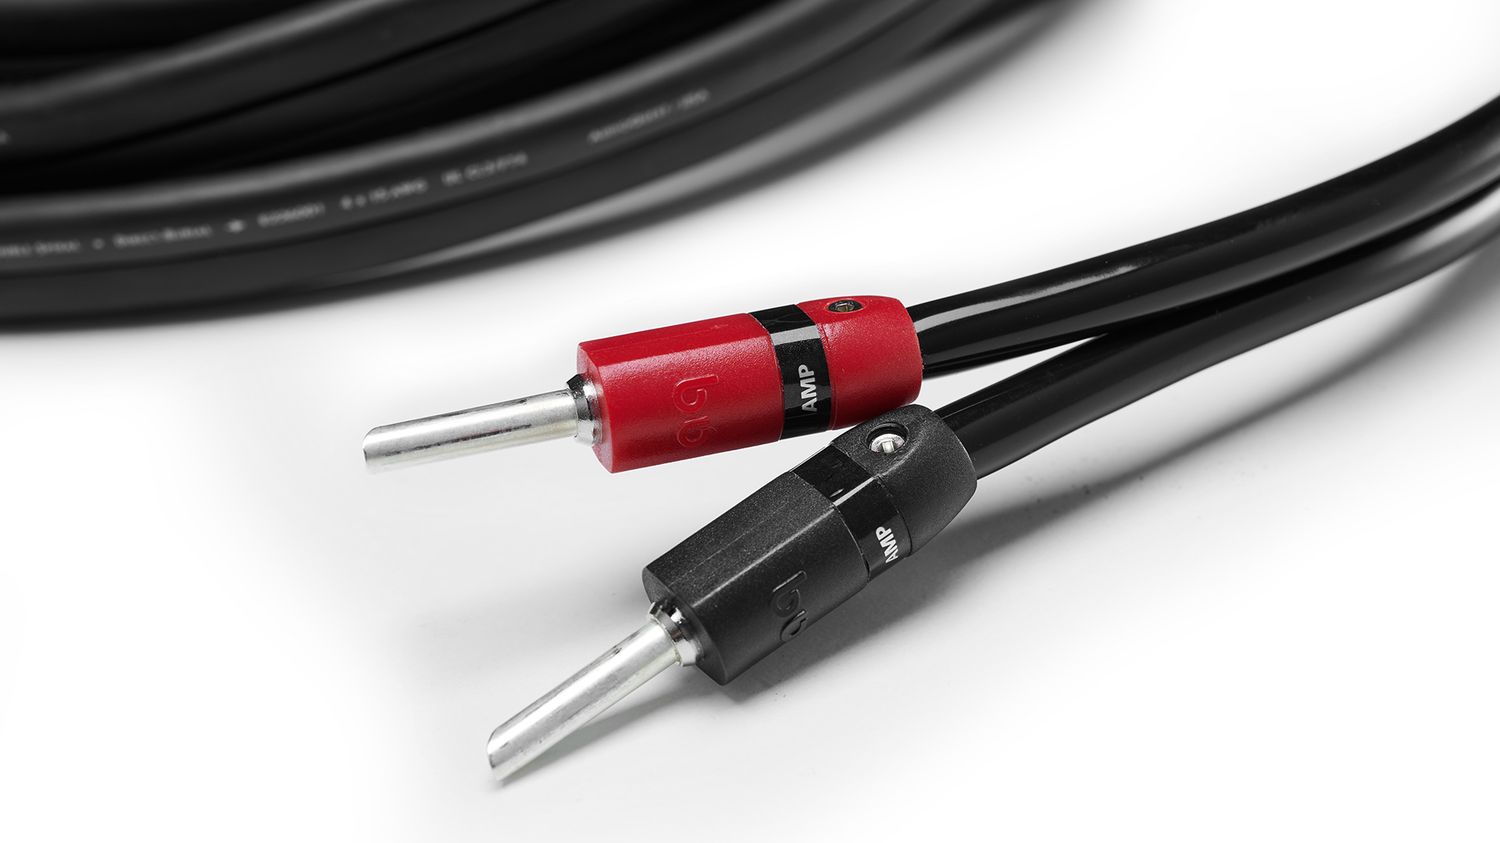
Verifying Cable Connections
The next step in testing your subwoofer is to ensure that all cable connections are secure and properly connected. Loose or faulty cable connections can result in a lack of audio signal reaching the subwoofer. Here’s what you need to do:
- Inspect the cable connecting the subwoofer to the audio source. This can be an RCA cable, a 3.5mm auxiliary cable, or a digital audio cable, depending on the type of subwoofer and audio source you’re using. Check both ends of the cable to ensure they are firmly plugged in and not damaged.
- If your subwoofer has high-level speaker inputs, make sure the speaker wires from your sound system or amplifier are securely connected to these inputs. Ensure that the positive and negative terminals are correctly matched.
- If you’re using a powered/active subwoofer, ensure that the cable connecting the subwoofer to the power source is securely connected and not damaged. A faulty power cable can prevent the subwoofer from receiving the necessary power to operate.
- Check if your audio source device is set to the correct output channel for the subwoofer. This can typically be adjusted in the audio settings of your device. Ensure that the output is correctly configured to send audio to the subwoofer.
- If you have multiple audio devices connected to your subwoofer, such as a TV, game console, or Blu-ray player, verify that all the cables are connected properly and in the correct audio input/output ports.
By verifying the cable connections, you can eliminate any potential issues related to loose or faulty connections that may prevent the subwoofer from receiving audio signals. Once you have confirmed that all the cable connections are secure, it’s time to move on to the next step of the testing process.
Testing with Audio Source
Now that you have ensured that your subwoofer’s power, volume settings, and cable connections are in order, it’s time to test it with an audio source. This step will help confirm if the subwoofer is receiving and reproducing sound correctly. Here’s what you can do:
- Select an audio source that includes low-frequency content, such as music with prominent bass or a movie with deep rumbling sounds. This will allow you to properly assess the subwoofer’s performance.
- Play the audio source and listen carefully for the presence of the low-frequency sounds. If the subwoofer is functioning correctly, you should notice a noticeable and impactful bass response that enhances the overall audio experience.
- Check if the subwoofer is properly balanced with the other speakers in your audio setup. It should not overpower the rest of the speakers or be barely audible. Adjust the volume or crossover settings as necessary to achieve a balanced sound.
- Experiment with different genres of music or audio content that have varying levels of bass to further evaluate the subwoofer’s performance across different frequencies.
During the testing process, remember to listen for any distortions, rattling sounds, or audible vibrations that may indicate an issue with the subwoofer. These can be signs of an overloaded or damaged speaker. If you notice any abnormal behavior, it is recommended to consult a professional or refer to the user manual for troubleshooting steps.
By testing the subwoofer with a suitable audio source, you can confirm that it is working correctly and delivering the desired bass performance. If the subwoofer passes this test, you can proceed to further evaluate its functionality.
Conducting a Frequency Test
To further assess the performance of your subwoofer, you can conduct a frequency test. This test allows you to determine the subwoofer’s ability to reproduce different frequencies accurately. Here’s how you can do it:
- Find a frequency generator online or use an app that can produce test tones. These tones are specific frequencies that can be played through your audio system.
- Start with a low-frequency test tone, such as 20Hz, and gradually increase the frequency in small increments.
- Listen to each test tone and pay attention to how well the subwoofer reproduces the frequency. It should produce a clear, deep, and powerful sound without distortion or excessive vibration.
- Note the highest frequency at which the subwoofer can accurately reproduce sound. This will give you an idea of the subwoofer’s frequency response range.
During the frequency test, it’s important to keep the volume at a reasonable level to avoid damaging the subwoofer or any other speakers in your audio system. If you notice any distortion, rattling sounds, or other abnormalities, it could indicate limitations or issues with the subwoofer’s performance in certain frequency ranges.
By conducting a frequency test, you can gain a better understanding of the subwoofer’s capabilities and ensure that it is functioning optimally across a range of frequencies. This will allow you to make any necessary adjustments to achieve the desired audio experience.
Listening for Low-Frequency Sounds
Listening for low-frequency sounds is an important aspect of testing your subwoofer. It allows you to evaluate the subwoofer’s ability to reproduce deep bass frequencies accurately. Here’s how you can do it:
- Select various audio tracks or content that are known for their low-frequency content, such as movie sound effects or bass-heavy music genres.
- Play the audio and pay close attention to the subwoofer’s performance. Listen for the depth and impact of the bass, as well as the clarity and tightness of the low-frequency sounds.
- Observe how well the subwoofer integrates with the main speakers. The low-frequency sounds should seamlessly blend with the rest of the audio, enhancing the overall listening experience without overpowering or muddying the sound.
- Experiment with adjusting the crossover settings on your subwoofer or audio system to find the optimal balance between the subwoofer and other speakers. This will help ensure that the low-frequency sounds are properly distributed across all channels.
While listening for low-frequency sounds, be mindful of any distortion, rattling, or muffled sounds coming from the subwoofer. These issues can be indicative of a subwoofer that is struggling to reproduce low frequencies or a suboptimal setup. In such cases, it may be beneficial to reevaluate the placement of the subwoofer and make necessary adjustments to optimize its performance.
By actively listening for low-frequency sounds, you can determine if your subwoofer is capable of delivering the deep, impactful bass that enhances your audio experience. It allows you to fine-tune the subwoofer’s settings and placement to achieve a balanced and immersive soundstage.
Evaluating Bass Response
Assessing the bass response of your subwoofer is crucial in determining its overall performance. Here are some key aspects to consider when evaluating the bass response:
- Clarity and Definition: Listen for clear and well-defined low-frequency sounds. The bass should not be muddy or boomy, but rather distinct and articulate. If the bass lacks clarity, it may indicate issues with the subwoofer’s setup or positioning.
- Impact and Depth: Pay attention to the impact and depth of the bass. The subwoofer should be capable of producing deep, powerful bass that adds weight and dimension to the audio. The bass should be felt and create an immersive listening experience.
- Transients and Speed: Evaluate the subwoofer’s ability to handle fast and dynamic bass passages. The bass should be able to respond quickly and accurately to rapid changes in musical dynamics, ensuring that each note is reproduced with precision.
- Balance and Integration: The bass should blend seamlessly with the rest of the audio system. It should integrate well with the main speakers, creating a cohesive and balanced soundstage. The bass should neither overpower the other frequencies nor be too weak or subtle.
- Room Interaction: Take into account the acoustic properties of your room. Bass can be greatly affected by room dimensions, furniture, and placement. Experiment with subwoofer positioning and room treatments to minimize any unwanted resonances or standing waves that can impact bass response.
During the evaluation, play different types of content, including music, movies, and audio tracks with varying bass frequencies. This will help you assess the subwoofer’s performance across a range of material and ensure that it delivers a satisfying bass experience for all types of audio.
Keep in mind that personal preference plays a role in evaluating bass response. Some listeners prefer a more pronounced and powerful bass, while others prefer a more subtle and natural presentation. Adjust the subwoofer’s settings and placement to achieve the desired bass response that aligns with your listening preferences.
By evaluating the bass response, you can determine if your subwoofer is delivering the desired impact, depth, and clarity in the low-frequency range. This will allow you to make any necessary adjustments to achieve a balanced and immersive audio experience.
Troubleshooting Common Issues
While testing your subwoofer, you may encounter common issues that can affect its performance. Here are some troubleshooting steps to help you address these problems:
- No Sound Output: If your subwoofer isn’t producing any sound, ensure that it is properly connected to a power source and that the power switch is turned on. Check the cable connections between the subwoofer and the audio source, ensuring they are secure. Verify that the audio source is correctly configured to send the audio signal to the subwoofer.
- Weak or Distorted Bass: If the bass sounds weak or distorted, check the volume settings on both the subwoofer and the audio source. Ensure that the subwoofer’s crossover settings are configured correctly and that the frequency range is suitable for your speaker setup. Experiment with different placement options for the subwoofer to improve bass response.
- Rattling or Vibration: If you notice rattling or excessive vibration coming from the subwoofer, check for loose objects or debris on or around the subwoofer. Secure any loose screws or components. Consider adjusting the placement of the subwoofer to reduce interaction with nearby objects that may cause vibrations.
- Noise or Hum: If you hear unwanted noise or hum from the subwoofer, check for interference from other electronic devices in the vicinity. Keep the subwoofer away from other audio equipment, power cables, or wireless devices that may cause interference. If necessary, use a high-quality shielded cable to connect the subwoofer to the audio source.
- Overheating: If your subwoofer becomes hot during operation, ensure that it has proper ventilation and is not placed in an enclosed space. Check that the airflow around the subwoofer is unrestricted. If overheating continues to be an issue, consult the manufacturer or an audio professional for further assistance.
If the troubleshooting steps do not resolve the issue, it is advisable to consult the user manual for specific troubleshooting instructions related to your subwoofer model. Additionally, reaching out to the manufacturer’s customer support team can provide further guidance and assistance in resolving any persistent problems.
Remember, not all issues can be resolved through troubleshooting, especially if they are related to faulty components or internal damage. In such cases, it may be necessary to seek professional repair or consider replacing the subwoofer if it is not covered by warranty.
By troubleshooting common issues, you can address potential problems that may affect your subwoofer’s performance and ensure that it operates optimally, providing you with the best audio experience possible.
Conclusion
Congratulations! By following the steps outlined in this guide, you have successfully tested your subwoofer to ensure it is working effectively. By checking the power connection, adjusting volume settings, verifying cable connections, testing with an audio source, conducting a frequency test, listening for low-frequency sounds, and evaluating the bass response, you have gained valuable insights into your subwoofer’s performance.
Remember, a properly functioning subwoofer enhances your audio experience by delivering deep, impactful bass that immerses you in your favorite music, movies, and other audio content. It adds a new level of realism and dynamism to your sound system, making every listening session more enjoyable.
If you encountered any issues during the testing process, don’t hesitate to refer back to the troubleshooting section for guidance on resolving common problems. Additionally, consulting the user manual or reaching out to the manufacturer’s customer support team can provide further assistance if needed.
Keep in mind that the placement of your subwoofer, the room acoustics, and personal preferences all play a role in achieving the best possible sound. Experiment with different settings and positions to optimize your subwoofer’s performance and create a well-balanced audio setup that suits your individual taste.
Whether you’re using your subwoofer as part of a home theater system or a dedicated audio setup, testing and ensuring its functionality will greatly enhance your overall listening experience. So sit back, relax, and enjoy the deep, immersive bass that your subwoofer brings to your audio enjoyment.