Home>Production & Technology>Stereo>How To Test A Car Stereo

Stereo
How To Test A Car Stereo
Modified: January 22, 2024
Learn how to properly test a car stereo and ensure optimal sound quality. Our expert guide provides step-by-step instructions for testing and troubleshooting your stereo system. Enhance your driving experience with a perfectly functioning stereo.
(Many of the links in this article redirect to a specific reviewed product. Your purchase of these products through affiliate links helps to generate commission for AudioLover.com, at no extra cost. Learn more)
Table of Contents
- Introduction
- Step 1: Power on the Car Stereo
- Step 2: Check for Sound Output
- Step 3: Test Different Audio Sources
- Step 4: Evaluate Sound Quality
- Step 5: Check for Distortion or Noise
- Step 6: Test the Equalizer Settings
- Step 7: Check the Functionality of Buttons and Controls
- Step 8: Test Bluetooth Connectivity
- Step 9: Test CD/DVD Playback
- Step 10: Test Radio Functionality
- Step 11: Test Auxiliary Input
- Step 12: Test USB/SD Card Input
- Step 13: Test Phone Calling Functionality
- Conclusion
Introduction
Welcome to our comprehensive guide on how to test a car stereo. Whether you’re a music enthusiast looking to upgrade your system or you’ve just bought a new car and want to ensure your stereo is in top shape, this article will provide you with step-by-step instructions on how to conduct a thorough test to ensure optimal performance.
Your car stereo is more than just a device for playing music; it’s an essential part of your driving experience. A high-quality stereo system can transform your car rides into immersive audio journeys, while a malfunctioning or subpar system can be frustrating and underwhelming.
By following the steps outlined in this guide, you’ll be able to evaluate the different components and functionalities of your car stereo to ensure it’s working properly and delivering the best audio experience possible.
It’s important to note that testing a car stereo is not only about sound quality, but also about checking the functionality of various features like Bluetooth connectivity, auxiliary input, CD/DVD playback, and more. This comprehensive approach will help you identify any potential issues and make informed decisions on how to enhance your stereo system.
So, gather your favorite music, put on your detective hat, and let’s get started on testing your car stereo!
Step 1: Power on the Car Stereo
The first step in testing your car stereo is to ensure that it powers on correctly. Start by turning on your car’s ignition or starting the engine. Once the car is running, power on the stereo unit and wait for it to boot up. Depending on your car’s model and stereo system, this process may take a few seconds.
Pay attention to any error messages or warning lights that may appear on the stereo screen. If you encounter any issues, such as a blank screen or error messages, it may indicate a problem with the power supply or the stereo unit itself. In such cases, it is recommended to consult a professional car audio technician for further assistance.
Once the stereo is powered on, take note of the display brightness and clarity. The display should be bright enough for easy visibility, and the text or graphics should be sharp and clear. If you notice any dimness or distortion in the display, it may indicate a problem with the unit’s display panel.
Additionally, check that all buttons and controls on the stereo are responsive. Test the volume knob, seek buttons, mode buttons, and any other control functions to ensure they are working properly. If any buttons or controls are unresponsive or sticky, it may require cleaning or repair.
By verifying that your car stereo powers on correctly and that all controls are in good working order, you can establish a solid foundation for the rest of the testing process. If you encounter any issues at this stage, it’s important to address them before proceeding with further tests to ensure accurate results.
Step 2: Check for Sound Output
After powering on the car stereo, the next step is to check for sound output. Start by playing a test track or a favorite song through the stereo system. Adjust the volume to a comfortable level. If you don’t hear any sound, ensure that the volume is turned up and not muted. Additionally, check the fader and balance settings to make sure sound is not skewed to one side or another.
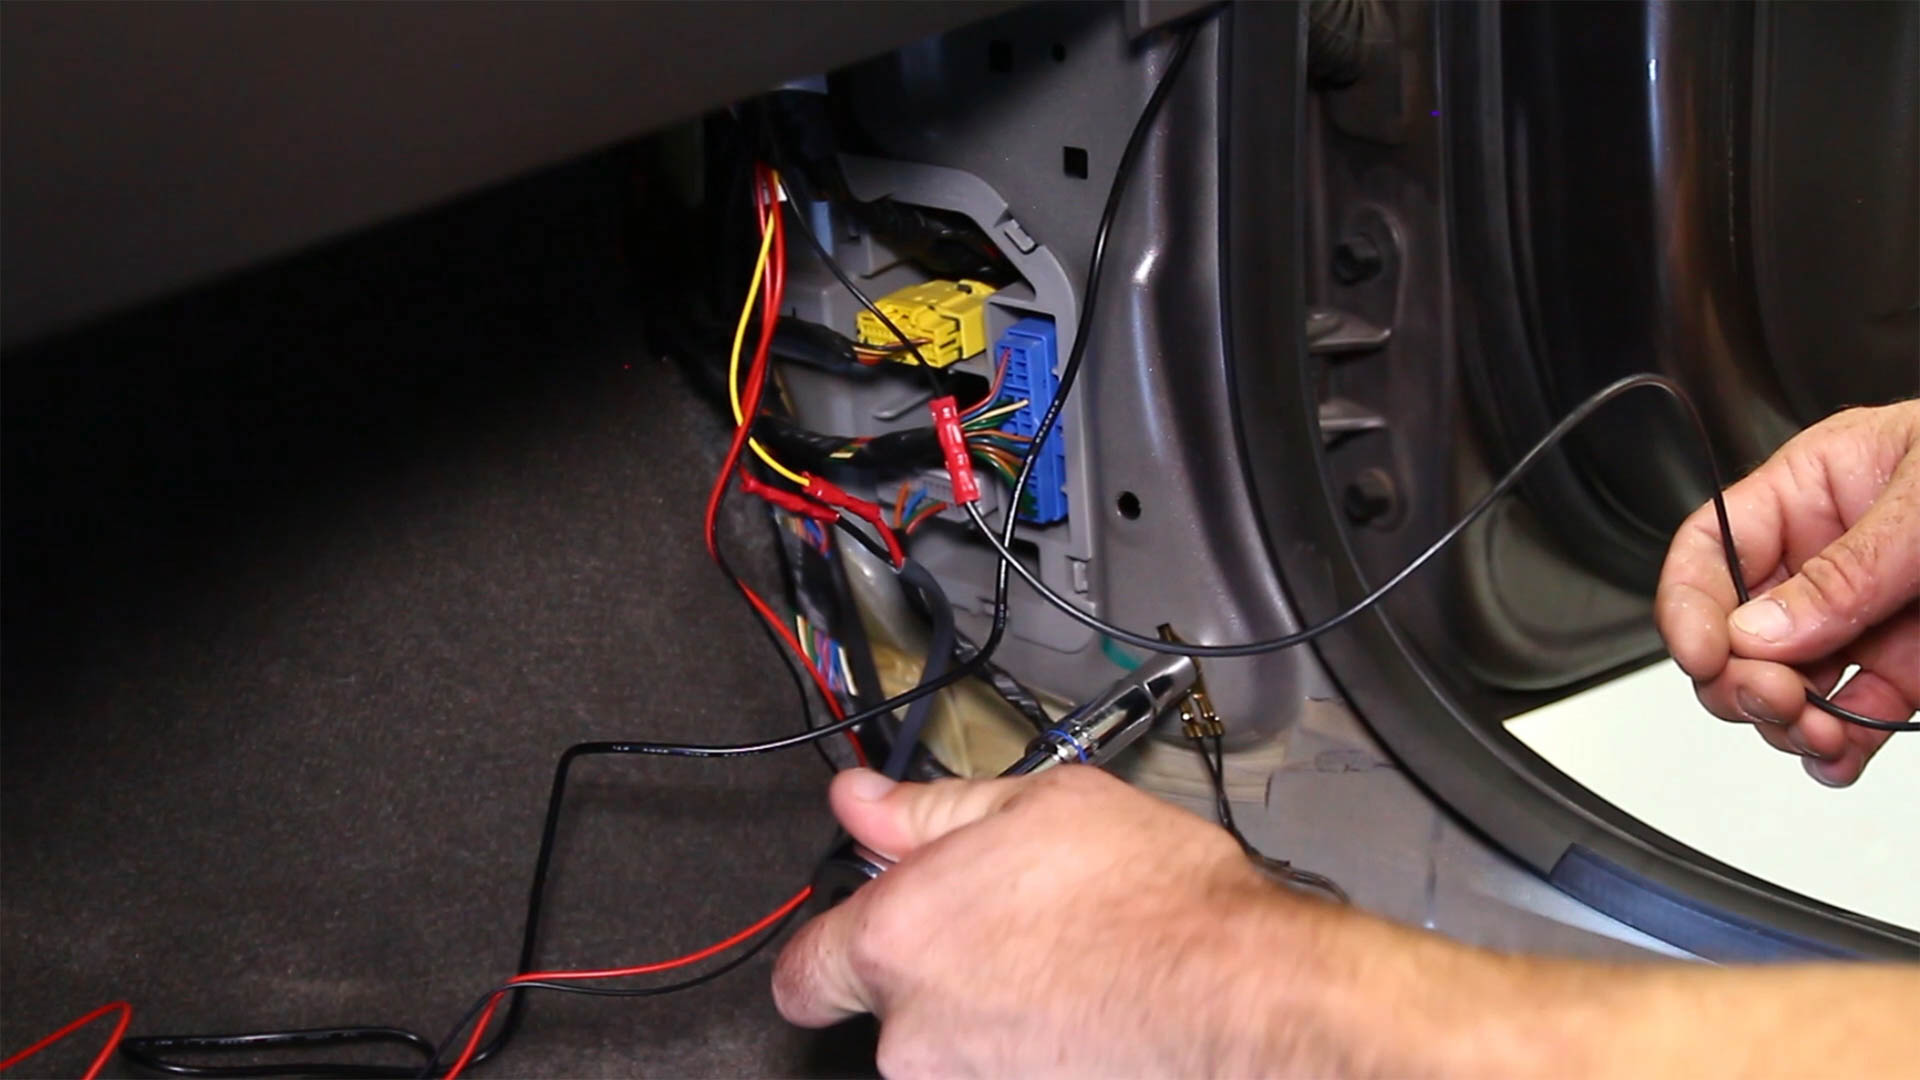
If you still don’t hear any sound, there may be an issue with the speakers or the wiring. Check for any loose connections or damaged wires and reconnect or replace as necessary. If the problem persists, consider consulting a professional car audio technician for further diagnosis and repair.
If you can hear sound, listen carefully for any distortion, crackling, or buzzing noises. The sound should be clear, balanced, and free from any disturbances. Uneven sound levels or distorted audio may indicate problems with the speakers, amplifier, or wiring.
To ensure accurate testing, play a variety of music genres, including tracks with different levels of bass, midrange, and treble frequencies. This will enable you to evaluate the stereo’s ability to reproduce different sound frequencies accurately and evenly.
Another important aspect to consider is how well the stereo handles high volume levels. Gradually increase the volume to higher levels and listen for any distortion or strain in the sound output. Quality car stereos should be able to maintain clear and crisp sound even at high volumes without any audible distortion.
Remember to also test the stereo system at lower volume levels to see if it can still produce detailed and balanced sound without losing clarity or dynamics.
By checking for sound output and evaluating the quality, you can determine if the stereo system is performing optimally or if there are any issues that need to be addressed.
Step 3: Test Different Audio Sources
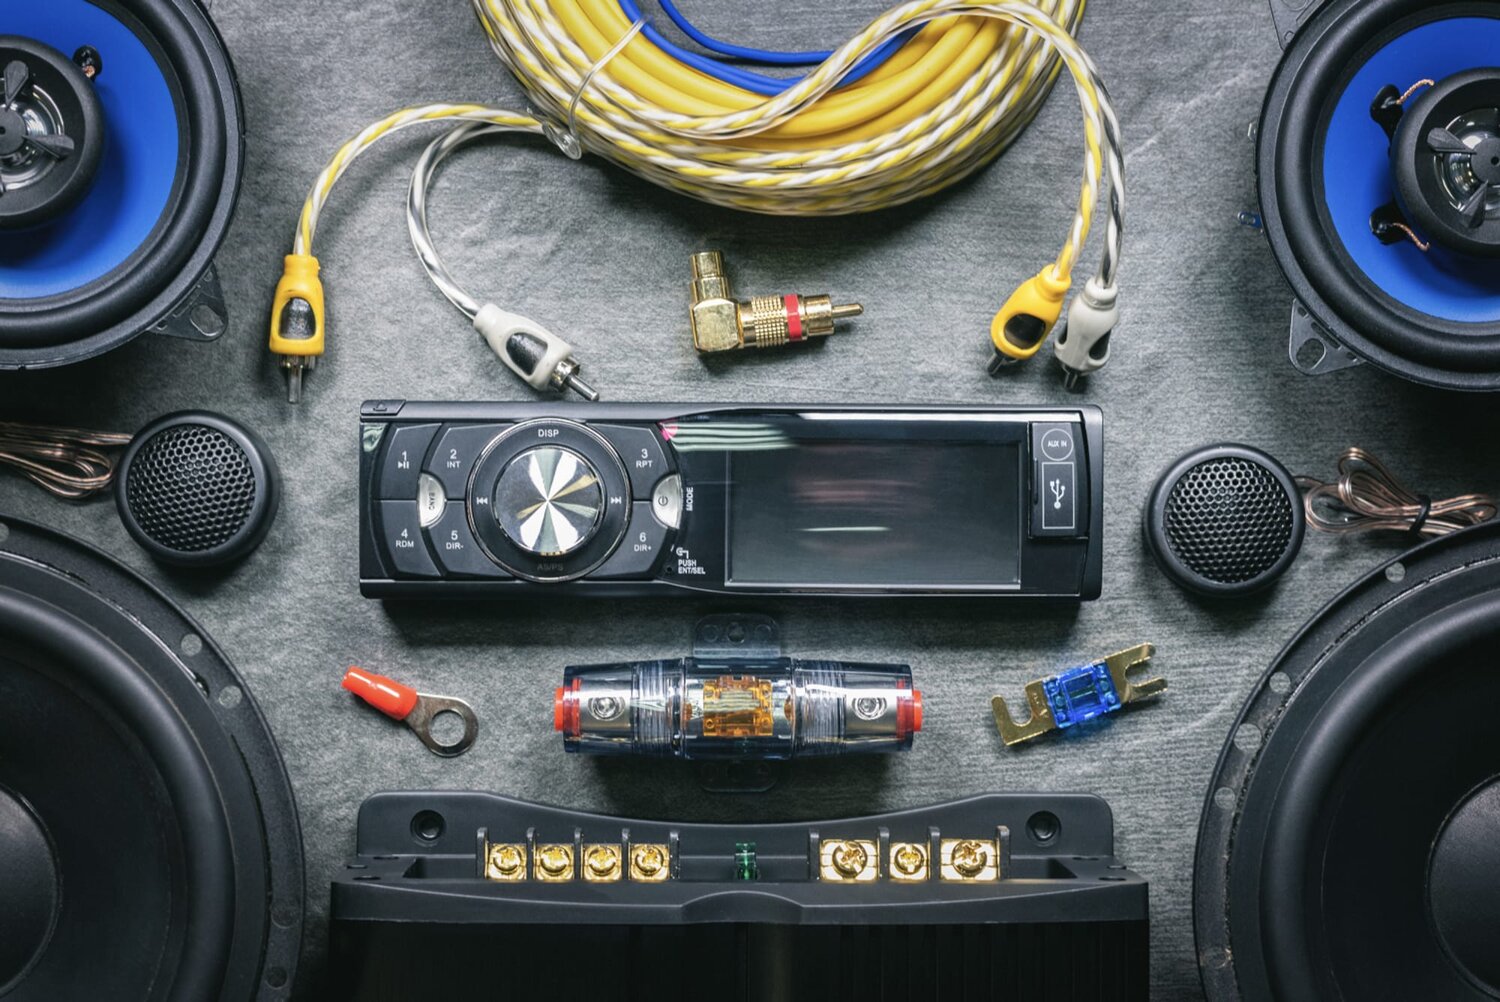
Once you have verified the sound output of your car stereo, it’s time to test different audio sources to ensure compatibility and functionality. Most car stereos today offer multiple audio input options, such as CD/DVD players, radio tuners, auxiliary input, USB ports, and Bluetooth connectivity.
Start by inserting a CD or DVD into the stereo unit and check if it plays without any issues. Ensure that the CD or DVD is free from scratches or damage that could potentially affect playback. Test various tracks to verify that the stereo can read the disc properly and provide clear audio without skipping or distortion.
Next, tune into different radio stations and assess the reception quality. Check for any static or interference that may indicate poor antenna connection or weak reception. Pay attention to how well the stereo locks onto different stations and the overall clarity of the radio signal.
If your stereo has an auxiliary input, connect an external music player, such as a smartphone or MP3 player, using the appropriate cable. Play different tracks and adjust the stereo’s input settings accordingly. Ensure that the stereo can produce clear and accurate sound without any interference or compatibility issues.
For those with stereo systems featuring USB ports, test playback from a USB drive filled with various music files. The stereo should be able to read and play the files smoothly, supporting different formats such as MP3, WMA, or AAC. Verify that the navigation through folders and tracks is user-friendly and responsive.
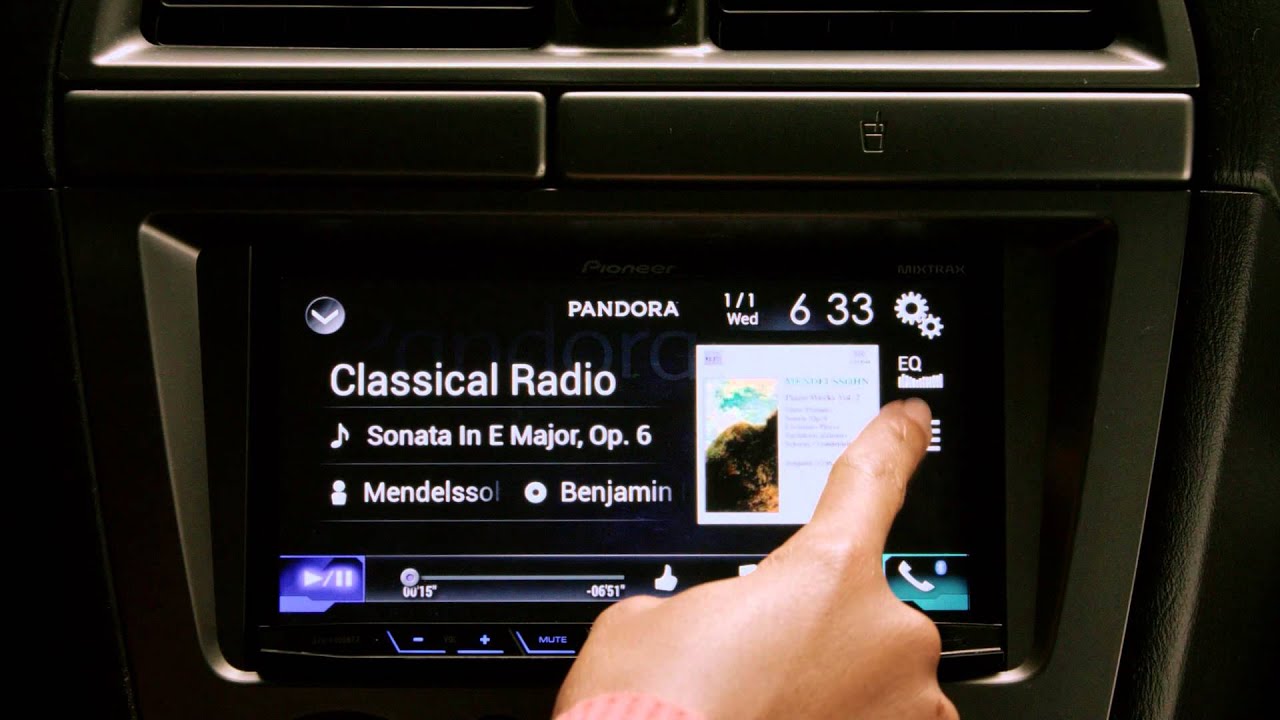
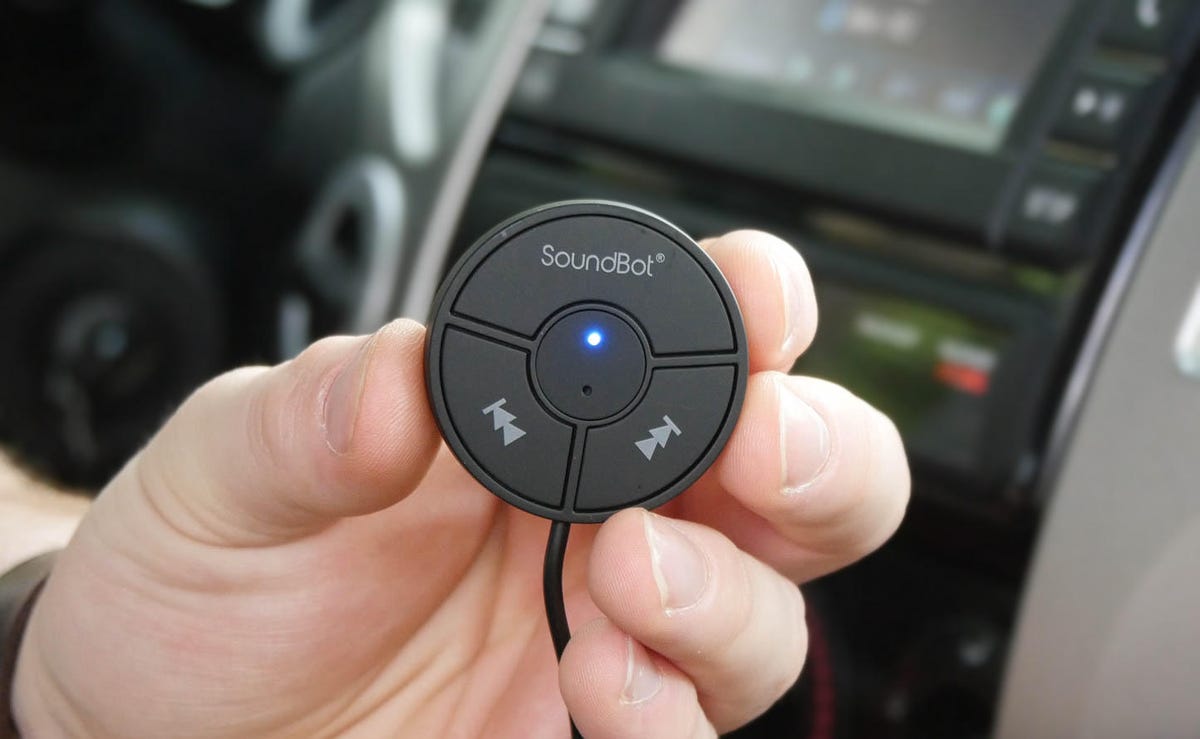
Another important feature to test is the Bluetooth connectivity. Pair your smartphone or any other Bluetooth-enabled device with the car stereo and play music wirelessly. Check for any audio lag, signal drops, or pairing issues. Additionally, test the stereo’s ability to display song information and allow for basic music playback control through the Bluetooth connection.
By testing different audio sources, you can ensure that your car stereo is versatile and compatible with various media formats, providing you with a wide range of options for enjoying your favorite music.
Step 4: Evaluate Sound Quality
Now that you have tested the different audio sources, it’s time to evaluate the sound quality of your car stereo. Sound quality plays a crucial role in providing an immersive and enjoyable listening experience. Here are some aspects to consider when evaluating the sound quality:
- Bass response: Pay attention to the depth and punchiness of the bass. It should be well-defined and not overpowering or distorted. Adjust the bass settings to find the right balance for your preferences.
- Midrange clarity: The midrange frequencies are where most vocals and instruments reside. Ensure that the midrange frequencies are clear and accurately reproduced. Vocals should sound natural and not muffled or harsh.
- Treble detail: Test the stereo’s ability to reproduce high-frequency sounds. The treble should be crisp and detailed without any harshness or sibilance. Adjust the treble settings to achieve a pleasant, well-balanced sound.
- Imaging and separation: Listen for the stereo’s ability to create a sense of space and separation between instruments. Good imaging will make it feel like the sound is coming from different directions, creating a more immersive listening experience.
- Dynamics: Evaluate how well the stereo handles differences in volume and intensity. It should be able to deliver both soft and loud passages with clarity and without distortion.
- Soundstage: A quality car stereo should be able to create a wide and spacious soundstage. A well-executed soundstage will make it feel like the music is coming from beyond the confines of your car, adding depth and dimension to the listening experience.
While evaluating sound quality, it’s important to keep in mind that personal preferences may vary. Take the time to experiment with the stereo’s equalizer settings to fine-tune the sound to your liking. What sounds good to one person may not necessarily sound the same to another, so trust your own ears to find the best sound balance for your preferences.
If you find that the sound quality is not up to par or you notice any inconsistencies in different frequency ranges, consider consulting a professional car audio technician for further adjustments or upgrades.
Remember, the goal is to ensure a pleasing and well-balanced sound that enhances your music listening experience during your car rides.
Step 5: Check for Distortion or Noise
Distortion and noise can significantly diminish the listening experience of your car stereo. In this step, we will focus on identifying and addressing any distortion or noise issues that may be present. Here are some important points to consider:
Start by listening carefully to your car stereo at different volume levels. Pay attention to any distortion, clipping, or harshness in the sound. Distortion can manifest as crackling, popping, or fuzzy sounds, and can be especially noticeable during high-volume or bass-heavy passages. If you detect any distortion, it could be a sign of an overloaded or damaged amplifier, speakers, or wiring.
One common cause of distortion is clipping, which occurs when the amplifier tries to reproduce a signal that is greater than its maximum capability. Clipping can result in distorted and harsh sound. To avoid this, make sure to adjust the volume and gain levels appropriately to prevent the amplifier from being overdriven.
Additionally, pay attention to any background noise or hiss that may be present when the stereo is on. This noise can be indicative of grounding issues or poor shielding in the wiring. Ensure that the stereo unit is properly grounded and that all connections are secure and well-insulated.
If you’re using an auxiliary input or Bluetooth connection, try different audio sources to determine if the distortion or noise is present across all sources or if it’s specific to a certain input. This will help you narrow down the potential cause of the issue.
To further troubleshoot distortion or noise problems, you may need to disconnect other electrical devices in your car to eliminate potential sources of interference. This includes devices like cell phone chargers, GPS units, or other aftermarket installations that may be affecting the overall audio quality.
If you have verified that the distortion or noise is not caused by external factors, it may be necessary to consult a professional car audio technician to diagnose and address the issue. They will have the expertise and equipment to properly diagnose and rectify any distortion or noise problems.
By checking for and minimizing distortion and noise, you can ensure a clean and enjoyable listening experience with your car stereo.
Step 6: Test the Equalizer Settings
The equalizer settings on your car stereo allow you to customize the sound to your preferences by adjusting the levels of different frequency bands. In this step, we will explore how to effectively test and optimize the equalizer settings.
Start by familiarizing yourself with the different frequency bands on your car stereo’s equalizer. Common frequency bands include bass, midrange, and treble, but some systems may offer more specific frequency controls, such as low-mid, high-mid, or subwoofer frequencies.
Begin by setting all the equalizer bands to their default or neutral positions. Play some music and listen carefully to the sound. Take note of which frequency ranges you feel need adjustment. For example, if you find the bass to be too overpowering, you may want to decrease the bass frequency band.
Make gradual adjustments to the equalizer settings, focusing on one frequency band at a time. Increase or decrease the level of that band and listen to how it affects the sound. Take note of any positive changes in the overall sound balance or any unwanted resonances or muddiness that may occur.
Remember, the goal is to achieve a balanced sound where each frequency range is well-defined and contributes harmoniously to the overall audio experience. Tweak the equalizer settings until you find a sound that suits your musical preferences and provides a pleasing audio quality across different genres of music.
It’s important to be mindful of not overemphasizing or boosting specific frequency bands too much, as this can lead to distortion or unnatural sound reproduction. Subtle adjustments are usually more effective in achieving the desired sound signature.
As you adjust the equalizer settings, keep in mind the type of music you listen to the most. Different music genres may have different emphasis on different frequency ranges, so it’s a good idea to find a balance that works well for a variety of genres.
Once you have fine-tuned the equalizer settings to your liking, it’s a good idea to listen to a variety of music tracks to ensure that the adjustments provide consistent and pleasing sound quality across different songs.
By testing and optimizing the equalizer settings, you can personalize your car stereo’s sound to your specific preferences and enhance the overall listening experience.
Step 7: Check the Functionality of Buttons and Controls
The buttons and controls on your car stereo play a crucial role in controlling various functions and features. In this step, we will focus on testing the functionality of these buttons and controls to ensure proper operation.
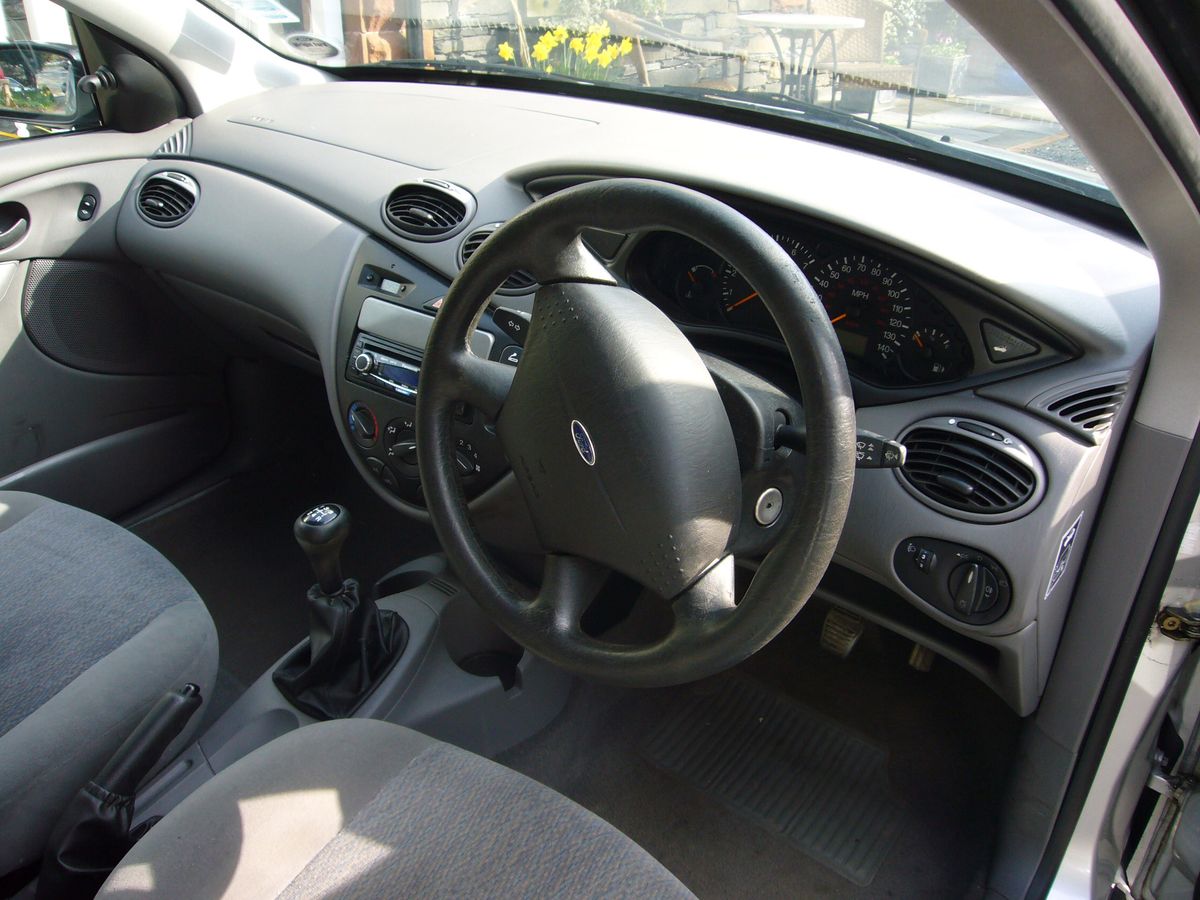
Begin by testing the basic control functions such as the power button, volume knob, and track selection buttons. Verify that these buttons respond promptly and accurately to your inputs. Check for any stiffness, stickiness, or unresponsiveness that may indicate a mechanical issue.
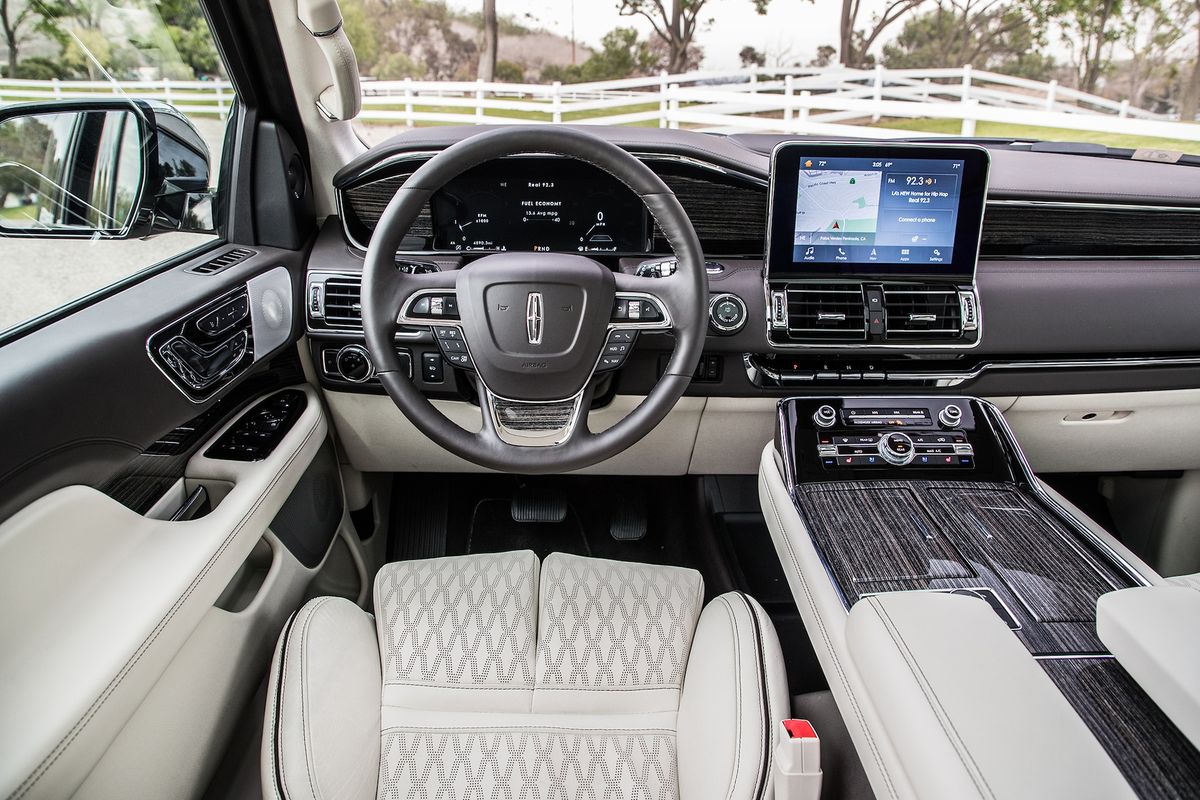
Next, explore the menu options and navigation controls on your car stereo. Some stereos have a touchscreen interface while others use physical buttons or a combination of both. Test the menu navigation buttons or touchscreen gestures to ensure smooth and intuitive operation. Pay attention to any lag or unresponsiveness while navigating through different settings or menus.
If your car stereo has preset buttons or memory settings, test their functionality. Save and recall different radio stations or audio settings and confirm that the presets are stored and accessed correctly. This will allow you to easily switch between your preferred settings without manual adjustments each time.
Additionally, check for any special buttons or controls that are specific to your car stereo model. These may include dedicated buttons for Bluetooth pairing, voice control, or audio source selection. Test these features to ensure they function as intended.
It’s also a good idea to test any steering wheel controls, if available. These controls allow you to control the car stereo without having to reach for the buttons on the stereo itself. Ensure that the steering wheel controls are properly synchronized with the stereo unit and respond accurately to your inputs.
By thoroughly testing the buttons and controls, you can ensure that all the essential functions of your car stereo are easily accessible and functioning correctly. If you encounter any issues or abnormalities with the buttons or controls, consult the user manual or seek professional assistance for further troubleshooting and resolution.
Remember, a well-functioning control interface enhances the overall usability and convenience of your car stereo system.
Step 8: Test Bluetooth Connectivity
Bluetooth connectivity has become a common feature in car stereos, enabling wireless audio streaming and hands-free calling. In this step, we will focus on testing the Bluetooth functionality of your car stereo to ensure seamless and reliable connectivity.
Start by activating the Bluetooth feature on your car stereo. Consult the user manual if you are unsure how to access the Bluetooth settings. Once activated, enable the Bluetooth function on your smartphone or other Bluetooth-enabled device.
Pair your device with the car stereo by following the pairing instructions provided in the user manual. Once paired, you should be able to see the connected device listed on the car stereo’s display or through voice prompts.
Test the audio streaming functionality by playing music from your smartphone through the car stereo. Ensure that the audio is clear, without any lag or interruptions. Play different tracks to verify consistent playback quality.
Some car stereos allow for basic music control via Bluetooth, such as play/pause, skip tracks, and volume control. Test these controls to ensure they function properly and respond accurately to your inputs.
In addition to music streaming, test the hands-free calling feature. Make a call from your smartphone and ensure that the audio is routed through the car stereo’s speakers. Test the microphone by speaking into it and verify that the other party can hear you clearly.
During Bluetooth testing, pay attention to any connection drops or signal interference that may affect audio quality. Move around the car and assess the Bluetooth range. In most cases, the connection should remain stable within a reasonable distance.
If you encounter any issues, such as difficulty pairing, unstable connections, or poor audio quality, try updating the firmware of your car stereo or your device’s operating system. If the problem persists, consult the user manual or contact the manufacturer’s customer support for further assistance.
Remember to always follow local laws and regulations regarding hands-free phone usage while driving, and prioritize safety when using the Bluetooth calling feature.
By thoroughly testing the Bluetooth connectivity, you can ensure a seamless and hassle-free wireless audio streaming and hands-free calling experience with your car stereo.
Step 9: Test CD/DVD Playback
If your car stereo includes a CD or DVD player, it’s important to test its playback functionality to ensure that it operates smoothly and delivers high-quality audio and video. In this step, we will guide you through the process of testing CD/DVD playback on your car stereo.
Start by selecting a CD or DVD that is in good condition, free from scratches or damage. Insert the disc into the car stereo’s CD/DVD slot, and give it a few moments to load. Ensure that the disc is properly seated and that the stereo recognizes it.
Once the disc is loaded, begin playing it and listen closely to the audio output. The sound should be clear and free of any skipping, crackling, or distortion. Navigate through different tracks on the CD or scenes on the DVD to ensure smooth and accurate playback.
Pay attention to any issues like read errors or the disc being ejected unexpectedly. If you encounter such problems, carefully inspect the disc and the CD/DVD player for any foreign objects or dirt that may be affecting the reading process. Clean the disc and try again. If the issue persists, it may indicate a malfunctioning CD/DVD player that requires professional attention.
If your car stereo supports DVD playback, engage in video playback to evaluate the quality of the video output. The video should be crisp, vivid, and without any artifacts or distortion. Test different features like fast-forward, rewind, and chapter skipping to ensure smooth navigation and proper functionality.
While testing CD/DVD playback, remember that proper handling and care of discs are essential. Avoid rough handling, keep discs in their protective cases when not in use, and avoid exposing them to excessive heat and direct sunlight. Damaged or scratched discs may cause playback issues or damage the CD/DVD player.
If you find any issues or inconsistencies during CD/DVD playback, consult the user manual for troubleshooting steps or reach out to the manufacturer’s customer support for assistance. They can provide specific guidance based on the model of your car stereo.
By testing CD/DVD playback, you can ensure that your car stereo provides reliable and high-quality audio and video experiences during your journeys.
Step 10: Test Radio Functionality
Testing the radio functionality of your car stereo is an essential step to ensure that it can tune in to your favorite radio stations and deliver clear and reliable reception. In this step, we will guide you through the process of testing the radio functionality of your car stereo.
Start by turning on the car stereo and selecting the radio mode. Depending on your stereo model, this can be done through dedicated buttons, touchscreen controls, or by navigating through the menu options. Look for the radio band options, which typically include AM and FM frequencies.
Scan the radio frequencies to automatically search for available stations. The stereo will usually stop on each station for a few seconds before moving on to the next one. Take note of the strength of the radio signal and how well the stereo locks onto different stations.
Manually tune in to specific radio stations by using the seek buttons or by entering the frequency directly. Listen for any static, interference, or weak reception. These issues may indicate problems with the antenna or the radio tuner itself.
If you find that the reception is not satisfactory, ensure that the antenna is properly connected and positioned. Check for any loose or corroded connections that may be affecting the signal quality. If necessary, consult the user manual or seek professional assistance to address radio reception issues.
Once you have tuned in to a radio station, listen to the audio quality. It should be clear, with no distortion or excessive noise. If you notice any audio issues, adjust the stereo’s tone controls to optimize the sound or explore different audio settings provided by your car stereo.
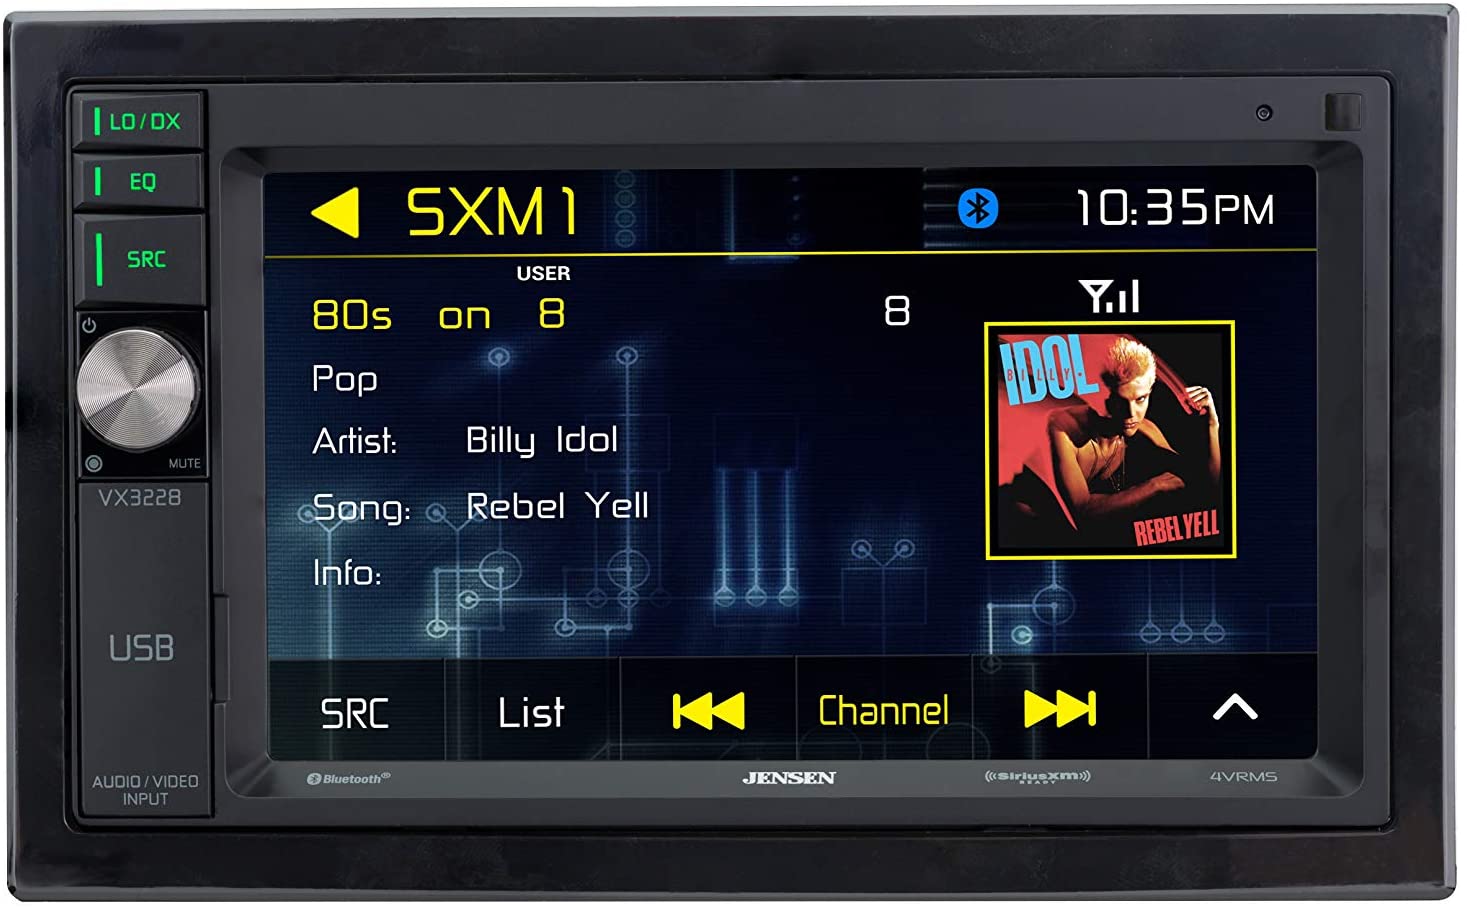
Take note of any additional features or enhancements offered by the radio mode on your car stereo. Some models include features like Traffic Program, which provides updates on traffic conditions, or Radio Data System (RDS), which displays additional information about the station or song being played.
By thoroughly testing the radio functionality, you can ensure that your car stereo is capable of delivering clear and reliable radio reception, enabling you to enjoy your favorite radio stations during your drives.
Step 11: Test Auxiliary Input
Testing the auxiliary input of your car stereo allows you to connect external audio devices, such as smartphones, MP3 players, or other devices, to play your music through the car’s speakers. In this step, we will guide you on how to effectively test the auxiliary input of your car stereo.
Start by locating the auxiliary input port on your car stereo. It is typically labeled as “AUX,” “Aux In,” or similar. Connect your audio device using a compatible cable, such as a 3.5mm auxiliary cable or a USB-to-auxiliary adapter, depending on the available input options on your car stereo.
Once the device is connected, start playing music from the audio device. Ensure that the volume on both the audio device and the car stereo is adjusted to an appropriate level.
Listen carefully to the sound coming through the car’s speakers. The audio should be clear and without any distortion or background noise. Make sure to play different tracks and genres to ensure consistent audio quality across different songs.
While the auxiliary input is playing, test the functionality of the car stereo’s control features. Adjust the volume, skip tracks, or use any other audio control functions provided by the stereo. Ensure that these controls work effectively with the auxiliary input and are responsive to your commands.
If you notice any issues, such as low volume, distorted sound, or connectivity problems, make sure that the audio device is properly connected to the auxiliary input port. Try using a different audio device or cable to rule out any issues related to the device itself.
In some cases, you may need to switch the car stereo to the correct “source” or “input” mode to access the auxiliary input. Look for the corresponding options in the stereo’s menu or refer to the user manual for guidance on selecting the correct input source.
By thoroughly testing the auxiliary input, you can ensure that your car stereo effectively connects to external audio devices, allowing you to enjoy your personal music collection through the car’s audio system.
Step 12: Test USB/SD Card Input
Testing the USB/SD card input functionality of your car stereo allows you to conveniently play music from USB drives or SD cards. This step will guide you on how to effectively test the USB/SD card input of your car stereo.
Start by locating the USB or SD card slot on your car stereo. These are usually located on the front panel of the stereo or in a separate compartment. Insert a USB drive or SD card containing your desired music files into the corresponding slot.
Once the USB drive or SD card is inserted, the car stereo should automatically detect and begin reading the files. It may take a few seconds for the stereo to load the files, so be patient.
Navigate through the folders and files on the USB drive or SD card using the car stereo’s controls. Select a song or playlist and press play. Listen carefully to the sound coming through the car’s speakers. The audio should be clear, without any distortion or interference.
Test the functionality of the car stereo’s control features, such as play/pause, skip tracks, and browse through folders. Ensure that these controls work effectively with the USB/SD card input and are responsive to your commands.
If your car stereo supports it, check for additional features such as displaying track information, album artwork, or the ability to create playlists from the USB drive or SD card. These features can enhance your music browsing and listening experience.
If you encounter any issues, first make sure that the USB drive or SD card is properly inserted and that the files are in compatible formats (e.g., MP3, WMA, AAC). Try using a different USB drive or SD card to rule out any issues related to the storage devices themselves. Also, ensure that the car stereo is running the latest firmware version, as updates may improve compatibility and functionality.
By thoroughly testing the USB/SD card input, you can ensure that your car stereo can easily access and play music from these storage devices, allowing you to enjoy your favorite tunes during your car rides.
Step 13: Test Phone Calling Functionality
Testing the phone calling functionality of your car stereo is crucial for hands-free communication while driving. This step will guide you on how to effectively test the phone calling feature of your car stereo.
Start by ensuring that your phone is connected to the car stereo via Bluetooth. Refer to the user manual or the Bluetooth settings on both your phone and car stereo for instructions on pairing and connecting your devices.
Once your phone is connected, initiate a test phone call. Use your phone’s dialer or voice command feature to make a call. The call audio should automatically route through the car stereo’s speakers.
During the call, assess the call quality and clarity. The audio should be clear and without any echoes, background noise, or distortion. Both you and the other party should be able to hear each other clearly and easily understand the conversation.
Test the microphone functionality by speaking into it and checking if the other party can hear you clearly. If the microphone performance is subpar, the other party may struggle to hear you properly, which can hamper effective communication.
During the phone call, test the car stereo’s call control features, such as answer/end call buttons or steering wheel controls. Ensure that these controls are responsive and accurately execute the desired actions when navigating through various call features, such as mute, hold, or call transfer.
Explore additional calling features offered by your car stereo, such as voice dialing, caller ID display, or call history access. Familiarize yourself with the available options and test their functionality to ensure a smooth and convenient calling experience.
If you encounter any issues with the phone calling functionality, such as poor call quality or difficulties in establishing a connection, check for any firmware updates for your car stereo and make sure that your phone’s software is up to date. Additionally, verify that your phone’s Bluetooth settings are properly configured for a seamless connection.
If problems persist, consult the user manual or contact the manufacturer’s customer support for further troubleshooting and assistance.
By thoroughly testing the phone calling functionality, you can ensure safe and effective hands-free communication while driving, enhancing your overall driving experience.
Conclusion
Congratulations! You have successfully completed the comprehensive testing process for your car stereo. By following these steps, you have ensured that your stereo system is operating optimally and providing you with the best audio experience possible.
Throughout the testing process, you have checked various aspects of your car stereo, including power functionality, sound output, different audio sources, sound quality, and the performance of different features such as Bluetooth connectivity, CD/DVD playback, radio functionality, auxiliary input, USB/SD card input, and phone calling functionality.
Through careful evaluation, you have confirmed that your car stereo powers on correctly, produces quality sound without distortion or noise, connects seamlessly with external devices, allows enjoyable media playback experiences, supports clear reception of radio stations, provides accessible auxiliary and USB/SD card inputs, and enables convenient hands-free phone calls.
If any issues were identified during the testing process, it is recommended to consult the user manual, seek professional assistance, or contact the manufacturer’s customer support to address and resolve those concerns.
Remember that periodic maintenance and regular updates, such as firmware upgrades, are essential for optimal performance and functionality of your car stereo. Stay informed about any software or hardware updates and take advantage of opportunities to improve your system’s capabilities.
Now that you have thoroughly tested your car stereo, you can confidently enjoy your favorite music, radio stations, and hands-free phone calls while on the road. The quality and reliability of your car stereo will enhance your driving experience and make your journeys more enjoyable.
Thank you for following this comprehensive guide on how to test a car stereo. We hope that this article has provided you with valuable insights and instructions to ensure a superior audio experience in your vehicle.