Home>Devices & Equipment>Turntable>How To Use A Vinyl Turntable
Turntable
How To Use A Vinyl Turntable
Published: January 18, 2024
Learn how to use a vinyl turntable and enjoy the rich, warm sound it produces. Discover the art of DJing and vinyl collecting with this comprehensive guide.
(Many of the links in this article redirect to a specific reviewed product. Your purchase of these products through affiliate links helps to generate commission for AudioLover.com, at no extra cost. Learn more)
Table of Contents
Introduction
Welcome to the world of vinyl records and turntables! The popularity of vinyl has experienced a resurgence in recent years, bringing back the nostalgic sound and tactile experience of listening to music in its purest form. If you’ve just acquired a vinyl turntable or are curious about how to use one, you’ve come to the right place.
In this article, we will guide you through the process of setting up and operating a vinyl turntable, as well as provide tips on handling and maintaining your vinyl records. Whether you’re a seasoned audiophile or a beginner, this guide will help you navigate the world of turntables and unlock the magic of vinyl playback.
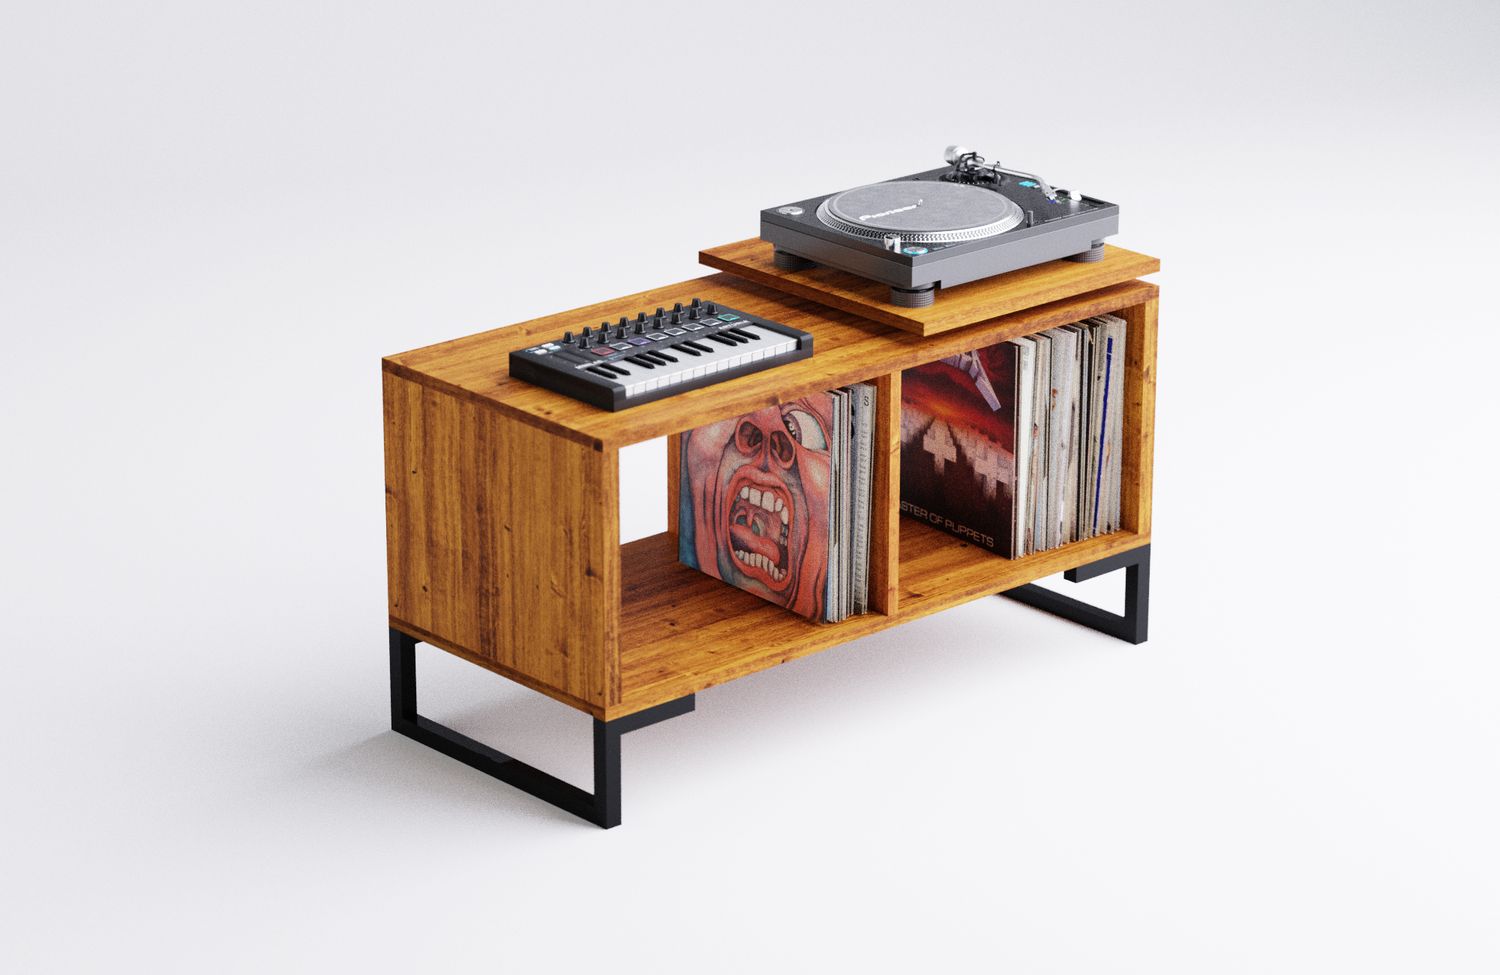
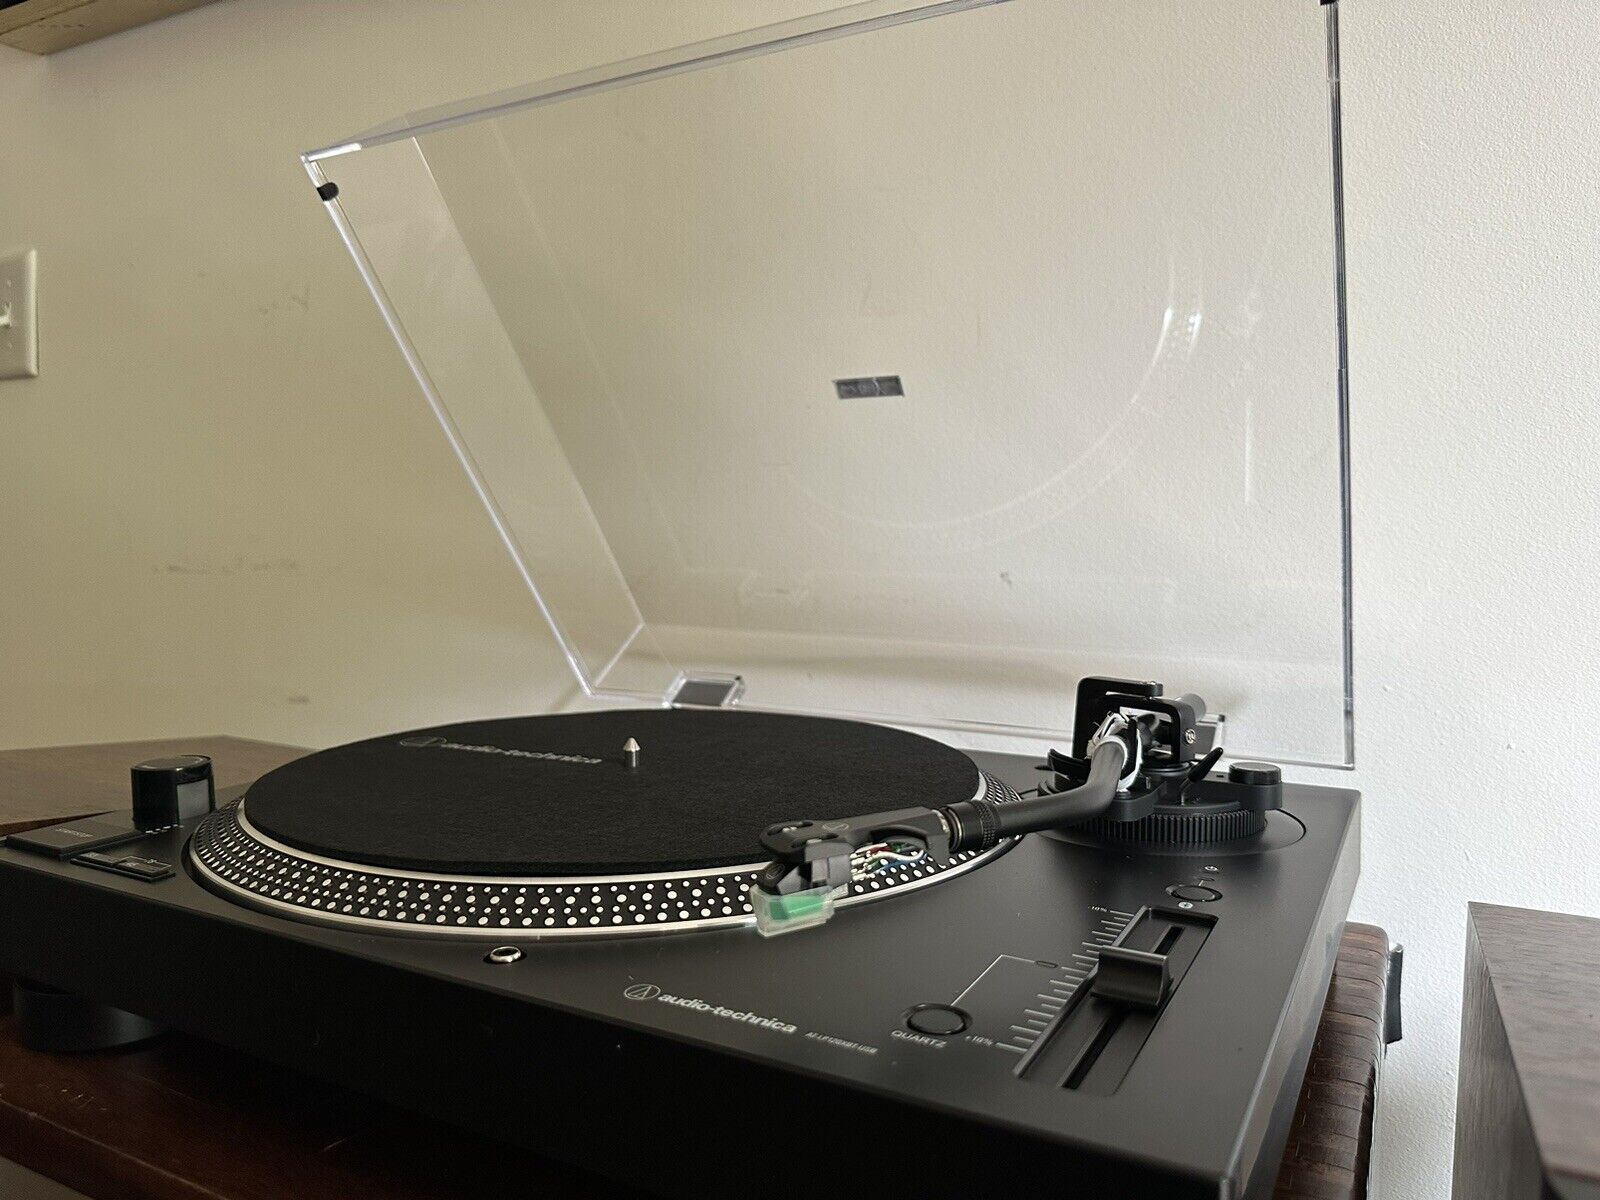
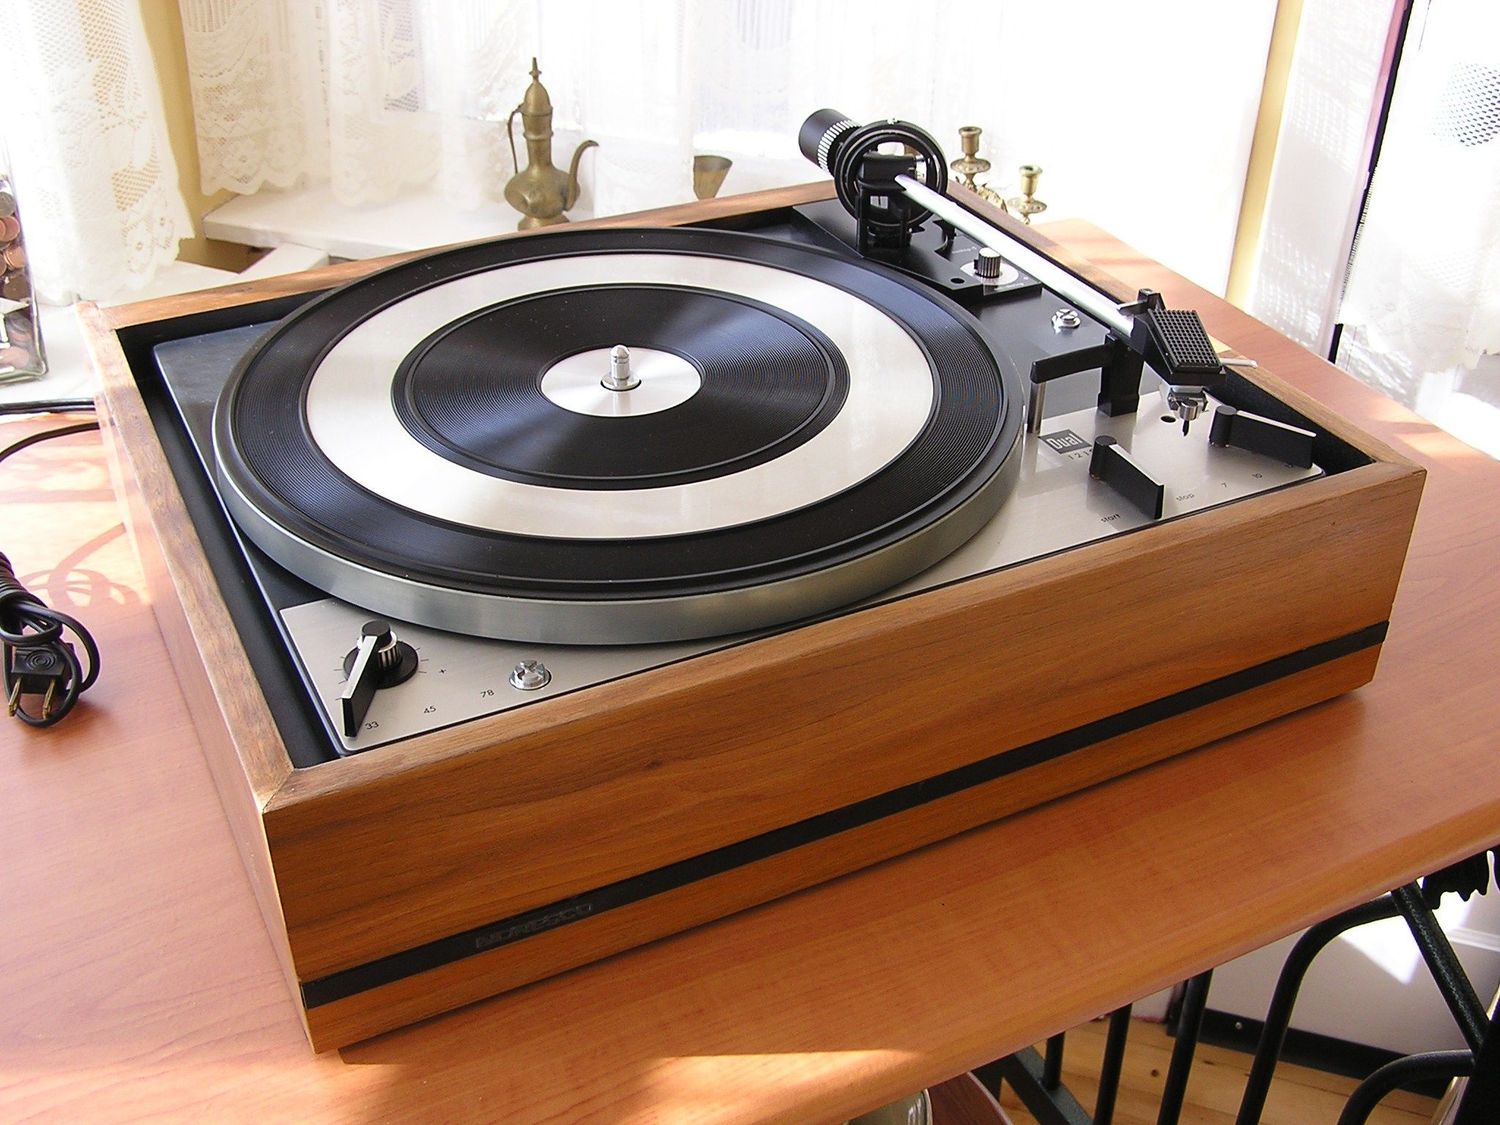
Before we dive into the details, it’s important to understand the basic components of a turntable. A turntable is a device that plays vinyl records by spinning them at a constant speed while a stylus (or needle) reads the grooves on the record, producing sound. It consists of a platter, tonearm, cartridge, stylus, and various control features.
Nowadays, there are many different types of turntables available, ranging from entry-level models to high-end audiophile setups. The process of using a turntable remains relatively consistent across models, regardless of their complexity or price point.
So, whether you have a vintage turntable handed down by a family member or a brand new one fresh out of the box, let’s get started on how to set it up and unleash the beautiful analog sound that vinyl records have to offer.
Step 1: Setting up the Turntable
To ensure optimal performance and longevity of your vinyl turntable, it’s crucial to set it up correctly. Here are the essential steps to get you started:
- Choose the Right Location: Find a sturdy and level surface for your turntable. Avoid placing it near speakers or other sources of vibration to prevent interference with sound quality.
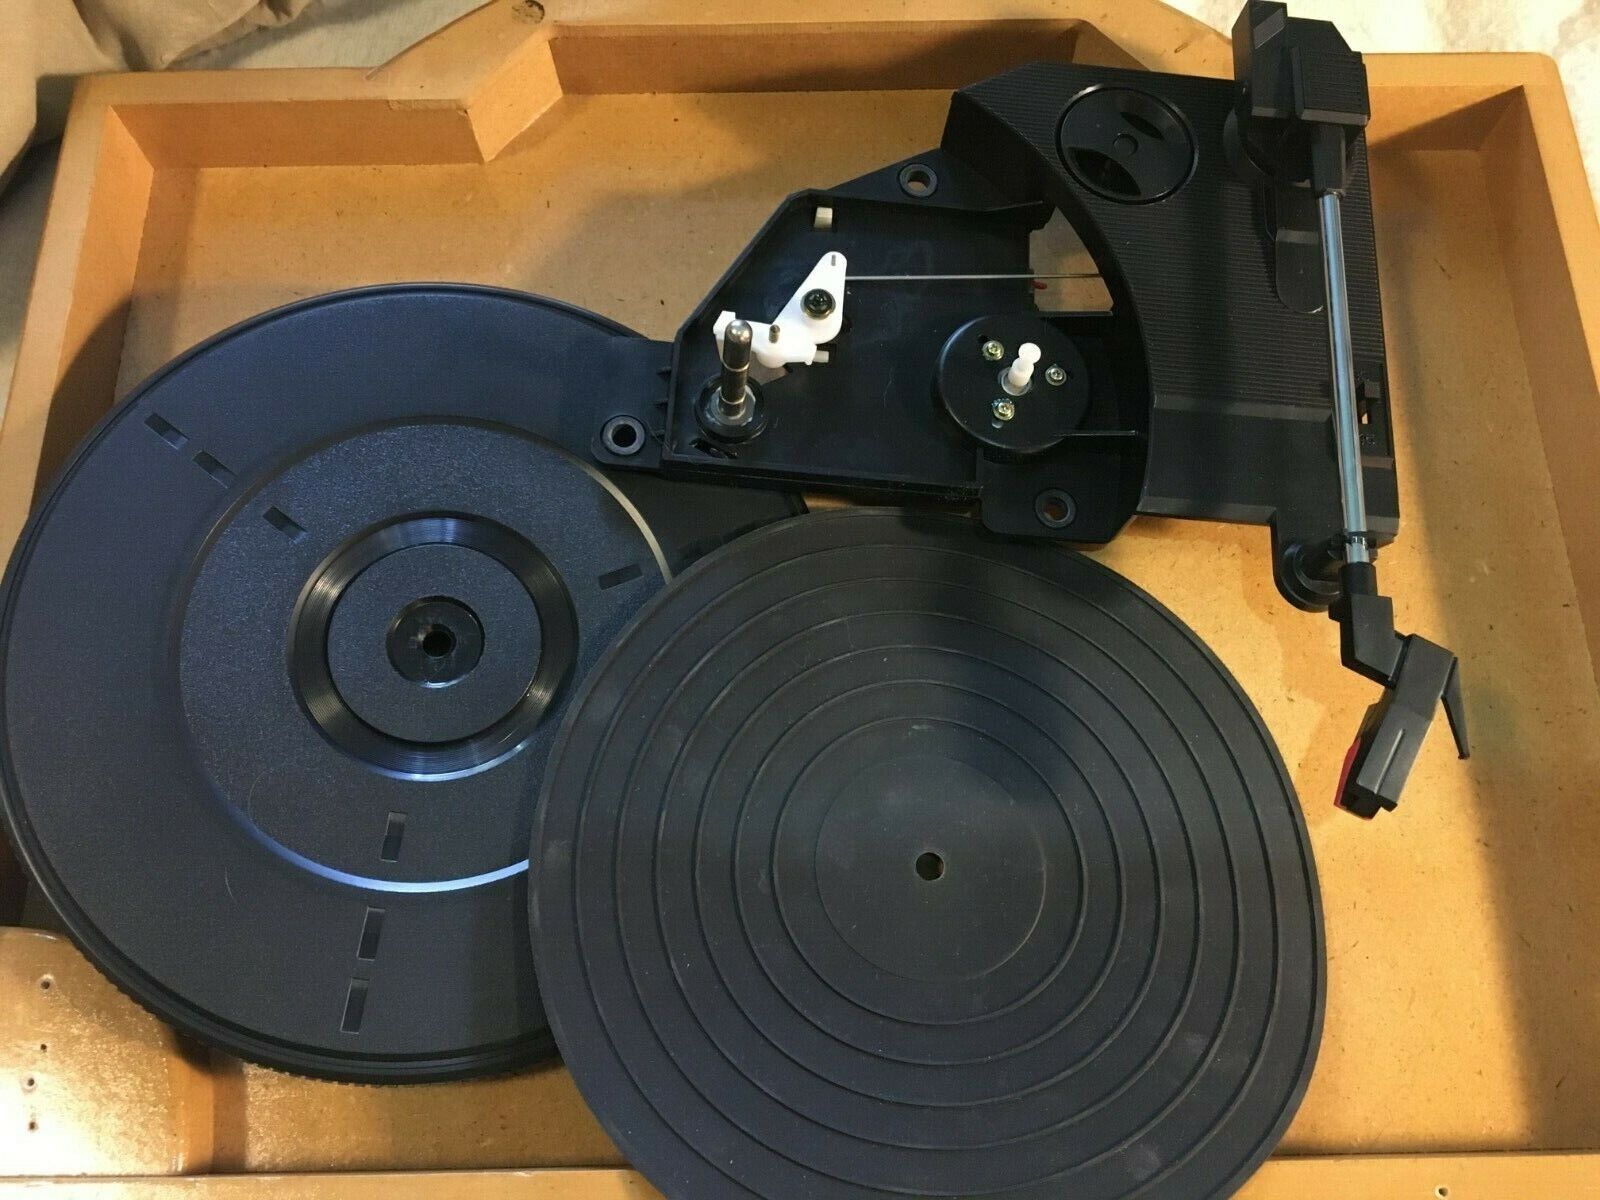
- Unboxing and Assembly: Carefully unpack your turntable and remove any protective packaging. Follow the manufacturer’s instructions to assemble any removable parts, such as the platter and tonearm.
- Connect the Power: Plug in the power cord of your turntable to a wall outlet. Ensure that the voltage matches your location’s requirements.
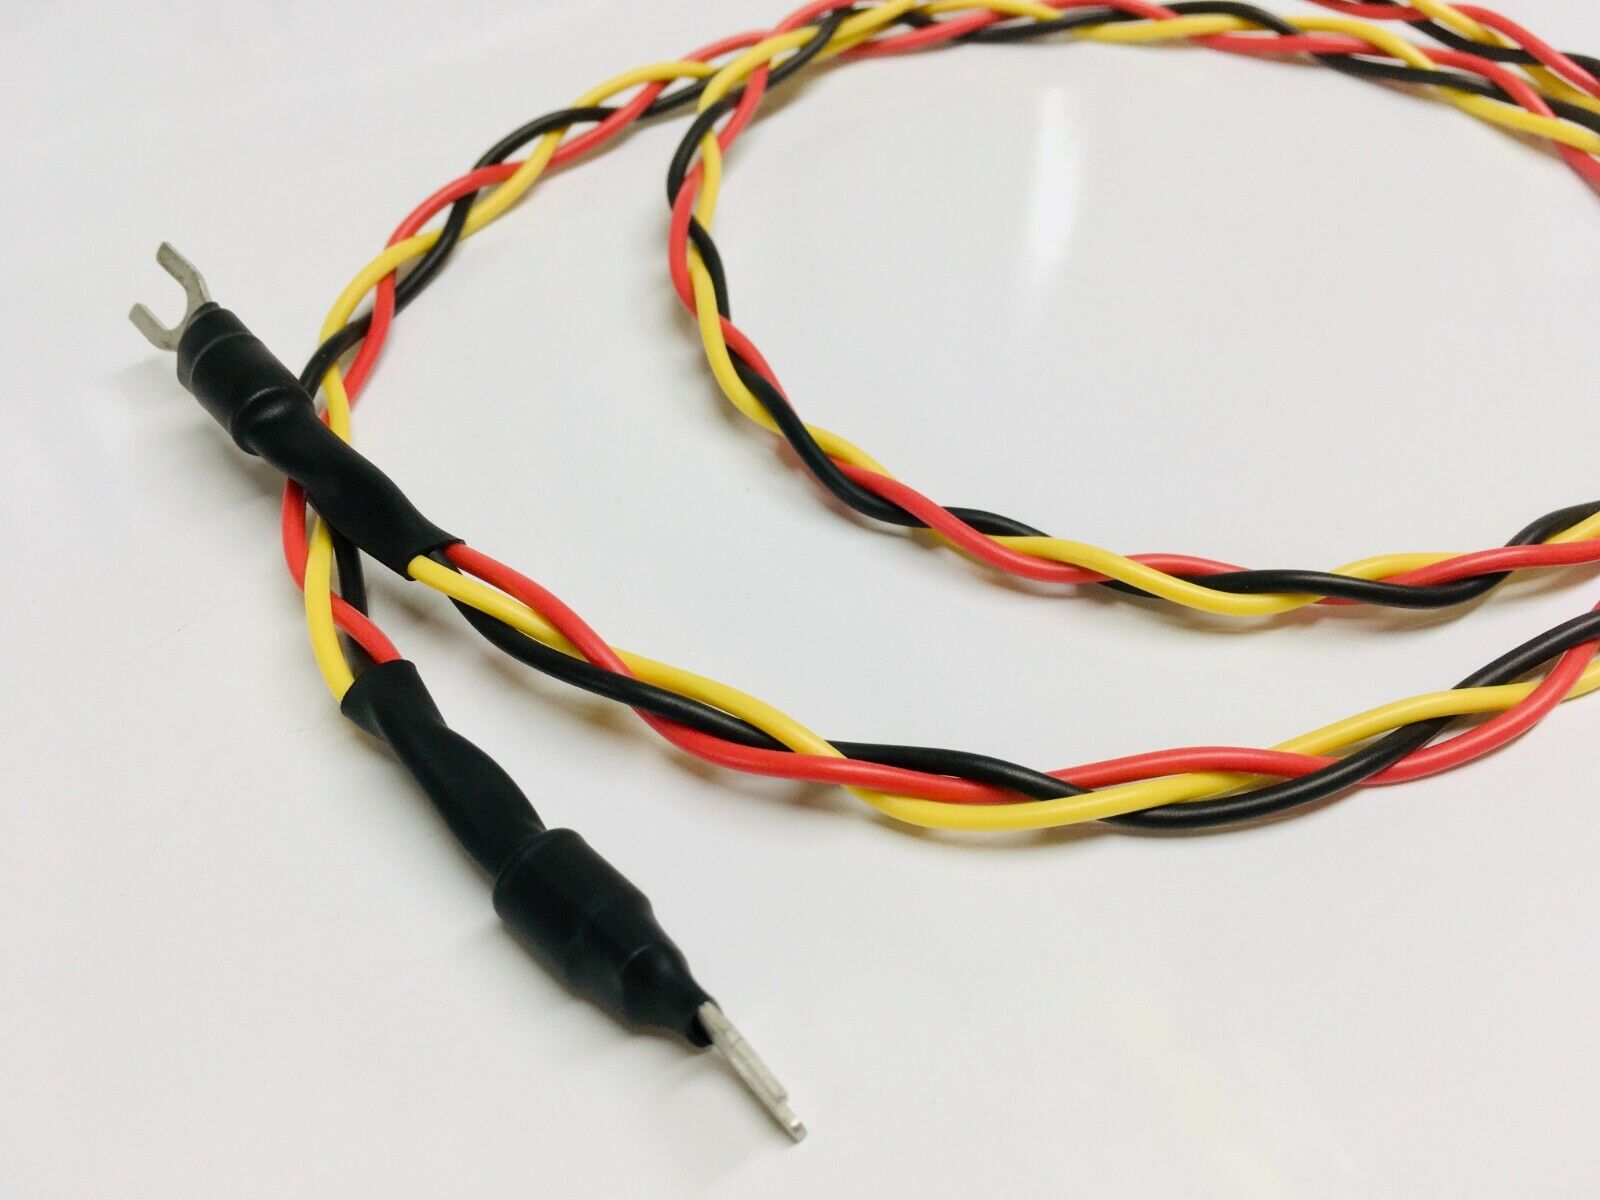
- Connect the Audio Cables: Most turntables have two types of audio cables: RCA cables and a grounding cable. Connect the RCA cables to the corresponding color-coded audio outputs on your turntable. If your turntable has a grounding cable, connect it to the grounding post or terminal on your amplifier or receiver.
- Adjust the Tonearm: The tonearm is responsible for holding the cartridge and stylus. Adjust the counterweight at the back of the tonearm according to the manufacturer’s instructions to achieve proper tracking force. Additionally, set the anti-skate mechanism to match the tracking force for accurate playback.
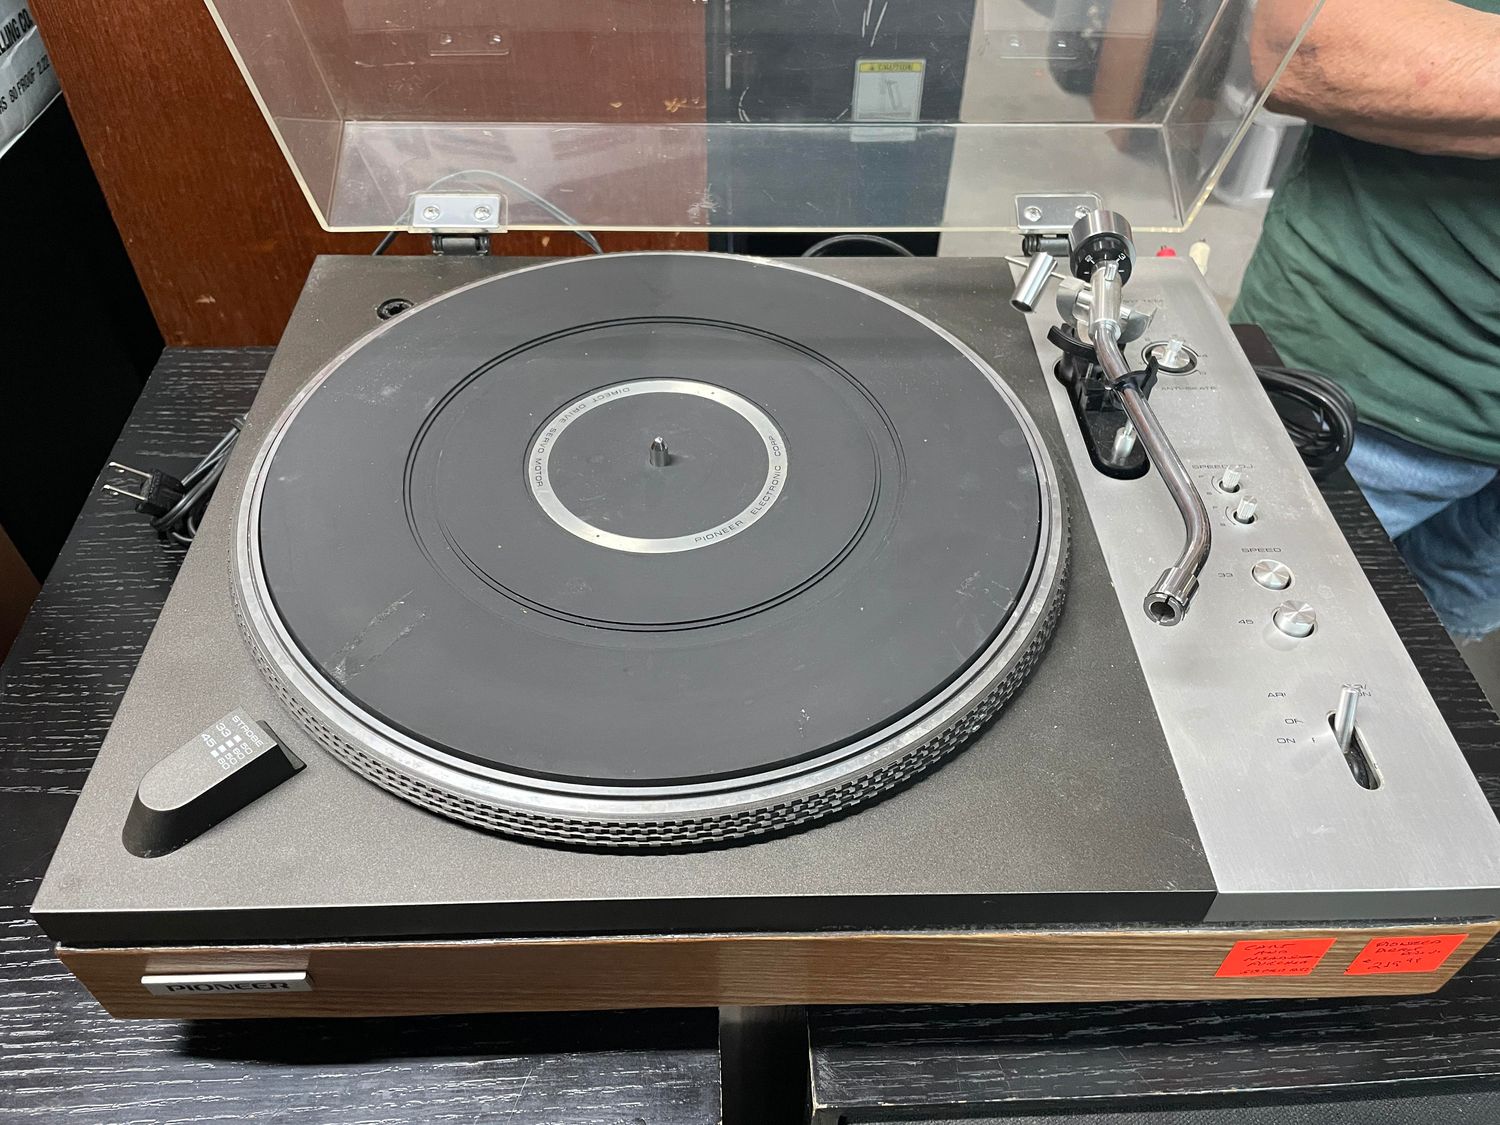
- Check Speed Settings: Most turntables offer different speed settings, typically 33 1/3 RPM and 45 RPM. Ensure that the turntable is set to the correct speed for the vinyl record you’ll be playing. Some turntables also offer a 78 RPM setting for older records.
- Level the Turntable: To prevent unwanted vibrations and tracking errors, use a bubble level to ensure your turntable is perfectly level. Adjust the turntable’s feet or use isolation pads to achieve the desired level position.
- Test the Sound: Before playing your precious vinyl records, it’s essential to test the sound output. Lower the tonearm gently onto an empty part of the platter and listen for any distortion or background noise. Make any necessary adjustments to the tracking force or anti-skate mechanism to achieve optimal sound quality.
Once you have completed these steps, your turntable should be set up and ready for use. It’s important to note that specific turntables may have additional steps or unique features, so always refer to the manufacturer’s instructions for detailed guidance. With your turntable properly set up, you’re now ready to embark on a musical journey through your vinyl collection.
Step 2: Handling Vinyl Records
Properly handling and caring for your vinyl records is essential to maintain their pristine condition and ensure the best sound quality during playback. Here are some key guidelines to follow when handling your precious vinyl collection:
- Hold the Record by the Outer Edges: When picking up a vinyl record, always hold it by the outer edges, avoiding touching the surface of the record. This helps prevent fingerprints, dust, and oils from transferring onto the delicate grooves.
- Store Records Vertically: When not in use, it’s best to store your vinyl records vertically, like books on a shelf. This minimizes the risk of warping or damage caused by excessive weight or pressure.
- Use Inner Sleeves: Vinyl records often come with protective inner sleeves. These sleeves provide an extra layer of protection against scratches and static buildup. Slide the record into the inner sleeve, making sure the open side is properly sealed.
- Clean Your Hands: Before handling your vinyl records, clean your hands thoroughly to remove any oils or dirt that could transfer onto the records. Dry your hands completely to avoid leaving any moisture on the surface.
- Avoid Excessive Heat or Cold: Extreme temperatures can warp vinyl records and damage the delicate grooves. Avoid storing records in areas exposed to direct sunlight or extreme heat sources, as well as cold environments such as basements or unheated rooms.
- Keep Dust Off the Record Surface: Dust particles can negatively affect the sound quality and cause skipping or scratching. Use a carbon fiber brush or antistatic brush to gently remove dust from the record surface before each play. Avoid using your breath or any liquid cleaners as they may damage the record.
- Handle Records with Clean Hands: Avoid touching the playing surface of the record with your fingers. Oils and dirt from your hands can damage the record and affect sound quality. If necessary, use cotton gloves or a record handling tool to safely handle the record.
- Avoid Stacking Records: Stacking records horizontally can lead to warping or damage. Always store them upright or use protective dividers to prevent them from leaning against each other.
By following these guidelines, you can ensure the longevity and quality of your vinyl records, preserving them for years of enjoyable listening. Remember, proper handling and care contribute to the overall experience and ensure that your vinyl records continue to sound their best.
Step 3: Placing the Vinyl on the Turntable
Now that your turntable is set up and you know how to handle your vinyl records with care, it’s time to place the record on the turntable for playback. Follow these steps to ensure proper placement:
- Remove the Vinyl from its Sleeve: Carefully remove the vinyl record from its protective inner sleeve. Hold the record by the outer edges to avoid touching the playing surface.
- Inspect the Record: Before placing the vinyl on the turntable, visually inspect it for any visible dust, dirt, or debris. Use a carbon fiber brush or antistatic brush to gently remove any loose particles from the surface.
- Locate the Spindle or Center Hole: Lift the turntable’s platter and locate the spindle or center hole at the center of the turntable. This is where the record will be placed.
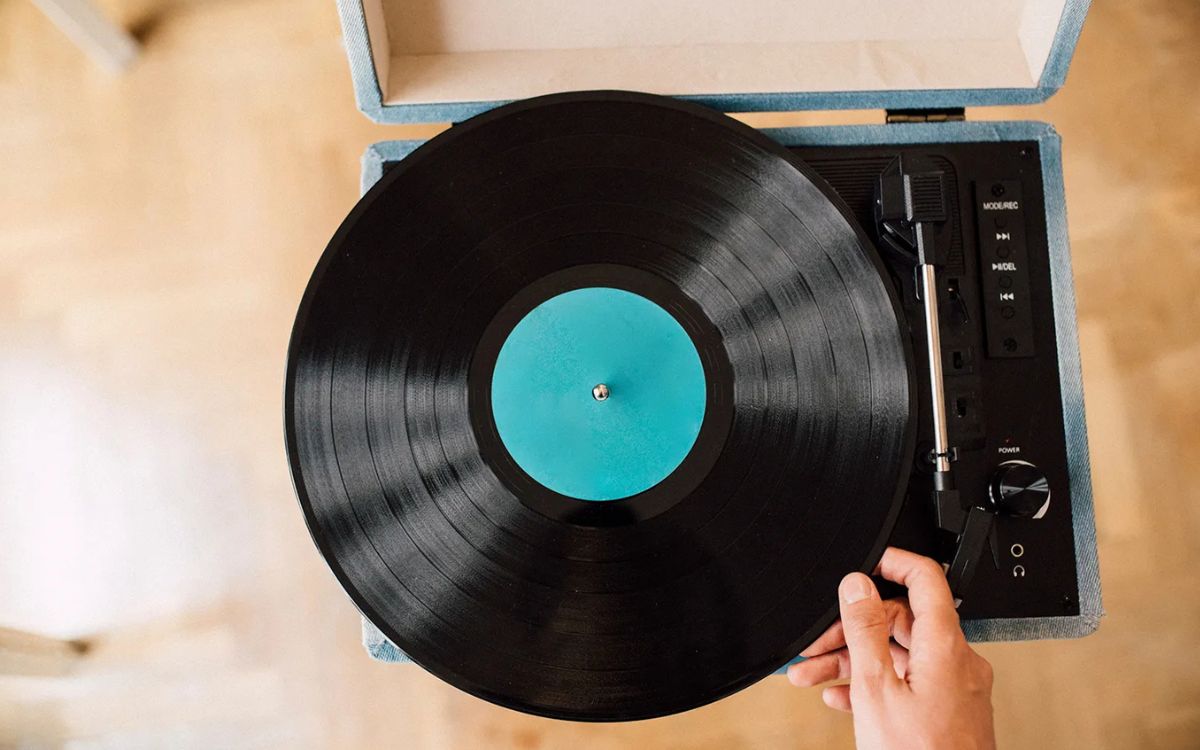
- Hold the Record Properly: Place your thumb on the center label of the record and your fingers on the outer edge, making sure to avoid touching the playing surface. Keep a gentle grip to maintain control while placing it on the turntable.
- Align the Spindle: Lower the record onto the spindle or center hole of the turntable. The spindle should fit into the center hole of the record smoothly, ensuring a stable and centered placement.
- Press the Record Down: Once the record is aligned with the spindle, gently press it down to secure it in place. Be careful not to apply too much pressure or push down on the playing surface.
- Secure the Tonearm: Depending on your turntable, you may need to secure the tonearm in its resting position, typically using a cue lever or lock. This helps prevent accidental scratching or damage to the stylus or record.
With the vinyl record properly placed on the turntable, you’re now ready to move on to the next step—preparing the turntable for playback. Remember to handle the record with care throughout this process to avoid any accidental damage or scratches.
Step 4: Preparing the Turntable for Playback
Before you start enjoying the music on your vinyl record, it’s important to prepare your turntable for playback. Follow these steps to ensure the best possible sound quality:
- Remove the Dust Cover: If your turntable has a dust cover, open it or remove it completely to prevent any interference with the sound and movement of the tonearm.
- Power on the Turntable: Turn on your turntable by pressing the power button or flipping the switch. Allow the turntable to reach its operating speed, which is typically indicated by an LED or a separate indicator.
- Engage the Platter: If your turntable has a separate platter that spins independently from the motor, engage it by pressing the appropriate button or switching mechanism. This allows the platter to start spinning.
- Engage the Tonearm: Lift the tonearm from its resting position using the cue lever or lift mechanism. Be gentle and ensure that the stylus is clear of the platter and record.
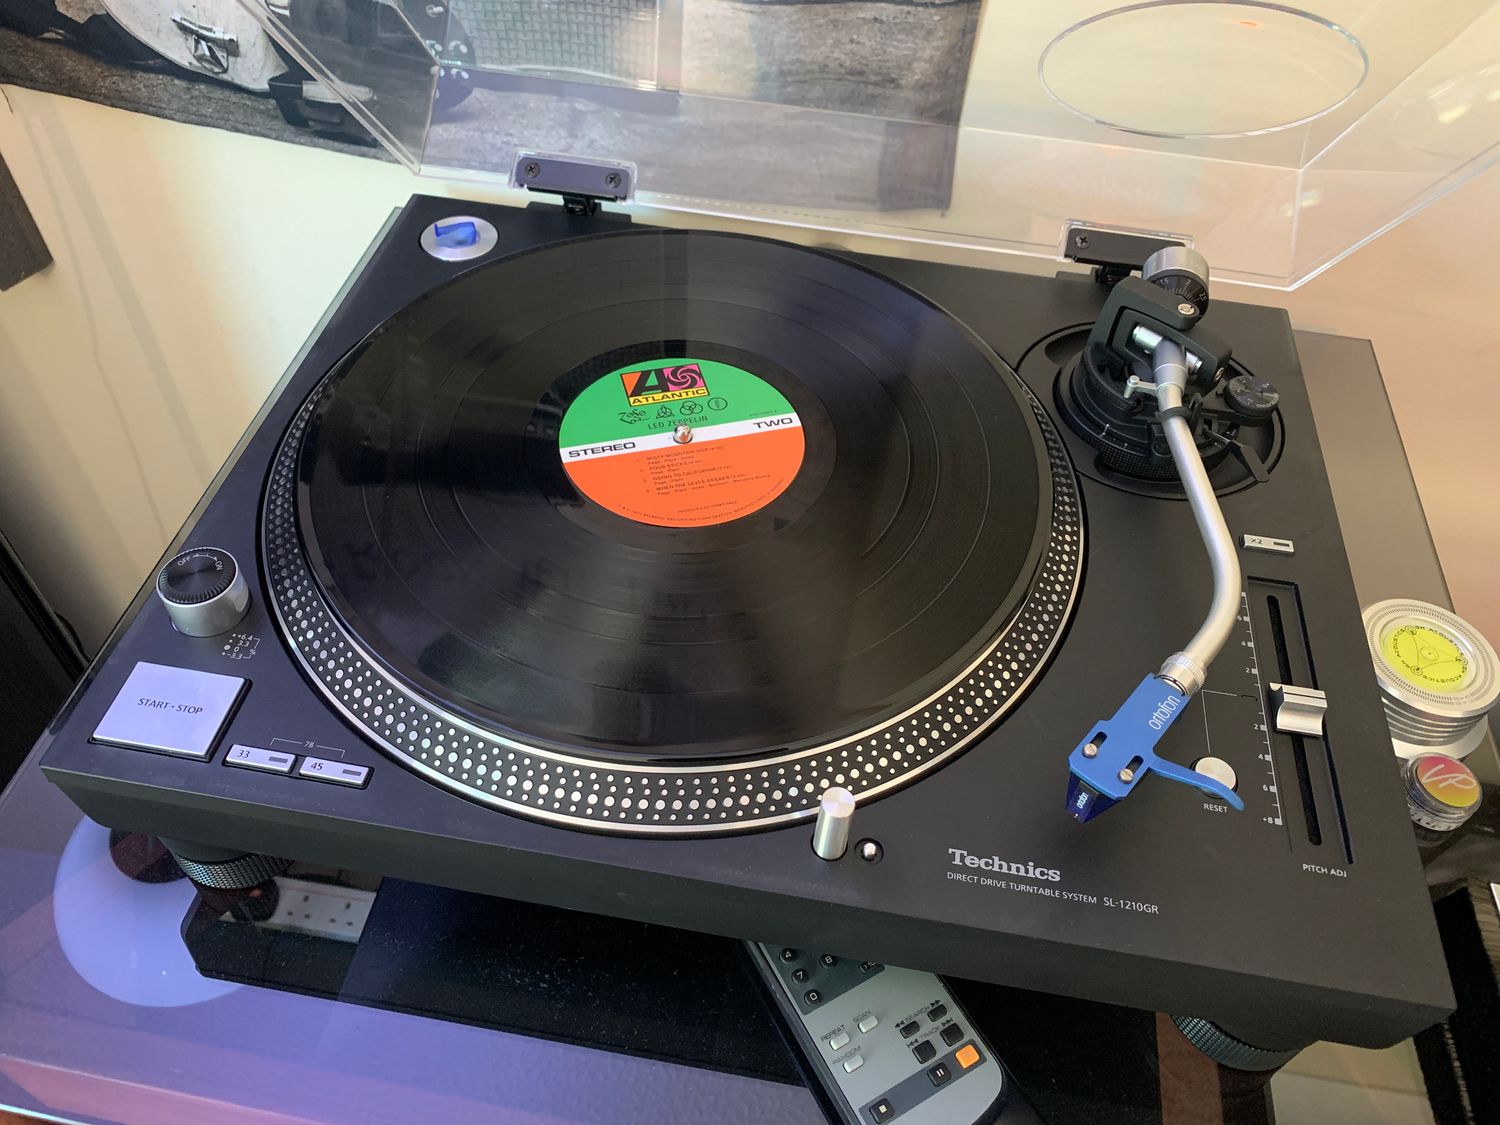
- Position the Tonearm: Move the tonearm over to the edge of the record where you want to start playback. Use the cue lever to lower the stylus onto the record grooves carefully.
- Adjust Tracking Force: Once the stylus is on the record, check the tracking force setting. It should be adjusted according to the specifications of your cartridge and turntable manufacturer. Consult the user manual for guidance on how to adjust the tracking force properly.
- Set the Anti-skate: Depending on your turntable, it may have an anti-skate mechanism. Adjust the anti-skate to match the tracking force setting. This helps to ensure that the stylus remains properly aligned in the record grooves for accurate tracking.
- Start Playback: Once the tracking force and anti-skate are properly set, gently move the cue lever or lift the tonearm to lower the stylus onto the record. The turntable should now be playing the music from the vinyl record.
By following these steps to prepare your turntable for playback, you’ll optimize the performance and ensure a smooth and accurate experience. Remember to handle the tonearm and stylus with care throughout the process to prevent any accidental damage to the record or equipment. Now you’re ready to sit back, relax, and immerse yourself in the warm and rich sound of your vinyl record.
Step 5: Operating the Vinyl Turntable
Now that your turntable is set up and ready for playback, it’s time to learn how to operate it effectively. Follow these steps to navigate through your vinyl records and control the playback:
- Select the Speed: Depending on the record you’re playing, choose the appropriate speed on your turntable. Most commonly, you’ll have options for 33 1/3 RPM and 45 RPM. Some turntables also offer a 78 RPM setting for older records.
- Start the Turntable: Gently move the cue lever or lift the tonearm to lower the stylus onto the record’s grooves. The turntable will begin spinning, and the stylus will start tracking the grooves, producing sound through the connected audio system.
- Monitor Playback: Keep an eye on the playback to ensure smooth tracking and sound quality. Monitor for any signs of skipping, distortion, or speed irregularities. If you encounter any issues, you may need to adjust the tracking force, anti-skate, or clean the stylus.
- Change Tracks: To switch to a different track on the vinyl record, gently lift the tonearm and move it to the desired location on the record. Use the cue lever to lower the stylus onto the grooves at the beginning of the desired track.
- Pause Playback: To temporarily pause playback, use the cue lever to lift the stylus off the record’s grooves. This avoids unnecessary wear on the record and needle. When you’re ready to resume, gently lower the stylus back onto the grooves.
- Stop Playback: To stop playback completely, gently lift the tonearm using the cue lever or lift mechanism and return it to its resting position. This will lift the stylus off the record and stop the turntable from spinning.
- Eject the Vinyl: Once you’re finished listening to a record, carefully lift the tonearm and move it to its resting position. Lift the record off the platter by holding the outer edges and return it to its protective inner sleeve.
- Power Off and Cover: After you’re done listening to vinyl records, turn off the turntable and cover it with the dust cover. This helps protect the turntable from dust and maintains its overall condition.
By following these steps to operate your vinyl turntable, you’ll be able to navigate through your record collection and enjoy the timeless sound of vinyl with ease. Remember to handle your vinyl records and turntable components delicately to avoid any damage or scratches. Now, go ahead and explore the magic of vinyl playback!
Step 6: Maintaining and Cleaning the Turntable
To ensure the longevity and optimal performance of your vinyl turntable, regular maintenance and cleaning are important. Follow these steps to keep your turntable in top condition:
- Dust and Clean the Platter: Use a microfiber cloth or an antistatic brush to remove any dust or debris from the turntable’s platter. Be gentle to avoid loosening any components or affecting the balance.
- Clean the Stylus: The stylus, or needle, is a crucial part of the turntable. It’s essential to keep it clean for accurate sound reproduction. Use a stylus brush or an appropriate cleaning solution to remove any accumulated dust or dirt from the stylus gently.
- Check the Cartridge Alignment: Over time, the cartridge on your turntable may shift slightly. Periodically check the alignment to ensure optimal tracking and playback performance. Consult your turntable’s user manual for instructions on how to properly align the cartridge.
- Inspect and Adjust Tracking Force: Check the tracking force setting periodically to ensure it’s still within the recommended range for your cartridge. Use a tracking force gauge to make any necessary adjustments, following the manufacturer’s guidelines.
- Inspect and Clean the Tonearm: Examine the tonearm for any signs of wear, damaged wires, or loose connections. Use a non-abrasive cloth and contact cleaner to clean the metal contacts and ensure a clean connection with the cartridge.
- Clean the Vinyl Records: Regularly clean your vinyl records to remove dust, dirt, and static buildup. You can use a record cleaning brush, a carbon fiber brush, or a record cleaning machine to deep clean your records and improve their sound quality.
- Store Your Vinyl Records Properly: When not in use, store your vinyl records in their protective inner sleeves and place them upright in a cool and dry environment. This helps prevent warping, dust accumulation, and other forms of damage.
- Keep the Turntable Covered: When not in use, keep your turntable covered with the dust cover or a cloth to protect it from dust and debris. This will help maintain its visual appeal and prevent any potential damage.
By following these maintenance steps, you can ensure that your turntable stays in excellent condition and delivers top-notch performance for years to come. Remember to be gentle when cleaning or adjusting any components and refer to the manufacturer’s instructions for specific maintenance recommendations for your turntable model.
Conclusion
Congratulations! You have now learned how to set up, operate, and maintain a vinyl turntable. By following these steps, you can fully immerse yourself in the world of vinyl and experience the warm, authentic sound that only vinyl records can provide.
Remember, proper setup is critical to ensure optimal performance. Take the time to find a suitable location, assemble your turntable correctly, and connect it to your audio system properly. Handle your vinyl records with care, using the correct techniques to avoid scratches and damage. And don’t forget to clean and maintain your turntable and records regularly for the best sound quality and longevity.
Using a vinyl turntable is not only about the music itself but also the experience surrounding it. Take the time to appreciate the album artwork, read the liner notes, and engage with the physicality of placing a vinyl record on the turntable. It’s a unique experience that connects you to the history and artistry behind the music.
So, gather your favorite vinyl records, set up your turntable, and let the magic of vinyl playback transport you to a world of rich, immersive sound. Whether you’re a seasoned vinyl enthusiast or just starting your journey, the joy and nostalgia of vinyl records are sure to captivate you every time you drop the needle on the spinning platter.