Home>Devices & Equipment>Turntable>How To Use Strobe On Turntable
Turntable
How To Use Strobe On Turntable
Published: January 18, 2024
Discover how to effectively use strobe on your turntable to achieve optimal performance and synchronization. Enhance your vinyl listening experience with our step-by-step guide.
(Many of the links in this article redirect to a specific reviewed product. Your purchase of these products through affiliate links helps to generate commission for AudioLover.com, at no extra cost. Learn more)
Table of Contents
Introduction
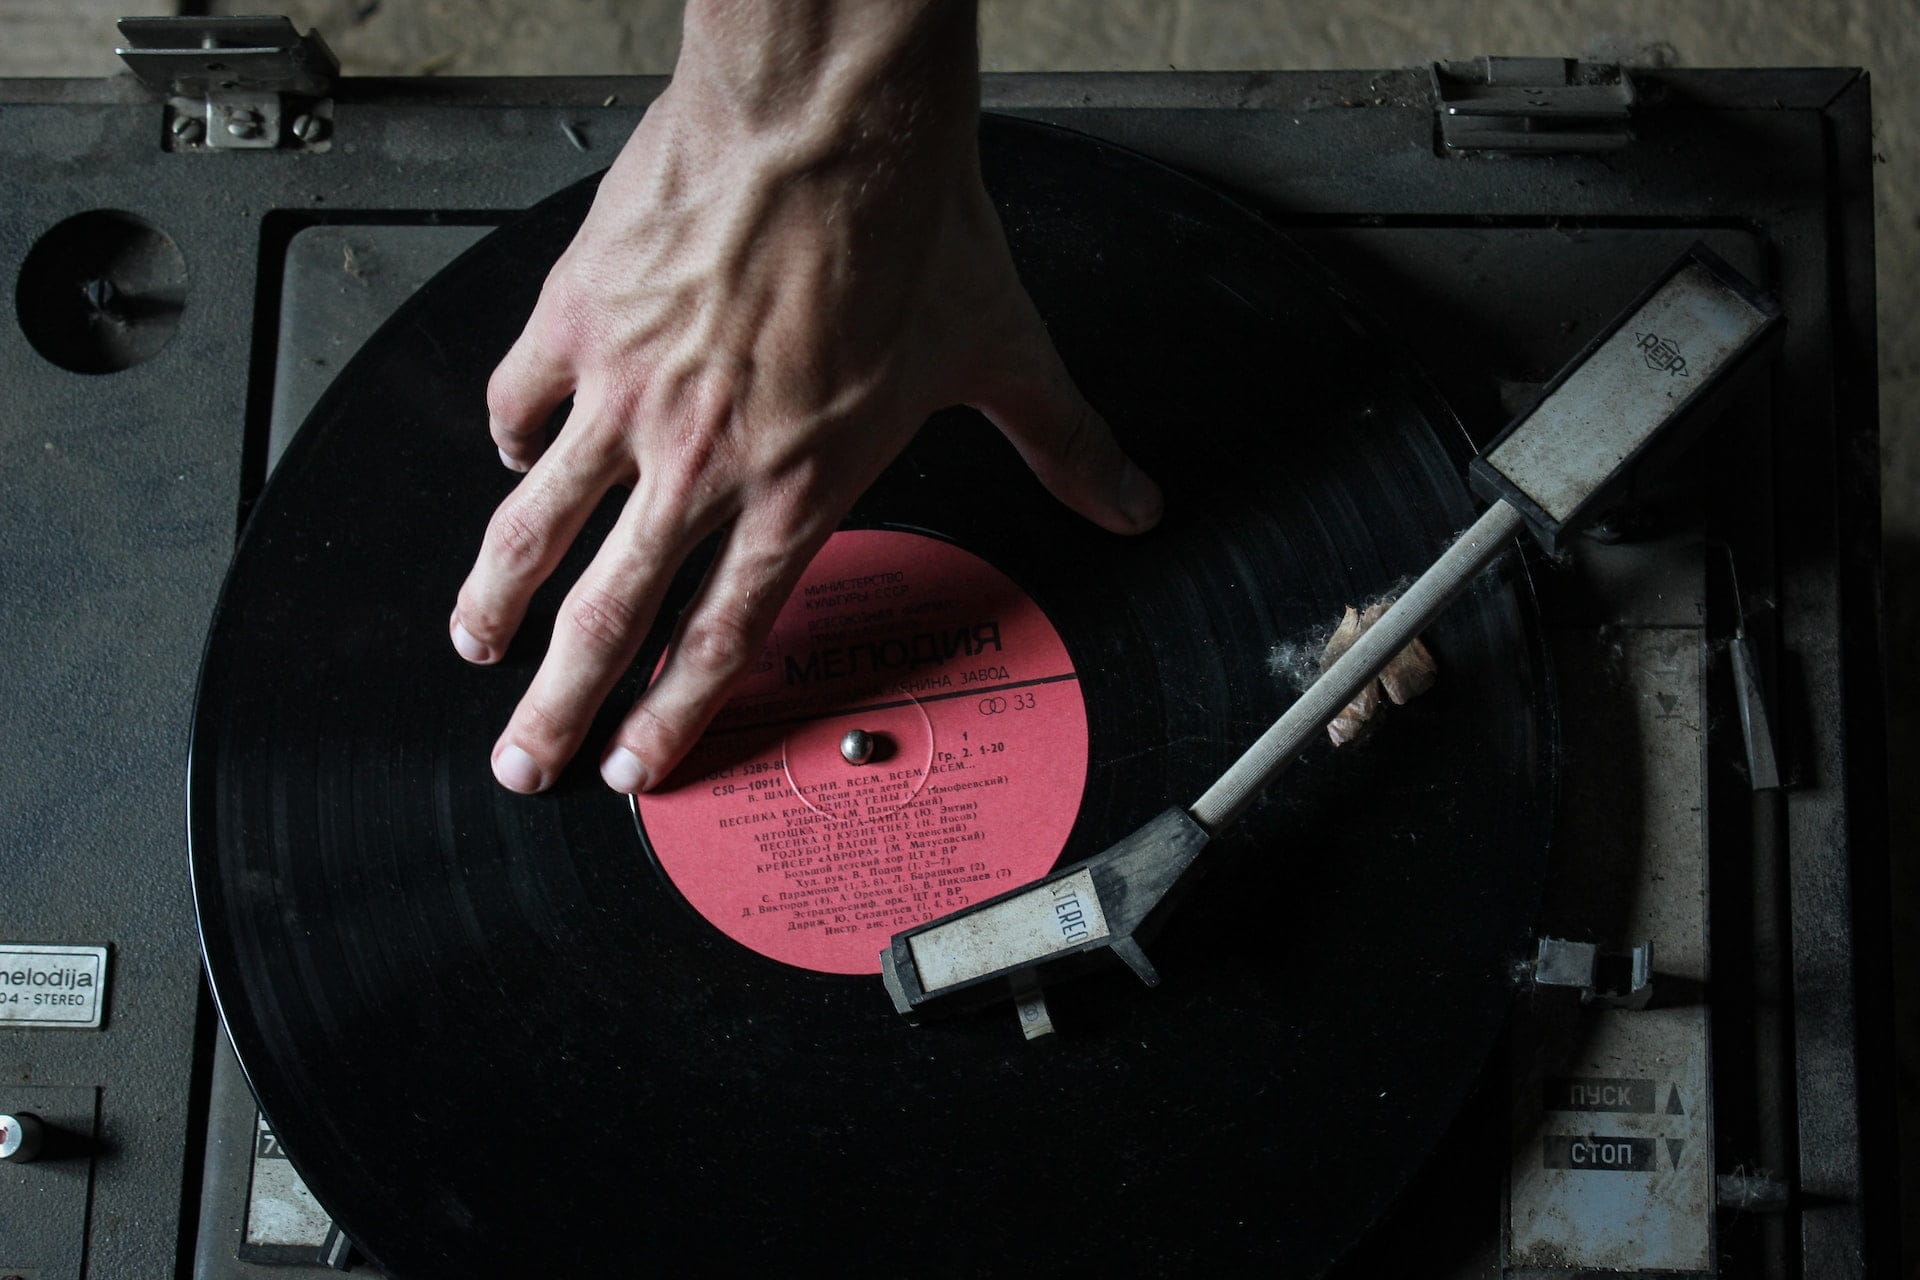
Welcome to the world of turntables, where the love for vinyl records and the art of DJing come together in a harmonious blend of sound and nostalgia. If you are a vinyl enthusiast or a DJ, you probably understand the importance of maintaining the accuracy and precision of your turntable. One essential tool for achieving this is the strobe.
A strobe is a feature commonly found on turntables that helps you ensure the platter’s rotation speed is accurate. Although it may seem like a simple component, using the strobe correctly can make a noticeable difference in the sound quality and longevity of your records. In this article, we will delve into the world of strobes on turntables, exploring what they are, why they are important, and how to use them effectively.
Whether you are a vinyl enthusiast who enjoys listening to music at home or a DJ who relies on precise beatmatching, understanding the strobe function of your turntable can greatly enhance your overall experience. So let’s dive in and discover the wonders of the strobe!
What is a strobe on a turntable?
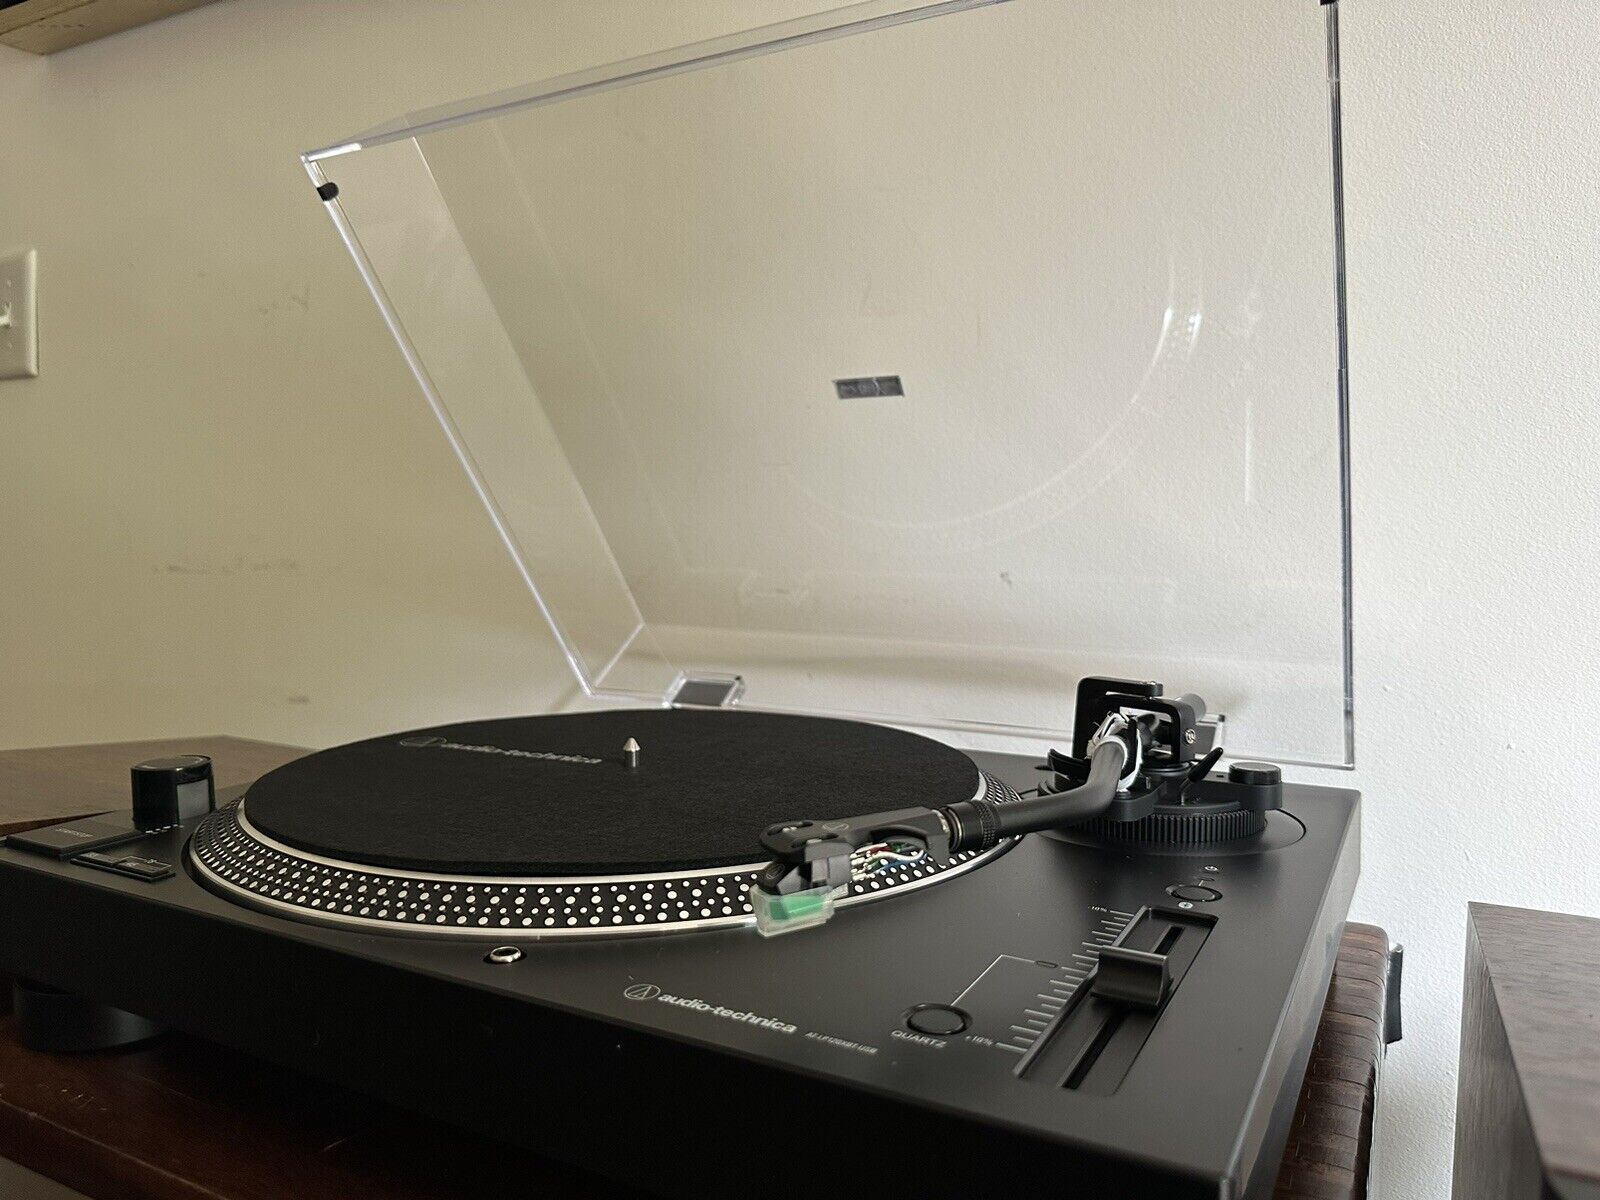
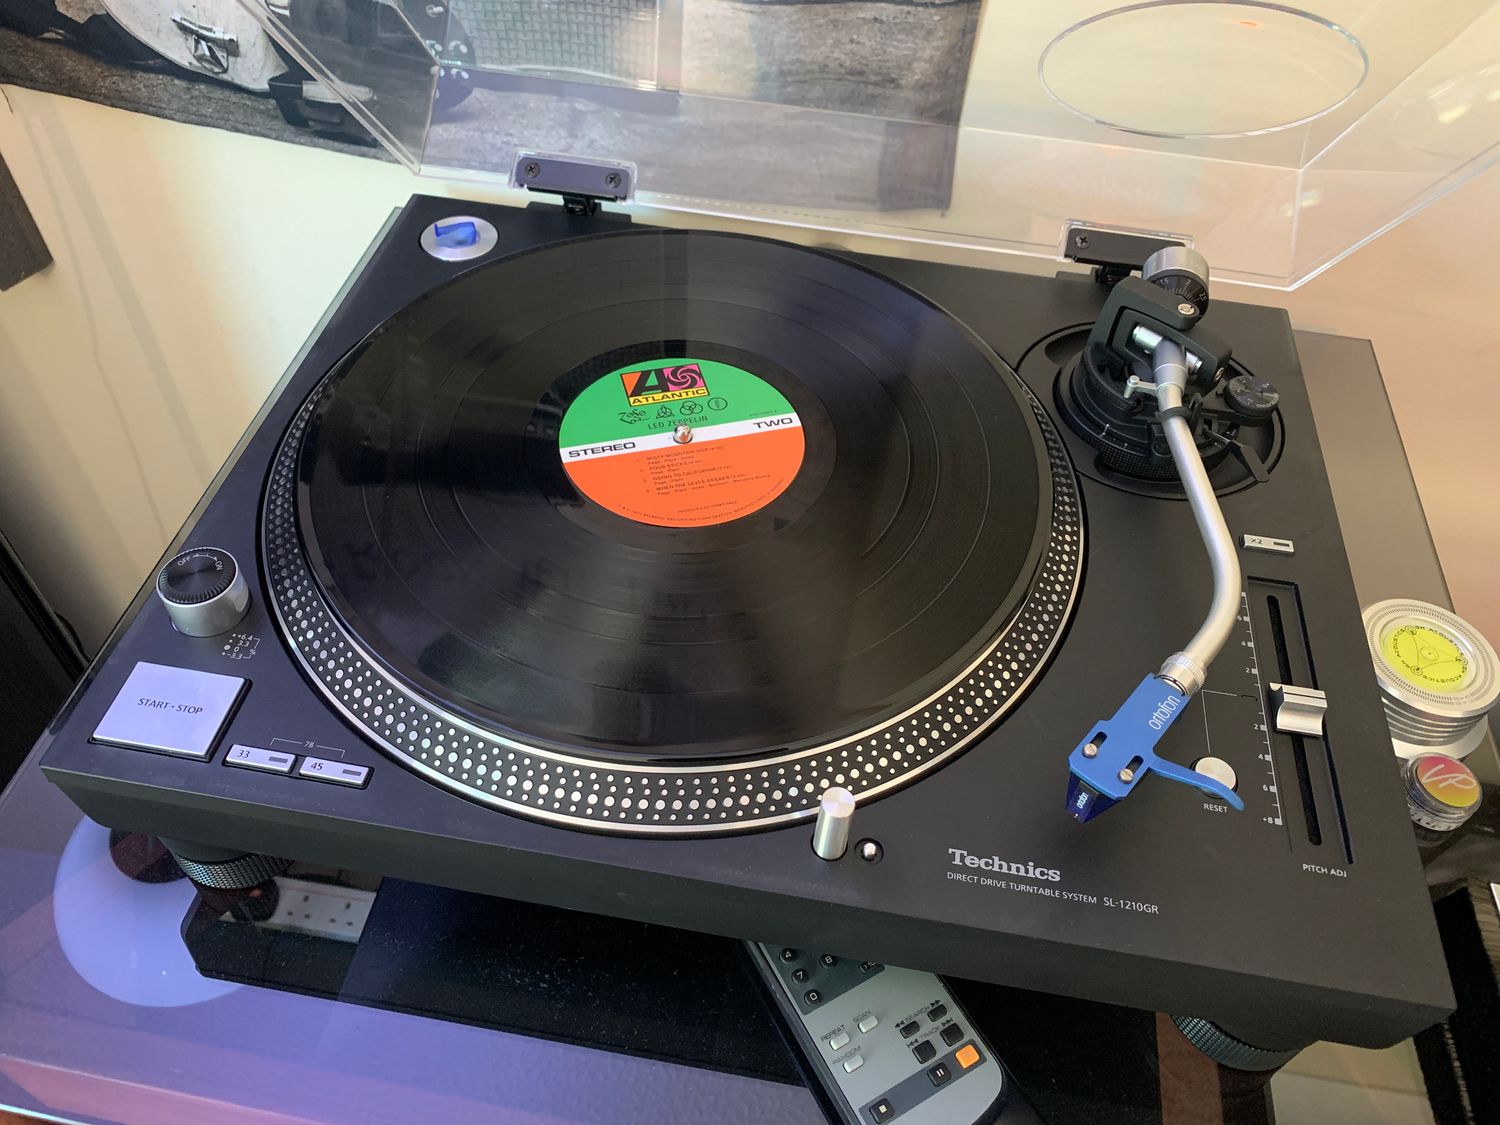
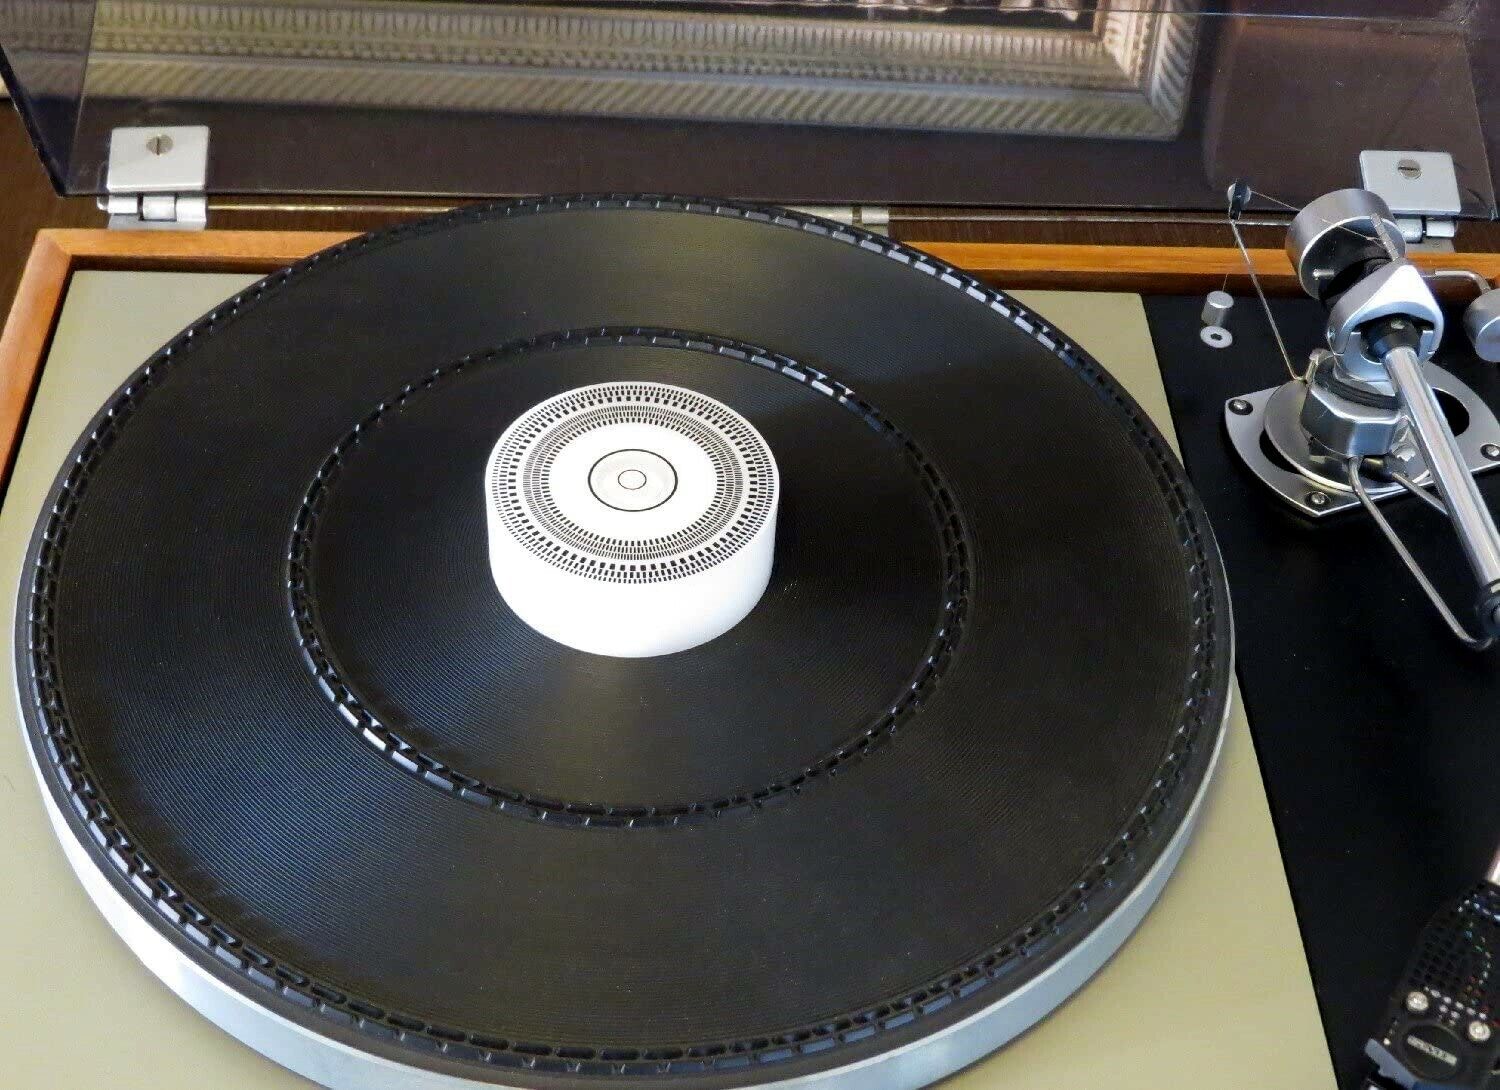
A strobe on a turntable is a tool that helps users ensure the accuracy of the turntable’s rotation speed. It consists of a series of evenly spaced lines or dots printed on a disc or a platter, which spin along with the record. When the strobe light is shone on these markings while the turntable is in motion, the lines or dots appear to be stationary if the rotation speed is precisely correct.
This visual reference point is crucial in determining whether the turntable is spinning at the correct speed, typically 33 1/3 RPM (revolutions per minute) for LP records and 45 RPM for 7-inch singles. By comparing the stationary markings on the strobe with the speed settings on the turntable, users can easily adjust and fine-tune the speed to achieve optimal playback quality.
Strobes can come in various forms, including printed strobe discs that are placed directly onto the platter or built-in strobe lights integrated into the turntable’s design. Some turntables even offer digital strobe displays for more accurate speed monitoring.
It’s important to note that not all turntables come with a built-in strobe function. However, for those that do, the strobe can be an invaluable tool for maintaining precise playback speed and ensuring that your vinyl records sound their best.
Why use a strobe on a turntable?
The strobe function on a turntable serves several important purposes, making it a valuable tool for vinyl enthusiasts and DJs alike. Here are a few reasons why using a strobe on a turntable is beneficial:
1. Accurate Speed Control: The primary function of a strobe on a turntable is to ensure accurate speed control. Vinyl records are engineered to be played at specific speeds (such as 33 1/3 RPM or 45 RPM), and any deviation from the intended speed can affect the playback quality. By using the strobe, you can easily calibrate and adjust the turntable’s speed to match the standard, guaranteeing accurate reproduction of the music.
2. Optimal Sound Quality: Maintaining the correct speed on your turntable is crucial for achieving optimal sound quality. When the turntable spins at the correct speed, the stylus can accurately track the grooves of the record, minimizing distortion and preserving the original audio fidelity. The strobe function allows you to fine-tune the speed, ensuring you enjoy the full sonic potential of your vinyl collection.
3. Preservation of Records: Playing vinyl records at the wrong speed can cause premature wear and tear, affecting the longevity of your cherished collection. Over time, records played at incorrect speeds may experience increased surface noise, groove damage, or even skipping. By using a strobe to maintain accurate speed, you can prevent unnecessary damage and extend the lifespan of your vinyl records.
4. Beatmatching for DJs: For DJs who rely on vinyl records for mixing and beatmatching, the strobe function is an indispensable tool. It allows DJs to precisely match the beats per minute (BPM) between two records for seamless transitions and tight synchronization. The strobe’s visual feedback makes it easier to align the tempos and create seamless mixes, enhancing the overall DJing experience.
In summary, using a strobe on a turntable is essential for maintaining accurate speed control, ensuring optimal sound quality, preserving your vinyl collection, and facilitating beatmatching for DJs. It is a valuable tool that enhances the overall enjoyment and longevity of both music lovers and professionals in the realm of vinyl.
Preparing your turntable for strobe usage
Before you can effectively use the strobe on your turntable, there are a few steps you need to take to ensure that everything is set up correctly. Follow these guidelines to prepare your turntable for strobe usage:
1. Clean the turntable: Start by cleaning the turntable, including the platter, tonearm, and stylus. Any dust, dirt, or debris can interfere with the accuracy of the strobe readings, so it’s important to have a clean surface to work with. Use a soft, lint-free cloth and appropriate cleaning solutions to gently remove any contaminants.
2. Check the belt or drive system: If your turntable has a belt-drive system, make sure to inspect the belt for wear and tear. If it appears stretched or damaged, it’s essential to replace it for consistent speed performance. For direct-drive turntables, ensure that the motor is in good condition and functioning properly.
3. Calibrate the pitch control: Most turntables come with a pitch control slider or knob that allows you to adjust the speed manually. Before using the strobe, calibrate the pitch control by setting it to the center position or the 0% mark. This ensures that the turntable is at its default speed before making any adjustments based on the strobe readings.
4. Place the strobe disc: If your turntable requires a separate strobe disc, place it onto the platter. Ensure that it is centered and sitting flat on the surface. Some strobe discs have markings for both 33 1/3 RPM and 45 RPM, so make sure to align the appropriate markings based on the speed you wish to verify.
5. Activate the strobe light: Turn on the strobe light function on your turntable. This can be a built-in LED light or an external light source that illuminates the strobe markings on the platter. The light should be consistent and evenly lit to provide accurate readings.
With these steps completed, your turntable is now prepared for strobe usage. It’s crucial to regularly clean and maintain your turntable to ensure accurate speed measurements and reliable performance. Now, let’s move on to the next section to learn how to use the strobe on your turntable properly.
How to use a strobe on a turntable step by step
Using a strobe on a turntable may seem daunting at first, but it’s actually a straightforward process. Follow these simple steps to effectively use the strobe on your turntable:
- Turn on the strobe light: Activate the strobe light function on your turntable. Ensure that the light is evenly illuminated and directed towards the strobe markings on the platter.
- Set the turntable speed: Using the speed control on your turntable, set the desired playback speed. This could be either 33 1/3 RPM or 45 RPM, depending on the record you are playing. Make sure to refer to the markings on the turntable for accurate speed selection.
- Observe the strobe markings: Look closely at the strobe markings on the platter while the turntable is in motion. The strobe lines or dots should appear to be stationary if the speed is accurate. This visual effect occurs due to the synchronization between the strobe light’s frequency and the platter’s rotation speed.
- Adjust the turntable speed: If the strobe markings appear to be moving slowly or quickly, it means that the turntable speed is slightly off. Use the pitch control on your turntable to make fine adjustments to the speed. Slowly adjust the pitch control until the strobe markings remain stationary.
- Verify the speed: Once you believe that the strobe markings are stationary, double-check the speed of your turntable by using an external reference, such as a digital speed measurement device or a smartphone app designed for turntable speed calibration. This will ensure that you have achieved the desired speed accurately.
- Repeat for different speeds: If you need to change the speed for a different record, repeat the process by selecting the appropriate speed on your turntable and adjusting the pitch control until the strobe markings remain steady.
By following these steps, you can effectively use the strobe on your turntable to ensure accurate playback speed. Remember to take your time and make small adjustments until the strobe markings appear to be stationary. Regularly check and calibrate your turntable’s speed to maintain optimal performance and sound quality.
Troubleshooting common issues with strobes on turntables
While using the strobe on a turntable can significantly improve the accuracy and performance of your vinyl playback, occasionally, you may encounter some issues. Here are some common problems and troubleshooting steps to resolve them:
- Inconsistent or flickering strobe markings: If the strobe markings on the platter appear inconsistent or flickering, the issue may be with the strobe light or its power source. Check the light source and make sure it is securely plugged in and functioning correctly. If it continues to flicker, consider replacing the strobe light with a compatible replacement.
- Inaccurate speed adjustment: If you find it challenging to adjust the turntable’s speed accurately using the pitch control, the problem could be due to mechanical issues or improper calibration. Ensure that the pitch control mechanism is clean and properly lubricated. If the problem persists, consult the turntable’s manual or seek professional assistance for calibration and repair.
- Incompatible strobe markings: Some turntables may require specific strobe discs or patterns that are uniquely designed for that model. If your strobe markings do not align with the turntable’s speed settings, check the manufacturer’s guidelines to ensure you are using the correct strobe disc or seek advice from customer support.
- Uneven lighting: Uneven lighting on the strobe markings can lead to inaccurate speed readings. Ensure that the strobe light source is evenly distributed and well-positioned to illuminate the markings consistently. If needed, consider using an external lighting source or adjusting the turntable’s position to achieve better lighting conditions.
- Lack of accessible strobe feature: Not all turntables have a built-in strobe feature. If your turntable does not have a strobe, there are alternative methods available, such as external strobe kits or smartphone apps that provide similar functionality. Explore these options to verify and adjust the turntable’s speed accurately.
If you encounter persistent issues with the strobe on your turntable, it is recommended to consult the turntable’s manual or contact the manufacturer’s support for further assistance. They can provide specific guidance tailored to your turntable’s model and help you resolve any technical difficulties effectively.
Remember that troubleshooting and resolving issues with the strobe require patience and attention to detail. By addressing these common problems, you can ensure an optimal strobe experience and achieve accurate speed control for your turntable.
Conclusion
Using a strobe on your turntable can greatly enhance your vinyl listening experience and ensure accurate playback speed. With its ability to visually indicate the correctness of rotation speed, the strobe becomes an invaluable tool for vinyl enthusiasts and DJs. By following the steps outlined in this article, you can effectively use the strobe to maintain optimal speed control, improve sound quality, and extend the lifespan of your vinyl collection.
Remember to start by preparing your turntable for strobe usage, ensuring cleanliness and proper function. Calibrate the pitch control and place the strobe disc on the platter to set the stage for accurate measurements. Then, activate the strobe light and observe the stationary markings to adjust the turntable’s speed as needed. Verify the speed using external references if necessary.
Despite potential challenges like inconsistent strobe markings or incompatible patterns, troubleshooting these issues is feasible by checking the light source, mechanically maintaining the turntable, or seeking expert guidance when needed.
Ultimately, utilizing the strobe on your turntable allows you to achieve precise speed control, resulting in optimal sound reproduction and record preservation. Whether you are a passionate music lover or a professional DJ, integrating the strobe into your turntable routine will elevate your vinyl experience to new heights.
So, go ahead and experiment with the strobe on your turntable, and enjoy the magic of accurate speed control and immaculate vinyl playback. Happy listening!