Home>Devices & Equipment>Turntable>How To Use Usb On Audio Technica Turntable
Turntable
How To Use Usb On Audio Technica Turntable
Published: January 19, 2024
Learn how to use USB on your Audio Technica turntable and easily transfer your vinyl records to digital format. Get step-by-step instructions and start enjoying your favorite music anywhere.
(Many of the links in this article redirect to a specific reviewed product. Your purchase of these products through affiliate links helps to generate commission for AudioLover.com, at no extra cost. Learn more)
Table of Contents
- Introduction
- Overview of USB on Audio Technica Turntable
- Step 1: Connecting the USB Cable
- Step 2: Selecting the USB Output Mode
- Step 3: Configuring Audio Settings
- Step 4: Recording from the Turntable to a USB Device
- Step 5: Transferring files from USB Device to Computer
- Troubleshooting USB Connection Issues
- Conclusion
Introduction
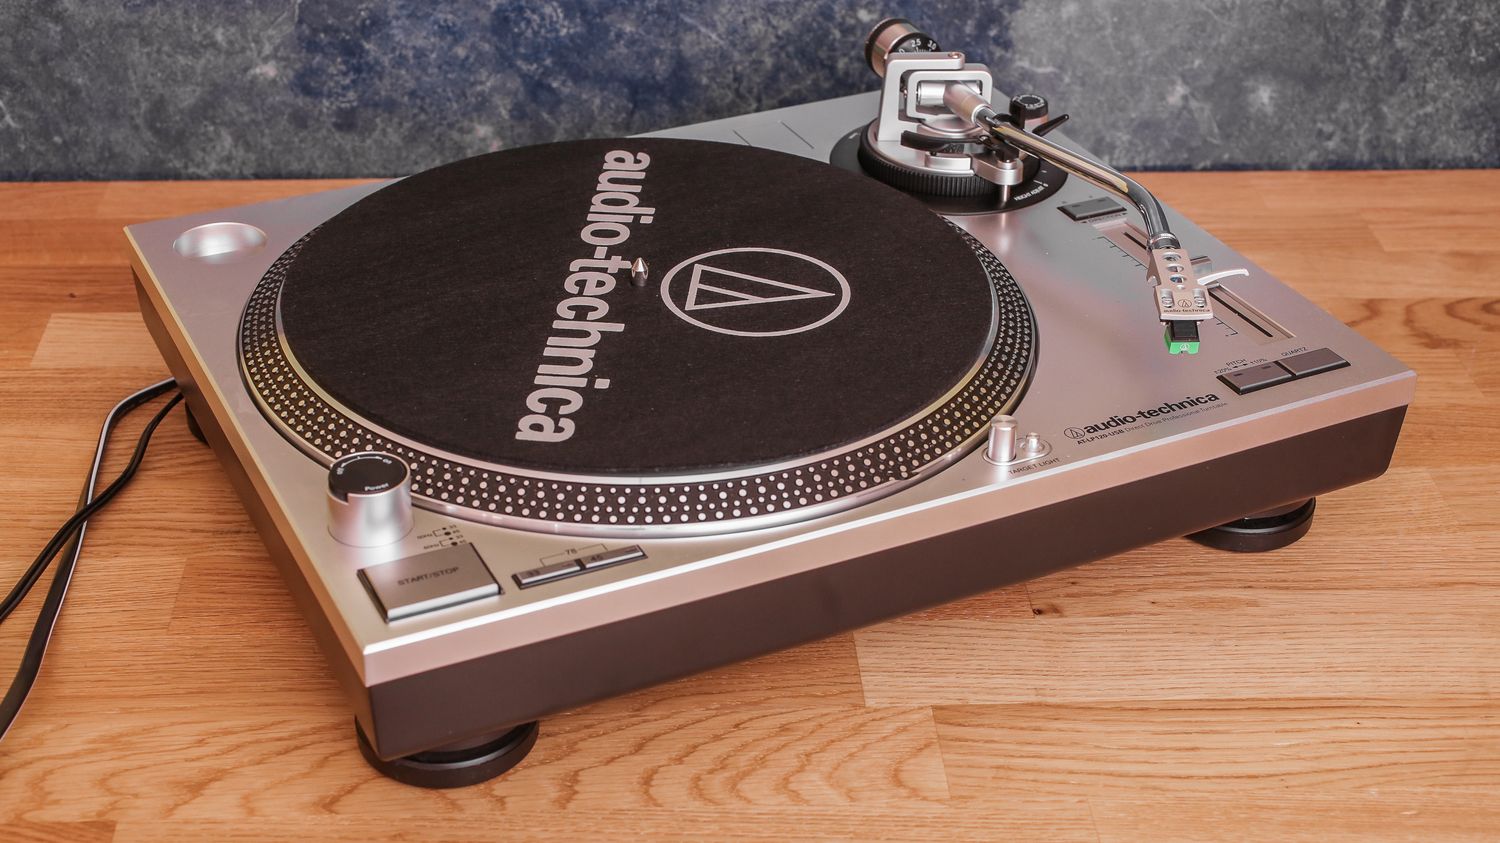
Welcome to the world of turntables, where the rich sound of vinyl records comes alive. Audio Technica, a renowned brand in the audio industry, offers a range of high-quality turntables that allow you to experience the warmth and authenticity of analog music. What sets Audio Technica apart is its inclusion of a USB output feature on some of its turntable models. This USB capability opens up a whole new world of possibilities, allowing you to easily digitize your vinyl collection for convenient playback and storage.
If you’re new to the concept of using USB on an Audio Technica turntable, fear not. This article will guide you through the process, step by step, so you can make the most of this feature. From connecting the USB cable to recording and transferring files, we’ll cover it all.
Before we dive into the details, it’s important to understand the benefits of using USB on an Audio Technica turntable. Firstly, it allows you to convert your analog vinyl records into digital files, preserving them for the future and giving you the flexibility to listen to your favorite tracks on multiple devices. Secondly, it simplifies the process of transferring your music to a computer or other USB-compatible devices, eliminating the need for additional equipment or complicated setups.
Whether you’re a vinyl enthusiast looking to preserve your collection or someone who simply wants to enjoy the magic of vinyl in a modern way, learning how to use USB on an Audio Technica turntable is a valuable skill. So, let’s get started on this exciting journey of merging the old and the new in the world of music!
Overview of USB on Audio Technica Turntable
USB, which stands for Universal Serial Bus, is a widely used technology that allows for convenient data transfer between devices. Audio Technica turntables with USB capability enable users to connect the turntable directly to a computer or other USB-compatible devices, providing a seamless way to digitize and transfer music.
Audio Technica offers several turntable models with different USB functionalities. Some models feature a built-in USB output, while others require an additional USB interface or preamp for USB connectivity. It’s important to check the specific model of your Audio Technica turntable to determine the USB setup required.
The USB output on an Audio Technica turntable serves two main purposes: recording audio from vinyl records and transferring the recorded files to a computer or USB device. By connecting the Audio Technica turntable to your computer via USB, you can easily capture the analog sound and convert it into digital files, such as MP3 or WAV, using recording software.
One of the key advantages of USB on Audio Technica turntables is the ability to bypass the need for a separate audio interface or external recording devices. The turntable’s built-in USB functionality acts as an all-in-one solution, simplifying the process of digitizing your vinyl collection.
It’s worth noting that while USB connectivity allows for direct recording, it does not necessarily enhance the sound quality of the vinyl records. The sound quality primarily depends on the cartridge, stylus, and overall design of the turntable itself.
Now that we understand the purpose and benefits of USB on Audio Technica turntables, let’s move on to the step-by-step guide on how to use USB on your turntable for recording and transferring files.
Step 1: Connecting the USB Cable
The first step in using USB on your Audio Technica turntable is to connect the USB cable. Depending on the model of your turntable, the USB port may be located on the front, back, or side of the unit. Locate the USB port on your turntable and ensure that you have a compatible USB cable.
Take one end of the USB cable and plug it into the USB port on your turntable. Make sure it is inserted securely and fits snugly into the port. Then, take the other end of the USB cable and plug it into an available USB port on your computer. Again, ensure that the connection is secure.
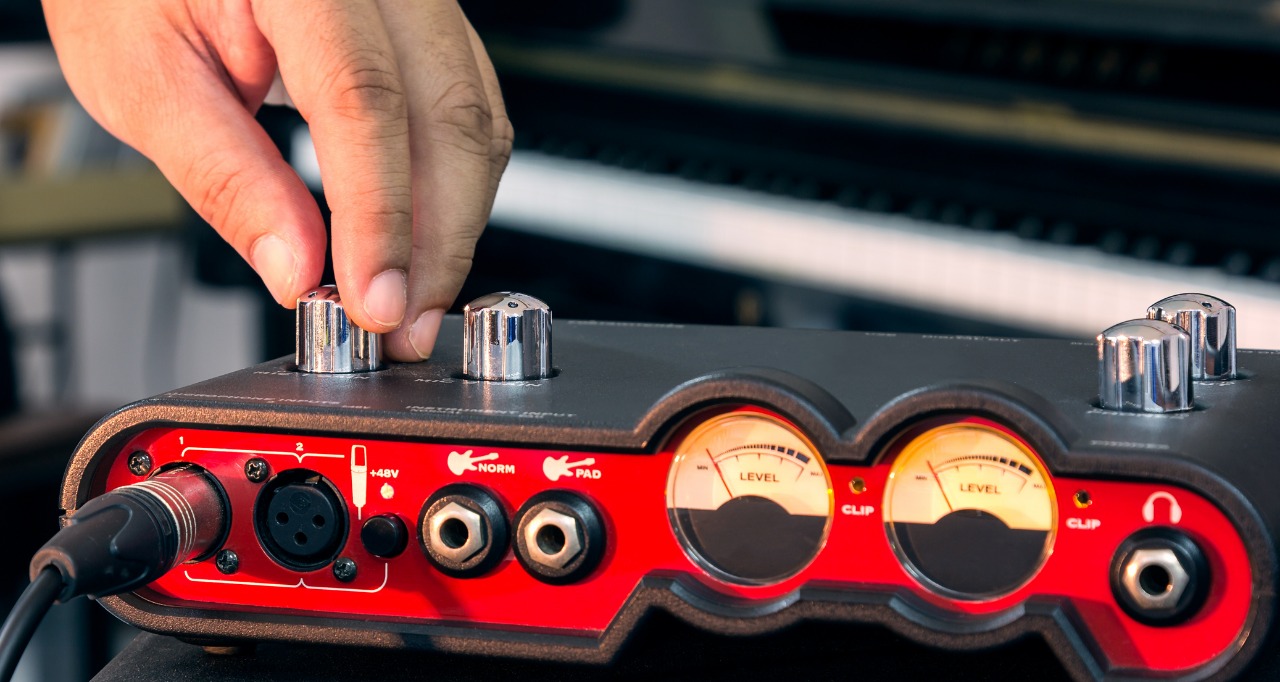
If your Audio Technica turntable requires an additional USB interface or preamp, connect the USB cable from the turntable to the USB interface, and then connect the interface to your computer using another USB cable. Follow the specific instructions provided with the USB interface or preamp to ensure proper connection.
Once the USB cable is connected, you are ready to move on to the next step.
Step 2: Selecting the USB Output Mode
After successfully connecting the USB cable, the next step is to select the USB output mode on your Audio Technica turntable. This step may vary depending on the model of your turntable, so it’s essential to consult your turntable’s user manual for specific instructions.
Most Audio Technica turntables with USB capability offer multiple USB output modes, such as “PC” or “Mac” mode, “Phono” mode, or “Line” mode. These options allow you to optimize the audio signal for different purposes.
If you intend to use your turntable for recording vinyl records to your computer, select the appropriate USB output mode for your operating system. For Windows computers, choose the “PC” mode, while for macOS devices, select the “Mac” mode. This ensures that your turntable communicates effectively with your computer and provides the best audio quality.
If you plan to use your turntable purely for playback purposes, you can select the “Phono” or “Line” mode, depending on your setup. The “Phono” mode is suitable for connecting your turntable to an amplifier or receiver featuring a dedicated phono input. On the other hand, the “Line” mode is suitable for connecting the turntable to an auxiliary input or line-level input on your audio system.
To select the USB output mode on most Audio Technica turntables, you will need to use the mode switch or selector located on the turntable’s control panel. Rotate or slide the switch to the appropriate USB output mode as per your requirements.
Once you have selected the correct USB output mode, you are now ready to configure the audio settings on your computer. This will ensure optimal recording quality during the digitization process.
Step 3: Configuring Audio Settings
Before you start recording from your Audio Technica turntable to your computer, it is important to configure the audio settings to ensure the best possible sound quality. The audio settings may vary depending on the operating system and recording software you are using. Here are some general steps to follow:
1. Open the audio settings or preferences on your computer. This can usually be found in the Control Panel (Windows) or System Preferences (Mac).
2. Select the input device or audio source. Look for the option that corresponds to your Audio Technica turntable or USB interface. This may be listed as the turntable’s model name or as a USB audio device.
3. Set the input level or gain. Adjust the input level to an appropriate setting to ensure the audio signal is not too low or too high. Too low of a level may result in a weak recording, while too high of a level may cause distortion.
4. Choose the audio format and quality. Depending on your recording software, you may have the option to select the audio format (such as WAV or MP3) and the quality (bitrate or sample rate). Choose the desired format and quality based on your preferences and intended use.
5. Test the audio settings. Play a record on your turntable and monitor the input level. Ensure that the audio signal is coming through clearly and without any distortion or clipping.
6. Save the audio settings. Once you have configured the audio settings to your satisfaction, save the changes so that they are applied for future recordings.
It’s important to note that the steps above are general guidelines, and the exact process may vary depending on your specific operating system, recording software, and turntable model. Refer to the user manuals or online documentation for your equipment and software for more detailed instructions.
Once you have successfully configured the audio settings, you are now ready to proceed with recording from your turntable to your computer.
Step 4: Recording from the Turntable to a USB Device
Now that you have connected your Audio Technica turntable, selected the USB output mode, and configured the audio settings, you are ready to start recording your vinyl records to a USB device. Follow these steps to ensure a successful recording:
1. Launch your preferred recording software on your computer. There are various options available, such as Audacity, Adobe Audition, or even the built-in recording software that comes with your operating system.
2. Create a new recording project or session within the software. Set the recording parameters, such as the audio format (WAV or MP3) and the desired quality (bitrate or sample rate).
3. Place a vinyl record on the turntable and cue it up to the desired starting point. Ensure that the turntable is properly grounded and that the stylus is in good condition.
4. Press the record button in the recording software to start capturing the audio from the turntable. Start the turntable and carefully lower the stylus onto the vinyl record.
5. Monitor the recording levels in the software to ensure that the audio signal is neither too high (resulting in distortion) nor too low (resulting in a weak recording). Adjust the input level as necessary.
6. Allow the record to play through, capturing the desired tracks or sides. During playback, avoid disturbing the turntable or causing vibrations that could affect the recording quality.
7. Once the recording is complete, press the stop button in the recording software to end the recording. Lift the stylus from the record and stop the turntable.
8. Save the recorded files to your USB device. Follow the software’s instructions to export or save the recording in the desired location on your USB device.
It’s important to note that the recording process may require some experimentation and adjustment to achieve the desired sound quality. You may need to tweak the recording levels, placement of the stylus, or even the vinyl cleaning to optimize the recording results.
Remember to label your recorded files appropriately to easily identify the tracks or albums. It is also a good practice to create a backup of the files on your computer or a separate storage device.
With these steps, you can now digitize your vinyl collection and enjoy your favorite records on a wide range of digital devices.
Step 5: Transferring files from USB Device to Computer
Once you have successfully recorded your vinyl records to a USB device using your Audio Technica turntable, the next step is to transfer the files from the USB device to your computer for further organization, editing, or playback. Follow these steps to complete the transfer:
1. Plug the USB device into an available USB port on your computer. Ensure that the connection is secure and that the USB device is recognized by your computer.
2. Open the file explorer or finder on your computer. Navigate to the USB device to locate the recorded files. The files are typically stored in a folder or directory on the USB device.
3. Select the recorded files that you wish to transfer to your computer. You can either select individual files or select all files within the folder.
4. Right-click on the selected files and choose the “Copy” or “Cut” option from the context menu.
5. Navigate to the desired location on your computer where you want to transfer the files. This can be a specific folder or directory where you intend to store your digital music collection.
6. Right-click in the destination folder and choose the “Paste” option from the context menu. This will begin transferring the recorded files from the USB device to your computer.
7. Depending on the file size and the speed of your USB connection, the transfer process may take some time. Ensure that you do not disconnect the USB device during the transfer to avoid potential data loss.
8. Once the transfer is complete, verify that the files have been successfully copied to your computer. You can play the files using your preferred media player to ensure the audio quality and check for any potential errors.
It’s important to note that the transfer process may vary slightly depending on your operating system and file management preferences. However, the general steps mentioned above should serve as a guide for most computer systems.
After transferring the files to your computer, you can further organize and manage your digital music collection using music library software or media players. This allows you to easily browse, search, and enjoy your vinyl record recordings on your computer or other devices.
Troubleshooting USB Connection Issues
While using USB on your Audio Technica turntable can be a convenient and straightforward process, you may encounter some common issues related to the USB connection. Here are a few troubleshooting steps to help resolve any USB connection problems you may encounter:
1. Check the USB cable: Ensure that the USB cable is securely connected to both the turntable and the computer. Try using a different USB cable to rule out any potential cable faults.
2. Verify USB compatibility: Confirm that your Audio Technica turntable is compatible with your computer’s operating system. Check the manufacturer’s website or consult the user manual for information on system requirements and compatibility.
3. Restart your computer: Sometimes, a simple restart can resolve USB connection issues. Restart your computer and try reconnecting the USB cable to see if the connection is established.
4. Update USB drivers: Ensure that your computer’s USB drivers are up to date. Visit the manufacturer’s website to download and install the latest drivers for your computer’s USB ports.
5. Try a different USB port: If you’re experiencing connection issues, try connecting the USB cable to a different USB port on your computer. Some USB ports may have faulty connections, so switching ports can help troubleshoot the problem.
6. Disable USB power-saving settings: Some computers have power-saving settings that may affect USB connectivity. Disable any power-saving settings related to USB ports and see if it resolves the issue.
7. Test on a different computer: If possible, try connecting your Audio Technica turntable to a different computer to see if the issue persists. This will help determine if the problem is with the turntable or the computer.
8. Contact customer support: If you have tried the above troubleshooting steps and are still experiencing USB connection issues, reach out to the Audio Technica customer support team for further assistance. They will be able to provide specific guidance and potentially resolve any hardware or software-related problems.
By following these troubleshooting steps, you can overcome common USB connection issues and ensure a smooth and reliable connection between your Audio Technica turntable and your computer.
Conclusion
Using USB on an Audio Technica turntable opens up a world of possibilities for digitizing and enjoying your vinyl record collection. With the ability to connect directly to your computer or other USB-compatible devices, you can easily record and transfer your favorite tracks for convenient playback and long-term preservation.
In this comprehensive guide, we have explored the steps involved in using USB on an Audio Technica turntable. From connecting the USB cable to selecting the appropriate output mode, configuring audio settings, recording your vinyl records, and transferring files to your computer, each step was outlined to help you effectively utilize this feature.
Whether you are a vinyl enthusiast looking to preserve your analog collection or simply want to experience the rich, warm sound of vinyl in a modern way, USB connectivity on an Audio Technica turntable provides a convenient and efficient solution.
Remember to consult the user manual that came with your turntable for model-specific instructions, as different Audio Technica turntable models may have slight variations in their USB functionality and setup.
With the knowledge gained from this guide, you can confidently embark on the journey of digitizing your vinyl collection, enjoying the best of both analog and digital music worlds.
So dust off those vinyl records, connect your Audio Technica turntable via USB, and embrace the timeless beauty of vinyl with the convenience of modern technology. Happy listening!