Home>Devices & Equipment>Turntable>How To Set Up Turntable To Audio System
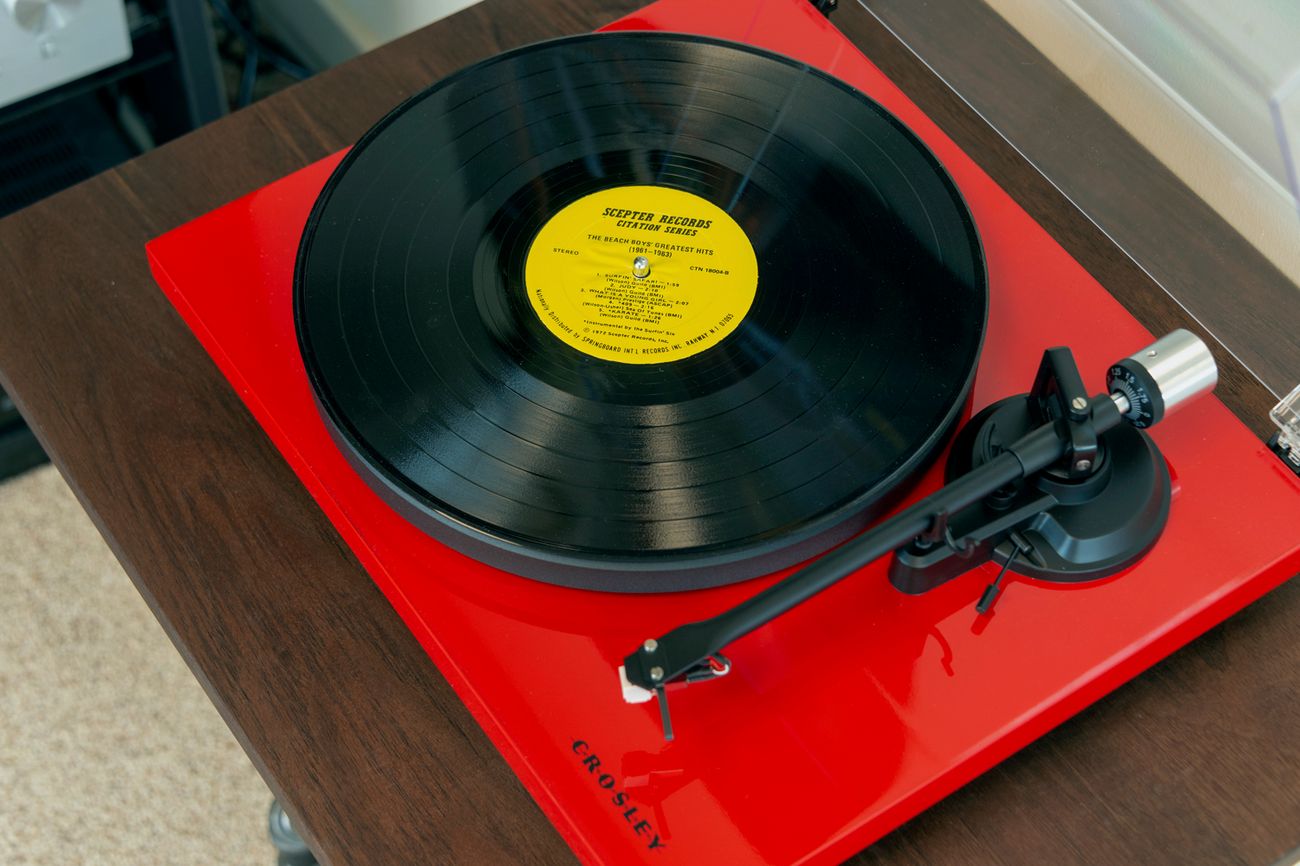
Turntable
How To Set Up Turntable To Audio System
Modified: January 22, 2024
Learn how to set up your turntable to your audio system for the best sound quality and enjoy your vinyl collection to the fullest.
(Many of the links in this article redirect to a specific reviewed product. Your purchase of these products through affiliate links helps to generate commission for AudioLover.com, at no extra cost. Learn more)
Table of Contents
- Introduction
- Step 1: Choose the right location for your turntable
- Step 2: Connect the turntable to the audio system
- Step 3: Set up the turntable’s cartridge and stylus
- Step 4: Configure the turntable’s speed and tracking force
- Step 5: Calibrate the turntable’s tonearm
- Step 6: Adjust the anti-skate control
- Step 7: Connect the turntable to external speakers or amplifiers
- Step 8: Test and fine-tune the audio system
- Conclusion
Introduction
Setting up a turntable to an audio system is a crucial step in enjoying the full potential of your vinyl collection. A turntable is more than just a nostalgic piece of equipment; it is a gateway to a rich and immersive musical experience. Whether you are a seasoned vinyl enthusiast or new to the world of analog audio, this guide will provide you with step-by-step instructions on how to set up your turntable to your audio system.
Before we dive into the specifics of the setup process, it is important to understand a few key components of the turntable. At its core, a turntable consists of a platter where the vinyl record is placed, a tonearm that holds the cartridge and stylus, and an audio cable that connects the turntable to your audio system. The cartridge and stylus are responsible for reading the grooves on the record and converting them into an electrical signal that can be amplified and played through speakers or headphones.
Proper setup of the turntable ensures optimal sound quality and prevents damage to your precious vinyl records. While the setup process may seem daunting at first, fear not! With a little patience and attention to detail, you will soon be enjoying the warm and authentic sound that only vinyl can deliver.
In the following sections, we will walk you through the step-by-step process of setting up your turntable to your audio system. From choosing the right location for your turntable to calibrating the tonearm and connecting external speakers, we will cover all the necessary steps to get your turntable up and running.
Step 1: Choose the right location for your turntable
Choosing the right location for your turntable is essential for optimal sound quality and to prevent any potential damage to your records. Here are a few key considerations to keep in mind when selecting the perfect spot:
- Stability: Ensure that the surface on which you place your turntable is stable and level. Any vibrations or uneven surfaces can negatively affect the performance of your turntable and cause skips or distortions in the sound.
- Isolation: Try to place your turntable away from sources of vibrations, such as speakers or subwoofers. These vibrations can travel through the surface and interfere with the playback of your records.
- Dust and sunlight: Avoid placing your turntable in areas where it is exposed to direct sunlight or excessive dust. Sunlight can cause the vinyl records to warp, and dust can accumulate on the stylus and affect the sound quality.
- Accessibility: Consider the accessibility of your turntable. Ensure that there is enough room around the turntable to handle records and operate the controls comfortably.
- Away from magnets: Keep your turntable away from strong magnetic fields, such as speakers. Magnetic fields can interfere with the delicate magnetic cartridge on the turntable and compromise sound quality.
Once you have considered these factors, it’s time to find the perfect spot. A sturdy shelf or table away from direct sunlight and sources of vibrations is usually the best choice. Additionally, you may want to invest in a specially designed turntable mat or isolation platform to further enhance sound quality and reduce vibrations.
Remember, the location you choose for your turntable sets the foundation for the rest of the setup process. Take your time to find the ideal spot, and in the next steps, we will guide you through connecting the turntable to your audio system and optimizing its performance.
Step 2: Connect the turntable to the audio system
Connecting your turntable to the audio system is a crucial step in getting the sound from your records to your speakers. Here’s how you can do it:
- Identify the necessary cables: Most turntables will come with a built-in preamp and provide both RCA and ground cables. The RCA cables are typically color-coded—red for the right channel and white (or black) for the left channel. The ground cable helps reduce any humming or buzzing noises and should be connected to the grounding terminal on your preamp or receiver.
- Locate the phono input or phono preamp: Some audio systems have a dedicated phono input that is specifically designed to handle the signal from a turntable. If your system has a phono input, simply connect the RCA cables from your turntable to the corresponding input. If your system does not have a phono input, you will need to use a separate phono preamp. Connect the RCA cables from your turntable to the input ports on the phono preamp, and then connect the output of the preamp to a regular line input on your receiver or audio system.
- Connect the ground wire: Use the ground wire that came with your turntable and connect it to the grounding terminal on your preamp or receiver. This helps reduce any unwanted hum or noise that may occur.
- Power on the audio system: Once all the cables are securely connected, power on your audio system and turntable. Make sure to set the input on your receiver or audio system to the corresponding input where you connected your turntable.
- Test the connection: Play a record on your turntable and listen for sound through your speakers or headphones. If you don’t hear any sound or if the sound is distorted, double-check all your connections and make sure they are secure.
By following these steps, you can successfully connect your turntable to your audio system. Having a proper connection is essential to ensure accurate playback of your vinyl records. In the next steps, we will focus on setting up the turntable’s cartridge and stylus, as well as fine-tuning its performance for optimal sound quality.
Step 3: Set up the turntable’s cartridge and stylus
The cartridge and stylus of your turntable are responsible for reading the grooves on your vinyl records and converting them into an electrical signal. Properly setting up the cartridge and stylus is essential for achieving accurate sound reproduction. Here’s how you can do it:
- Remove any protective covers: Before setting up the cartridge and stylus, make sure to remove any protective covers or guards that may be present. These covers are usually placed to protect the delicate components during shipping.
- Identify the cartridge and stylus: Take a close look at the cartridge and stylus assembly. The cartridge is the housing that contains the stylus or needle. Familiarize yourself with the different components and their positions.
- Align the cartridge: Proper alignment of the cartridge is crucial for accurate tracking of the record grooves. Refer to the manufacturer’s instructions or consult a turntable setup guide to ensure correct alignment. Some turntables may have alignment guides or markers to assist with proper alignment.
- Install the stylus: Depending on the type of cartridge, the stylus may need to be attached separately or may come pre-installed. If the stylus needs to be attached, carefully align it with the cartridge body and gently push it into place. Be cautious not to apply too much pressure, as this can damage the delicate components.
- Check the tracking force: The tracking force refers to the amount of weight applied by the stylus onto the record. Consult the turntable’s user manual or the cartridge manufacturer’s specifications to determine the recommended tracking force. Use a tracking force gauge or a digital scale to ensure precise adjustment.
- Adjust the tracking force: Using the tonearm’s counterbalance or tracking force adjustment mechanism, set the tracking force to the recommended value. Be careful not to set it too high, as it can damage the stylus and records, or too low, as it may result in poor tracking and distortion.
Once you have set up the cartridge and stylus, take a moment to double-check everything, ensuring that the stylus is securely attached and the tracking force is at the correct level. This meticulous setup process will help you achieve optimal sound reproduction and prolong the lifespan of your stylus and records.
In the next step, we will focus on configuring the turntable’s speed and tracking force for accurate playback.
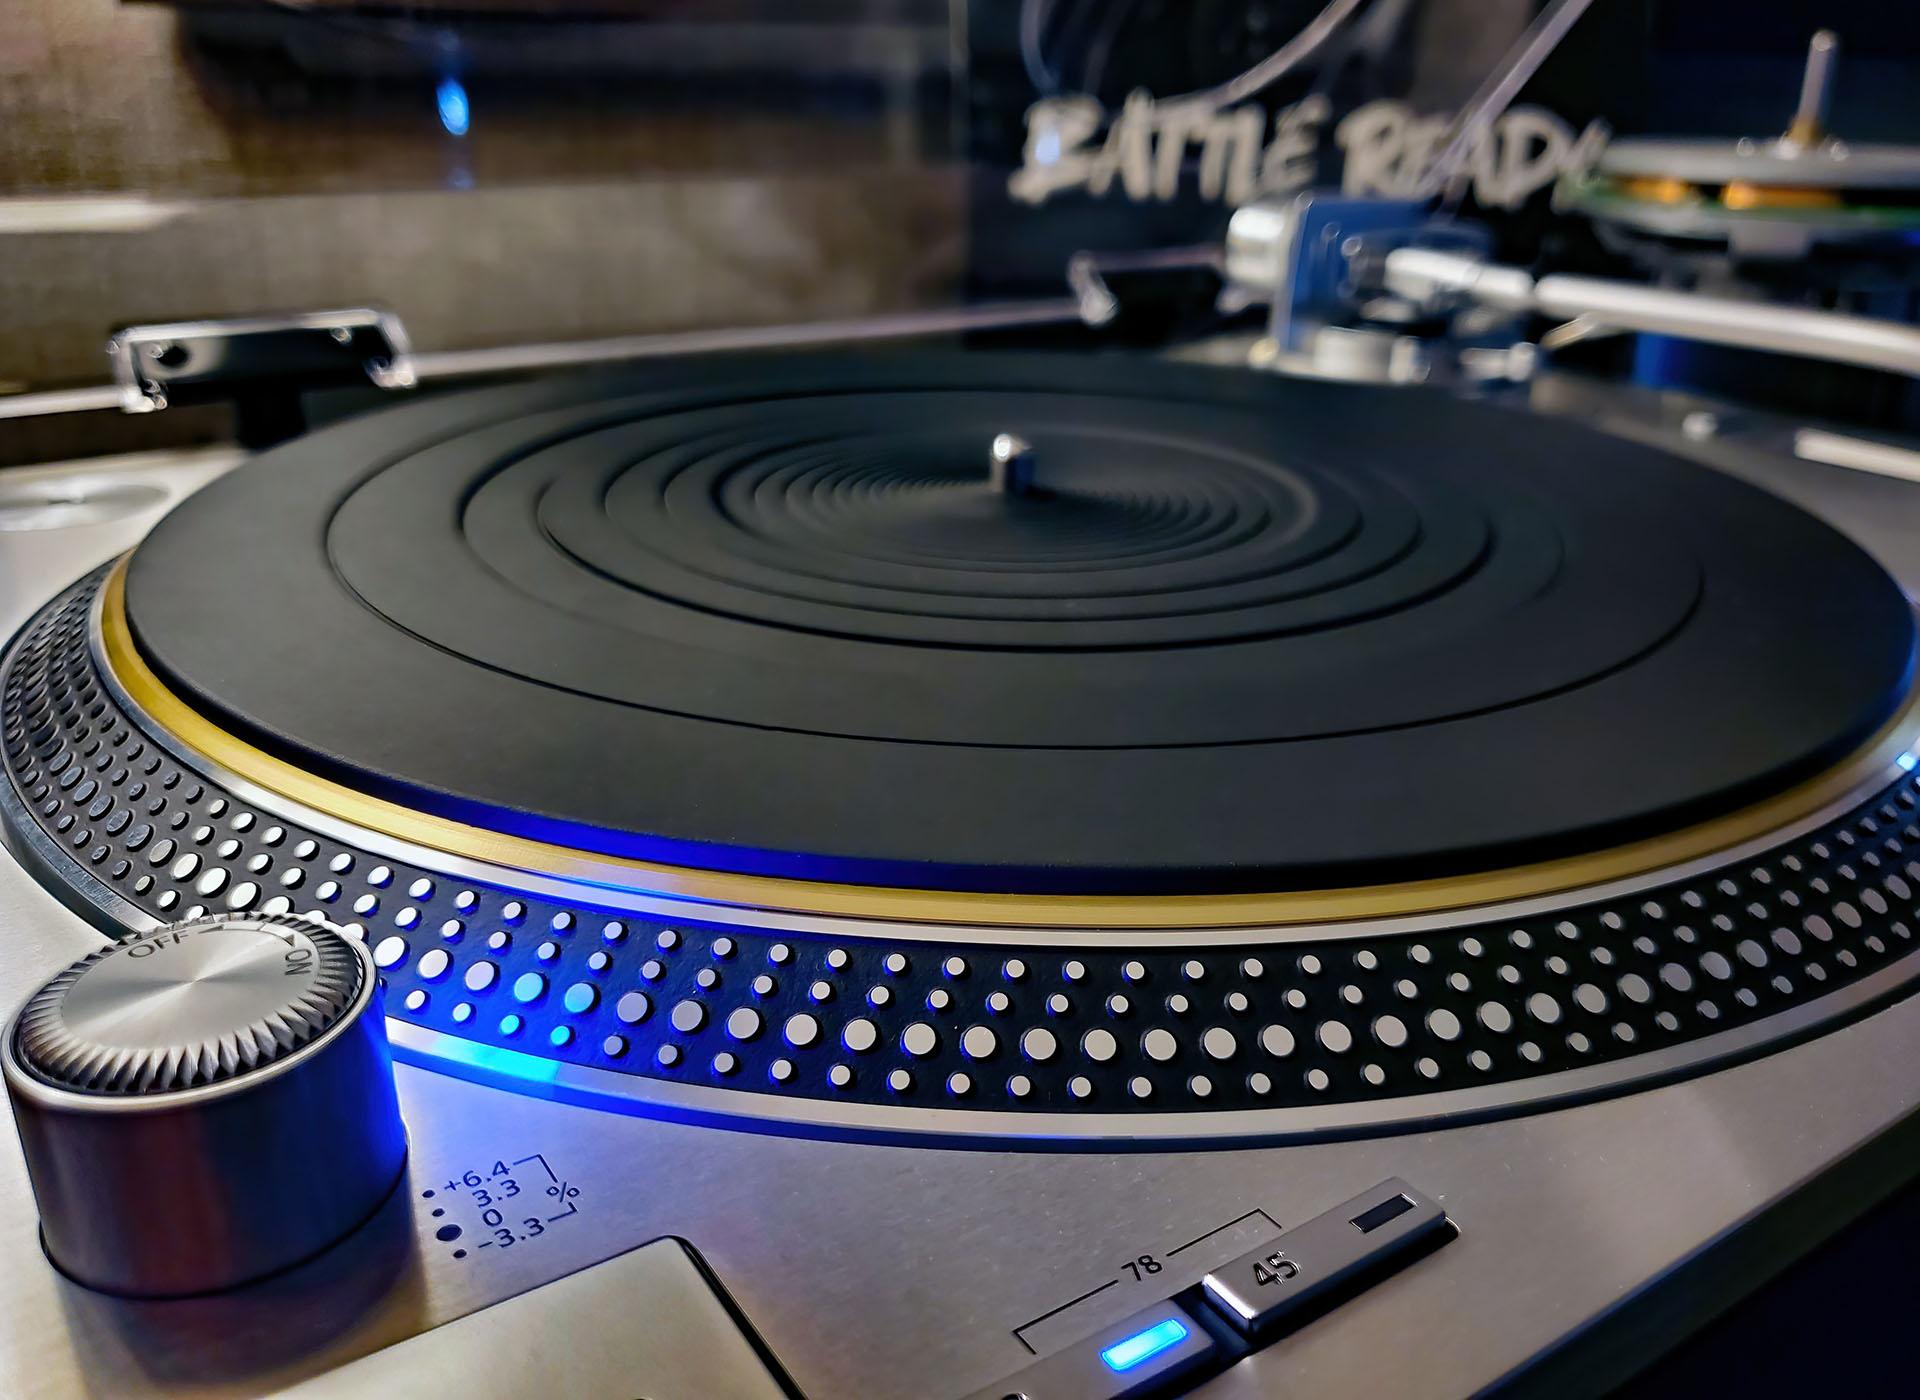
Step 4: Configure the turntable’s speed and tracking force
Configuring the turntable’s speed and tracking force is essential to ensure accurate playback and prevent potential damage to your records. Here’s how you can configure these settings:
- Verify the correct speed: Most turntables offer two standard speeds: 33 1/3 RPM (rotations per minute) for LPs (long-playing records) and 45 RPM for singles and some smaller records. Ensure that the turntable is set to the correct speed for the record you are playing. Some turntables may have a switch or buttons to select the speed, while others may require manual adjustment of the belt or motor pulley position.
- Use a strobe disc: A strobe disc is a tool that helps you verify the accuracy of the turntable’s speed. It usually features a series of lines or dots that appear stationary when the turntable is spinning at the correct speed. Place the strobe disc on the turntable platter and illuminate it with a light source (such as a smartphone flashlight). Adjust the speed control until the lines or dots appear stationary, indicating that the turntable is running at the correct speed.
- Check the tracking force: The tracking force refers to the downward pressure exerted by the stylus on the record. It needs to be adjusted to ensure proper tracking without causing excessive wear or damage to the record. Consult the turntable’s user manual or the cartridge manufacturer’s specifications for the recommended tracking force range.
- Calibrate the tracking force: To calibrate the tracking force, you will need a tracking force gauge. Place the gauge on the turntable, align the stylus over the measuring area, and adjust the counterweight or other tracking force adjustment mechanism on the tonearm until the desired tracking force is achieved.
- Test and fine-tune: Once you have configured the speed and tracking force, play a record and listen for any issues such as speed fluctuations, skipping, distortion, or excessive background noise. If necessary, make slight adjustments to the speed and tracking force to achieve optimal playback performance.
By configuring the turntable’s speed and tracking force, you ensure that your records are accurately and safely played. Take your time during this step to achieve precise calibration, as it greatly impacts the overall sound quality and longevity of your vinyl collection.
In the next step, we will focus on calibrating the turntable’s tonearm to optimize its performance.
Step 5: Calibrate the turntable’s tonearm
Calibrating the turntable’s tonearm is a crucial step in achieving precise tracking and optimal sound quality. The tonearm is responsible for holding the cartridge and stylus and guiding them along the grooves of the record. Here’s how you can calibrate the tonearm:
- Level the turntable: Start by ensuring that your turntable is level. Use a bubble level or a smartphone app to check for any unevenness. Adjust the turntable’s feet or use shims if necessary to achieve a level surface.
- Set the tracking weight: The tracking weight, also known as the tracking force, refers to the downward pressure exerted by the stylus on the record. Consult the turntable’s user manual or the cartridge manufacturer’s specifications to determine the recommended tracking weight range.
- Adjust the counterweight: The tonearm’s counterweight is used to balance the weight of the tonearm and set the tracking force. Start by zeroing the counterweight and then gradually adjust it according to the recommended tracking weight range. Use the calibrated markings on the counterweight or a digital tracking force gauge for precision.
- Balance the tonearm: After setting the tracking weight, it’s time to balance the tonearm. Gently lift the tonearm and move it horizontally, ensuring it remains parallel to the platter. The tonearm should float effortlessly and remain horizontal without tilting up or down. If needed, make slight adjustments to the counterweight until the tonearm is perfectly balanced.
- Set the anti-skate: The anti-skate control helps counteract the lateral force that pulls the tonearm towards the center of the record. Adjust the anti-skate control to a value equal to the tracking weight. For example, if the tracking weight is set to 2 grams, set the anti-skate control to 2 as well. This helps ensure proper tracking and reduces excessive wear on one side of the record’s groove.
By calibrating the tonearm, you ensure that the tracking force, balance, and anti-skate are set accurately, allowing for optimal tracking and reliable playback performance. Take your time during this step to achieve precise calibration, as it greatly impacts the overall sound quality and longevity of your vinyl collection.
In the next step, we will focus on adjusting the anti-skate control to further enhance playback performance.
Step 6: Adjust the anti-skate control
The anti-skate control on a turntable is an important feature that helps counteract the inward force that pulls the tonearm towards the center of the record during playback. Correctly adjusting the anti-skate control ensures that the stylus tracks the record groove accurately and minimizes any potential distortion or excessive wear on one side of the groove. Here’s how to adjust the anti-skate control:
- Identify the anti-skate control: Locate the anti-skate control on your turntable. It is typically a dial or a slider located near the tonearm or on the turntable’s control panel.
- Set the anti-skate to 0: Start by setting the anti-skate control to 0 or the neutral position. This allows the needle to move freely without any inward or outward force.
- Set the tracking force: Ensure that you have already set the correct tracking force for your cartridge. Refer to the manufacturer’s specifications or the turntable’s user manual for the recommended tracking force range.
- Adjust the anti-skate: Gradually increase the anti-skate control to match the tracking force. For example, if the tracking force is set to 2 grams, adjust the anti-skate control to 2 as well. If the control is a dial, turn it in the corresponding direction; if it’s a slider, move it to the appropriate position.
- Test the anti-skate adjustment: Play a record and listen for any signs of distortion or imbalance in the sound. If you notice any issues, make slight adjustments to the anti-skate control to find the optimal setting. The goal is to achieve balanced tracking, where the stylus smoothly follows the record groove without being pulled inward or pushed outward.
Proper adjustment of the anti-skate control helps ensure accurate tracking of the stylus along the record’s groove. This reduces distortion, extends the life of your records, and enhances the overall sound quality. Take your time during this step to fine-tune the anti-skate control, as it can significantly impact the performance of your turntable.
In the next step, we will discuss connecting the turntable to external speakers or amplifiers for a complete audio setup.
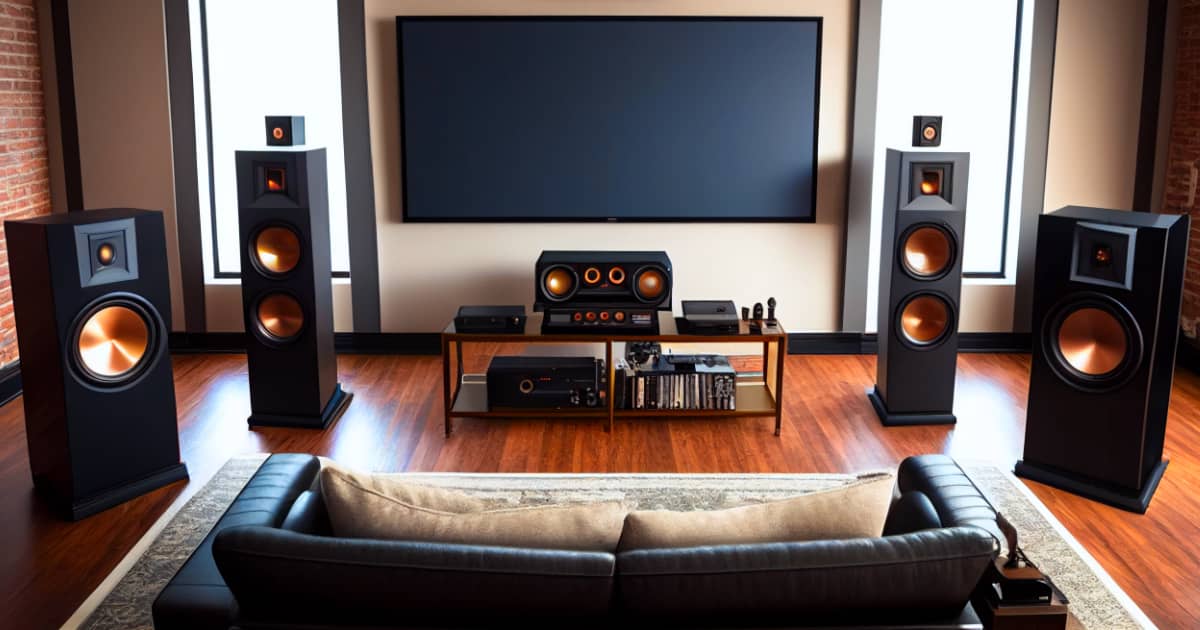
Step 7: Connect the turntable to external speakers or amplifiers
Connecting your turntable to external speakers or amplifiers is the final step in setting up your audio system and allows you to enjoy the rich sound of your vinyl records. Here’s how you can connect the turntable to external speakers or amplifiers:
- Identify the audio outputs: Examine the back of your turntable and look for the audio outputs. The most common type of output is the RCA connectors, usually color-coded as red for the right channel and white (or black) for the left channel. Some turntables may also have balanced XLR outputs or a built-in preamp for easy connection to audio equipment.
- Check the audio equipment inputs: Determine the type of inputs available on your external speakers or amplifiers. The most common type of input is the RCA input, which matches the RCA output on the turntable. However, if your equipment requires different types of connections (such as 3.5mm aux input or digital optical input), you may need adapters or converters to ensure compatibility.
- Connect the cables: Take the RCA cables from the turntable and plug them into the corresponding RCA inputs on your speakers or amplifiers. Ensure a secure and snug connection, making sure the left and right channels are correctly assigned.
- Power on the speakers or amplifiers: Once the cables are connected, power on your external speakers or amplifiers. Make sure to set the input to the correct source where the turntable is connected. Some audio systems may have a dedicated phono input, while others may require selecting the auxiliary (AUX) input or another available input option.
- Test the audio: To ensure that your turntable is successfully connected to the external speakers or amplifiers, play a record and listen for the sound. If you don’t hear any sound, double-check all the connections and settings. If necessary, consult the user manuals of your turntable and audio equipment for troubleshooting guidance.
By connecting your turntable to external speakers or amplifiers, you finalize the setup process and create a complete audio system. Now, you can fully appreciate the warm and immersive sound of your vinyl records.
In the next step, we will focus on testing and fine-tuning the audio system to achieve the best possible sound quality.
Step 8: Test and fine-tune the audio system
Once you have completed the setup process, it’s time to test and fine-tune your audio system to ensure optimal sound quality. Here’s how you can do it:
- Play a variety of records: To test the performance of your audio system, play a variety of records across different genres and eras. Notice the overall sound quality, clarity, dynamics, and any potential issues such as distortion, sibilance, or background noise.
- Listen for balance: Pay attention to the stereo imaging and balance between the left and right channels. Ensure that the sound is evenly distributed and centered, without any noticeable imbalance or bias towards one side.
- Adjust tone and equalization: Some turntables or audio systems may have tone control knobs or equalization settings that allow you to adjust the bass, treble, or overall sound balance. Experiment with these settings to find the desired sound signature that suits your preferences and the characteristics of your records.
- Inspect for any issues: Listen for any signs of distortion, skipping, or excessive background noise. Look out for any mechanical issues such as speed fluctuations or tonearm malfunctions. If you notice any problems, consult the user manual or seek professional assistance to resolve them.
- Consider room acoustics: The acoustic characteristics of your listening room can greatly impact the sound quality. Experiment with speaker placement, room treatment (such as adding acoustic panels or rugs), and seating positions to optimize the listening experience.
- Take your time to fine-tune: Achieving the perfect sound is a process that requires patience and experimentation. Trust your ears and take your time to fine-tune the audio system to match your preferences and create an enjoyable listening experience.
Remember, every audio system is unique, and the ideal sound settings may vary depending on your personal preferences, the components used, and the characteristics of your room. Don’t hesitate to make small adjustments and experiment until you find the perfect balance and sound quality that brings out the best in your vinyl records.
Congratulations! You have successfully set up your turntable to your audio system, allowing you to fully appreciate the rich and authentic sound of your vinyl collection. Sit back, relax, and enjoy the incredible warmth and nostalgia that vinyl records have to offer.
Happy listening!
Conclusion
Setting up a turntable to an audio system requires attention to detail and a bit of technical know-how, but the effort is well worth the reward. By following the steps outlined in this guide, you can ensure that your turntable is properly connected, calibrated, and configured to deliver the best possible sound quality.
Choosing the right location for your turntable sets the foundation for the setup process, ensuring stability and minimizing vibrations. Connecting the turntable to your audio system with the correct cables and adjusting the tracking force help maintain accurate playback and protect your precious records.
Calibrating the tonearm and configuring the turntable’s speed and anti-skate control further enhance the tracking accuracy and overall performance of the turntable. And finally, connecting the turntable to external speakers or amplifiers completes the audio system, allowing you to immerse yourself in the captivating sound of vinyl.
It’s important to note that each turntable and audio system may have unique features and specifications, so it’s always advisable to consult the user manuals and guidelines provided by the manufacturers. Additionally, seeking professional assistance or advice when needed can help address any specific issues you may encounter during the setup process.
Once your turntable is set up and the audio system is fine-tuned, it’s time to sit back, relax, and enjoy the analog bliss that vinyl records provide. Experience music in a whole new dimension with the warmth, depth, and nostalgia that only vinyl can deliver.
Remember, this guide serves as a starting point, and as you delve deeper into the world of turntables and vinyl, you may discover new techniques and tweaks to enhance your listening experience further. Embrace the journey, experiment, and let the captivating sound of vinyl transport you to another era.
Happy spinning!