Home>Devices & Equipment>Turntable>Crosley Turntable How To Use
Turntable
Crosley Turntable How To Use
Published: January 19, 2024
Learn how to use a Crosley turntable with our easy step-by-step guide. Discover the joy of vinyl records and start enjoying your favorite music today.
(Many of the links in this article redirect to a specific reviewed product. Your purchase of these products through affiliate links helps to generate commission for AudioLover.com, at no extra cost. Learn more)
Table of Contents
- Introduction
- Unpacking and Setting up the Crosley Turntable
- Understanding the Controls and Features
- Preparing the Record
- Placing the Record on the Turntable
- Starting and Stopping the Turntable
- Changing the Speed and Direction
- Using the Tonearm and Needle
- Adjusting the Volume and Tone
- Maintenance and Cleaning Tips
- Troubleshooting Common Issues
- Conclusion
Introduction
Welcome to the wonderful world of Crosley turntables! If you’re a music enthusiast or a vinyl collector, you’ve come to the right place. In this article, we will guide you through the process of using a Crosley turntable, from unpacking and setting it up to mastering the controls and enjoying your favorite records.
Crosley turntables are known for their stylish designs and user-friendly features, making them a popular choice among both casual listeners and audiophiles. Whether you’re a seasoned vinyl veteran or new to the world of records, this guide will help you get the most out of your Crosley turntable.
Before we jump into the specifics, let’s take a moment to appreciate the beauty and nostalgia that comes with playing vinyl records. The crackling sound as the needle makes contact with the grooves, the immersive listening experience, and the charm of holding a physical record in your hands – these are all part of what makes vinyl so special.
Unlike digital music formats, vinyl records have a unique warmth and depth that many people find captivating. They offer a more tactile and tangible connection to the music, allowing you to truly appreciate the artistry behind each album.
Now that we’ve established the allure of vinyl records, let’s dive into the details of using your Crosley turntable. Whether you’ve just purchased one or have had it for a while and need a refresher, this guide will walk you through the steps to ensure a smooth and enjoyable listening experience.
Unpacking and Setting up the Crosley Turntable
Congratulations on your new Crosley turntable! Before you start enjoying your vinyl collection, it’s important to properly unpack and set up your turntable. Here are the steps to get you started:
- Remove the turntable from the packaging: Begin by carefully removing the turntable from the box. Be cautious when handling it to avoid any accidental damage.
- Remove any protective covers or inserts: Check if there are any protective covers or inserts that need to be removed before setting up the turntable. These may include foam padding, plastic covers, or securing tapes.
- Find the power cord: Locate the power cord that came with the turntable. Make sure it is in good condition and securely attached to the turntable.
- Connect the power cord: Plug one end of the power cord into a power outlet and the other end into the designated power input on the turntable. Ensure that the connection is firm and secure.
- Set up the turntable: Place the turntable on a stable surface, such as a table or shelf, ensuring that it is level and secure. Make sure to provide enough space around the turntable for the tonearm and record placement.
- Position the speakers: If you have external speakers, position them on either side of the turntable and connect them using the appropriate cables. Alternatively, if the turntable has built-in speakers, you can skip this step.
- Adjust the tonearm counterweight: If your turntable has an adjustable counterweight, carefully adjust it to ensure proper tracking and playback. Consult the user manual or manufacturer’s guidelines for specific instructions on how to adjust the counterweight.
- Check for alignment: Ensure that the turntable is properly aligned with the tonearm and cartridge. Improper alignment can affect sound quality and tracking. Again, refer to the user manual for guidance on aligning the cartridge.
- Test the turntable: Now that your turntable is set up, it’s time to test it. Turn on the power and gently lower the tonearm onto a record. Check that the turntable spins smoothly and that the sound is coming through the speakers or headphones.
With these simple steps, you have successfully unpacked and set up your Crosley turntable. Now you’re ready to explore your vinyl collection and immerse yourself in the fantastic world of analog music.
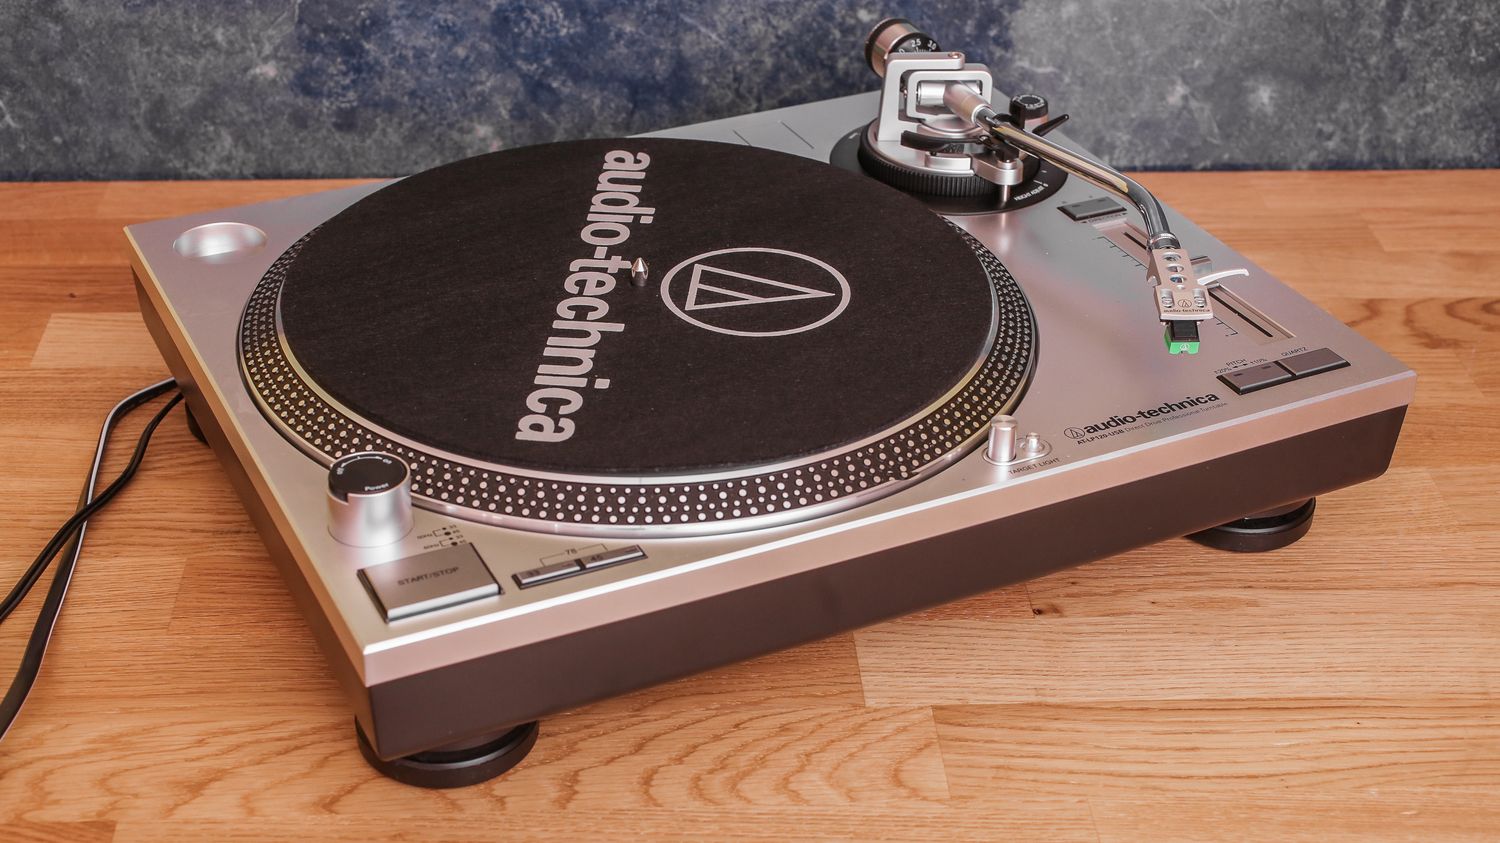
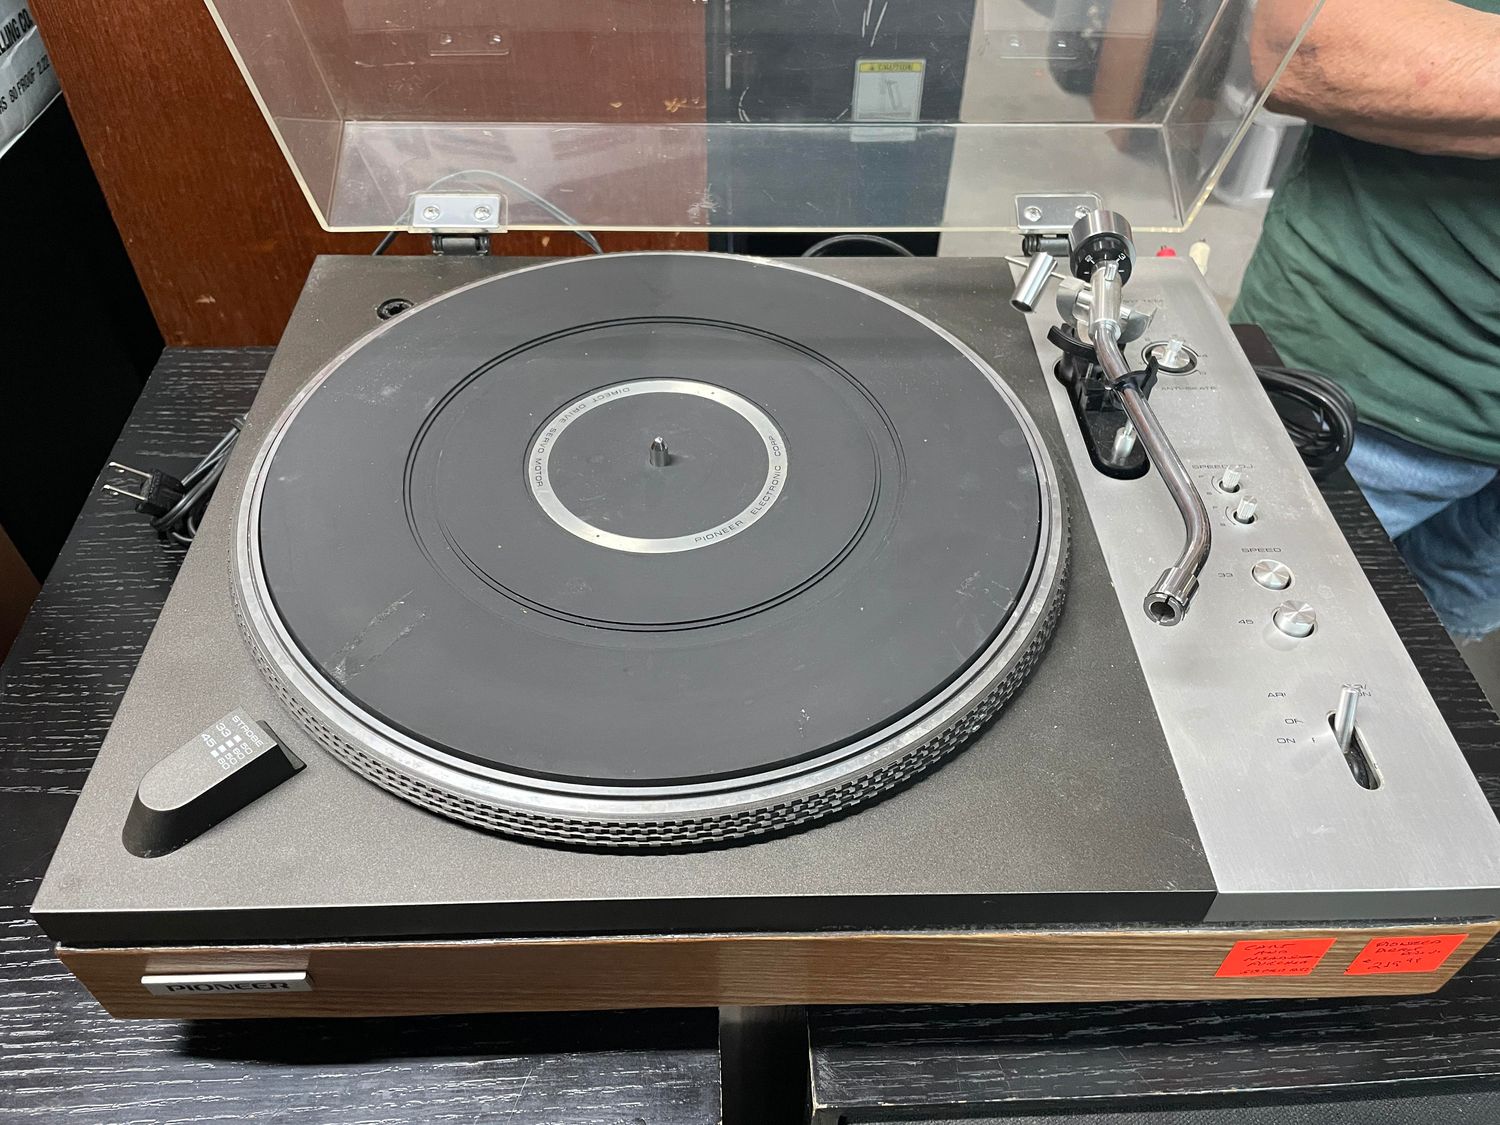
Understanding the Controls and Features
Once your Crosley turntable is set up, it’s time to familiarize yourself with the various controls and features. Understanding how each component works will help you navigate through your vinyl listening experience with ease. Here are the key controls and features you should know:
- Power button: This button turns the turntable on and off. Look for a clearly labeled power button on the front or side of the turntable.
- Speed selector: Most Crosley turntables offer different speed options to accommodate various types of records. Common speeds include 33 1/3 RPM (revolutions per minute) for standard LPs, 45 RPM for singles, and 78 RPM for older, shellac records. The speed selector can be a physical switch or a button on the turntable.
- Start/stop button: This button starts and stops the rotation of the turntable. It is typically located near the tonearm. Pressing it gently starts the turntable, and pressing it again stops the rotation.
- Tonearm: The tonearm is the arm that holds the needle, or stylus, and is responsible for playing the record. It moves horizontally across the surface of the record, allowing the needle to track the grooves. Take care when handling the tonearm, as it is delicate.
- Cueing lever: The cueing lever is a small lever located near the tonearm. It allows you to manually raise and lower the tonearm onto the record. Use the cueing lever to safely position the needle at the beginning or end of a track without scratching the record.
- Auto stop feature: Some Crosley turntables have an auto-stop feature that automatically lifts the tonearm and stops the turntable rotation at the end of a record. This prevents unnecessary wear and tear on your records and stylus.
- Volume control: If your turntable has built-in speakers or is connected to external speakers, it will have a volume control. This allows you to adjust the audio output to your desired level.
- Tone control: Some Crosley turntables offer tone control options to adjust the bass and treble levels. These controls allow you to fine-tune the audio to your preferences.
It’s important to consult your specific model’s user manual for detailed instructions on operating the controls and understanding any additional features. Each turntable model may have slightly different functionalities, so it’s essential to familiarize yourself with the specifics of your particular Crosley turntable.
By understanding and mastering these control features, you’ll be able to fully customize your vinyl listening experience and make the most out of your Crosley turntable.
Preparing the Record
Before you start playing your favorite record on your Crosley turntable, it’s important to ensure that the record is clean and in good condition. Proper care and handling of your vinyl records will not only enhance the sound quality but also extend the lifespan of your cherished collection. Here are the steps to prepare your record for playback:
- Inspect the record: Before playing a record, visually inspect it for any visible dirt, dust, or debris. Remove any loose particles using a soft brush or a lint-free cloth. Be careful not to scratch or smudge the surface.
- Clean the record: To thoroughly clean your record, it is recommended to use a record cleaning solution or a specialized record cleaning kit. Apply the cleaning solution to a record cleaning brush or a microfiber cloth and gently wipe the record in a circular motion, following the grooves. Rinse the record in distilled water and allow it to air dry completely before placing it on the turntable.
- Handle the record with care: Always handle your records by the edges or the label in the center to avoid touching the playing surface. Fingerprints, oils, and debris can affect the quality of the sound and damage the record over time.
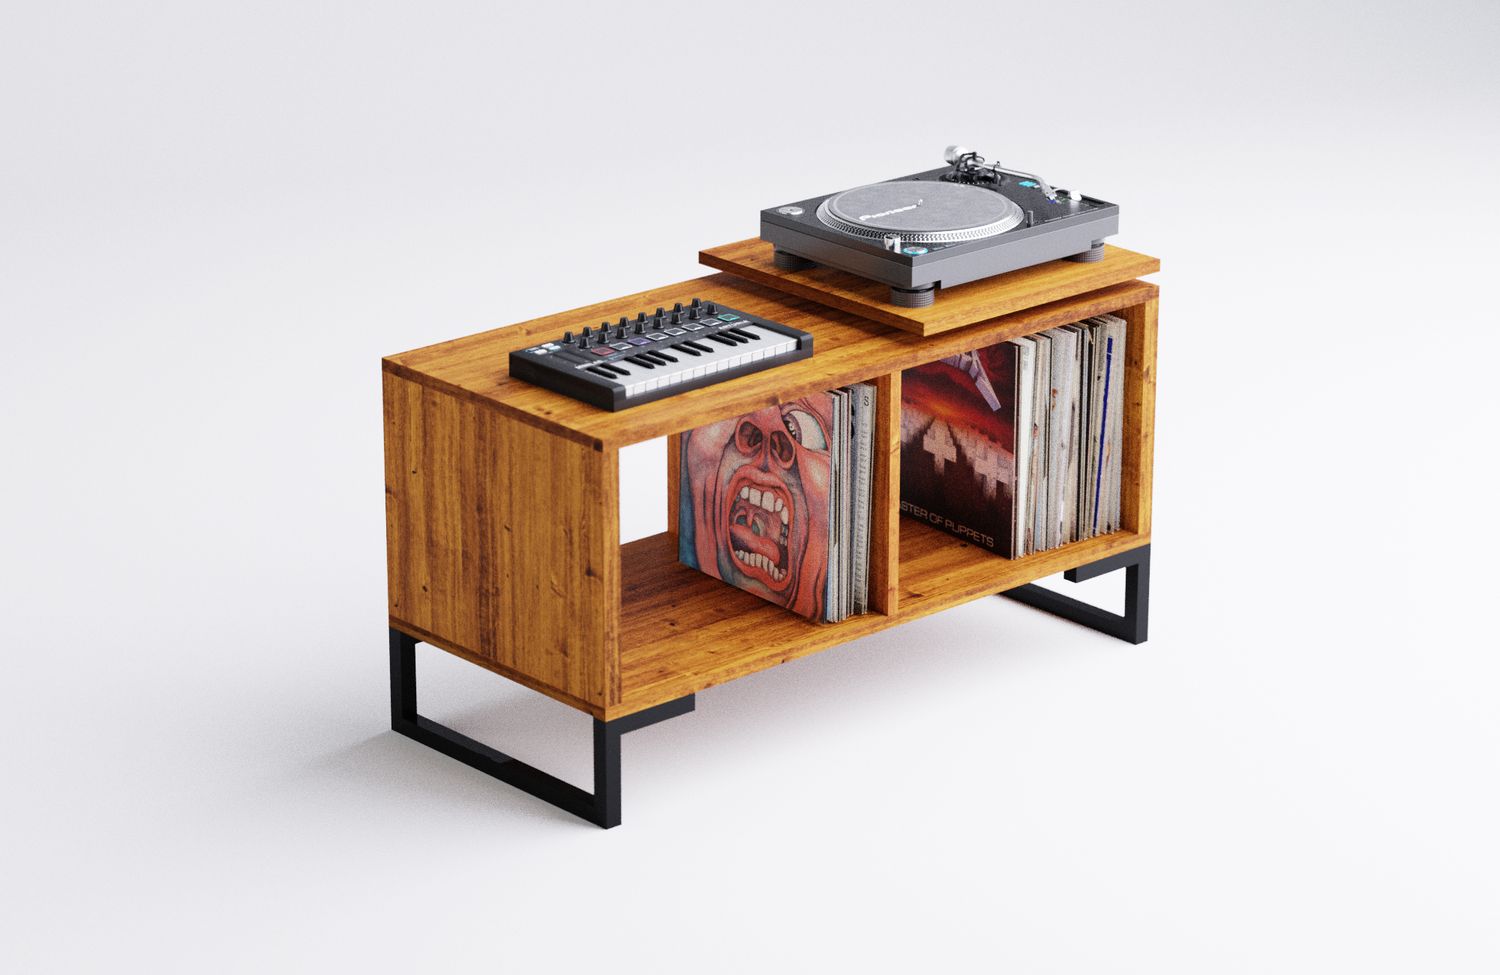
- Store the record properly: When not in use, store your records in their sleeves or protective covers to protect them from dust, sunlight, and moisture. Avoid stacking records on top of each other, as this can lead to warping or scratching. Invest in record storage solutions, such as record crates or shelf dividers, to keep your collection organized and well-preserved.
By taking the time to properly prepare your records, you can ensure optimal sound quality and longevity. Regular cleaning and safe handling practices will help preserve your vinyl collection for years to come, allowing you to savor the true analog experience provided by your Crosley turntable.
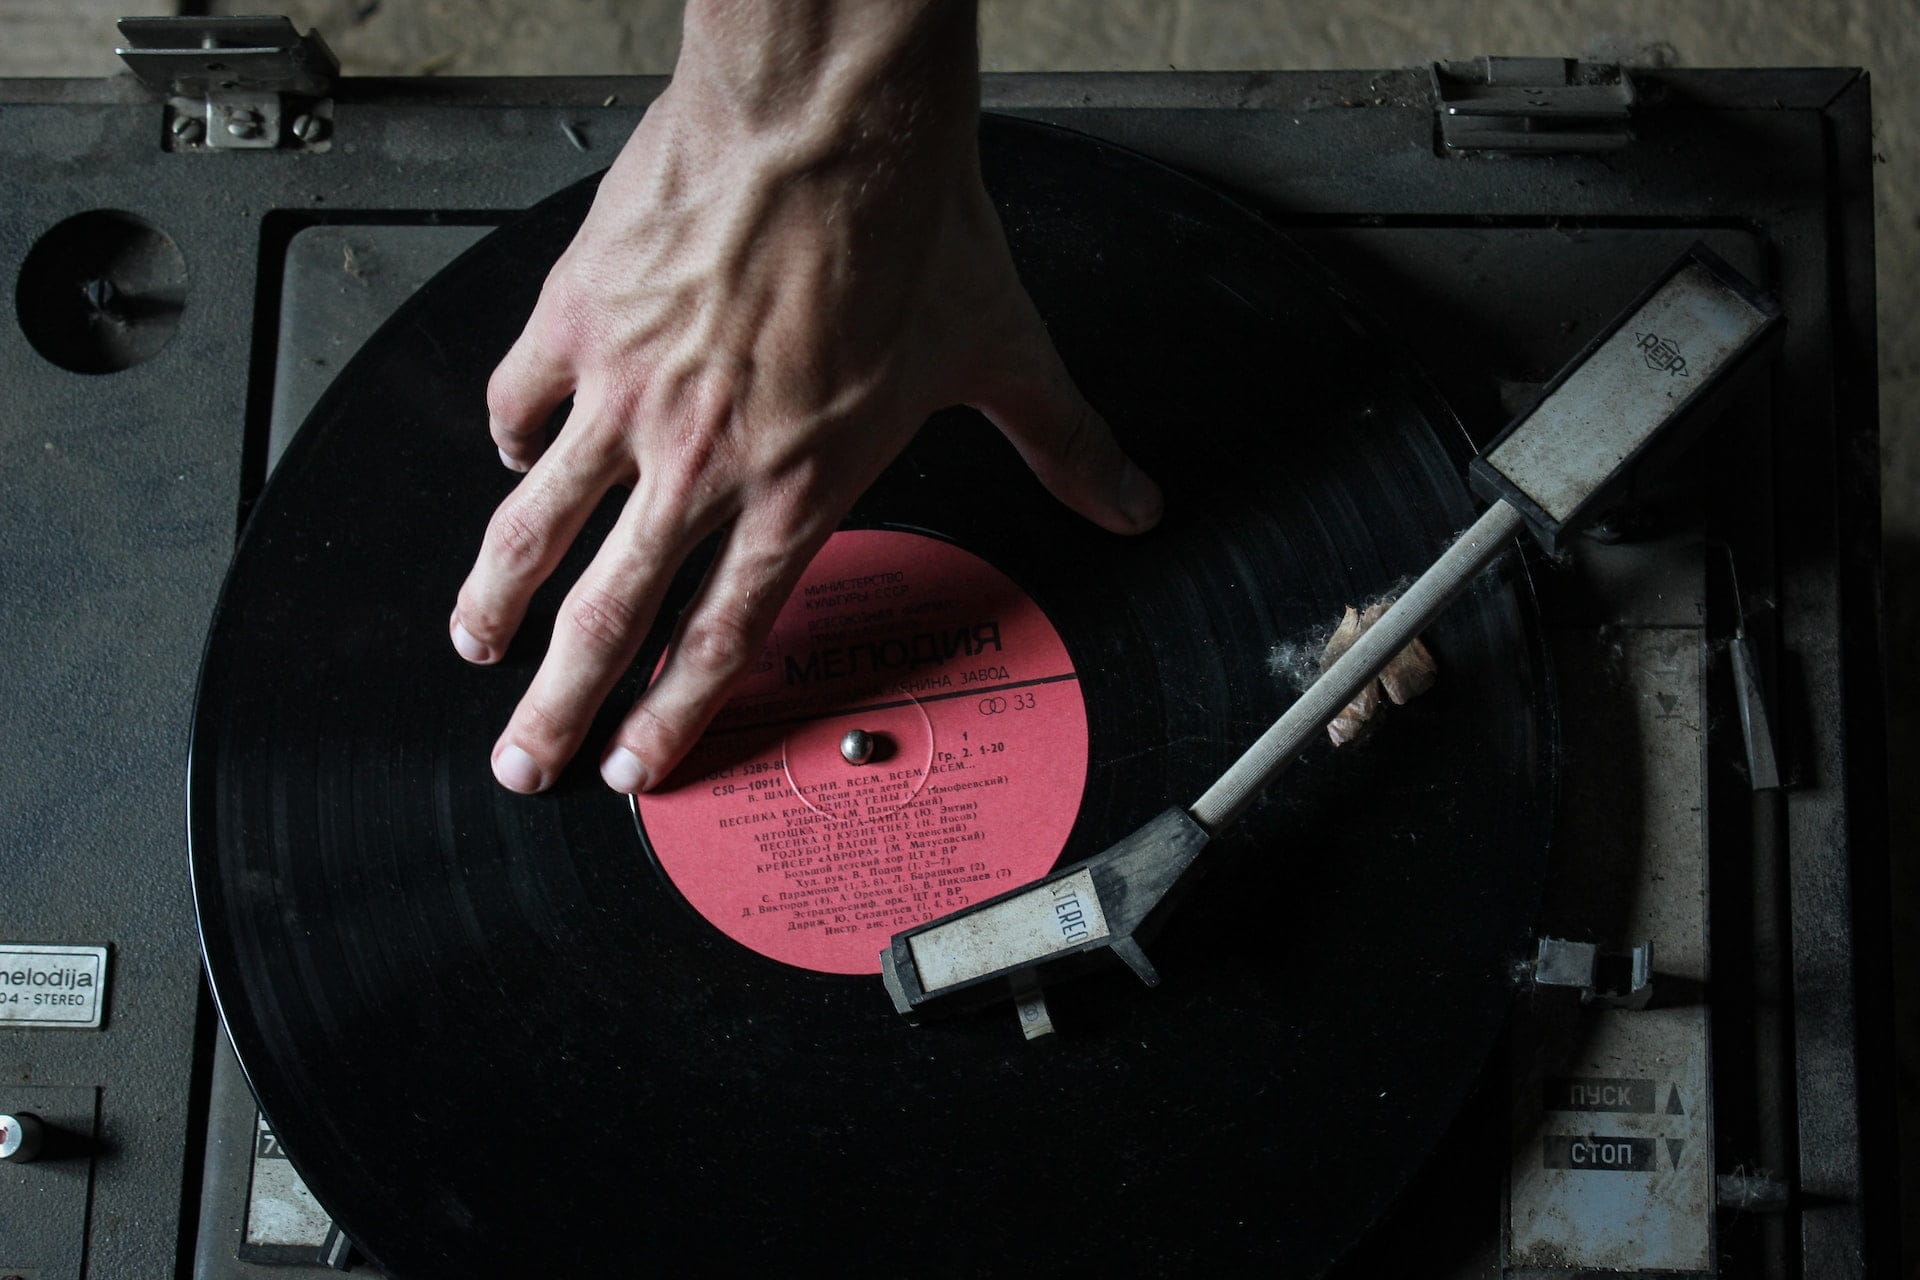
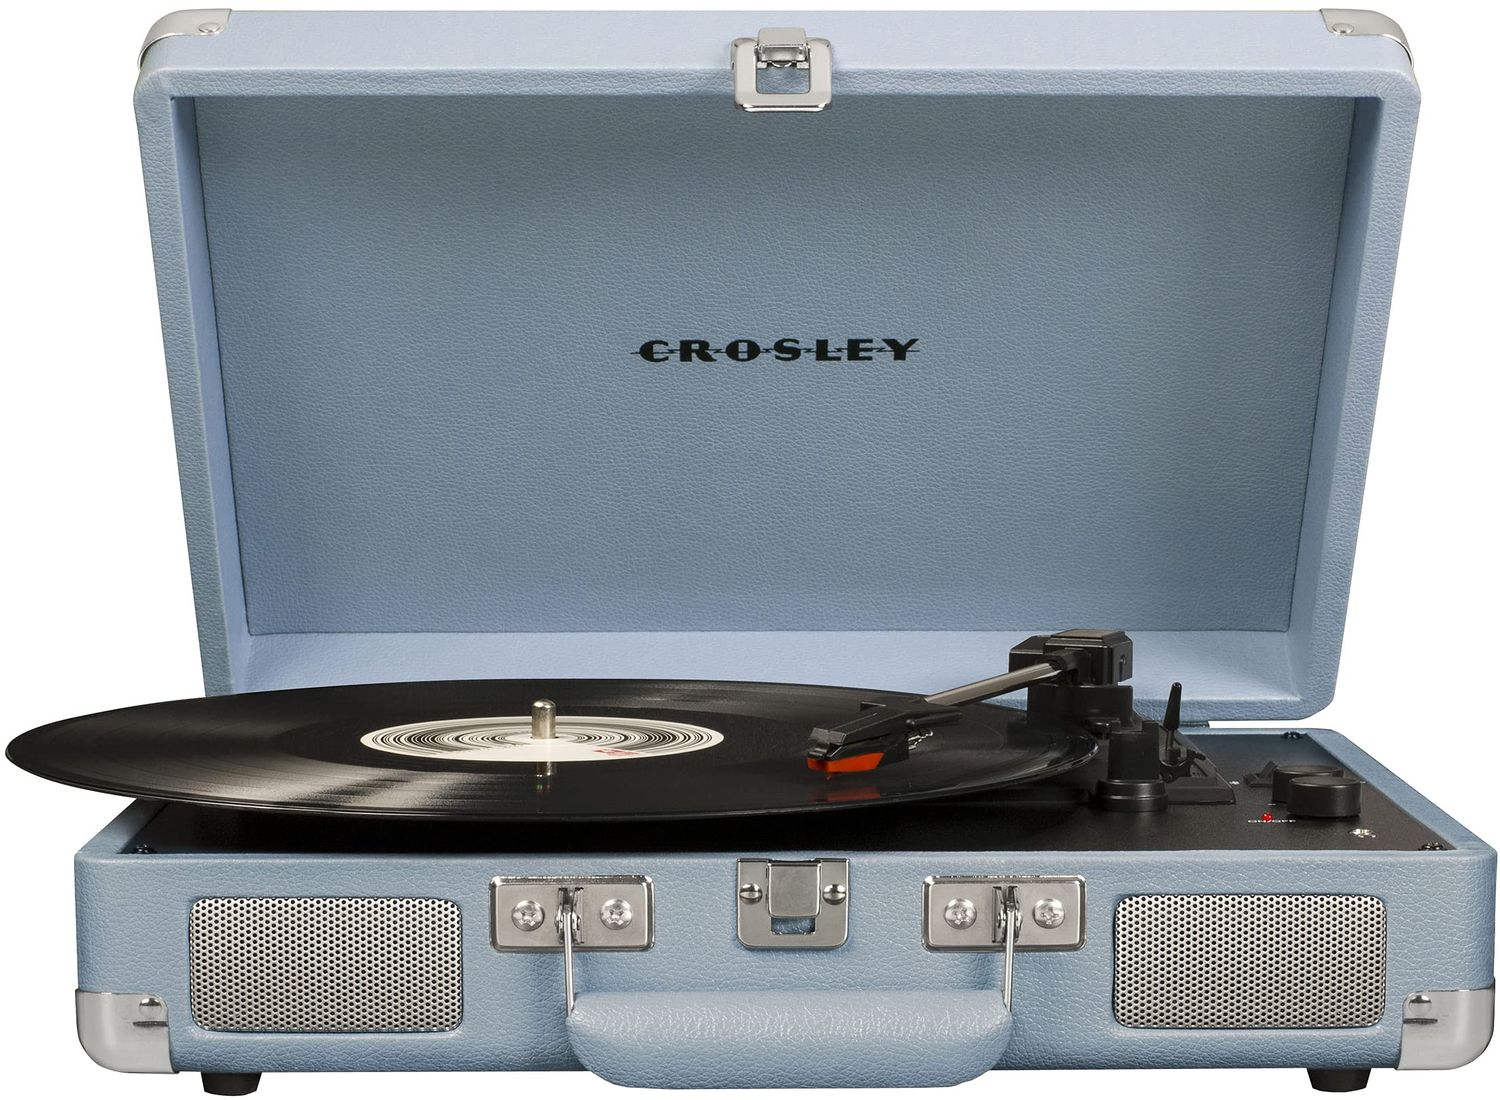
Placing the Record on the Turntable
Now that you have prepared your record, it’s time to carefully place it on the turntable for playback. Follow these steps to ensure proper placement:
- Power on the turntable: Before placing the record, ensure that the turntable is powered on and in the correct speed setting for the record you are about to play.
- Remove the record from its protective sleeve: Gently slide the record out of its sleeve, being careful not to touch the playing surface with your fingers.
- Hold the record by the edges: When handling the record, it’s important to hold it by the edges to avoid touching the grooves or smudging the surface.
- Find the spindle: Locate the spindle at the center of the turntable. The spindle is a small post that the record will sit on.
- Align the record with the spindle: Holding the record parallel to the turntable surface, carefully lower it onto the spindle. Ensure that the center hole of the record fits securely onto the spindle.
- Center the record: Once the record is on the spindle, gently nudge it to center it on the turntable. This will help maintain balance and prevent any unnecessary vibration during playback.
- Engage the record: Some turntables have a mechanism to secure the record in place. This may be in the form of a clamp or a rubber mat that you can place on top of the record. Consult your turntable’s user manual to determine if any additional steps are required to secure the record.
It’s important to handle the record with care during this process to avoid any accidental scratching or damage. Once the record is properly placed on the turntable, you’re ready to start the playback and immerse yourself in the world of music!
Starting and Stopping the Turntable
Now that you have your record placed on the turntable, it’s time to learn how to start and stop the rotation. Follow these steps to ensure proper operation:
- Check the speed setting: Before starting the turntable, ensure that it is set to the correct speed for the record you are playing. Common speeds include 33 1/3 RPM, 45 RPM, and 78 RPM. Refer to the record label or sleeve for the recommended speed.
- Locate the start/stop button: Look for the start/stop button on the turntable. This button is typically located near the tonearm or on the front panel, and it may be labeled with a symbol such as a triangle or a stylized play button.
- Starting the turntable: Gently lower the tonearm onto the record, using the cueing lever if available, to position the needle at the desired starting point. Once the tonearm is in the correct position, press the start/stop button to initiate the rotation of the turntable.
- Stopping the turntable: To stop the rotation of the turntable, press the start/stop button again. This will lift the tonearm from the record and halt the movement. It’s important to wait for the turntable to come to a complete stop before removing the record.
Remember to handle the tonearm and record delicately to avoid any accidental scratching or damage. It’s best to use the cueing lever to lower and lift the tonearm onto and off the record surface gently.
By mastering these simple steps, you’ll be able to start and stop the turntable with confidence, ensuring a smooth and enjoyable listening experience with your Crosley turntable.
Changing the Speed and Direction
Your Crosley turntable offers the flexibility to play records at different speeds and even change the direction of rotation. Follow these steps to adjust the speed and direction:
- Locate the speed selector: Look for the speed selector switch or button on your turntable. It is typically located on the front or side panel and labeled with the different speed options, such as 33 1/3 RPM, 45 RPM, and 78 RPM.
- Select the desired speed: Identify the recommended speed for the record you want to play. Rotate or press the speed selector to the corresponding setting. Make sure the turntable is powered off before changing the speed.
- Check the direction reversing feature: Some Crosley turntables offer the option to change the direction of rotation. This feature can be useful for records that are designed to be played backwards or for personal preference. Consult your turntable’s user manual to determine if this feature is available and how to activate it.
- Engage the direction reversal: If your turntable has the direction reversing feature, follow the instructions provided in the user manual to activate it. It may involve pressing a specific combination of buttons or switches.
- Start the turntable: Once you have selected the desired speed and direction, you can start the turntable following the steps mentioned in the previous section. Lower the tonearm onto the record, and press the start/stop button to initiate the rotation.
Remember to always refer to the record label or sleeve for the recommended speed. Playing a record at the incorrect speed can alter the pitch and affect the sound quality.
By understanding how to change the speed and direction of your Crosley turntable, you have the flexibility to adapt to different records and explore unique listening experiences.
Using the Tonearm and Needle
The tonearm and needle (also known as the stylus) are essential components of your Crosley turntable that directly interact with the record’s grooves. Proper usage and handling of the tonearm and needle will ensure optimal sound quality and protect your records from damage. Follow these steps to use the tonearm and needle:
- Power on the turntable: Before using the tonearm and needle, make sure the turntable is powered on and set to the correct speed for the record you are playing.
- Locate the tonearm: The tonearm is a long, slender arm that holds the needle. It is usually located near the edge of the turntable. Take care when maneuvering the tonearm, as it is delicate.
- Engage the cueing lever: Some Crosley turntables have a cueing lever that allows you to raise and lower the tonearm safely. To position the tonearm over the desired track, gently lift the cueing lever, and guide the tonearm to the desired position on the record.
- Lower the tonearm: When you have positioned the tonearm over the desired track, slowly release the cueing lever. This will gently lower the tonearm and place the needle onto the record’s surface. Avoid dropping the tonearm onto the record to prevent any damage.
- Listen and enjoy: Once the needle is in contact with the record, the sound should begin playing through the speakers or headphones. Adjust the volume as desired to enjoy your music.
- Use the cueing lever to lift the tonearm: When you want to stop playback or move the tonearm to a different position, use the cueing lever to lift the tonearm from the record surface. This will prevent any scratching or damage to the record.
- Return the tonearm: After lifting the tonearm, carefully guide it back to its resting position or use the tonearm return mechanism if your turntable has one. Make sure the needle is secured and protected.
It’s essential to handle the tonearm and needle with care to avoid any accidental scratching or damage to the record. Never touch the needle with your fingers, as it is fragile and sensitive. Keep the needle clean and free from dust or debris for optimal playback performance.
By properly using the tonearm and needle, you can enjoy the full richness and clarity of your vinyl records on your Crosley turntable while ensuring their longevity.
Adjusting the Volume and Tone
In addition to playing your favorite records, your Crosley turntable may have built-in speakers or the ability to connect to external speakers. Adjusting the volume and tone settings allows you to customize the audio output to your preferred listening experience. Here’s how to adjust the volume and tone on your Crosley turntable:
- Locate the volume control: Look for the volume dial or control on your turntable. It is typically located on the front panel, side, or as part of the control panel.
- Turn on the turntable and speakers: Before adjusting the volume, ensure that your turntable is powered on and that your speakers are connected and powered. If your turntable has built-in speakers, they will automatically be activated when the turntable is powered on.
- Adjust the volume: Rotate the volume control knob or dial to increase or decrease the volume level. Start at a lower volume and gradually increase it to your desired listening level. Take care not to set the volume too high, as it may result in distortion or damage to the speakers or your hearing.
- Set the tone controls: Some Crosley turntables offer tone control options to adjust the bass and treble levels. Look for tone control knobs, switches, or buttons on your turntable. Adjust these controls to your preferred tonal balance. Experiment with different settings to find the best sound for your listening taste.
- Fine-tune the tone: Once you have adjusted the overall volume and tone settings, you can fine-tune the tonal balance further. This can be done through external audio equipment, such as an amplifier or equalizer system, if your turntable allows for additional audio connections.
- Listen and make adjustments: Play your favorite record and listen carefully to the sound. If needed, make further adjustments to the volume and tone controls until you achieve the desired sound quality and balance.
Remember, everyone’s preferences for volume and tone differ, so feel free to adjust the settings according to your own personal preference and the requirements of the music you are playing. Enjoy the freedom to customize the audio output to create the perfect listening experience on your Crosley turntable.
Maintenance and Cleaning Tips
To ensure the longevity and optimal performance of your Crosley turntable, regular maintenance and cleaning are essential. Here are some tips to keep your turntable in excellent condition:
- Keep it dust-free: Dust and debris can affect the sound quality and performance of your turntable. Use a soft, anti-static brush or a microfiber cloth to gently wipe the surface of the turntable, including the platter, tonearm, and control panel, to remove any dust or dirt.
- Clean the stylus: The stylus, or needle, should be kept clean to ensure accurate playback and prevent damage to your records. You can use a stylus brush or a specialized stylus cleaning solution to carefully clean the stylus tip. Gently brush the stylus from back to front, following the manufacturer’s instructions.
- Protect the needle: When not in use, protect the needle by using the tonearm rest or cover. This will prevent accidental damage to the stylus and keep it safe from dust or other particles that could affect playback quality.
- Check and adjust the tracking force: The tracking force refers to the amount of pressure the needle applies to the record surface. It is important to ensure that the tracking force is properly adjusted according to the manufacturer’s recommendations. Consult the user manual or manufacturer’s guidelines for instructions on how to check and adjust the tracking force.
- Store records properly: Storing your records correctly will help preserve their condition and prevent warping or damage. Keep them in a cool, dry place, preferably in a record crate or standing vertically on a shelf. Avoid exposing records to direct sunlight or extreme temperatures.
- Regularly replace the turntable belt: If your turntable has a belt-driven mechanism, it is recommended to replace the belt every few years or when it shows signs of wear. A worn-out belt can affect the speed and performance of your turntable.
- Perform preventive maintenance: In addition to regular cleaning, it’s beneficial to perform preventive maintenance tasks. This may include lubricating the tonearm pivot points or applying a vinyl conditioner to your records to minimize surface noise and maintain their quality.
By following these maintenance and cleaning tips, you can prolong the life of your Crosley turntable and ensure that it continues to deliver exceptional sound quality for years to come.
Troubleshooting Common Issues
While Crosley turntables are known for their reliability, occasional issues may arise. Here are some common problems you may encounter with your turntable and possible solutions to troubleshoot them:
- No power or sound: If your turntable is not turning on or producing sound, first check the power connection. Ensure that the power cord is securely plugged into both the outlet and the turntable. If the issue persists, try connecting the turntable to a different power outlet or check the fuse box for any tripped circuit breakers.
- Uneven speed or variation in playback: Inconsistent speed or fluctuations in playback can be attributed to belt slippage or incorrect speed settings. Check if the turntable belt is intact and properly aligned on the pulley. Additionally, confirm that the speed selector is set to the appropriate speed for the record you are playing.
- Skipping or jumping needle: A skipping or jumping needle can occur due to various factors, such as an uneven surface, an improperly balanced tonearm, or a worn-out stylus. Ensure that the record surface is clean and free from debris. Check the balance and tracking force of the tonearm to ensure proper alignment. If these steps do not resolve the issue, it may be time to replace the stylus.
- Excessive noise or distortion: Excessive noise or distortion during playback can be caused by a dirty stylus, damaged records, or improper cartridge alignment. Clean the stylus following the manufacturer’s instructions and inspect your records for scratches or visible damage. Additionally, check the cartridge alignment and adjust it if necessary.
- Feedback or vibration: Feedback or vibration can occur if the turntable is not properly isolated from external factors. Place the turntable on a stable and level surface, away from speakers or other sources of vibration. Consider using an isolation platform or mat to absorb any unwanted vibrations.
If you encounter persistent issues that you are unable to resolve, it may be beneficial to consult the user manual or seek assistance from the customer support team at Crosley or a qualified technician. They can provide specific guidance and help you troubleshoot any complex issues that may arise with your turntable.
By addressing common troubleshooting issues, you can ensure that your Crosley turntable operates smoothly and continues to provide you with an excellent vinyl listening experience.
Conclusion
Congratulations! You are now equipped with the knowledge and understanding to effectively use and maintain your Crosley turntable. From unpacking and setting up the turntable to troubleshooting common issues, this guide has provided you with the necessary information to get the most out of your vinyl listening experience.
Remember to handle your records with care, keeping them clean and properly stored to ensure their longevity. Regular maintenance, such as cleaning the turntable and stylus, will help maintain its performance and prolong its lifespan.
By familiarizing yourself with the controls and features of your Crosley turntable, you can customize your listening experience with ease. Adjusting the speed, volume, and tone will allow you to immerse yourself in your favorite records and appreciate the unique warmth and depth that vinyl offers.
If you encounter any issues along the way, refer to the troubleshooting section for guidance. Whether it’s a power issue, skipping needle, or excessive noise, the troubleshooting tips provided can help you identify and resolve the problem.
Enjoy the journey as you rediscover the joy of vinyl records and embrace the nostalgia and beauty they bring to your music listening experience. With your Crosley turntable, you can immerse yourself in the world of analog sound and savor the unique charm of vinyl.
So, get ready to sit back, relax, and let the magic of music transport you as you embark on an unforgettable vinyl adventure with your Crosley turntable!