Home>Devices & Equipment>Turntable>How To Use A Cd With A Turntable
Turntable
How To Use A Cd With A Turntable
Modified: January 22, 2024
Learn how to use a CD with a turntable and enhance your listening experience. Discover step-by-step instructions and tips for seamless integration.
(Many of the links in this article redirect to a specific reviewed product. Your purchase of these products through affiliate links helps to generate commission for AudioLover.com, at no extra cost. Learn more)
Table of Contents
- How To Use A CD With A Turntable
- How To Use A CD With A Turntable
- Necessary Equipment
- Step 1: Prepare Your CD and Turntable
- Step 2: Connect Your CD Player to the Turntable
- Step 3: Adjust the Settings on Your Turntable
- Step 4: Start Playing the CD on Your Turntable
- Step 5: Monitor the Sound Quality
- Step 6: Troubleshooting Common Issues
- Conclusion
How To Use A CD With A Turntable
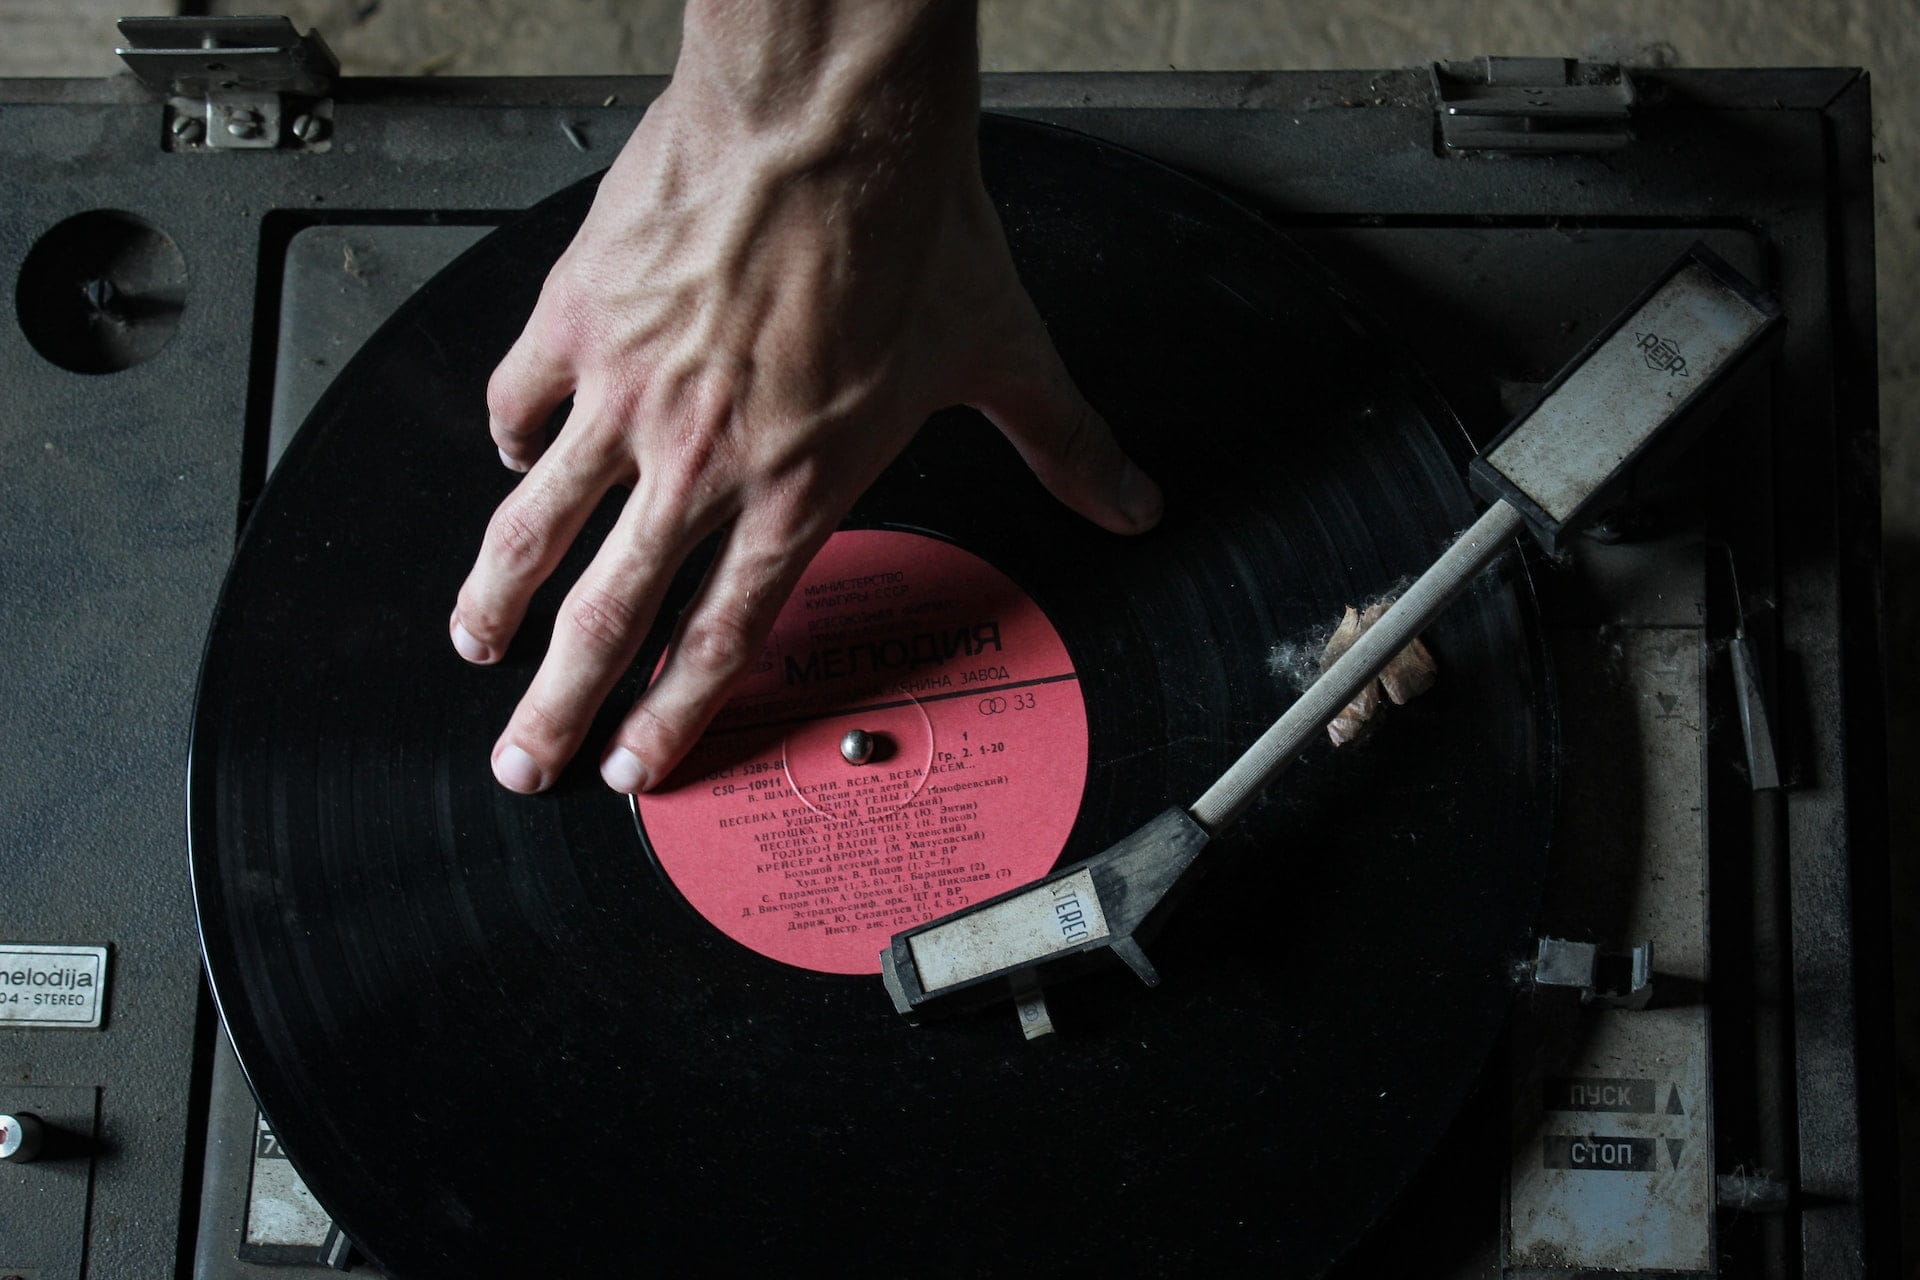
If you’re a music enthusiast who loves the warm, rich sound of vinyl records but also want to enjoy the convenience and portability of CDs, you may be wondering if it’s possible to play your CDs on a turntable. The good news is, it is indeed possible to use a CD with a turntable, and in this article, we’ll walk you through the steps on how to do it.
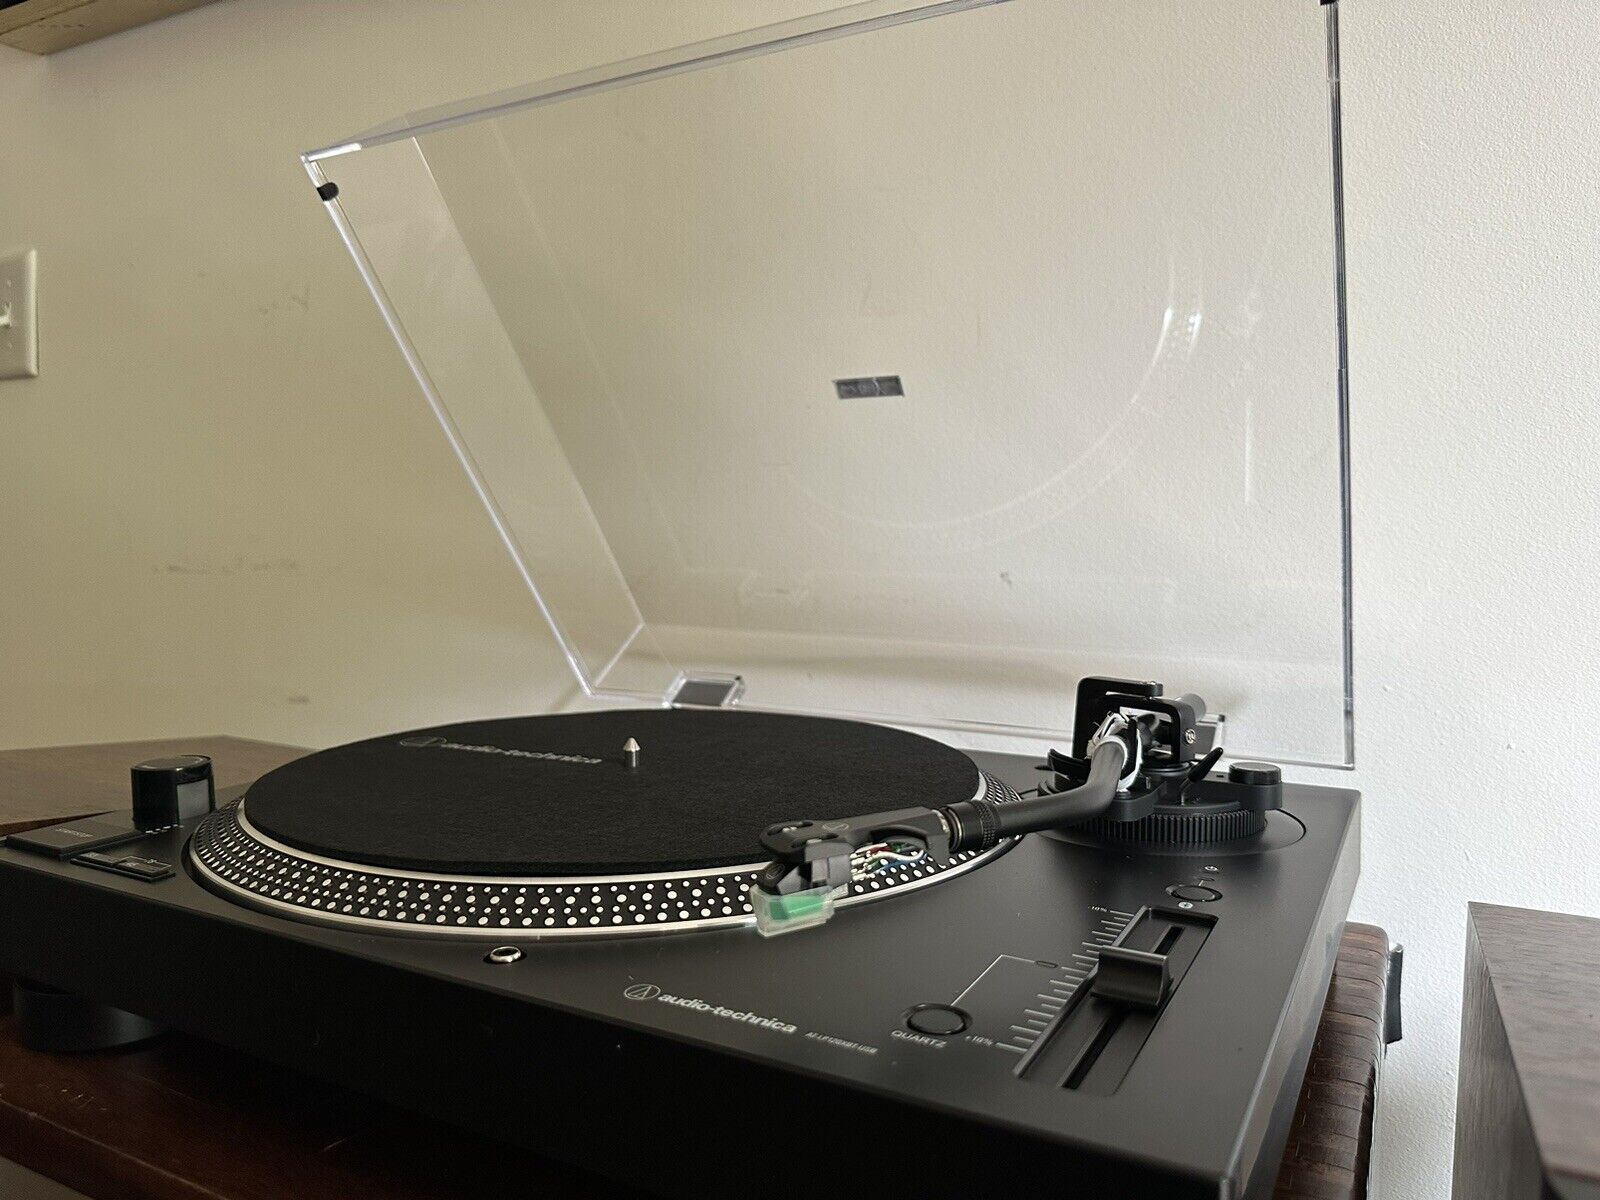
Before we get started, it’s important to note that not all turntables are equipped to play CDs. Most traditional turntables are designed exclusively for playing vinyl records. However, there are some turntables that come with built-in CD players or have CD player attachments, commonly known as CD turntables or hybrid turntables.
If you have a CD turntable or a turntable with a CD player attachment, here’s how you can use it to enjoy your CDs:
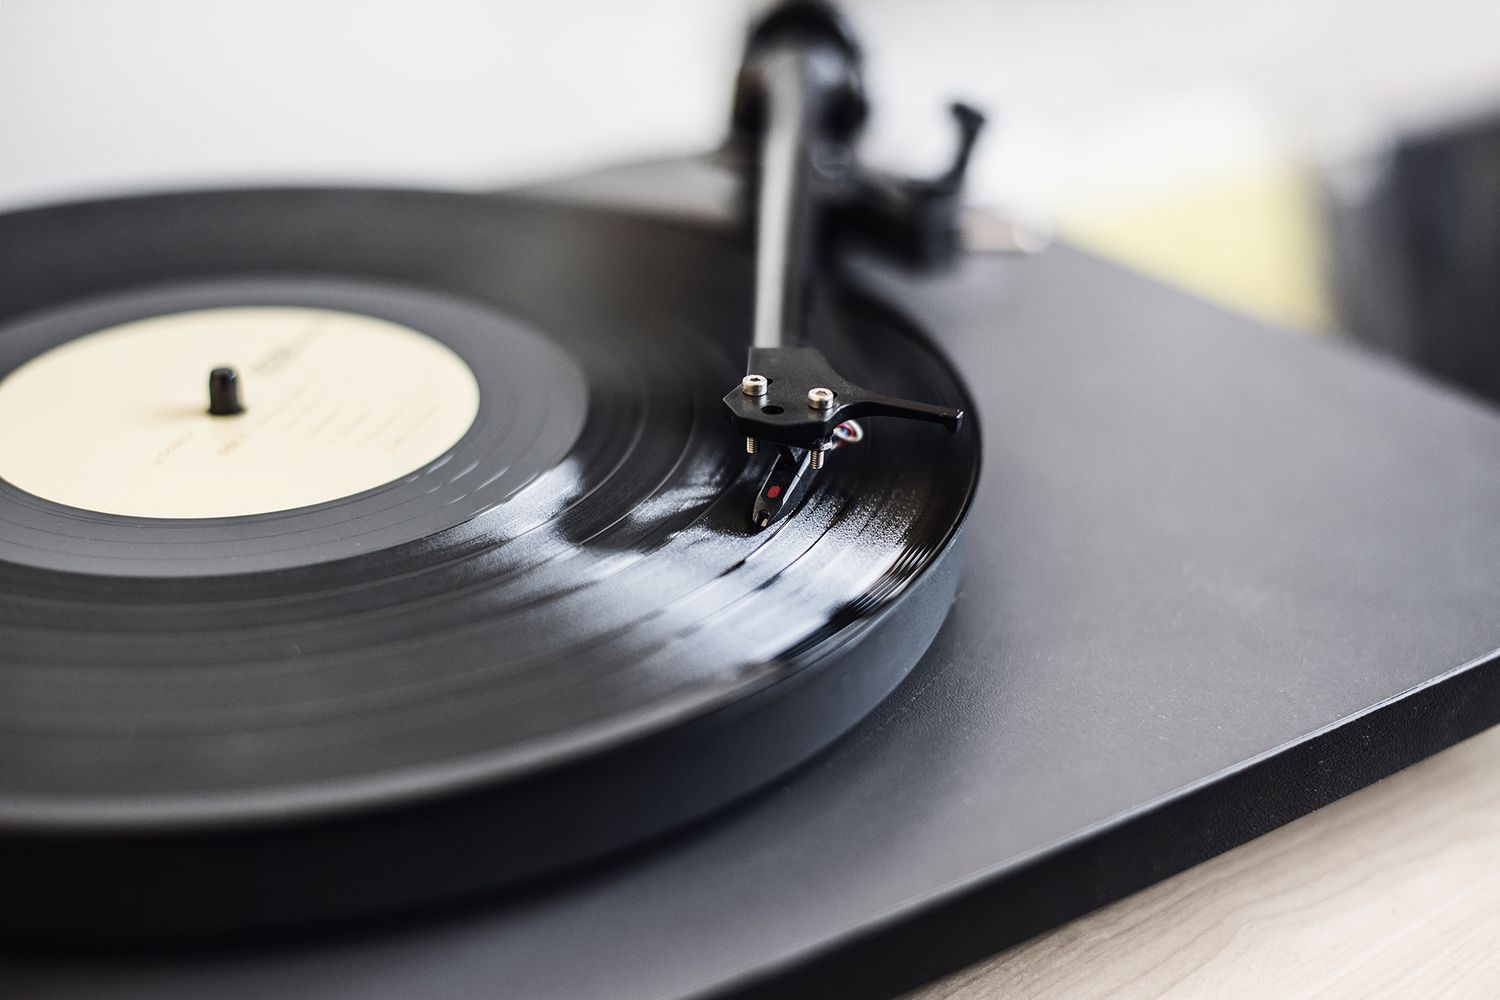
- Prepare Your CD and Turntable: Ensure that your CD is clean and free from scratches or dust. Similarly, make sure your turntable is clean and in good working condition. This will help ensure optimal sound quality.
- Connect Your CD Player to the Turntable: Use the appropriate cables to connect the audio output of your CD player to the input or auxiliary input of your turntable. Consult the user manual of your turntable and CD player for specific instructions on how to make the connection.
- Adjust the Settings on Your Turntable: Set the turntable’s mode or input selector to the appropriate setting for playing CDs. This may be labeled as “CD” or “Line” on the turntable’s control panel. Additionally, adjust the volume and tone controls on your turntable and CD player to your preference.
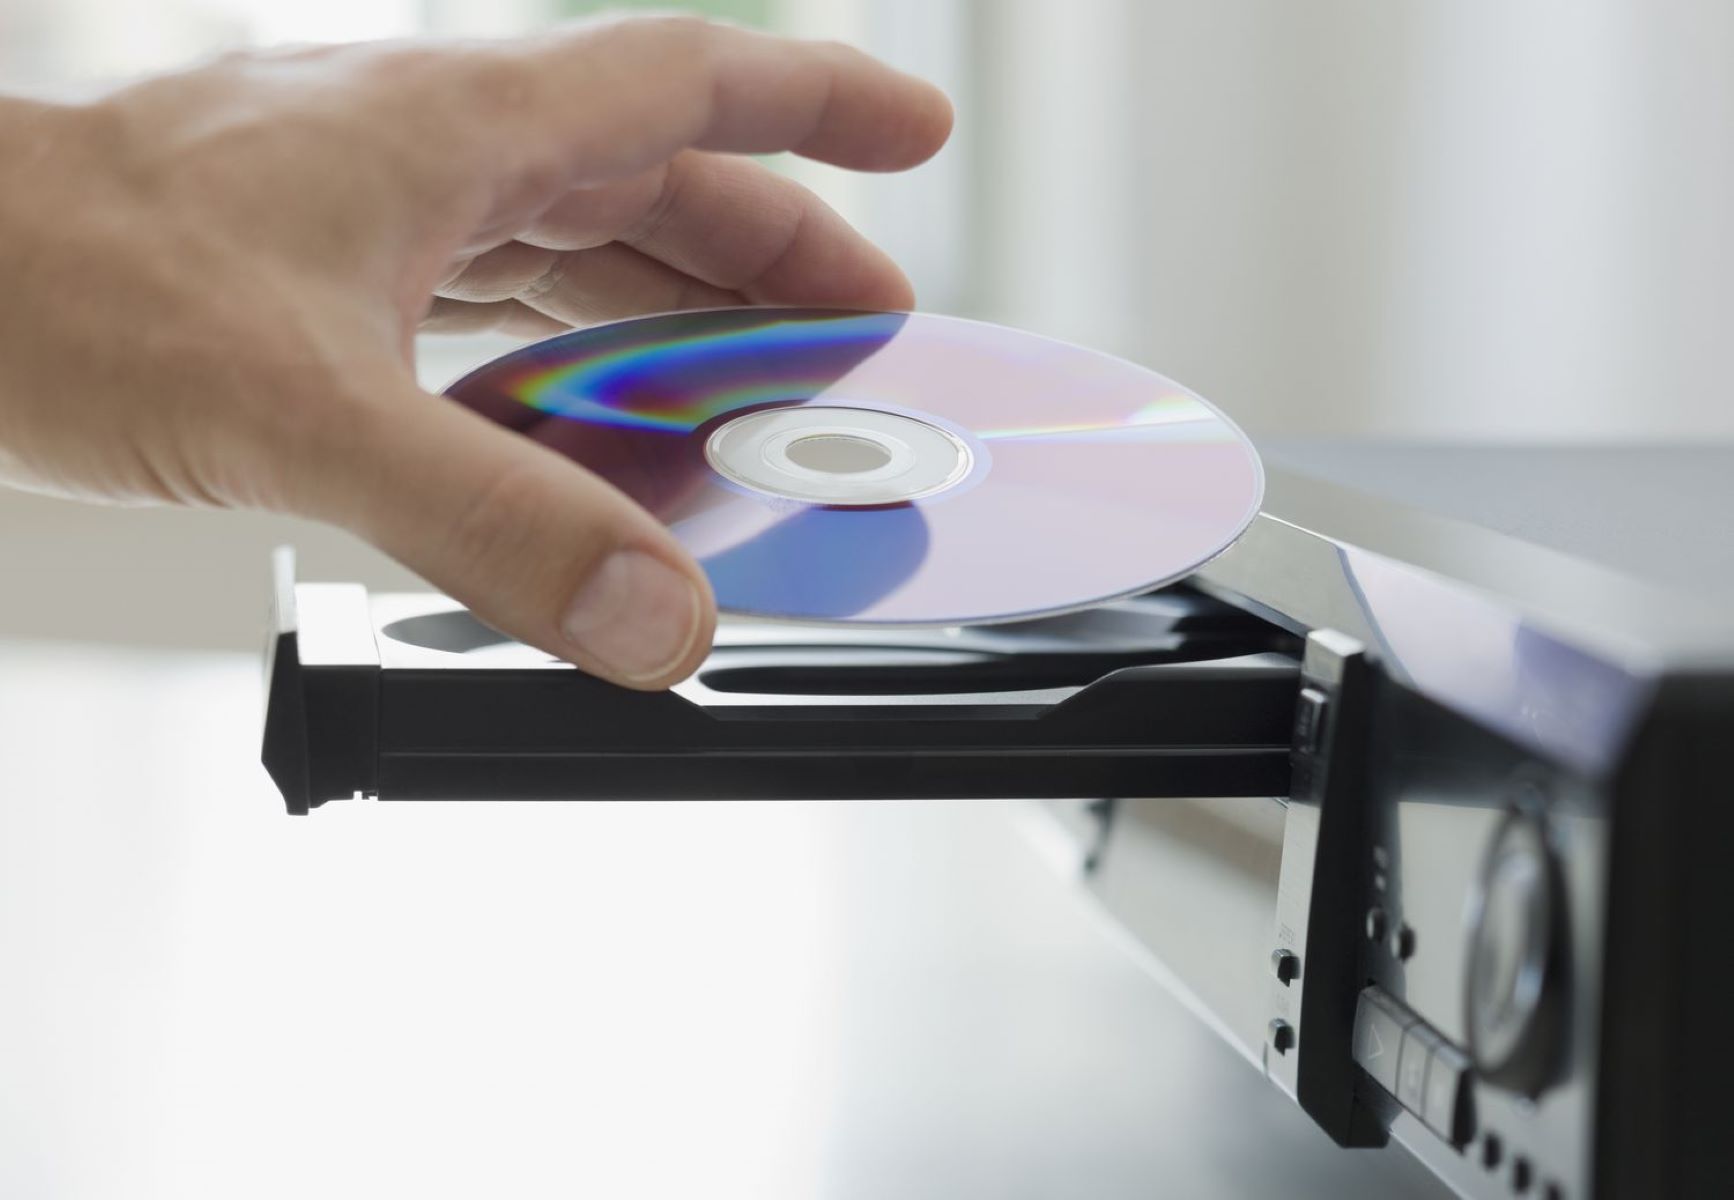
- Start Playing the CD on Your Turntable: Insert the CD into the CD player and press play. The turntable should now begin playing the audio from the CD. You can use the turntable’s play, pause, skip, and stop buttons to control the playback.
- Monitor the Sound Quality: As the CD is playing, listen carefully to the sound quality. If you notice any distortion, skipping, or other issues, you may need to adjust the tracking force, anti-skate control, or other settings on your turntable to optimize the playback.
- Troubleshooting Common Issues: If you encounter any problems while using a CD with your turntable, consult the user manual of both your turntable and CD player for troubleshooting tips. It’s also worth checking the condition of your CDs and cleaning them if necessary.
While using a CD with a turntable may not offer the exact same experience as playing vinyl records, it still allows you to enjoy your CD collection through the warm and distinctive sound produced by a turntable.
With the steps outlined above, you can easily incorporate CDs into your turntable setup and expand your listening options. Enjoy the best of both digital and analog music formats!
How To Use A CD With A Turntable
If you’re a music enthusiast who loves the warm, rich sound of vinyl records but also want to enjoy the convenience and portability of CDs, you may be wondering if it’s possible to play your CDs on a turntable. The good news is, it is indeed possible to use a CD with a turntable, and in this article, we’ll walk you through the steps on how to do it.
Turntables have long been revered for their ability to reproduce audio with depth and character, particularly when playing vinyl records. On the other hand, CDs offer a digital audio format that boasts pristine sound quality and the ability to skip tracks effortlessly.
While CDs and vinyl records may offer different listening experiences, you might find yourself wanting to enjoy your CD collection on your beloved turntable to savor the distinct warmth and analog feel of the music.
In this guide, we will explore how you can integrate a CD player with your turntable setup, allowing you to enjoy the best of both worlds. Whether you have a dedicated CD turntable or a combination of a CD player and a separate turntable, we will help you navigate through the process of using a CD with a turntable.
By following a few simple steps and making the proper connections, you’ll be able to harness the unique sonic characteristics of your turntable and enjoy the convenience of playing your favorite CDs. So let’s dive in and learn how to bring your CD collection to life on your turntable!
Necessary Equipment
Before you can start using a CD with a turntable, it’s important to ensure that you have the necessary equipment and cables. Here’s a list of the essential items you’ll need:
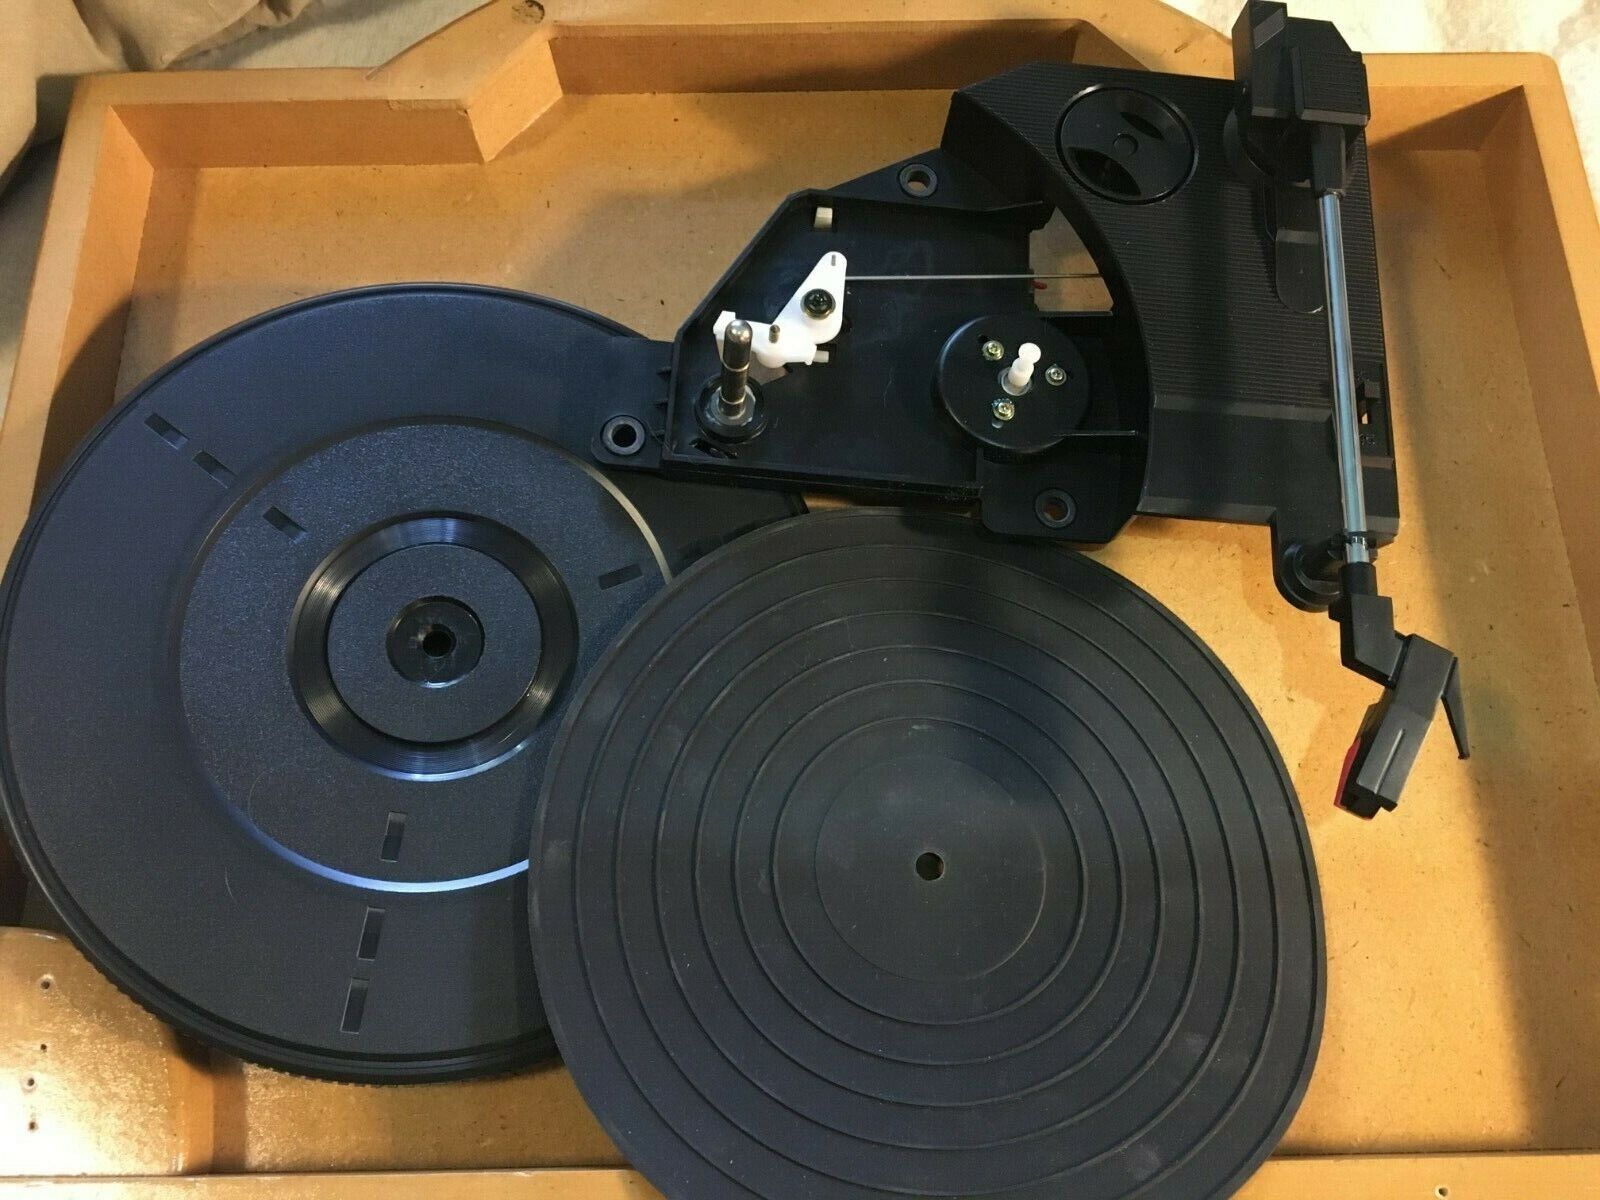
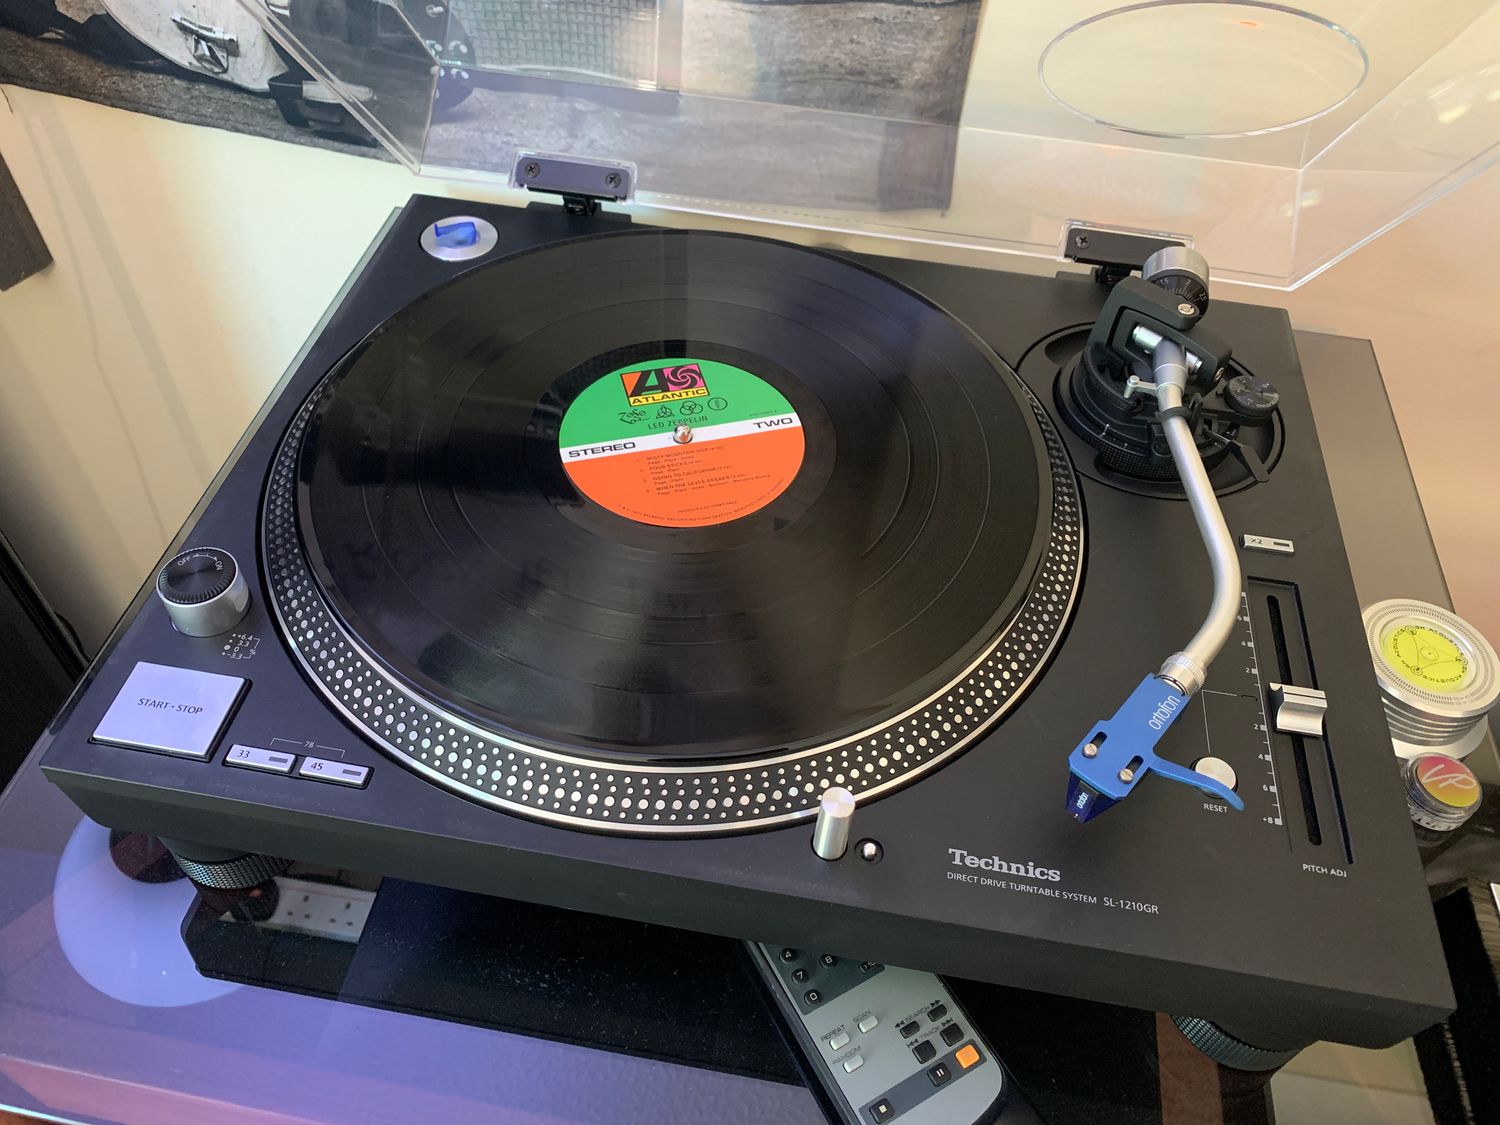
- Turntable: Select a turntable that is either specifically designed to play CDs or has a CD player attachment. Make sure your turntable is in good working condition, with a clean stylus and proper setup.
- CD Player: If your turntable doesn’t have a built-in CD player, you’ll need a separate CD player. Choose a CD player that suits your needs, whether it’s a standalone player or one that can be connected to your existing setup.
- Cables: You’ll need audio cables to connect the CD player to your turntable. The type of cables you need will depend on the specific inputs and outputs of your CD player and turntable. Common cable types include RCA cables, which have red and white connectors, or optical cables for digital connections.
- Power Cords: Ensure that both your CD player and turntable have their respective power cords and are plugged into a power source. Make sure they are both switched on and in functioning condition.
- Audio System or Speakers: To hear the audio from your CD player and turntable, you’ll need an audio system or speakers. This can range from a dedicated stereo system to powered speakers or even headphones. Connect the output of your turntable’s audio to your audio system using the appropriate cables.
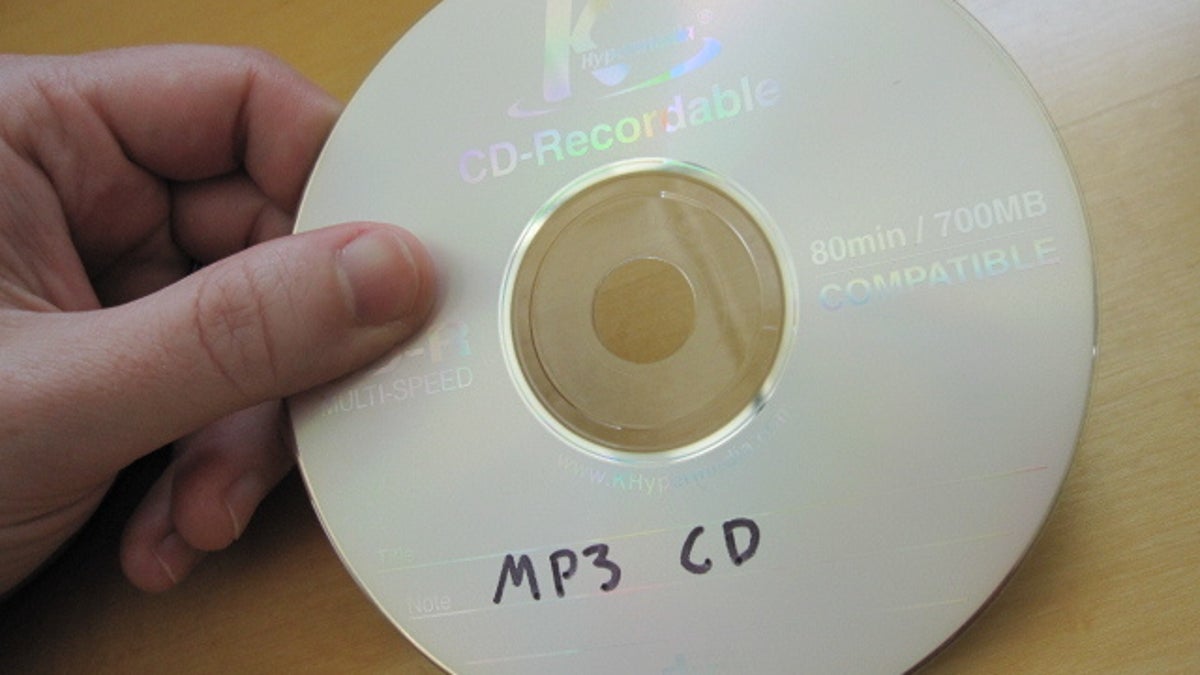
- CDs: Of course, you’ll need a collection of CDs that you want to play on your turntable. Ensure that your CDs are clean and free from scratches or damages for optimal playback quality.
It’s essential to check the user manuals of both your CD player and turntable to understand their specific input and output options and any additional equipment they may require. This will help ensure that you have the appropriate cables and connections to set up your CD player with your turntable.
With these necessary pieces of equipment ready, you’ll be all set to start using a CD with your turntable and enjoy the unique combination of digital convenience and analog sound quality.
Step 1: Prepare Your CD and Turntable
Before you can start enjoying your CD on a turntable, it’s important to ensure that both your CD and turntable are in optimal condition. Here are the steps to prepare your CD and turntable:
- Inspect Your CD: Take a close look at your CD to ensure that it is clean and free from scratches or dust. Any dirt or imperfections on the surface of the CD can affect the playback quality. If needed, use a clean, soft cloth to gently wipe away any smudges or fingerprints.
- Clean the Turntable: Just like with vinyl records, a clean turntable is crucial to maintain the best possible sound quality. Start by removing any dust or debris from the turntable’s surface using a soft brush or cloth. Pay special attention to the stylus or needle, as it can easily accumulate dust and dirt. Use a stylus brush or a specialized cleaning solution to gently clean the stylus.
- Check for Proper Turntable Setup: Ensure that your turntable is properly set up before proceeding. Check that the turntable is level, as an uneven surface can affect playback. Verify the tracking force, anti-skate control, and other settings as per the manufacturer’s instructions to ensure they are accurately calibrated for optimal performance.
- Ensure Proper Weight Distribution: If you have any additional equipment, such as a CD player attachment or external speakers connected to your turntable, make sure they are correctly positioned and balanced. Uneven weight distribution can cause instability and affect the quality of sound reproduction.
- Power on Your Equipment: Ensure that your turntable and CD player are powered on and connected to a power source. Check that the necessary cables are securely plugged in and that the devices are functioning as expected.
By taking these steps to prepare both your CD and turntable, you’ll set the stage for an optimal listening experience. A clean and well-maintained turntable, combined with a pristine CD, will help ensure that you can enjoy your music with the best possible sound quality.
Step 2: Connect Your CD Player to the Turntable
Once you have prepared your CD and turntable, the next step is to connect your CD player to the turntable. Follow these instructions to make the necessary connections:
- Identify the Audio Outputs: Locate the audio outputs on your CD player. These are typically labeled as “Audio Out” or “Line Out” and might consist of RCA jacks (red and white connectors) or other types of connectors like optical or digital outputs.
- Identify the Audio Inputs: Check your turntable for the appropriate audio input. Depending on the model, it might have dedicated CD input jacks or an auxiliary input that can be used for connecting external audio sources like a CD player. The inputs may also be labeled as “CD” or “Line In”. Consult your turntable’s user manual for specific information.
- Choose the Suitable Cable: Select the appropriate cable to connect the audio output of your CD player to the audio input of your turntable. If both your CD player and turntable have RCA jacks, you can use a standard RCA cable. If your CD player has a different type of output, such as optical, make sure to use the corresponding cable or adapter.
- Connect the Cables: Connect one end of the cable to the audio output of your CD player and the other end to the audio input of your turntable. Ensure that the connections are secure and properly seated to avoid any loose or intermittent connections that can affect sound quality.
- Power on the Equipment: Ensure that both your CD player and turntable are powered on. Verify that the audio input on your turntable is selected or switched to the appropriate setting for the CD player connection.
Once you have successfully connected your CD player to your turntable, you have established the audio pathway for playing CDs through your turntable setup. The connection between the CD player and turntable allows the signal from the CD player to be amplified and reproduced through the speakers connected to the turntable.
Remember to consult the user manuals for both your CD player and turntable to ensure that you are making the correct connections and using the appropriate cables. With the proper connections in place, you’re now ready to move on to the next step: adjusting the settings on your turntable.
Step 3: Adjust the Settings on Your Turntable
After connecting your CD player to the turntable, it’s time to adjust the settings on your turntable to ensure optimal playback of your CDs. Follow these steps to make the necessary adjustments:
- Select the CD Input: If your turntable has multiple inputs, such as phono, line, or CD, make sure to select the CD input. Look for a selector switch or button on your turntable’s control panel labeled “CD” or “Line In”. This will route the audio signal from your CD player to the appropriate internal circuitry of the turntable.
- Set the Volume Level: Adjust the volume control on your turntable to a comfortable listening level. This control might be a knob or a slider on the front panel of your turntable. Start at a lower volume and gradually increase it to avoid any sudden loud sound.
- Adjust Tone Controls: Some turntables offer tone control settings, such as bass, treble, or balance. Use these controls to fine-tune the sound to your preference. Experiment with the settings to achieve the desired audio quality, but be careful not to overdo it, as extreme adjustments can result in unnatural and distorted sound.
- Check the Anti-Skate Setting: The anti-skate control helps counteract the inward pulling force that the tonearm experiences while playing a record. Since you’re using a CD, the anti-skate setting may not be as critical, but it’s still worth checking. Refer to your turntable’s user manual for guidance on adjusting the anti-skate control or set it to the middle position as a starting point.
- Verify Tracking Force: Tracking force refers to the downward pressure applied by the turntable’s tonearm onto the CD. While this setting is primarily important for vinyl records, it’s still good practice to ensure it’s properly adjusted for your CD playback. Refer to your turntable’s user manual for the recommended tracking force setting and make any necessary adjustments.
By adjusting the settings on your turntable, you’ll optimize the playback of your CDs and ensure that the sound quality is as clear and accurate as possible. Take the time to experiment with different settings and find the balance that suits your preferences and audio equipment.
Remember, every turntable model may have slightly different control options, so consulting the user manual is crucial to understand the specific adjustments available to you. With the settings on your turntable appropriately dialed in, you’re now ready to move on to the next step: playing the CD on your turntable and enjoying your music!
Step 4: Start Playing the CD on Your Turntable
With your CD player connected and the settings on your turntable adjusted, it’s time to start playing the CD on your turntable. Follow these steps to get started:
- Insert the CD: Open the tray or slot on your CD player and carefully insert the CD. Make sure the disc is properly seated and secure in the player.
- Press Play: Locate the play button on your CD player or the corresponding controls on your turntable. Press the play button to start the playback of the CD. The turntable’s platter should begin spinning, and the tonearm should move into position above the CD.
- Control Playback: Once the CD is playing, you can use the controls on your CD player or turntable to manage the playback. These controls may include play, pause, stop, skip, and repeat. Familiarize yourself with the operation of these controls to navigate through tracks or pause the playback as desired.
- Monitor the Playback: While the CD is playing, closely listen to the sound quality and ensure it meets your expectations. The sound should be clear and free from any distortion or skipping. If you notice any issues, such as skipping or uneven playback, it may indicate a problem with the CD or the alignment of your turntable’s tracking force. Refer to the troubleshooting section for tips on resolving common playback issues.
Be sure to sit back and enjoy the music as your CD plays through the turntable. Take the time to appreciate the unique blend of digital clarity and the characteristic warmth of the vinyl playback provided by the turntable.
If your turntable has additional features, such as pitch control, cueing, or repeat functions, feel free to explore and experiment with these options to enhance your listening experience. Get familiar with the various features and functionalities offered by your specific turntable model.
Now that you have successfully started playing the CD on your turntable, you can settle in and enjoy your favorite music with the distinctive analog sound that makes turntables so beloved. Let the music captivate you as you savor the unique experience of listening to your CDs on a turntable!
Step 5: Monitor the Sound Quality
As the CD plays on your turntable, it’s important to closely monitor the sound quality to ensure optimal playback. Follow these steps to assess and adjust the sound quality as needed:
- Listen Attentively: While the CD is playing, dedicate some time to actively listen to the sound output. Pay attention to details such as clarity, dynamics, and overall balance. Note any irregularities or issues that may affect your listening experience.
- Check for Distortion: Listen for any signs of distortion, such as crackling or clipping sounds, which could indicate problems with the CD or the setup. If you notice distortion, try cleaning the CD or adjusting the tracking force on your turntable to see if it resolves the issue.
- Assess Skips or Stutters: Keep an ear out for any skips or stutters in the playback. Skips usually occur due to a dirty or damaged CD, so check the condition of the disc and clean it if necessary. If skipping continues, double-check the alignment and tracking force of your turntable’s tonearm or consult the troubleshooting section for further guidance.
- Adjust Tone Controls: If your turntable offers tone control settings, such as bass and treble adjustment, use them to fine-tune the sound to your liking. Experiment with these controls to achieve the desired balance and tonal character of the music.
- Play with Volume Levels: Adjust the volume to find the sweet spot where the music sounds best to you. Be mindful of not setting the volume too loud, as it can result in distortion or strain your audio equipment. Aim for a comfortable listening level that allows you to fully immerse yourself in the music.
By actively monitoring the sound quality and making necessary adjustments, you can optimize the listening experience while enjoying your CDs on a turntable. Remember that finding the perfect balance may require some trial and error, so don’t hesitate to experiment with different settings until you achieve the desired sound.
Additionally, keep in mind that the sound quality can also be influenced by external factors such as the quality of your speakers or the acoustics of the room. Consider investing in high-quality speakers and ensuring a suitable listening environment to further enhance your CD playback experience.
As you continue to monitor the sound quality and make adjustments, you’ll be able to fully appreciate and enjoy the unique sonic characteristics and the nostalgic charm of playing your CDs on a turntable.
Step 6: Troubleshooting Common Issues
While playing a CD on a turntable can provide an enjoyable listening experience, you may encounter some common issues along the way. Here are a few troubleshooting tips to help you address and resolve these issues:
- Skipping or Stuttering: If your CD is skipping or stuttering during playback, it’s likely due to a dirty or damaged disc. Clean the CD using a soft, lint-free cloth or a CD cleaning solution. If the issue persists, inspect the CD for scratches or damages and consider replacing it with a clean, undamaged copy.
- Distorted Sound: Distorted sound can occur due to various factors, such as misaligned tracking force, damaged CDs, or a faulty connection. Ensure that the tracking force of your turntable’s tonearm is properly adjusted as per the manufacturer’s recommendations. Check the CD for scratches or smudges, and clean it if necessary. Verify that the cables connecting your CD player and turntable are securely plugged in.
- Imbalanced or Uneven Sound: If you notice an imbalance or uneven sound, it could be related to the tonearm alignment, anti-skate control, or a faulty speaker. Check the alignment and tracking force of the turntable’s tonearm, as an improper setup can cause audio imbalance. Adjust the anti-skate control to ensure that the tonearm is properly centered. If the issue persists, troubleshoot your speakers or try different speakers to rule out any potential speaker-related issues.
- No Sound Output: If you’re not hearing any sound output from your turntable when playing a CD, there are a few things to check. Verify that the cables connecting your CD player and turntable are inserted correctly and firmly. Ensure that both the CD player and turntable are powered on, and double-check the input settings on your turntable to ensure it’s correctly set to the CD input. If the issue persists, consult the user manuals or seek professional assistance to diagnose the problem.
- Poor Audio Quality: If you’re experiencing poor audio quality, such as muffled or dull sound, it could be due to issues with the CD, the turntable setup, or the speakers. Clean the CD and check its condition for any damages. Verify that your turntable is properly set up and calibrated, including the tracking force and anti-skate settings. Consider upgrading your speakers or adjusting the tone controls on your turntable to improve the audio quality.
If you encounter persistent issues or are unsure how to resolve a specific problem, referring to the user manuals of your CD player, turntable, and speakers can provide valuable guidance. Additionally, reaching out to a knowledgeable audio technician or the manufacturer’s customer support can help troubleshoot more complex issues.
Remember, troubleshooting is a process of elimination, and patience is key. By identifying and addressing these common issues, you’ll be able to overcome any barriers and enjoy a smooth and satisfying experience while using a CD with your turntable.
Conclusion
In conclusion, using a CD with a turntable can provide a unique and enjoyable listening experience, combining the convenience of digital music with the warm, analog sound signature of a turntable. By following the steps outlined in this guide, you can seamlessly incorporate your CD collection into your turntable setup and make the most out of both formats.
From preparing your CD and turntable to connecting your CD player and adjusting the settings, each step plays a crucial role in ensuring optimal playback quality. By monitoring the sound quality and troubleshooting common issues, you can overcome any challenges that may arise and enjoy uninterrupted and immersive music listening sessions.
Remember, every turntable and CD player setup may have unique features, controls, and considerations, so it’s important to consult the user manuals and follow manufacturer guidelines specific to your equipment. This will ensure that you make the correct connections and adjustments for the best possible performance.
While CDs may have lost some popularity in recent years, they still hold a cherished place in many music enthusiasts’ collections. By using a CD with a turntable, you can rediscover the joy of physical media and appreciate the nuances and depth that each artist intended in their recordings.
So go ahead, dust off those CDs, set up your turntable, and embark on a musical journey that embraces both the past and the present. Experience the nostalgia and warmth of vinyl with the ease and versatility of CDs, all through the timeless medium of a turntable.
Whether you’re a vinyl enthusiast seeking a convenient way to enjoy your CD collection or someone looking to explore the synergistic combination of digital and analog formats, incorporating CDs into your turntable setup is a wonderful way to expand your musical horizons and reignite your passion for music.