Home>Events & Info>Acapella>How To Record Acapella Vocals With Snowball Mic
Acapella
How To Record Acapella Vocals With Snowball Mic
Modified: February 17, 2024
Learn how to record acapella vocals with the Snowball mic and achieve professional quality. Perfect for singers and musicians.
(Many of the links in this article redirect to a specific reviewed product. Your purchase of these products through affiliate links helps to generate commission for AudioLover.com, at no extra cost. Learn more)
Table of Contents
- Introduction
- What is Acapella Vocals?
- Overview of the Snowball Mic
- Setting up the Snowball Mic
- Positioning the Snowball Mic for Acapella Recording
- Adjusting the Mic Settings for Optimal Acapella Recording
- Tips for Recording Acapella Vocals with the Snowball Mic
- Editing and Enhancing Acapella Recordings
- Troubleshooting Common Issues with Acapella Recording
- Conclusion
Introduction
When it comes to vocal performances, acapella is a timeless art form that never fails to captivate listeners. With its rich harmonies, intricate vocal arrangements, and raw emotion, acapella showcases the pure essence of the human voice. Whether you are a solo singer, part of a group, or just want to experiment with your vocal abilities, recording your acapella vocals can provide a platform to share your talent and connect with an audience.
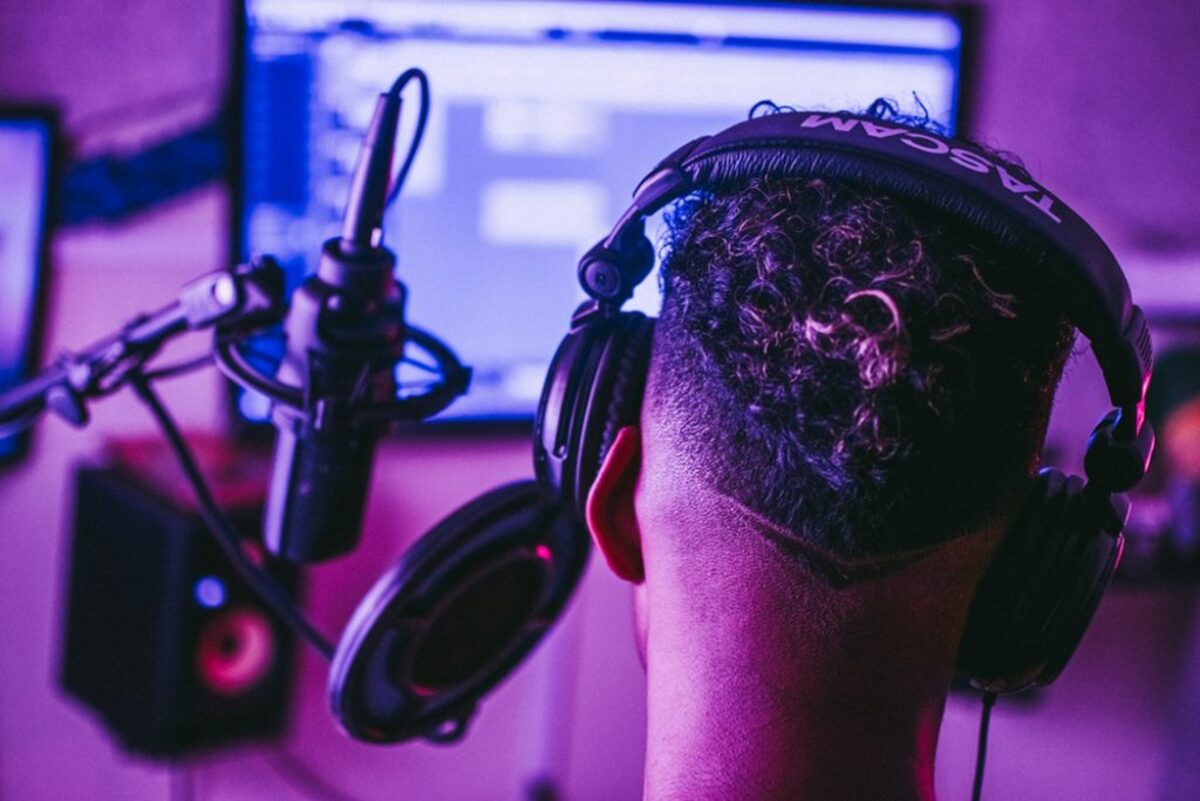
To capture the pristine beauty of acapella vocals, it is essential to have the right recording equipment. One popular choice among vocal enthusiasts is the Snowball mic. It is a versatile and high-quality microphone that delivers professional-grade sound. In this article, we will explore how to record acapella vocals using the Snowball microphone, ensuring that you achieve the best possible results.
Before we dive into the specifics of using the Snowball mic, let’s first understand what acapella vocals are. Acapella refers to vocal music performed without instrumental accompaniment. It requires skillful vocal techniques, precision in timing and pitch, and the ability to blend voices harmoniously. Acapella performances can range from traditional choir arrangements to modern pop covers and everything in between. It is a genre that showcases the true power and versatility of the human voice.
Now that we have a solid understanding of acapella vocals, let’s delve into the Snowball microphone and how it can enhance your acapella recording experience. Whether you are a seasoned acapella vocalist or just starting your musical journey, the Snowball mic is a valuable asset that can bring out the best in your vocals.
What is Acapella Vocals?
Acapella vocals, also known as a capella or a cappella, are vocal performances that do not include any instrumental accompaniment. It is a style of music where the human voice takes center stage and provides all the musical elements, including melody, harmony, and rhythm. Acapella vocals can range from solo performances to group harmonies, showcasing the raw beauty and versatility of the human voice.
The term “acapella” originates from the Italian phrase “a capella,” which translates to “in the style of the chapel.” In the early centuries, before the invention of instruments, religious choirs utilized their voices as the sole instrument, creating captivating choral compositions.
Throughout history, acapella vocals have been a significant part of various musical traditions and genres, including folk, gospel, barbershop quartets, doo-wop, and even contemporary pop music. Notable acapella groups such as Pentatonix and Straight No Chaser have gained international fame, showcasing the incredible artistry and skill required for acapella performances.
What sets acapella vocals apart is the ability to create intricate harmonies and vocal arrangements. Without the support of instruments, singers must rely on their talent and technique to produce a full and well-rounded musical experience. This demands a high level of vocal control, precision in pitch and timing, and the ability to blend voices seamlessly.
Unlike accompanied performances, acapella vocals allow for a greater degree of vocal expression and artistic freedom. Singers can explore various vocal techniques, such as vocal runs, vocal percussion (beatboxing), and vocal layering, to create a dynamic and captivating performance.
Acapella vocals are not only a means of artistic expression but also a way to connect with audiences on a deep emotional level. There is a certain vulnerability and intimacy that comes with hearing the unadulterated human voice, making acapella performances incredibly powerful and moving.
Whether you are performing acapella as a soloist or as part of a group, the art of acapella vocals requires dedication, practice, and a deep understanding of vocal techniques. Recording acapella vocals allows you to share your talent with a wider audience, preserving your performance for posterity and enabling you to reach listeners around the world.
Now that we have explored the essence of acapella vocals, let’s see how the Snowball microphone can help you capture and enhance your acapella recordings.
Overview of the Snowball Mic
The Snowball mic is a popular choice among vocalists and audio enthusiasts for its exceptional sound quality and user-friendly design. Developed by Blue Microphones, a renowned name in the audio industry, the Snowball mic offers outstanding recording capabilities at an affordable price point.
The Snowball mic is a USB condenser microphone, which means it connects directly to your computer via a USB port. This eliminates the need for additional audio interfaces or external power sources, making it incredibly convenient and easy to use. Whether you are a professional musician or a novice recording enthusiast, the Snowball mic provides a hassle-free recording experience.
One of the standout features of the Snowball mic is its versatility. It offers three distinct recording patterns: cardioid, omnidirectional, and cardioid with -10dB pad. The cardioid pattern is ideal for solo recordings, capturing vocals with clarity and rejecting background noise. The omnidirectional pattern captures sound equally from all directions, making it suitable for group performances or capturing ambient sounds. The cardioid pattern with -10dB pad reduces sensitivity to loud sounds, making it suitable for recording louder sources such as instruments or live performances.
The Snowball mic is also known for its high-quality audio resolution. With a sample rate of 44.1 kHz/16-bit, it captures your acapella vocals with exceptional clarity and detail. This ensures that every nuance of your performance is faithfully reproduced in the recording.
The Snowball mic is a plug-and-play device, compatible with both Mac and PC operating systems. Simply connect it to your computer using the provided USB cable, and it will be recognized as an audio input device. This means you can use it with a variety of recording software applications such as GarageBand, Audacity, or Adobe Audition, to name a few.
Additionally, the Snowball mic features a headphone output with volume control. This allows you to monitor your acapella recordings in real-time, ensuring that you can hear yourself clearly without any noticeable latency. It also comes with a sturdy desktop stand that provides stability and flexibility in positioning the microphone.
Overall, the Snowball mic is a reliable and cost-effective option for capturing your acapella vocals. Its ease of use, versatile recording patterns, and high-quality audio resolution make it a popular choice among vocalists and recording enthusiasts.
Next, let’s move on to setting up the Snowball mic for your acapella recording sessions.
Setting up the Snowball Mic
Setting up the Snowball mic for your acapella recording sessions is a straightforward process that requires minimal effort. Follow these steps to ensure that your microphone is properly connected and ready to capture your vocals:
- Start by finding a suitable location for your recording setup. Choose a quiet room or space where you can minimize background noise and echo. Consider using blankets or acoustic panels to help dampen any reverberations in the room.
- Unbox the Snowball mic and its accessories. The package should include the microphone itself, a USB cable, and a desktop stand.
- Connect the USB cable to the Snowball mic and the other end to an available USB port on your computer. Ensure a secure connection is established.
- If you haven’t already done so, install any necessary drivers or software that may be required for the Snowball mic to function correctly. Most operating systems will recognize the microphone automatically, but it’s always a good idea to check for any specific drivers or updates from the manufacturer’s website.
- Place the Snowball mic on the desktop stand or any other suitable microphone stand or boom arm. Position it at a comfortable height and angle, ensuring that it is facing towards you when you are ready to sing. This will help capture your vocals accurately and prevent any unnecessary noise from being picked up.
- Adjust the microphone’s gain or volume level. The Snowball mic has a dial located on the rear of the microphone for this purpose. Start with a lower setting and gradually increase it while monitoring your input levels to avoid distortion or clipping.
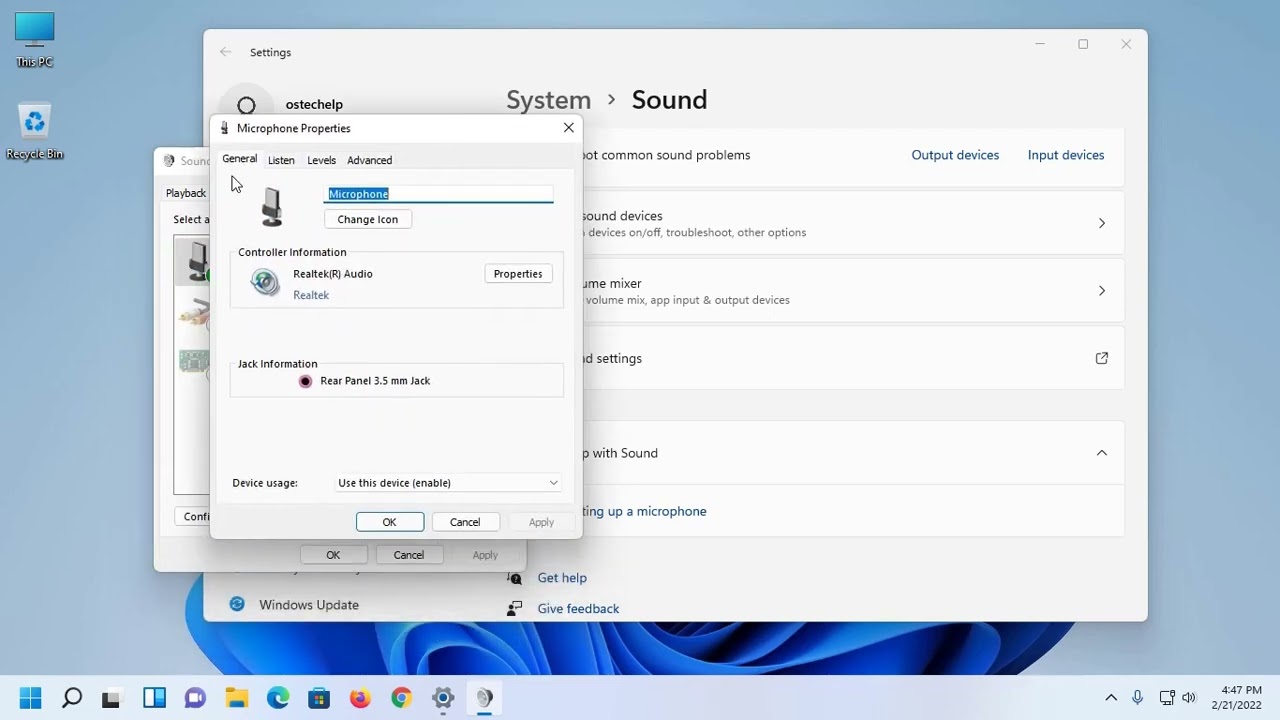
- Ensure that your computer’s audio settings are properly configured to recognize the Snowball mic as the input device. You can access these settings through your computer’s sound control panel or settings menu. Select the Snowball mic as the preferred input device, adjust the input volume if necessary, and test for audio playback to ensure it is working correctly.
With the Snowball mic properly set up and connected, you are now ready to start recording your acapella vocals. In the next section, we will discuss the optimal positioning of the Snowball mic for capturing your vocals in the best possible way.
Positioning the Snowball Mic for Acapella Recording
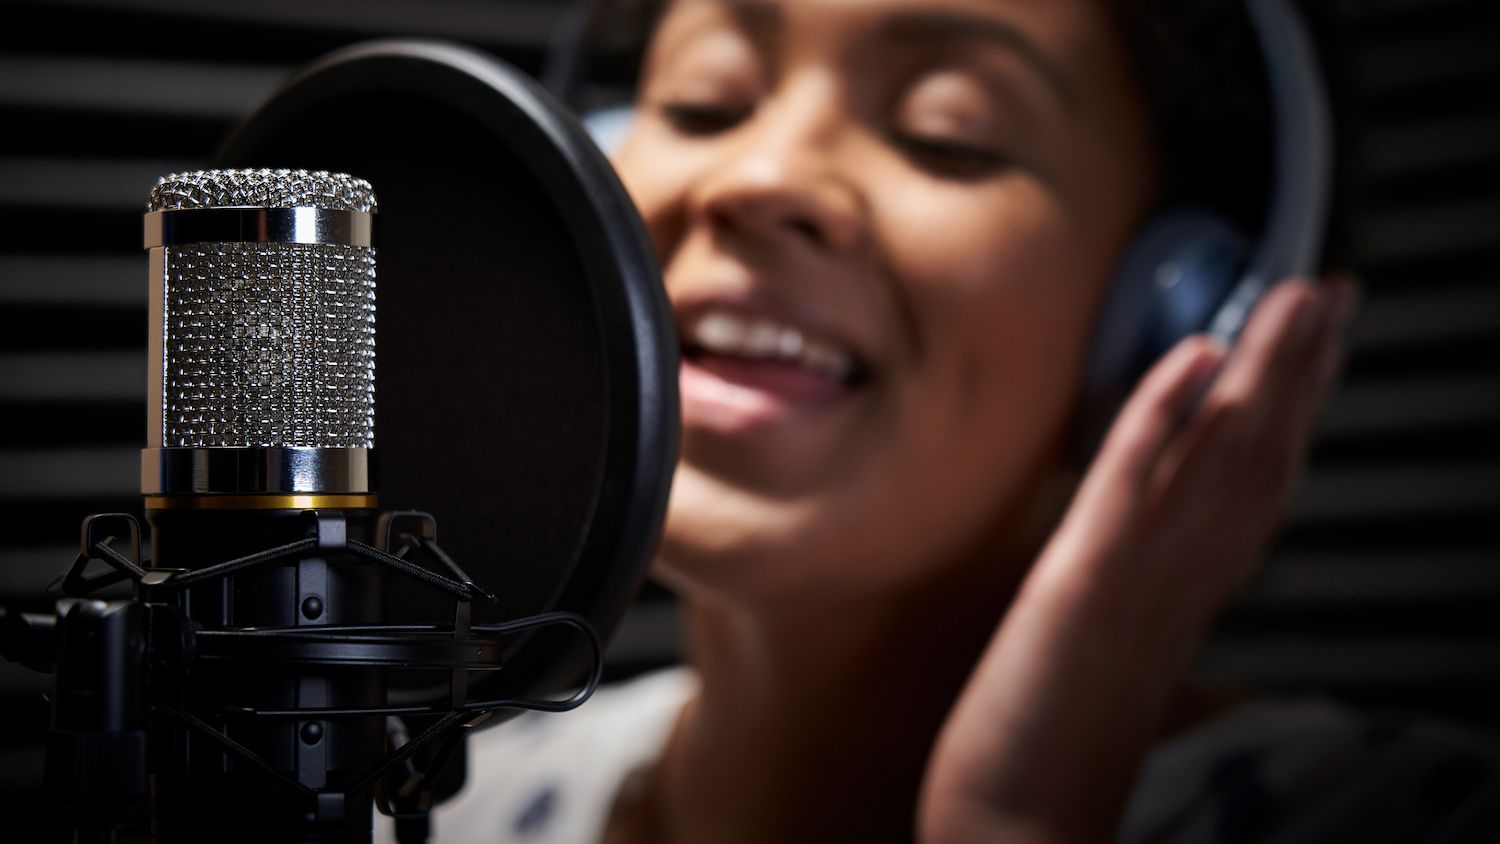
The positioning of the Snowball mic plays a crucial role in capturing clear and balanced acapella vocals. By placing the microphone correctly, you can ensure optimal sound quality and minimize unwanted noise. Follow these tips to achieve the best results:
- Position the Snowball mic at a comfortable distance from your mouth. A general rule of thumb is to place the microphone around 6-8 inches away from your face. This distance helps prevent plosive sounds (such as “p” and “b” sounds) from overwhelming the microphone while still capturing the full range of your vocals.
- Ensure that the microphone is positioned directly in front of you, at a slight angle. This helps to capture the sound of your voice without obstruction and allows for better microphone-to-mouth alignment.
- Experiment with microphone height to find the sweet spot. Position the Snowball mic at the level of your mouth or slightly above it. Avoid angling the microphone too much, as it can alter the timbre and balance of your vocals.
- Consider using a pop filter or foam windscreen to reduce plosive sounds and minimize the impact of harsh consonants on the microphone. These accessories help to maintain consistent vocal quality and reduce the need for excessive post-recording audio editing.
- Pay attention to the microphone’s polar pattern. The Snowball mic offers a cardioid polar pattern, which means it captures sound primarily from the front and rejects sounds from the sides and rear. Make sure that you are singing towards the front side of the microphone for the best audio pickup.
- Take into account the room acoustics when positioning the microphone. If you are in a room with a lot of echo or reverb, try to position the microphone closer to your mouth to capture more direct sound and minimize the impact of the room’s reflections.
- Experiment with microphone placement by recording short snippets and listening back to them. Adjust the position as needed to achieve the desired tonal balance and clarity in your vocals.
By following these positioning guidelines, you can ensure that the Snowball mic captures the full range and nuances of your acapella vocals. Now that you have the microphone in the right position, let’s move on to adjusting the mic settings to optimize the quality of your acapella recordings.
Adjusting the Mic Settings for Optimal Acapella Recording
Once you have positioned the Snowball mic for acapella recording, the next step is to fine-tune its settings to achieve the best sound quality. By adjusting the microphone’s settings, you can optimize the capture of your vocals and ensure that they shine in your acapella recordings. Here are some tips to help you get the most out of your Snowball mic:
- Start by selecting the appropriate recording mode. The Snowball mic offers different patterns, including cardioid, omnidirectional, and cardioid with -10dB pad. For solo acapella recordings, the cardioid pattern is typically the best choice as it focuses on capturing sound directly in front of the microphone while minimizing background noise.
- Adjust the microphone’s gain or sensitivity. This setting determines how sensitive the microphone is to capturing sound. Start with a moderate level and adjust it based on your vocal dynamics. Avoid setting the gain too high as it can lead to clipping or distortion. If you find that your vocals are too soft or too loud in the recording, experiment with different gain settings until you achieve a balanced sound.
- Consider using a pop filter or foam windscreen to reduce plosive sounds and protect against harsh consonants. These accessories help to maintain a consistent recording level and prevent abrupt volume spikes that can distort your vocals or cause unwanted artifacts.
- If you are experiencing background noise or unwanted room ambience, try to minimize it by reducing the microphone’s sensitivity or using additional soundproofing measures. A quiet room and proper positioning of the microphone can greatly help in achieving a clean acapella recording.
- Monitor your recordings by plugging in headphones to the Snowball mic’s headphone output. This allows you to hear the quality of your vocals in real-time as you perform. Adjust the headphone volume to a comfortable level, ensuring that you can hear yourself clearly without any latency or distortion.
- Be mindful of any clipping or distortion in the recording. If you notice that your vocals are distorting at certain points or your audio level meters are consistently in the red, lower the gain setting to prevent clipping and preserve the integrity of your vocals.
- Experiment with the microphone’s settings and record test snippets to fine-tune the sound quality. Listen back to the recordings and make adjustments as necessary to achieve the desired tone, clarity, and presence in your acapella vocals.
By taking the time to adjust the Snowball mic’s settings, you can optimize the quality of your acapella recordings. This will help you capture the true essence and beauty of your vocals, allowing your talent to shine through. In the next section, we will explore some valuable tips for recording acapella vocals with the Snowball mic.
Tips for Recording Acapella Vocals with the Snowball Mic
Recording acapella vocals with the Snowball mic can be a rewarding and enjoyable experience. To help you make the most out of your recording sessions, here are some valuable tips to consider:
- Warm up your voice: Before hitting the record button, warm up your vocal cords. Engage in vocal exercises and stretches to ensure that your voice is ready for performance. This will help improve the quality and flexibility of your acapella vocals.
- Choose a quiet environment: Find a quiet recording space to minimize background noise. Turn off any fans, air conditioners, or other noisy electronics that may interfere with your recordings. Consider using blankets, curtains, or acoustic foam to dampen any echoes or reverberations in the room.
- Experiment with room acoustics: If you want to add a different ambience or texture to your acapella vocals, try recording in different rooms with varying levels of natural reverb. Each space will lend a unique character to your recordings, allowing you to achieve different sonic qualities.
- Utilize proper microphone technique: Pay attention to mic technique while performing. Maintain a consistent distance from the microphone to ensure even sound capture. Avoid drastic movements or positioning adjustments during recording, as it can affect the sound quality and consistency.
- Record multiple takes: Don’t be afraid to record multiple takes of your acapella vocals. This allows you to compare performances and choose the best one during the editing process. It also gives you the opportunity to experiment and explore different vocal nuances and expressions.
- Experiment with dynamics and expression: Acapella vocals provide an excellent opportunity to showcase your dynamics and vocal expressions. Explore the range of your voice and experiment with softer and louder sections to create a captivating and emotive performance. Varying dynamics will add depth and interest to your acapella recordings.
- Pay attention to timing and pitch: Practice precision in timing and pitch accuracy. Acapella vocals rely heavily on precise rhythmic and pitch control. Use a metronome or backing track to ensure that your vocals stay in sync and are in tune. Correct any imperfections during the editing process, if necessary.
- Don’t over-edit: While editing can enhance the quality of your acapella recordings, be careful not to overdo it. Maintain the authenticity and natural quality of your vocals as much as possible. Minor corrections and enhancements are fine, but avoid excessive processing that might lead to an artificial sound.
- Listen critically: Take the time to listen critically to your acapella recordings. Use headphones to check for any subtle imperfections or unwanted artifacts. This will allow you to make more informed decisions during the editing and mixing stages.
- Experiment with harmonies and vocal layering: Acapella vocals provide a great opportunity to create intricate harmonies and vocal layering. Consider adding additional vocal tracks to enhance the depth and texture of your recordings. Experiment with different vocal arrangements and explore the possibilities of creating a harmonically rich acapella performance.
Following these tips will help you achieve professional-sounding acapella recordings with the Snowball mic. Remember to have fun, embrace your creativity, and let your voice shine through in your acapella performances.
In the next section, we will explore the process of editing and enhancing your acapella recordings to achieve a polished final product.
Editing and Enhancing Acapella Recordings
Once you have recorded your acapella vocals with the Snowball mic, the next step is to edit and enhance the recordings to achieve a polished and professional sound. Here are some useful techniques to help you during the editing process:
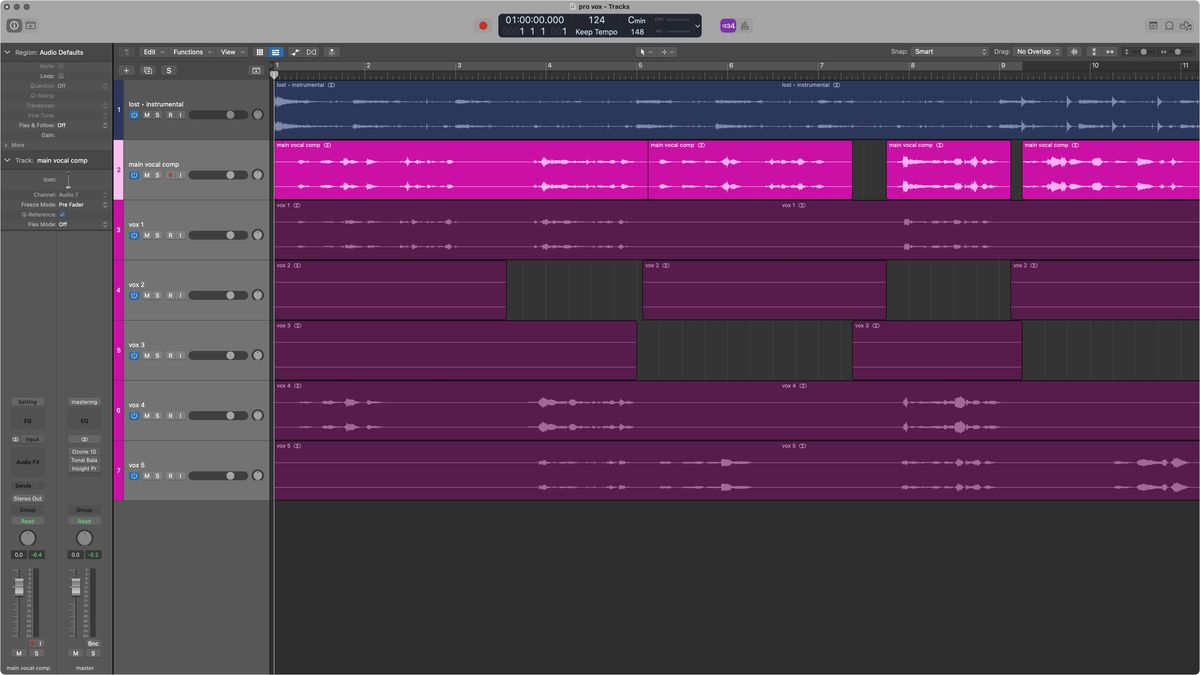
- Import the recordings: Transfer the recorded acapella vocal tracks from your recording software to a digital audio workstation (DAW) for editing. This will allow you to have more control over the editing and mixing process.
- Clean up the audio: Listen to the recorded tracks and remove any unwanted background noise, clicks, or pops using audio editing tools. Use a noise reduction plugin to reduce any persistent background noise that may have been picked up during the recording.
- Correct timing and pitch: Use the editing capabilities of your DAW to correct any minor timing issues or pitch inaccuracies. This will help you achieve a more precise and polished acapella performance. Be mindful not to overcorrect, as you want to maintain the natural sound and feel of your vocals.
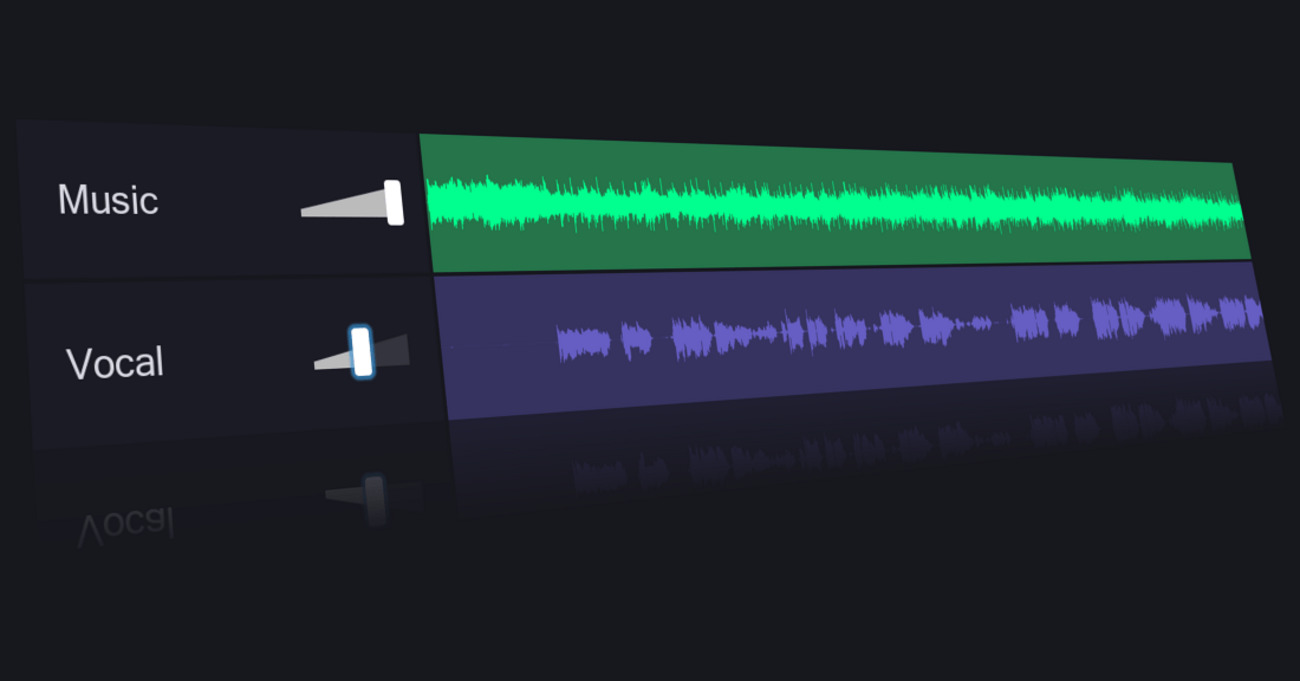
- Balance the vocal levels: Adjust the volume levels of each acapella vocal track to achieve a balanced mix. Ensure that no individual vocal track is overly dominant or drowned out by the others. Use automation and volume adjustments to create a cohesive blend of voices.
- Add effects and processing: Enhance the acapella vocals by adding subtle effects and processing. Use reverb and delay to create a sense of space and dimension. EQ can help to shape the tonal balance of each vocal track, removing any unwanted frequencies and enhancing the overall clarity.
- Experiment with panning: Utilize the stereo field by panning different vocal tracks to different positions. This creates a sense of width and separation in the mix, making each vocal part more distinguishable. Be mindful of maintaining a balanced overall sound and avoiding extreme panning that may result in an unnatural or disjointed mix.
- Consider harmonies and vocal layering: If desired, experiment with adding harmonies or vocal layers to enrich the acapella performance. Duplicate vocal tracks, adjust the pitch or timing if necessary, and place them in strategic moments throughout the arrangement to create depth and complexity.
- Apply subtle automation: Use automation to add movement and expression to your acapella recordings. Adjust volume, panning, or effects parameters to create dynamic variations throughout the performance. This will help your acapella vocals feel more alive and engaging.
- Review and refine: Take breaks during the editing process to listen to the acapella recordings with fresh ears. Fine-tune the edits, effects, and overall balance based on your critical assessment. Continually listen and make adjustments until you are satisfied with the final result.
- Export the finalized acapella mix: Once you are happy with the edited and enhanced acapella recordings, export the final mix as a high-quality audio file. Consider the desired file format and any specific requirements for the platform or medium on which you intend to share or distribute the recording.
Remember, the editing process is an opportunity to refine and elevate your acapella vocals. Use these techniques as a starting point, but also trust your artistic instincts and make creative choices that best serve the character and intention of your acapella performance.
In the final section, we will address common troubleshooting issues that you may encounter while recording acapella vocals with the Snowball mic and provide solutions to overcome them.
Troubleshooting Common Issues with Acapella Recording
While recording acapella vocals with the Snowball mic can yield exceptional results, there are certain common issues that you may encounter along the way. Understanding these issues and knowing how to troubleshoot them will help you overcome any hurdles that may arise during your recording sessions. Here are some common issues and their solutions:
- Plosive sounds: Plosive sounds, such as “p,” “b,” and “t,” can cause unwanted bursts of air that create distortion in the recording. To minimize this issue, use a pop filter or foam windscreen in front of the microphone. These accessories help diffuse the airflow and reduce the impact of plosive sounds on the microphone.
- Background noise: Ambient noise can find its way into your acapella recordings and diminish the overall quality. To reduce background noise, find a quiet recording environment and use soundproofing measures like blankets, curtains, or acoustic panels to dampen any unwanted noise. Additionally, consider using a noise reduction plugin during the editing process to minimize any lingering noise.
- Uneven vocal levels: If you notice that certain parts of your acapella vocals are louder or softer than others, resulting in an imbalanced mix, adjust the volume levels of individual vocal tracks during the editing process. Use automation or volume adjustments to ensure a consistent and balanced vocal blend. Be attentive to transitions between different sections to maintain smooth level changes.
- Timing and pitch discrepancies: If you encounter timing or pitch inconsistencies in your acapella recordings, utilize the editing features of your DAW to make corrections. Zoom in on the waveform and adjust the timing to align the vocals and ensure a cohesive performance. For pitch issues, use pitch correction tools sparingly and manually fine-tune the pitch if necessary to maintain a natural and authentic sound.
- Room reflections and echo: If your acapella recordings sound too reflective or have an echoey quality due to the room’s acoustics, consider using acoustic treatment to minimize reflections. Adding absorption panels or using a portable vocal booth can help control unwanted room reflections and create a drier, more intimate vocal sound.
- Distorted or clipping vocals: Recording audio that exceeds the acceptable volume levels can result in distorted or clipped vocals. To prevent this issue, ensure that the input gain on the Snowball mic is set correctly. Start with a conservative gain setting and gradually increase it while monitoring the recording levels. If clipping occurs, reduce the gain or move farther away from the microphone to maintain a clean recording.
- Inconsistent performance: If you struggle to maintain consistency in your acapella performance across multiple takes, consider practicing the song multiple times to hone your vocals and internalize the dynamics and expression. Take breaks between takes to rest your voice and ensure you are approaching each take with a fresh mindset. Remember, editing capabilities can help you combine the best parts of each take to create a cohesive and polished final recording.
- Technical issues: If you experience any technical difficulties with the Snowball mic, such as unrecognized device or connectivity issues, ensure that you have installed the necessary drivers or updates. Check the manufacturer’s website for the latest software and driver downloads specific to your operating system. Restart your computer if needed and reconnect the microphone to establish a stable connection.
By being aware of these common issues and having troubleshooting solutions at hand, you can overcome any challenges that may arise during the acapella recording process with the Snowball mic. Remember to stay patient, persistent, and open to experimentation as you work towards achieving the best possible acapella vocal recordings.
Now that we’ve covered troubleshooting, let’s conclude our comprehensive guide on recording acapella vocals with the Snowball mic.
Conclusion
Recording acapella vocals with the Snowball mic can be a fulfilling and rewarding experience. This versatile microphone, known for its exceptional sound quality and user-friendly design, offers a powerful tool for capturing the essence and beauty of the human voice. Throughout this guide, we have explored various aspects of acapella recording with the Snowball mic, from understanding the art of acapella vocals to setting up the microphone and optimizing its settings.
By positioning the Snowball mic correctly and adjusting the microphone’s settings, you can capture clear, balanced, and professional-sounding acapella vocals. Remember to experiment with different techniques, such as harmonies and vocal layering, to add depth and complexity to your recordings. After the recording process, editing and enhancing the acapella vocals help refine the sound and polish the final product.
Throughout this journey, we have provided troubleshooting tips for common issues that might arise during the acapella recording process. These tips allow you to overcome technical challenges and ensure a smooth and successful recording experience.
Now, armed with the knowledge and techniques outlined in this guide, you are ready to embark on your acapella recording journey with the Snowball mic. Remember to warm up your voice, create a quiet environment, and seize the opportunity to express your artistic potential through the power of acapella vocals.
So, grab your Snowball mic, find the perfect location, and let your voice soar freely. Embrace the intricacies and nuances of acapella music, and enjoy the process of capturing your unique sound. With dedication, practice, and the right tools, your acapella recordings will touch the hearts of listeners and showcase the beauty and power of the human voice.
Now, it’s time to pick up the mic, unleash your talent, and let your acapella vocals shine!