Home>Production & Technology>Treble>How To Make My Mic Record More Treble
Treble
How To Make My Mic Record More Treble
Published: November 27, 2023
Learn how to enhance the treble in your microphone recordings with these simple tips and techniques. Boost your audio quality and clarity today!
(Many of the links in this article redirect to a specific reviewed product. Your purchase of these products through affiliate links helps to generate commission for AudioLover.com, at no extra cost. Learn more)
Table of Contents
Introduction
When it comes to recording audio, achieving the perfect sound can be a challenge. Whether you’re recording vocals, instruments, or podcasts, having control over the tonal balance is essential. One vital aspect of this balance is treble. Treble refers to the high-frequency range of sound, giving it clarity, brightness, and crispness.
However, if you find that your microphone recordings lack treble or have a muddy and dull sound, don’t worry! There are several techniques you can implement to enhance the treble in your mic recordings and achieve the desired clarity and sparkle.
In this article, we will explore the concept of treble in microphone recordings and provide practical tips on how to make your mic record more treble. By understanding microphone positioning, using accessories, adjusting equalization settings, considering different microphone options, and enhancing treble in post-production, you’ll be able to take your recordings to the next level.
Understanding Treble in Microphone Recording
Before we delve into ways to increase treble in microphone recordings, let’s first understand what treble is and its significance in the audio spectrum. In simple terms, treble refers to the high-frequency range of sound waves, typically ranging from 2,000 Hz to 20,000 Hz.
Treble is crucial because it adds brightness, clarity, and crispness to audio recordings, making them more defined and pleasing to the ears. It captures the details and nuances of instruments, vocals, and other audio sources, allowing them to stand out in the mix.
However, achieving the ideal balance of treble can be a challenge, as different factors can contribute to a lack of treble or a muddier sound. Here are a few possible reasons for this:
- Microphone Frequency Response: Each microphone has its own frequency response curve, which represents how it captures different frequencies. Some microphones might naturally emphasize or de-emphasize treble frequencies, affecting the overall tonal balance of your recordings.
- Room Acoustics: The environment where you record plays a significant role in the sound quality. If the room has poor acoustics or excessive absorption, it can result in a duller sound with diminished treble.
- Mic Positioning: The placement of the microphone in relation to the sound source can impact the treble. Different positions can result in variations in the amount of treble captured by the microphone.
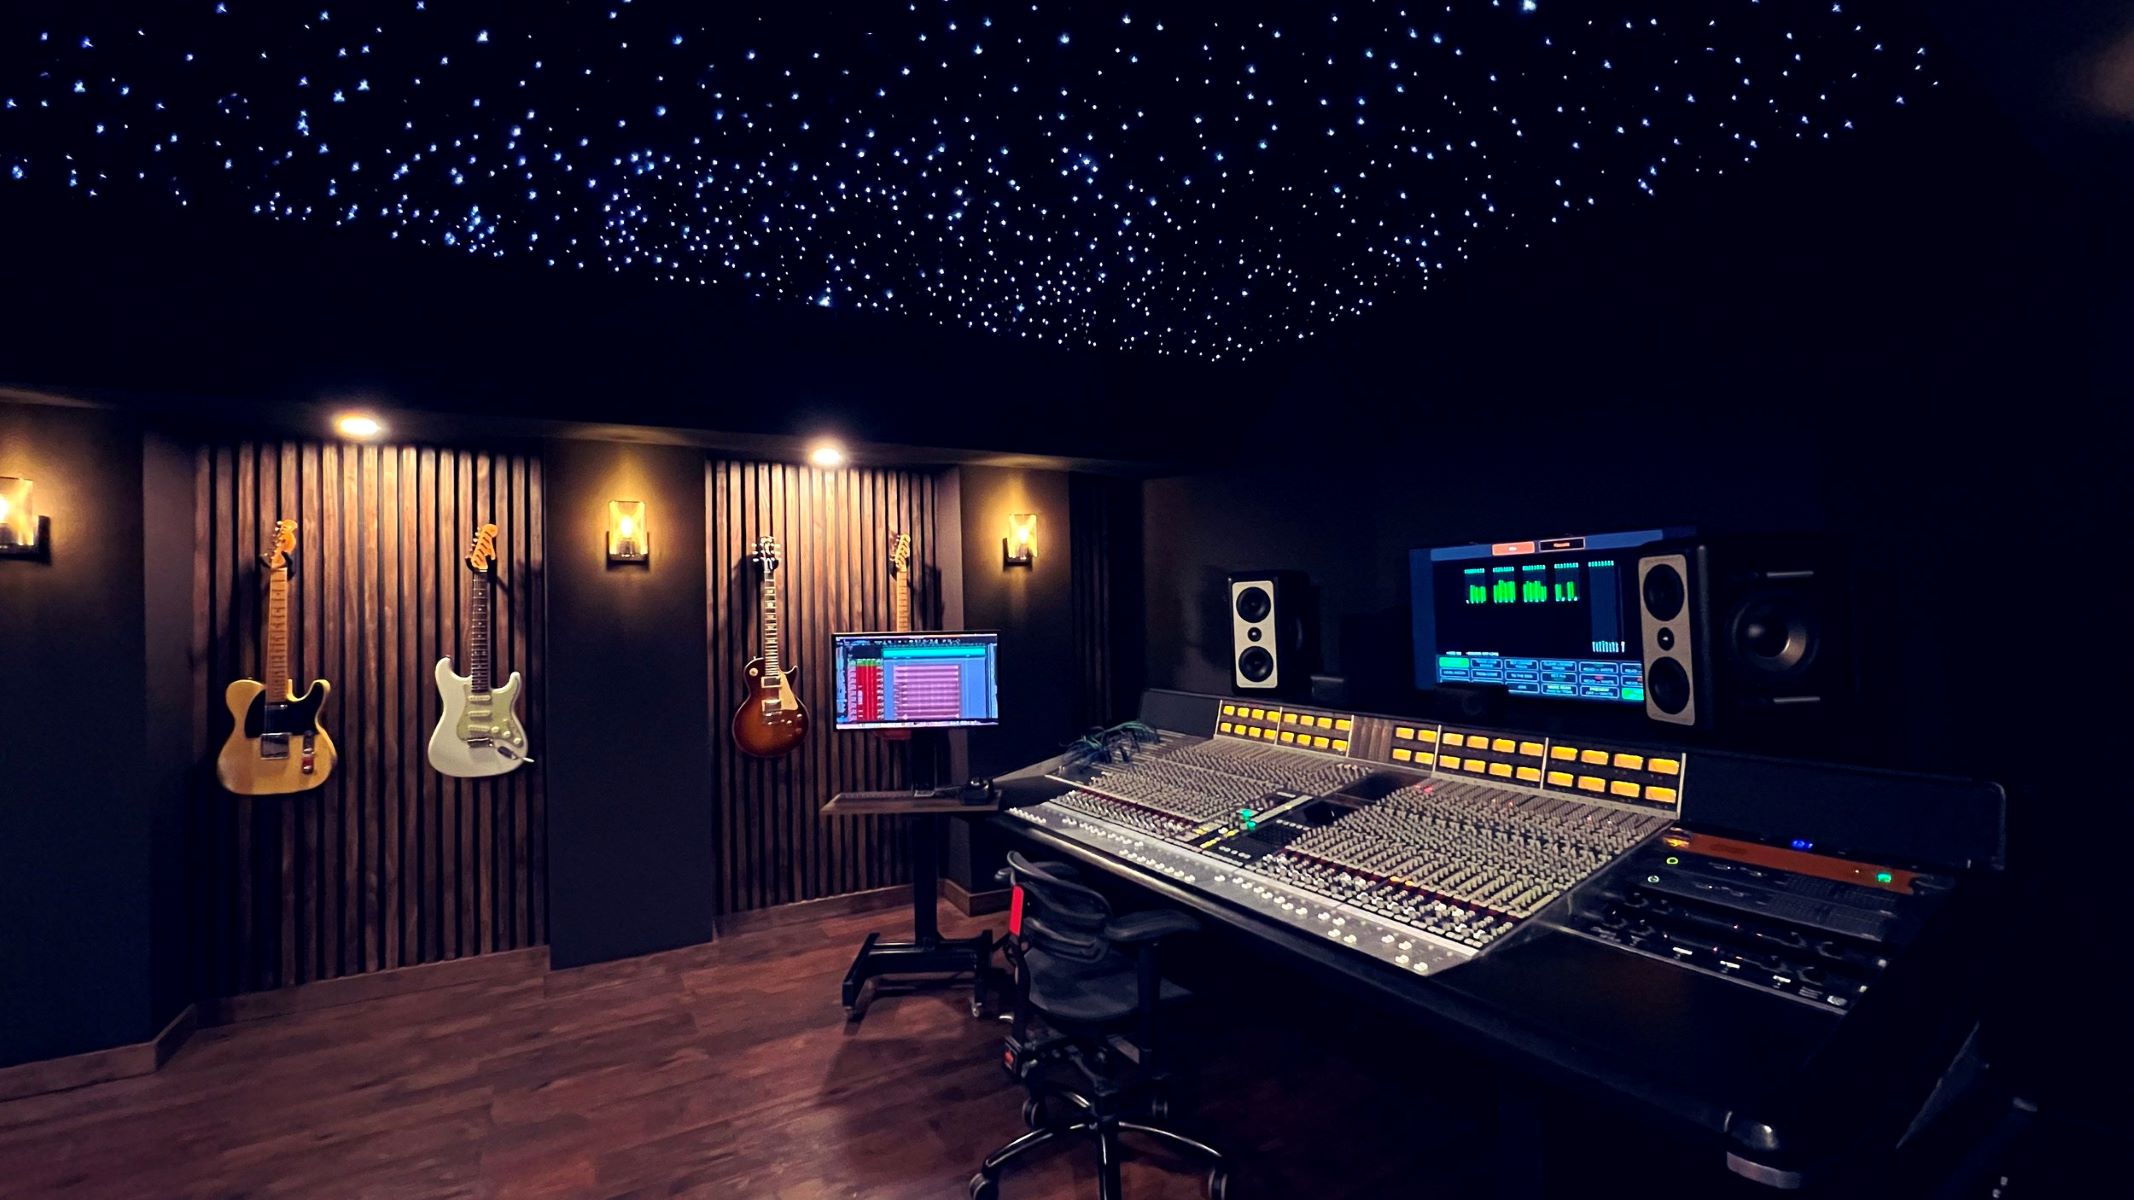
- Audio Equipment and Signal Chain: The quality of your audio equipment and the successive stages in your signal chain, such as preamps and audio interfaces, can affect the treble response. Poor quality equipment or improper settings can lead to treble loss.
By understanding these factors, you can begin to address the potential issues that might be causing a lack of treble in your microphone recordings. In the next section, we will explore practical tips and techniques to help you increase treble and achieve optimal sound quality.
Tips for Increasing Treble in Mic Recordings
Now that we have an understanding of the importance of treble in microphone recordings, let’s explore some effective tips and techniques to increase treble and improve the overall sound quality of your recordings:
- Adjusting the Microphone Position: Experiment with different microphone placements to find the sweet spot that captures more treble. Moving the microphone closer to the sound source can often enhance the high-frequency response. Be mindful of the proximity effect, which can introduce an excessive bass response if the microphone is too close.
- Using a Pop Filter or Windscreen: A pop filter or windscreen not only helps reduce plosive sounds and wind noise but can also subtly enhance treble. These accessories act as a barrier between the microphone and the sound source, helping to minimize unwanted low-frequency rumble and enhancing higher frequencies.
- Adjusting Equalization Settings: Utilize the equalization (EQ) settings on your audio interface, mixer, or digital audio workstation (DAW) to boost the treble frequencies. Increase the presence or high-frequency bands, making careful adjustments to avoid introducing harshness or excessive sibilance. Use your ears as a guide and make small tweaks until you achieve the desired tonal balance.
- Using a Different Microphone: If your current microphone lacks treble or doesn’t capture the desired high-frequency detail, consider trying a different microphone with a more pronounced treble response. Each microphone has its own sonic characteristics, and finding one that suits your recording needs can significantly enhance the treble in your recordings.
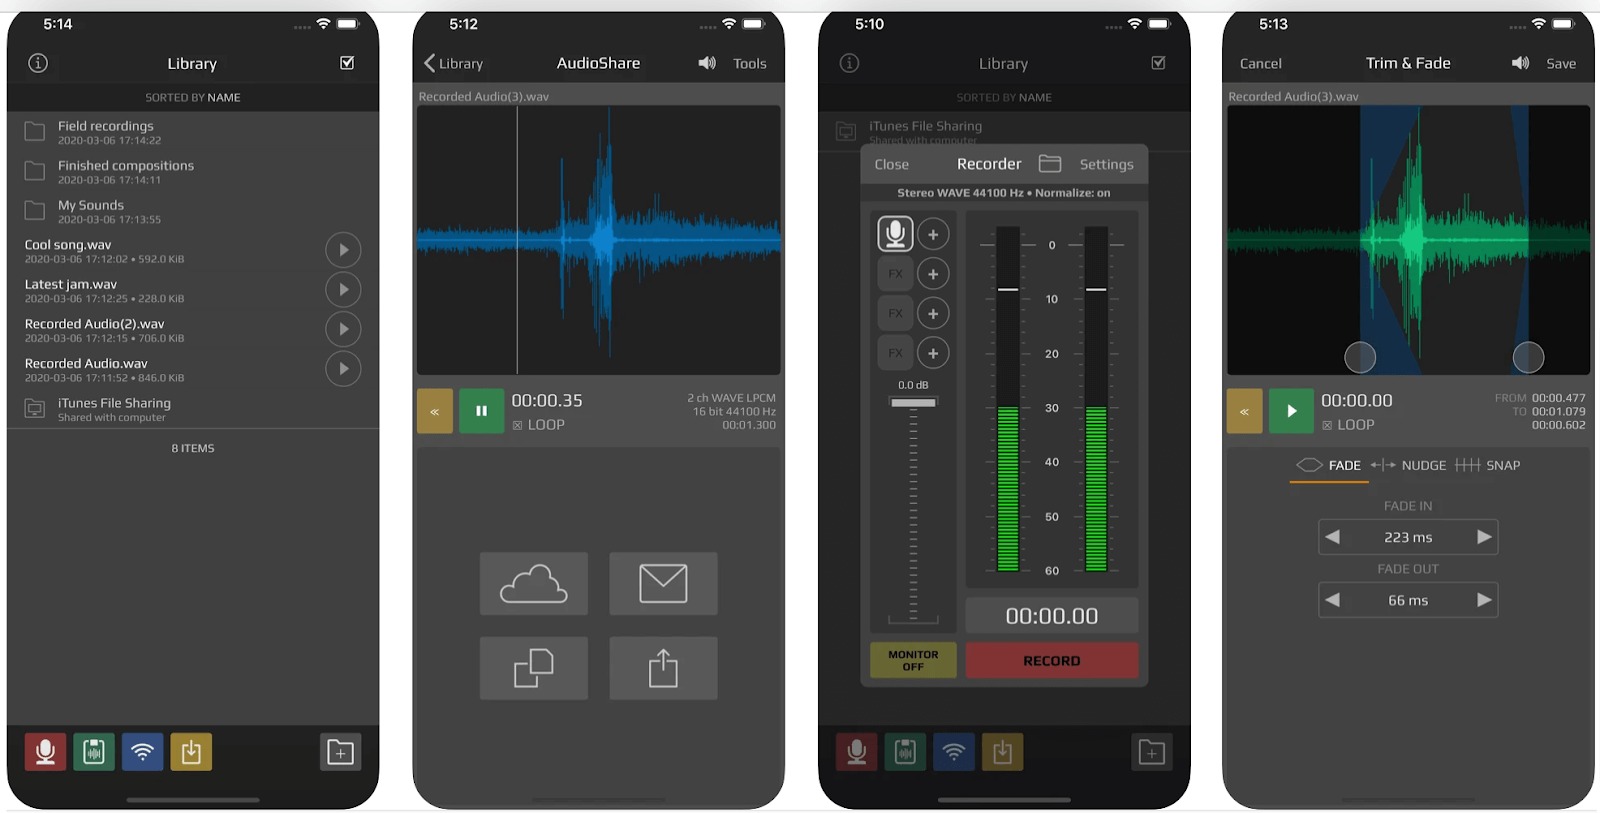
- Enhancing Treble in Post-Production: After recording, you can further enhance the treble during the post-production process. Use EQ plugins or software to emphasize the high-frequency range. Be cautious not to overdo it, as excessive boosting can introduce artifacts or unnatural sounds. Experiment with gentle boosts and subtle enhancements to maintain a natural and balanced sound.
By implementing these techniques and making careful adjustments, you can effectively increase the treble in your microphone recordings. Remember, it’s essential to strive for a balanced and natural sound, so always trust your ears and make subtle tweaks until you achieve the desired results.
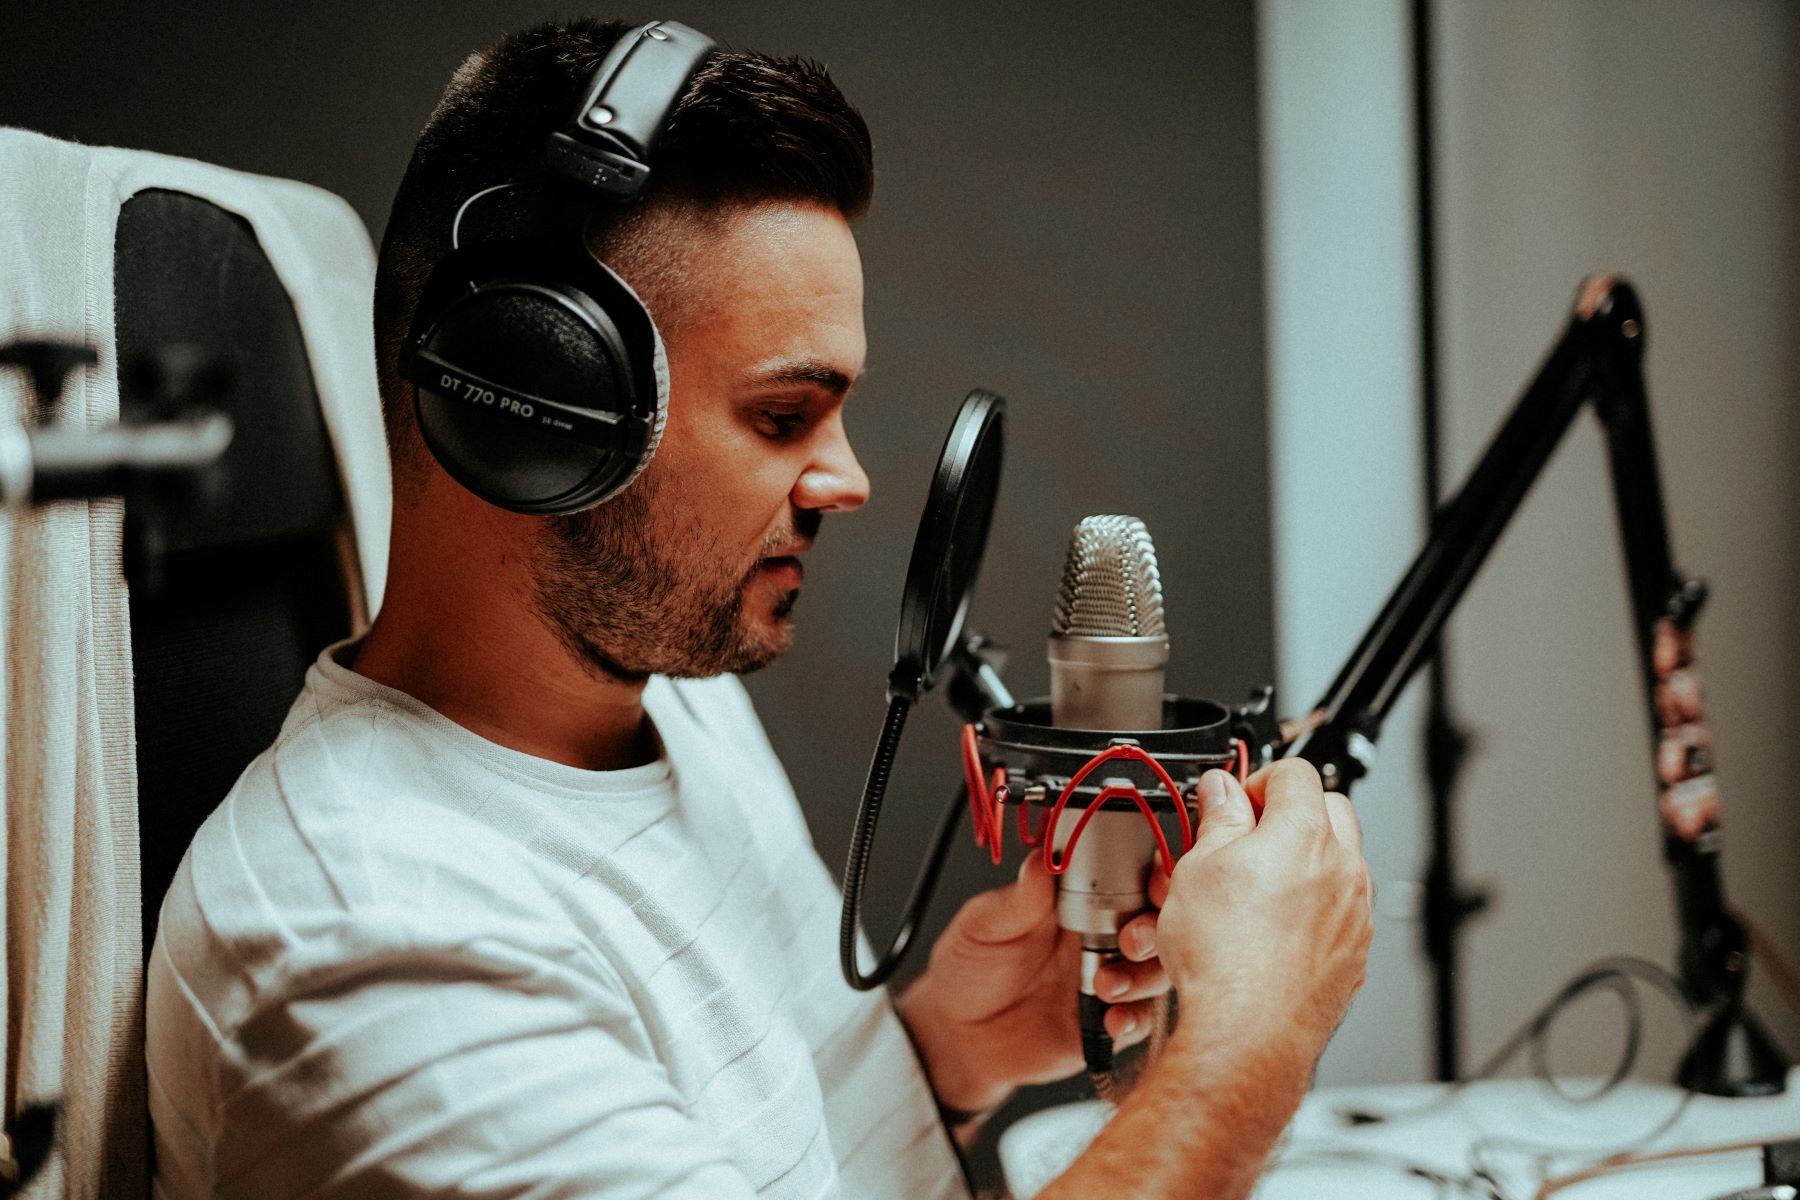
Adjusting the Microphone Position
One of the key factors influencing the treble in microphone recordings is the positioning of the microphone relative to the sound source. By experimenting with different microphone placements, you can effectively increase the treble and achieve the desired tonal balance.
Here are some tips to help you adjust the microphone position for better treble response:
- Move Closer to the Sound Source: One straightforward technique is to move the microphone closer to the sound source. This proximity can result in a more prominent representation of high frequencies. However, be aware of the proximity effect, which causes an increase in bass frequencies when the microphone is too close.
- Angle the Microphone: Another approach is to angle the microphone slightly towards the sound source. This technique can capture more direct sound and reduce the pickup of unwanted room reflections, thereby enhancing the treble clarity.
- Experiment with Off-Axis Placement: Sometimes, placing the microphone slightly off-axis can yield interesting treble characteristics. By angling the microphone away from the direct sound, you may achieve a smoother treble response or reduce excessive sibilance, depending on the specific microphone and audio source.
- Consider Distance and Height: The distance between the microphone and the sound source, as well as the microphone’s height relative to the source, can affect the treble response. Play around with different distances and heights to find the positioning that best captures the desired high-frequency detail.
- Take the Room into Account: The acoustic properties of the room can impact the treble response as well. If the room has excessive absorption, it can lead to a duller sound with reduced high frequencies. In contrast, a reflective room may introduce unwanted reverberation. Consider using sound-absorbing panels or diffusers to optimize the room’s acoustics.
Remember, every recording scenario is unique, and the optimal microphone position may vary depending on the sound source, room acoustics, and personal preference. Take the time to experiment and trust your ears to find the microphone placement that enhances the treble in your recordings.
Using a Pop Filter or Windscreen
When it comes to microphone recordings, using a pop filter or windscreen can serve as an effective tool not only for reducing plosive sounds and wind noise but also for subtly enhancing the treble in your recordings. These simple accessories act as a barrier between the microphone and the sound source, helping to minimize unwanted low-frequency rumble and enhancing higher frequencies.
Here are some key benefits and tips for using a pop filter or windscreen to increase treble:
- Reduction of Plosive Sounds: Plosive sounds such as “p” and “b” can cause unwanted bursts of air that create low-frequency rumble in your recordings. A pop filter, typically made of a fine mesh or fabric, helps to diffuse these plosive sounds, resulting in cleaner and clearer audio.
- Minimization of Wind Noise: When recording outdoors or in a windy environment, wind noise can be a significant challenge. A windscreen, usually made of foam or fur, helps to reduce the impact of wind hitting the microphone diaphragm, minimizing the associated noise. This allows for better capture of treble frequencies and improves overall sound quality.
- Enhancement of High Frequencies: In addition to their primary functions, pop filters and windscreens can subtly enhance treble frequencies. These accessories can act as barriers to prevent plosive bursts and wind from directly hitting the microphone diaphragm, allowing for a cleaner, more detailed capture of the higher frequencies.
- Proper Placement: To make the most of a pop filter or windscreen, ensure that it is positioned correctly. Place the pop filter about 2-3 inches away from the microphone, with the sound source aligned with the center of the filter. For a windscreen, slide it over the microphone, ensuring a tight fit to effectively minimize wind noise.
- Cleaning and Maintenance: Pop filters and windscreens can accumulate dirt, saliva, or other debris over time, which can affect their effectiveness. Regularly clean and maintain these accessories according to the manufacturer’s instructions to ensure optimal performance.
By using a pop filter or windscreen, you not only address common challenges in microphone recordings like plosive sounds and wind noise but also subtly enhance treble frequencies. Incorporating these accessories into your recording setup can significantly improve the clarity and overall quality of your recordings.
Adjusting Equalization Settings
Equalization, or EQ, is a powerful tool in audio production that allows you to shape the frequency response of your microphone recordings. By adjusting the EQ settings, you can effectively boost or cut specific frequency ranges, including the treble frequencies, to achieve the desired tonal balance. Here are some tips for using EQ to increase treble in your mic recordings:
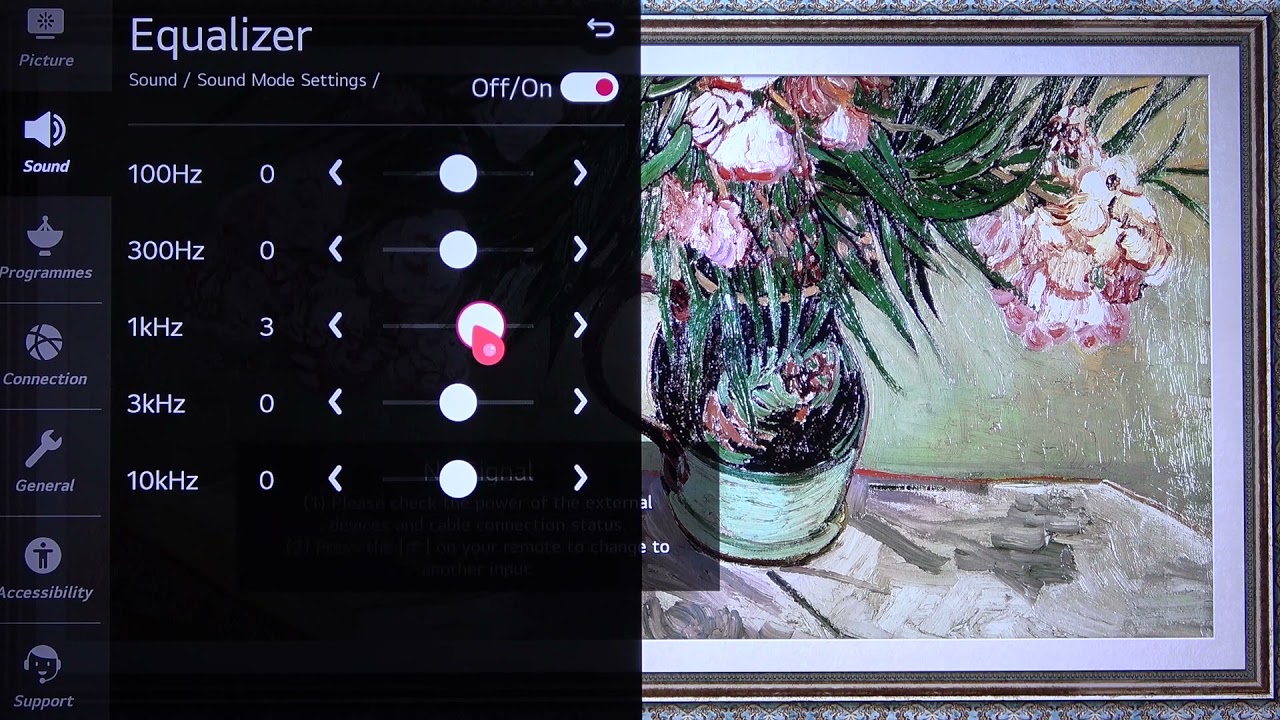
- Identify the Frequency Range: Before making any EQ adjustments, it’s important to analyze the recording and identify the frequency range where the treble resides. Typically, treble frequencies range from around 2,000 Hz to 20,000 Hz.
- Boost High-Frequency Bands: Once you’ve identified the treble range, use your audio interface, mixer, or digital audio workstation (DAW) to access the EQ settings. Begin by gradually boosting the high-frequency bands to increase the presence and brightness of the treble. Use a parametric or graphic EQ to precisely control the boost and avoid introducing harshness or sibilance.
- Adjust Q Factor and Bandwidth: When boosting treble frequencies, pay attention to the Q factor or bandwidth of the EQ band. A narrower Q factor will focus the boost on a smaller range of frequencies, while a wider Q factor will affect a broader range. Experiment with different Q values to find the sweet spot that enhances the treble without introducing unwanted artifacts.
- Be Cautious with Cuts: While boosting treble frequencies can often be beneficial, be cautious when cutting frequencies. Removing too much treble can result in a dull or muffled sound. If needed, make subtle cuts in other frequency ranges to balance the overall tonal response while preserving the treble clarity.
- Use Shelving Filters: Shelving filters are EQ filters that gradually boost or cut frequencies above or below a specific threshold. Implementing a high-frequency shelving filter can be an effective way to accentuate the treble in your recordings. Adjust the threshold and slope of the shelving filter to achieve the desired treble enhancement.
- Mastering the Art of EQ: EQ is a skill that takes time and practice to master. As you gain more experience, you will develop an understanding of how different frequency ranges interact and how to shape the tonal balance to your liking. Trust your ears and make subtle adjustments until you achieve the desired treble response.
By leveraging the power of equalization, you can effectively shape the frequency response of your microphone recordings and increase the treble to achieve the desired clarity and brightness. Experiment with different EQ settings and techniques to find the perfect balance that enhances the treble in your mic recordings.
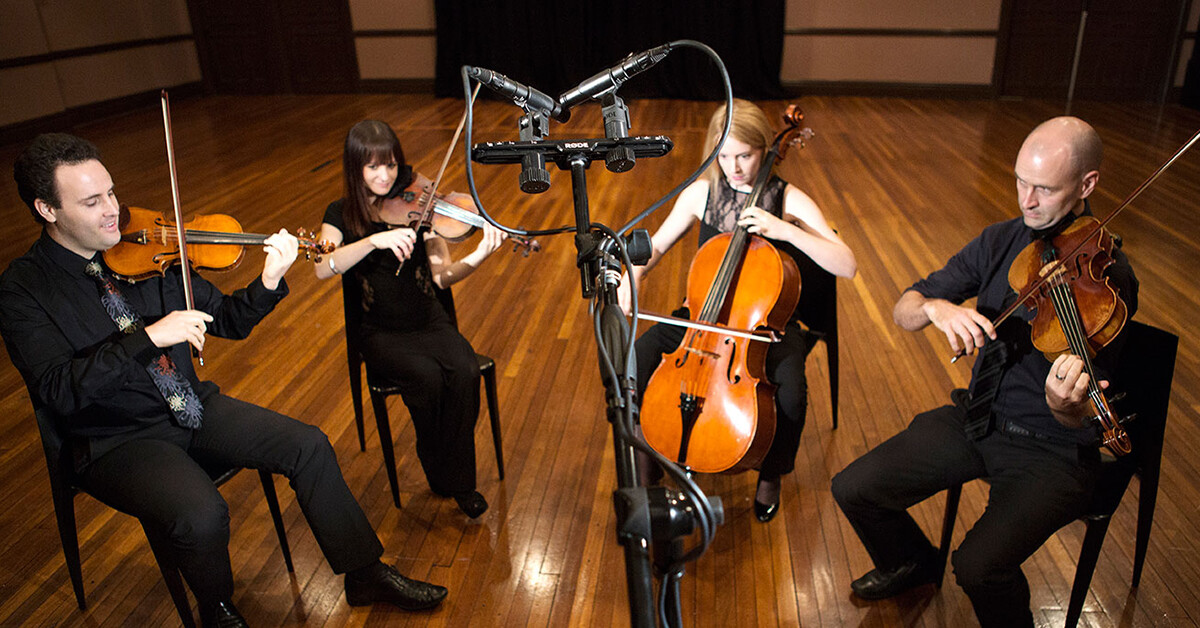
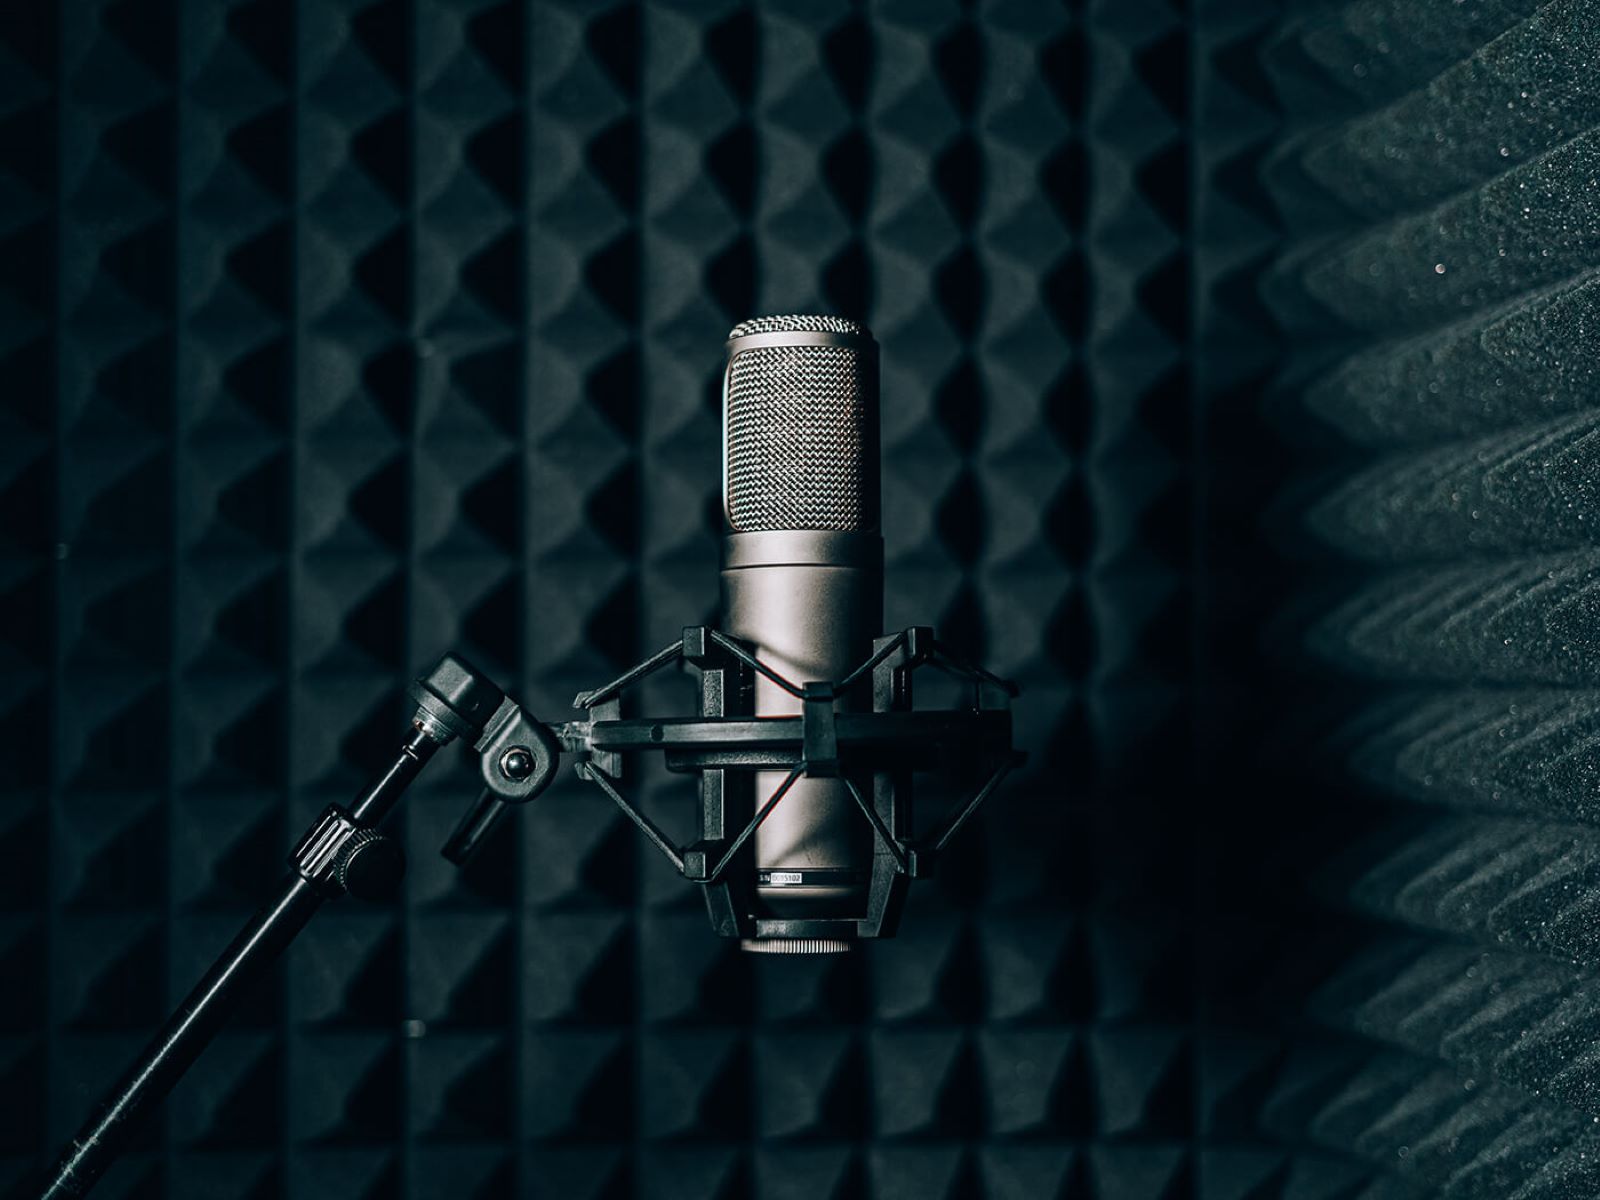
Using a Different Microphone
If you find that your current microphone lacks treble or doesn’t capture the desired high-frequency detail in your recordings, it may be worth considering using a different microphone. Each microphone has its own sonic characteristics and frequency response, which can significantly impact the overall tonal balance of your recordings.
Here are some factors to consider when selecting a microphone that emphasizes treble:
- Research Microphone Specifications: Before purchasing or using a new microphone, take the time to research its specifications. Look for microphones that have a reputation for capturing treble frequencies accurately and faithfully.
- Frequency Response Curve: The frequency response curve represents how a microphone responds to different frequencies. Look for microphones with a balanced or slightly elevated treble response to ensure clarity and brightness in your recordings.
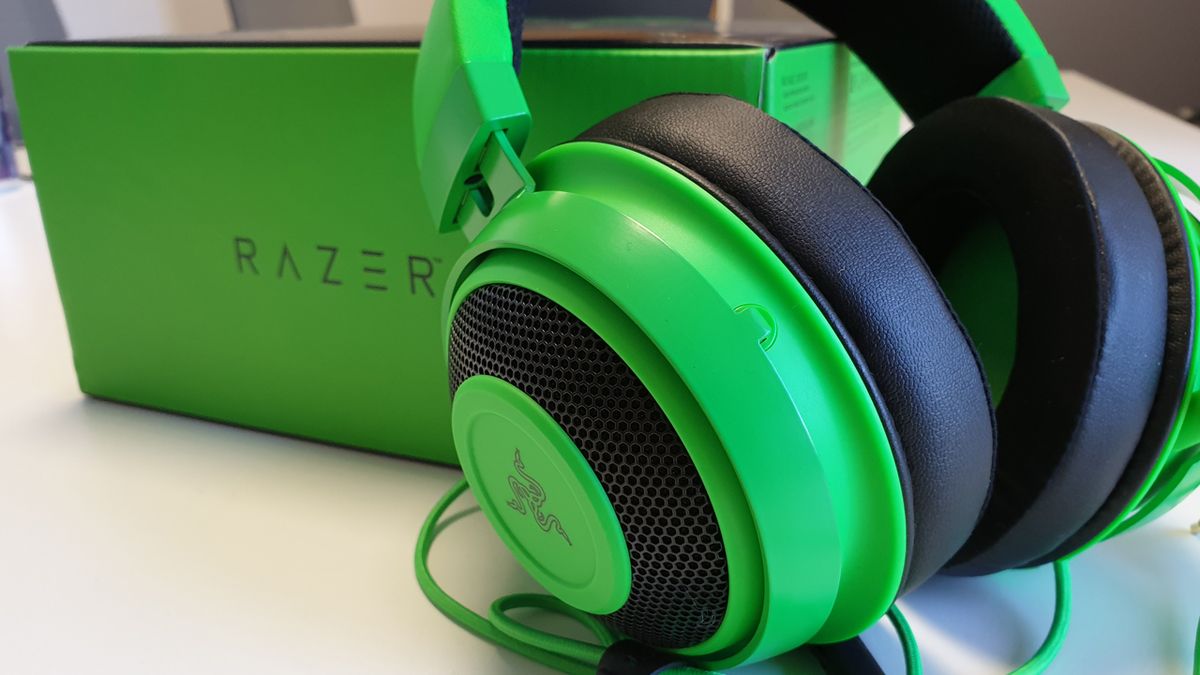
- Consider Condenser Microphones: Condenser microphones, known for their sensitivity and wide frequency range, often excel in capturing treble frequencies. They are commonly used in studio environments and are ideal for capturing vocals, instruments, and other audio sources with detailed treble characteristics.
- Try Different Polar Patterns: Some microphones offer multiple polar patterns, such as cardioid, omnidirectional, or figure-eight. Experimenting with different polar patterns can impact the treble response. For example, a cardioid pattern focuses on capturing sound from the front, while an omnidirectional pattern captures sound from all directions.
- Consider Ribbon Microphones: Ribbon microphones, known for their smooth and warm sound, may not naturally emphasize treble frequencies. However, they can still capture treble detail with exceptional accuracy and a unique tonal character. Consider ribbon microphones if you’re looking for a different flavor of treble response.
- Seek Expert Advice: If you’re unsure about which microphone to choose, seek advice from audio professionals or experienced engineers. They can provide valuable insights based on their expertise and knowledge of different microphone models and their specific characteristics.
Remember, finding the right microphone to enhance treble in your mic recordings is a subjective process. Consider your recording environment, the audio source you’re working with, and your personal preferences when making a decision. By experimenting with different microphones, you can find one that suits your needs and captures the desired treble characteristics, elevating the quality of your recordings.
Enhancing Treble in Post-Production
Even after recording, you still have the opportunity to enhance the treble in your microphone recordings during the post-production process. By utilizing various techniques and tools in your digital audio workstation (DAW) or audio editing software, you can refine the treble frequencies and achieve the desired clarity and sparkle in your recordings.
Here are some tips for enhancing treble in post-production:
- Utilize EQ Plugins: EQ plugins are powerful tools that allow you to shape the frequency response of your recordings. Use a parametric or graphic EQ to boost the treble frequencies. Start with a subtle boost and adjust the gain and frequency parameters until you achieve the desired treble enhancement.
- Be Mindful of Harshness: When boosting treble frequencies, it’s important to be mindful of potential harshness or sibilance. Use a narrow bandwidth or Q factor to target specific problem frequencies and make narrower boosts. A gentle approach will yield more natural-sounding results without introducing unpleasant artifacts.
- Consider Multiband Compression: Another technique to enhance treble is through multiband compression. This tool allows you to control the dynamics of specific frequency ranges. By applying subtle compression to the treble frequencies, you can bring out details and increase overall clarity.
- Experiment with Exciters or Enhancers: Exciters or enhancer plugins can add harmonics and brightness to your recordings, enhancing the treble frequencies. These plugins simulate the effect of analog hardware processors by adding subtle saturation or harmonic distortion to specific frequency ranges, resulting in a more vibrant and lively sound.
- De-Essing: Sometimes, excessive sibilance or harshness in the treble range can be distracting. Use a de-esser plugin to tame those sibilant sounds, reducing their prominence without affecting the overall treble response. This allows the natural sparkle of the treble frequencies to shine through.
- Compare and Reference: When making EQ or processing adjustments in post-production, it’s crucial to compare your changes with the original recording and reference your work against professional recordings in a similar style or genre. This ensures you maintain a balanced and natural treble response without overdoing the enhancements.
Remember, the goal of enhancing treble in post-production is to improve the clarity and quality of your recordings while maintaining a natural and balanced sound. Use these techniques as artistic tools to shape your recordings and bring out the best in your treble frequencies.
Conclusion
Enhancing the treble in microphone recordings is an essential step in achieving a balanced and professional sound. By implementing the tips and techniques outlined in this article, you can effectively increase the clarity, brightness, and crispness of your mic recordings.
Whether it’s adjusting the microphone position, using a pop filter or windscreen, adjusting equalization settings, considering a different microphone, or enhancing treble in post-production, each approach plays a vital role in shaping the treble response and improving the overall quality of your recordings.
Remember, it’s essential to strike a balance when enhancing treble. Too much emphasis can result in harsh or unnatural sounds, while too little can leave your recordings sounding dull and lacking definition. Trust your ears and make subtle adjustments to achieve the desired outcome.
Additionally, it’s crucial to consider the unique characteristics of each recording environment and source. Experimentation and customization are key to finding the techniques that work best for your specific setup and recording needs.
Ultimately, by mastering the art of capturing and enhancing treble in microphone recordings, you can elevate the sound of your recordings, capture the intricacies of instruments and vocals, and deliver a truly professional audio experience for your listeners.