Classical
How Do I String A Classical Guitar
Modified: February 15, 2024
Learn how to string a classical guitar properly with our step-by-step guide. Get tips and recommendations for a perfect classical guitar stringing experience.
(Many of the links in this article redirect to a specific reviewed product. Your purchase of these products through affiliate links helps to generate commission for AudioLover.com, at no extra cost. Learn more)
Table of Contents
Introduction
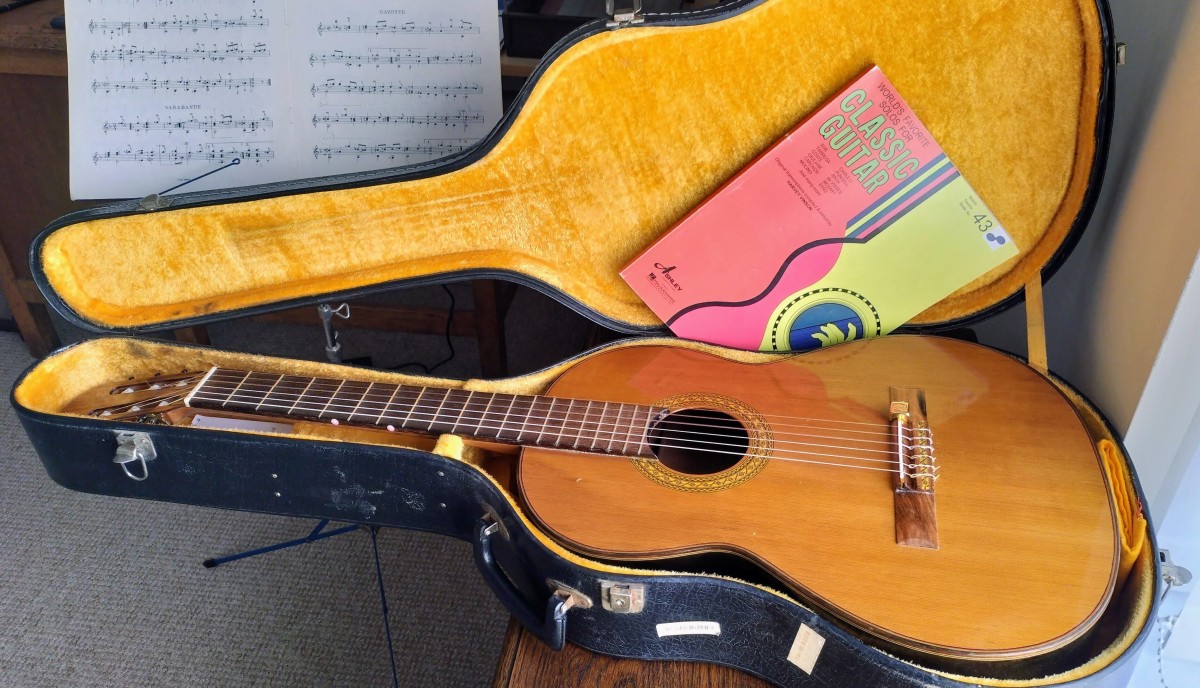
The classical guitar is a beautiful instrument known for its warm, rich tones and delicate fretwork. Whether you are a beginner learning to play or an experienced musician looking to change your strings, stringing a classical guitar is an essential skill to master. Properly stringing your guitar not only ensures optimal sound quality but also improves playability and overall performance.
In this comprehensive guide, we will walk you through the step-by-step process of stringing a classical guitar. We will cover the necessary equipment you’ll need, the proper technique to remove the old strings, preparing the new strings, how to string the guitar, and finally, tuning the instrument for optimal sound. By following these instructions, you will be able to string your classical guitar with confidence and precision.
Before we dive into the process, it’s important to mention that stringing a classical guitar may require some patience and practice. While it may seem daunting at first, with a little bit of persistence and attention to detail, you will soon become familiar with the process and be able to restring your guitar with ease.
So, grab your classical guitar and let’s get started on this exciting journey of stringing your instrument and unlocking its full potential!
Essential Equipment
Before you begin the process of stringing your classical guitar, it’s important to gather all the necessary equipment. Having the right tools on hand will make the stringing process smoother and more efficient. Here’s a list of the essential equipment you’ll need:
- New Strings: Choose a set of high-quality classical guitar strings that best suits your playing style and preferences. You can find a variety of string brands and types in music stores or online.
- String Winder: A string winder is a handy tool that makes the process of winding the strings onto the tuning pegs easier and faster. It saves you from having to manually turn the pegs multiple times.
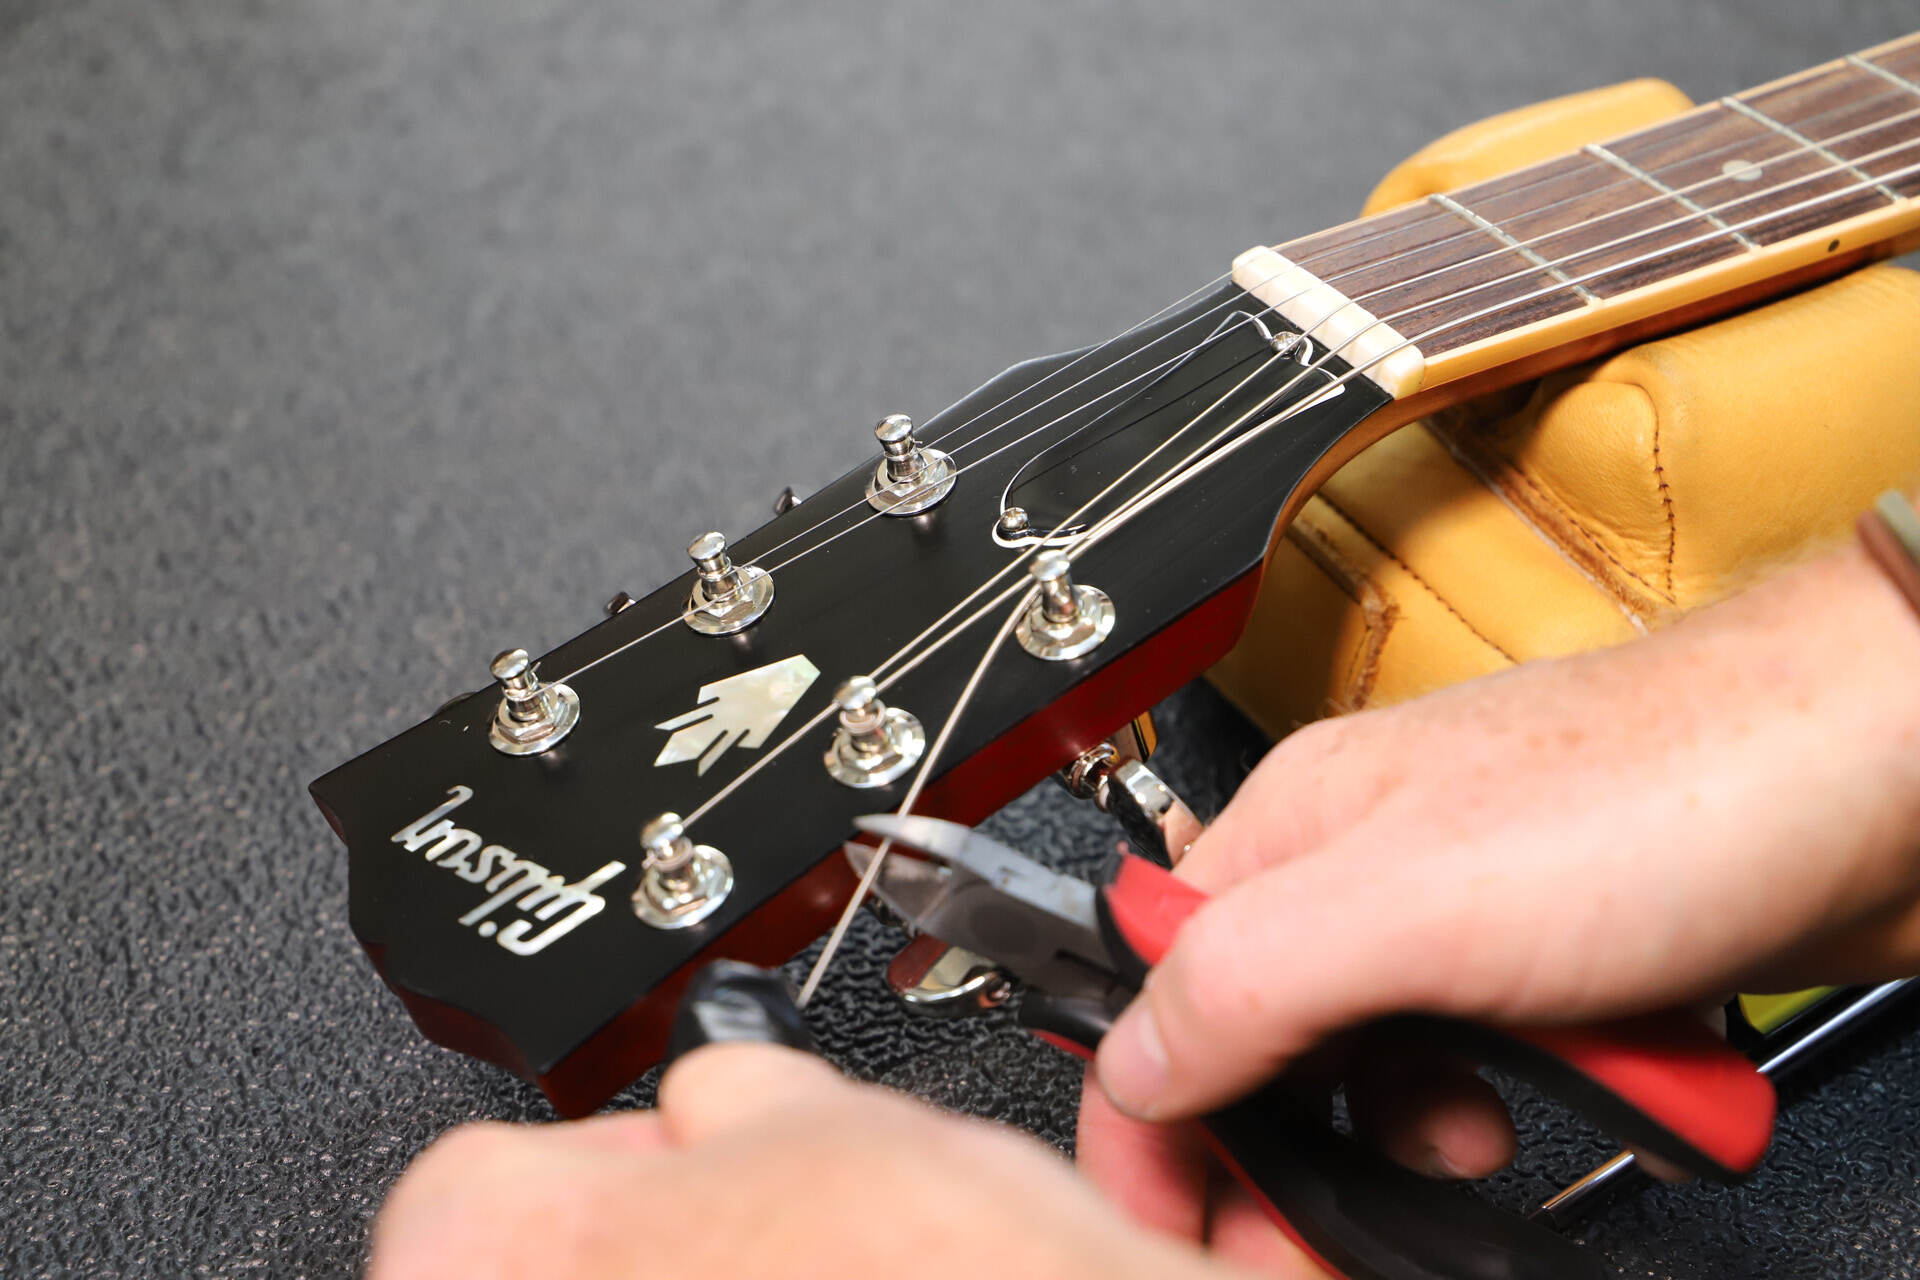
- Wire Clippers: Wire clippers or a small pair of wire cutters are essential for trimming the excess string length once the strings are attached to the tuning pegs.
- Tuner: A guitar tuner is crucial for achieving accurate pitch and ensuring that your guitar is in tune. You can use a digital tuner, a tuning app, or a tuning fork to tune your instrument.
- Clean Cloth: Having a soft, clean cloth on hand is useful for wiping down the guitar strings, fretboard, and body to remove any dirt, oils, or debris.
It’s worth noting that while you can certainly string your classical guitar without some of these tools, having them will make the process easier and more efficient. Now that you have all the necessary equipment, let’s move on to the next steps of stringing your classical guitar.
Step 1: Removing the Old Strings
Before you can begin stringing your classical guitar with fresh strings, you’ll need to remove the old ones. Follow these steps to safely and effectively remove the old strings:
- Loosen the tension: Start by loosening the tension of each string. Use a string winder or turn the tuning pegs counterclockwise to unwind the strings. Loosen them enough so that you can easily remove them from the bridge and the tuning pegs.
- Remove the strings from the bridge: Carefully unwind each string from the bridge. Some classical guitars have tie bridges, where the strings are secured by tying knots. If your guitar has a tie bridge, carefully untie the knots and remove the strings. For guitars with a bridge that uses bridge pins, gently lift each pin and slide the strings out from under them.
- Remove the strings from the tuning pegs: Once the strings are free from the bridge, unthread them from the tuning pegs. You can either unwind them completely or cut them near the pegs using wire clippers.
- Clean the guitar: With all the old strings removed, take the opportunity to clean the guitar. Use a soft cloth to gently wipe down the fretboard, body, and any other areas that may have accumulated dirt or debris.
By carefully following these steps, you will successfully remove the old strings from your classical guitar. Now that your guitar is free from the old strings, it’s time to move on to preparing the new strings for installation.
Step 2: Preparing the New Strings
Now that you have removed the old strings from your classical guitar, it’s time to prepare the new ones for installation. Properly preparing the new strings ensures that they are ready for optimal sound and performance. Follow these steps to prepare your new strings:
- Inspect the new strings: Before installing the new strings, carefully inspect them for any defects or damage. Look for any kinks, nicks, or imperfections that could impact their playability or tone. If you notice any issues, it’s best to replace the string with a new one from your set.
- Stretch the strings: New guitar strings often have excess elasticity, causing them to stretch and go out of tune more frequently. Stretching them beforehand helps minimize this issue. Gently pull each string from the middle and apply light tension to stretch it. Be careful not to exert too much force, as you could snap the string.
- Cut the excess string length: Take a look at the winding section of each string. Measure and mark a length of string that is long enough to wrap around the tuning peg a few times. Use wire clippers to cut the excess string length, leaving enough to work with without creating excessive winding.
By preparing your new strings with care, you set the stage for optimal performance and longevity. Now that your strings are inspected, stretched, and trimmed, we’re ready to move on to the next step: stringing the guitar.
Step 3: Stringing the Guitar
With your new strings prepared, it’s time to string your classical guitar. Follow these steps to ensure a proper and secure installation:
- Start with the bass strings: Begin by stringing the bass strings first. These are the thicker strings, typically labeled as the 6th (lowest pitch), 5th, and 4th strings. Take the 6th string and insert it through the corresponding bridge hole. Pull the string through until there’s enough slack to wind around the tuning peg without excessive tension.
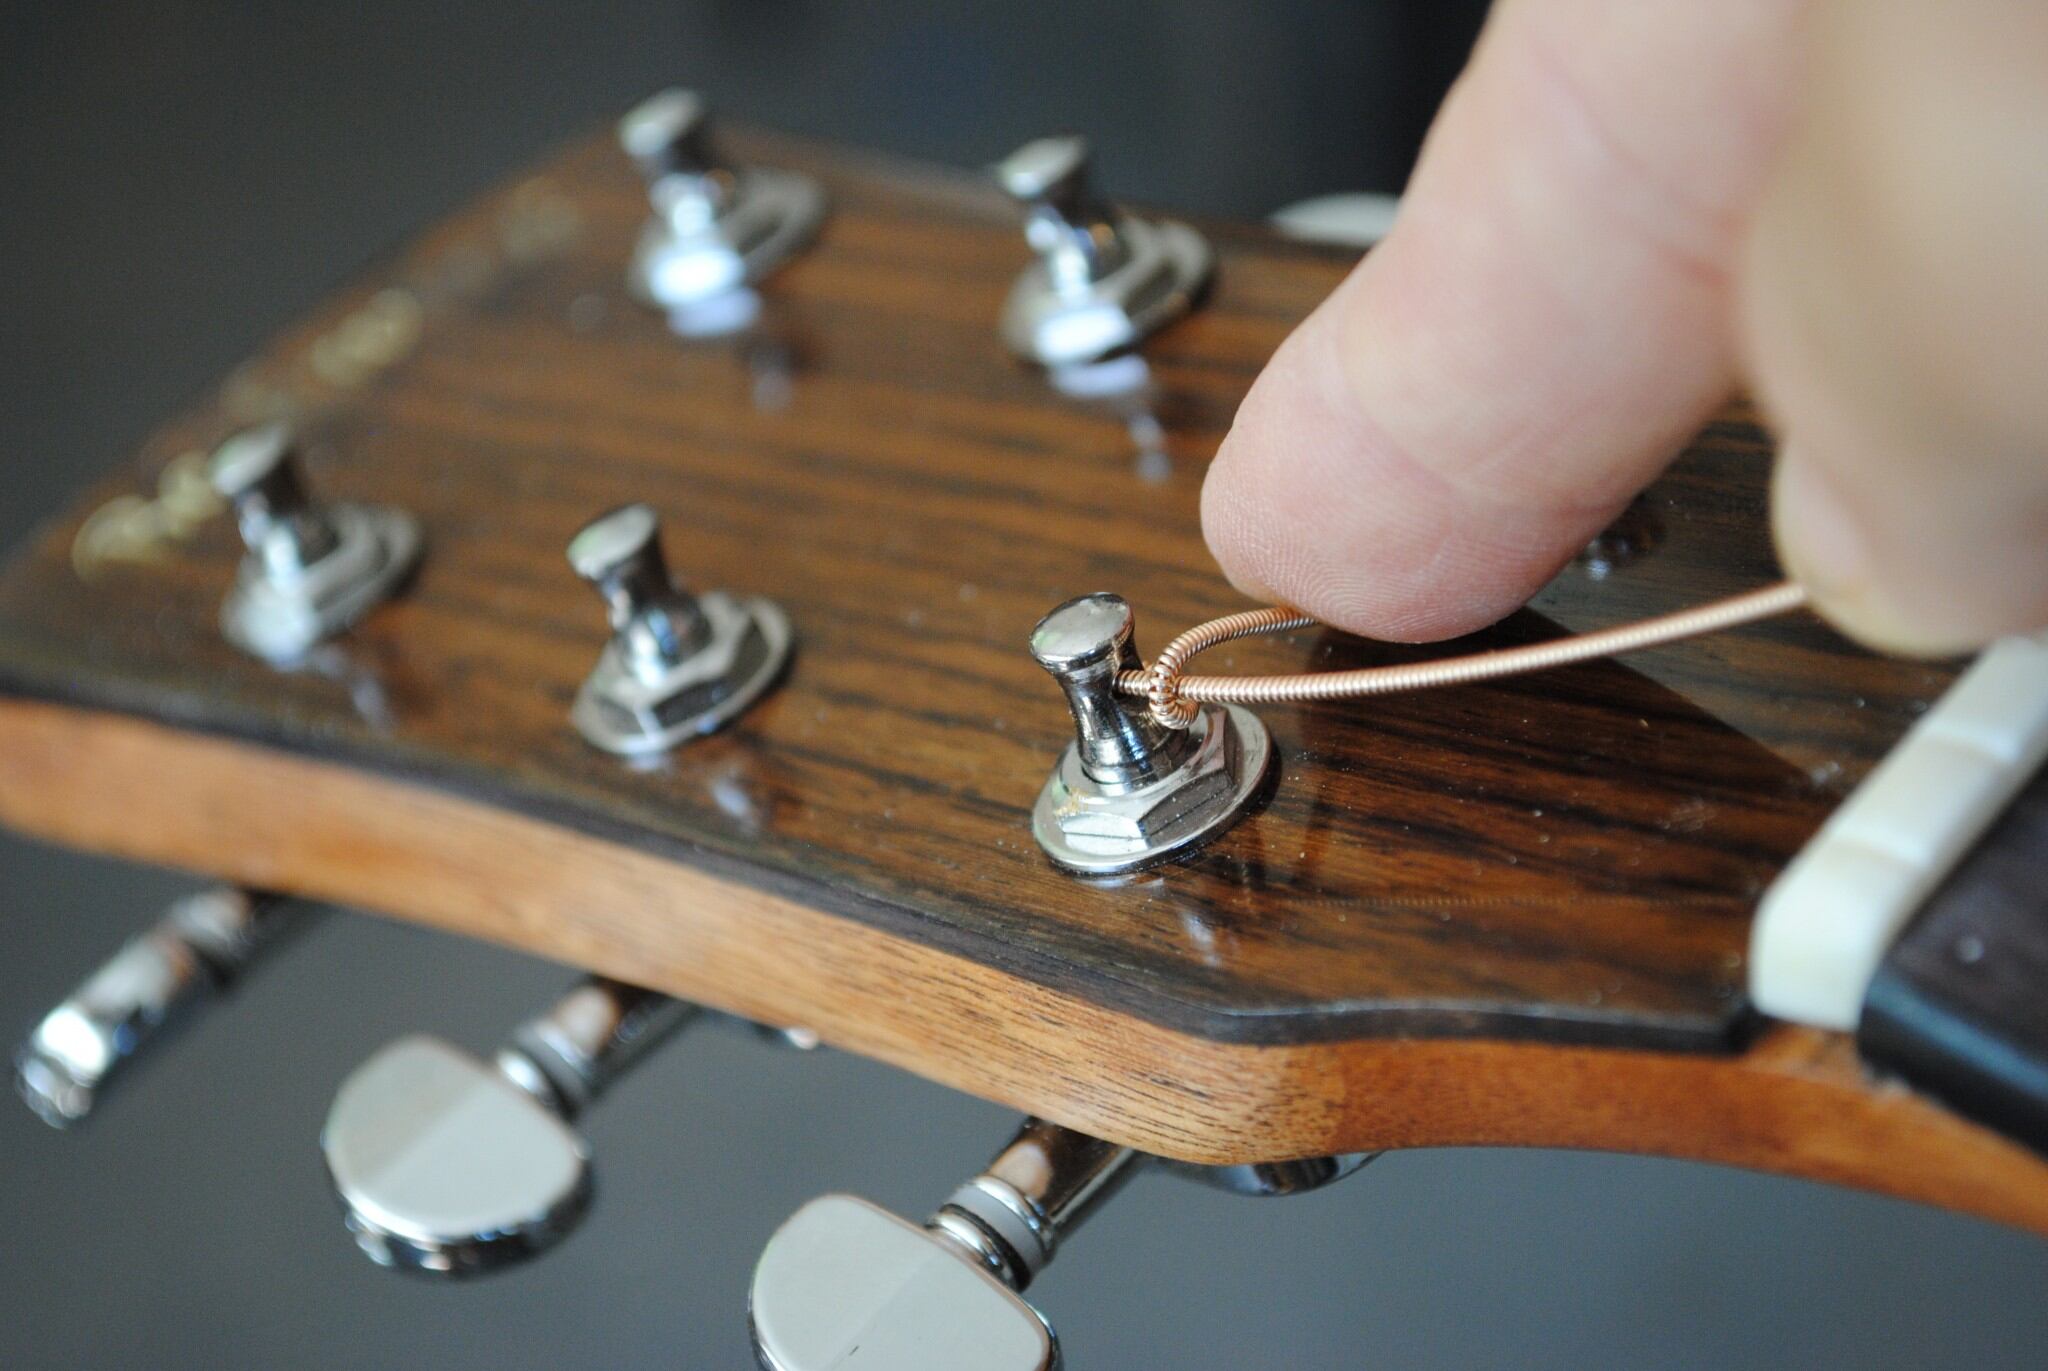
- Wrap the string around the peg: Hold the string firmly against the tuning peg with one hand. With your other hand, start winding the string clockwise around the peg. Make sure the winding is neat and tightly secured. Continue winding until the string is securely in place. Leave a length of string between the bridge and the peg to accommodate the desired amount of winding.
- Thread the string through the nut: Once the string is securely wound around the peg, bring it up and guide it through the corresponding nut slot. Double-check that the string is properly aligned and seated in the slot.
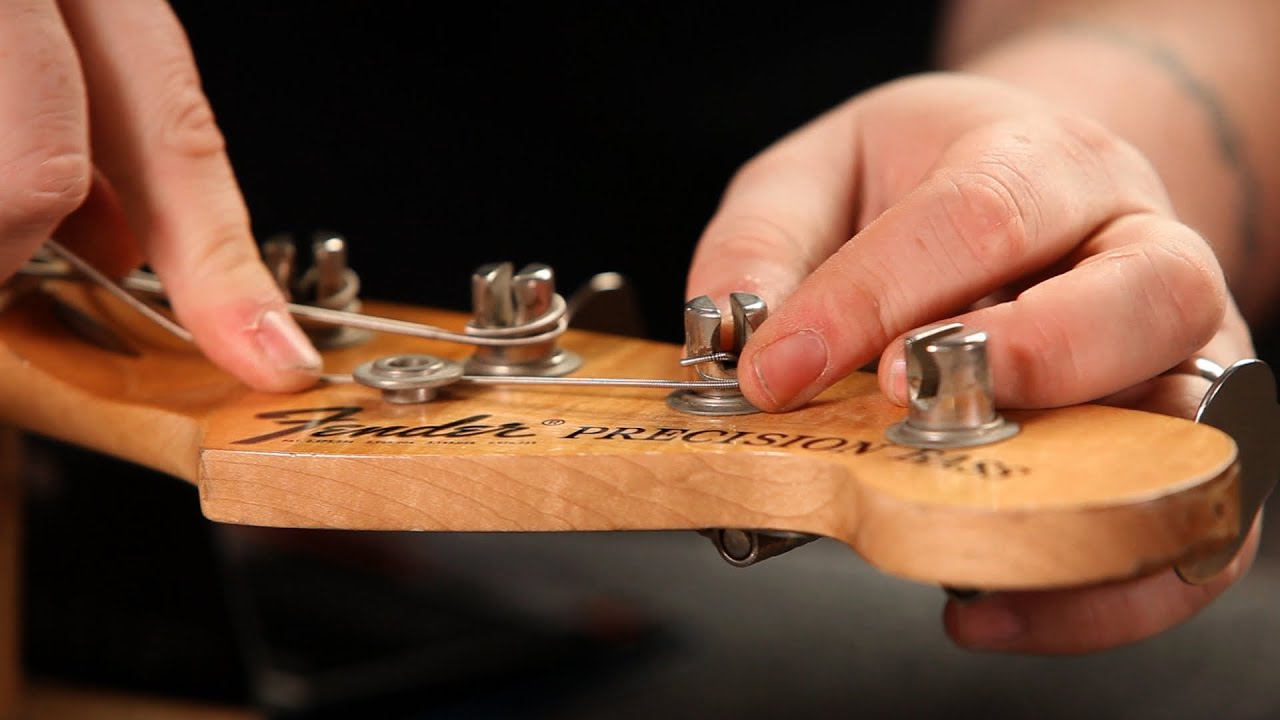
- Tension the string: With the string threaded through the nut, slowly start tightening the tension by turning the tuning peg clockwise. Use your fingers or a string winder to make this process easier. Gradually bring the string up to pitch, making sure to evenly distribute the tension along the length of the string.
- Repeat for the remaining strings: Follow the same process for the remaining bass strings (5th and 4th). Insert each string into its respective bridge hole, wind it around the peg, thread it through the nut, and tension it gradually until it reaches the desired pitch.
- Move to the treble strings: After the bass strings are securely installed, move on to the treble strings. These are the thinner strings, typically labeled as the 3rd, 2nd, and 1st strings. Repeat the steps above, starting with the 3rd string and finishing with the 1st string.
Take your time to ensure that each string is securely installed, properly tensioned, and seated in the nut slots. This will promote optimal sound quality and stability when playing your classical guitar. Once all the strings are in place, it’s time to move on to the final step: tuning the guitar.
Step 4: Tuning the Guitar
Now that you’ve successfully strung your classical guitar, it’s crucial to tune it for optimal sound quality. Here’s how you can tune your guitar:
- Choose a tuner: You can use a digital tuner, a tuning app on your smartphone, or a tuning fork. The choice is yours based on your preference and what you have available.
- Start with the 6th string: Begin by plucking the 6th string (the lowest-pitched bass string). Tune it to match the desired pitch, usually E. Adjust the tuning peg until the string is in tune according to your tuner’s indication.
- Work your way up: Once the 6th string is in tune, move on to the 5th string. Pluck the 5th string and adjust the tuning peg until it matches the desired pitch, usually A. Continue this process for the remaining strings, tuning each one to its designated pitch.
- Double-check the tuning: After tuning all the strings, it’s important to double-check the overall tuning of the guitar. Strum all the strings together and listen for any discrepancies. Use your tuner to fine-tune any strings that may be slightly off pitch.
Remember that guitar strings can stretch and settle into their new positions, affecting the tuning stability. It’s common for newly strung guitars to require frequent tuning during the initial few days of playing. Regularly check the tuning and make any necessary adjustments until the strings stabilize.
Additionally, it’s a good practice to tune your guitar before each playing session or performance to ensure the best possible sound quality and playability. By keeping your guitar in tune, you’ll be able to fully enjoy the beautiful sounds and melodies it produces.
With your classical guitar properly strung and tuned, you’re now ready to embark on your musical journey and explore the limitless possibilities of this magnificent instrument.
Conclusion
Congratulations! You have successfully learned how to string a classical guitar. By following the step-by-step process outlined in this guide, you have now acquired a valuable skill that will enhance your musical experience and keep your guitar sounding its best.
Remember, stringing a classical guitar may require some practice, but with time and patience, you will become more proficient. The essential equipment, proper technique for removing old strings, preparing new strings, stringing the guitar, and tuning each string are all important steps in maintaining your instrument’s playability and sound quality.
Once your guitar is properly strung and tuned, it’s time to embrace the joy of playing. Whether you’re a beginner discovering the wonders of classical guitar or an experienced musician seeking to explore new musical territories, the satisfaction of producing beautiful melodies is truly rewarding.
As you continue your musical journey, always remember to maintain your guitar regularly and replace the strings when needed. This will ensure optimal performance and longevity for your instrument.
Now, go ahead and strum those strings with confidence, experiment with different techniques, and immerse yourself in the breathtaking world of classical guitar music. Let the melodious tones inspire you and captivate both your audience and your own heart.
Happy playing and may your classical guitar bring you endless joy and musical fulfillment!