Home>Genres>Classical>How To Change A Classical Guitar String
Classical
How To Change A Classical Guitar String
Modified: February 15, 2024
Learn how to change a classical guitar string with our step-by-step guide. Keep your classical guitar in perfect tune with this easy tutorial.
(Many of the links in this article redirect to a specific reviewed product. Your purchase of these products through affiliate links helps to generate commission for AudioLover.com, at no extra cost. Learn more)
Table of Contents
Introduction
Welcome to this comprehensive guide on how to change a classical guitar string. Whether you’re a seasoned guitarist or just starting out, knowing how to replace a guitar string is an essential skill that every player should have. Over time, guitar strings can become worn, lose their tone, or even break, requiring replacement. By following the steps outlined in this article, you’ll be able to confidently change your classical guitar strings and keep them sounding fresh and vibrant.
Changing guitar strings may seem like a daunting task for beginners, but with a little practice and the right tools, you’ll find it to be a straightforward process. Not only will changing your strings improve the sound quality of your guitar, but it will also help prolong the overall lifespan and playability of your instrument.
Before diving in, it’s important to note that there are subtle differences between changing nylon classical guitar strings and steel string acoustic or electric guitar strings. Classical guitars typically have tie-on nylon strings, which requires a specific technique for securing them in place. This guide focuses specifically on changing nylon classical guitar strings.
In the following steps, we’ll walk you through the process of changing a classical guitar string, from gathering the necessary tools to tuning the guitar’s new string. So let’s get started and give your classical guitar the fresh strings it deserves!
Step 1: Gather the Necessary Tools
Before you begin changing your classical guitar strings, it’s important to gather all the necessary tools. Having everything prepared will make the process smoother and more efficient. Here’s what you’ll need:
- New Strings: Make sure you have a set of nylon classical guitar strings on hand. It’s a good idea to have a few sets available, as it’s common for guitarists to change all the strings at once.
- String Winder: While not strictly required, a string winder can significantly speed up the process of loosening and tightening the strings. It’s a handy tool that makes string changes much easier.
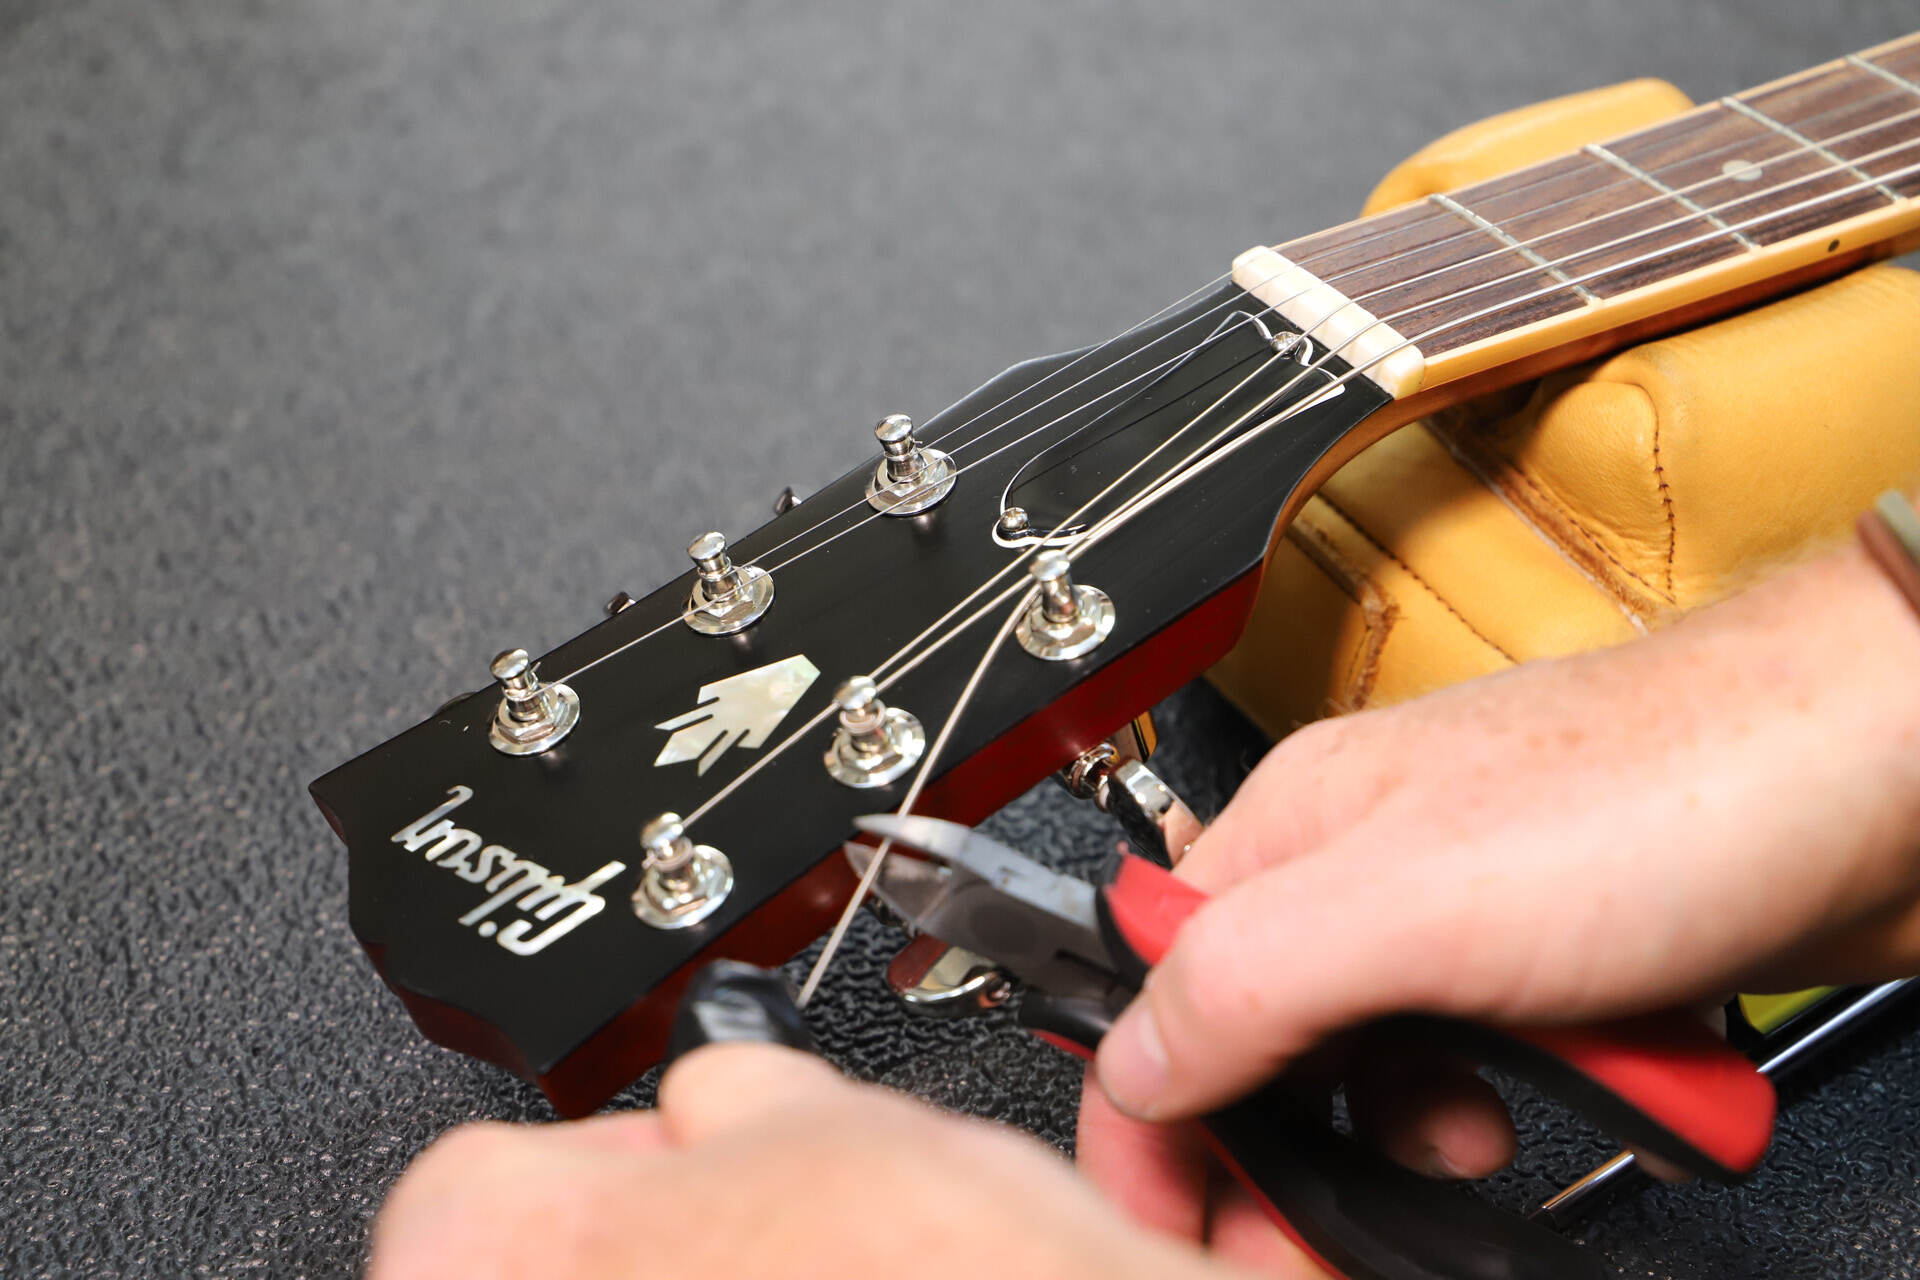
- Wire Cutters: You’ll need a pair of wire cutters to safely trim the excess string length after attaching the new strings.
- Tuner: A tuner is essential for ensuring your guitar is in tune once you’ve changed the strings. There are various types of tuners available, including clip-on, pedal, and smartphone apps.
- Polishing Cloth: While not essential, a polishing cloth can be handy for wiping down your guitar and keeping it clean during the string changing process.
- Guitar Stand or Cushion: It’s always a good idea to have a guitar stand or cushion nearby to rest your guitar on during the string changing process. This helps to keep the guitar stable and prevents any potential damage.
By gathering these tools before you begin, you’ll have everything you need within reach, making the process of changing your strings convenient and efficient. Now that you have your tools ready, it’s time to move on to the next step: loosening the old string.
Step 2: Loosen the Old String
Once you have all the necessary tools gathered, it’s time to start loosening the old string. Follow these steps:
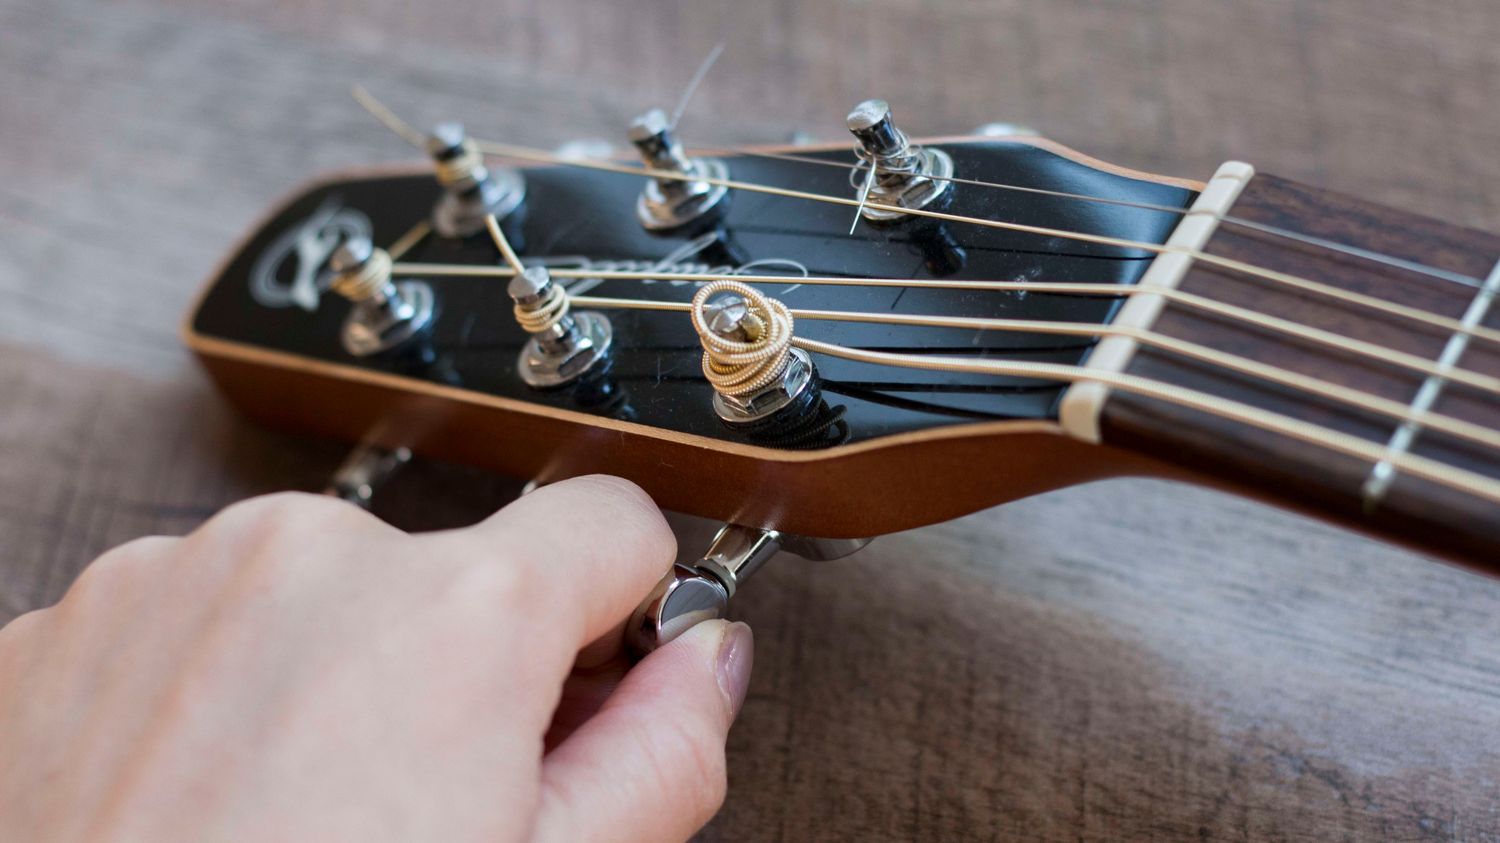
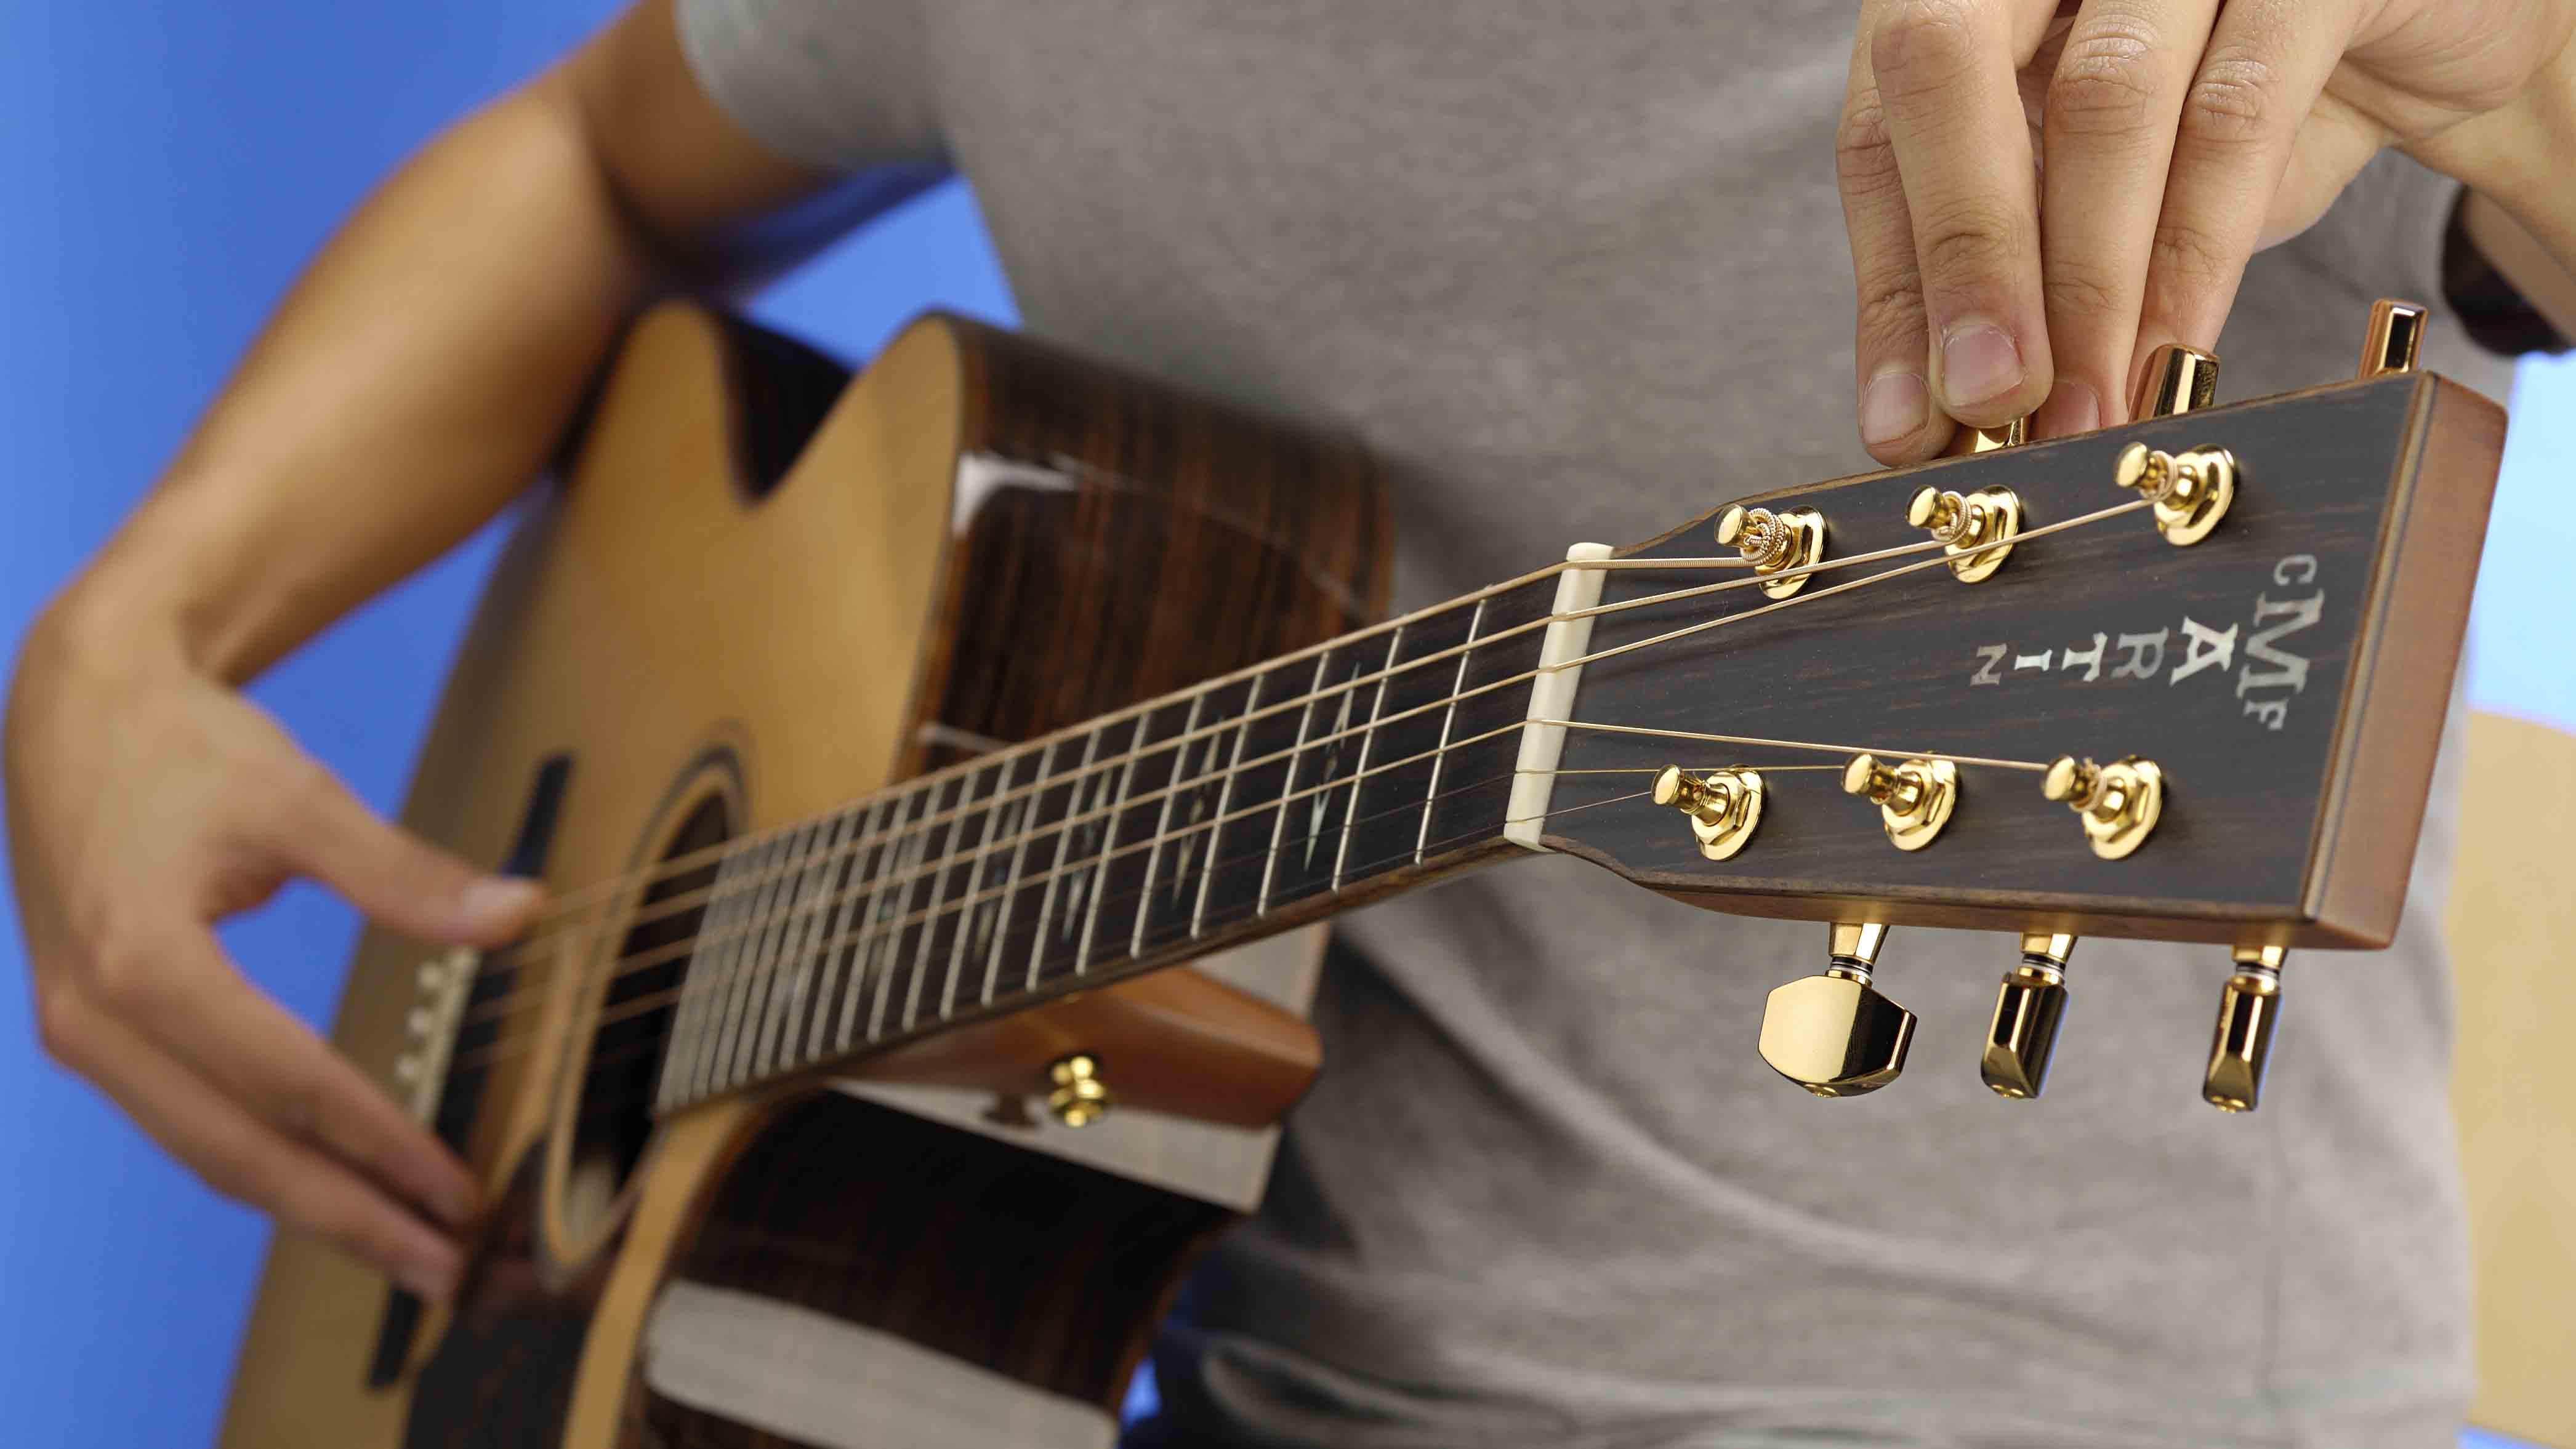
- Locate the tuning peg that corresponds to the string you want to change. Classical guitars typically have six strings, with each string having its own tuning peg at the headstock.
- Using your string winder or a manual turning motion, start loosening the tension of the old string by turning the tuning peg counterclockwise. Continue turning until you can easily pull the string away from the peg.
- Be cautious when loosening the string to avoid letting it snap back against the guitar. Take your time and loosen the tension gradually.
- Repeat this process for each string you plan to change.
Loosening the old strings will relieve the tension and allow for their removal in the next step. By taking the time to properly loosen the strings, you’ll prevent any potential damage to the guitar’s neck or tuning pegs.
Once all the old strings have been loosened, you can move on to the next step: removing the old string from the guitar.
Step 3: Remove the Old String
Now that you have loosened the tension of the old strings, it’s time to remove them from the guitar. Follow these steps:
- Starting with the first string you want to remove, locate the bridge end of the string. This is the part of the string that is tied or looped around the bridge.
- Gently pull on the bridge end of the string, sliding it out of the bridge slot or loop. Take care not to pull too forcefully to avoid causing damage to the bridge or the guitar’s body.
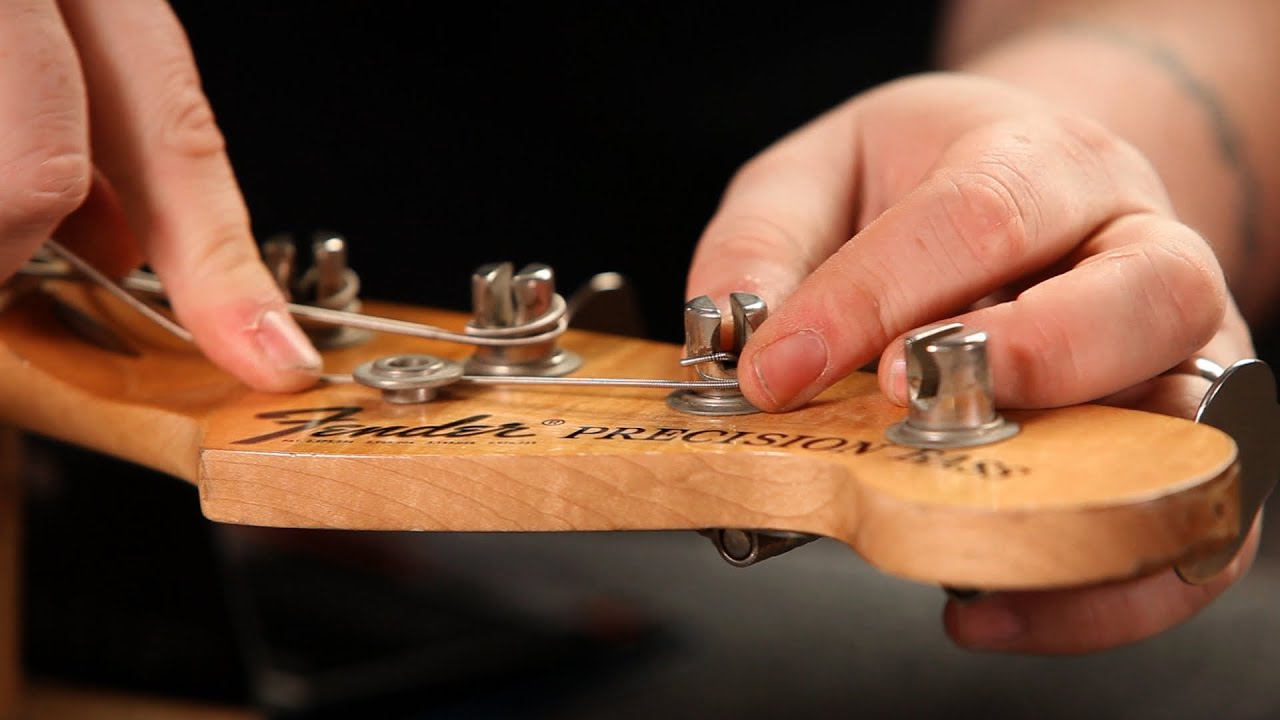
- Once the bridge end has been released, move to the top of the guitar and unwind the string from the tuning peg. Again, be gentle and avoid any sudden movements to prevent damage.
- Remove the string entirely from the guitar, being mindful of any loose ends that may scratch the guitar’s finish. Set aside the old string for disposal.
- Repeat this process for each string you are replacing.
Removing the old strings is a careful process to ensure the guitar and its components remain undamaged. By following these steps, you’ll be able to safely remove the old strings and prepare for the installation of the fresh new strings in the next steps.
With the old strings removed, you are now ready to move on to step 4: preparing the new strings for installation.
Step 4: Prepare the New String
Now that you have removed the old strings, it’s time to prepare the new strings for installation. Here’s what you need to do:
- Take the first string from your new set of classical guitar strings. Each string is typically labeled with a number indicating its position and thickness.
- Uncoil the string and straighten it out gently, taking care not to kink or bend it excessively.
- If the string has a ball end, skip to the next step. If it doesn’t have a ball end (common for tie-on nylon strings), you need to create a small loop at one end of the string. This loop will be used to secure the string to the bridge later on.
- If creating a loop, hold the end of the string and use your fingers to form a small loop, ensuring it’s tight and secure.
- For tie-on nylon strings, you may want to lightly coat the bridge end of the string with a small amount of graphite or pencil lead. This helps reduce friction and allows for smoother tying and tuning.
- Repeat these steps for each new string that you are preparing.
By taking the time to properly prepare the new strings, you’ll ensure a smooth installation process and enhance the overall sound quality of your classical guitar. Now that the strings are ready, it’s time to move on to the next step: attaching the new strings to the guitar.
Step 5: Attach the New String
With the new strings prepared, it’s time to attach them to your classical guitar. Follow these steps:
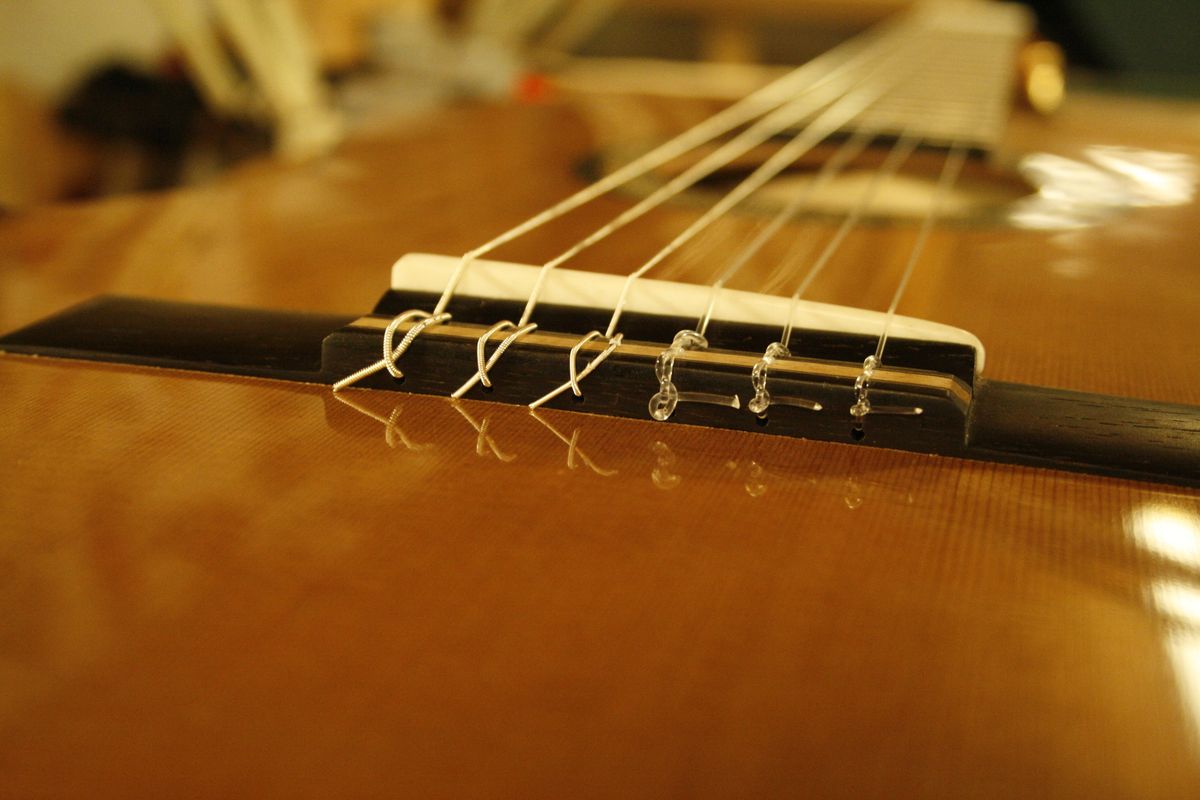
- Starting with the first string, take the bridge end of the string and insert it into the appropriate slot or loop on the bridge. For tie-on nylon strings, make sure the loop is securely tied around the bridge.
- Bring the other end of the string up towards the headstock, ensuring it passes over the nut and across the appropriate tuning peg. Leave some excess string length for winding later.
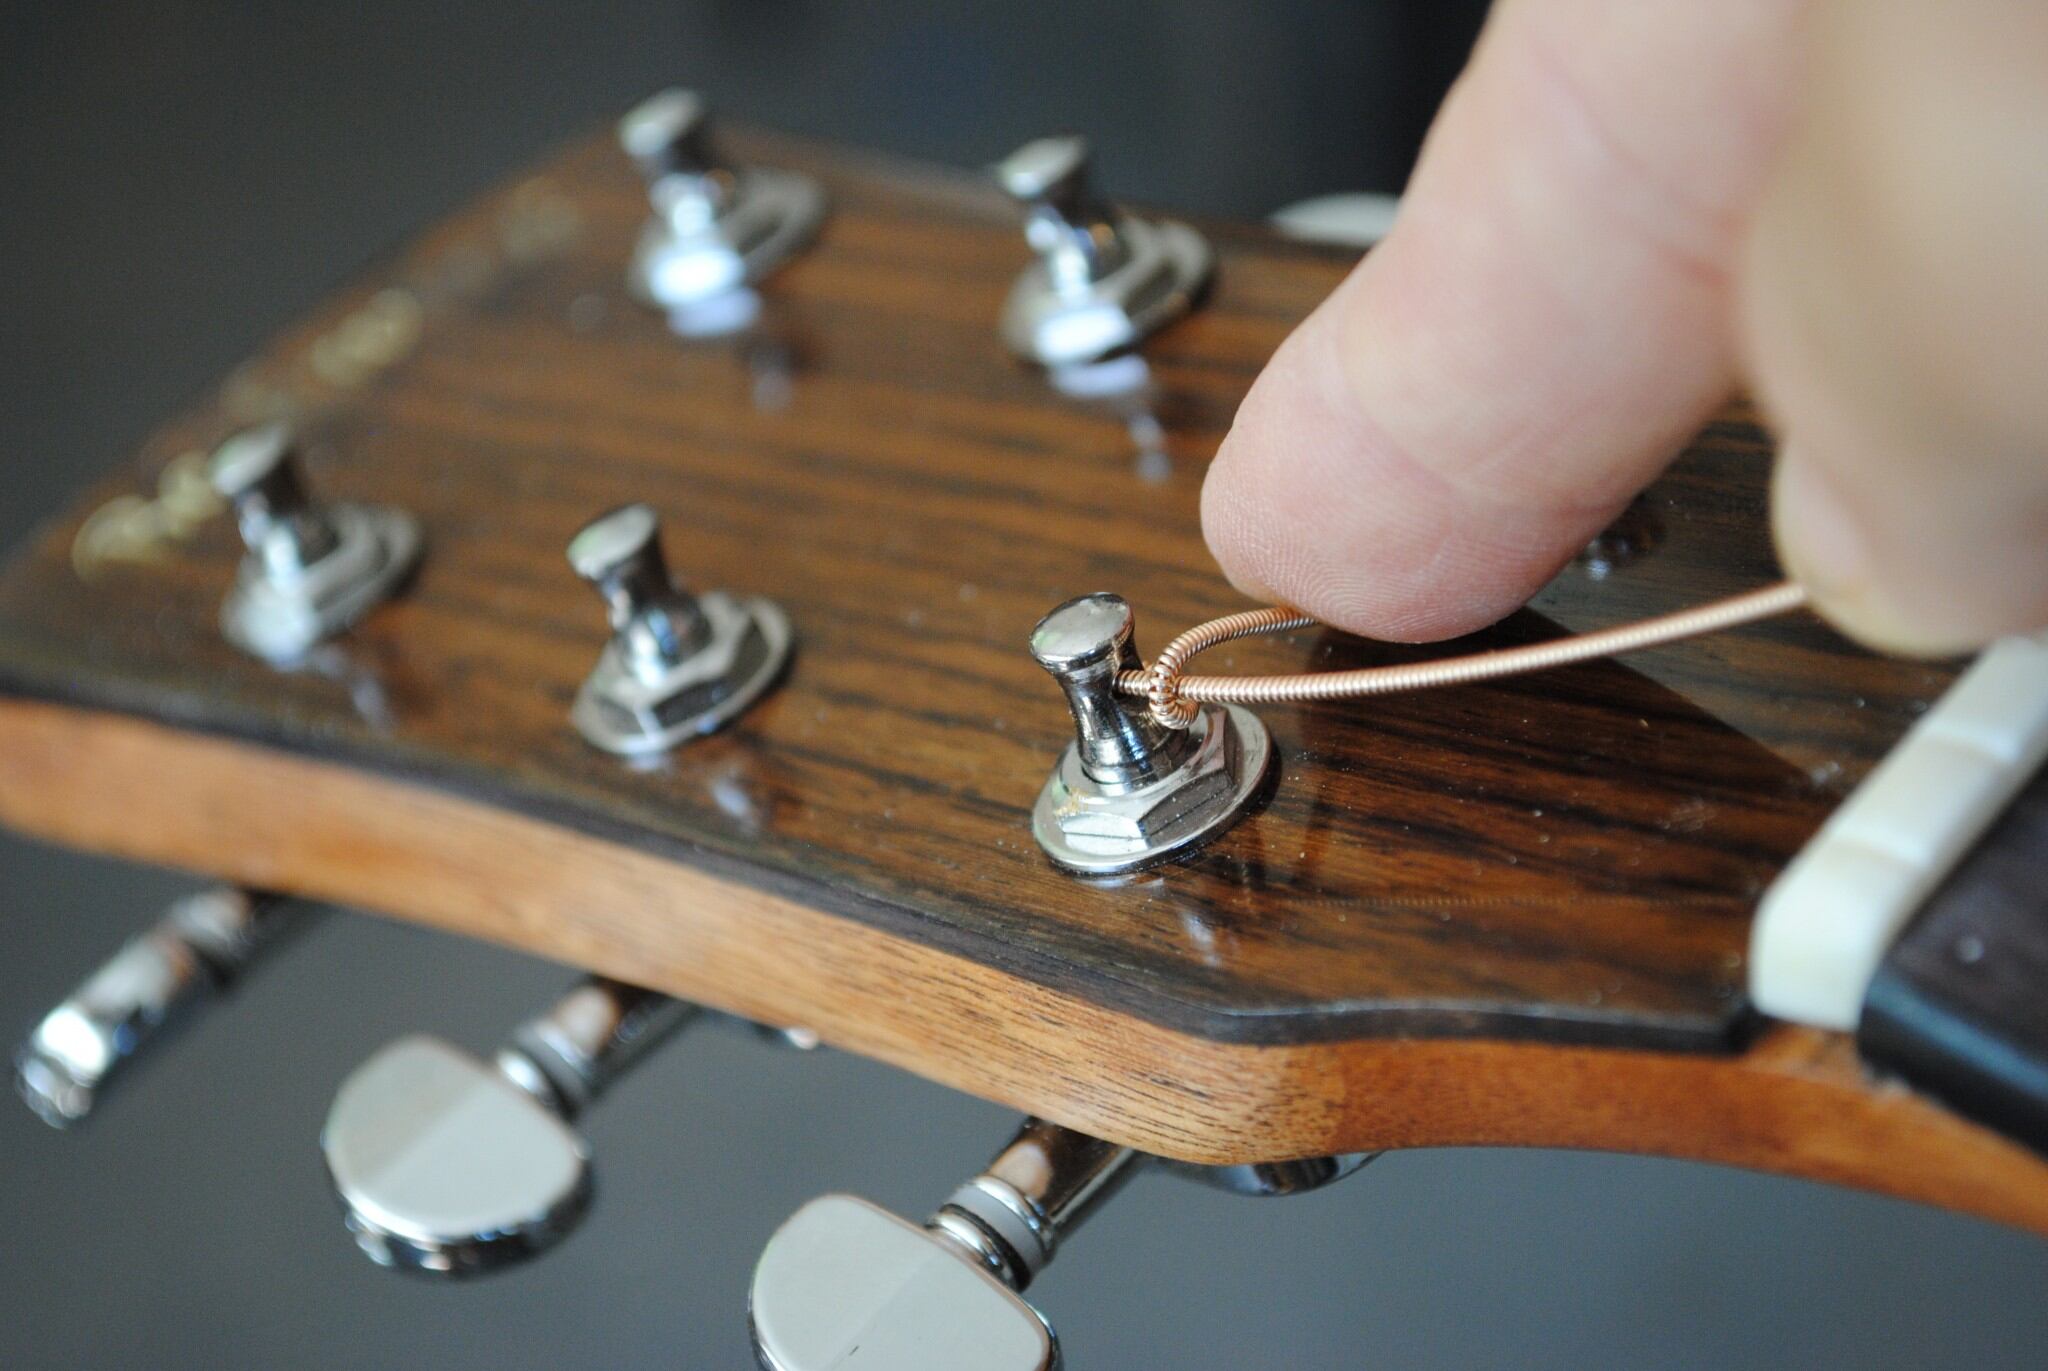
- For tie-on nylon strings, loop the other end of the string around the appropriate tuning peg. For strings with ball ends, insert the ball end into the hole of the appropriate tuning peg.
- Start tightening the string by turning the tuning peg clockwise. As you do this, guide the string through the nut and ensure it winds neatly around the peg. Make sure the string is properly seated in the nut slot as you tighten.
- Continue tightening the string until it reaches the desired pitch. Use a tuner to ensure accurate tuning. Avoid over-tightening the string as it can lead to breakage or put unnecessary strain on the guitar’s neck.
- Repeat these steps for each string, working your way through the set.
By following these steps, you’ll be able to securely attach the new strings to your classical guitar. Take your time to ensure the strings are properly seated and tuned for optimal sound quality. Once all the new strings are attached, it’s time to move on to the final step: tuning the guitar.
Step 6: Tune the Guitar
Now that the new strings are attached to your classical guitar, it’s crucial to tune them to the correct pitch. Follow these steps to ensure your guitar is properly in tune:
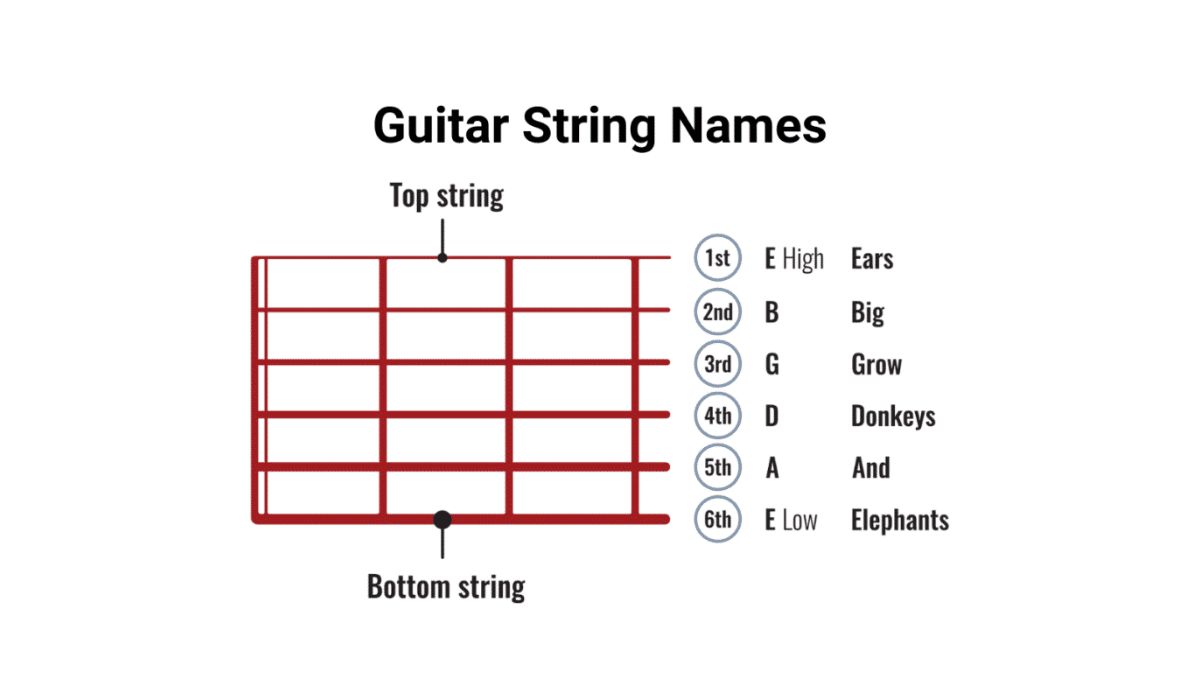
- Use your tuner to check the pitch of each string. Start with the low E string (the thickest string) and tune it to E. Go through each string in ascending order, ensuring they are all tuned correctly.
- If a string is flat (too low in pitch), tighten the string by turning the corresponding tuning peg clockwise. If a string is sharp (too high in pitch), loosen the string by turning the tuning peg counterclockwise.
- Continue tuning each string, making small adjustments until they are all in tune. It’s common for the guitar to go slightly out of tune during the initial period after changing strings, so be patient and keep fine-tuning as necessary.
- Once all the strings are properly tuned, play each string individually to confirm that they sound clear and in tune.
- Take a moment to stretch and settle the new strings by gently pulling and releasing them. This helps to stabilize the strings and improve their tuning stability.
Remember, it’s crucial to tune your guitar properly to achieve the best sound and playability. Regularly check the tuning of your guitar as the new strings settle in, and make any necessary adjustments.
Now that your classical guitar is properly tuned, you’re ready to start enjoying the fresh, vibrant sound of the new strings. Remember to periodically check and adjust the tuning as needed, as strings tend to stretch and settle over time.
Congratulations! You have successfully changed the strings on your classical guitar. By following these steps and taking care during the process, you’ll continue to enjoy playing your instrument at its best. Happy strumming!
Conclusion
Changing the strings on your classical guitar is an essential skill that every guitarist should learn. By following the steps outlined in this guide, you can confidently replace your old strings with fresh ones, enhancing the sound quality and playability of your instrument.
We began by emphasizing the importance of gathering the necessary tools before starting the string change process. With the right tools in hand, including new strings, a string winder, wire cutters, a tuner, and a polishing cloth, you’ll be fully equipped to tackle the task at hand.
Throughout the steps, we covered the process of loosening and removing the old strings, preparing the new strings, attaching them securely to the guitar, and finally tuning the guitar to ensure proper pitch. By following each step carefully and taking your time, you’ll achieve optimal results.
Remember, periodically changing your strings not only improves the sound quality but also helps to maintain the overall health and longevity of your classical guitar. As you gain experience in changing strings, you’ll develop your own techniques and preferences.
So, don’t be afraid to dive in and change your classical guitar strings. With practice, you’ll become more confident and efficient in the process. Enjoy the fresh and vibrant sound of your newly strung guitar, and let it inspire you to create beautiful music.
Happy playing!