Home>Instruments>Brass Instruments>How To Make Your Own Brass Instruments

Brass Instruments
How To Make Your Own Brass Instruments
Published: January 16, 2024
Learn how to create your own brass instruments with our step-by-step guide. Discover the joy of crafting brass instruments from scratch.
(Many of the links in this article redirect to a specific reviewed product. Your purchase of these products through affiliate links helps to generate commission for AudioLover.com, at no extra cost. Learn more)
Table of Contents
- Introduction
- Materials Needed
- Step 1: Gathering the Brass Tubes
- Step 2: Cutting the Tubes to Size
- Step 3: Shaping the Tubes
- Step 4: Creating the Bell
- Step 5: Assembling the Instrument
- Step 6: Adding the Valves
- Step 7: Tuning the Instrument
- Step 8: Adding the Mouthpiece
- Step 9: Cleaning and Maintenance
- Conclusion
Introduction
Welcome to the fascinating world of brass instruments! These beautiful and versatile musical instruments have been a cherished part of human civilization for centuries. From the majestic sound of the trumpet to the soothing tones of the trombone, brass instruments have the power to captivate and evoke a wide range of emotions. While you can easily purchase a brass instrument from a music store, there is something truly special about crafting your own.
In this article, we will guide you through the process of making your own brass instrument. From gathering the necessary materials to assembling and tuning the instrument, we will provide you with step-by-step instructions to create your very own custom-made masterpiece.
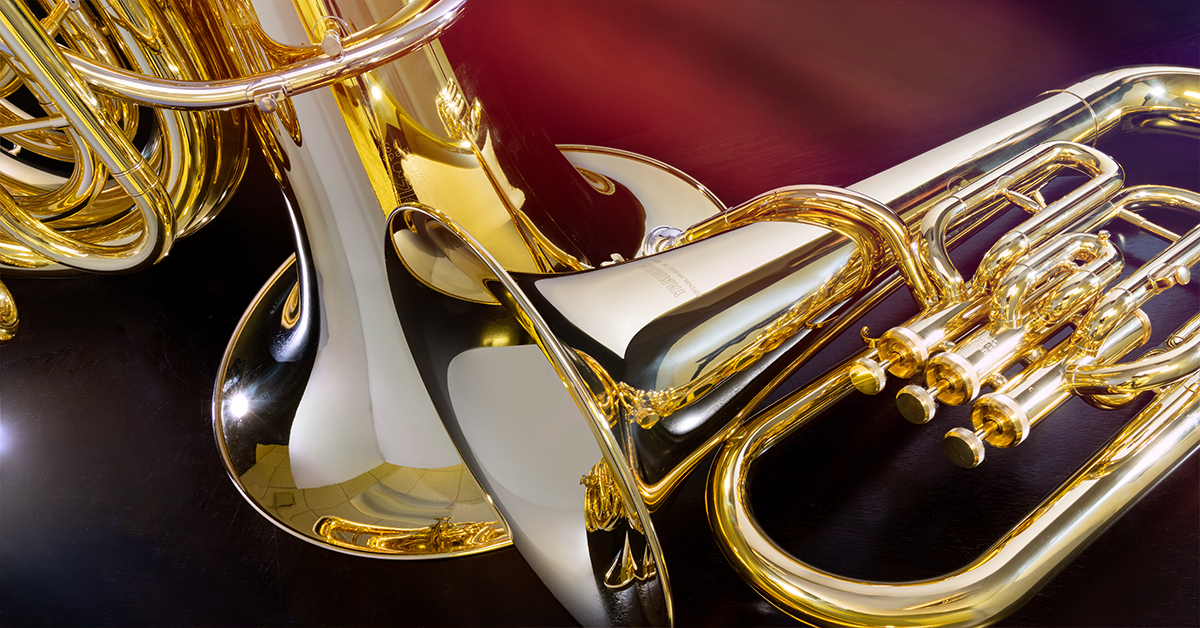
Before we dive into the process, let’s take a moment to appreciate the beauty and history of brass instruments. Dating back to ancient civilizations, brass instruments have played a significant role in various cultural and musical traditions around the world. The brass family includes iconic instruments such as the trumpet, trombone, French horn, and tuba, each with its unique characteristics and sound.
When we talk about brass instruments, the term “brass” refers to the material used to make the instrument. Brass is an alloy of copper and zinc, known for its durability, malleability, and distinct sound. The combination of the brass material with the design of the instrument, including its shape, length, and diameter, determines the sound produced.
Creating your own brass instrument is a rewarding and fulfilling experience. Not only will it allow you to connect with the craftsmanship and history of these instruments, but it will also give you a deeper understanding of the physics and mechanics behind producing sound.
So, whether you’re a music enthusiast, a DIY aficionado, or simply looking for a unique project, get ready to embark on a journey to make your very own brass instrument. Let’s gather the materials and start creating!
Materials Needed
Before you begin the process of making your own brass instrument, it’s important to gather all the necessary materials. Here is a list of what you’ll need:
- Brass tubes: These will serve as the main body of your instrument. You can find brass tubes in various sizes and lengths at your local hardware store or online.
- Hacksaw or pipe cutter: This tool will be used to cut the brass tubes to the desired lengths. Make sure to have extra blades or cutters on hand.
- Files: These will help you shape the tubes and remove any rough edges or burrs after cutting.
- Mallets and/or hammers: You’ll need these to shape the brass tubes and create the bell of the instrument.
- Valves: Depending on the type of brass instrument you’re making, you may need to purchase valves. These can be found at music stores or online.
- Mouthpiece: The mouthpiece is an essential part of any brass instrument. You can choose from a variety of sizes and styles depending on your preference and the type of instrument you’re making.
- Soldering iron and solder: If you’re adding valves to your instrument, you’ll need a soldering iron and solder to attach them securely.
- Tuning slide: This is an optional component but can be useful for fine-tuning the instrument. You can purchase a tuning slide or make one using a thin brass tube.
- Cleaning kit: To keep your brass instrument in optimal condition, it’s important to have a cleaning kit that includes brushes, valve oil, and a polishing cloth.
- Protective gear: Safety should always be a priority when working with tools and materials. Make sure to have safety goggles, gloves, and any other necessary protective gear.
These are the basic materials you’ll need to create your own brass instrument. Depending on the design and complexity of your instrument, you may require additional tools or components. It’s a good idea to plan ahead and have everything ready before you start the construction process to ensure a smooth and hassle-free experience.
Step 1: Gathering the Brass Tubes
The first step in making your own brass instrument is to gather the necessary brass tubes. These tubes will serve as the main body of your instrument and determine its length and shape.
You can find brass tubes at your local hardware store or purchase them online. It’s important to consider the size and diameter of the tubes based on the type of instrument you want to create. For example, if you’re making a trumpet, you’ll need a longer and narrower tube compared to a tuba, which requires a larger and wider tube.
When selecting brass tubes, look for a high-quality material that is free from defects or imperfections. It’s a good idea to choose tubes that have a consistent thickness to ensure a balanced sound throughout the instrument.
Once you have the brass tubes, check their length and make sure they are suitable for the instrument you want to create. Keep in mind that the length of the tube will affect the pitch and range of the instrument.
Ensure that you have all the necessary tools ready for the next steps, such as a hacksaw or pipe cutter for cutting the tubes to size. Additionally, gather files to shape and smooth the edges of the tubes after cutting.
Gathering the brass tubes is an important first step in the process of making your own brass instrument. Take the time to choose high-quality tubes that will contribute to the overall sound and craftsmanship of your instrument. With the brass tubes in hand, you’re ready to move on to the next step of cutting them to the desired size.
Step 2: Cutting the Tubes to Size
Once you have gathered the brass tubes for your instrument, the next step is to cut them to the desired size. This step is crucial as it determines the overall length and shape of your instrument.
Before starting, ensure that you have the necessary tools on hand, such as a hacksaw or pipe cutter. These tools will allow you to accurately cut the brass tubes without causing any damage or distortion.
Begin by measuring the desired length of each tube based on the specific instrument you are creating. Mark the measurements on the tubes using a pencil or marker, ensuring that the lines are straight and clear.
When cutting the tubes, it is essential to maintain a steady hand and use smooth, controlled strokes. Start the cut on one end of the tube, following the marked line as closely as possible. Apply even pressure and let the saw or cutter do the work, avoiding any sudden movements or excessive force that could result in jagged cuts.
Take your time and make precise cuts until you have achieved the desired lengths for all the tubes required for your instrument. It’s important to double-check the measurements as you go to ensure accuracy.
After cutting the tubes, inspect the edges to make sure they are smooth and even. Use a file to remove any rough edges or burrs that might be present. Take care not to deform the shape of the tubes while filing, maintaining their original contours.
Once you have finished cutting and filing the tubes, you have completed the second step in making your brass instrument. You now have the main components ready for shaping and assembling.
With the tubes cut to size and free from any imperfections, you are ready to move on to the next step of shaping them to give your instrument its distinctive form.
Step 3: Shaping the Tubes
After cutting the brass tubes to size, the next step in creating your own brass instrument is to shape them. Shaping the tubes will give your instrument its distinctive form and contribute to its sound projection and playability.
Start by determining the desired shape of your instrument. Brass instruments often have a curvaceous design, including bends and twists that enhance the resonance and control of the sound. You can use a bending machine or specialized tools like mallets and hammers to shape the tubes.
Before shaping the tubes, it’s important to heat them to make the metal more malleable. This can be done using a propane torch or a heat gun, applying heat evenly along the sections that require shaping. Be cautious not to overheat the tubes, as excessive heat can weaken the structure of the metal.
Once the tubes are heated and pliable, use the bending machine, mallets, or hammers to shape them according to your design. Work slowly and carefully, applying pressure in the right places to achieve the desired curves and angles. It may be helpful to have a template or reference instrument for guidance.
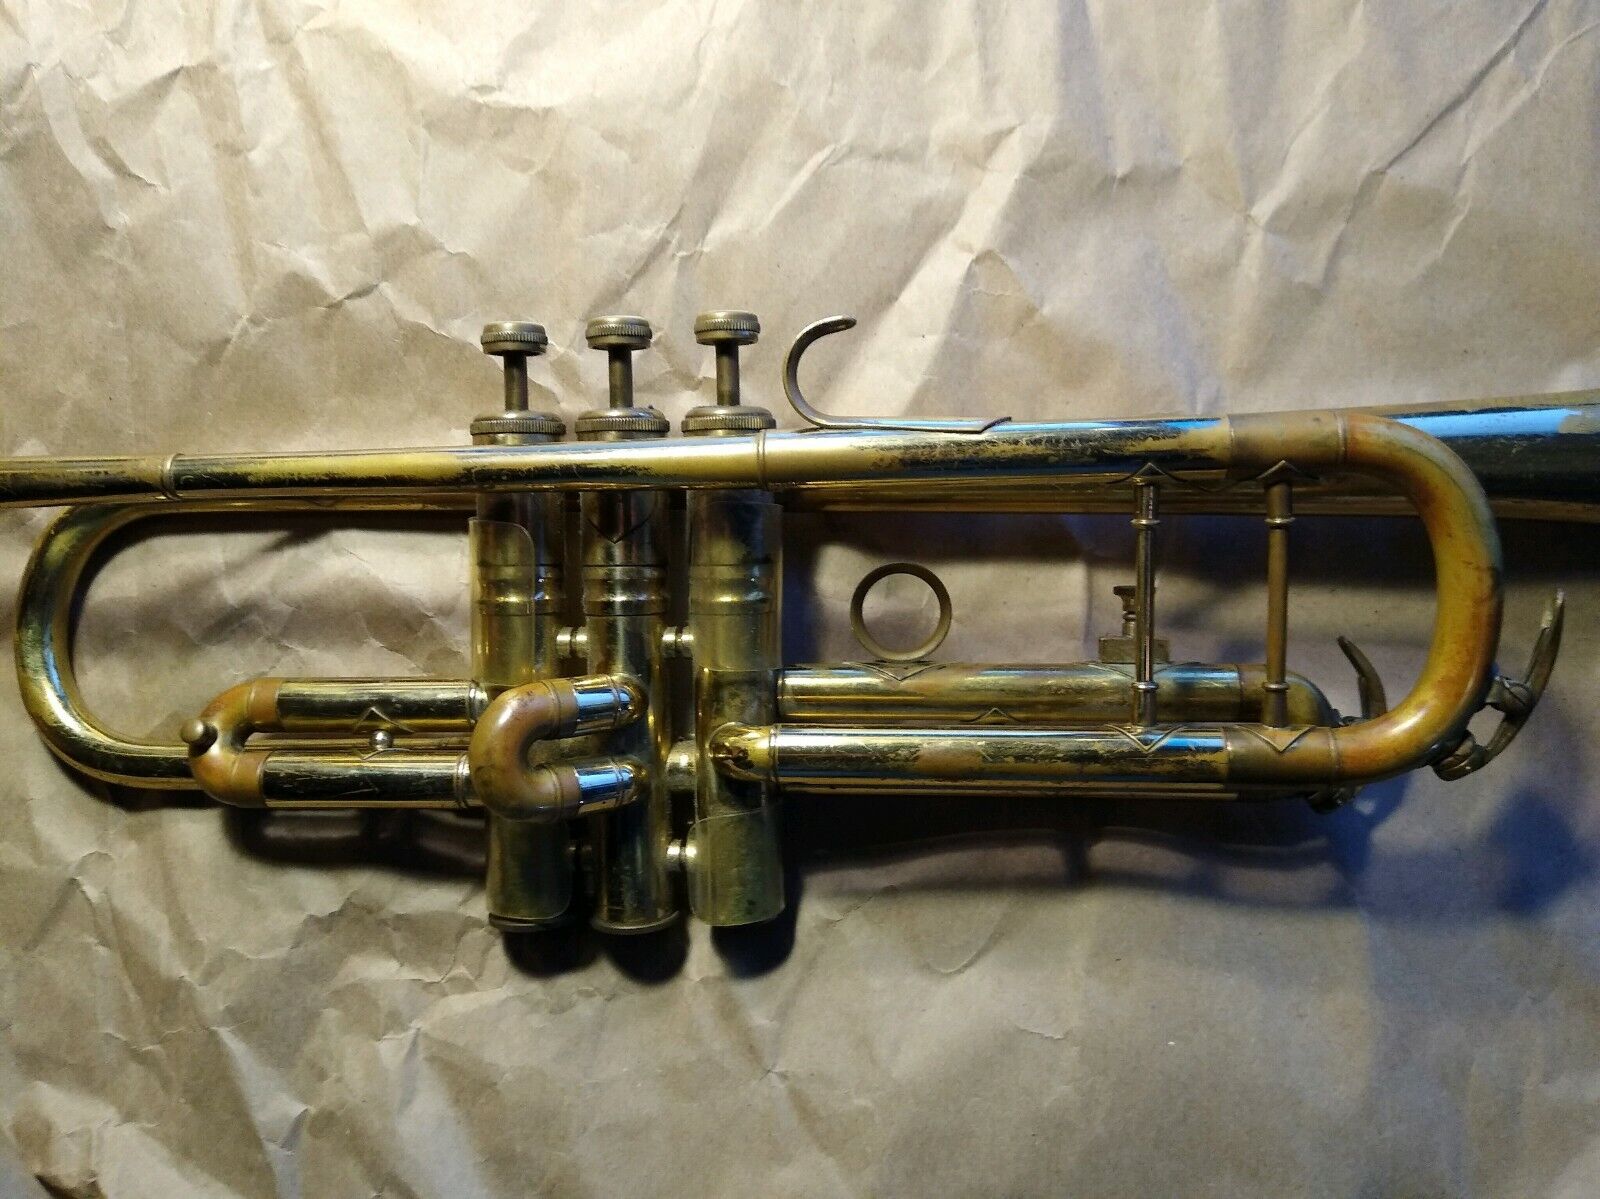
Keep in mind the specific characteristics of the instrument you’re creating. For example, a trumpet will require a distinctive loop shape, while a trombone may have a slightly more elongated and twisted form. Pay attention to the transitions between sections and ensure a smooth and seamless connection between the tubes.
Periodically check the shape of the tubes against your design, making adjustments as necessary. Be patient and take your time to achieve the desired result, as the shaping process is critical to the overall performance and aesthetics of the instrument.
Once you are satisfied with the shape, allow the tubes to cool and harden. This will help them retain their form and ensure the stability of the instrument.
Shaping the tubes is a pivotal step in creating your own brass instrument. By carefully shaping the tubes to your desired design, you are one step closer to bringing your instrument to life. Next, we will move on to creating the bell, which is an essential component in producing the rich and resonant sound of a brass instrument.
Step 4: Creating the Bell
The bell of a brass instrument is a crucial component that contributes to its unique sound and projection. In this step, we will focus on creating the bell, which is responsible for amplifying and shaping the sound waves produced by the instrument.
To create the bell, you will need a mallet or hammer, a metal forming tool, and a solid surface such as a metal block or an anvil. The shaping process requires precision and care to achieve the desired curvature and resonance.
Start by heating the end of the tube that will become the bell. This will make the metal more pliable and easier to shape. Use a propane torch or a heat gun to evenly heat the area, being cautious not to overheat and damage the metal.
Once the end of the tube is heated, place it on the solid surface and begin shaping it using the mallet or hammer. Gently tap the metal, gradually working your way around the circumference to create a smooth, rounded shape. Pay attention to the contour and dimensions, ensuring that the bell is symmetrical and properly proportioned.
As you shape the bell, periodically check it against your design or reference instrument to ensure it matches your intended vision. The size and shape of the bell will affect the sound produced, so take your time and make adjustments as necessary.
Keep in mind that the bell should smoothly transition from the rest of the tube without any kinks or abrupt angles. This seamless connection ensures optimal sound projection and eliminates any disturbances in the airflow.
After shaping the bell, allow it to cool and harden, thereby retaining its form. Inspect the bell for any rough edges or imperfections and use a file or sandpaper to smooth them out.
Creating the bell is a crucial step in constructing your own brass instrument. With the bell shaped to perfection, your instrument is now ready for the next steps of assembling and adding the necessary components, such as the valves and mouthpiece.
Continue onto the next steps to bring your creation closer to becoming a fully functional brass instrument.
Step 5: Assembling the Instrument
Now that you have shaped the tubes and created the bell of your brass instrument, it’s time to move on to the next exciting step – assembling the instrument. This step involves joining the different components together to create a cohesive and functional instrument.
Begin by gathering all the components you will need, such as the main body tubes, valves (if applicable), tuning slide (if desired), and the mouthpiece. Ensure that all the components are clean and free from any debris or residue.
If your instrument requires valves, follow the manufacturer’s instructions or consult a brass instrument expert for guidance on how to properly attach them to the main body tubes. Valves play a crucial role in controlling airflow and producing different pitches on the instrument.
After attaching the valves, it’s time to connect the tubes together. Place the tubes in the desired order, aligning them carefully and ensuring a secure and snug fit. You may need to apply a layer of adhesive or solder to join the tubes together, depending on the design of your instrument.
If you’ve opted to include a tuning slide, attach it to the appropriate section of the instrument. This will allow you to adjust the pitch and fine-tune your instrument as needed.
With the main components assembled, it’s time to add the mouthpiece. The mouthpiece is a vital part of any brass instrument, as it serves as the interface between the musician and the instrument. Choose a mouthpiece that is suitable for the type of instrument you’re making and that complements your playing style.
Insert the mouthpiece into the designated receiver on the instrument. Ensure that it fits securely and creates a proper seal for optimal sound production.
Once all the components are in place, take a moment to inspect the instrument for any potential issues, such as loose connections or misaligned parts. Make any necessary adjustments to ensure that everything is securely and correctly assembled.
By successfully completing this step, you have brought your brass instrument to life. It’s time to move on to the next stages of adding the valves and tuning the instrument, bringing you closer to the joy of playing your own custom-made brass instrument.
Step 6: Adding the Valves
Adding valves to a brass instrument is a crucial step in creating a fully functional and versatile instrument. Valves allow players to change the pitch and produce different notes with ease. In this step, we will guide you through the process of adding valves to your brass instrument.
Before you begin, ensure that you have the necessary valves and valve casings for your specific instrument. Different brass instruments require different types and configurations of valves, so it’s important to choose the appropriate ones for your design.
Start by identifying the location where the valves should be attached on the instrument. This may require referring to a blueprint, consulting a guide, or seeking expert advice. Once you have determined the correct position, mark the area on the tube where the valve casing will be inserted.
Using a soldering iron, heat the marked area, and carefully apply solder to create a secure and solid attachment point for the valve casings. Be cautious not to overheat the surrounding areas and damage the instrument.
Next, attach the valve casings into the soldered areas. Ensure that the fit is snug and aligned correctly. The casings should be securely attached without any wobbling or looseness.
Once the casings are in place, insert the valves into the casings. Valves typically have a spring mechanism that allows them to move up and down, controlling the airflow through the instrument. Ensure that the valves move freely and smoothly within the casings.
After inserting the valves, it’s essential to check for any air leaks. Apply valve oil to the valves and place your hand over the open end of the instrument. Slowly press each valve down and listen for any air escaping. If you detect any leaks, make the necessary adjustments to ensure a tight seal.
Lastly, ensure that the valve tops are aligned correctly with the valve casings. The tops should be properly aligned with each valve casing to prevent any interference or air leaks while playing.
Adding valves to your brass instrument can be a intricate process, requiring attention to detail and precision. By successfully completing this step, you have equipped your instrument with the necessary components to play a wide range of musical notes and explore the full potential of your creation.
Step 7: Tuning the Instrument
Tuning a brass instrument is a crucial step to ensure that it produces accurate and harmonious sounds. In this step, we will guide you through the process of tuning your instrument to achieve optimal pitch and intonation.
Start by assembling all components of your instrument, including the valves, tuning slide (if applicable), and mouthpiece. Ensure that they are properly attached and secured.
Begin the tuning process by playing a reference note, such as a middle C or a concert pitch tuning fork. Pay attention to the pitch produced and compare it to the desired pitch. If the note is flat or sharp, adjustments will need to be made.
To correct a flat note, gently push the tuning slide further in if your instrument has one. This will shorten the overall length of the instrument, resulting in a higher pitch. Conversely, if the note is sharp, pull the tuning slide out slightly to lengthen the instrument and lower the pitch.
It’s important to make small and gradual adjustments to the tuning slide, as even slight movements can have a significant impact on the pitch. Take your time and fine-tune the instrument slowly, periodically checking the pitch against your reference note.
Keep in mind that different notes may require different positions of the tuning slide. Experiment with different positions until you find the optimal setting for each note. Remember to keep track of the positions that work best for your instrument to ensure consistency.
In addition to the tuning slide, other factors can affect the pitch of the instrument. Ensure that the valves are aligned properly and functioning smoothly. Any friction or misalignment in the valve mechanism can impact the pitch and must be addressed.
When tuning the instrument, it is helpful to have a tuner or a trained ear to guide you. A digital tuner can provide precise feedback on the pitch, ensuring accurate adjustments.
Once you have gone through the tuning process and are satisfied with the pitch and intonation of your instrument, continue to play various musical scales and passages to further refine your tuning. Take note of any inconsistencies or areas that require additional adjustments.
Tuning a brass instrument is an ongoing process that requires practice and attentiveness. By carefully tuning your instrument, you will ensure that it produces clear and accurate sounds, allowing you to fully explore its musical potential.
Step 8: Adding the Mouthpiece
The mouthpiece is a vital component of any brass instrument as it directly affects the sound and playability. In this step, we will guide you through the process of adding the mouthpiece to your instrument.
Begin by selecting a mouthpiece that suits your playing style and the type of brass instrument you have created. Mouthpieces come in various sizes and shapes, each offering distinct characteristics and sound qualities. Experimentation and personal preference play a crucial role in choosing the right mouthpiece.
Before inserting the mouthpiece, ensure that the receiver on your instrument is clean and free from any debris or residue. Use a mouthpiece brush or a cloth to remove any obstructions and ensure a clean connection.
Apply a thin layer of lubricant or valve oil to the shank or inner surface of the mouthpiece. This will aid in inserting the mouthpiece smoothly and creating an airtight seal.
To insert the mouthpiece, align the shank with the receiver on your instrument and gently push it in. Avoid using excessive force or twisting the mouthpiece, as this can damage both the mouthpiece and the instrument. The mouthpiece should fit snugly but not too tightly.
Once the mouthpiece is inserted, ensure that it is properly aligned with the instrument, with the rims of the mouthpiece and the receiver forming a smooth and even connection.
Take a moment to test the instrument with the mouthpiece. Play a few notes and listen to the sound produced. Make any necessary adjustments to the position or alignment of the mouthpiece if needed.
Remember that the positioning of the mouthpiece can affect the pitch and playability of the instrument. Experiment with different angles and placement to find the optimal position that suits your embouchure and produces the desired sound.
Regularly clean and maintain your mouthpiece to preserve its performance and hygiene. This includes rinsing it with warm water after use, using a mouthpiece brush to remove any buildup, and occasionally soaking it in a mild cleaning solution.
Adding the mouthpiece is the final step in completing your brass instrument. With the mouthpiece in place, your instrument is now ready to be played and enjoyed. Take time to explore its capabilities and create beautiful music with your custom-made brass instrument.
Step 9: Cleaning and Maintenance
To keep your brass instrument in optimal condition and ensure its longevity, regular cleaning and maintenance are essential. In this final step, we will guide you through the process of cleaning and maintaining your brass instrument.
Start by establishing a regular cleaning routine. After each playing session, wipe down the instrument with a clean, lint-free cloth to remove any moisture, fingerprints, or oils that may have accumulated. Pay special attention to areas such as the valve casings, tuning slides, and mouthpiece receiver.
Use a brass instrument cleaning kit that includes specialized brushes and cleaning solutions. Follow the instructions provided with the kit to properly clean the different components of your instrument.
For the tubes, use a flexible cleaning brush or a snake brush to remove any dirt or debris that may have accumulated. Gently insert the brush into the tube and scrub it back and forth. Rinse the tubes with warm water to remove any cleaning solution residue.
Clean the valves by removing them from the valve casings and soaking them in a mild soap and water solution. Gently scrub the valves with a soft brush to remove any build-up or deposits. Rinse the valves thoroughly and ensure they are dry before reassembling them in the instrument.
Similarly, clean the mouthpiece by soaking it in a mild cleaning solution and using a mouthpiece brush to remove any residue. Rinse the mouthpiece thoroughly and ensure it is completely dry before inserting it back into the instrument.
Periodically, it may be necessary to lubricate the valves and tuning slides to ensure smooth operation. Use valve oil or slide grease as recommended by your instrument’s manufacturer. Apply a small amount of lubricant to the appropriate areas and work them in gently.
Inspect your instrument regularly for any signs of damage, such as dents, loose parts, or worn-out valves. Address any issues promptly by seeking professional repair if needed. Regular maintenance and prompt repairs are crucial to preserve the performance and lifespan of your brass instrument.
Finally, when not in use, store your brass instrument in a protective case. This will shield it from dust, humidity, and accidental damage. Ensure that the case provides proper cushioning and protection for the instrument.
By following a regular cleaning and maintenance routine, you can keep your brass instrument in top-notch condition, ensuring its longevity and enhancing its performance. With proper care, your custom-made brass instrument will continue to bring joy and beautiful music for years to come.
Conclusion
Congratulations! You have reached the end of your journey in making your own brass instrument. Through each step of the process, you have honed your skills, exercised creativity, and brought a unique musical creation to life.
By gathering the necessary materials, cutting and shaping the brass tubes, creating the bell, assembling the instrument, adding the valves and mouthpiece, tuning the instrument, and practicing proper cleaning and maintenance, you have crafted a personalized brass instrument that reflects your vision and passion for music.
Custom-made brass instruments are not only a source of pride but also a testament to the craftsmanship and dedication required to create something truly exceptional. Whether you’re a musician, a DIY enthusiast, or someone curious about the world of brass instruments, this journey has allowed you to explore new realms of creativity and discover the artistry behind these incredible instruments.
As you embark on your musical journey with your custom-made brass instrument, continue to experiment, practice, and further refine your skills. Embrace the joy of playing music and sharing your unique sound with others.
Remember to seek guidance from experienced brass players, take advantage of opportunities for growth and learning, and appreciate the rich history and tradition of brass instruments. Each note you play will resonate with the craftsmanship and dedication you have put into creating your very own brass instrument.
Whether you create a trumpet, trombone, French horn, or tuba, your custom-made brass instrument is sure to bring you countless hours of musical pleasure. Embrace the artistry and passion that comes with playing an instrument handmade by your own hands.
Now, it’s time to let your musical imagination soar, and share your unique sound with the world. Play with pride, and delight in the harmonious melodies that your custom-made brass instrument brings forth.
So, go forth and embrace the world of brass instruments. Craft your own masterpiece, and let your music resound with the beauty and individuality of your custom-made brass instrument.


