Home>Production & Technology>Sound Effects>How To Set Up Different Sound Effects In One Room
Sound Effects
How To Set Up Different Sound Effects In One Room
Modified: January 22, 2024
Learn how to set up various sound effects in a single room with our easy-to-follow guide. Create an immersive audio experience with different sound effects for maximum impact.
(Many of the links in this article redirect to a specific reviewed product. Your purchase of these products through affiliate links helps to generate commission for AudioLover.com, at no extra cost. Learn more)
Table of Contents
Introduction
Welcome to the world of sound effects! If you’re looking to create a truly immersive audio experience, incorporating various sound effects into a single room can take your project to the next level. Whether you’re setting up a home theater, a gaming room, or a recording studio, having the ability to manipulate different sound elements can add depth and realism to your audio environment.
In this article, we’ll explore the process of setting up different sound effects in one room and provide you with valuable insights on how to optimize your setup for the best possible audio experience. From understanding the fundamentals of sound effects to troubleshooting common issues, we’ll cover all the necessary steps to help you become a master of sound manipulation.
Before we dive into the technical aspects, let’s take a moment to understand the concept of sound effects. Sound effects are artificially created or recorded audio elements that are used to enhance or manipulate the audio experience. They can range from simple ambient sounds like raindrops or birds chirping to complex explosions and virtual surround sound effects.
Having multiple sound sources in one room allows you to simulate various environments and immerse yourself or your audience in the desired atmosphere. For example, in a home theater setup, you can have different sound effects coming from different speakers placed strategically around the room, providing a truly cinematic experience. In a gaming room, you can enhance the gameplay by adding sound effects that react to specific in-game events, making the gaming experience more engaging and immersive.
Now that we have a basic understanding of sound effects, let’s explore the necessary steps to set up different sound effects in one room. From choosing the right room and implementing acoustic treatment to handling sound routing and controlling your effects, we’ll guide you through the process to achieve the best possible results.
Understanding Sound Effects
Before delving into the technicalities of setting up different sound effects in one room, it’s important to have a solid understanding of how sound effects work and how they can enhance the audio experience.
Sound effects are audio elements that are designed or recorded to simulate specific sounds or create certain moods. They can range from everyday environmental sounds like footsteps and door creaks to more complex effects like explosions and magical spells. Sound effects can be used in various forms of media such as movies, video games, theater productions, and even in live performances.
One of the key aspects of sound effects is their ability to evoke emotions and immerse the listener. They can transport us to different locations, enhance storytelling, and create a sense of realism. For example, the sound of thunder and rain in a horror movie can intensify the suspense and fear, while the sound of a crowd cheering can make us feel like we’re in a bustling stadium.
To effectively utilize sound effects, it’s crucial to understand the different types and categories. Here are a few common types of sound effects:
- Foley Sound Effects: These are sounds created by a Foley artist who uses various objects and props to recreate everyday sounds. Examples include footsteps, door slams, and the rustling of clothing.
- Environmental Sound Effects: These are sounds that occur naturally in the environment, such as rain, wind, waves, and birds chirping. They help create a realistic ambient atmosphere.
- Impact Sound Effects: These are sounds that emphasize impact or collision, like explosions, crashes, or punches. They add intensity and excitement to action-packed scenes.
- Character Sound Effects: These are sounds associated with specific characters, such as the roar of a dragon or the growl of a monster. They help bring characters to life and make them more memorable.
Sound effects can be obtained from various sources, including sound libraries, recording studios, or even by creating them from scratch using specialized software and hardware. The key is to select the right sound effects that align with the mood and theme of your project.
Understanding sound effects and their purpose is essential for designing an immersive audio experience. By knowing the different types of sound effects and how they can enhance storytelling or create a specific atmosphere, you’ll be better equipped to choose and utilize them effectively in your setup.
Choosing the Right Room
When setting up different sound effects in one room, selecting the right space is crucial to achieving optimal audio quality and immersion. The room you choose will impact factors such as sound reflection, resonance, and overall acoustics.
Here are some key factors to consider when choosing the right room for your setup:
- Room Size: The size of the room will greatly influence how sound travels and interacts within the space. Generally, larger rooms tend to have more natural reverb and spaciousness, while smaller rooms can create a more intimate and controlled sound.
- Room Shape: The shape of the room can also affect the acoustics. Ideally, a room with minimal parallel walls and irregular surfaces can help minimize standing waves and echo. Avoid rooms with sharp corners or irregular shapes that may cause sound reflections and distortions.
- Multifunctionality: Consider the other uses or functions of the room. If the room will also serve as a home theater, recording studio, or gaming room, make sure it can accommodate the additional equipment and provide sufficient space for an optimal listening experience.
- Sound Isolation: Assess the sound isolation properties of the room. Consider factors such as external noise sources, sound leakage, and the ability to block unwanted noise from entering or leaving the room. This is especially important if you’ll be working with high volumes or if you want to minimize disruptions to other occupants of the space.
- Accessibility: Ensure the room is easily accessible and can accommodate the necessary wiring, power outlets, and equipment. Depending on the complexity of your setup, you may require additional space for audio interfaces, mixers, or control panels.
Once you have chosen the right room, it’s important to assess its acoustics and make any necessary modifications to optimize the sound quality. This process, known as acoustic treatment, involves controlling sound reflections and reducing unwanted reverberation. Acoustic treatment options include the use of absorption panels, diffusers, bass traps, and acoustic curtains.
By carefully selecting the room that best suits your needs and implementing the appropriate acoustic treatment, you can enhance the overall listening experience and ensure that your sound effects are reproduced accurately and with clarity.
Acoustic Treatment
Acoustic treatment plays a vital role in creating an optimal listening environment for your sound effects setup. It involves controlling the reflection and absorption of sound within the room, reducing excessive reverberation, and minimizing unwanted echoes. Proper acoustic treatment ensures that the sound produced is accurate, clear, and free from distortions caused by the room’s acoustics.
Here are some key techniques for implementing acoustic treatment:
- Acoustic Panels: Acoustic panels are designed to absorb sound waves and reduce reflections. They are typically made of materials such as foam, fiberglass, or mineral wool. Place these panels strategically on walls, especially near speakers and primary reflection points, to minimize sound reflections. Bass traps can also be used to absorb low-frequency sounds and reduce resonances.
- Diffusers: Diffusers scatter sound waves and help break up direct reflections, resulting in a more balanced and natural sound. They are particularly useful in rooms with flat and reflective surfaces. Diffusers come in various shapes and sizes, and they can be positioned on walls or ceilings to create a more diffuse sound field.
- Acoustic Curtains: Acoustic curtains are thick and heavy curtains made from specialized sound-absorbing materials. They can be used to control sound reflections and absorb high-frequency sounds. Acoustic curtains are especially effective in rooms where traditional acoustic panels might not be suitable or aesthetically pleasing.
- Room Layout and Furniture: The positioning of furniture and the arrangement of equipment can also contribute to acoustic treatment. Placing bookshelves, rugs, and other soft furnishings in the room can help reduce sound reflections and improve overall sound quality. Additionally, arranging furniture to create a more diffuse sound field can create a more natural and immersive audio experience.
It’s important to note that the specific acoustic treatment requirements may vary depending on the size and shape of the room, as well as the intended purpose of the space. Experimenting with different placement and configurations of acoustic panels, diffusers, and curtains can help you achieve the desired sound quality.
When implementing acoustic treatment, it’s also crucial to strike a balance between absorption and diffusion. Over-absorption can result in a dead or dull sound, while insufficient absorption may lead to excessive reverberation. Finding the right combination and placement of treatments will help create an optimal acoustic environment for your sound effects.
By investing time and effort into properly treating the room acoustics, you can ensure that your sound effects are accurately reproduced, while minimizing unwanted reflections and resonances that may detract from the overall audio experience.
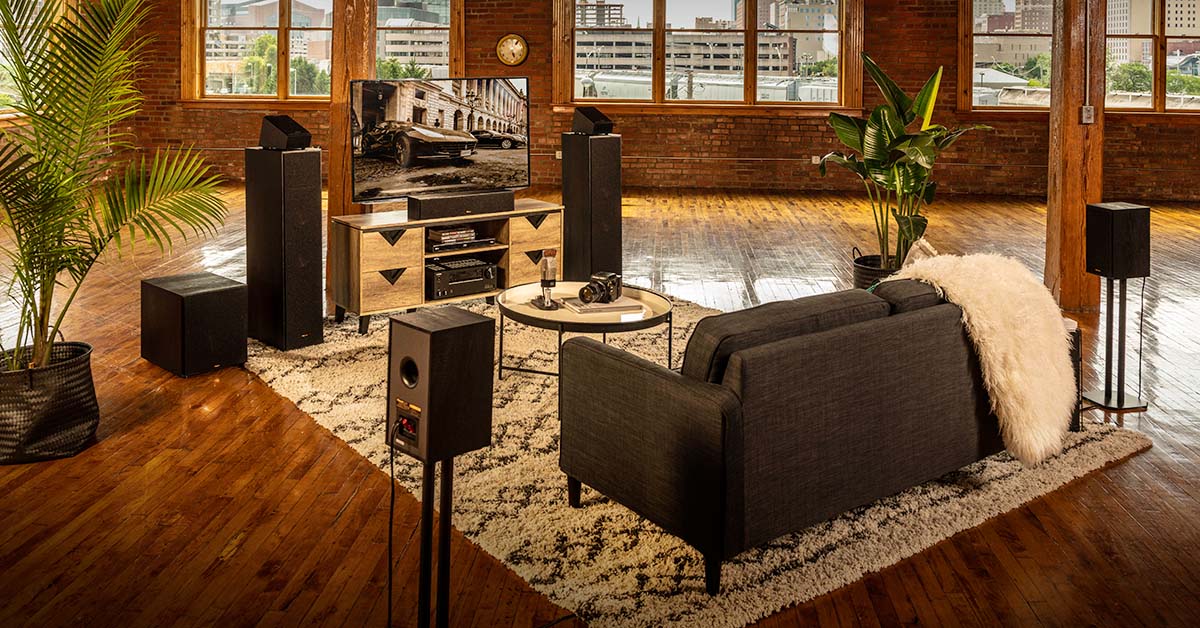
Setting Up Multiple Sound Sources
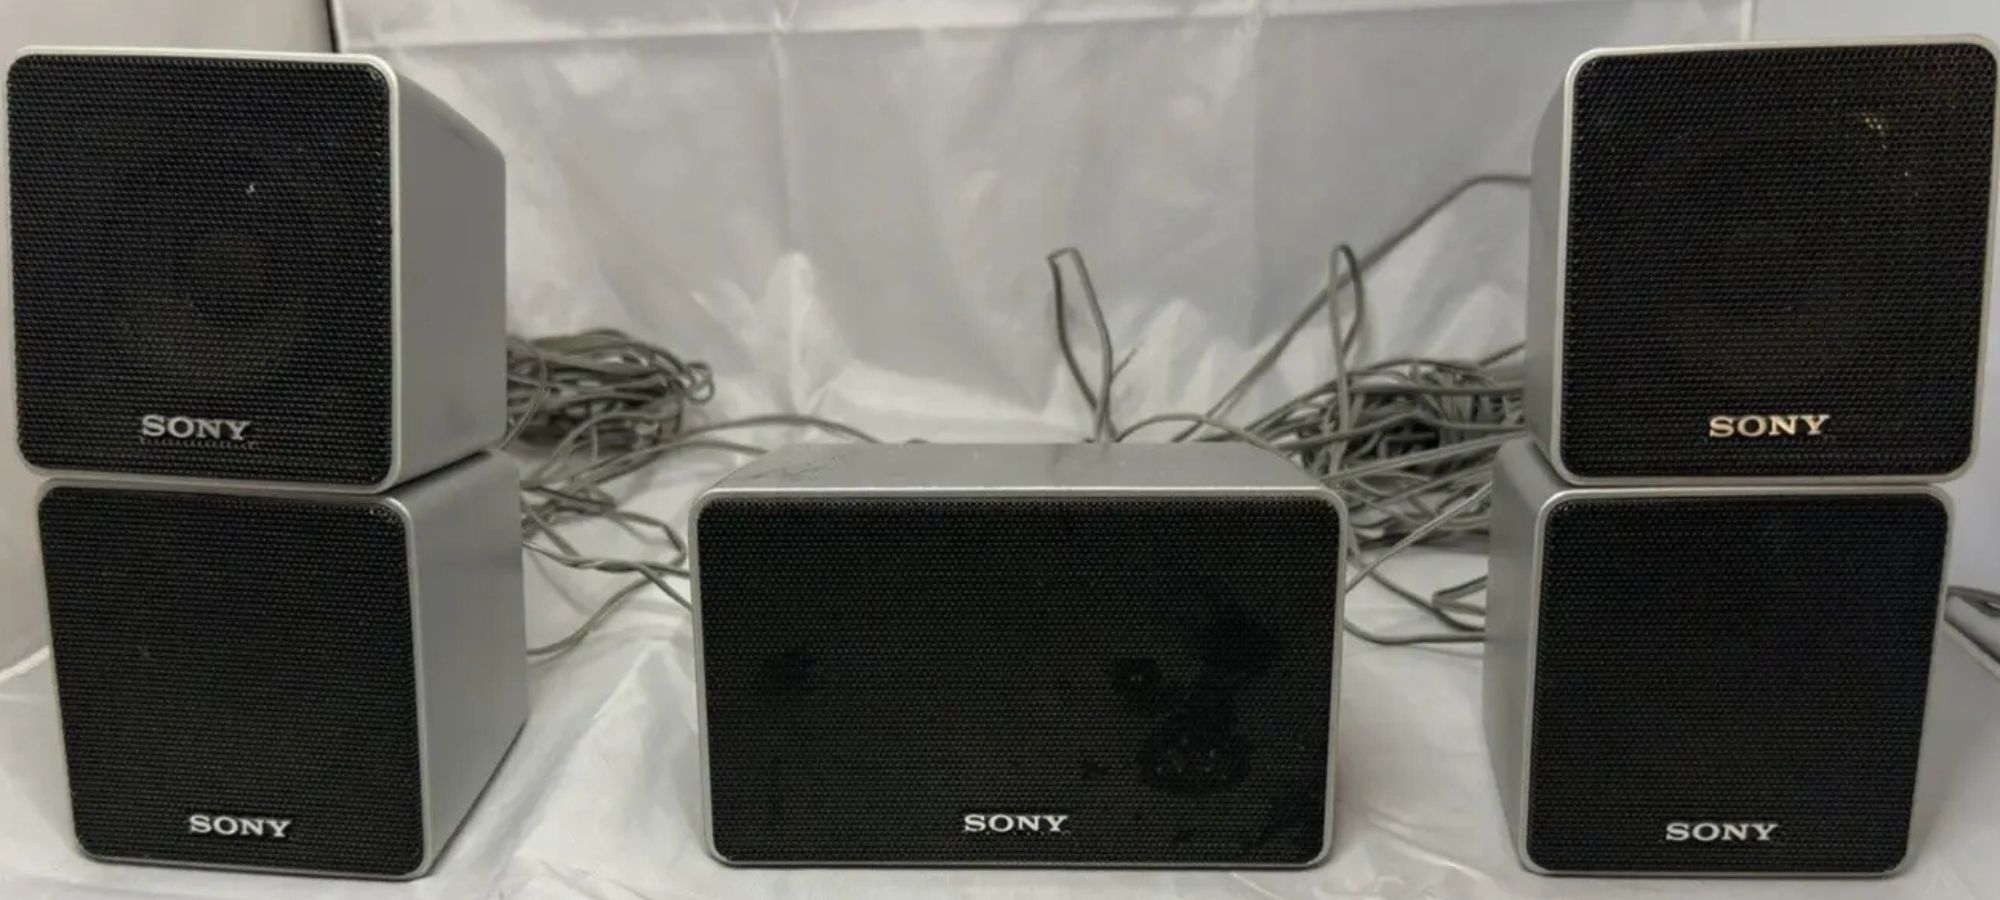
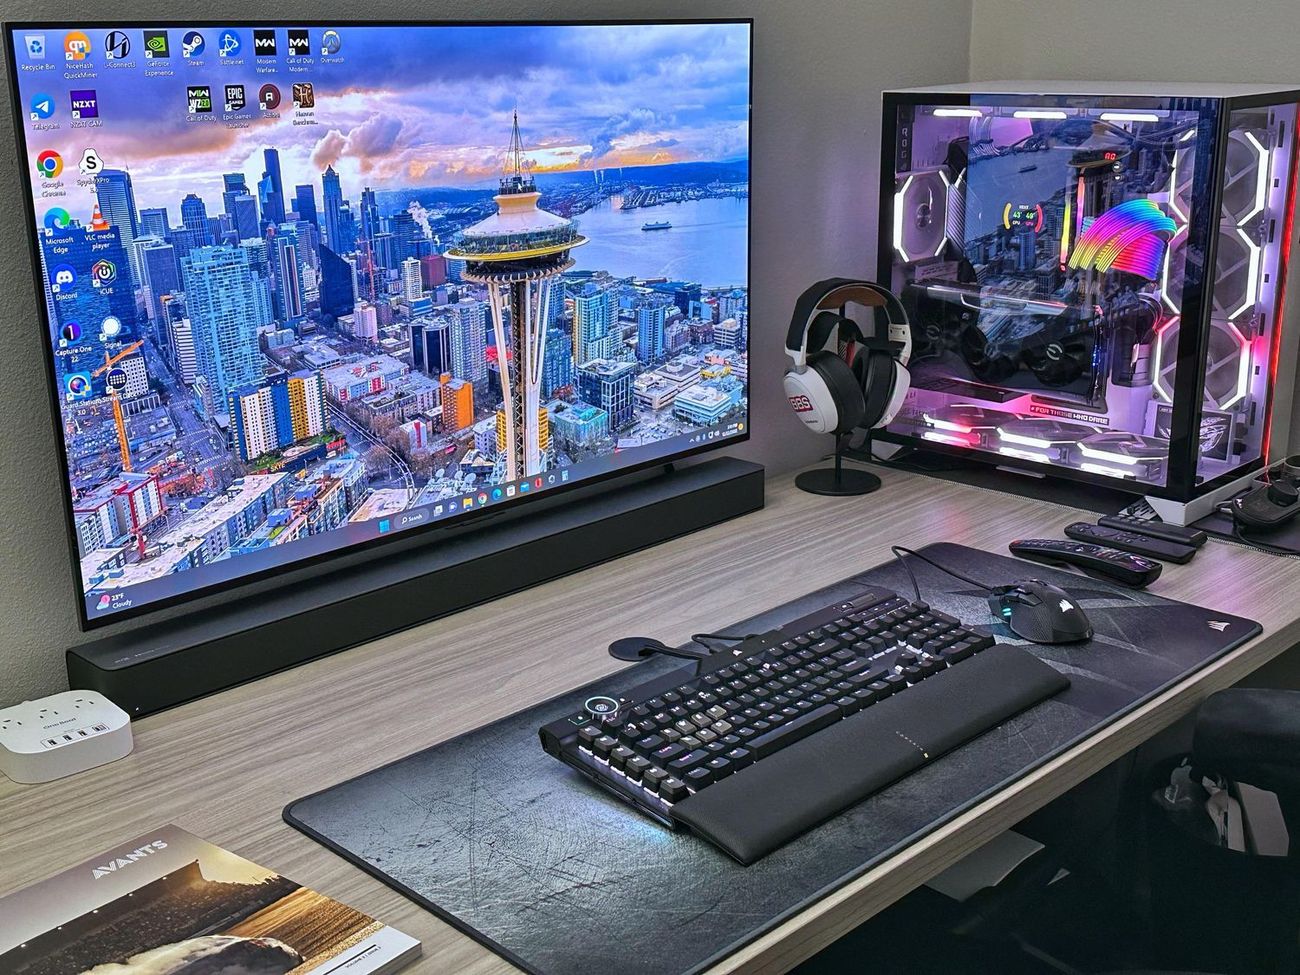
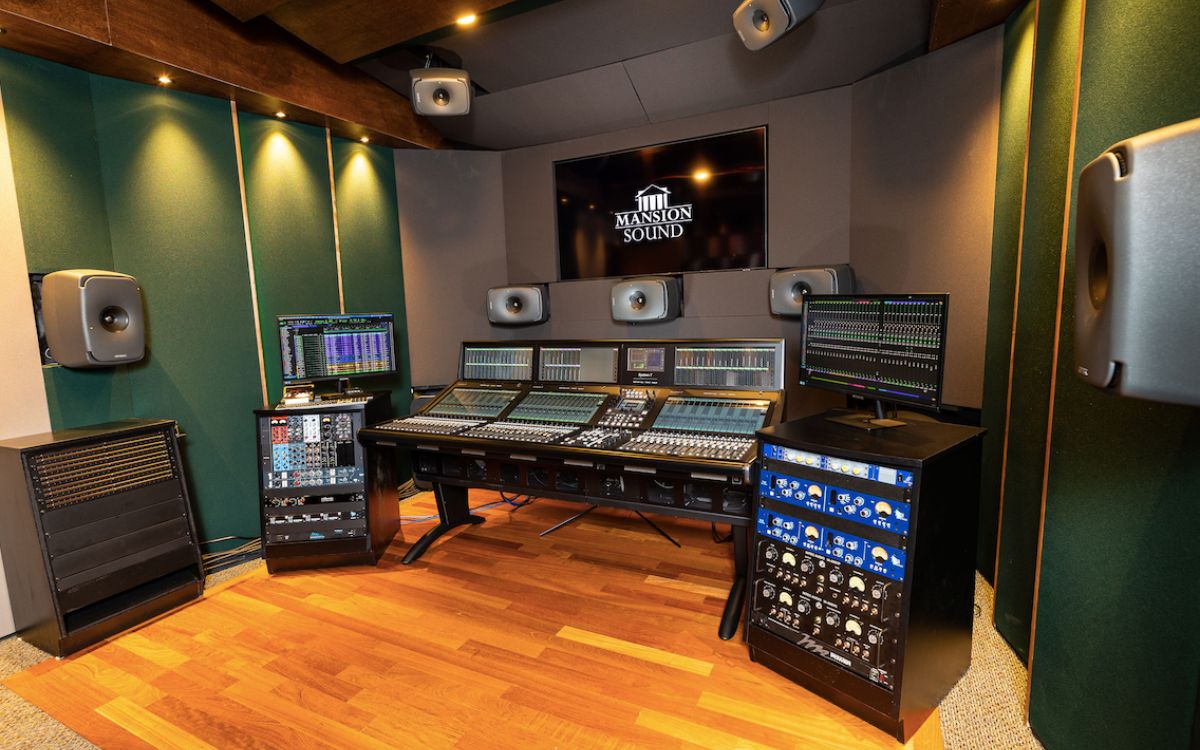
Setting up multiple sound sources is essential to create a dynamic and immersive audio experience in your room. Whether you’re aiming for surround sound, multi-channel audio, or simply want to distribute sound effects throughout the space, strategic placement of speakers and audio sources is crucial.
Here are some steps to help you effectively set up multiple sound sources:
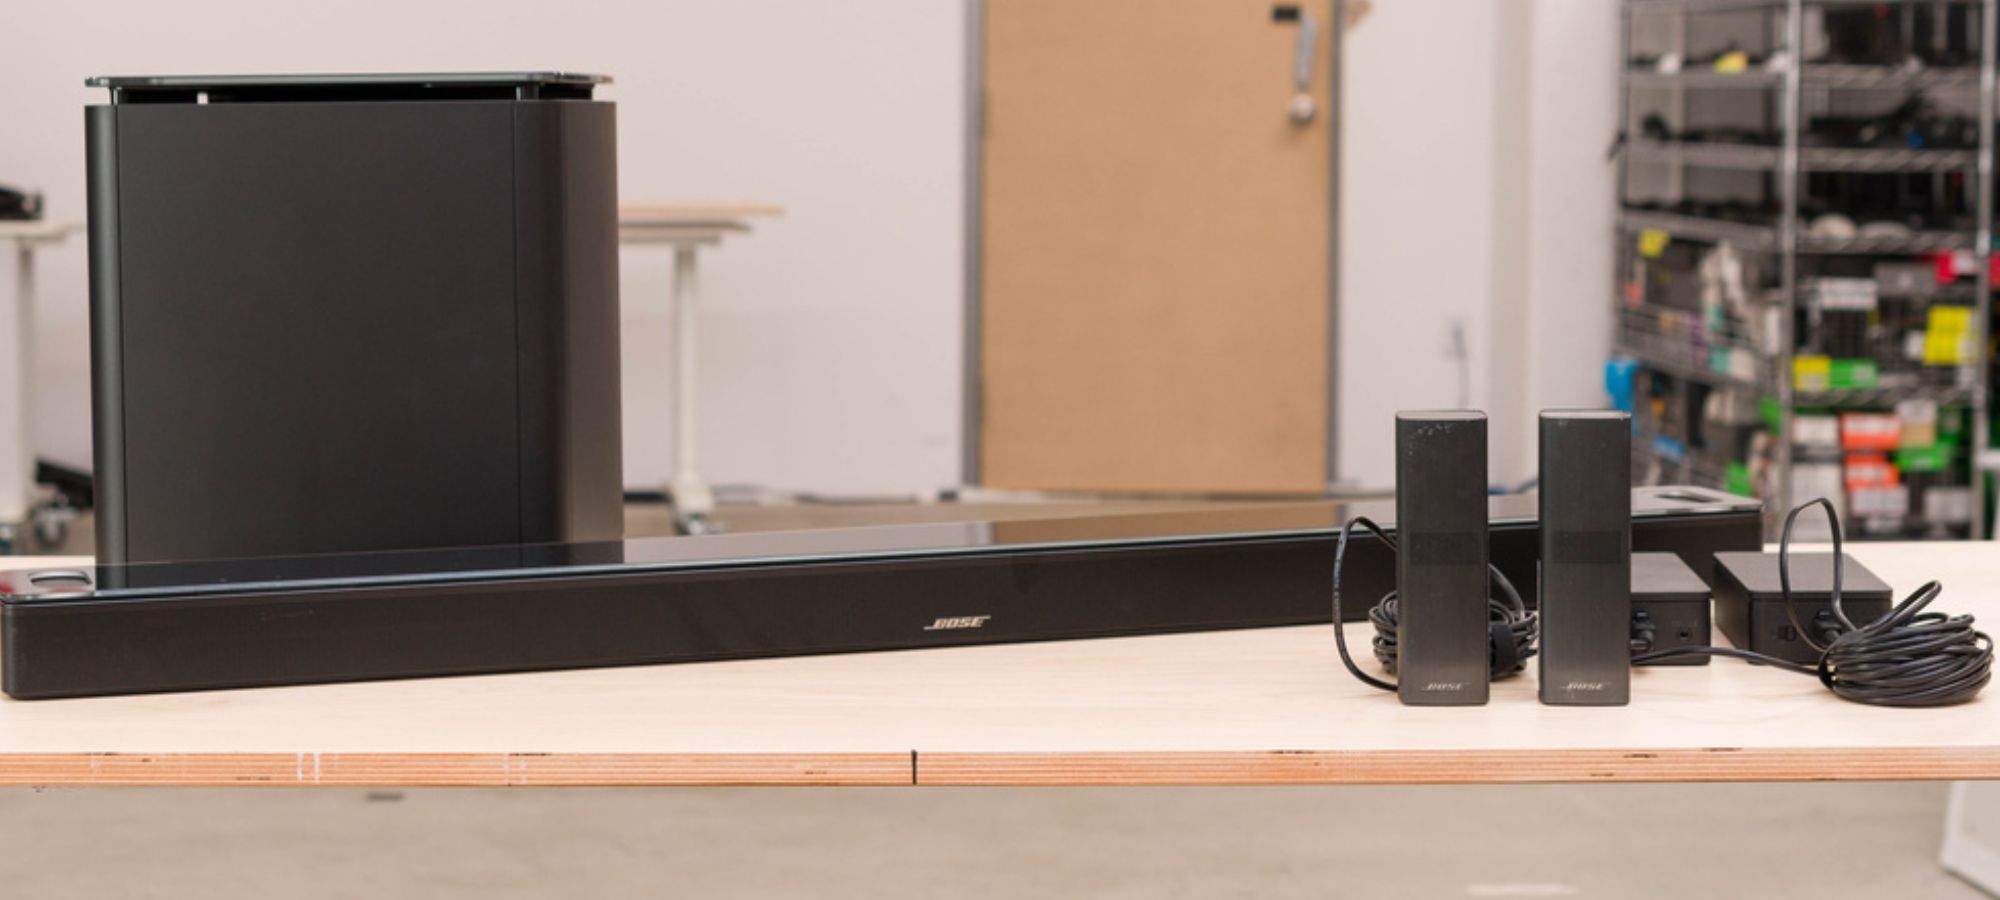
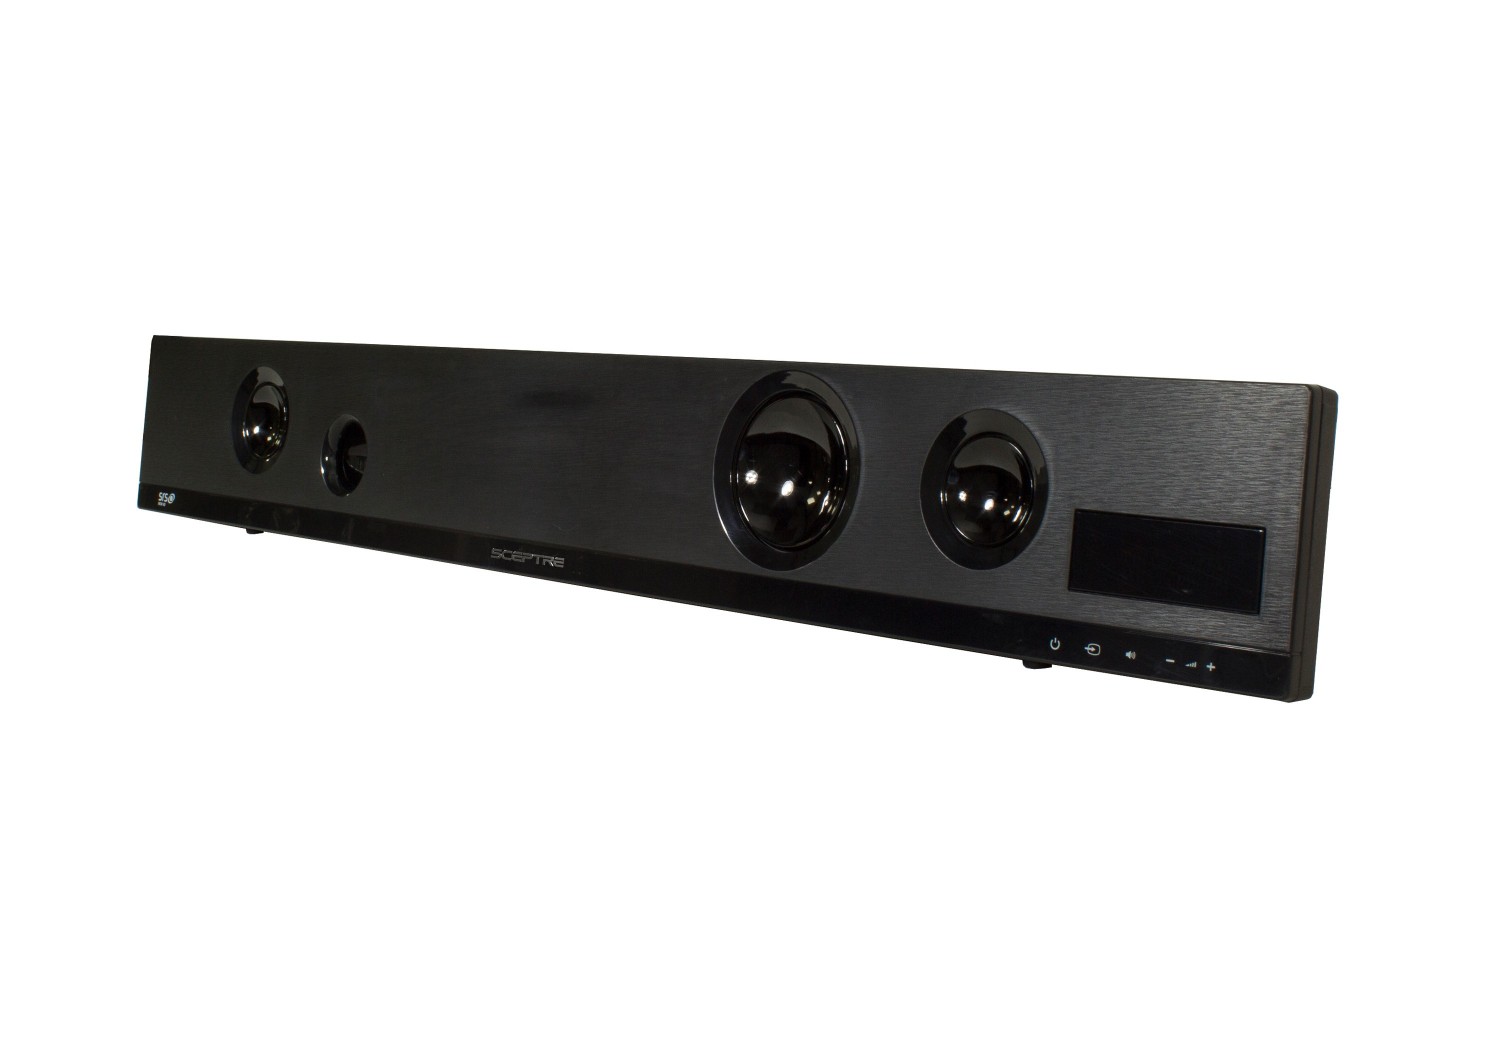
- Determine the Audio Configuration: Decide on the desired audio configuration for your setup. This will depend on factors such as the size and shape of the room, the number of speakers available, and your intended audio experience. Common configurations include stereo (2 speakers), 5.1 surround sound (5 speakers and a subwoofer), and 7.1 surround sound (7 speakers and a subwoofer).
- Speaker Placement: Position your speakers strategically based on the chosen audio configuration. For stereo setups, place the speakers on either side of the room, angled towards the listener. In surround sound setups, follow recommended guidelines for speaker placement, such as placing the front speakers at ear level and the rear speakers behind the listening area. Experiment with speaker placement to achieve the best sound balance and imaging.
- Consider Height Channels: If you want to add more dimension to your sound effects, consider incorporating height channels or overhead speakers. These speakers can provide a sense of verticality and depth to the audio experience, particularly useful for formats like Dolby Atmos or DTS:X. Proper placement and calibration of height channels are crucial for an accurate and immersive soundstage.
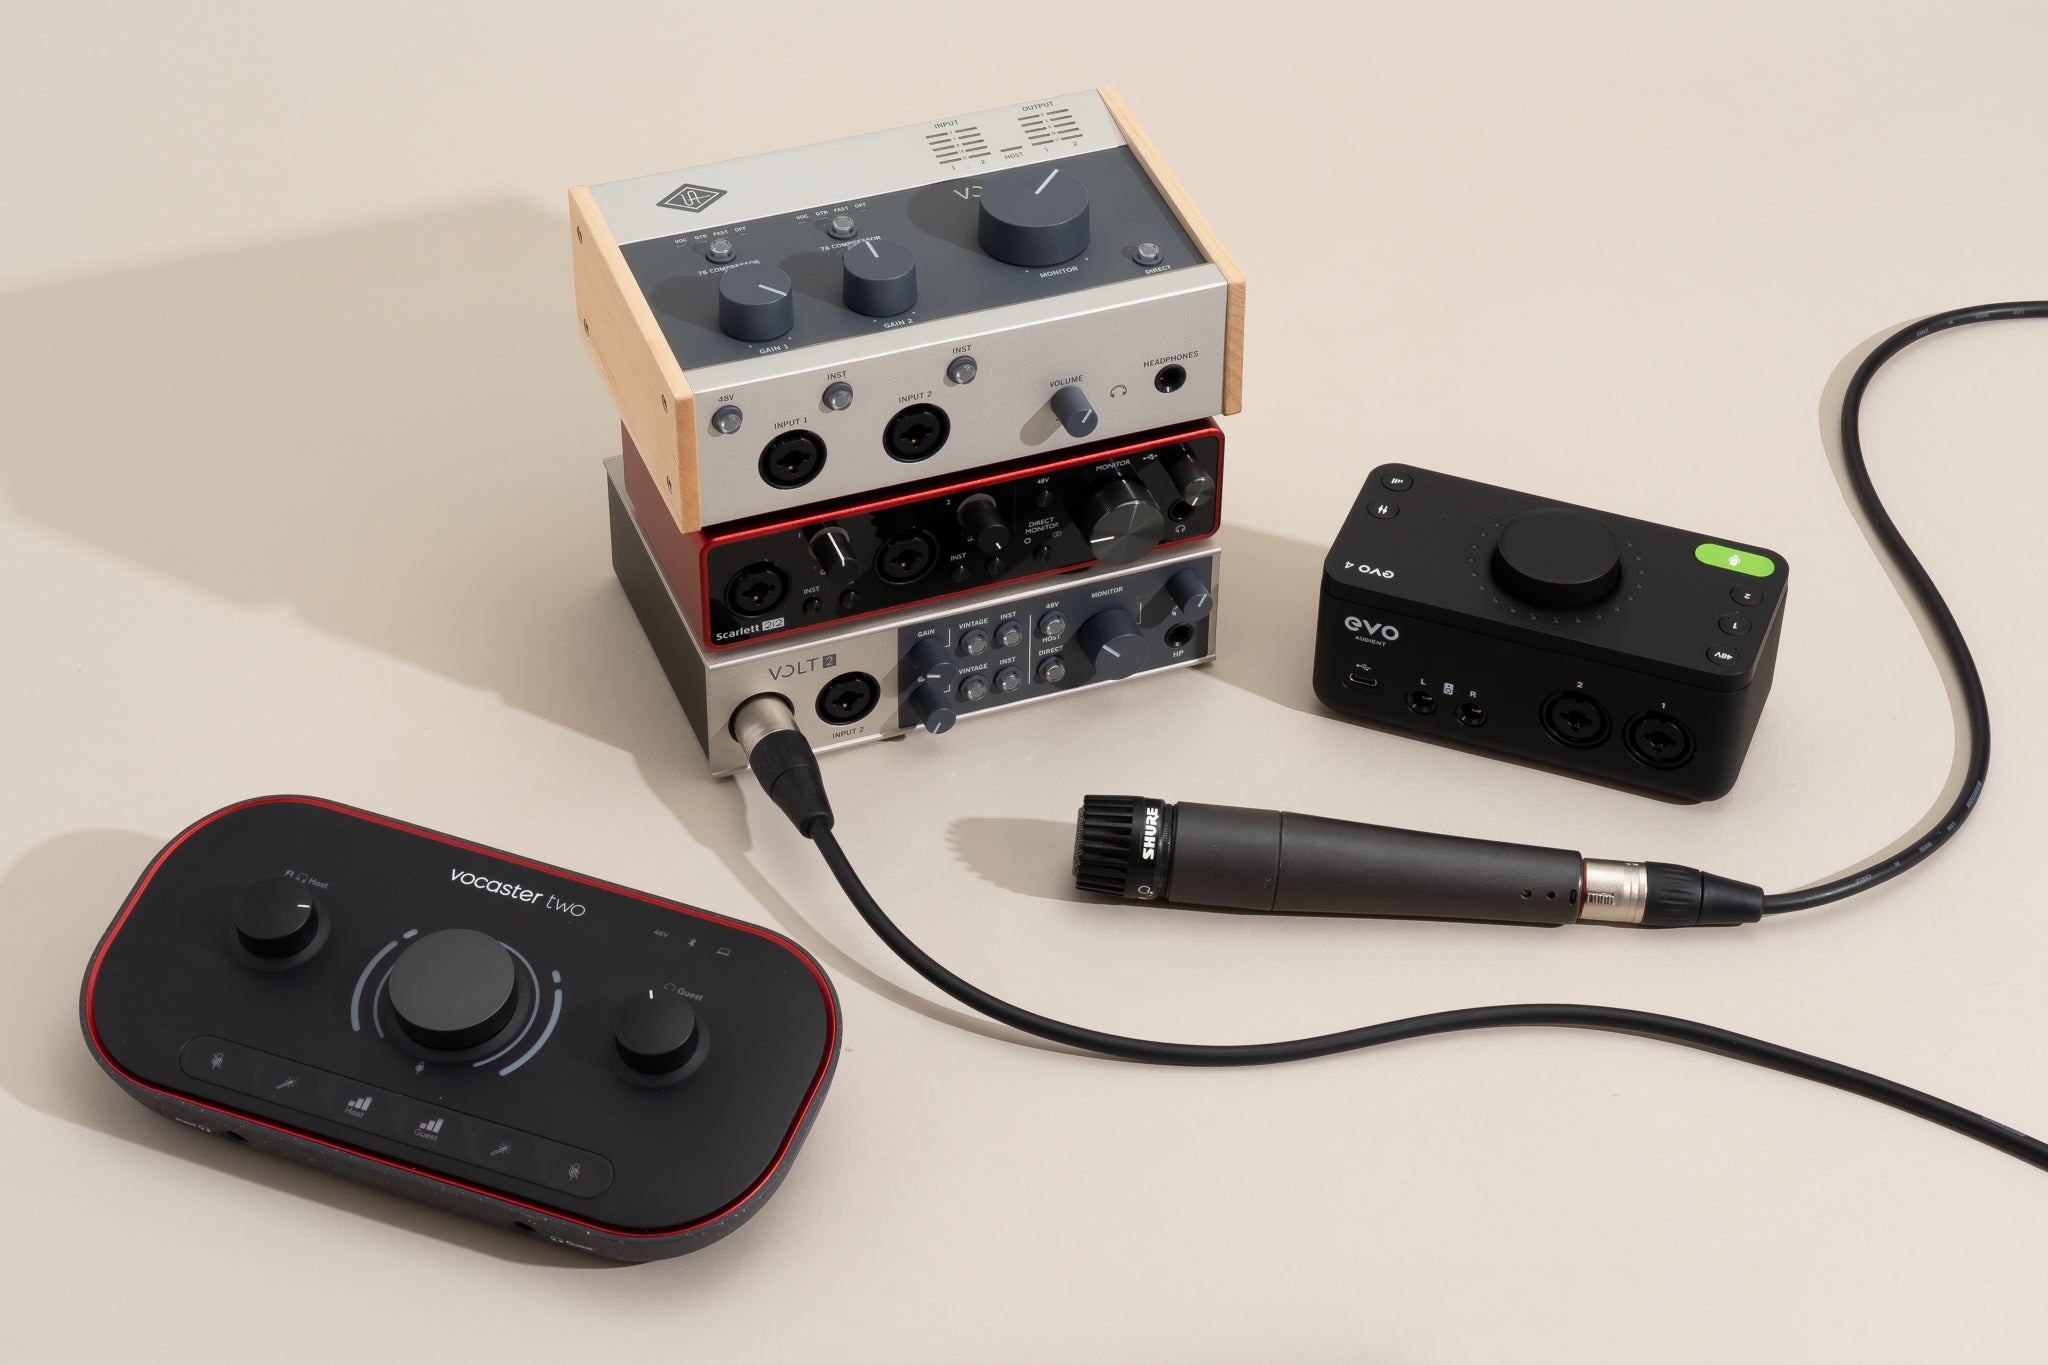
- Audio Source Selection: Determine how you will connect and source your audio signals. This could be through an AV receiver, dedicated sound processor, or audio interface. Consider the inputs and outputs required for your setup, as well as any necessary audio processing capabilities such as mixing or signal routing.
- Cable Management: Plan and organize your cable routing to ensure that the various audio sources are properly connected to their respective speakers and devices. Minimize cable clutter by using cable management solutions, such as cable channels or ties, to maintain a clean and organized setup.
Once you have set up your multiple sound sources, be sure to calibrate and test the system to ensure proper audio balance and synchronization. Use sound measurement tools or calibration software to adjust speaker levels, distances, and timing, ensuring that the sound effects are accurately reproduced and seamlessly blend together.
Setting up multiple sound sources requires careful planning and consideration, but the rewards are well worth it. By strategically placing speakers and sources, you can create a truly immersive audio environment that brings your sound effects to life and enhances the overall auditory experience.
Sound Routing and Mixing
Sound routing and mixing are essential aspects of setting up multiple sound effects in one room. These processes involve directing and controlling the flow of audio signals to their respective destinations, ensuring that the sound effects are properly distributed and balanced throughout the space.
Here are some key steps to effectively route and mix your sound sources:
- Audio Interface or Mixer: Use an audio interface or mixer to connect and route your audio sources. These devices allow you to connect multiple inputs, such as microphones or audio sources, and output the audio signals to the desired destinations. They often have features like gain control, EQ, and panning, which help in adjusting the levels and characteristics of the audio signals.
- Channel Assignment: Assign each sound effect to a specific channel or speaker. This is especially important in multi-channel setups such as surround sound systems. Map each sound effect to its corresponding speaker to ensure proper placement and immersion. Consider using channel layouts like the 5.1 or 7.1 formats, where sound effects are distributed across multiple speakers for a more realistic audio experience.
- Panning and Positioning: Use panning techniques to control the placement of sound effects within the stereo or surround sound field. Adjust the pan position of each channel to ensure that the sound moves smoothly across the speakers, creating a sense of movement or localization. Pan sounds from left to right, front to back, or even overhead, based on the position of the sound source or the desired effect.
- Level Balancing: Adjust the volume levels of each sound effect to create a balanced audio mix. Ensure that no sound overwhelms the others or gets lost in the mix. Use your ears and monitoring equipment to fine-tune the levels, making sure that each sound effect is clearly audible and contributes to the overall audio experience.
- Effects and Processing: Apply effects and processing to enhance the sound effects and create a desired sonic atmosphere. This may include adding reverb, EQ, compression, or other audio effects to individual channels or the overall mix. Experiment with different settings and techniques to achieve the desired sound aesthetics.
Utilizing sound routing and mixing techniques allows you to have precise control over the placement, balance, and overall sonic experience of your sound effects. It enables you to create a cohesive and immersive audio environment that enhances the storytelling or entertainment aspect of your project.
Don’t forget to regularly monitor and make adjustments to your sound routing and mixing setup as needed. Fine-tuning the levels, panning, and effects will ensure that your sound effects are precisely placed and blend seamlessly to create an immersive soundscape.
Controlling Sound Effects
Controlling sound effects is essential to achieve precise and desired audio outcomes. By having full control over your sound effects, you can enhance the overall experience and create dynamic audio environments. Here are some key aspects to consider when it comes to controlling sound effects:
- Sound Effect Libraries: Build a diverse library of sound effects that covers a wide range of scenarios and moods. You can purchase sound effect libraries or create your own by recording and collecting various audio samples. Organize your library in a way that allows for easy searching and retrieval of specific sound effects when needed.
- Playback Software: Use reliable playback software to manage and trigger your sound effects. There are numerous software options available that offer features such as playlist creation, cueing, looping, and real-time manipulation of sound parameters. Choose a software tool that suits your needs and provides intuitive control over your sound effects.
- Control Surfaces and MIDI Devices: Consider using control surfaces or MIDI devices to have tactile control over your sound effects. These devices allow you to assign sound effects to physical buttons, knobs, or sliders, giving you hands-on control for triggering and manipulating the effects in real-time. This can be especially beneficial for live performances or interactive experiences.
- Automation: Use automation capabilities in your playback software to create precise and dynamic control of your sound effects. Automation allows you to program the timing, volume, panning, and other parameters of your sound effects, ensuring accurate playback and synchronization with other audio elements. This is particularly useful for complex soundscapes or productions that require precise timing and synchronization.
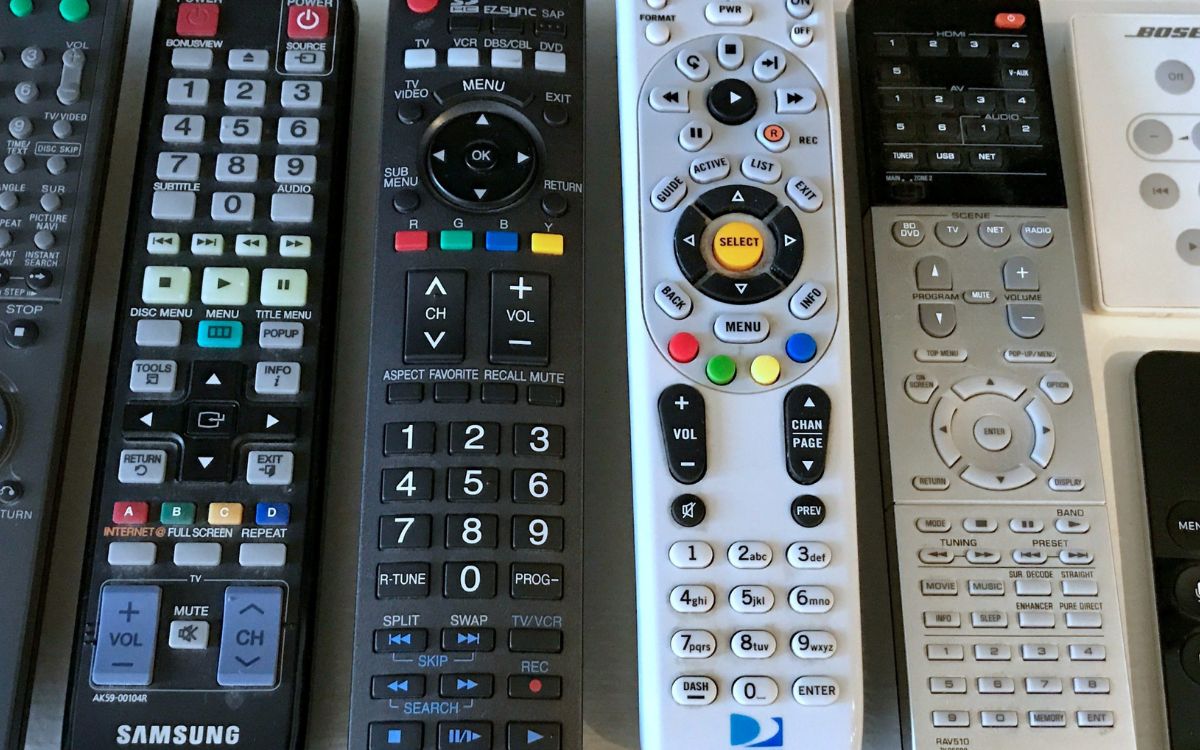
- Remote Control: Consider implementing remote control capabilities for your sound effects setup. With remote control, you can trigger, adjust, and control your sound effects from a distance using wireless devices or remote control software. This can be especially useful for installations or situations where physical access to the equipment is limited.
- Monitoring and Feedback: Regularly monitor and audition your sound effects to ensure they are working as intended. Use monitoring tools and headphones to listen critically and make any necessary adjustments. Solicit feedback from others to gain different perspectives and ensure that your sound effects are effectively enhancing the desired audio experience.
Remember, controlling sound effects is an ongoing process. Continuously evaluate and refine your control techniques to improve the accuracy and impact of your sound effects. Stay up to date with advancements in technology and software that can offer new and innovative ways to control and manipulate your sound effects.
By mastering the art of controlling sound effects, you can take full command over the audio landscape and create captivating experiences that engage and immerse your audience.
Syncing Sound Effects
Synchronizing sound effects is crucial to create a seamless and immersive audio experience. When multiple sound effects are being played simultaneously or in coordination with other media elements, precise synchronization ensures that the audio elements align perfectly with the intended timing and visuals. Here are some key aspects to consider when syncing sound effects:
- Timing and Cueing: Pay close attention to the timing of your sound effects. Ensure that they are accurately triggered to coincide with specific events, actions, or visual elements. Use cue points or markers in your playback software to help you cue the sound effects precisely.
- Frame-Accurate Synchronization: When working with video or visuals, it’s important to achieve frame-accurate synchronization. Match the sound effects precisely to specific frames or timecodes to create a seamless integration of audio and visual elements. This is particularly important in film, TV, or game productions for achieving a natural and immersive experience.
- Linking and Grouping: Link or group related sound effects to ensure they stay in sync. For example, if you have sound effects that need to play simultaneously or in a specific sequence, group them together so that they can be triggered together with a single command. This helps maintain the desired synchronization and cohesion of the audio elements.
- Audio Latency: Consider audio latency when syncing sound effects. Latency refers to the delay between triggering a sound effect and the actual playback. Minimize audio latency by optimizing your audio interface settings, using efficient playback software, and ensuring reliable hardware connections. This helps ensure that your sound effects align precisely with the intended timing.
- Visual Cues and Markers: Utilize visual cues or markers to assist you in syncing sound effects. For example, if you are working with a video, use visual elements or waveform representations to cue and time the sound effects accurately. This visual reference can greatly aid in achieving the desired synchronization.
- Iterative Testing and Adjustments: Test and fine-tune the synchronization of your sound effects through iterative adjustments. Listen and watch the playback multiple times to identify any timing discrepancies or misalignments. Make necessary adjustments to achieve the desired synchronization and ensure a seamless integration of audio and other media elements.
Syncing sound effects requires attention to detail, precision, and meticulous testing. It is crucial for creating a cohesive and immersive audiovisual experience. Take the time to perfect the synchronization of your sound effects to enhance the impact and engagement of your project.
Remember that every project may have unique synchronization requirements and challenges. Adapt your techniques and approaches based on the specific demands of each production to ensure that your sound effects sync seamlessly with the intended timing and visuals.
Troubleshooting Tips
When setting up multiple sound effects in one room, it’s not uncommon to encounter challenges or issues along the way. However, with some troubleshooting know-how, you can overcome these obstacles and ensure that your sound effects setup operates smoothly. Here are some helpful tips to troubleshoot common problems:
- Check Cable Connections: Ensure that all your cables are securely connected to the appropriate devices and speakers. Loose or faulty connections can result in intermittent or distorted sound. Take the time to inspect and reseat the cables if necessary.
- Test Audio Sources: If you’re experiencing issues with specific sound effects, test the audio sources themselves. Ensure that the files are not corrupted or damaged. Try playing the sound effects on different devices to narrow down the source of the problem.
- Verify Speaker Placement: If certain sound effects seem unbalanced or unclear, double-check the placement of your speakers. Make sure they are positioned correctly according to the audio configuration you’ve chosen. Adjust the speaker angles and heights, if necessary, to optimize the sound image and ensure proper sound localization.
- Address Acoustic Reflections: If you notice excessive echoes or unwanted reflections, consider adding more acoustic treatment to the room. Rearrange acoustic panels or add additional absorption materials to minimize sound reflections. Experiment with different placements to find the most effective configuration for reducing unwanted echoes.
- Test Equipment Compatibility: Ensure that your equipment is compatible with each other. Check for any compatibility issues between your audio interface, software, and playback devices. Update software drivers and firmware as needed to ensure compatibility and resolve any potential software conflicts.
- Manage Audio Levels: Adjust the volume levels of your sound effects to avoid overpowering or distorting the sound. Use level meters or audio analyzers to monitor and balance the volume levels across different sound effects and speakers. This ensures a cohesive and well-balanced audio mix.
- Investigate Latency Issues: If you encounter audio latency, look for potential causes such as inefficient software settings or hardware limitations. Adjust buffer sizes and latency settings in your audio interface or software to minimize latency. Upgrade hardware components if necessary to improve overall system performance.
- Seek Expert Help: If you’re facing persistent issues that you cannot resolve on your own, don’t hesitate to seek assistance from audio professionals or specialists. They can provide insights and technical expertise to help troubleshoot and resolve complex problems.
Remember that troubleshooting is an iterative process. Be patient and methodical in your approach, systematically identifying and addressing each issue. Keep records of the steps you’ve taken and the results, so you can track your progress and easily revisit any troubleshooting steps if needed.
By employing these troubleshooting tips, you’ll be better equipped to identify and resolve any issues that may arise during the setup and operation of your multiple sound effects system.
Conclusion
Setting up different sound effects in one room can elevate your audio experience to new heights, whether for home theaters, gaming rooms, or recording studios. By understanding sound effects, choosing the right room, implementing acoustic treatment, setting up multiple sound sources, routing and mixing sound, controlling and syncing your effects, and troubleshooting any issues that arise, you can create a truly immersive sonic environment.
Throughout this article, we have explored the various aspects of setting up multiple sound effects. We’ve learned the importance of understanding sound effects themselves, their categories, and their purpose in enhancing the audio experience. We’ve discussed the significance of selecting the right room, considering factors such as size, shape, and sound isolation. Acoustic treatment was highlighted as a critical step to control sound reflections and create an optimal listening environment.
We’ve also covered the steps involved in setting up multiple sound sources, including speaker placement and audio routing, as well as the crucial elements of sound control and synchronization. By mastering these techniques, you can ensure that your sound effects are precisely placed and synchronized with other media elements, offering a seamless and captivating audiovisual experience.
Furthermore, we’ve provided troubleshooting tips to help you address common issues that may arise during the setup and operation of your sound effects system. By following these tips and being diligent in your monitoring and adjustments, you can overcome obstacles and optimize the performance of your setup.
Remember, each setup may have unique requirements and challenges, so feel free to adapt and tailor these guidelines to suit your specific needs. Experimentation, creativity, and an ear for detail are essential in creating the most immersive and impactful sound effects setup.
By incorporating these strategies and techniques, you can transform your audio environment into a space that captivates, engages, and transports your audience to new sonic dimensions.