Home>Instruments>Drums>How To Connect Electronic Drums To GarageBand
Drums
How To Connect Electronic Drums To GarageBand
Modified: February 19, 2024
Learn how to easily connect your electronic drums to GarageBand and start creating amazing drum tracks. Follow our step-by-step guide for seamless integration.
(Many of the links in this article redirect to a specific reviewed product. Your purchase of these products through affiliate links helps to generate commission for AudioLover.com, at no extra cost. Learn more)
Table of Contents
Introduction
Electronic drums have revolutionized the world of percussion, offering a versatile and dynamic way to create music. Whether you're a professional drummer, a budding musician, or a music enthusiast, electronic drums provide a gateway to explore a myriad of sounds and styles. With the ability to connect electronic drums to software applications like GarageBand, the possibilities for music creation are virtually endless.
In this comprehensive guide, we will delve into the intricacies of connecting electronic drums to GarageBand, a popular digital audio workstation (DAW) developed by Apple. By understanding the nuances of electronic drums and the seamless integration with GarageBand, you can unleash your creativity and produce high-quality drum tracks with ease.
Throughout this article, we will explore the fundamental aspects of electronic drums, the process of connecting electronic drums to GarageBand, and the essential steps for setting up and recording with an electronic drum kit in GarageBand. Whether you're a seasoned musician looking to expand your sonic palette or a newcomer eager to embark on a musical journey, this guide will equip you with the knowledge and skills to harness the power of electronic drums within the GarageBand environment.
So, if you're ready to embark on a rhythmic adventure and harness the full potential of electronic drums in GarageBand, let's dive into the world of digital percussion and unleash your musical prowess.
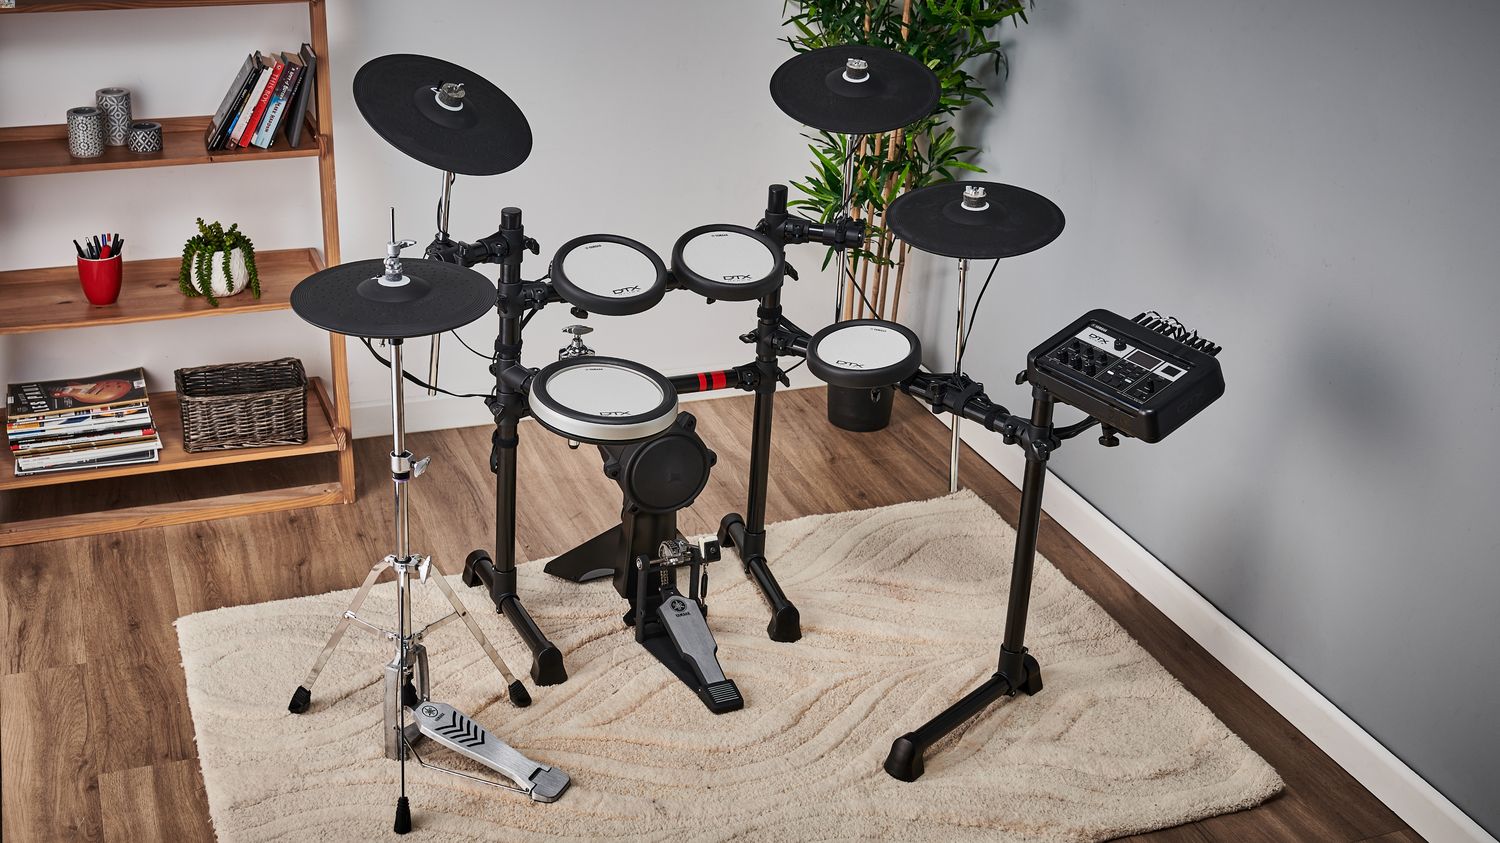
Understanding Electronic Drums
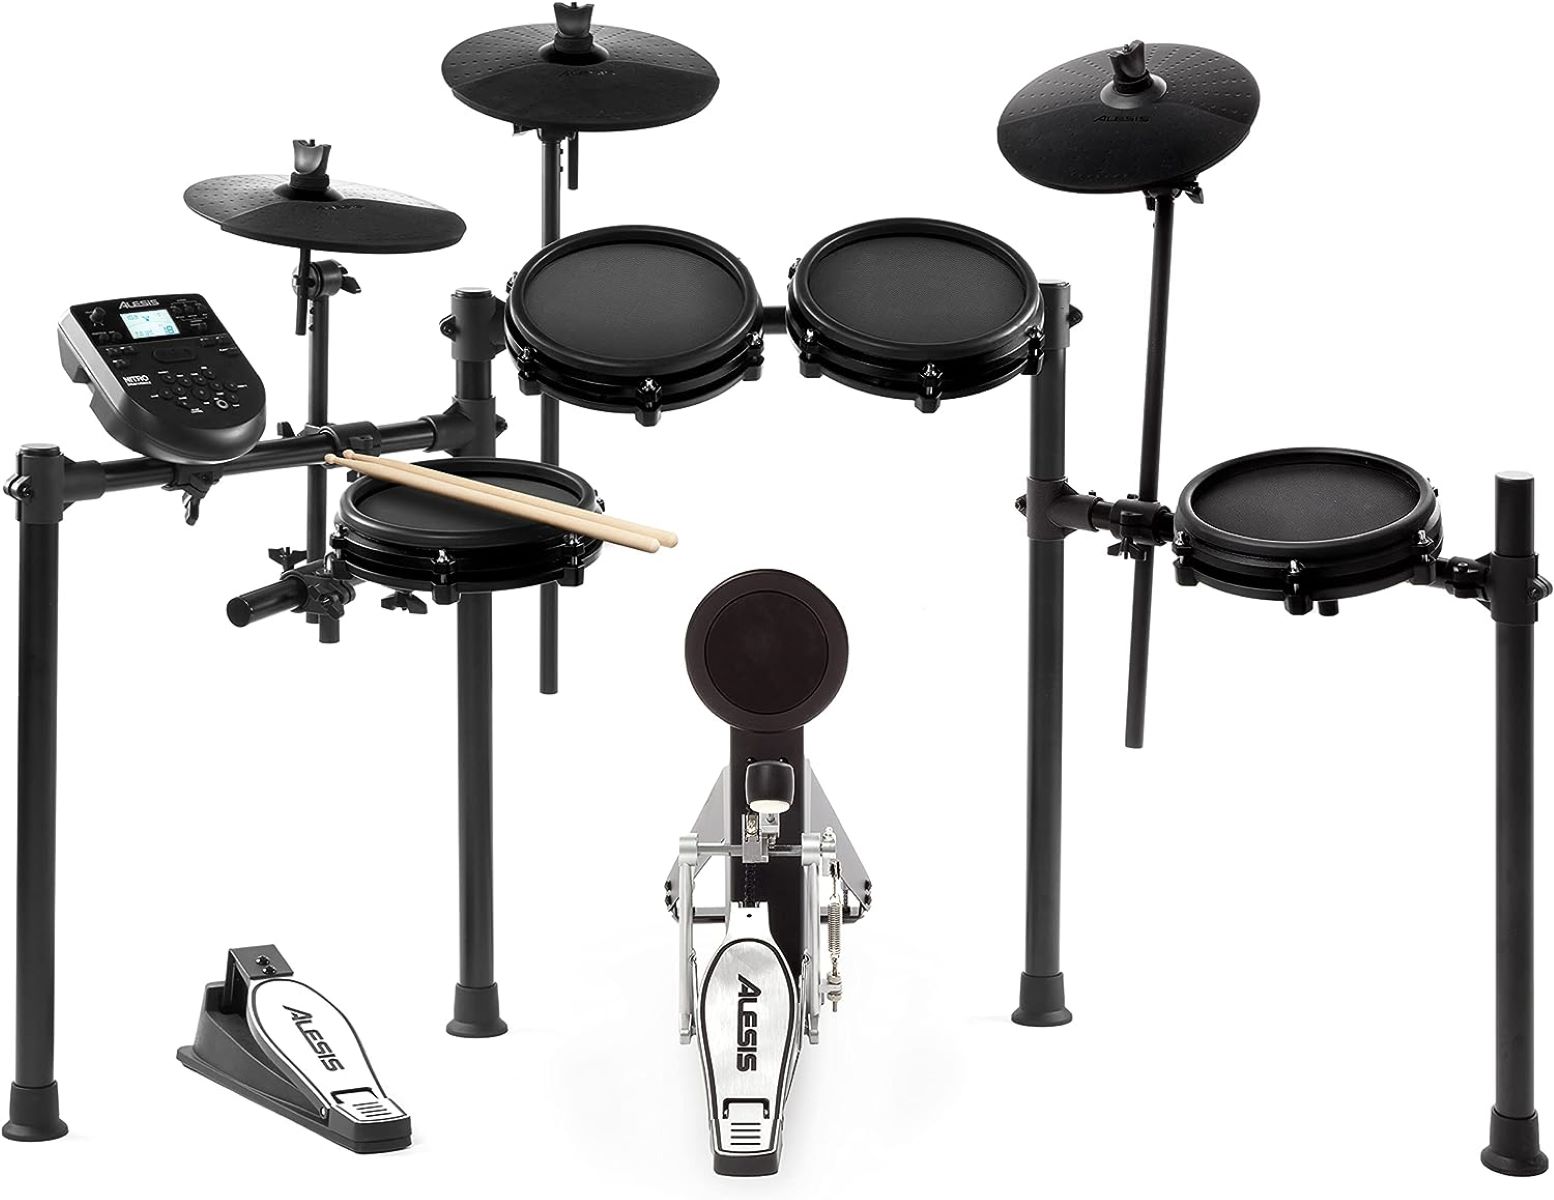
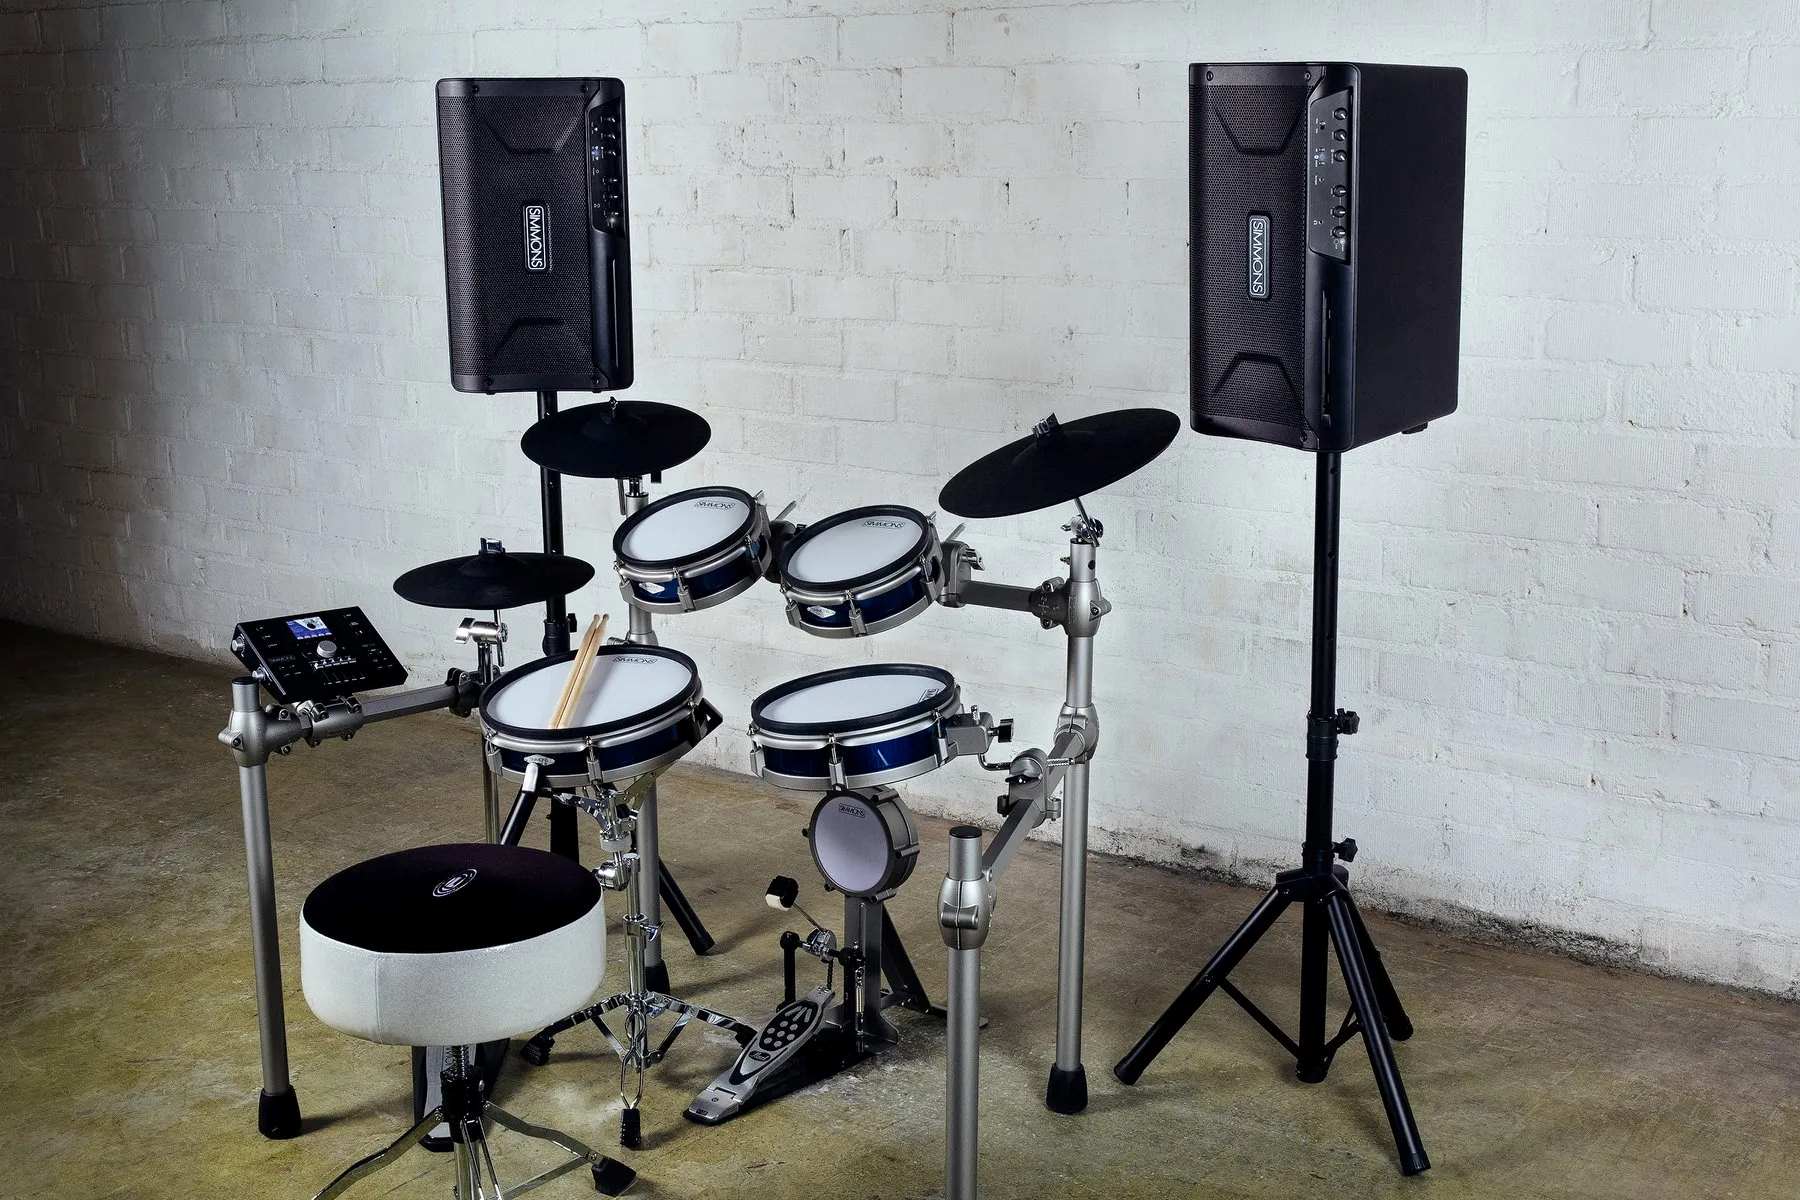
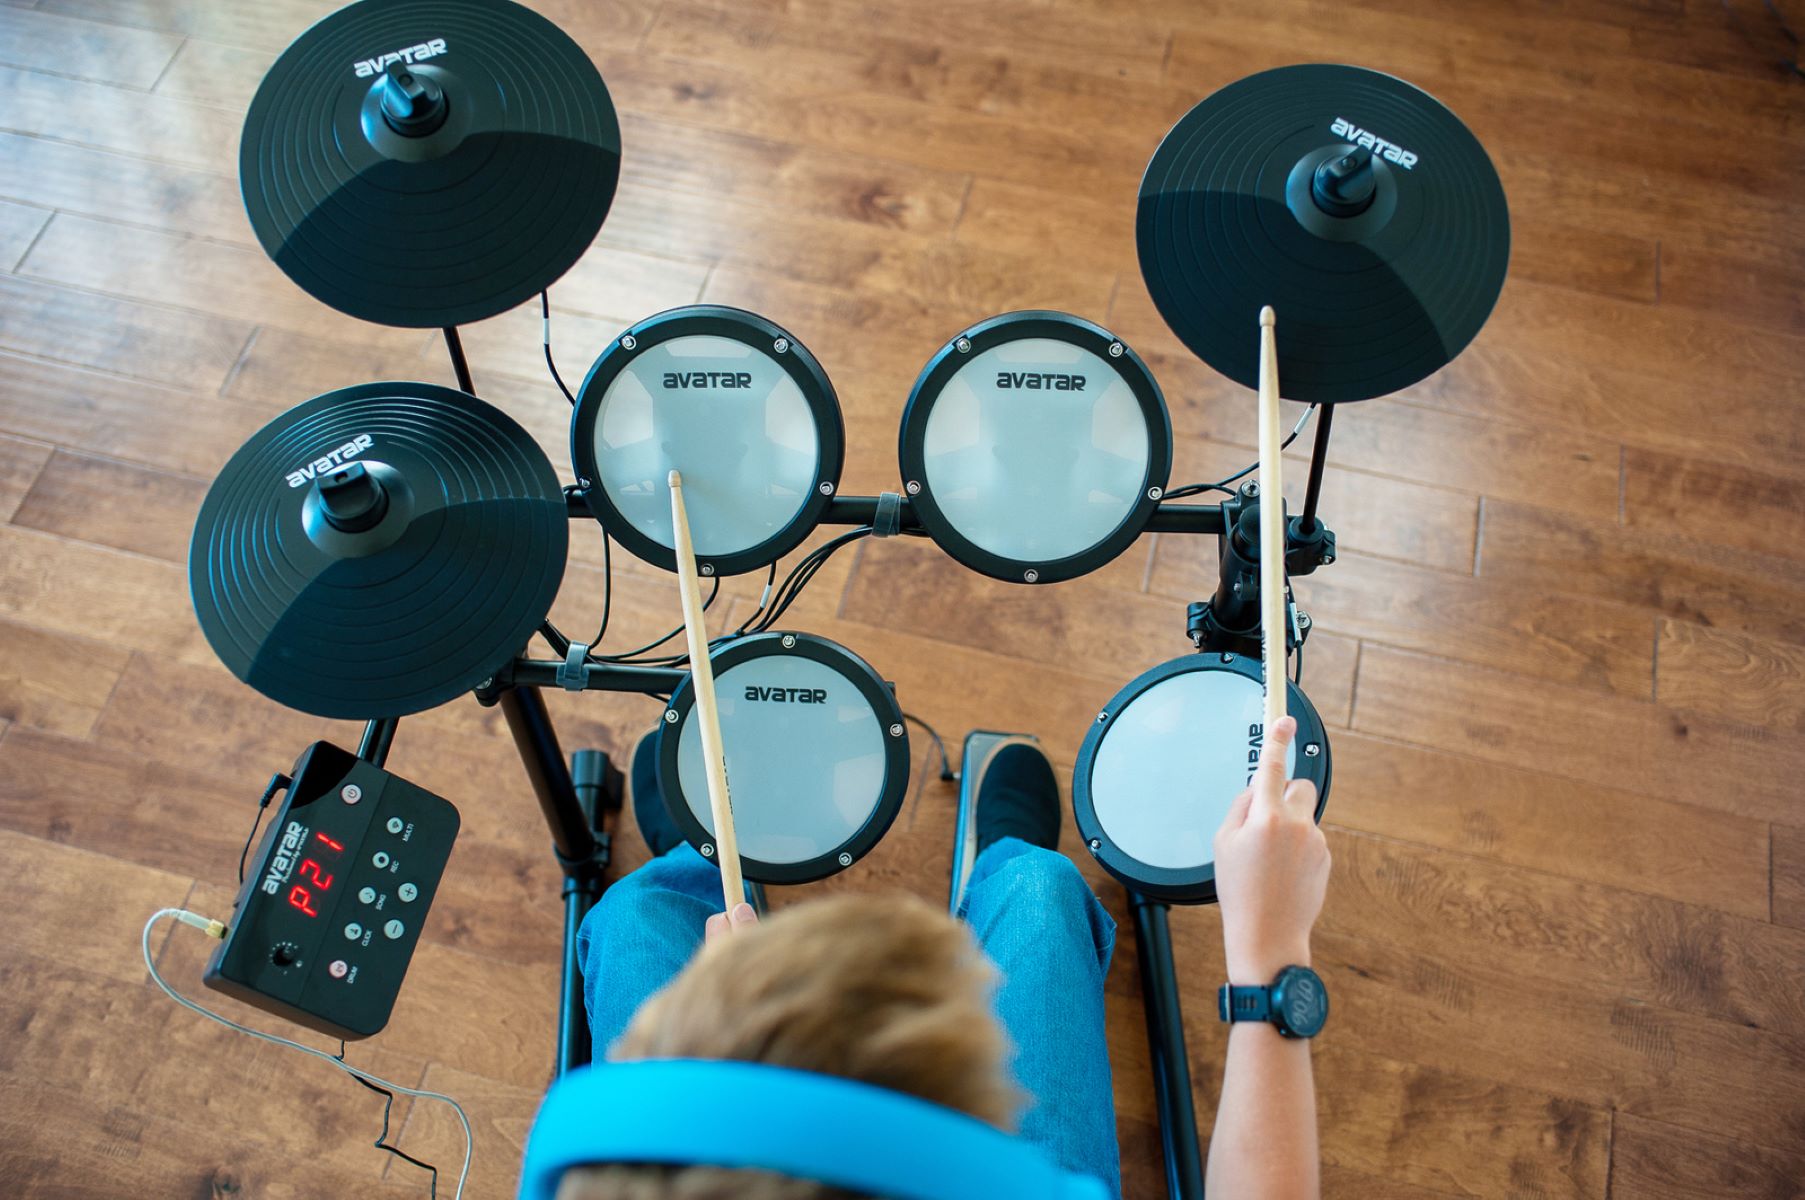
Electronic drums, also known as digital drums or e-drums, have transformed the landscape of percussion instruments, offering a wealth of advantages and creative possibilities. Unlike traditional acoustic drum kits, electronic drums utilize electronic sensors or pads to trigger synthesized or sampled sounds, providing an extensive range of tones and effects. Understanding the key components and features of electronic drums is essential for harnessing their full potential in conjunction with software applications like GarageBand.
Electronic drum kits typically consist of several core elements, including:
- Drum Pads: These sensitive pads serve as the primary playing surfaces, capable of detecting varying degrees of force and velocity to produce different sounds.
- Sound Module: The sound module, also known as the drum brain, is the central processing unit that generates the audio output based on the input received from the drum pads.
- Cymbal Pads: Similar to drum pads, cymbal pads are designed to replicate the feel and sound of traditional cymbals, offering a responsive and expressive playing experience.
- Kick Pad or Trigger Pedal: This specialized pad or pedal is used to emulate the sound of a bass drum, providing a tactile interface for triggering low-frequency percussion sounds.
One of the primary advantages of electronic drums lies in their versatility and flexibility. With the ability to produce a wide array of sounds, from classic drum kit tones to electronic and experimental textures, electronic drums empower musicians to explore diverse genres and styles with ease. Additionally, electronic drums offer the convenience of volume control and sound customization, making them ideal for both practice and performance in various settings.
Moreover, electronic drums can be seamlessly integrated into digital audio workstations (DAWs) such as GarageBand, allowing for intuitive recording, editing, and manipulation of drum tracks. By understanding the intricacies of electronic drums and their interaction with software environments, musicians can unlock a wealth of creative possibilities and elevate their musical productions to new heights.
Now that we’ve laid the foundation for comprehending electronic drums, let’s delve into the process of connecting these innovative instruments to GarageBand, paving the way for immersive drumming experiences and boundless musical exploration.
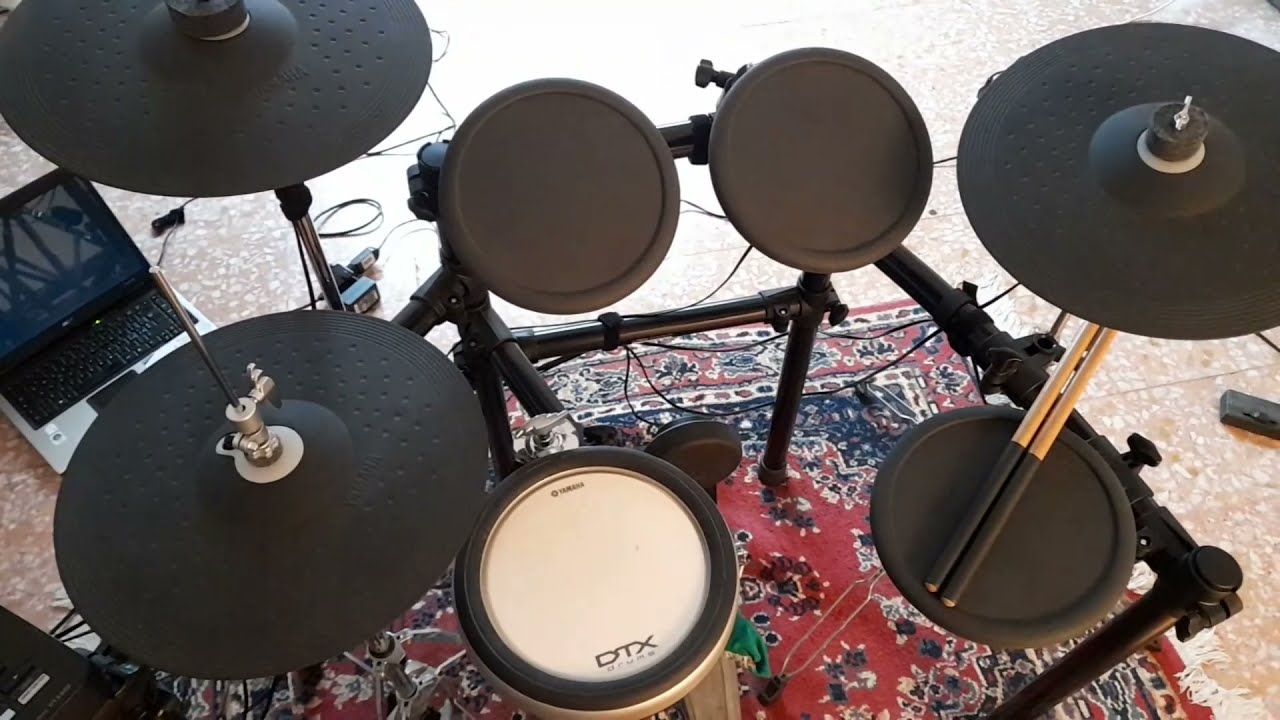
Connecting Electronic Drums to GarageBand
Connecting electronic drums to GarageBand involves establishing a seamless interface between the electronic drum kit and the software application, enabling real-time triggering of sounds and recording capabilities. To achieve this integration, you’ll need a few essential components and a basic understanding of MIDI (Musical Instrument Digital Interface) technology, which serves as the communication protocol between electronic instruments and music production software.
The primary steps for connecting electronic drums to GarageBand are as follows:
- Hardware Setup: Begin by ensuring that your electronic drum kit is properly assembled and connected to a sound module or trigger interface. Most electronic drum kits feature MIDI output ports, allowing for direct connection to a computer or audio interface via MIDI cables or USB connections.
- MIDI Configuration: Access the MIDI settings on your electronic drum module or trigger interface to ensure that the MIDI output is enabled and set to the appropriate channel. This channel will correspond to the MIDI input channel within GarageBand, facilitating the transmission of MIDI data from the electronic drums to the software.
- Computer Connection: Connect the MIDI output of your electronic drum kit to the MIDI input of your computer or audio interface using MIDI cables or USB connections, depending on the available connectivity options. Ensure that the connections are secure and that the devices are recognized by your computer’s operating system.
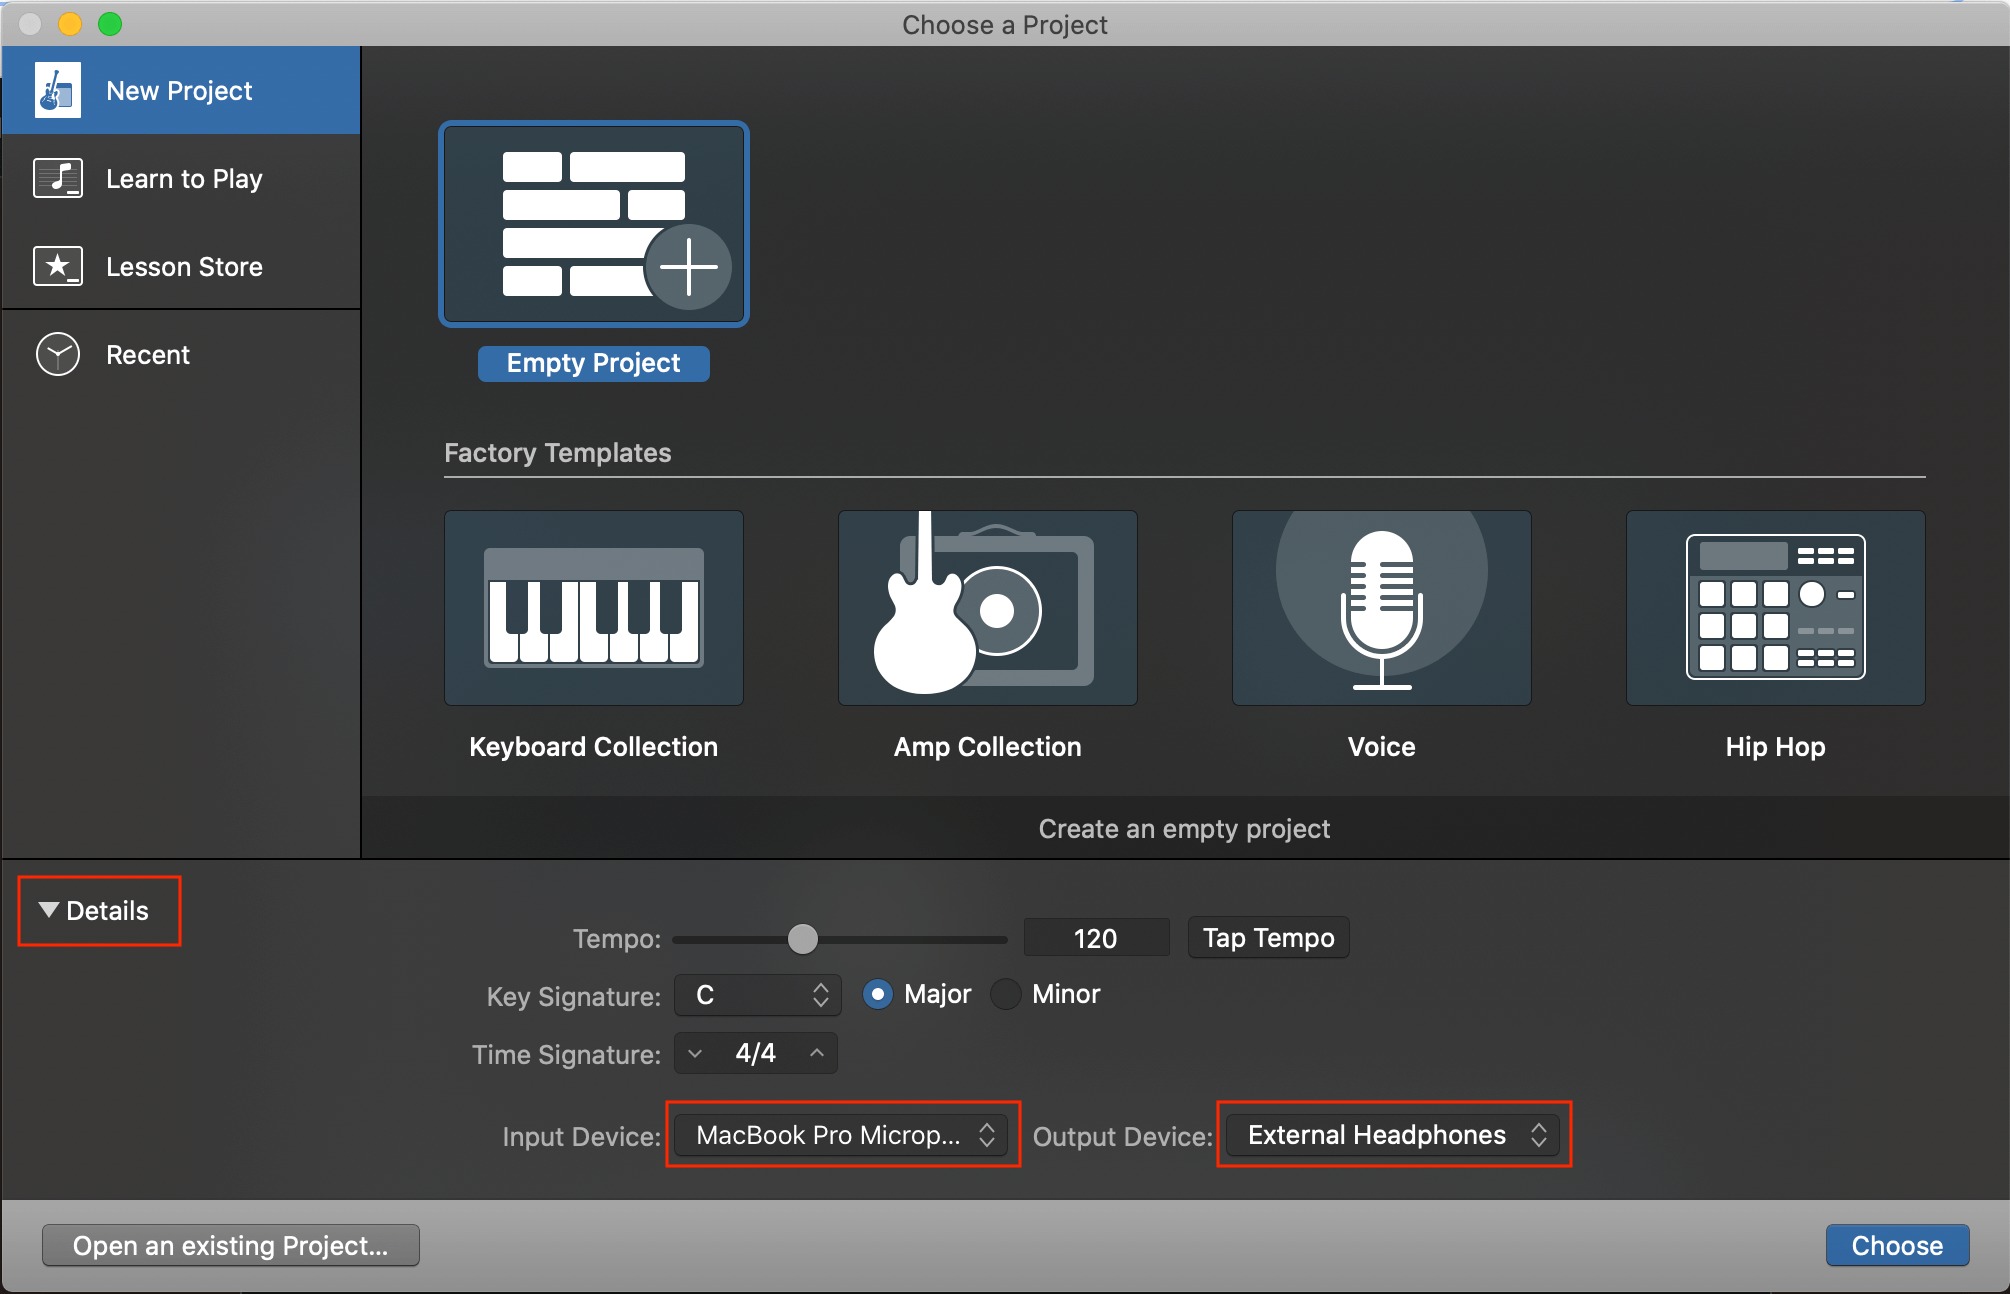
- GarageBand Configuration: Launch GarageBand and navigate to the preferences or settings menu to configure the MIDI input options. Select the MIDI input corresponding to your electronic drum kit, and ensure that the MIDI channel settings align with those configured on the drum module or trigger interface.
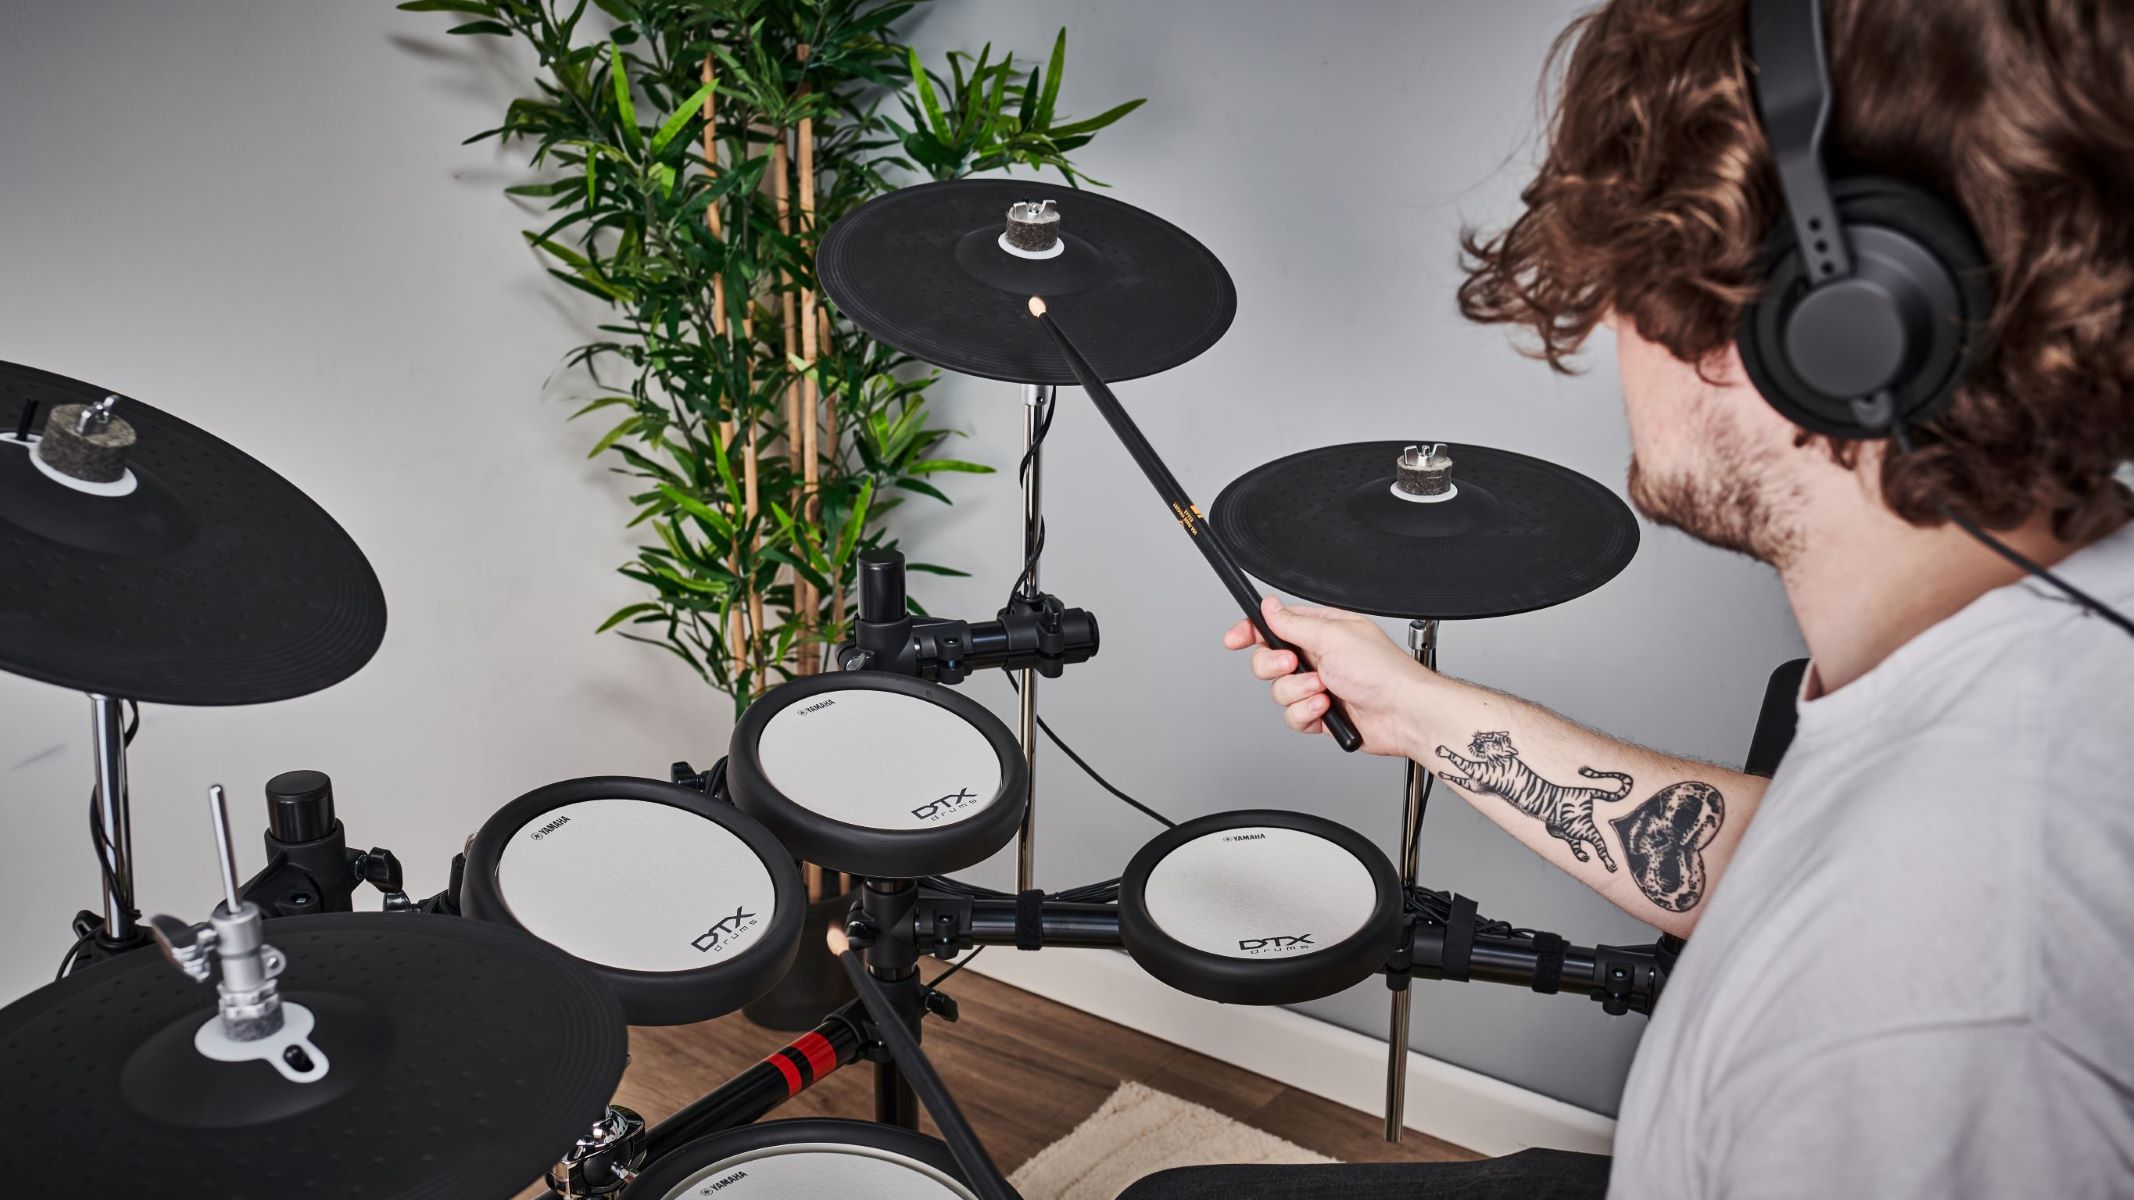
- Testing the Connection: Once the hardware and software configurations are in place, test the connection by striking the drum pads or triggers on your electronic drum kit. Verify that GarageBand registers the MIDI input and triggers the corresponding sounds within the software environment.
By following these steps and establishing a robust connection between your electronic drum kit and GarageBand, you can seamlessly integrate the expressive capabilities of electronic drums into your music production workflow. This connectivity paves the way for immersive drumming experiences, precise sound triggering, and seamless recording within the versatile environment of GarageBand.
With the electronic drums successfully connected to GarageBand, you’re now poised to explore the intricacies of setting up and recording with an electronic drum kit in this dynamic digital audio workstation.
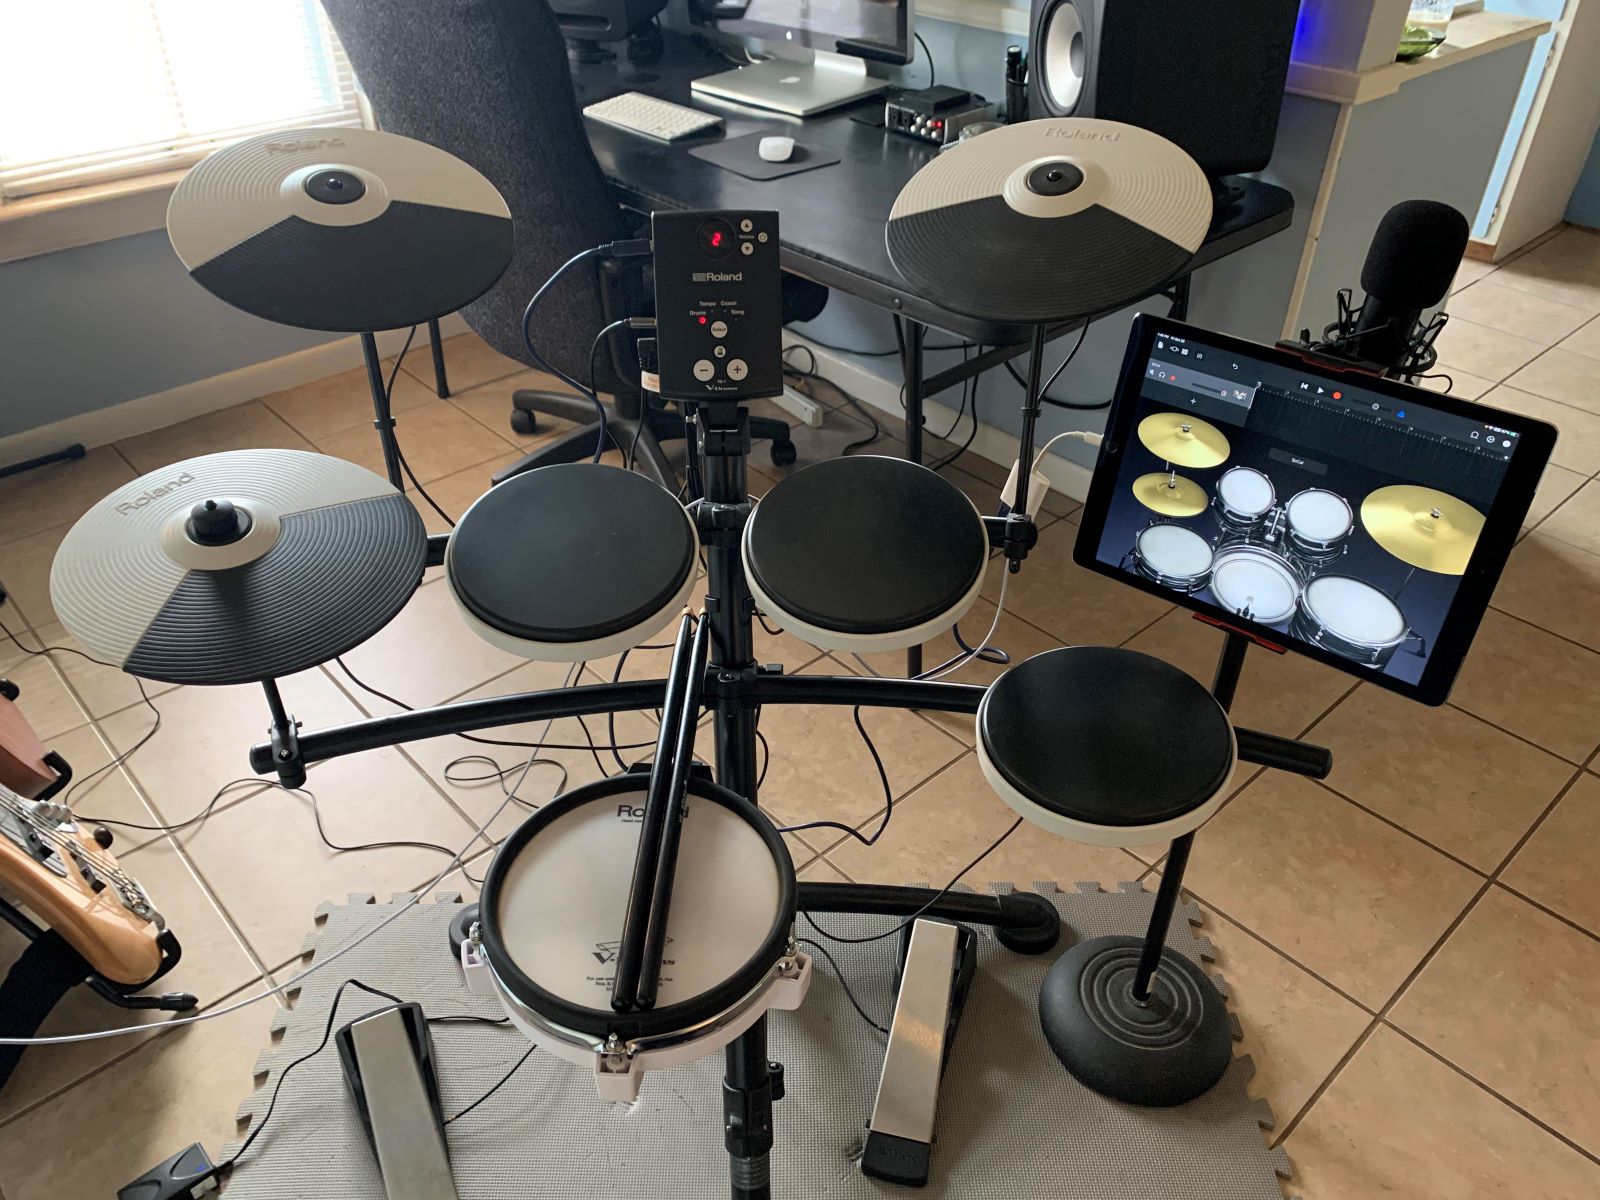
Setting up Electronic Drum Kit in GarageBand
Once your electronic drum kit is connected to GarageBand, the next step involves configuring the software to recognize and optimize the performance of the electronic drums. GarageBand offers a user-friendly interface for setting up and customizing electronic drum kits, allowing for seamless integration and personalized control over various parameters. The following steps outline the process of setting up an electronic drum kit within GarageBand:
- Selecting a Drum Kit: Launch GarageBand and create a new project or open an existing one. Navigate to the track selection menu and choose a drum kit instrument. GarageBand provides a diverse range of drum kit options, encompassing acoustic, electronic, and hybrid configurations, catering to different musical styles and preferences.
- Configuring MIDI Input: Access the track settings or instrument settings within GarageBand to designate the MIDI input source as your connected electronic drum kit. This establishes the communication link between the electronic drums and the selected drum kit instrument in GarageBand, ensuring that the software responds to the incoming MIDI data from the drum triggers.
- Customizing Drum Sounds: Explore the sound customization features within GarageBand to tailor the individual drum sounds to your liking. Adjust parameters such as tone, pitch, decay, and effects to sculpt the sonic characteristics of the electronic drum kit, enabling you to achieve a personalized and expressive drumming experience.
- Mapping Drum Pads: If your electronic drum kit features a unique pad configuration or utilizes specialized trigger assignments, you can map the drum pads to correspond with specific sounds or instruments within GarageBand. This mapping process ensures that striking different pads on the electronic drum kit triggers the intended sounds within the software environment, aligning with your playing preferences and performance requirements.
- Utilizing Drum Plugins and Effects: GarageBand offers a diverse array of drum plugins and audio effects that can enhance the sonic character and versatility of electronic drum kits. Experiment with plugins for compression, EQ, reverb, and modulation to refine the overall drum sound and imbue it with depth, impact, and sonic richness.
By following these steps and leveraging the intuitive features of GarageBand, you can effectively set up and optimize your electronic drum kit within the software, ensuring a seamless and tailored drumming experience that aligns with your creative vision and musical objectives. With the electronic drum kit fully configured in GarageBand, you’re now poised to embark on the process of recording and editing captivating drum tracks with precision and finesse.
Recording and Editing with Electronic Drums in GarageBand
Once your electronic drum kit is set up within GarageBand, you can seamlessly transition into the process of recording and editing dynamic drum tracks with precision and creativity. GarageBand offers a comprehensive suite of recording and editing features, empowering you to capture expressive drum performances and refine them to perfection. The following steps outline the process of recording and editing with electronic drums in GarageBand:
- Creating a Drum Track: Begin by creating a new drum track within your GarageBand project. Select the electronic drum kit instrument that corresponds to your connected e-drums, ensuring that the MIDI input is configured to receive signals from the drum triggers.
- Recording Drum Performances: Utilize GarageBand’s intuitive recording interface to capture your drum performances in real time. Whether you’re laying down rhythmic foundations, crafting intricate fills, or experimenting with dynamic patterns, GarageBand enables you to record multiple takes and seamlessly comp the best segments to create a cohesive and compelling drum track.
- Quantization and Groove Correction: Leverage GarageBand’s quantization tools to align and refine the timing of your recorded drum performances. By quantizing specific drum hits to the grid or applying groove correction to impart a natural feel, you can enhance the rhythmic precision and fluidity of your drum tracks, ensuring that they seamlessly integrate with other instruments and elements within your music production.
- Layering and Sound Design: Experiment with layering additional percussive elements or electronic sounds to augment the sonic palette of your electronic drum tracks. GarageBand provides a diverse array of virtual instruments and sound libraries, allowing you to embellish your drum performances with complementary textures, effects, and sonic embellishments, enhancing the overall depth and impact of your productions.
- Editing and Processing: Dive into GarageBand’s editing capabilities to fine-tune the dynamics, tonality, and expression of your electronic drum recordings. Adjust individual drum velocities, apply dynamic processing such as compression and transient shaping, and sculpt the sonic characteristics of each drum component to achieve a polished and cohesive drum mix that elevates the impact of your musical compositions.
By embracing the recording and editing capabilities of GarageBand, you can harness the expressive potential of electronic drums and craft captivating drum tracks that seamlessly integrate with your musical productions. Whether you’re creating dynamic rhythms for pop, rock, electronic, or experimental genres, GarageBand provides the tools and flexibility to bring your drum performances to life with precision, creativity, and sonic finesse.
With your electronic drum performances expertly recorded and refined within GarageBand, you’ve unlocked a world of creative possibilities, enabling you to produce professional-quality drum tracks that elevate the sonic tapestry of your musical endeavors.
Conclusion
As we conclude our exploration of connecting and utilizing electronic drums in GarageBand, it’s evident that the seamless integration of these innovative instruments within a powerful software environment opens new horizons for musicians and producers. Electronic drums, with their versatility, expressive capabilities, and dynamic sound palette, have transcended traditional percussion, offering a gateway to boundless creativity and sonic exploration.
By understanding the fundamental aspects of electronic drums and their interaction with GarageBand, musicians can harness the full potential of these instruments, whether for live performance, studio recording, or music production. The process of connecting electronic drums to GarageBand involves a fusion of hardware and software, facilitated by MIDI technology, and culminates in a cohesive interface that empowers musicians to capture, refine, and sculpt captivating drum performances with precision and finesse.
Through the comprehensive guide provided in this article, we’ve delved into the intricacies of setting up electronic drum kits in GarageBand, recording expressive drum performances, and refining them through intuitive editing and processing tools. The seamless connectivity and intuitive workflow offered by GarageBand enable musicians to unleash their rhythmic prowess and produce professional-quality drum tracks that elevate their musical compositions.
Whether you’re a seasoned drummer seeking new avenues for sonic exploration or a budding musician eager to infuse your compositions with dynamic rhythms, the marriage of electronic drums and GarageBand offers a fertile ground for creative expression and musical innovation. With the knowledge and skills acquired from this guide, you’re poised to embark on a rhythmic adventure, leveraging the power of electronic drums to enrich your musical journey and captivate audiences with compelling drum performances.
As you continue to explore the dynamic intersection of electronic drums and digital audio workstations, remember that the fusion of technology and creativity is a catalyst for transformative musical experiences. Embrace the expressive potential of electronic drums, harness the intuitive features of GarageBand, and embark on a rhythmic odyssey that transcends boundaries and resonates with the essence of your musical vision.
So, let the beat of electronic drums merge with the creative canvas of GarageBand, and may your musical endeavors flourish with rhythmic vitality and sonic ingenuity.