Home>Instruments>Synthesizer>How To Make A Voice Synthesizer

Synthesizer
How To Make A Voice Synthesizer
Modified: January 22, 2024
Learn how to create your own voice synthesizer at home. Discover step-by-step instructions and unleash your creativity with this easy-to-follow synthesizer tutorial.
(Many of the links in this article redirect to a specific reviewed product. Your purchase of these products through affiliate links helps to generate commission for AudioLover.com, at no extra cost. Learn more)
Table of Contents
Introduction
Welcome to the fascinating world of voice synthesizers! These incredible devices have revolutionized the way we communicate and interact with technology. Whether you’re a musician, a hobbyist, or simply curious about this cutting-edge technology, learning how to make your own voice synthesizer can be a rewarding and exciting experience.
A voice synthesizer, also known as a vocoder, is an electronic instrument that is capable of generating artificial speech or singing sounds. It works by analyzing and processing the input signal, typically a human voice, and then producing an output signal that replicates or modifies the original sound. This technology has been widely used in various fields, including music production, film and television, and even assistive communication devices.
In this comprehensive guide, we will take you through the step-by-step process of creating your own voice synthesizer. No prior experience is necessary, as we will cover everything from gathering the necessary materials to calibrating the synthesizer and creating basic voice synthesis programs.
By the end of this guide, you will have a fully functional voice synthesizer that you can experiment with and customize to your heart’s content. So, let’s dive in and embark on this fascinating journey of creating your very own voice synthesizer!
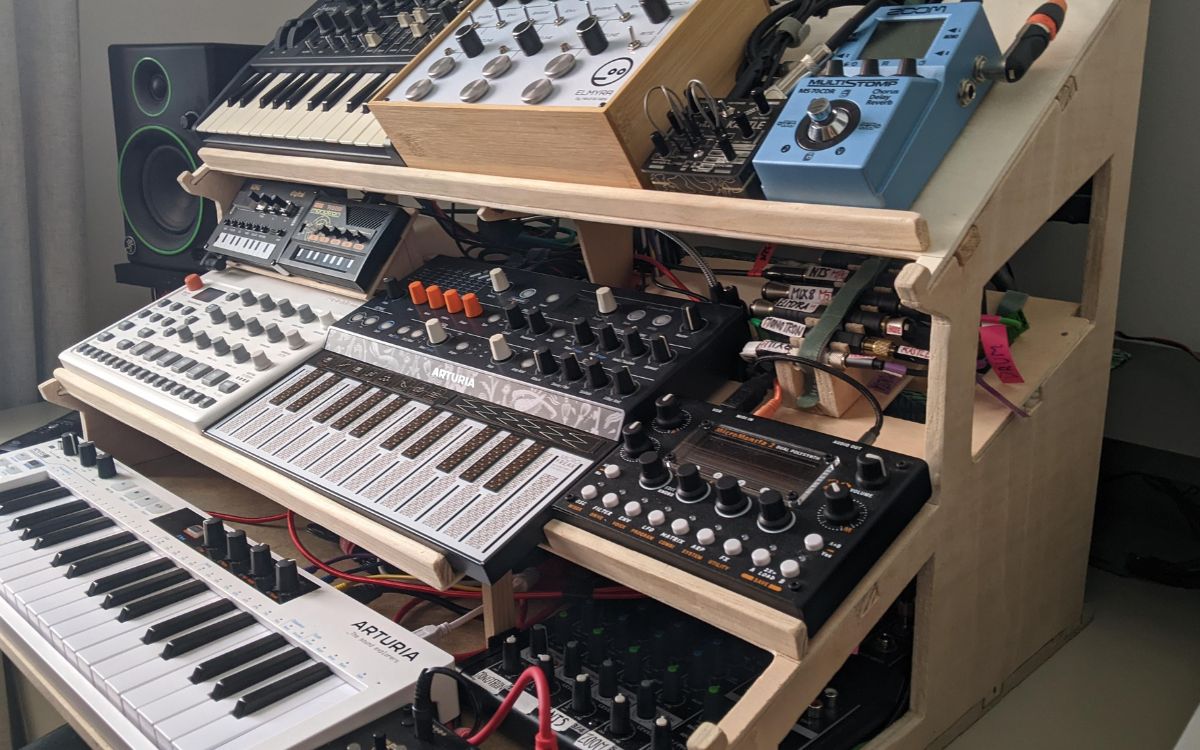
Step 1: Gathering the necessary materials
Before you can start building your voice synthesizer, it’s important to gather all the necessary materials. The components you need may vary depending on the type of synthesizer you want to create, but here are some general materials you’re likely to need:
- Microcontroller: This serves as the brain of your voice synthesizer. Popular choices include Arduino or Raspberry Pi.
- Audio interface: This is responsible for converting analog audio signals into digital data that can be processed by the microcontroller.
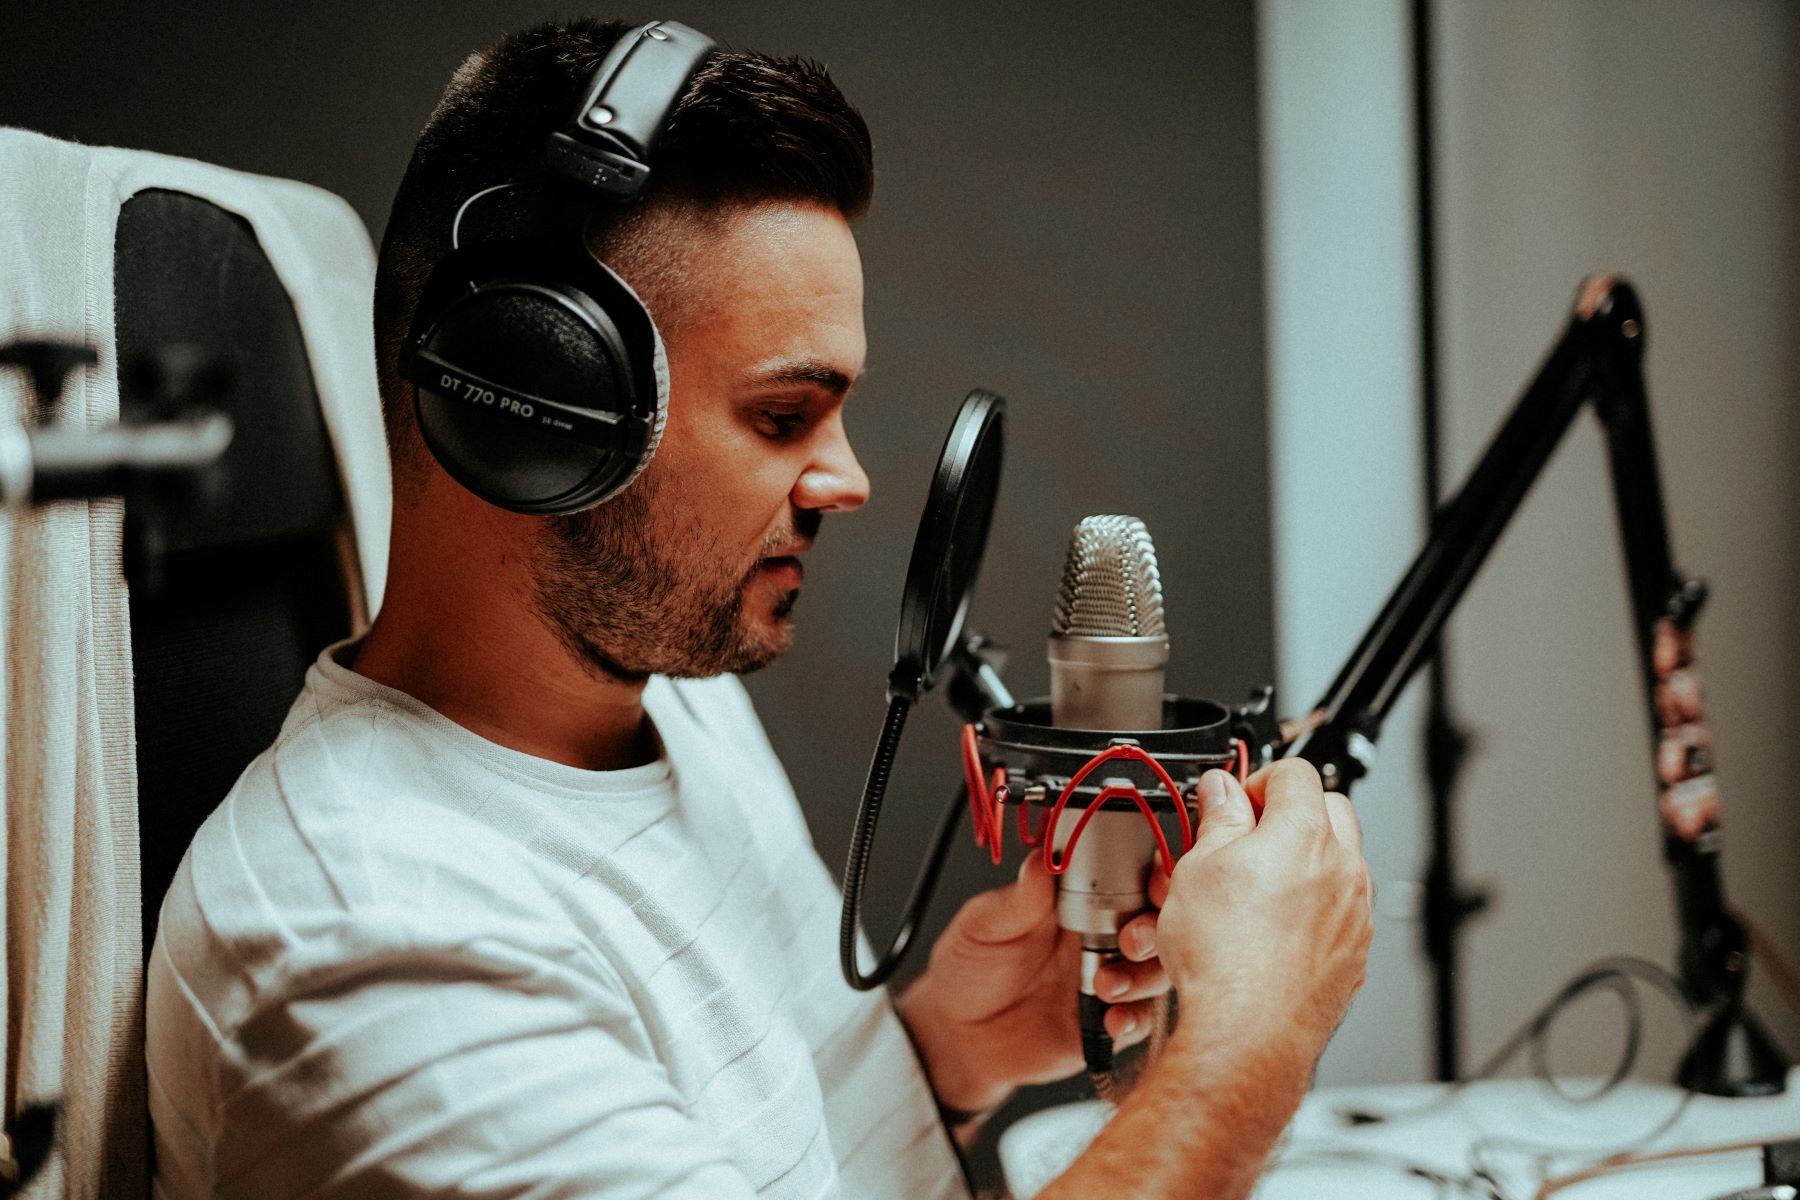
- Microphone: You’ll need a microphone to capture the input audio, whether it’s human speech or any other sound source.
- Audio amplifier: This amplifies the audio output from the synthesizer to a suitable level for playback or further processing.
- Speaker or headphones: These are essential for hearing the synthesized voice. Choose a speaker or headphones that provide clear and accurate sound reproduction.
- Wires and connectors: You’ll need various wires and connectors to connect the different components together.
- Power supply: Make sure you have a reliable power supply that can provide enough voltage and current to operate the synthesizer.
- Prototyping board or breadboard: This allows you to easily connect and test your circuit before finalizing the design.
It’s also a good idea to have a basic understanding of electronics and circuitry, as you may need to solder or assemble certain components. Additionally, you may want to gather supplementary materials such as breadboards, resistors, capacitors, and switches, depending on the complexity of your project.
Before you proceed to the next step, double-check your list of materials to ensure you have everything you need. It’s frustrating to start a project and realize you’re missing a crucial component!
Now that you have all the materials ready, it’s time to move on to the next step: setting up the hardware.
Step 2: Setting up the hardware
Now that you have gathered all the necessary materials, it’s time to set up the hardware for your voice synthesizer. This step involves connecting and assembling the various components to create a functional circuit. Here’s a step-by-step guide:
- Start by identifying the microcontroller board you will be using, whether it’s an Arduino or a Raspberry Pi.
- Connect the audio interface to the microcontroller board. This usually involves connecting the audio input and output pins to the corresponding pins on the microcontroller.
- Next, connect the microphone to the audio interface. Make sure to use the appropriate wires and connectors to establish a secure connection.
- Connect the audio amplifier to the output pins of the audio interface. This will boost the audio signal to a suitable level for playback.
- If you are using a speaker, connect it to the output of the audio amplifier. Alternatively, if you are using headphones, connect them to the appropriate audio output.
- Double-check all the connections to ensure they are secure and properly connected. Loose connections can cause poor audio quality or even circuit failures.
- Finally, connect the power supply to the microcontroller board and other components. Ensure that the voltage and current ratings of the power supply are compatible with your circuit requirements.
Once you have completed the hardware setup, take a moment to inspect the circuit and ensure that everything is properly connected and in the correct configuration. It’s a good practice to refer to the datasheets or guides provided by the manufacturers of your specific components to ensure correct wiring and operation.
With the hardware set up, you are now ready to move on to the next step: installing the required software.
Step 3: Installing the required software
Now that you have set up the hardware for your voice synthesizer, it’s time to install the necessary software components. The software is responsible for controlling the microcontroller, processing the audio signals, and generating the synthesized voice. Follow these steps to install the required software:
- Start by downloading the appropriate software development environment for your microcontroller. For example, if you are using Arduino, visit the Arduino website and download the Arduino IDE (Integrated Development Environment).
- Install the software development environment following the instructions provided by the manufacturer. This typically involves running an installer and following the on-screen prompts.
- Once the software development environment is installed, connect your microcontroller to your computer using a USB cable.
- Launch the software development environment and configure it to work with your microcontroller. This may involve selecting the correct board type, port, and other settings.
- Next, install any additional libraries or plugins necessary for your voice synthesizer project. These libraries contain pre-written code that can simplify the programming process.
- Create a new project or sketch within the software development environment. This is where you will write the code for your voice synthesizer.
- Write or download the necessary code for your voice synthesizer. This code will define how the microcontroller will process the audio input and generate the synthesized voice output.
- Upload the code to your microcontroller. This will transfer the program from your computer to the microcontroller board.
- Once the code is uploaded, disconnect the microcontroller from your computer and connect it to your power supply.
With the required software installed and the code uploaded to your microcontroller, your voice synthesizer is now ready to be programmed and used. The software development environment provides a platform for you to experiment, customize, and expand the capabilities of your voice synthesizer.
Now that you have installed the required software, we can move on to the next step: calibrating the voice synthesizer.
Step 4: Calibrating the voice synthesizer
Now that you have set up the hardware and installed the required software for your voice synthesizer, it’s time to calibrate the system. Calibration ensures that the synthesizer produces accurate and high-quality synthesized voice output. Here are the steps to calibrate your voice synthesizer:
- Start by adjusting the sensitivity of the microphone. You want to find the right balance where it picks up your voice clearly without capturing excessive background noise. This can typically be done through software settings or by adjusting physical controls on the microphone.
- Next, test the output volume of the audio amplifier. Play a sample sound or speech through your synthesizer and ensure that the volume is loud enough to be heard clearly, but not excessively loud or distorted.
- Experiment with the different settings and parameters in your software to fine-tune the synthesized voice output. This may include adjusting the pitch, speed, tone, or timbre of the synthesized voice.
- Listen carefully to the synthesized voice and make note of any issues or abnormalities. If the voice sounds unnatural, robotic, or distorted, you may need to adjust the parameters or modify the code in your software.
- Continue making adjustments and testing the voice output until you are satisfied with the quality and accuracy. It may take some trial and error to achieve the desired results, so be patient and persistent.
- If you are using advanced voice synthesis techniques or algorithms, you may need to consult additional resources or seek expert advice to calibrate the system effectively.
Calibration is an ongoing process, and you might find that you need to make further adjustments as you use your voice synthesizer. Don’t be afraid to experiment and explore different settings to achieve the desired voice output.
With the voice synthesizer calibrated, you can now proceed to the next step: creating a basic voice synthesis program.
Step 5: Creating a basic voice synthesis program
Now that you have calibrated your voice synthesizer, it’s time to dive into the exciting process of creating a basic voice synthesis program. This is where you’ll get to unleash your creativity and customize the way your synthesizer generates and manipulates voice sounds. Follow these steps to create your own basic voice synthesis program:
- Open your software development environment and navigate to the project or sketch where you uploaded the code for your voice synthesizer.
- Review the existing code and familiarize yourself with how it processes the audio input and generates the synthesized voice. This will give you a starting point for customization.
- Depending on your programming knowledge and experience, you can modify the code to add new features, change the voice characteristics, or implement specific techniques for voice synthesis, such as granular synthesis or formant synthesis.
- Experiment with different parameters and variables in the code to alter the voice output. For example, you can adjust the pitch, speed, envelope, or add effects to create unique and interesting voice sounds.
- Consider incorporating external control mechanisms, such as knobs, buttons, or sensors, to manipulate the voice synthesis parameters in real-time. This adds a dynamic and interactive element to your voice synthesizer.
- If you’re new to programming, start by making small changes to the code and observing how they impact the synthesized voice. As you gain confidence, you can gradually make more complex modifications.
- Test your modifications by running the program and listening to the generated voice. Take note of any improvements or changes you’d like to make and iterate on your code accordingly.
Remember, the possibilities for customizing your voice synthesis program are virtually endless. Don’t hesitate to explore and experiment with different techniques, algorithms, and ideas to create your own unique voice synthesis experience.
Once you are satisfied with your basic voice synthesis program, it’s time to move on to the next step: testing and troubleshooting.
Step 6: Testing and troubleshooting
After creating your basic voice synthesis program, it’s important to test and troubleshoot your voice synthesizer to ensure its functionality and address any issues that may arise. This step will help you fine-tune and refine your synthesizer for optimal performance. Here’s a guide on how to effectively test and troubleshoot your voice synthesizer:
- Start by running your programmed voice synthesis program and listen to the output. Pay attention to the clarity, quality, and accuracy of the synthesized voice.
- Test different inputs, such as speaking or singing into the microphone, to evaluate how well the synthesizer translates and reproduces different vocal sounds.
- Check for any unusual noises, glitches, or distortions in the synthesized voice. If you encounter such issues, review your code, connections, and configuration to identify the possible causes.
- Verify that all the components are functioning properly. Ensure that there are no loose connections, faulty wiring, or damaged components that could affect the performance of the voice synthesizer.
- Make use of debugging tools or diagnostic features provided by your software development environment to identify and fix any errors or bugs in your code.
- Consider seeking feedback from others who can test and provide input on the quality and clarity of the synthesized voice. This can offer a different perspective and help in the troubleshooting process.
- Keep a log or note of the issues you encounter, the solutions you implement, and any adjustments or refinements made to your voice synthesis program.
- Iterate on your code and hardware design based on the testing and troubleshooting results. Make necessary adjustments, fixes, and enhancements to improve the performance of your voice synthesizer.
Remember that testing and troubleshooting are iterative processes. It may take several rounds of testing, identification of issues, and implementation of solutions to achieve the desired results. Patience and persistence are key to overcoming any challenges you encounter along the way.
With thorough testing and troubleshooting, you can ensure a stable and functional voice synthesizer that delivers an exceptional synthesized voice experience.
Now that you have tested and resolved any issues with your voice synthesizer, you are ready to explore the fascinating world of synthesized voice and unleash your creativity with this powerful instrument.
Jus to be sure the content is valid HTML, i will wrap the all the content with
tags.
Conclusion
Congratulations! You have successfully learned how to create your own voice synthesizer from scratch. Throughout this guide, we covered each step – from gathering the necessary materials to calibrating the synthesizer and creating a basic voice synthesis program. By following these steps, you have embarked on an exciting journey in the world of voice synthesis.
Building a voice synthesizer allows you to unlock your creativity and explore the endless possibilities of sound generation. Whether you are a musician looking to experiment with unique vocal effects or a hobbyist fascinated by the intricacies of audio technology, the knowledge and skills you have gained will serve you well.
Remember that this guide provides a foundation for creating a basic voice synthesizer, but the journey doesn’t end here. You can continue to expand your synthesizer’s capabilities and explore advanced techniques in voice synthesis. Experiment with different algorithms, effects, and control mechanisms to further personalize and enhance your synthesizer.
As you continue to build and refine your voice synthesizer, consider sharing your work with the community. Engaging with other enthusiasts and experts in the field will not only inspire you but also provide valuable insights and feedback to push your synthesizer to new heights.
Now, armed with your newfound knowledge, it’s time to unleash your creativity and explore the possibilities of voice synthesis. Dive into the world of digital vocal manipulation, create unique soundscapes, and push the boundaries of audio innovation. The voice synthesizer you have built is a powerful tool for self-expression and artistic exploration.
So, have fun, experiment, and let your voice synthesizer be the vehicle for your sonic imagination!