Home>Production & Technology>MP3>How To Make Voice Memo Into MP3
MP3
How To Make Voice Memo Into MP3
Modified: January 22, 2024
Learn how to easily convert your voice memo into MP3 format with these simple steps. Save space on your device without compromising audio quality.
(Many of the links in this article redirect to a specific reviewed product. Your purchase of these products through affiliate links helps to generate commission for AudioLover.com, at no extra cost. Learn more)
Table of Contents
Introduction
Welcome to the world of digital audio! In this digital age, recording our thoughts, music, interviews, or any other audio has become incredibly easy. One popular format for recording audio is the voice memo, commonly found on smartphones and other portable devices.
However, while voice memos offer convenience, they are often saved in a format that is not widely compatible with various devices or platforms. Many people prefer the versatility and accessibility of the widely supported MP3 format.
In this article, we will guide you through the process of converting a voice memo into an MP3 file. Whether you want to share your voice memos with friends, create a podcast, or simply save storage space on your device, this tutorial will help you achieve that goal.
We understand that not everyone is tech-savvy, so we’ve broken down the conversion process into easy-to-follow steps. By the end of this guide, you’ll be confident in your ability to convert voice memos into MP3 format and enjoy the benefits of accessible, high-quality audio.
So, without further ado, let’s dive into the world of MP3 conversion and unleash the potential of your voice memos!
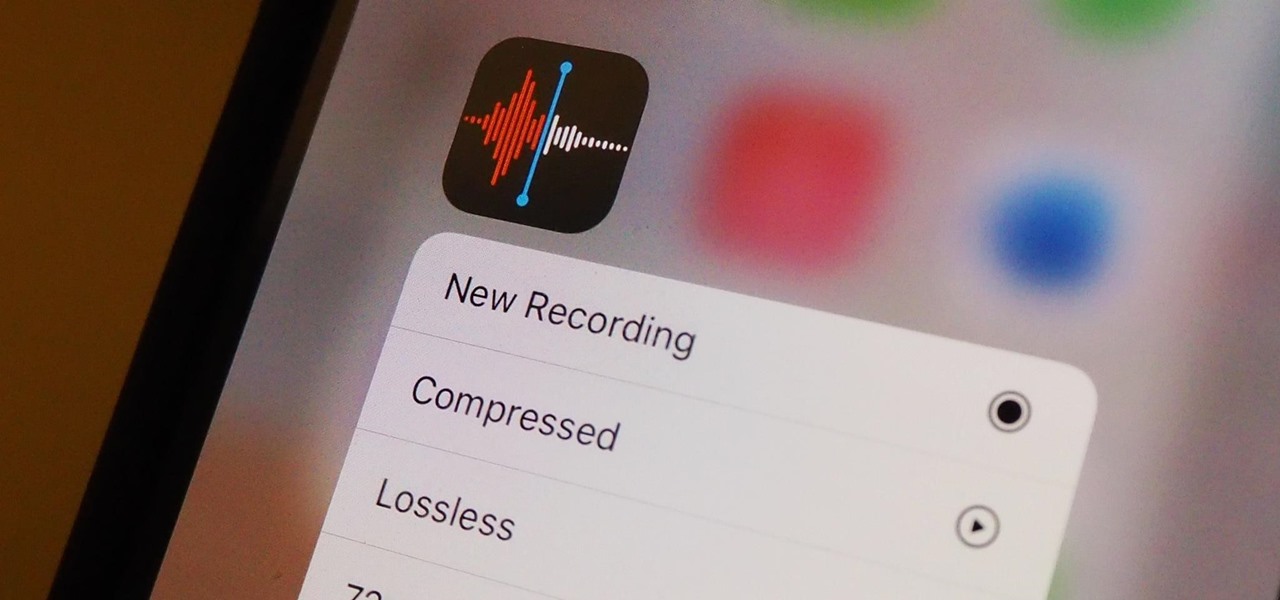
Step 1: Recording a Voice Memo
The first step in converting your voice memo into an MP3 file is to record the audio. Most smartphones come equipped with a built-in voice memo app that allows you to easily capture audio recordings. Here’s how to do it:
- Locate the voice memo app on your smartphone. It is typically pre-installed and can be found in the app drawer or on the home screen.
- Launch the app and familiarize yourself with its interface and controls. Depending on the app, you may see options such as record, pause, stop, and playback.
- Before you start recording, make sure you are in a quiet environment to obtain clear and crisp audio.
- Once you’re ready, tap the “Record” button to start capturing your voice memo.
- Speak clearly and into the microphone of your device. Avoid any background noise or distractions to ensure the best audio quality.
- If you need to pause the recording at any time, use the app’s pause button. You can resume recording by tapping the “Record” button again.
- When you’re finished recording, tap the “Stop” button to end the recording session.
Now that you’ve successfully recorded your voice memo, it’s time to move on to the next step of the conversion process: transferring the voice memo to your computer.
Step 2: Transferring the Voice Memo to Computer
Once your voice memo is recorded, the next step is to transfer it from your smartphone to your computer. This step allows you to have the voice memo file available on your computer for converting it into the MP3 format. Here’s how you can transfer your voice memo:
- Connect your smartphone to your computer using a USB cable. Ensure that both devices are powered on.
- On your smartphone, you may be prompted to allow the connection and enable transfer mode. Follow the on-screen instructions to grant access.
- On your computer, open the file explorer or finder application that allows you to navigate through files and folders.
- Locate your connected smartphone in the list of available devices. It may appear as a removable disk or a specific name given to your device.
- Double-click on the device name to open it and browse through its contents.
- Look for the folder or directory where the voice memo app stores its recorded files. This folder may vary depending on the voice memo app you are using.
- Once you’ve found the folder, you should see your recorded voice memo file. It is usually in a recognizable format such as .wav or .m4a.
- Select the voice memo file and copy it to your desired location on your computer. You can create a new folder specifically for storing voice memos if you prefer.
- Wait for the file transfer to complete. The time it takes will depend on the size of the voice memo file and the speed of the USB connection.
- Once the transfer is finished, safely disconnect your smartphone from the computer by ejecting it or using the appropriate option in the file explorer or finder.
With the voice memo successfully transferred to your computer, you’re now ready to proceed to the next step: converting the voice memo to the MP3 format.
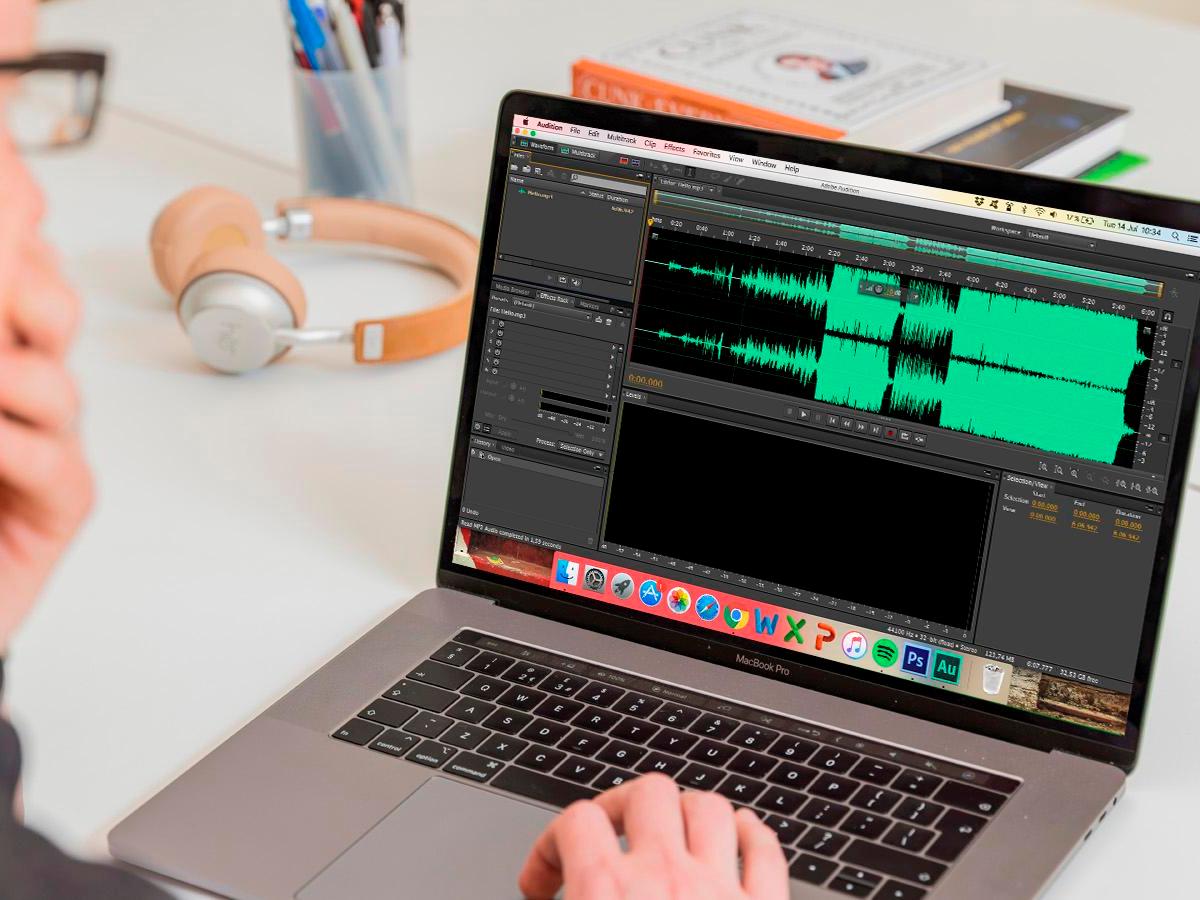
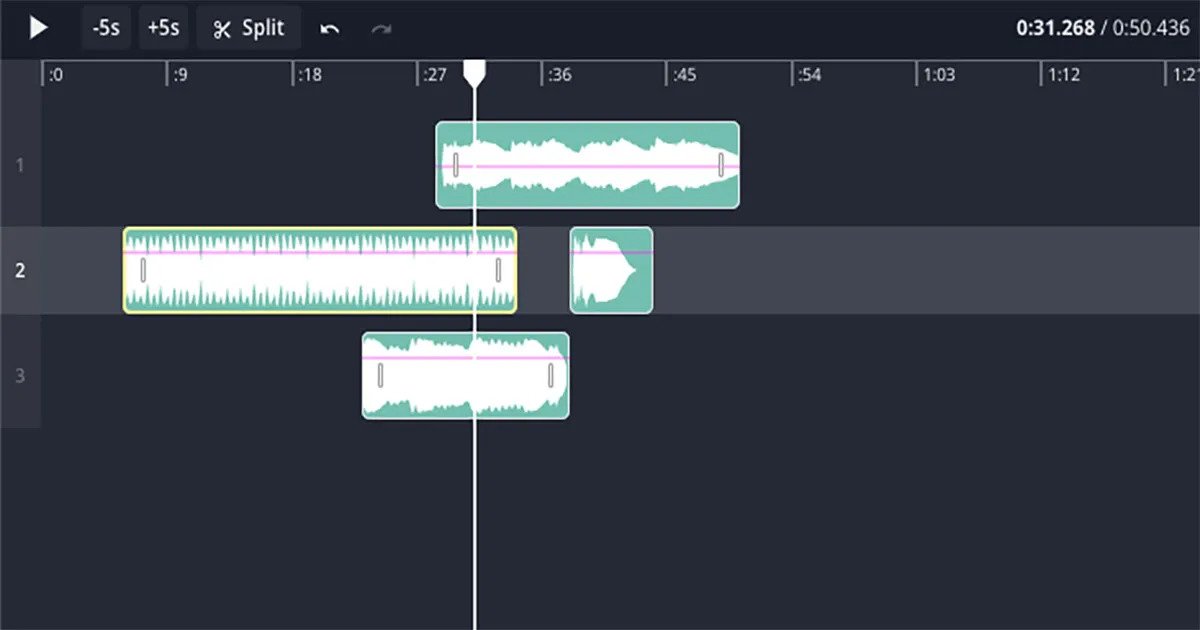
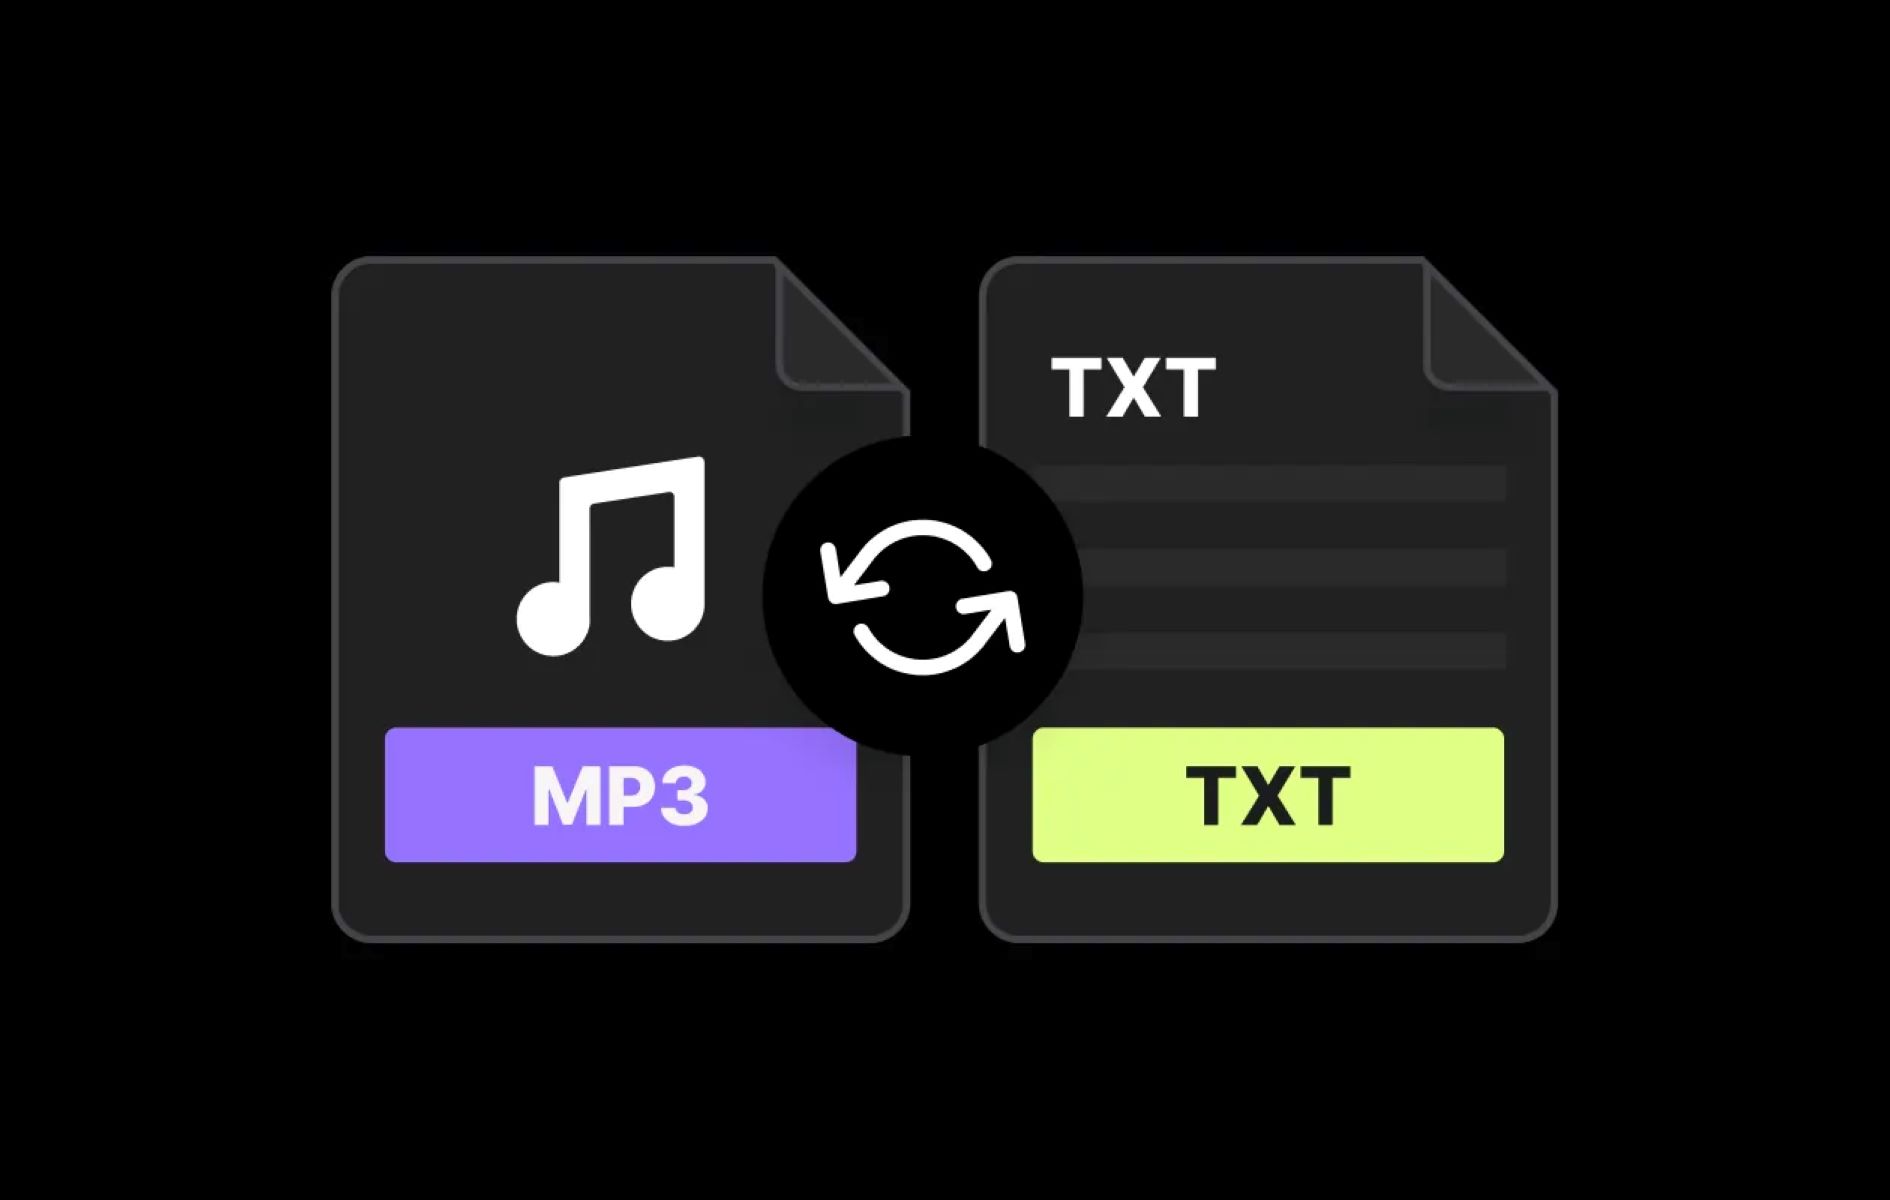
Step 3: Converting Voice Memo to MP3 Format
Now that you have the voice memo file on your computer, it’s time to convert it to the MP3 format. Converting the file will allow for wider compatibility and flexibility in using the audio. Follow these steps to convert your voice memo to MP3:
- Open your preferred media converter software. If you don’t have one installed, there are several free options available online that you can use.
- Once the converter is open, locate the option to add files or import media. Click on this option.
- Navigate to the folder where you transferred your voice memo file and select it. Click “Open” or a similar button to import the file into the converter.
- In the converter, you will find various output format options. Select the MP3 format as your desired output. You may also have the option to adjust the quality settings of the MP3 file, such as the bitrate or sampling rate.
- Choose the destination folder where you want the converted MP3 file to be saved. This can be done by clicking on the “Browse” or “Choose Folder” option in the converter.
- Double-check the settings and make any necessary adjustments or customizations according to your preferences.
- Click on the “Convert” or “Start” button to initiate the conversion process. The time it takes to convert the file will depend on the length and complexity of the voice memo.
- During the conversion process, you may see a progress bar or indicator showing the status of the conversion. Allow the process to complete fully.
- Once the conversion is finished, you should have your voice memo successfully converted to the MP3 format. The converted file will be available in the destination folder you selected earlier.
With the voice memo successfully converted to MP3, you are now one step closer to enjoying and sharing your audio in a widely accessible format. The final step involves saving the converted MP3 file, which we will discuss in the next section.
Step 4: Saving the Converted MP3 File
Now that you have successfully converted your voice memo to the MP3 format, it’s time to save the file in a location of your choice. This step ensures that you can easily locate and access the MP3 file whenever you need it. Follow these simple steps to save the converted MP3 file:
- Open the folder or directory where the converted MP3 file is located on your computer. This is the destination folder you selected during the conversion process.
- Locate the converted MP3 file in the folder. It should have the same name as your original voice memo file, but with the .mp3 extension.
- Right-click on the MP3 file and select “Save As” or “Copy” from the context menu.
- Choose the destination folder or directory where you want to save the MP3 file. This can be any location on your computer or even an external storage device.
- Give the MP3 file a descriptive and recognizable name. You can also add tags or metadata to make it easier to organize and search for the file in the future.
- Click “Save” to save the MP3 file in the selected location.
- Wait for the file to finish saving. The duration will depend on the size of the MP3 file and the speed of your computer’s storage.
- Once the file is saved, navigate to the location where you saved it and double-check that it is accessible and playable.
- You can now use the converted MP3 file for various purposes, such as sharing it with others, incorporating it into a project, or simply enjoying it on your favorite media player.
Congratulations! You have successfully saved the converted voice memo as an MP3 file. You now have a portable, widely compatible format that can be easily shared and enjoyed. Feel free to repeat these steps for any other voice memos you wish to convert to MP3 format.
By following these simple steps, you can transform your voice memos into a more accessible and versatile format, allowing you to make the most of your audio recordings.
With the voice memo successfully converted and saved as an MP3 file, you have completed the conversion process. You can now enjoy your voice memos in a widely compatible format and share them with ease. Happy converting!
Conclusion
Converting voice memos into the popular MP3 format opens up a world of possibilities for sharing, storing, and enjoying audio recordings. Throughout this guide, we have walked you through the process of converting your voice memo into an MP3 file in four simple steps: recording the voice memo, transferring it to your computer, converting it to MP3 format, and saving the converted file.
By following these steps, you can take full advantage of the flexibility and compatibility that the MP3 format offers. Whether you want to share your voice memos with friends, create a podcast, or store your recordings more efficiently, converting them to MP3 ensures they can be played on a wide range of devices and platforms.
Remember to choose a reliable media converter software that allows you to customize the output settings according to your preferences. This will ensure the best audio quality and compatibility for your converted MP3 files.
With the converted MP3 file saved on your computer, you can easily store, organize, and share your voice memos with others. Whether you’re a student, journalist, musician, or just someone who likes to document their thoughts, having your voice memos in the widely supported MP3 format makes them more accessible and convenient.
So, what are you waiting for? Start converting your voice memos into the MP3 format and unlock the full potential of your recorded audio. Enjoy the flexibility, portability, and high-quality sound that MP3 files have to offer!
Thank you for following this guide, and we hope it has been helpful in your journey of converting voice memos to MP3 format. Happy recording and converting!