Home>Instruments>Synthesizer>How To Make A Synthesizer With Raspberry Pi
Synthesizer
How To Make A Synthesizer With Raspberry Pi
Modified: February 22, 2024
Learn how to create a powerful synthesizer using a Raspberry Pi! Discover the step-by-step instructions and unleash your music production skills.
(Many of the links in this article redirect to a specific reviewed product. Your purchase of these products through affiliate links helps to generate commission for AudioLover.com, at no extra cost. Learn more)
Table of Contents
Introduction
Imagine being able to create your own synthesizer from scratch using affordable components and a Raspberry Pi. With the popularity of electronic music and the accessibility of technology, building your own synthesizer has become not only a possibility but also a thrilling DIY project for music enthusiasts and hobbyists alike. In this article, we will guide you through the process of creating a synthesizer with a Raspberry Pi, from setting up the hardware to writing the necessary code.
Whether you are a musician looking to expand your sound palette or simply a curious tinkerer, building a synthesizer can be a rewarding and educational experience. It allows you to understand the inner workings of this fascinating musical instrument and gives you the freedom to experiment with different sounds and effects.
To embark on this journey, you will need a few essential materials, such as a Raspberry Pi, audio components, and basic programming knowledge. Don’t worry if you’re new to programming or electronics – we will guide you through the process step by step. By the end of this tutorial, you will have a fully functional synthesizer that you can customize and play to your heart’s content.
So, get ready to dive into the world of synthesizers and unleash your creativity. Whether you’re interested in producing electronic music or simply exploring the possibilities of building your own musical instrument, this guide will equip you with the necessary knowledge and skills to bring your synthesizer dreams to life.
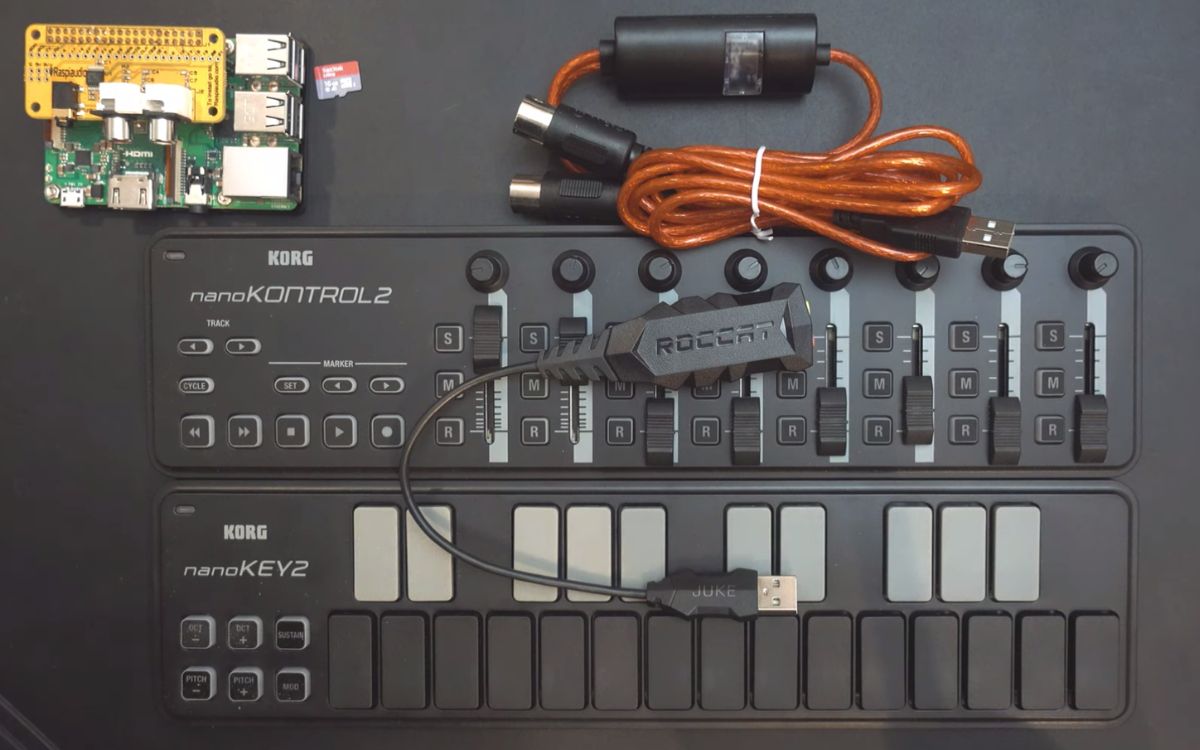
Required Materials
Before we can start building our synthesizer with a Raspberry Pi, we need to gather a few essential materials. Here’s a list of what you’ll need:
- Raspberry Pi: You’ll need a Raspberry Pi single-board computer. Any model should work, but it’s recommended to use one with audio output capabilities such as the Raspberry Pi 3 or 4.
- SD Card: A micro SD card is required to install the operating system and store the software for your synthesizer.
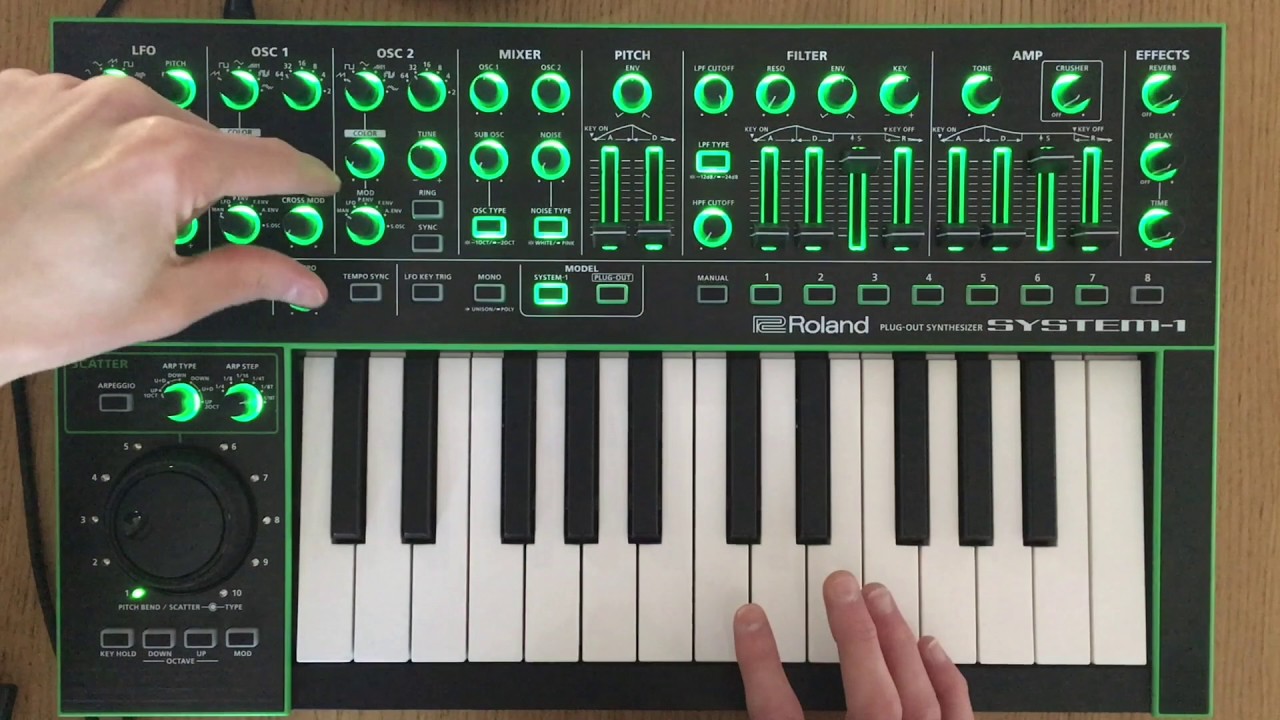
- USB MIDI Controller: To control your synthesizer, you’ll need a USB MIDI controller. This can be a MIDI keyboard, MIDI drum pad, or any other MIDI-compatible device.
- Audio Output: To listen to the sounds produced by your synthesizer, you’ll need an audio output device. This could be speakers, headphones, or an amplifier.
- Jumper Wires: You’ll need jumper wires to connect the components of your synthesizer together.
- Breadboard: A breadboard will serve as the platform for connecting and testing the electronic components of your synthesizer.
- Resistors and Capacitors: Depending on your circuit design, you may need resistors and capacitors to regulate voltage and smooth out signals.
- Analog-to-Digital Converter (ADC): If you plan on using analog audio signals, an ADC is necessary to convert them into digital signals that can be processed by the Raspberry Pi.
- Power Supply: Make sure to have a USB power supply compatible with your Raspberry Pi model.
These are the basic materials needed to build your synthesizer. Depending on your specific design and functionality requirements, you may need additional components. However, for a basic synthesizer setup, the items listed above will be sufficient.
Now that you have the necessary materials, it’s time to move on to setting up your Raspberry Pi and installing the required software.
Setting Up Raspberry Pi
Before we can start building our synthesizer, we need to set up the Raspberry Pi. Here’s a step-by-step guide to getting your Raspberry Pi ready for the project:
- Start by connecting the micro SD card to your computer and formatting it using the SD Card Formatter tool.
- Download the latest version of the Raspberry Pi operating system, called Raspbian, from the official Raspberry Pi website.
- Use the Raspberry Pi Imager tool to write the Raspbian image onto the SD card.
- Insert the SD card into the Raspberry Pi’s SD card slot.
- Connect a monitor or TV to the Raspberry Pi using an HDMI cable.
- Attach a USB keyboard and mouse to the Raspberry Pi.
- Plug in the power supply to turn on the Raspberry Pi.
- Follow the on-screen instructions to complete the initial setup of Raspbian, including setting up Wi-Fi and enabling SSH.
- Once the setup is complete, open the terminal on the Raspberry Pi and update the system by running the following commands:
sudo apt updatesudo apt upgrade
With the Raspberry Pi set up and updated, we are now ready to install the necessary software for our synthesizer project. This will allow us to generate and control audio signals using the Raspberry Pi’s GPIO pins.
In the next section, we will cover the steps to install the required software on the Raspberry Pi.
Installing Software
Once you have set up your Raspberry Pi, it’s time to install the software required for your synthesizer. We will be using the open-source software package called JACK (Jack Audio Connection Kit) to handle audio and Pure Data (Pd) as our digital signal processing (DSP) environment. Follow the steps below to install the necessary software:
- Open the terminal on your Raspberry Pi.
- Update the package lists by running the following command:
sudo apt update - Install JACK by running the following command:
sudo apt-get install jackd - Install Pure Data by running the following command:
sudo apt-get install puredata - Once the installation is complete, start the JACK server by running the following command:
jackd -d alsa -d hw:0 - Open Pure Data by running the following command:
puredata
With the software installed and running, we are now ready to connect the audio components to the Raspberry Pi and start building our synthesizer.
In the next section, we will cover how to connect the necessary audio components to the Raspberry Pi for our synthesizer project.
Connecting Audio Components
To successfully create a synthesizer with your Raspberry Pi, you need to connect the audio components properly. Below are the steps to connect the required audio components:
- Connect your USB MIDI controller to one of the USB ports of the Raspberry Pi.
- If you are using speakers or headphones as your audio output, connect them to the audio jack on the Raspberry Pi.
- If you prefer using an amplifier or external audio device, connect the audio jack of the Raspberry Pi to the input of your chosen audio device.
- If you’re using an Analog-to-Digital Converter (ADC) for processing analog audio signals, connect the output of your audio source to the input of the ADC, and then connect the ADC to the Raspberry Pi using jumper wires.
Ensure all connections are secure and properly seated. If you’re using jumper wires, double-check that they are correctly connected to the appropriate GPIO pins on the Raspberry Pi and the corresponding connections on the audio components.
Now that we have the audio components properly connected, we can move on to writing the necessary code to create our synthesizer.
In the next section, we will cover the process of writing code and configuring the software for our synthesizer project.
Writing Code
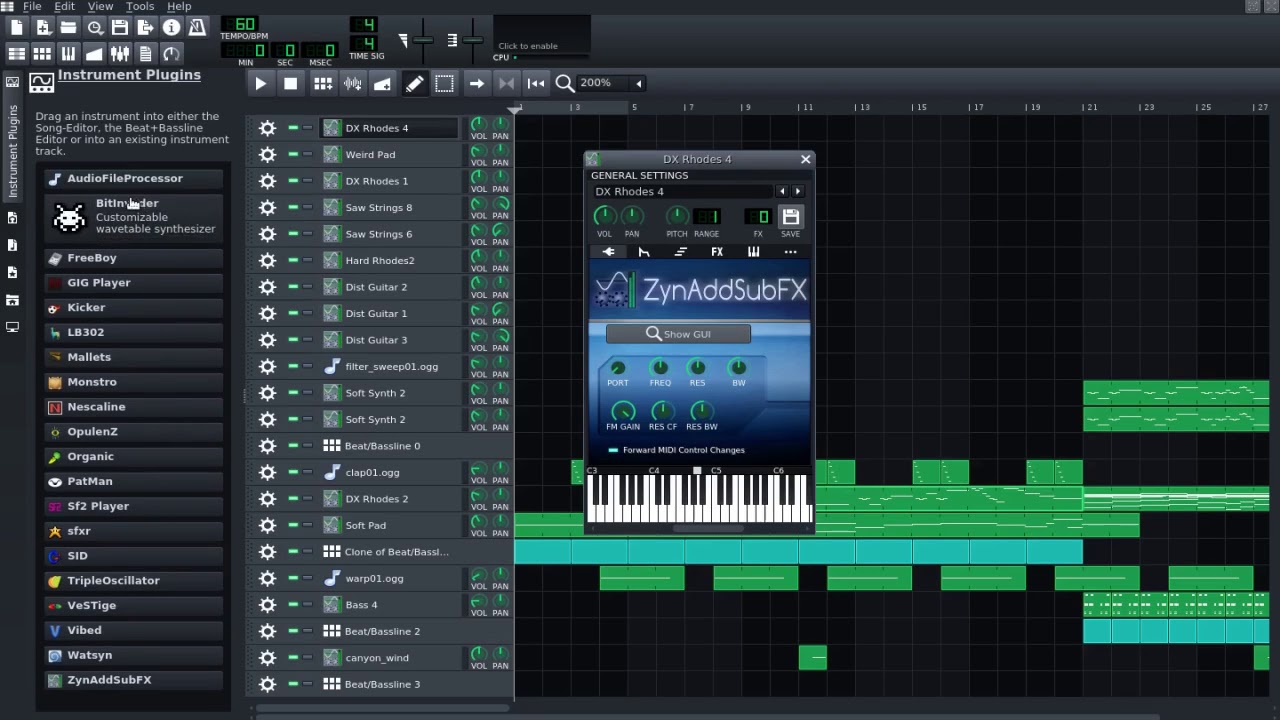
Now that the hardware setup is complete, it’s time to write the code for our synthesizer using Pure Data (Pd). Pure Data is a visual programming language specifically designed for audio and multimedia applications. It offers a beginner-friendly interface to create and manipulate audio signals. Follow the steps below to get started:
- Open the Pure Data application on your Raspberry Pi by running the command
puredatain the terminal. - Once Pure Data is open, you will see a blank canvas. This is the workspace where we will build our synthesizer.
- Start by adding objects from the toolbar on the left side of the screen. Objects represent different audio processing functions and modules.
- Connect the objects together by clicking and dragging from the outlet of one object to the inlet of another. This creates the signal flow of your synthesizer.
- Configure each object’s parameters by right-clicking on the object and selecting “Properties.” This allows you to customize the sound and behavior of your synthesizer.
- Experiment with different objects and parameters to create unique sounds and effects. Combine oscillators, filters, envelopes, and other modules to shape the sound to your liking.
- Test your synthesizer by connecting a MIDI controller to your Raspberry Pi and triggering the notes. You should hear the sound generated by your synthesizer.
- Save your Pure Data patch by selecting “File” and then “Save As…” Choose a location on your Raspberry Pi to store the patch.
Remember to save your work regularly as you build and refine your synthesizer. Pure Data allows you to save and load patches, making it easy to share and modify your creations in the future.
In the next section, we will cover the process of testing and troubleshooting your synthesizer to ensure it is working correctly.
Testing and Troubleshooting
After writing the code for your synthesizer, it’s crucial to test and troubleshoot the functionality of your setup. Here are some steps to ensure your synthesizer is working correctly:
- First, double-check all the connections of your audio components. Ensure they are securely connected and in the proper input/output ports.
- Verify that your MIDI controller is properly connected to the Raspberry Pi. Test the keys, knobs, or pads to confirm that they are sending MIDI signals.
- Check the inputs and outputs of your audio components within the Pure Data patch. Make sure they are correctly mapped to the desired hardware.
- Use the Pure Data patch to generate different sounds and test different parameters. Adjust the amplitude, pitch, and other settings to verify that they are affecting the audio output.
- Play different notes on your MIDI controller and listen for the corresponding sounds produced by your synthesizer. Ensure that the response is accurate and in line with your expectations.
- If you encounter any issues, refer to the Pure Data documentation or online forums for troubleshooting advice. Debugging audio applications can be challenging, but the community support can provide valuable insights.
During the testing phase, it’s essential to listen carefully to the audio output and make adjustments as needed. Experiment with different settings and modules within Pure Data to refine and personalize your synthesizer’s sound.
Once you are satisfied with the test results and your synthesizer is functioning correctly, you can start exploring more advanced features and expanding the capabilities of your setup.
In the final section, we will conclude our tutorial and summarize the key aspects of building a synthesizer with a Raspberry Pi.
Conclusion
Congratulations on successfully building your own synthesizer using a Raspberry Pi! Throughout this tutorial, we covered the step-by-step process of creating a synthesizer, from setting up the Raspberry Pi to writing code in Pure Data. By combining hardware components, software installation, and coding, you have unlocked a world of endless possibilities for sound creation and experimentation.
Building your own synthesizer allows you to explore the realm of electronic music and express your creativity in unique ways. With the flexibility of Pure Data, you can customize and shape your sound, creating anything from traditional instrument emulations to futuristic and experimental tones.
Remember, your journey doesn’t end here. There are countless opportunities to further enhance and expand your synthesizer. You can explore advanced sound processing techniques, integrate more complex modules, and even design your own unique user interface using Pure Data and Raspberry Pi’s capabilities.
Building a synthesizer with a Raspberry Pi not only provides you with an exciting musical instrument but also offers an excellent opportunity to learn more about electronics, coding, and audio signal processing. The knowledge and experience you gain from this project can be applied to other creative endeavors and pave the way for future explorations in the world of music technology.
We hope this tutorial has inspired you to embark on your synthesizer-building journey. Whether you’re a musician, hobbyist, or simply curious about electronics and sound, this project will undoubtedly unleash your creativity and allow you to make music in innovative ways.
So, gather your materials, set up your Raspberry Pi, dive into Pure Data, and let the symphony of synthesized sounds begin!